This weekend I finally got around to a few exterior projects at the house:
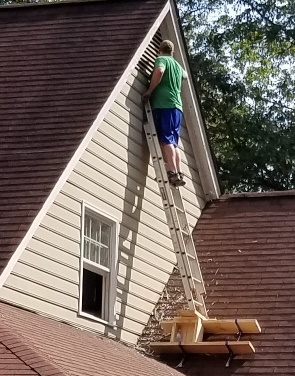
– One of the gable sides had flaking trim paint on its vent / rake boards and needed fresh paint on the siding. I sanded and repainted the trim and then put several coats of new paint on the siding. This gable end is the only original Masonite siding on the house that’s exposed (the entire back was replaced with LP Smartside by the previous owner, the dormer siding I’ll be replacing soon, and the rest of it is either under the porch or deep eaves where it never gets wet). Anywhere Masonite siding can get wet it’s critically important to keep good paint on it to avoid swelling; I think I caught this just in time. Getting access to the area took a little creativity and involved a few roof brackets, planks, and making a platform/box from 2×10’s; it was very rigid once all the parts were secured together though.
– Installed gutter guards. Leaves should start falling soon and I’ll see how it goes, anything will be an improvement.
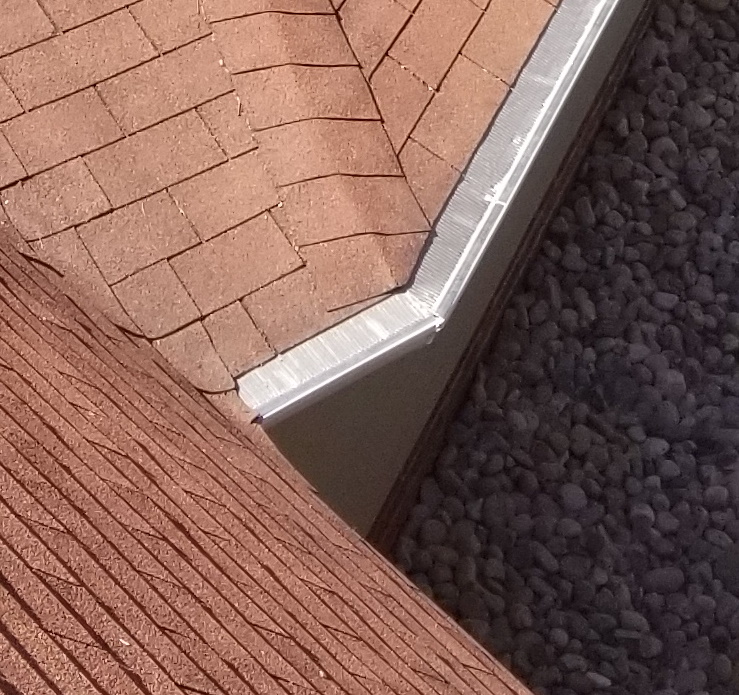
– The gable side on the back of the house had a rotted rake board and molding. Replacing the rake board was no problem; I just needed to rip a 1×6 to the exact width and put a slight roundover on the bottom edges to match the existing rake boards.
(I didn’t get a before shot, but this shows the new board and missing molding. The dark area of the old board was covered by bad molding, but is still good. It will get primed before installing the molding, and this way the seams are staggered for stability)
Unfortunately the molding that’s between the rake board and shingles (conveniently called ‘shingle molding’) is not readily available. Replacing the molding leaves several options:
#1 – A millwork shop may have it in stock, but this would take a lot of driving around to find. Usually those places have 8-5 M-F hours and sometimes won’t talk about such a small order.
#2 – I could probably find it online, but it wouldn’t ship in one piece plus there would be a delay time, added shipping costs, etc.
#3 – Sometimes it’s possible to find the same profile on a larger piece (i.e. base molding) and rip it to width. I checked this as an option when looking for for the molding originally, but this also wasn’t available.
#4 – If I found the correct profile router bit I could make the molding with the router table. This can be pricy though, plus it adds delay time and it takes a lot of setup/finishing to get a good output.
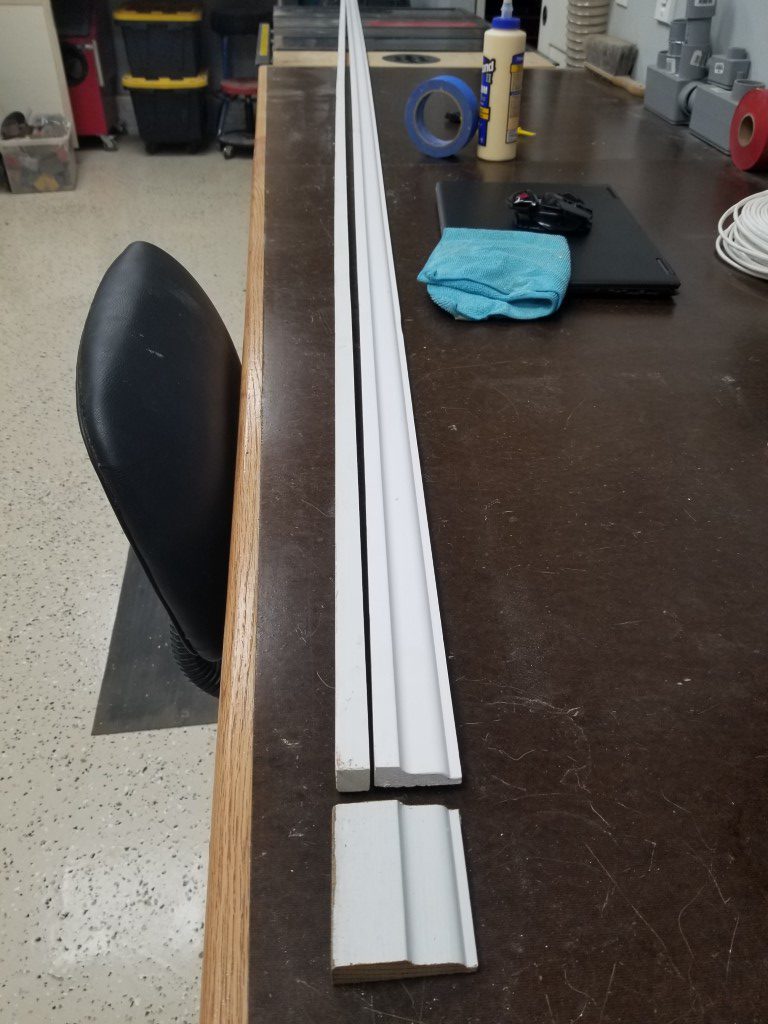
#5 – I was able to find a matching profile on a piece that was too narrow. Since the ‘missing’ part is rectangular it’s possible to just make the missing strip and glue it on.
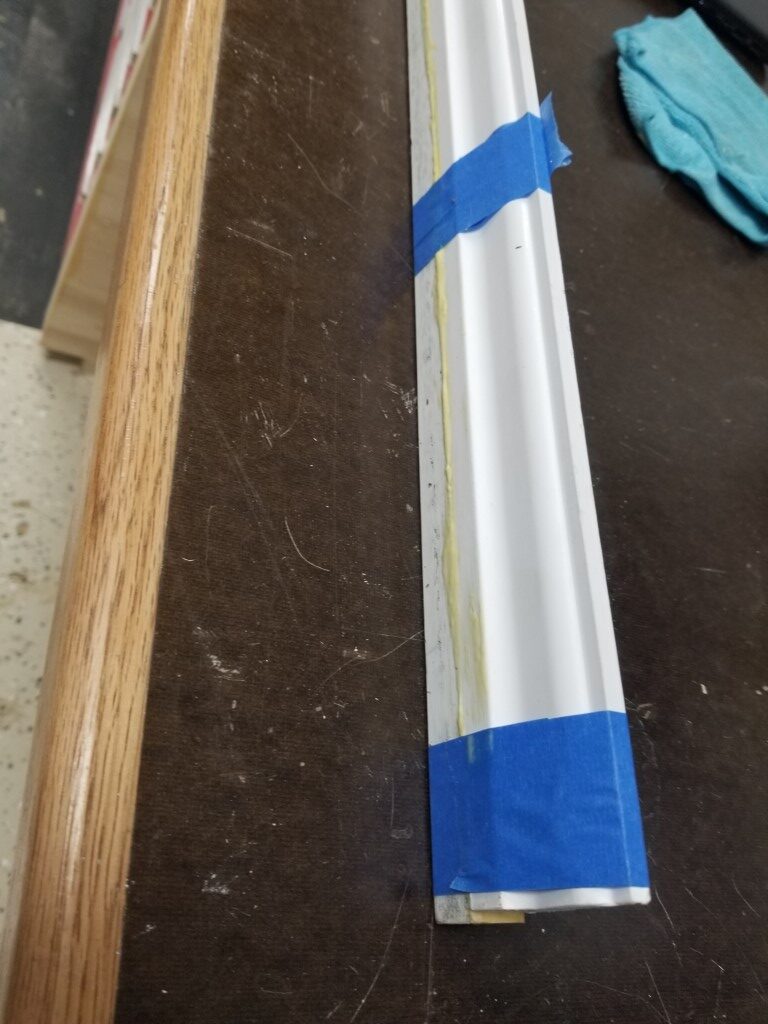
I’ve used #4 for matching other weird trim on the house, but for this scenario #5 made the most sense. To get a good glue joint I first ripped a bit off of the pre-primed molding to expose the wood. Next I ripped a 12ft scrap of 1x{something} to the right width. Dry fitting the two pieces next to each other showed that the 1x piece was just a bit thicker than the molding. I feed this strip through the planer until it was an exact match and then tightly taped the back sides of the two pieces together, forming a hinge. The tape ‘hinge’ was opened to apply glue and then tightly taped back together. Once the glue dries overnight it will be scrapped, fed through the planer, and then sanded, primed, and installed.