Using a Real Aviation Headset with a PC Simulator

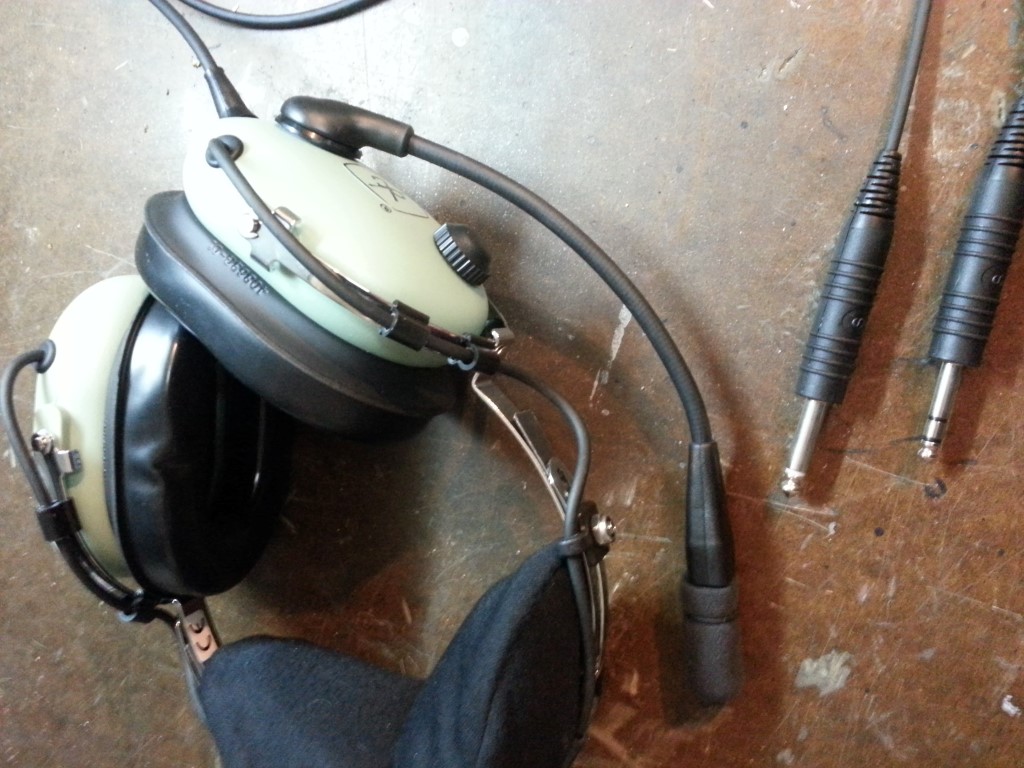
In parallel with real-world flight training I’ve begun to use a PC flight simulator more seriously. This reinforces what’s learned in the real plane and also allows me to practice flights ahead of time. The simulator is only vaguely analogous to real flying though, so the more I can do to make it realistic the better. One realism point would be to use the real aviation headset, but the headset does not directly plug into the PC. After a good bit of research cross-referencing part numbers and checking schematics, I came to two critical conclusions:

#1 – Standard 1/4″ mono audio dimensions are the same as general aviation headset plug dimensions. (The speaker plug, not the microphone plug)

#2 – The sound card output levels are compatible with the headset’s required input level. (not so low that they’d be inaudible, and not so high that they’d blow out the speakers on even the lowest setting)

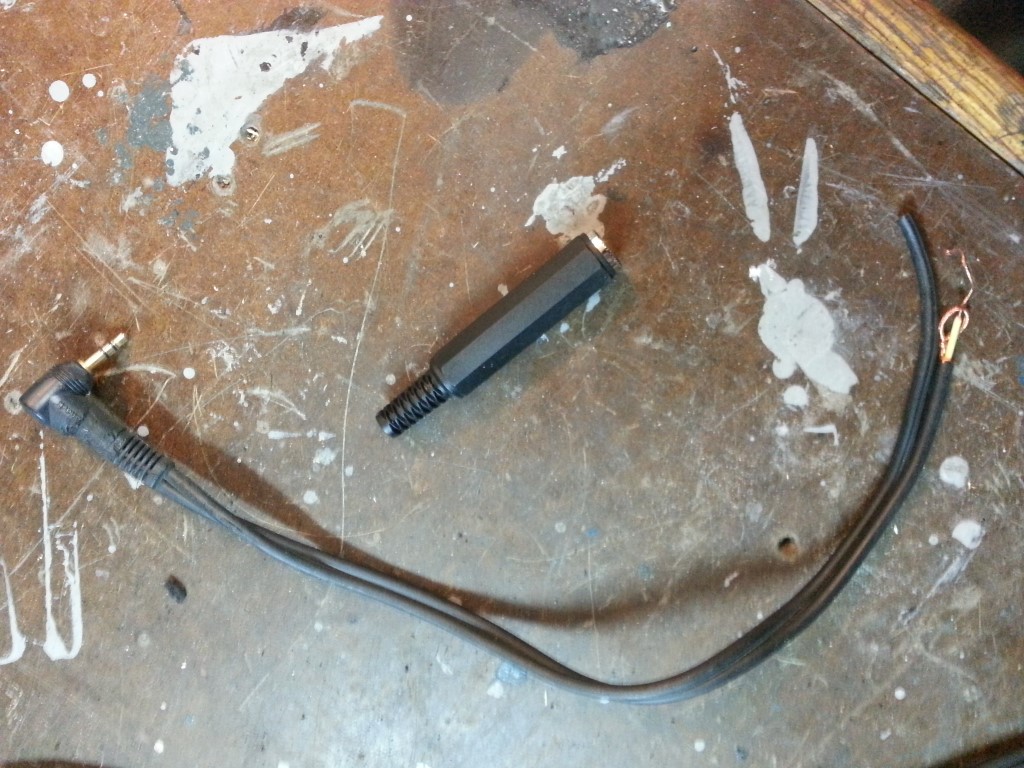
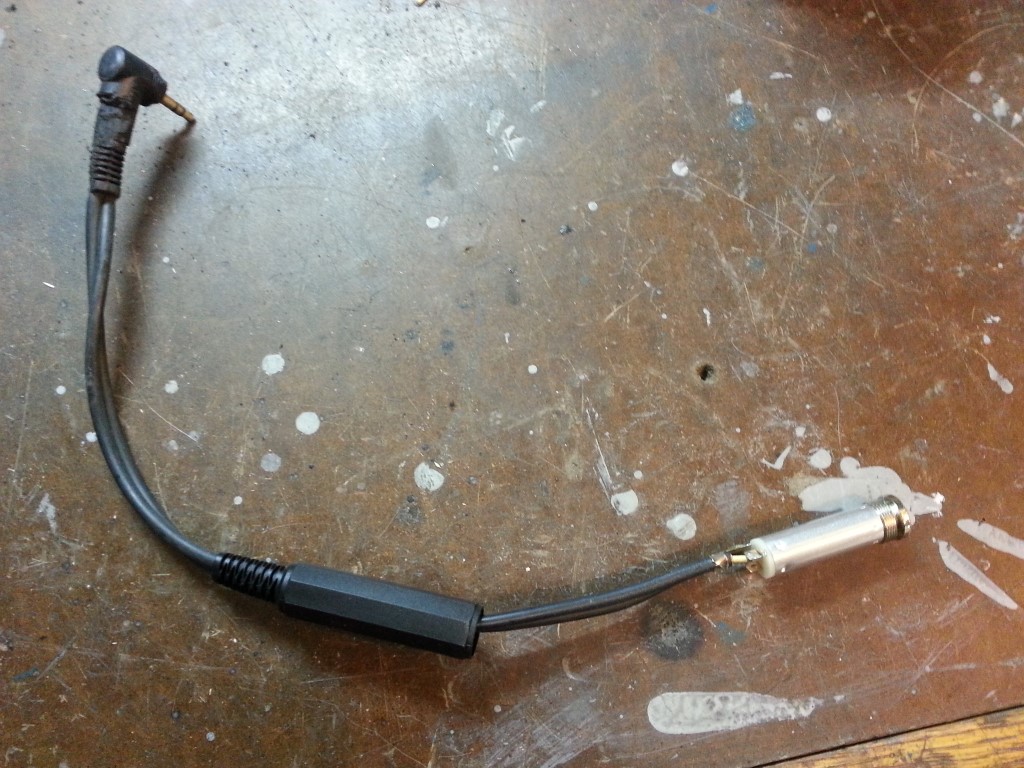
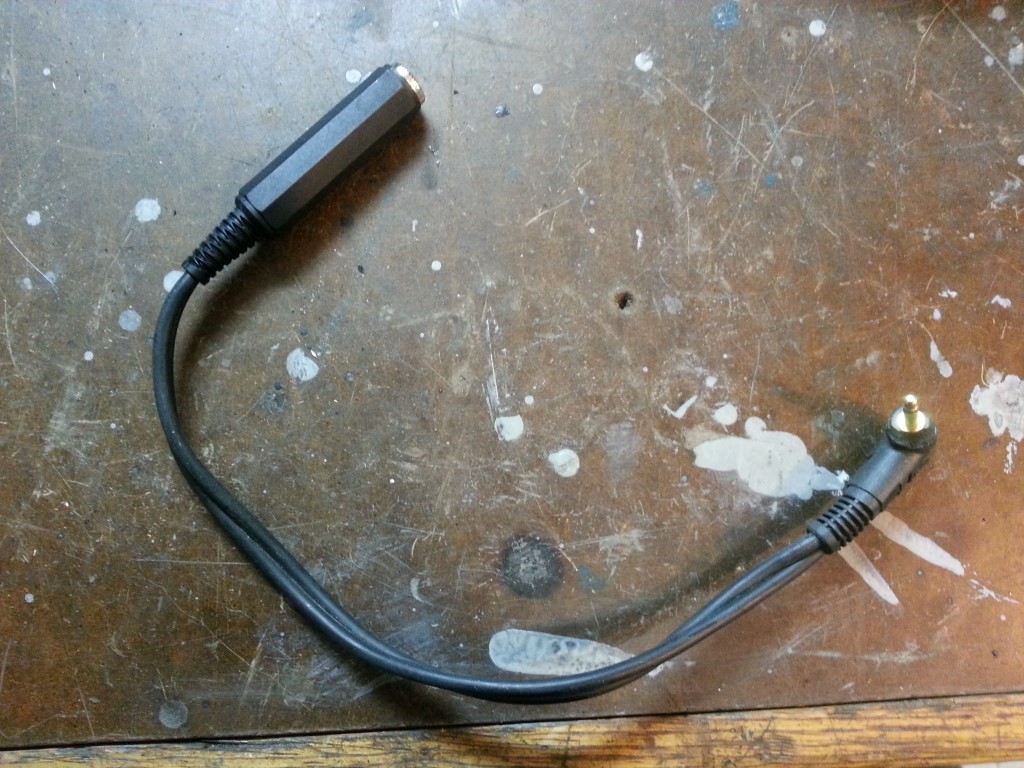
Once those realizations were made it was easy enough to make an adapter cable from a scrap audio cord and a $2 1/4″ mono jack. There are ready-made adapters online, but these go for far more then even the standard 5X markup for anything with ‘aviation’ in the description; so it was worth the effort to spend a few minutes and build myself. The microphone connector is more special-purpose and would require finding the special jack and likely some circuitry to make the levels work for the PC mic input, I don’t do anything in the simulator that requires the microphone though, so that connection just stays unplugged.

1 2 3 4 5

       Leave a comment

Golf Coolant Leak Repair

A few weeks ago the Golf gave a low coolant warning and, not seeing any immediate signs of a leak, I topped if off. This week, I noticed a few pink drips in the garage. This is actually fortunate because it meant there was an external leak of some kind rather than something more serious like an EGR cooler or head gasket leak. Since the puddles were rapidly increasing in size I investigated the source of the leak tonight. Unfortunately it wasn’t anything as easy as a bad hose, clamp, or o-ring; I could see coolant dripping from the radiator. The next step, as it is with most modern VW repairs, was to disassemble the entire car. Although it looks intense, cleaning up the garage prior to starting this project took about as long as actually accessing the radiator.

1 2 3 4 5 6 7 8

From searches online it appears this is a somewhat common problem; the fan support vibrates against the thin aluminum radiator tubes until a hole is worn through. During reassembly I’ll add some rubber cushioning in this area to prevent recurrence. A replacement is available locally and I’ll pick it up after work tomorrow; I should be able to have everything back together tomorrow night, though I may let the project stretch into the weekend to thoroughly clean/detail the front bumper while I have everything apart.

Update: Finished this Friday night, relatively easy, no more leak.

       Leave a comment

Carpentry & Aviation

Today (I have a few days off of work), after a few months of studying in my spare time, I finally took the controls of a Cessna 172 for about an hour. With direction from the instructor I taxied, took-off, climbed to 2000ft, and then maneuvered around and even did part of the landing approach; though the instructor did the landing itself. I’ve got a long way to go but over then next year or so I’ll be flying somewhat frequently to make progress towards a private pilot certificate. Anytime a new skill can be learned (i.e. welding/painting/etc from the bus project) I find that it can be beneficial in unexpected ways, even for seemingly unrelated tasks/problems. So this is about having another tool in the mental toolbox, and I’ve always been interested in aviation anyways…

After arriving back from the flight I starting working on installing crown molding in the downstairs bathroom. For some reason this was the only room in the house that didn’t have it and I always thought it looked odd. In the past, I’ve just propped the molding up at the correct angle and hand sawed at 45degrees in a miter box. Due to the number of joints though I decided to get fancy and make the cuts on the tablesaw. This presents a problem since, when the molding is flat on the table, the angles are in two different directions: a compound angle in which the blade must be tilted and the material angled against the push fence. Luckily I’m not the first person to ever do this so I found tables online of compound angles for a given wall angle (90deg nearly always) and a given trim angle (the angle the trim sits against the wall). There was some scrap made while learning what orientation to use for a given angle; 4 of the 8 combinations don’t make anything useful (i.e. inside right/outside left/etc.) More than a few times during this process I thought back to how much easier flying the plane was (or at least seemed) earlier in the day.

         Leave a comment

Hitch Anti-Rattle Device

There’s an inherent problem with the way that standard receiver hitches and accessories are built. No hitch manufacturer wants to build a hitch that’s too small for the average accessory (ball mount, bike rack, etc)., and no accessory manufacturer wants to build an accessory that’s too big for the average hitch. As a result, both manufacturers err on the side of caution and the result is a huge amount of slop on most hitch/accessory combinations. The result of this is a ‘clunk’ or rattle when turning with a trailer and, even worse, a magnification of the backlash at the top of bike racks, causing excessive swaying/looseness.

There are a number of ‘solutions’ to this problem. One of these solutions requires the accessory side to have threaded hitch pins, this is a no-go for bike racks (where the problem is the worst) since there aren’t any made this way. The other solution is a device that wedges between the hitch and accessory. This only works on one axis and would require extra tools/setup every time the accessory is connected/disconnected.

The alternative to this, which I’ve seen other examples of online, is to drill/tap a hole through one edge of the receiver so that a bolt can be used to push two of the flat sides of the accessory against two of the flat sides of the inside of the hitch. To get plenty of threads I went a step further and welded a nut (with small section of tube to fill the gaps) to the receiver. This also significantly reinforces the edge of the hole to negate any compromise in strength created by drilling the hole. This isn’t much of a concern though since most of the forces are transmitted through the hitch pin which is well in front of the new hole. For tool-less deployment and removal I fabricated a bolt with integrated handle, much like what’s found on bench vices. I eventually painted this bolt also, but it’s not shown in the pictures; I’ll leave this in the trunk when not used. The hitch rattle/clunk is now completely gone, plus it’s easy to deploy and will work for every hitch accessory.

1 2 3 4 5 6 7 8

       Leave a comment

Building a better air return

Today, as part of a repainting project, I constructed a new air return out extra slats from wooden blinds and some scrap wood. Nothing was wrong with the existing metal return other than being ugly, so it will get added to the scrap metal pile and possible used on some metalwork project. All the materials were scraps from other projects, so total cost was just some paint/glue/staples and a few cents of electricity. As a bonus, the new return seems to be quieter and less restrictive than the metal version.

1 2 3 4 5 6 7 8


         Leave a comment

Prepping the yard for Spring

In years past the yard has struggled to survive, this year we’re getting serious about fixing it. Soil tests confirmed that the entire yard is devoid of anything capable of reliably sustaining plant life; It’s basically 100% clay.

The city runs a facility nearby that takes leaves & limbs (for free) and turns them into compost/mulch (for about $0.01/lb). I’ve dropped of limbs many times in the past, but had only picked up once and couldn’t get much at a time since the pile forms a pyramid on the open trailer. To remedy this, I made some simple sides out of plywood. The sides are very strong but still pack up for easy storage in the shed attic. After tilling up the whole front yard we picked up 3 loads of compost averaging about 2000lbs each. This is the upper limit of what the Golf is rated for in the US, though less than 2/3 of the european rating (1500Kg=3300lbs) for the exact same vehicle; this was evident in that there was plenty of power/braking to spare.

1 2 3

We spread the compost over the entire front yard and then mixed it in with the tiller and raked it level. Next weekend the same routine will be repeated for the side and back yards, followed by planting and fertilizing. Even with 12000lbs of compost added it’s only a marginal improvement to the soil over a relatively large surface area, so part of the plan is using creeping red fescue. Creeping red fescue is one of the most shade tolerant grass species and it also tolerates poor soil well. Hopefully from this point onwards the soil structure will only improve as it will get aerated and top-dressed with fresh compost yearly.

       Leave a comment

Bus Photos

The last few months have been very busy so I haven’t done much with the bus. We did get the photos back from the wedding a while ago, they came out great!

1 2 3 4

    Leave a comment

Garage floor finished, leaf harvest begins

I didn’t get “after” pictures from the garage floor project, but it’s visible in the mower pictures below. Overall it turned out very well and will be much easier to keep clean.

The leaves are falling this time of year and if left alone they are able to form a mat several inches thick over the entire yard/house/driveway/garage every few days. To combat this in years past I’ve used an arsenal of leafblowers, rakes, and mowers; the secret weapon in this arsenal though is the 33″ snapper rear engine rider from the mid 1970’s. It’s not great as a mower since the long single blade does not conform to the terrain; but as a leaf collection device there’s nothing better since the single long blade moves tons of air (think airplane prop). This moving air carries all of the leaves/sticks/nuts off of the yard and into the collection bag.

The mower’s deck had taken a beating from using it for trail-clearing; and once the deck deformed enough the blade began to wear against it. I’m replacing the blade and welding the deck back together so it can get back to clearing leaves. In the process of fixing the deck I may also add some sort of reinforcement or “cow catcher” to the front to prevent future damage.

1 2 3

         Leave a comment

Garage Floor Overhaul

The garage floor was in rough shape when we moved in, and because of this I wasn’t particularly careful with it during the 4yrs of bus restoration. I rented a diamond grinder today to begin remedying this. I used the grinder to flatten the high side of the “fault line” cracks and to open up the surface overall in preparation for epoxy coating, and a hand grinder to clear the loose edges out of the cracks. The cracks will be filled with a sand/epoxy mix and then leveled flush to the surface with the hand grinder.

1 2

       Leave a comment

Successful Return & Next Steps

The bus made the trip back from Charleston uneventfully. It was loaded at least half full with various wedding stuff, luggage, tools, etc. We had originally thought of having the bus ready for the wedding as a bonus, but in retrospect it was actually a large part of the wedding logistics and things wouldn’t have gone as smoothly without it.

Having performed admirably for the wedding trip, the bus will now get a bit of a vacation over the winter. During this time I’ll have the engine/trans out again for closer inspection; the trans will need to be either rebuilt or replaced in order to get more speed while also bringing the interior noise levels down. I’ll also work on the interior, paint touch-ups, and various other miscellaneous stuff during this time.

I’ll continue to post updates as these changes are made; but the format of the site may quickly change as I incorporate more ‘non-bus’ projects.

1

    Leave a comment