Carpentry & Aviation
Today (I have a few days off of work), after a few months of studying in my spare time, I finally took the controls of a Cessna 172 for about an hour. With direction from the instructor I taxied, took-off, climbed to 2000ft, and then maneuvered around and even did part of the landing approach; though the instructor did the landing itself. I’ve got a long way to go but over then next year or so I’ll be flying somewhat frequently to make progress towards a private pilot certificate. Anytime a new skill can be learned (i.e. welding/painting/etc from the bus project) I find that it can be beneficial in unexpected ways, even for seemingly unrelated tasks/problems. So this is about having another tool in the mental toolbox, and I’ve always been interested in aviation anyways…

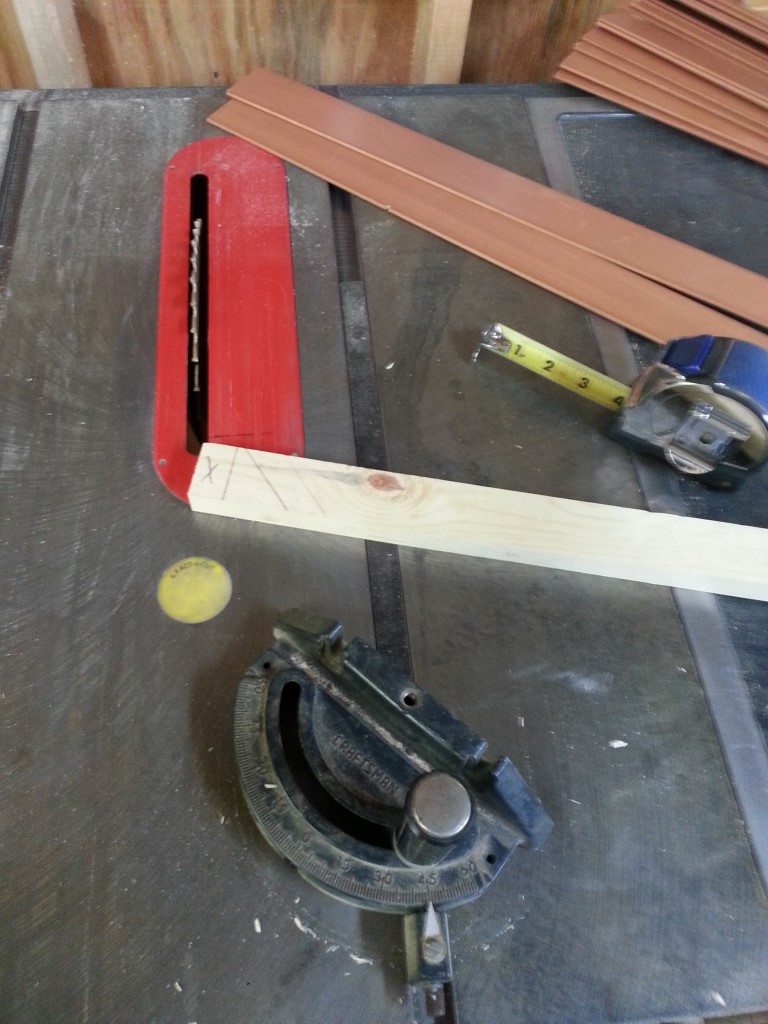
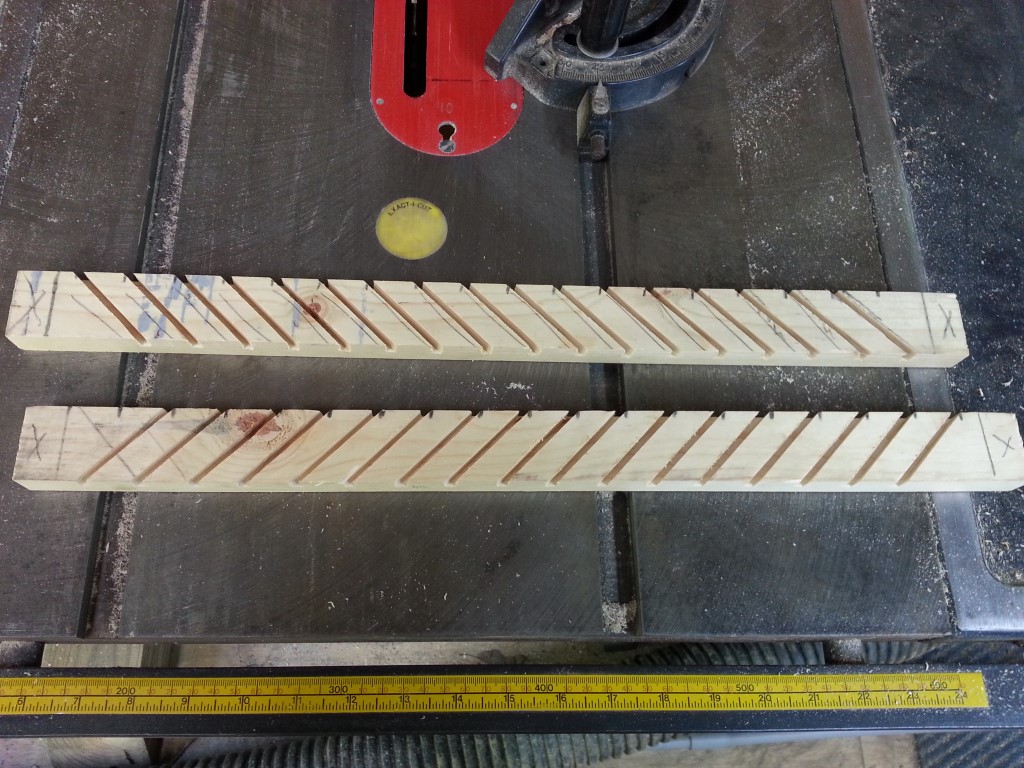
After arriving back from the flight I starting working on installing crown molding in the downstairs bathroom. For some reason this was the only room in the house that didn’t have it and I always thought it looked odd. In the past, I’ve just propped the molding up at the correct angle and hand sawed at 45degrees in a miter box. Due to the number of joints though I decided to get fancy and make the cuts on the tablesaw. This presents a problem since, when the molding is flat on the table, the angles are in two different directions: a compound angle in which the blade must be tilted and the material angled against the push fence. Luckily I’m not the first person to ever do this so I found tables online of compound angles for a given wall angle (90deg nearly always) and a given trim angle (the angle the trim sits against the wall). There was some scrap made while learning what orientation to use for a given angle; 4 of the 8 combinations don’t make anything useful (i.e. inside right/outside left/etc.) More than a few times during this process I thought back to how much easier flying the plane was (or at least seemed) earlier in the day.
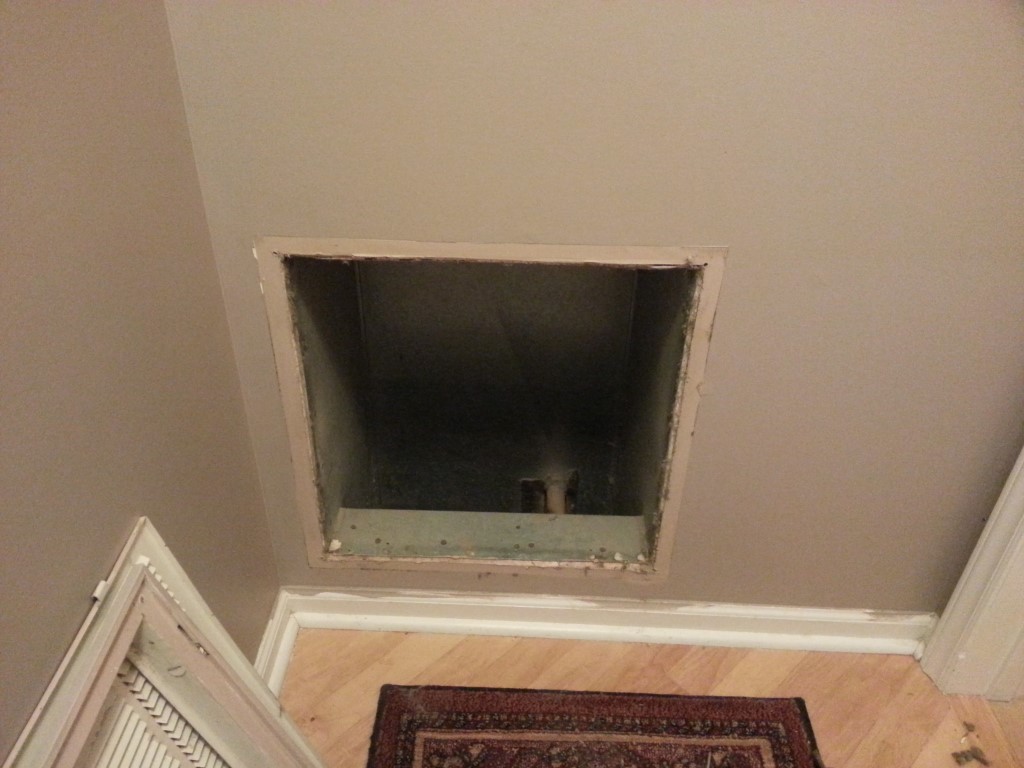
Building a better air return
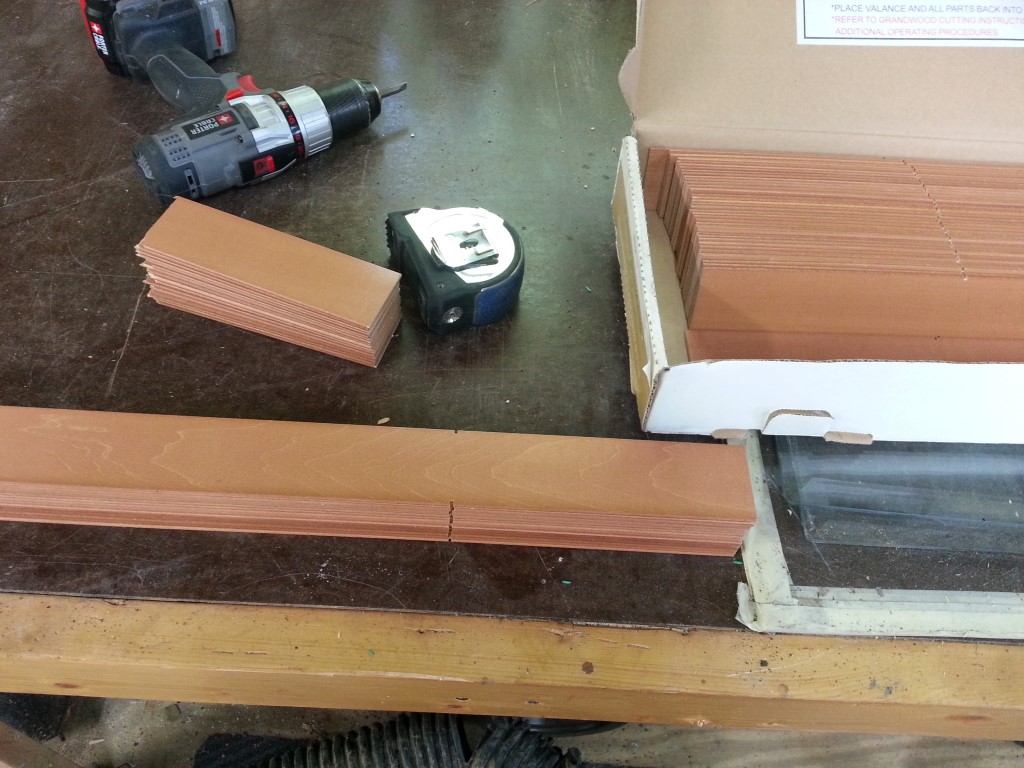
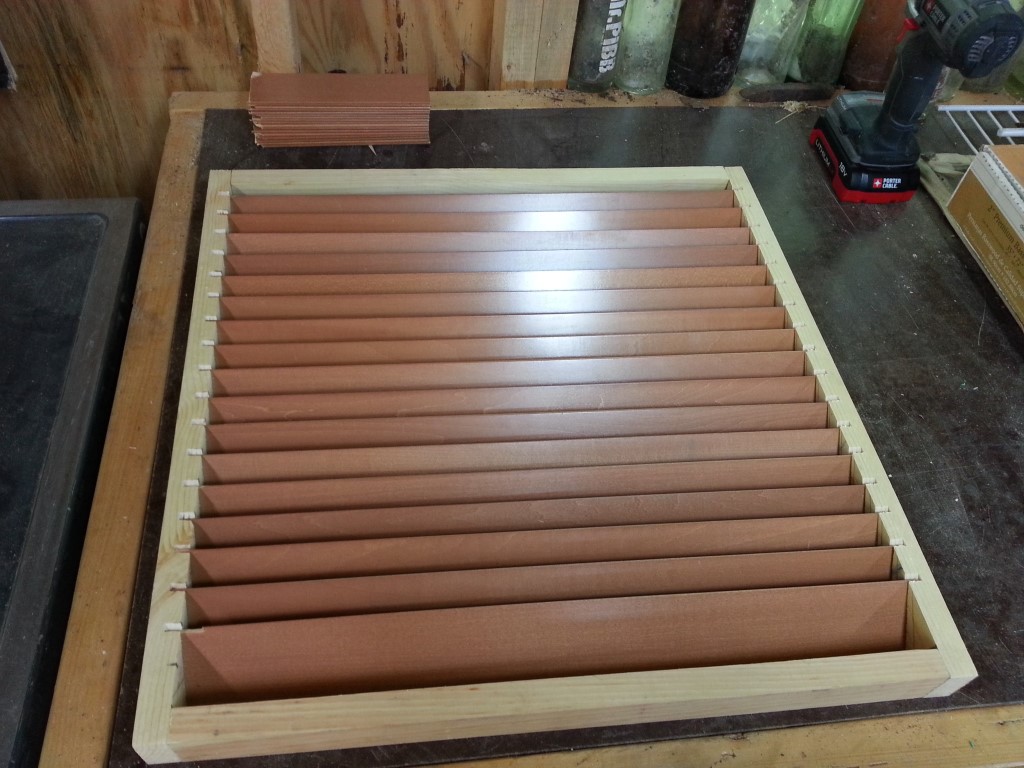
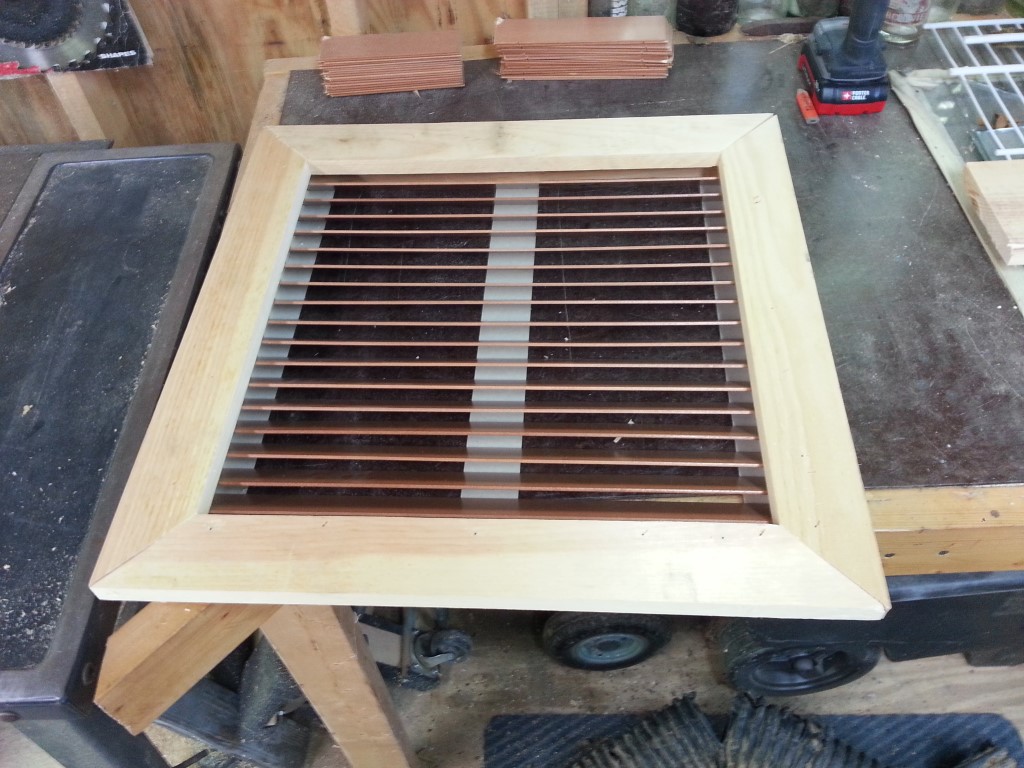
Today, as part of a repainting project, I constructed a new air return out extra slats from wooden blinds and some scrap wood. Nothing was wrong with the existing metal return other than being ugly, so it will get added to the scrap metal pile and possible used on some metalwork project. All the materials were scraps from other projects, so total cost was just some paint/glue/staples and a few cents of electricity. As a bonus, the new return seems to be quieter and less restrictive than the metal version.


Prepping the yard for Spring
In years past the yard has struggled to survive, this year we’re getting serious about fixing it. Soil tests confirmed that the entire yard is devoid of anything capable of reliably sustaining plant life; It’s basically 100% clay.
The city runs a facility nearby that takes leaves & limbs (for free) and turns them into compost/mulch (for about $0.01/lb). I’ve dropped of limbs many times in the past, but had only picked up once and couldn’t get much at a time since the pile forms a pyramid on the open trailer. To remedy this, I made some simple sides out of plywood. The sides are very strong but still pack up for easy storage in the shed attic. After tilling up the whole front yard we picked up 3 loads of compost averaging about 2000lbs each. This is the upper limit of what the Golf is rated for in the US, though less than 2/3 of the european rating (1500Kg=3300lbs) for the exact same vehicle; this was evident in that there was plenty of power/braking to spare.


We spread the compost over the entire front yard and then mixed it in with the tiller and raked it level. Next weekend the same routine will be repeated for the side and back yards, followed by planting and fertilizing. Even with 12000lbs of compost added it’s only a marginal improvement to the soil over a relatively large surface area, so part of the plan is using creeping red fescue. Creeping red fescue is one of the most shade tolerant grass species and it also tolerates poor soil well. Hopefully from this point onwards the soil structure will only improve as it will get aerated and top-dressed with fresh compost yearly.
Garage floor finished, leaf harvest begins
I didn’t get “after” pictures from the garage floor project, but it’s visible in the mower pictures below. Overall it turned out very well and will be much easier to keep clean.
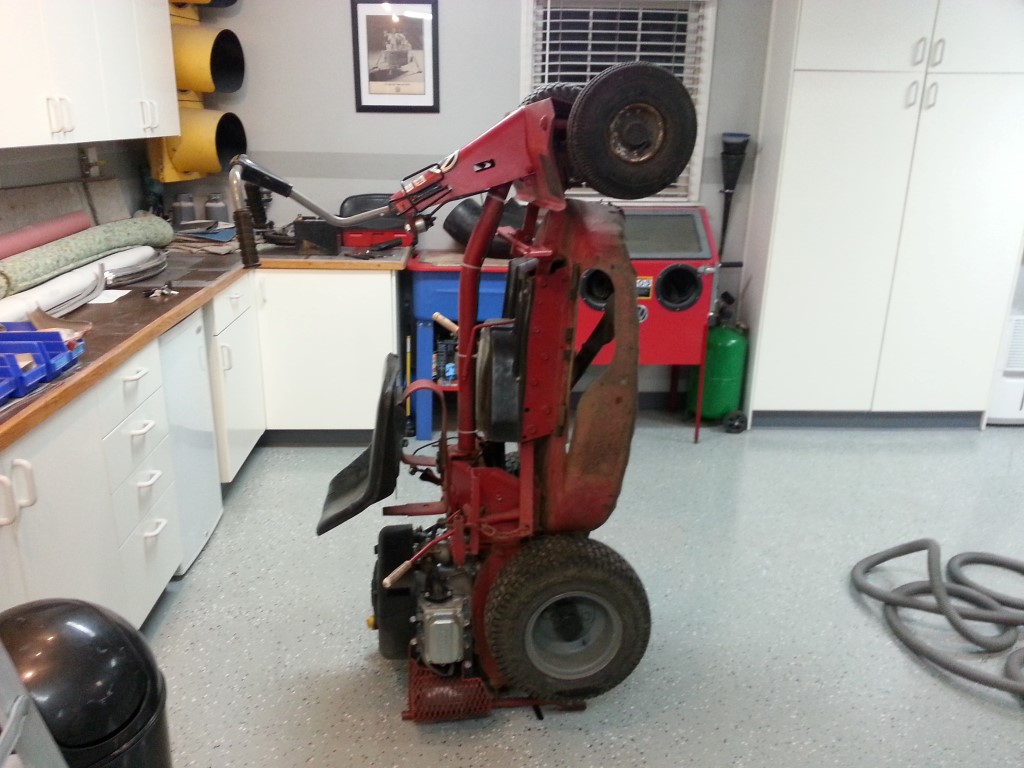
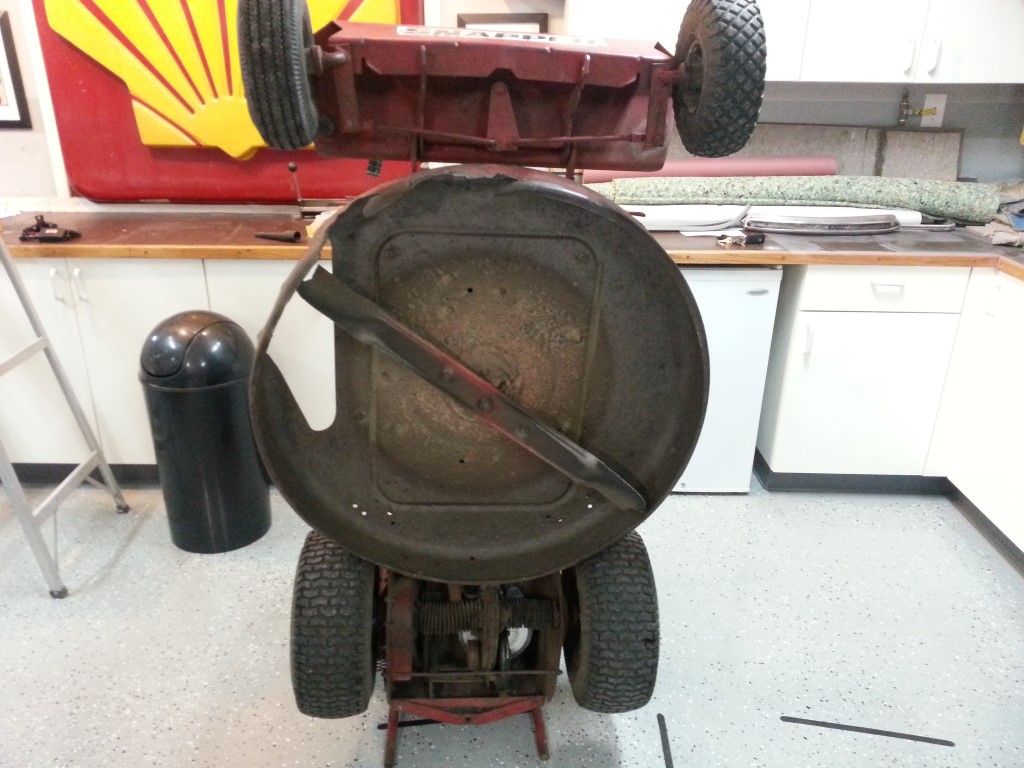
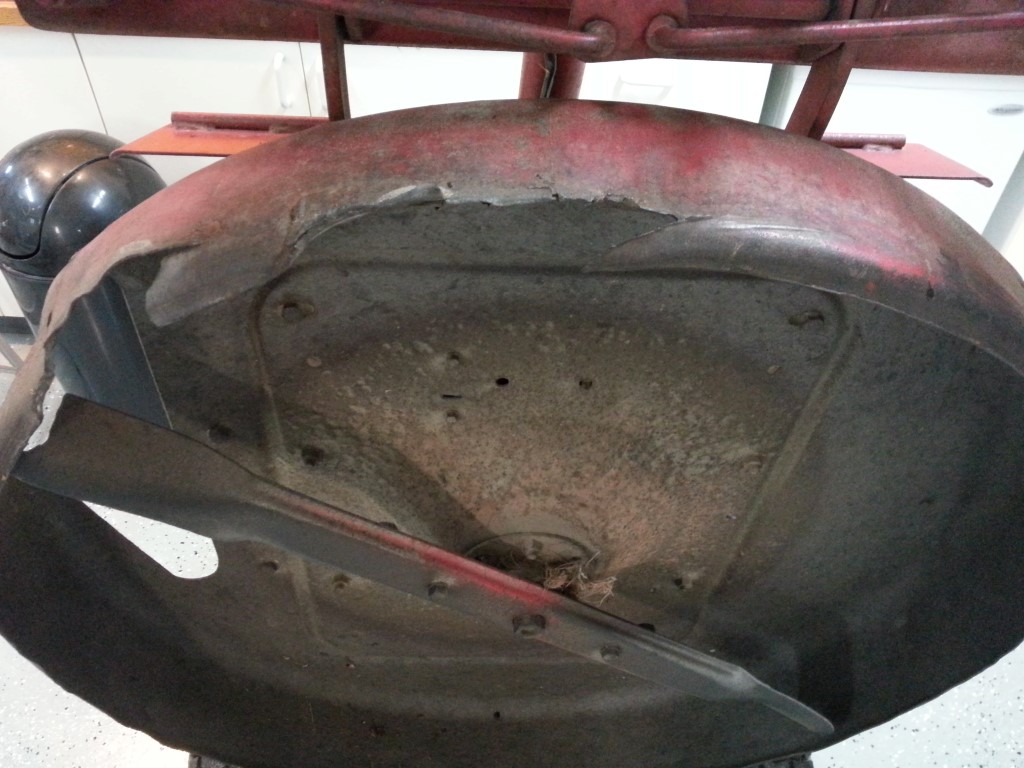
The leaves are falling this time of year and if left alone they are able to form a mat several inches thick over the entire yard/house/driveway/garage every few days. To combat this in years past I’ve used an arsenal of leafblowers, rakes, and mowers; the secret weapon in this arsenal though is the 33″ snapper rear engine rider from the mid 1970’s. It’s not great as a mower since the long single blade does not conform to the terrain; but as a leaf collection device there’s nothing better since the single long blade moves tons of air (think airplane prop). This moving air carries all of the leaves/sticks/nuts off of the yard and into the collection bag.
The mower’s deck had taken a beating from using it for trail-clearing; and once the deck deformed enough the blade began to wear against it. I’m replacing the blade and welding the deck back together so it can get back to clearing leaves. In the process of fixing the deck I may also add some sort of reinforcement or “cow catcher” to the front to prevent future damage.
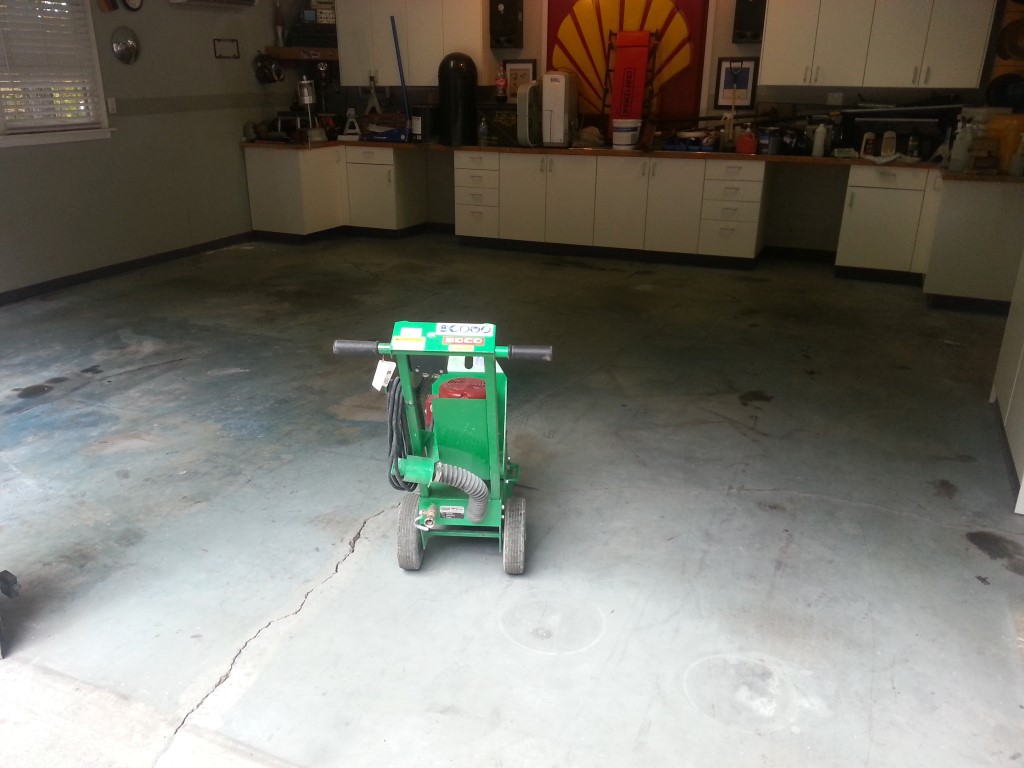
Garage Floor Overhaul
The garage floor was in rough shape when we moved in, and because of this I wasn’t particularly careful with it during the 4yrs of bus restoration. I rented a diamond grinder today to begin remedying this. I used the grinder to flatten the high side of the “fault line” cracks and to open up the surface overall in preparation for epoxy coating, and a hand grinder to clear the loose edges out of the cracks. The cracks will be filled with a sand/epoxy mix and then leveled flush to the surface with the hand grinder.