-
Recent Posts
Recent Comments
Category Archives: Bus
Sandblasting Small Parts, Finished Gauge Repairs
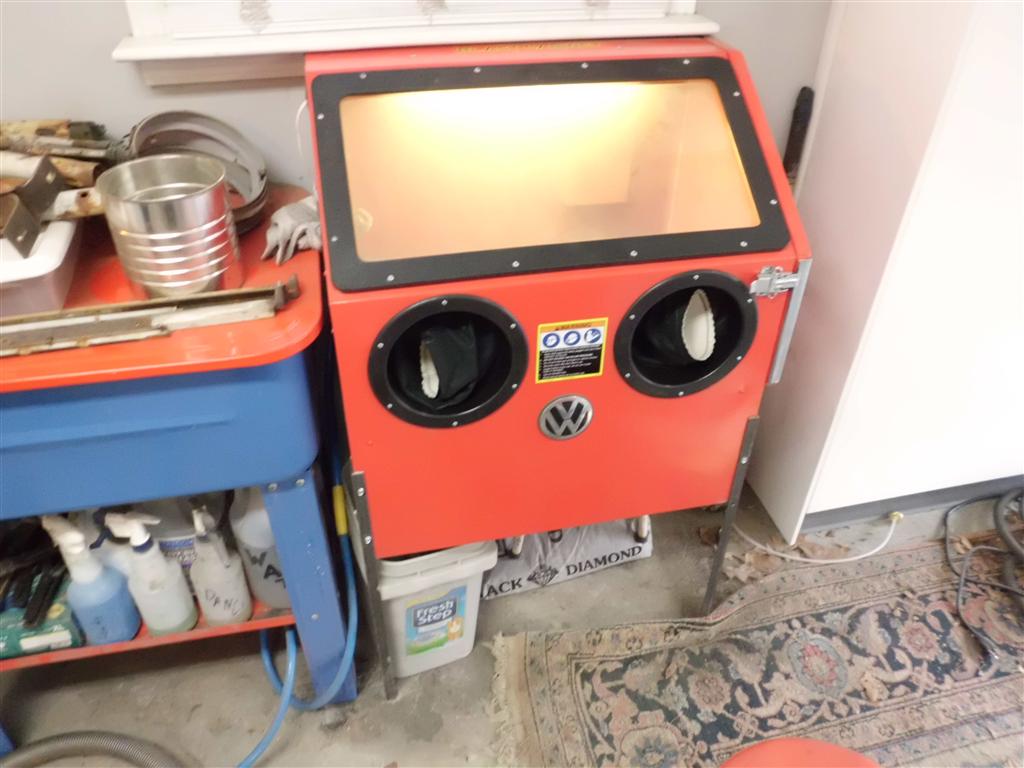
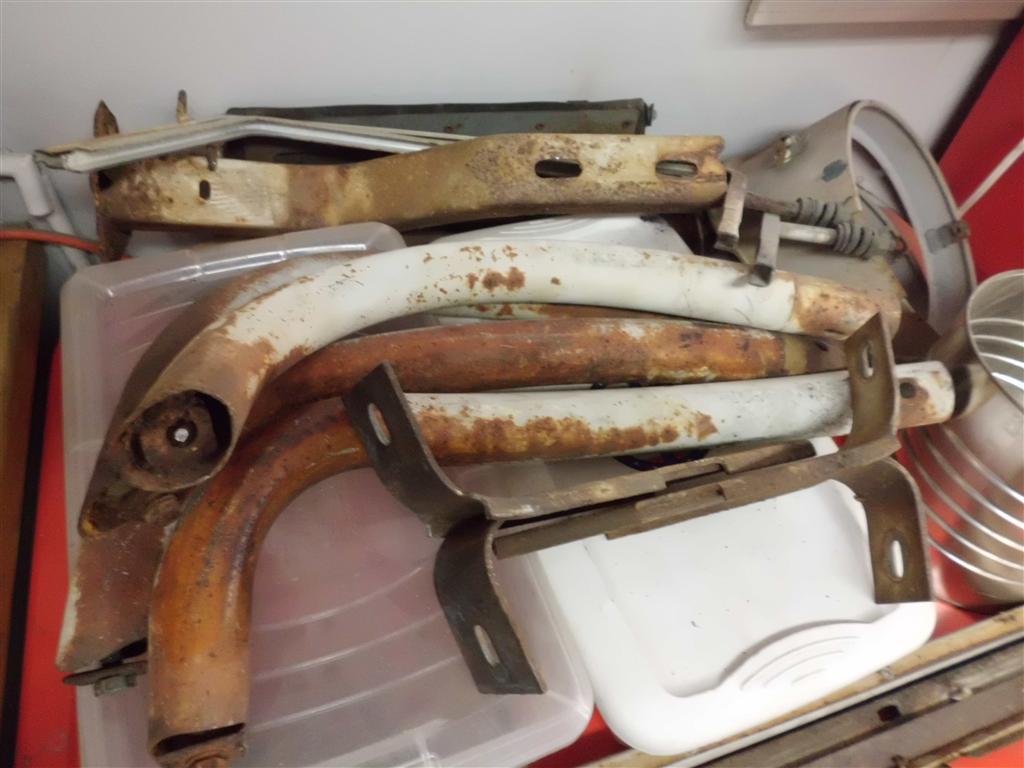
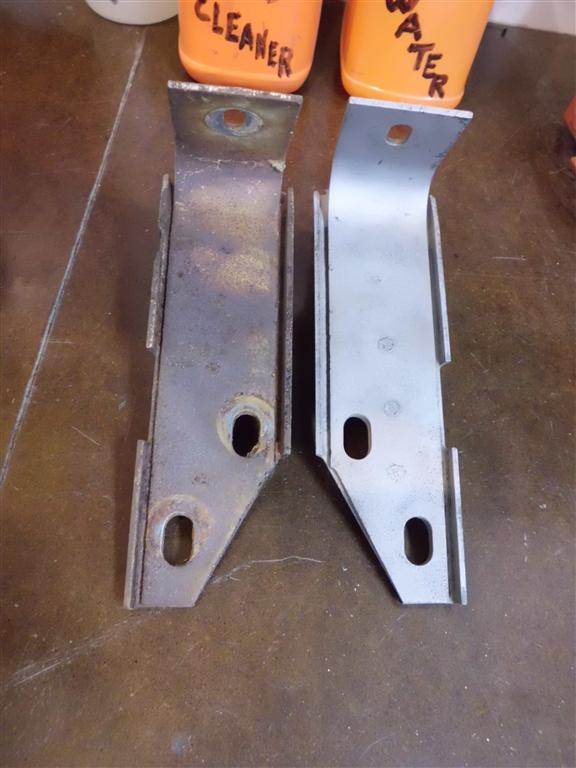
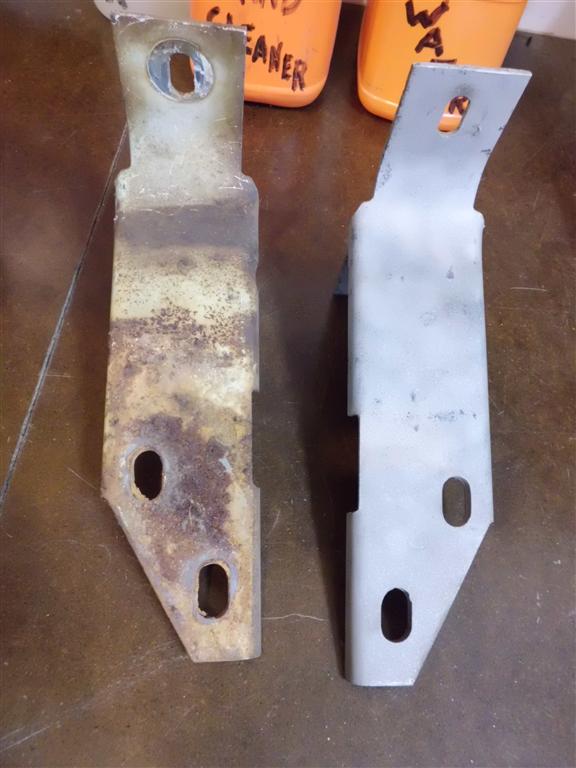
With the colder weather I’m limited to painting only small parts, the garage is heated but painting requires so much ventilation that the temperature drops below the paint minimum temperature. If the catalyzed automotive paints I’m using (epoxy, acrylic urethane) drop below their minimum temperature during the curing process, the molecular cross-linking stops and the paint is permanently in a gooey state. So since I’m limited to painting small parts for a while I needed a way to strip the paint and rust from all the various small parts. Sandblasting is a quick way to do this. However I had no way of recovering the blasting media, making blasting completely impractical, messy, and wasteful for small parts. To solve this problem I found a (deeply discounted) blasting cabinet that will enable blasting the small parts inside without using excessive amounts of blast media. After the performance today I wish I had gotten this a while ago because the results are much better than can be obtained by hand, infinitely faster, and with barely any effort required.
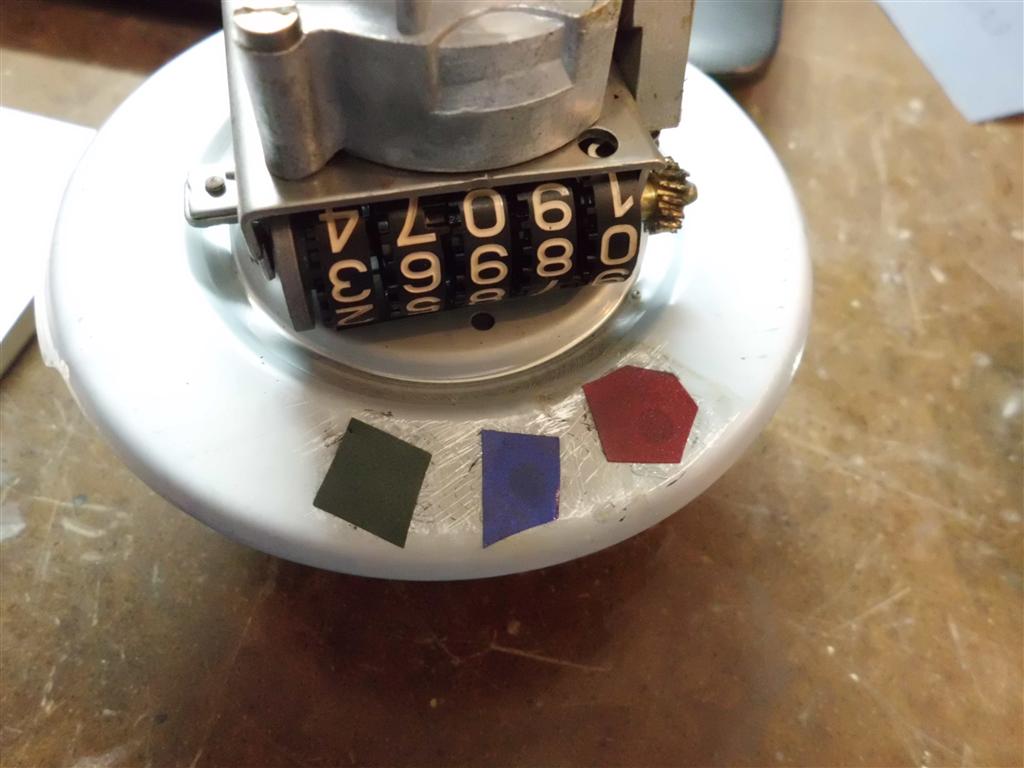
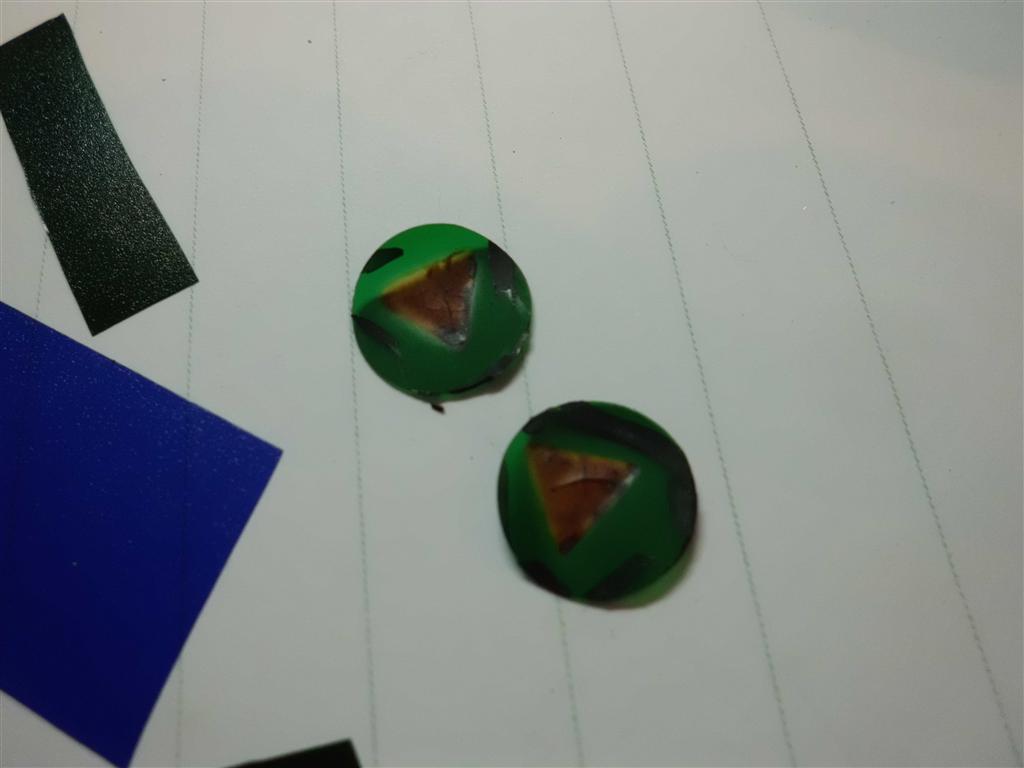
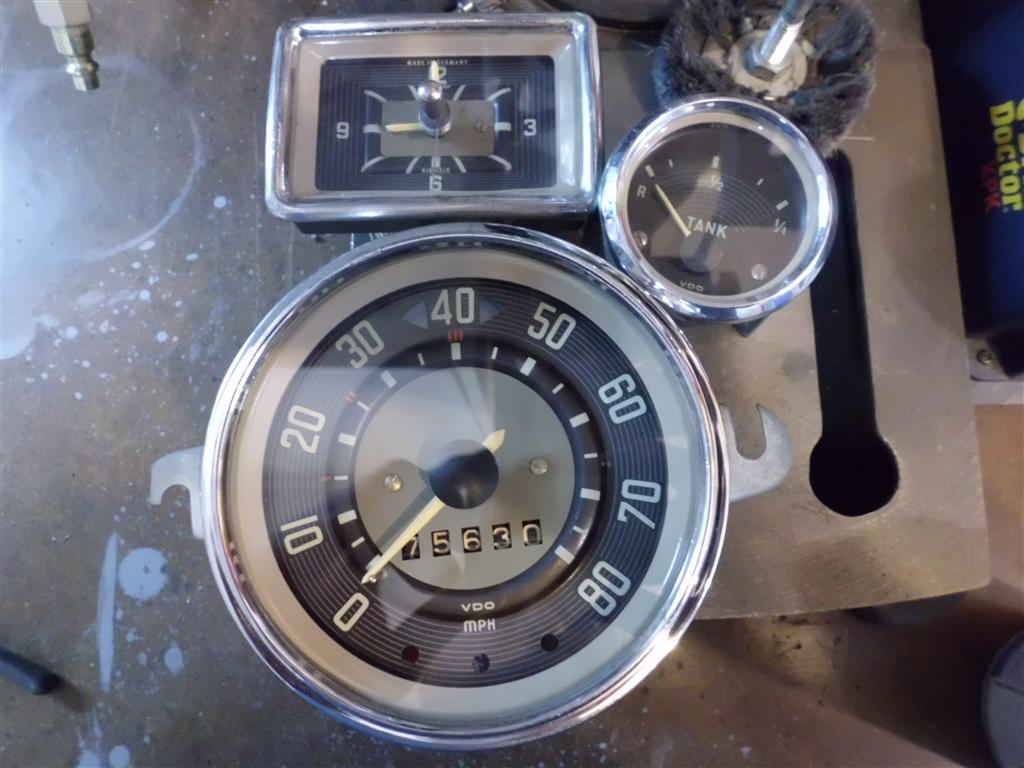
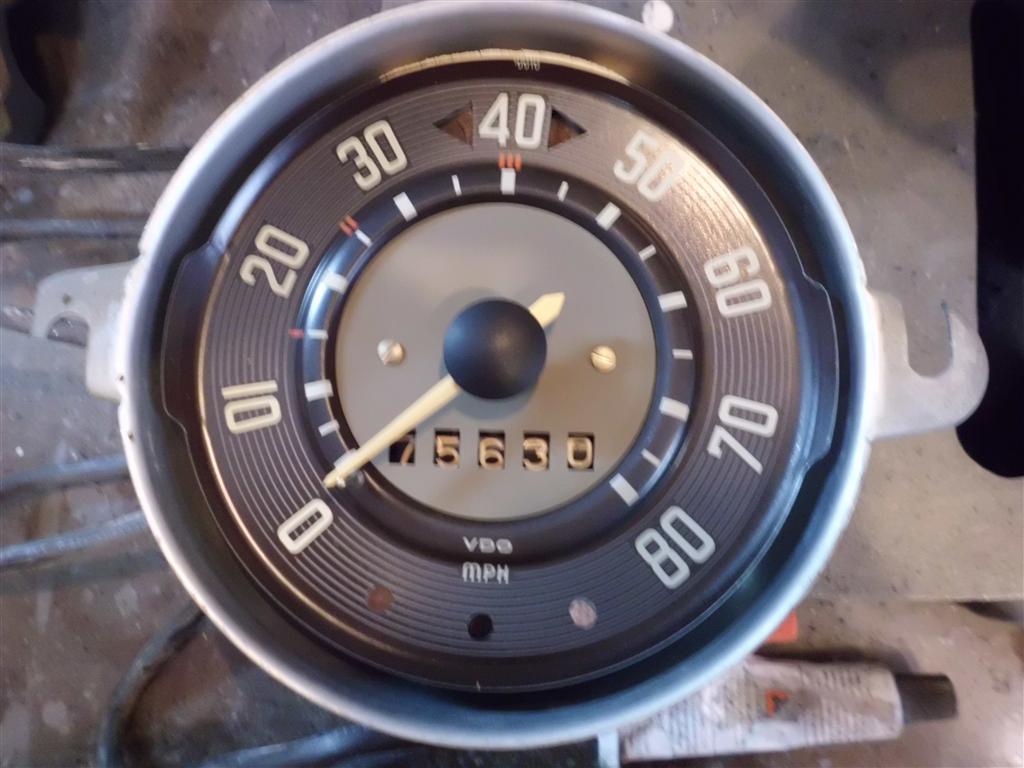
After many parts were blasted I finished the gauge restoration. The broken fuel gauge needle was replaced with a section of a “T” pin and painted to match the other two gauges. The sunburned celluloid indicator light lenses on the back of the speedometer were replaced with new lenses. Finally, everything was re-assembled including repainted light rings for all the gauges.


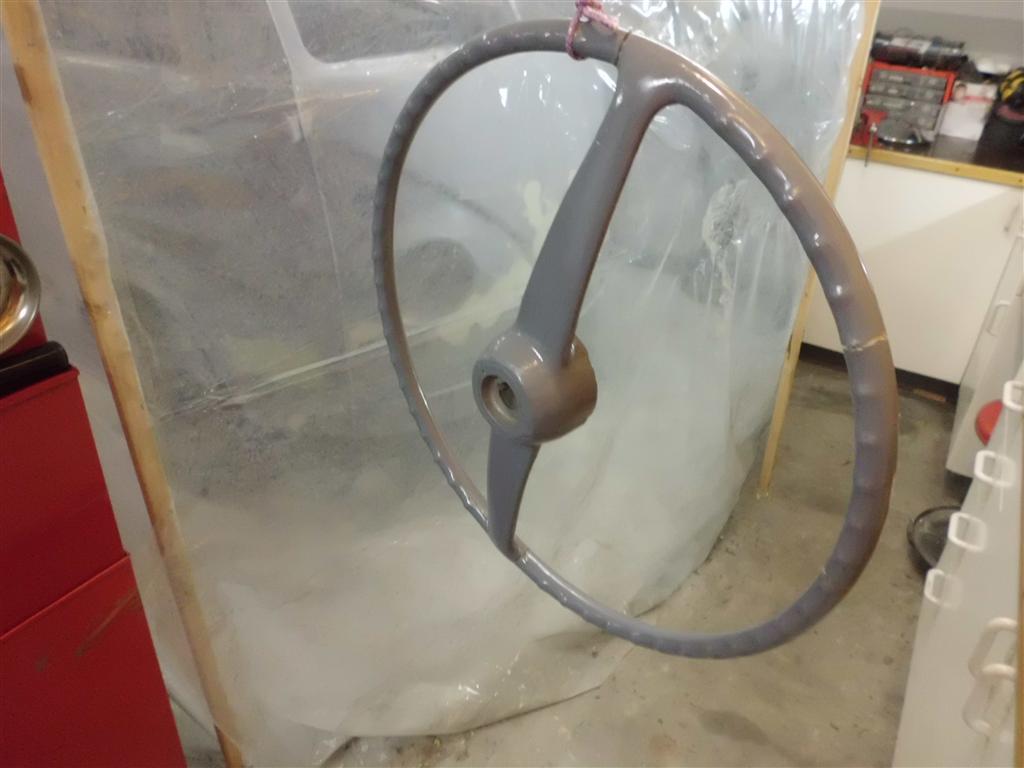
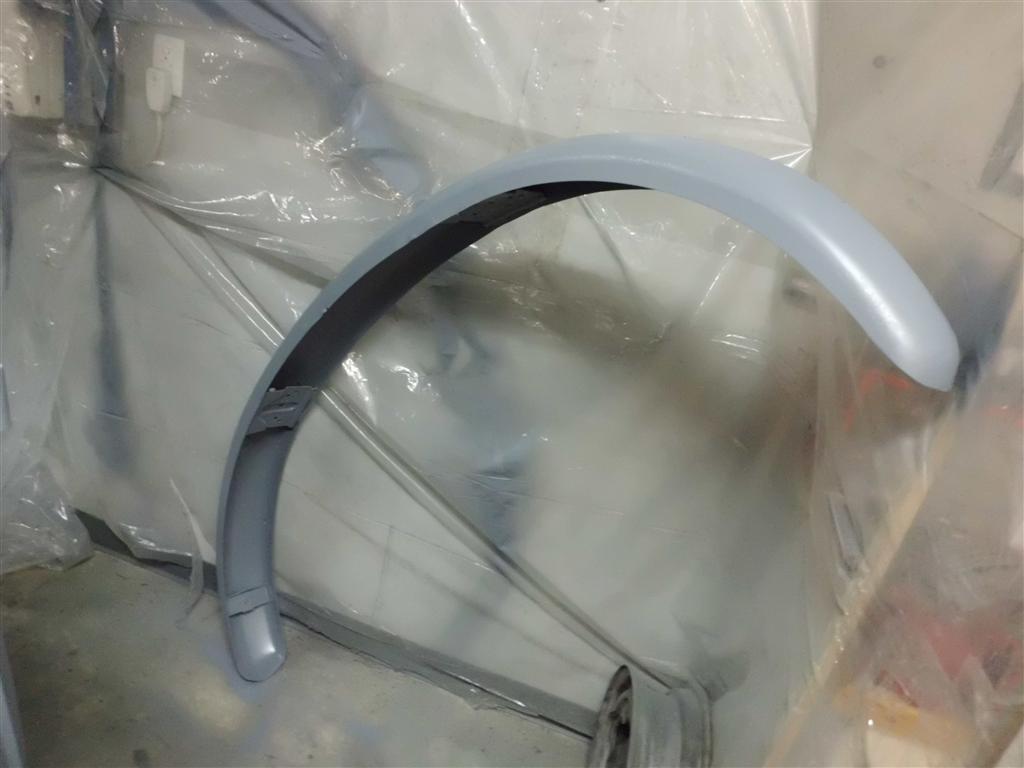
Steering Wheel Primer
Steering wheel coated with epoxy primer and it’s looking a lot better. There’s still more cracks to fill and more work to do before it’s ready for paint.

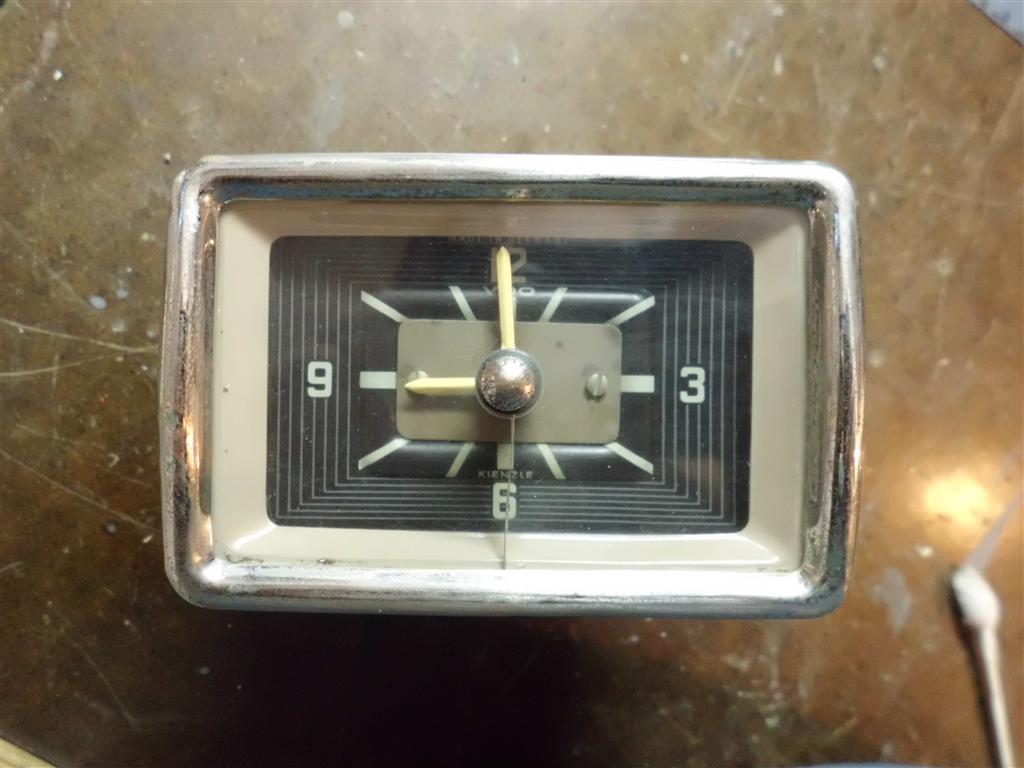
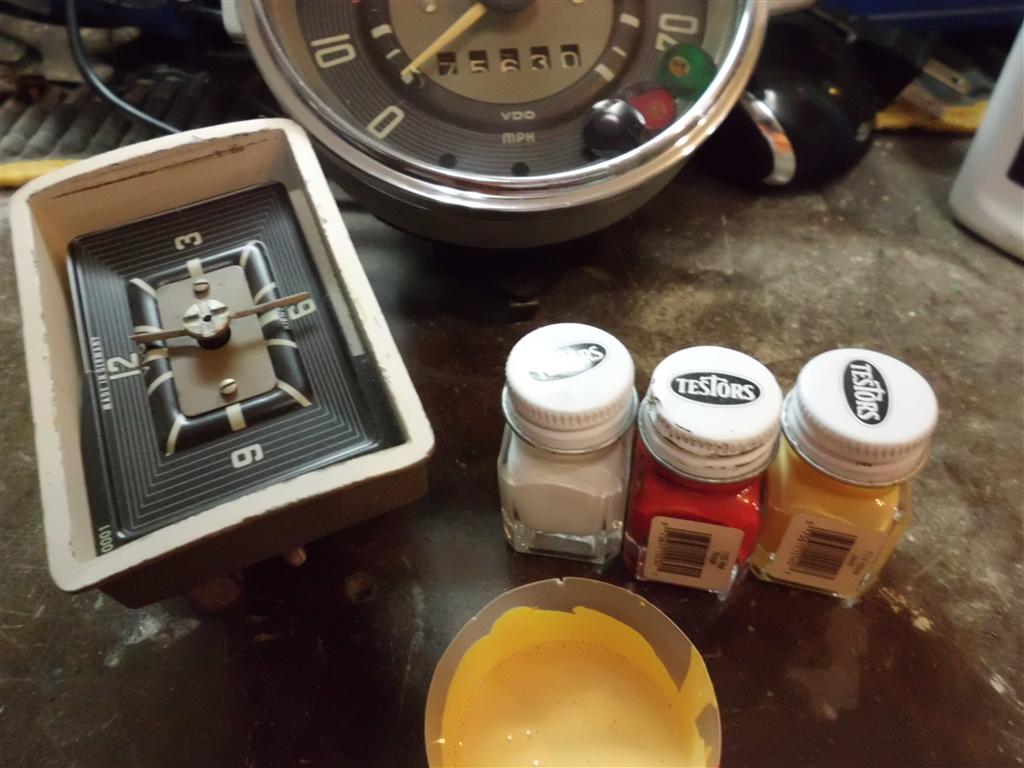
Speedometer and Clock Restoration
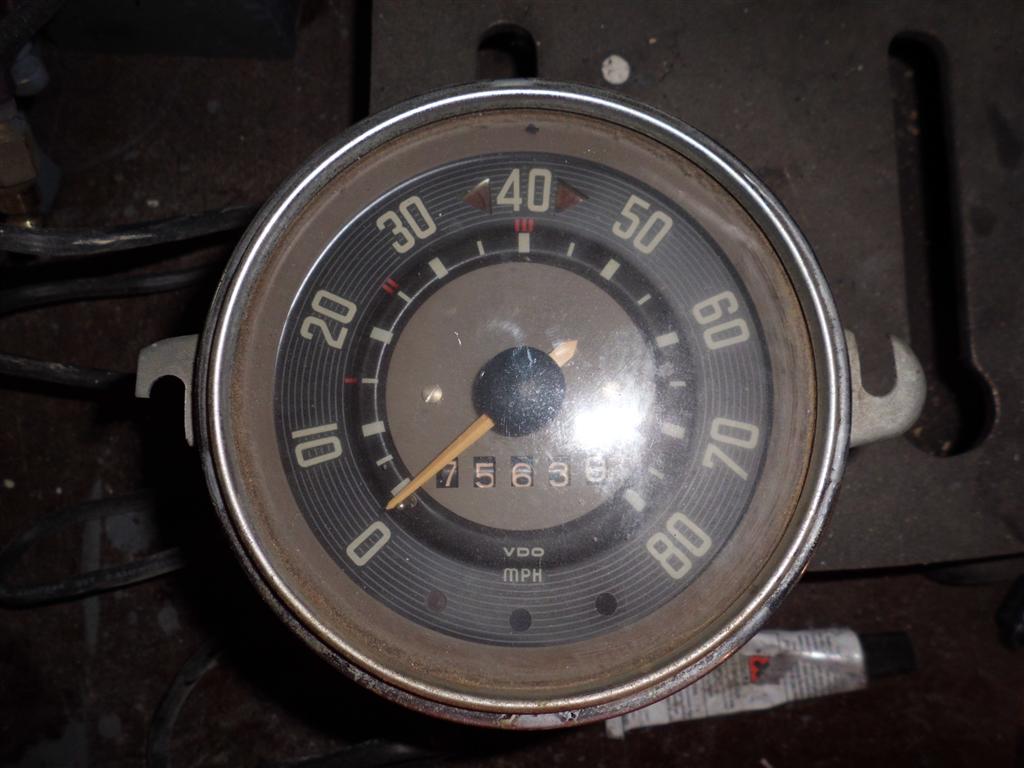
Taking another break from painting/sanding, I worked on cleaning up the speedometer and clock. The speedometer was in generally OK condition but needed some polishing. In the process of disassembly and polishing the bezel and glass I found that the light ring needed repainting. The light ring is the khaki-colored ring between the glass and gauge face, it reflects light from the back of the gauge housing onto the gauge face. In other words the gauges do not have illuminated numbers like a modern car, instead the effect is more like holding up a flashlight to the gauge face.
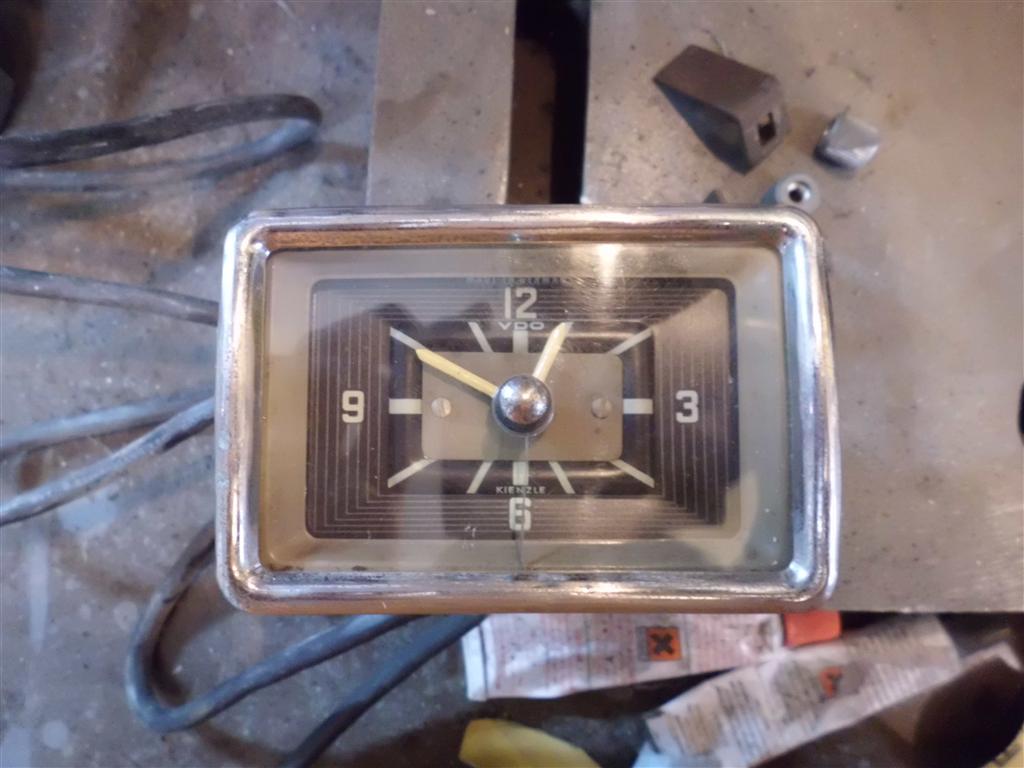
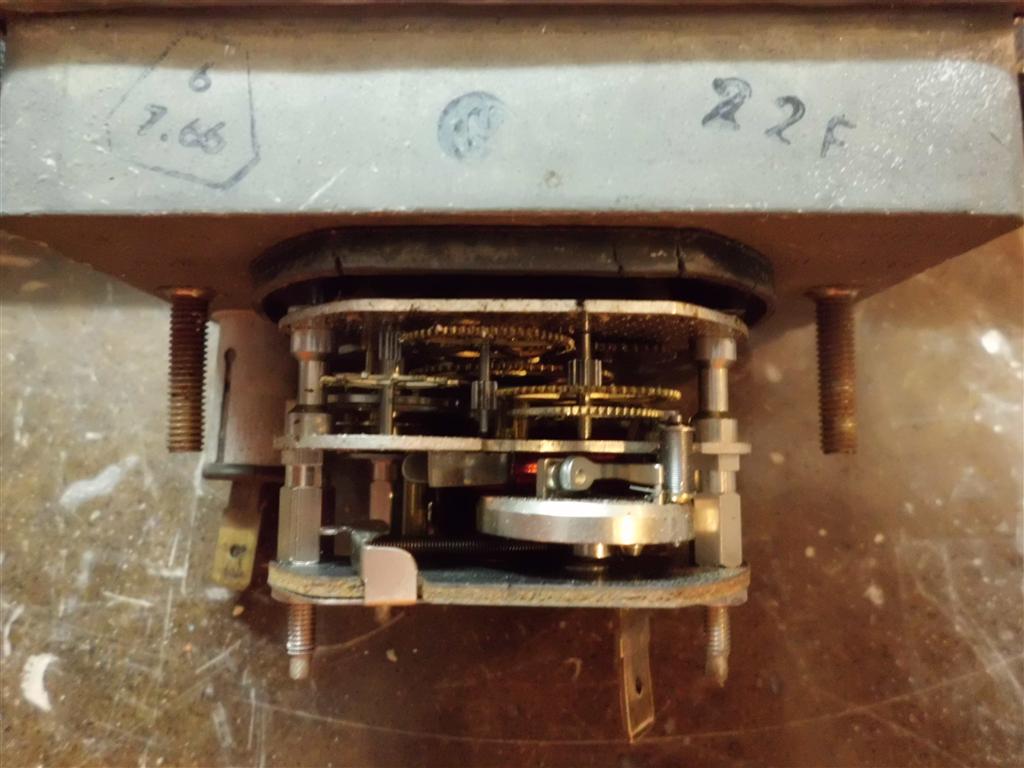
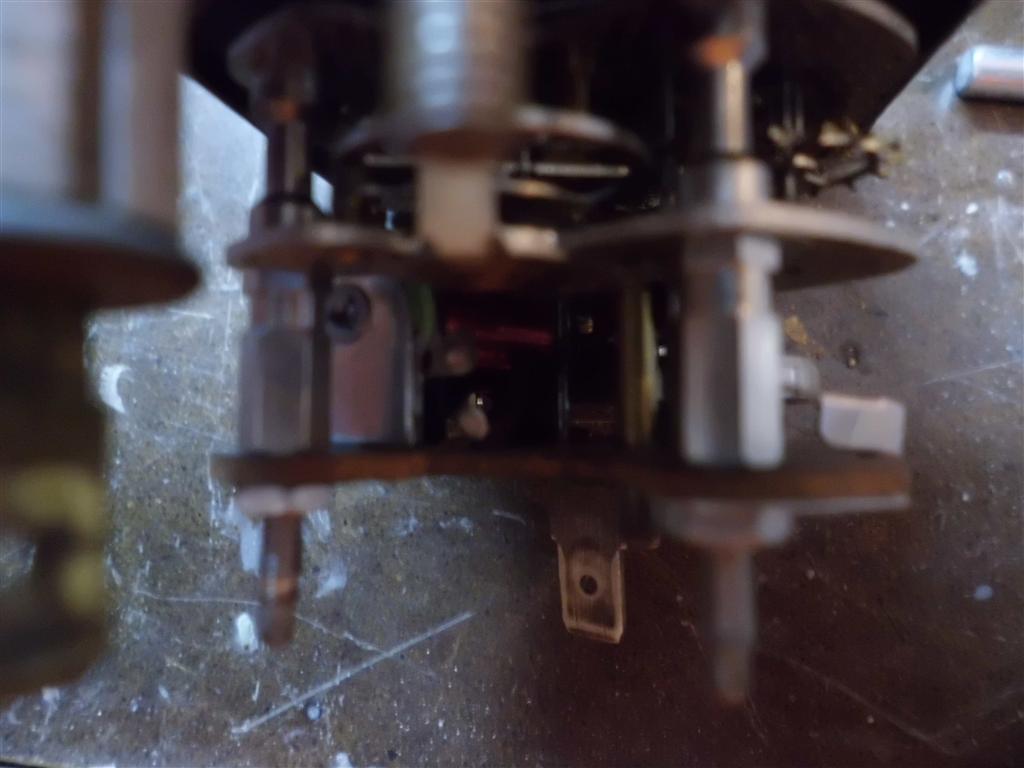
The clock had the same cosmetic issues with the bezel, lens, and light ring. Additionally the clock’s hands had faded badly and the mechanism was not working when connected to 12V. The hands were repainted by carefully mixing model airplane paint to match the color of the speedometer hands (which also matches reference pictures online). After disassembling the clock mechanism I found the the fusible wire connecting the rewinding coil was broken. After the wire was re-soldered the clock fired right up. The clock is completely unlike the digital clock in a modern car (or modern anything) in that it is a mechanical action. The clock contains a spring, escapement, and flywheel just like a pocket watch and actually ticks while operating. When the spring gets close to unwinding a set of contacts closes and the aforementioned coil rewinds the spring.


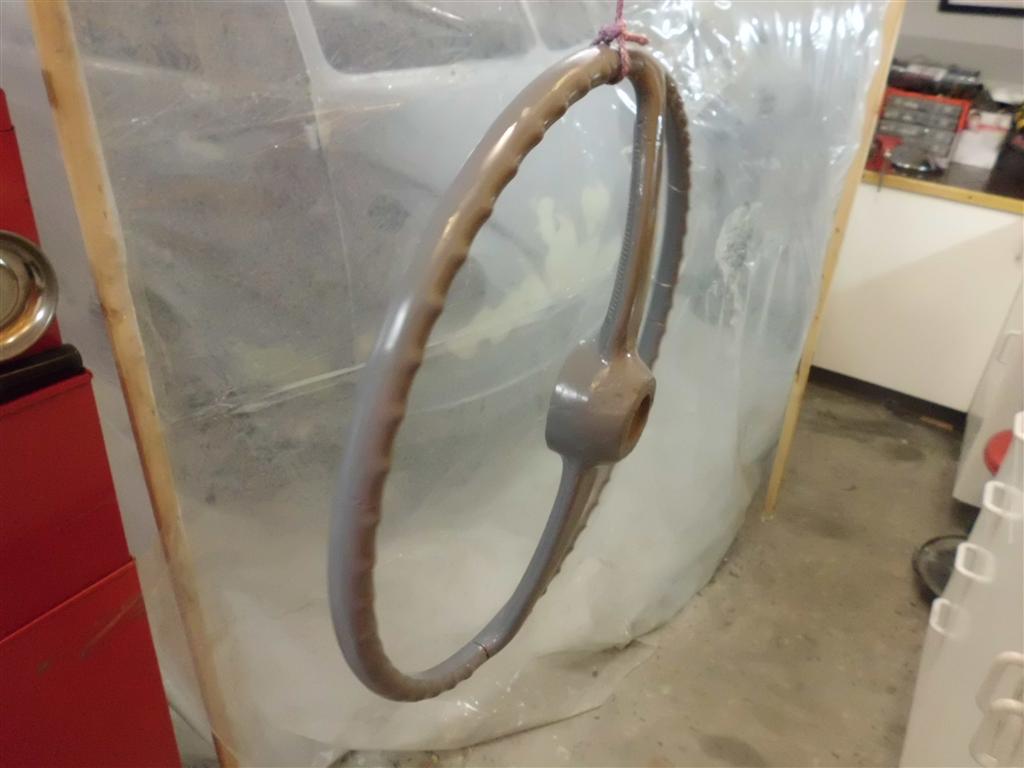
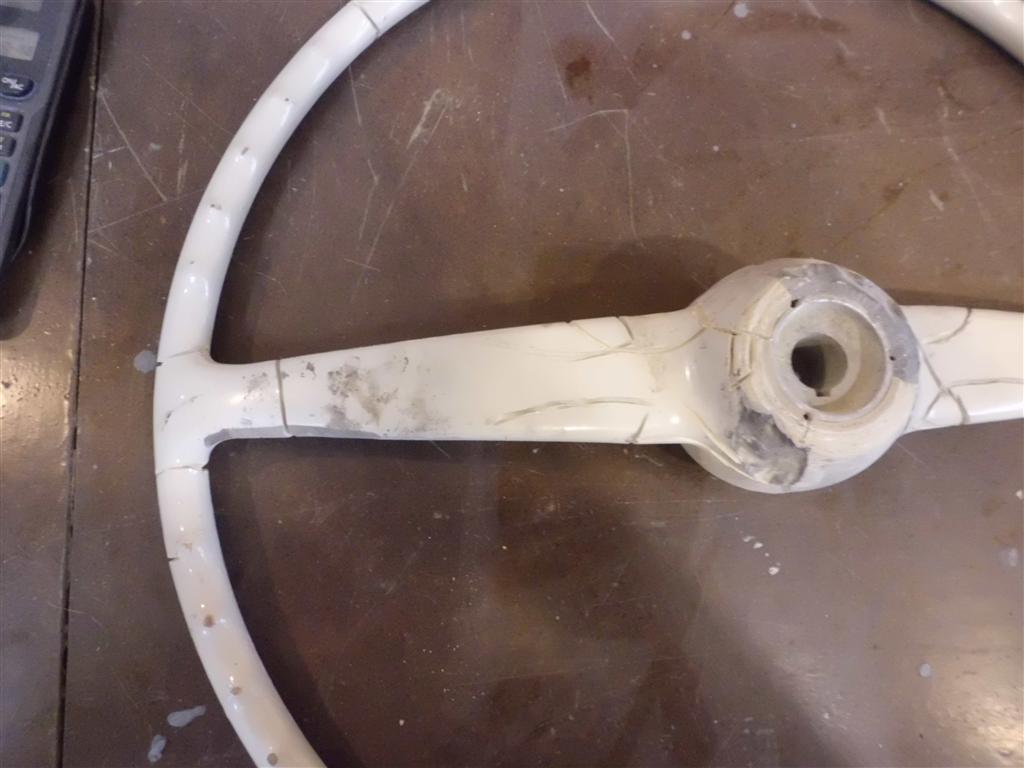
Steering Wheel Restoration and Small Part Polishing
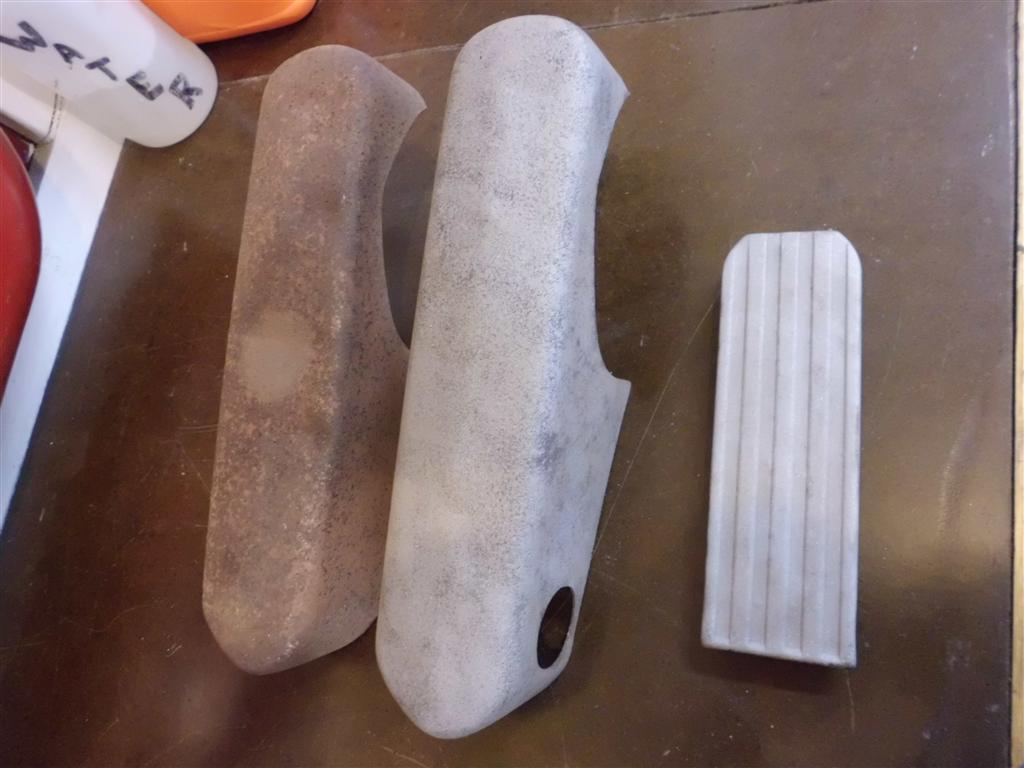
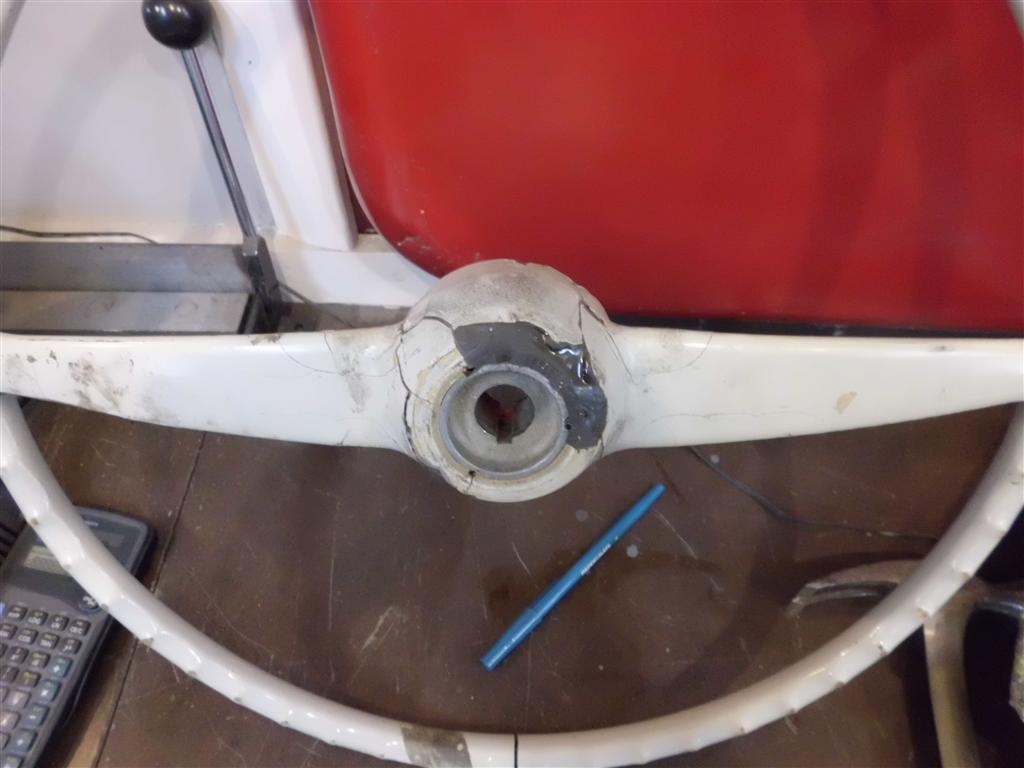
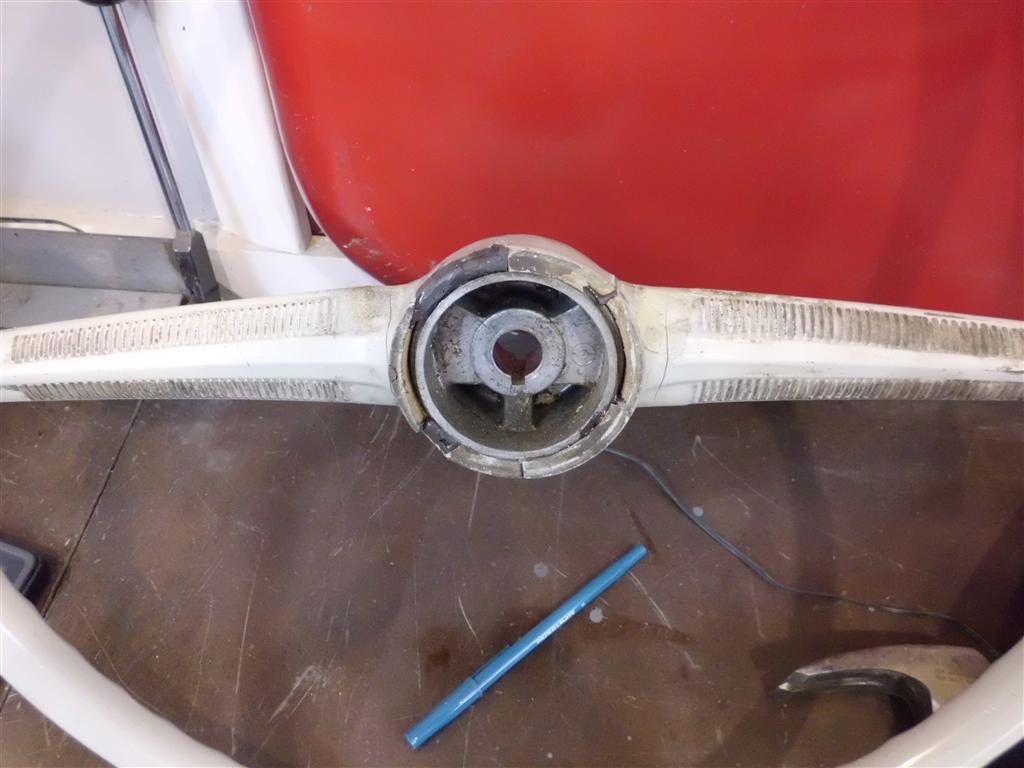
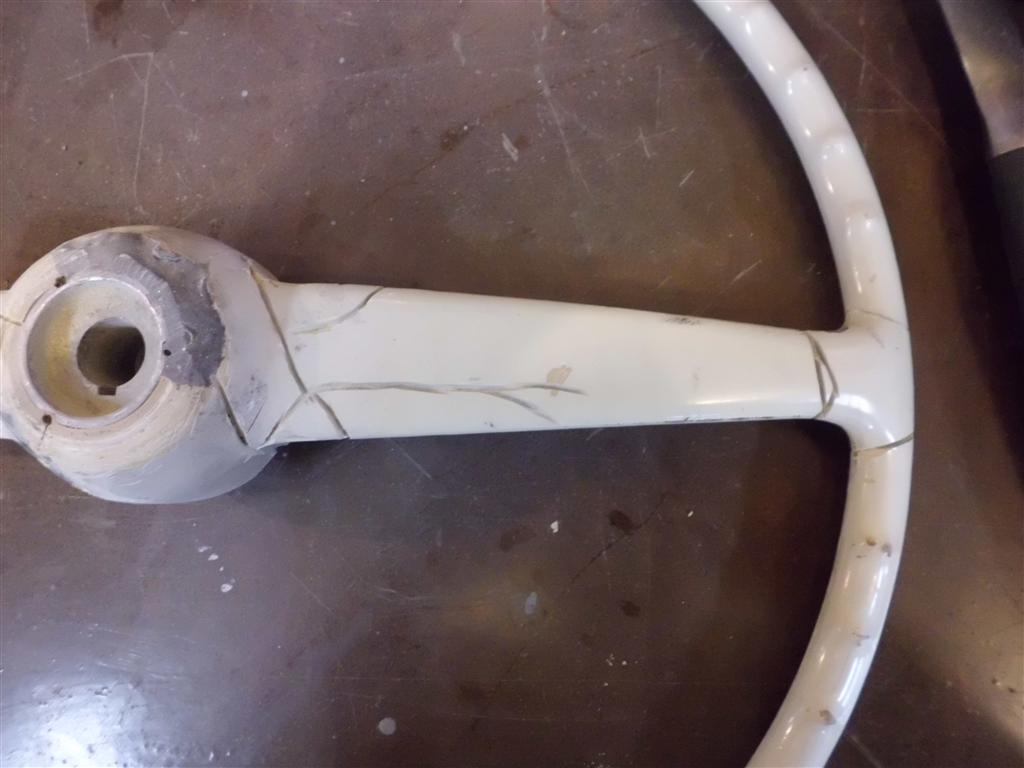
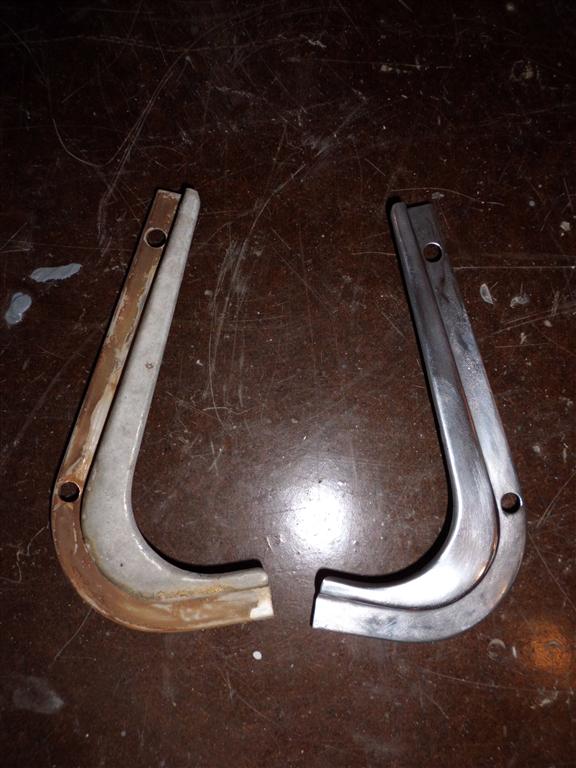
Work started on repairing the heavily cracked steering wheel. The wheel basically made of pressed wood fiber (like MDF) coated in a bakelite (primitive 1960’s plastic) shell. As the bakelite aged and cracked it allowed humidity in the air to swell the wood fiber and create more cracks. A “V” groove was cut in every crack to allow application of epoxy resin, which was then sanded flat with the wheel surface. Epoxy primer will then coat the entire wheel to seal out moisture and stabilize the wood fiber, followed by a catalyzed acrylic urethane in the original white color. Also, to take a break from painting/sanding, many small parts were polished with great results.

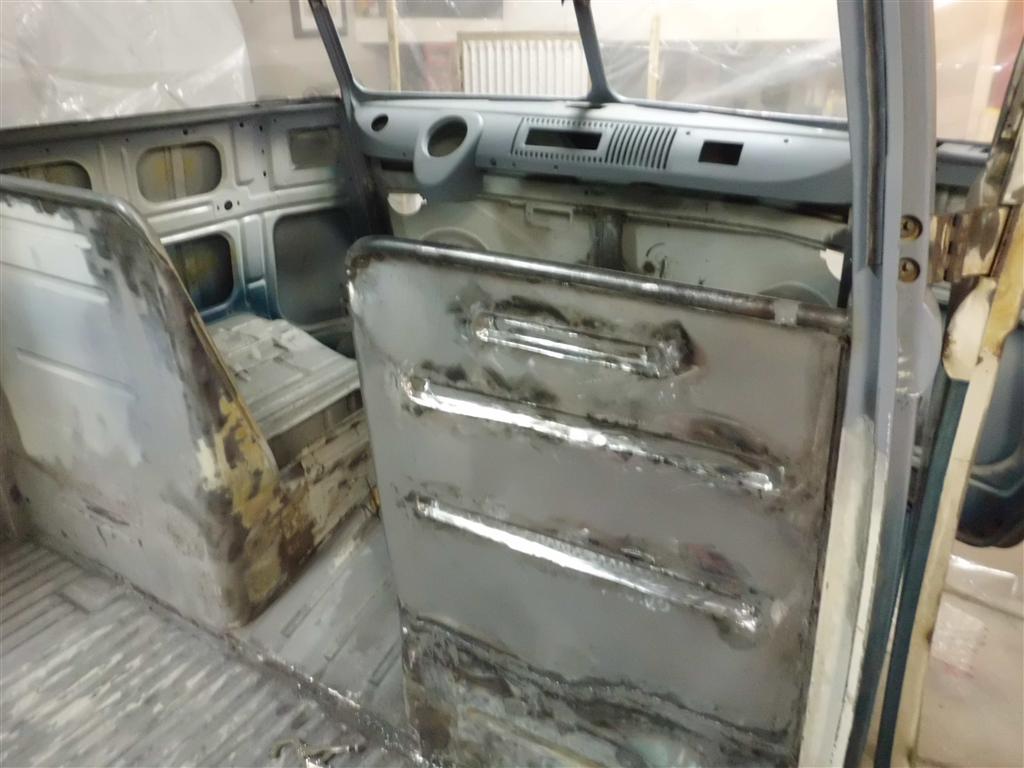
Cargo Doors Adjusted
Various low areas were skimmed with filler and the cargo doors were further adjusted to avoid scraping the floor.
More Primer!
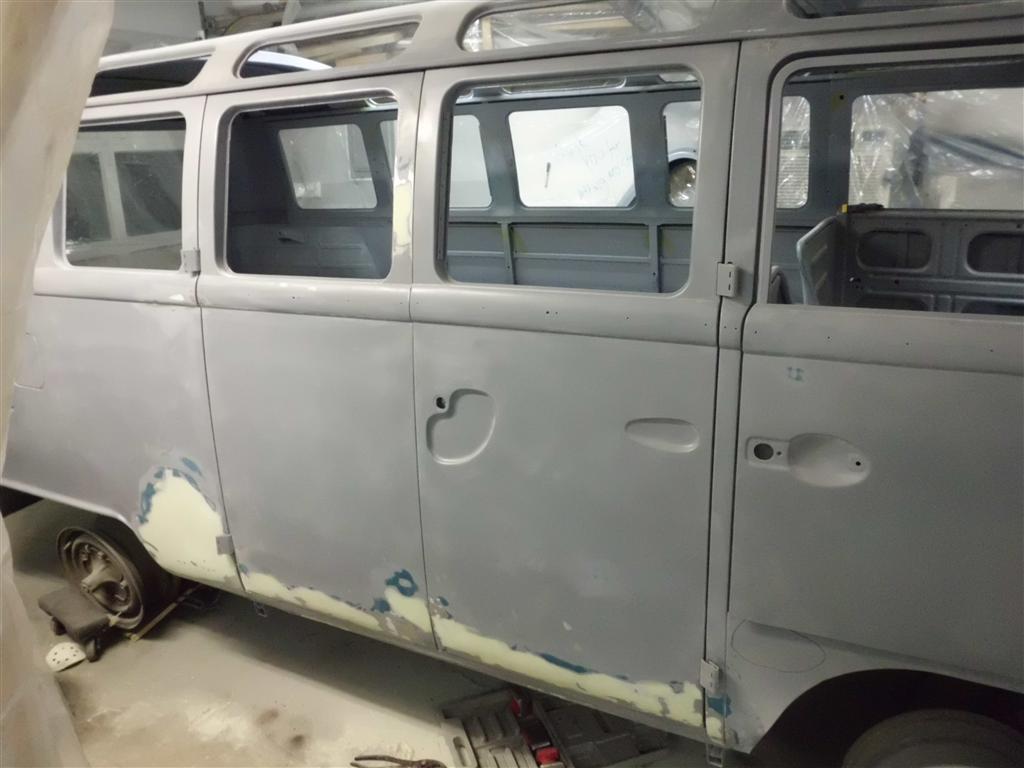
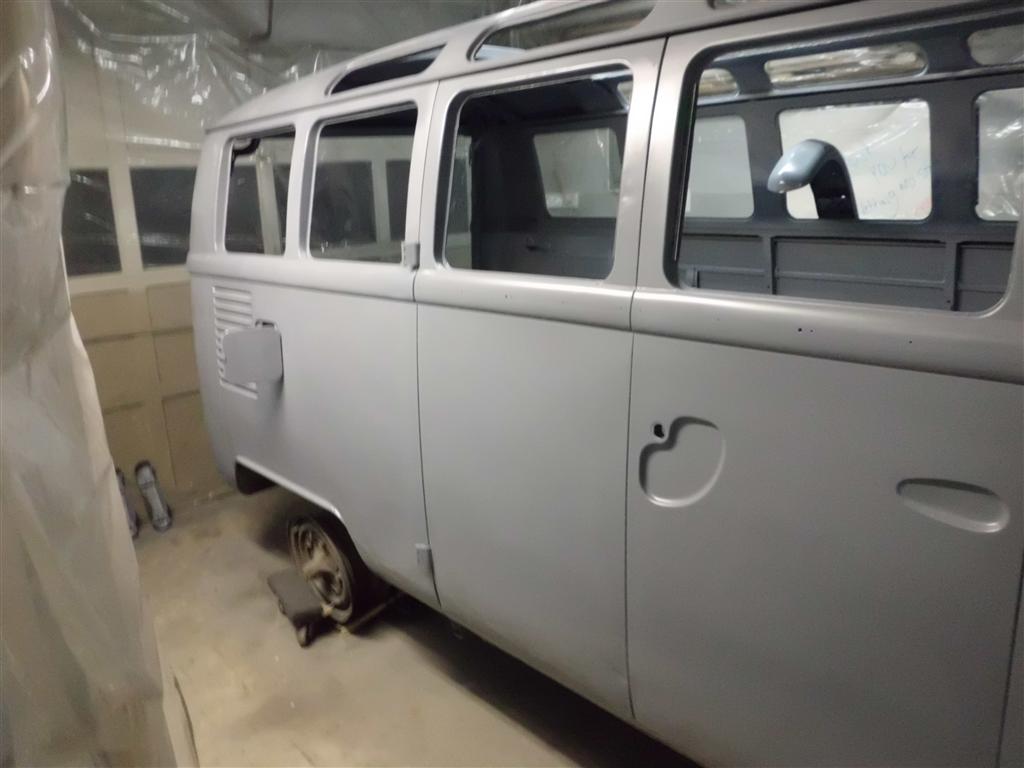
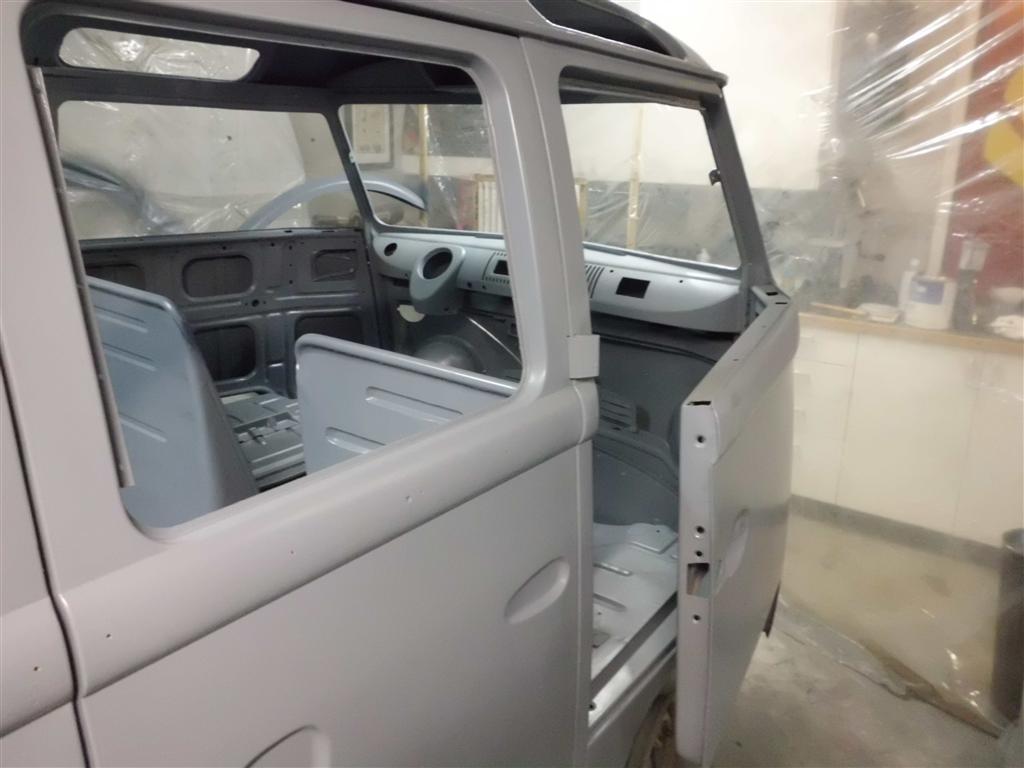
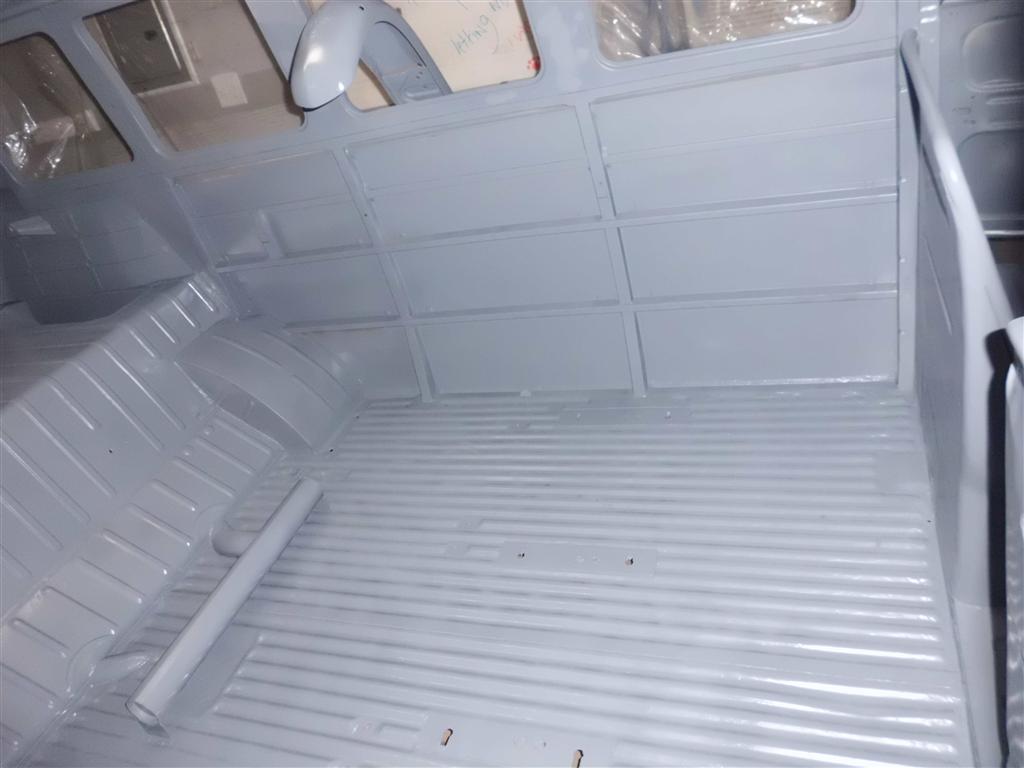
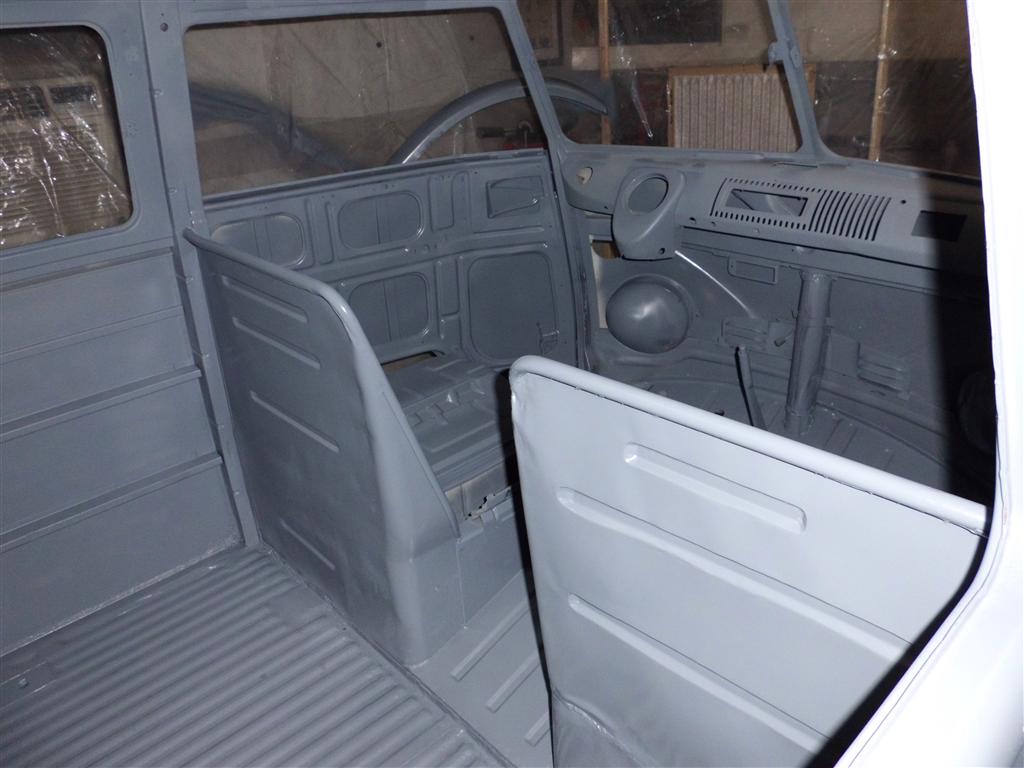
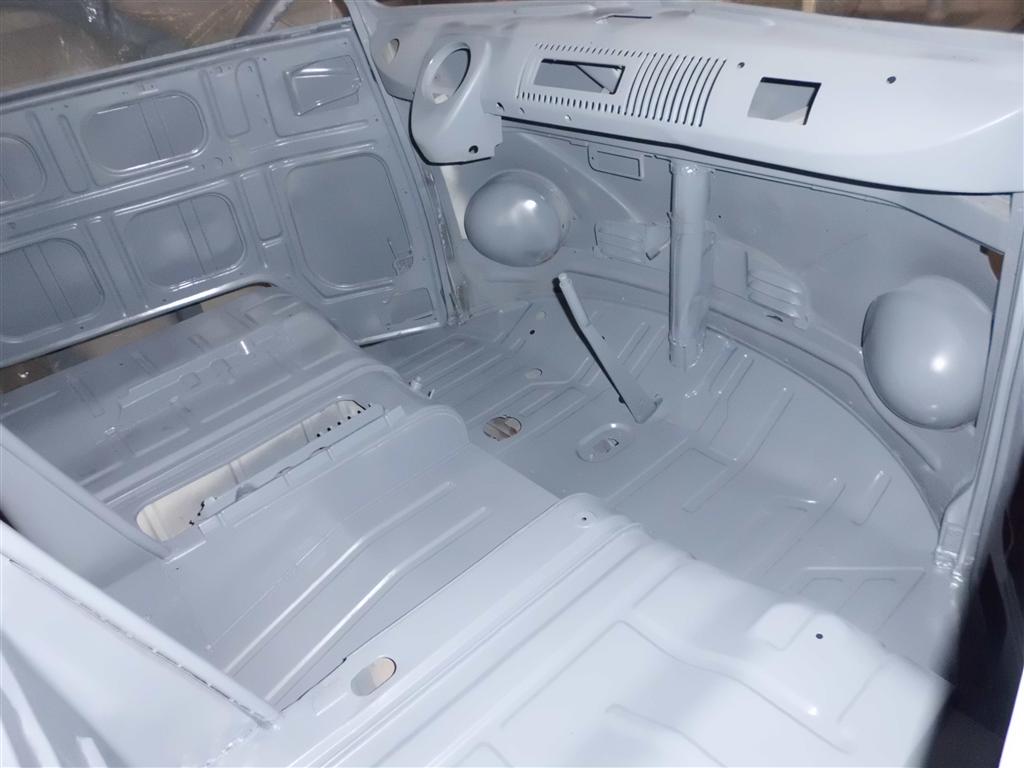
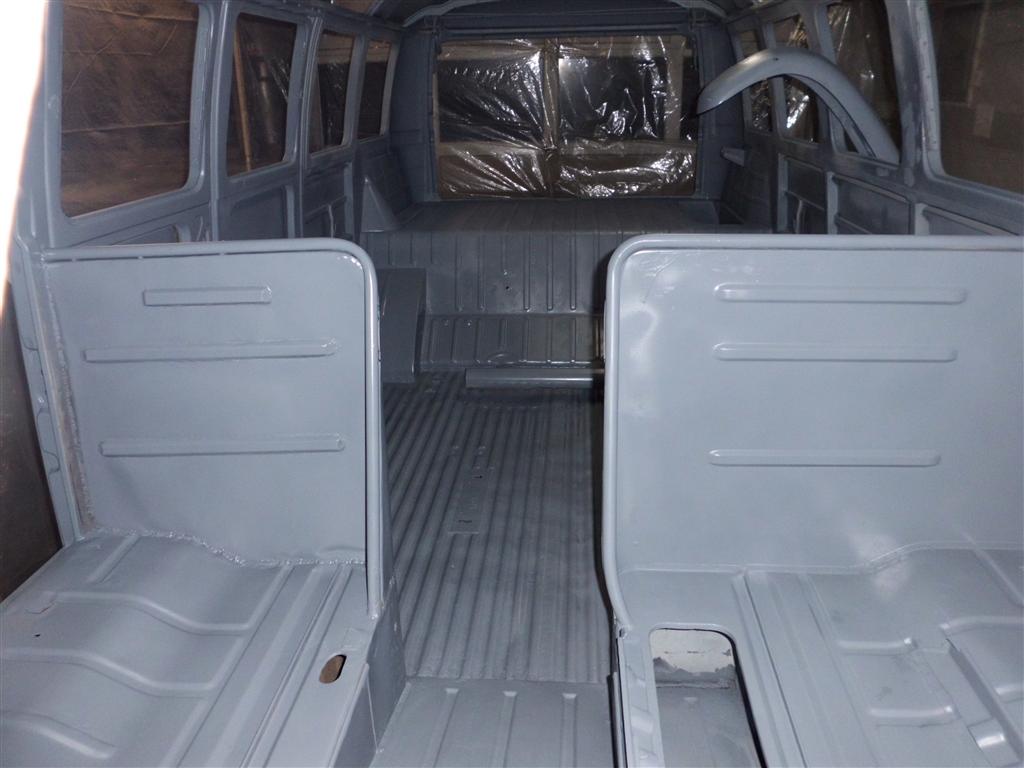
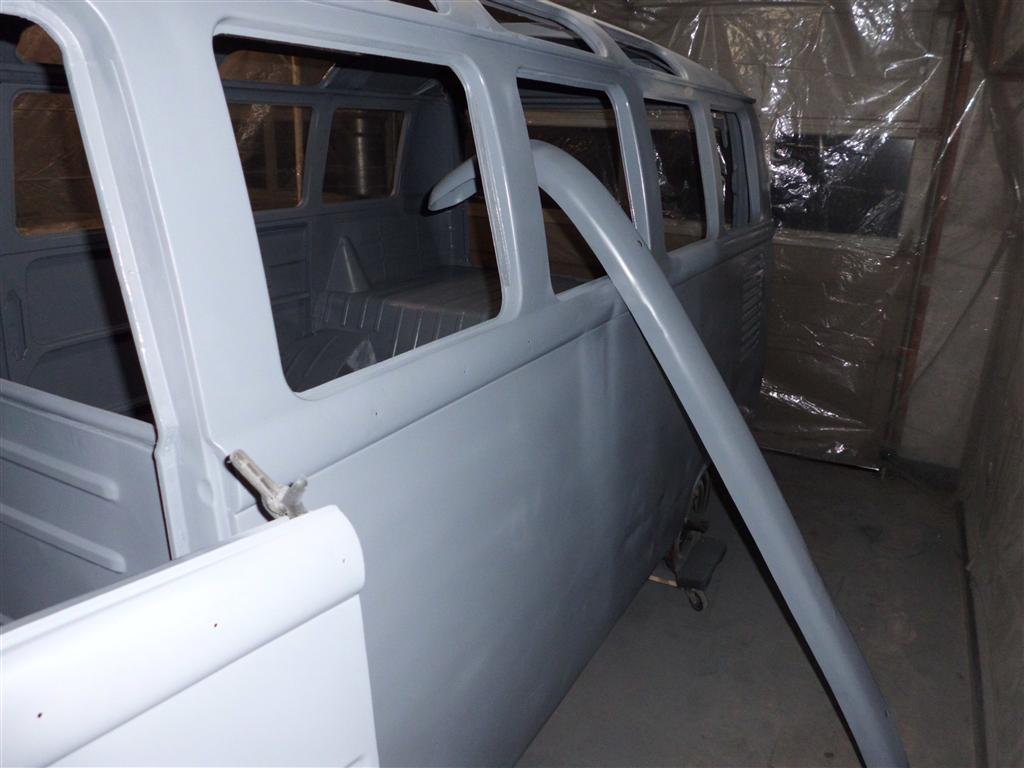
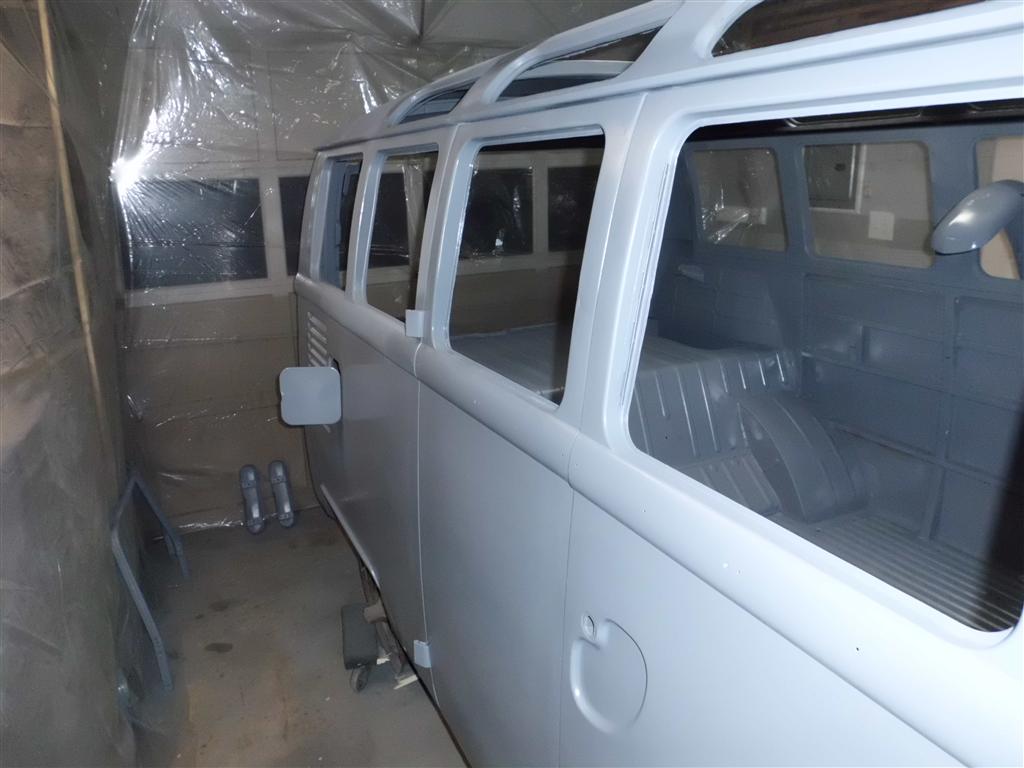
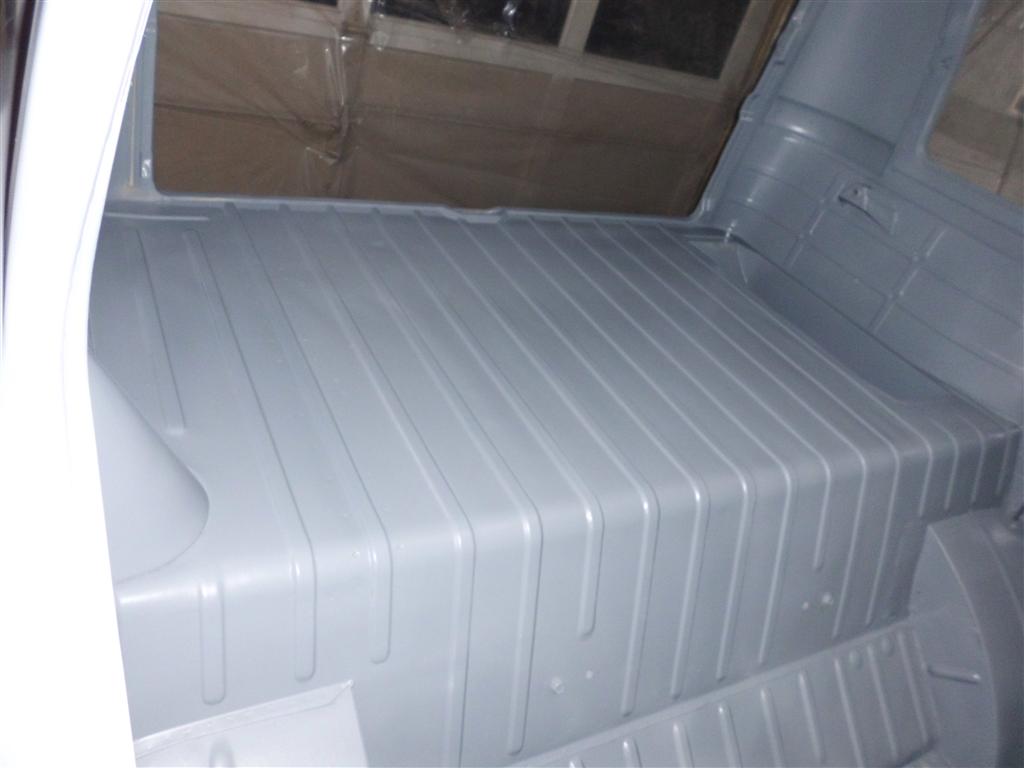
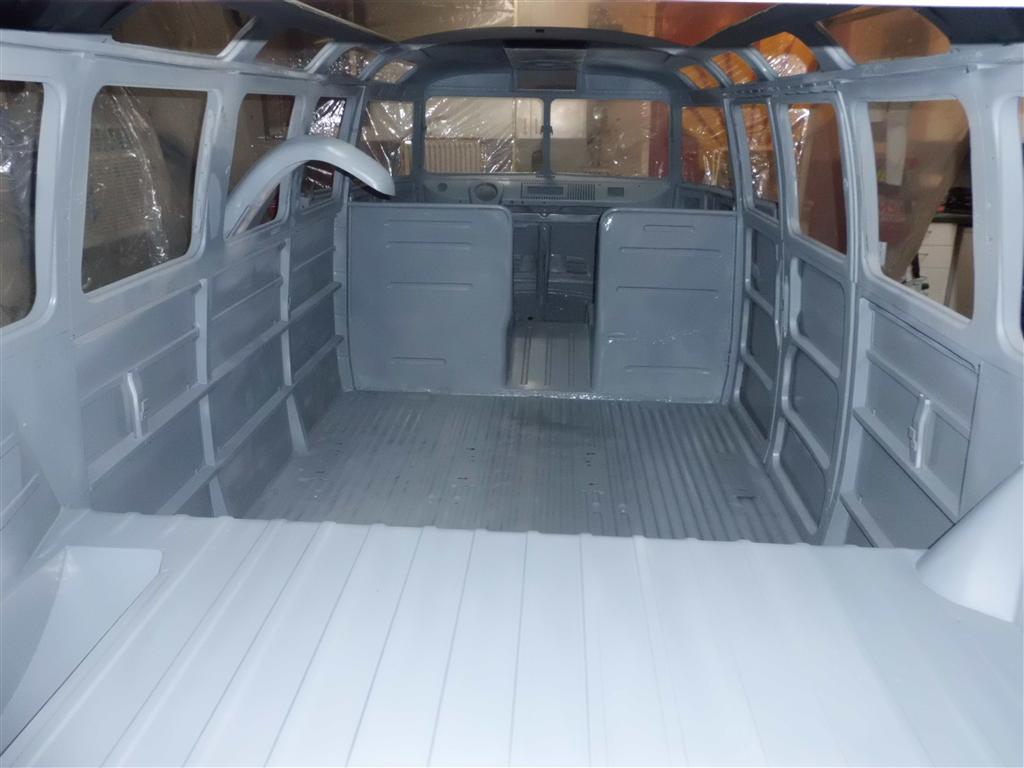
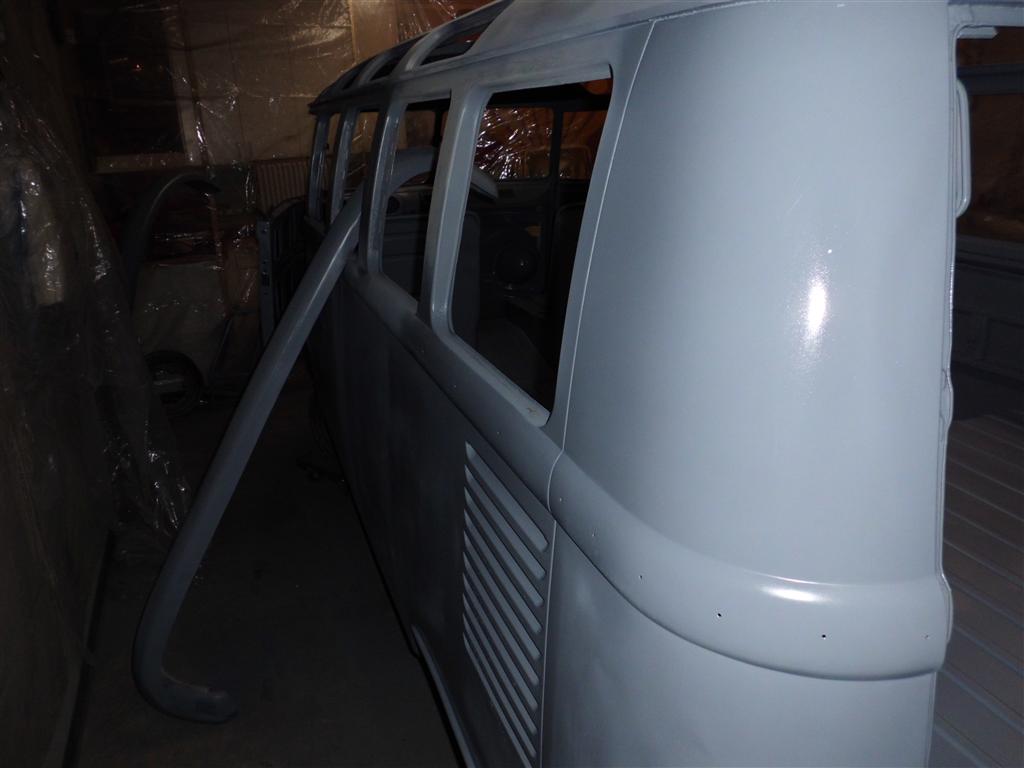
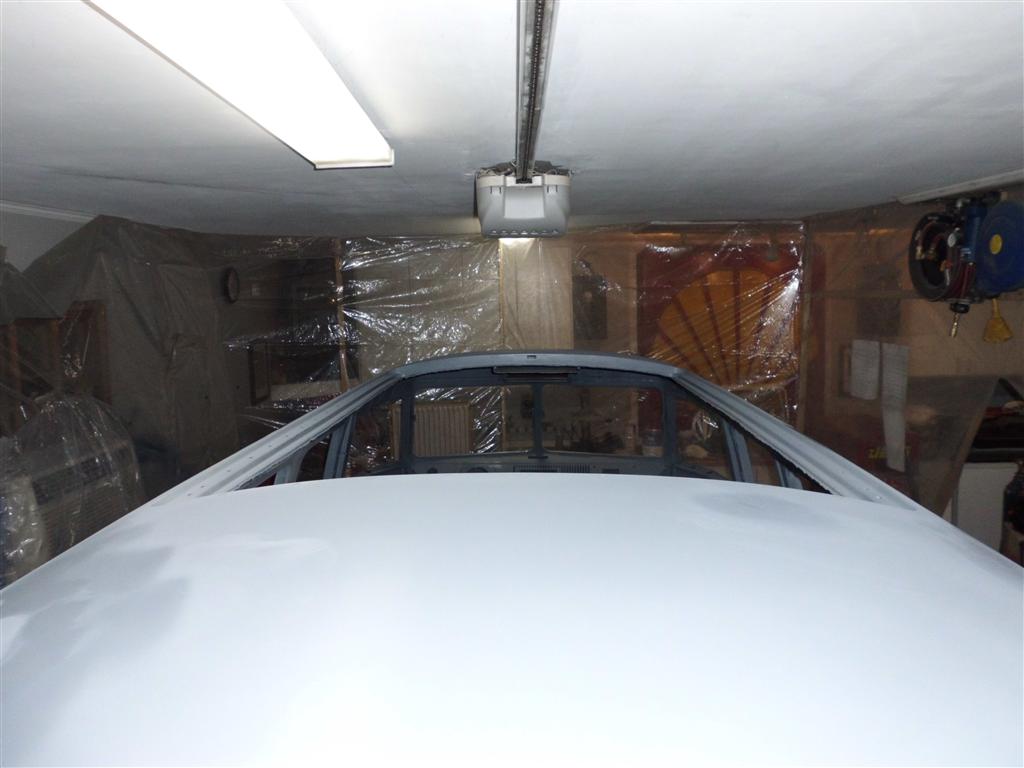
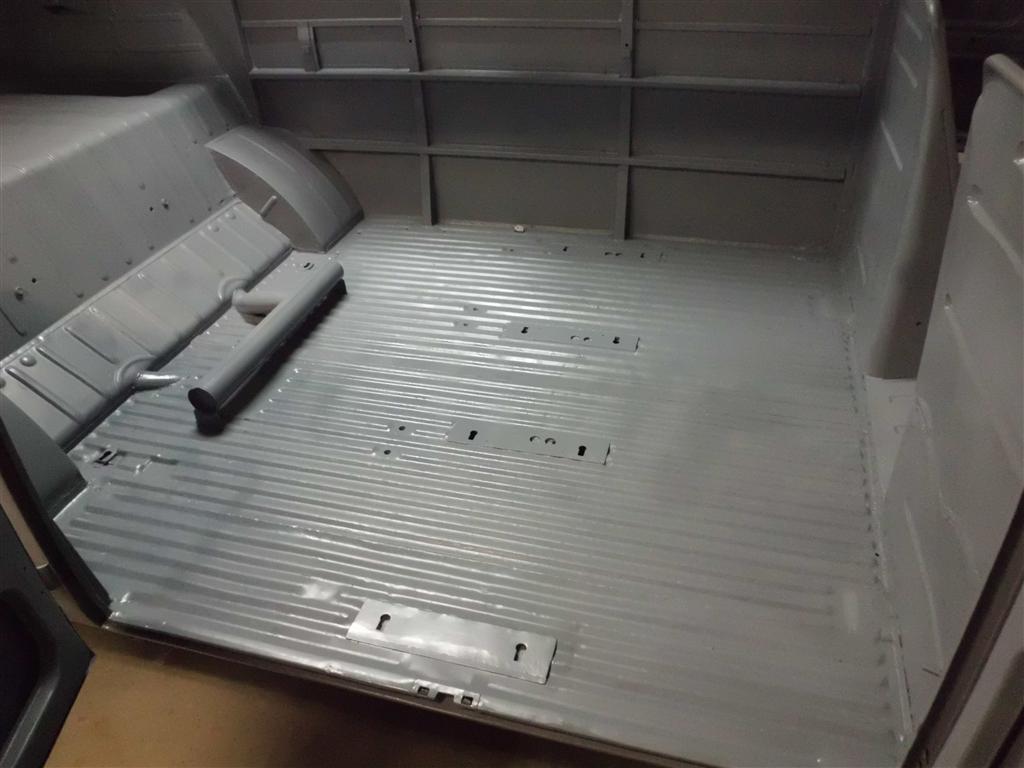
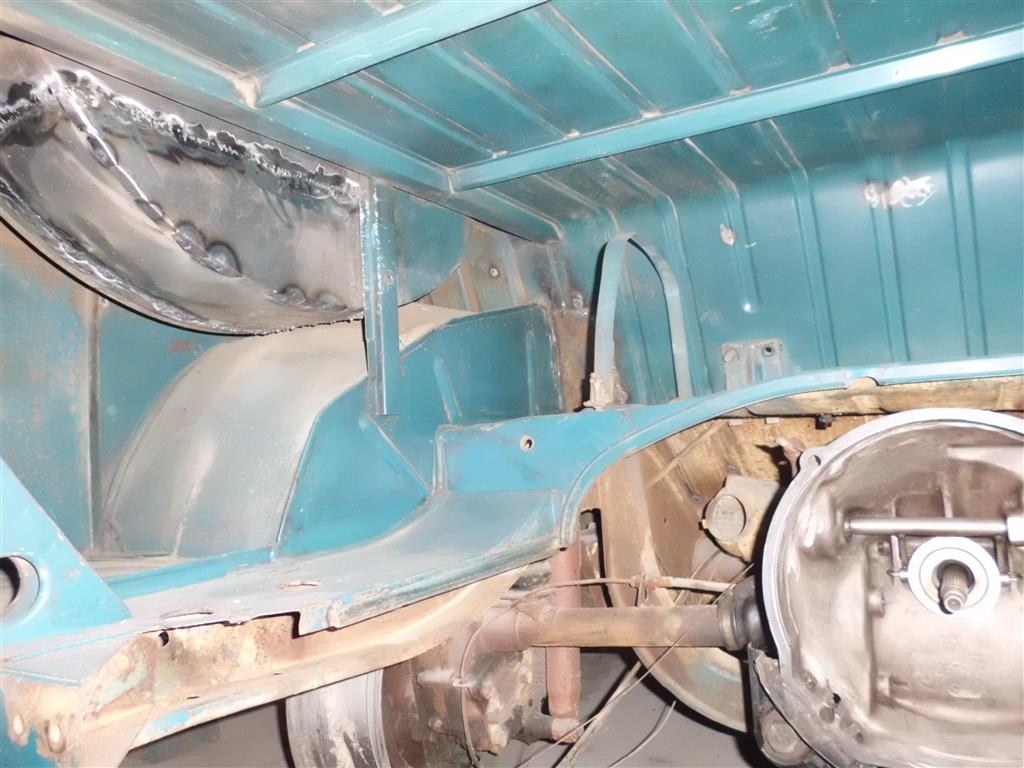
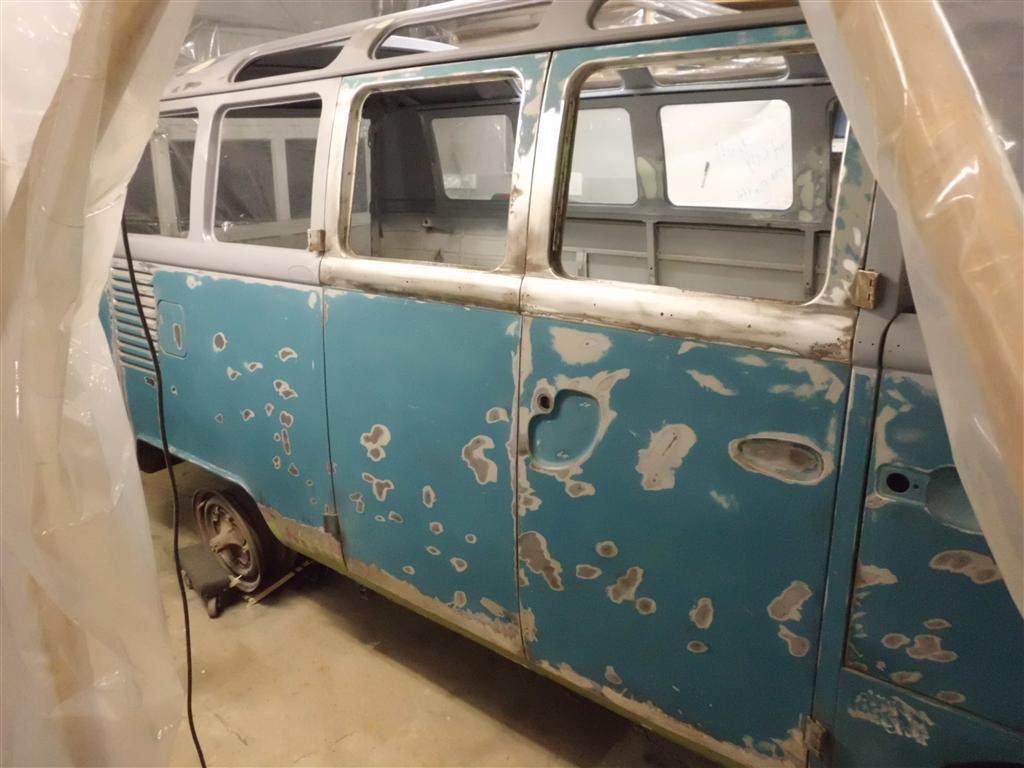
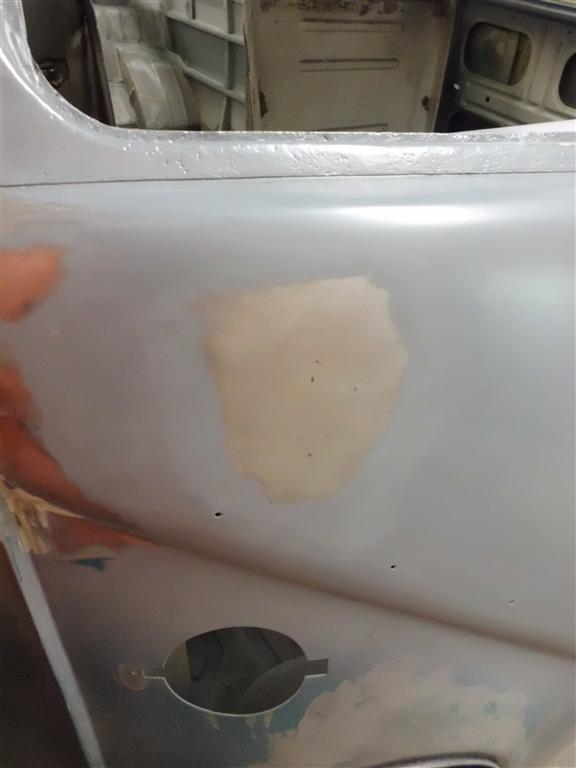
Today brought the largest visual change the project has seen so far: full epoxy primer coverage of all interior and exterior panels. All of the metalwork has been leading up to this and when the last of the metalwork was completed there was no reason not to prime everything. Prior to priming the upper (white) parts of the bus the paint was stripped back to bare metal. This was necessary due to the rust, cracking, and general failure of the sun-beaten upper half. For the lower half a calculated risk was taken by scuffing instead of fully stripping. The epoxy primer is well suited to this type of application and the original West German Sikkens nitrocellulose lacquer is unlikely to lose adhesion when protected by the epoxy. The time savings are really a side effect since this decision was made primarily to avoid any distortion that could occur as the result of stripping the big flat panels of the lower exterior. The photos were taken very soon after application so the finish appears blotchier than it really is; since everything is the same color for the first time the shadows and lighting are beginning to play tricks on the eye.
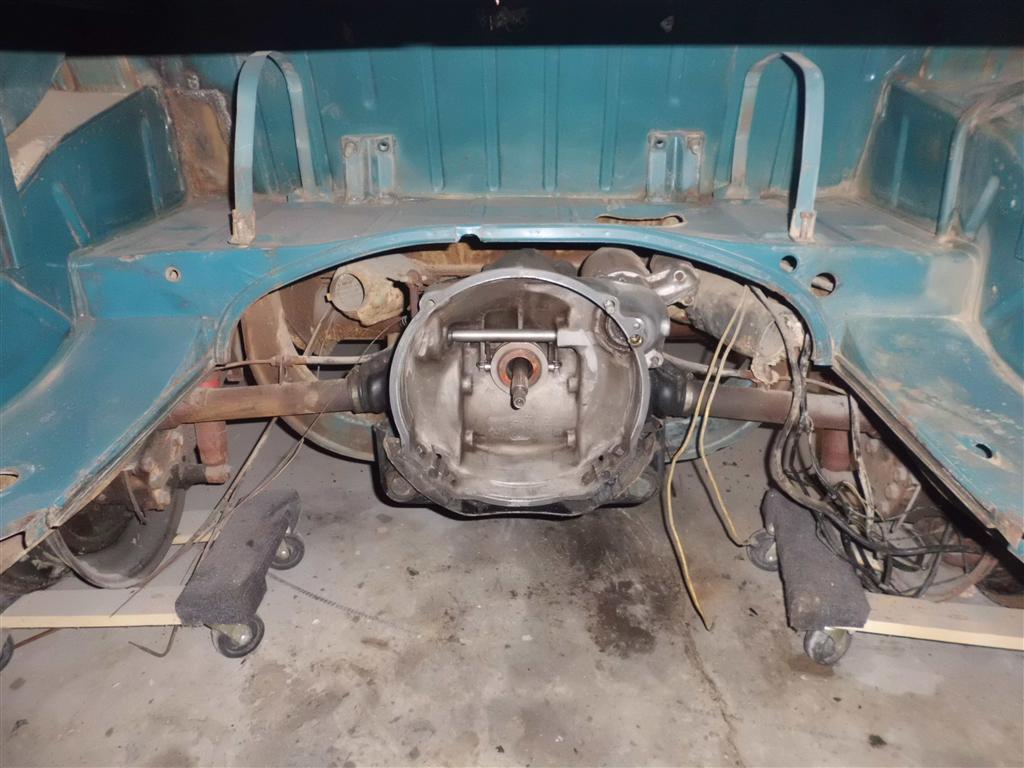
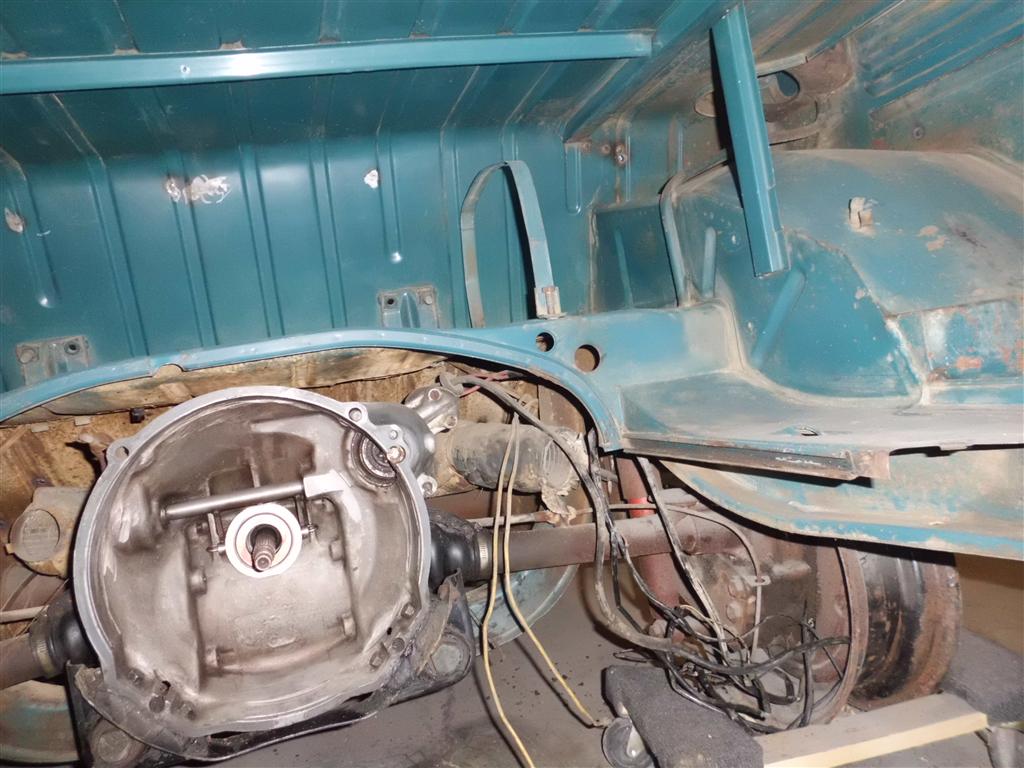
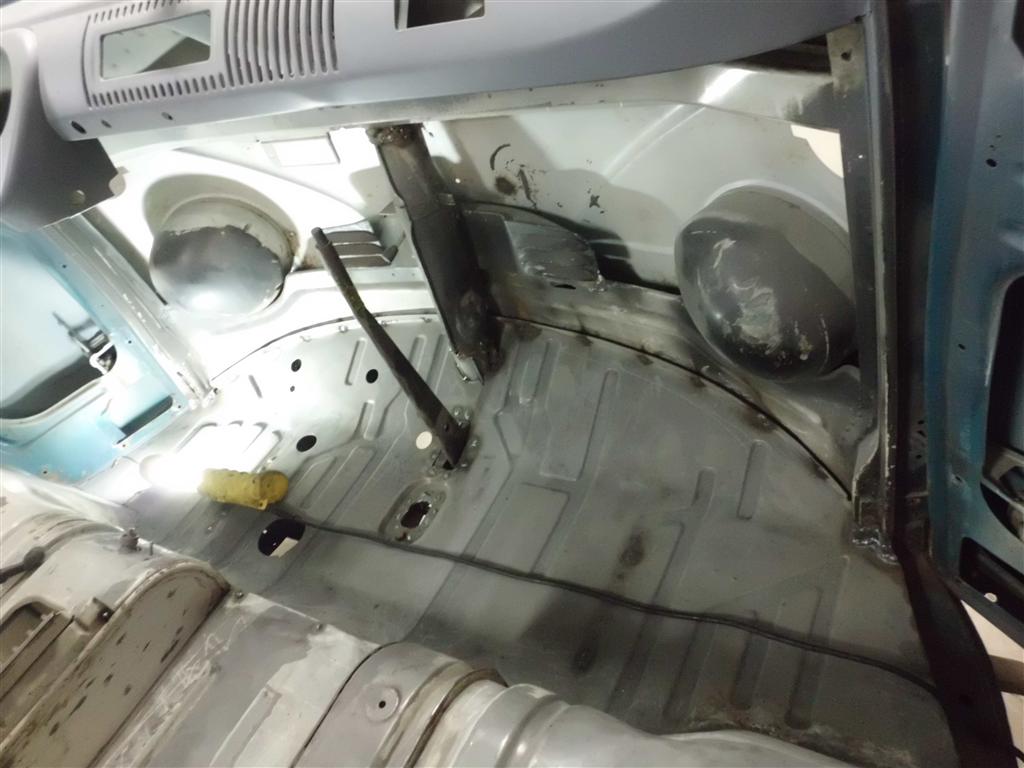
Engine bay cleaning and misc. front repairs
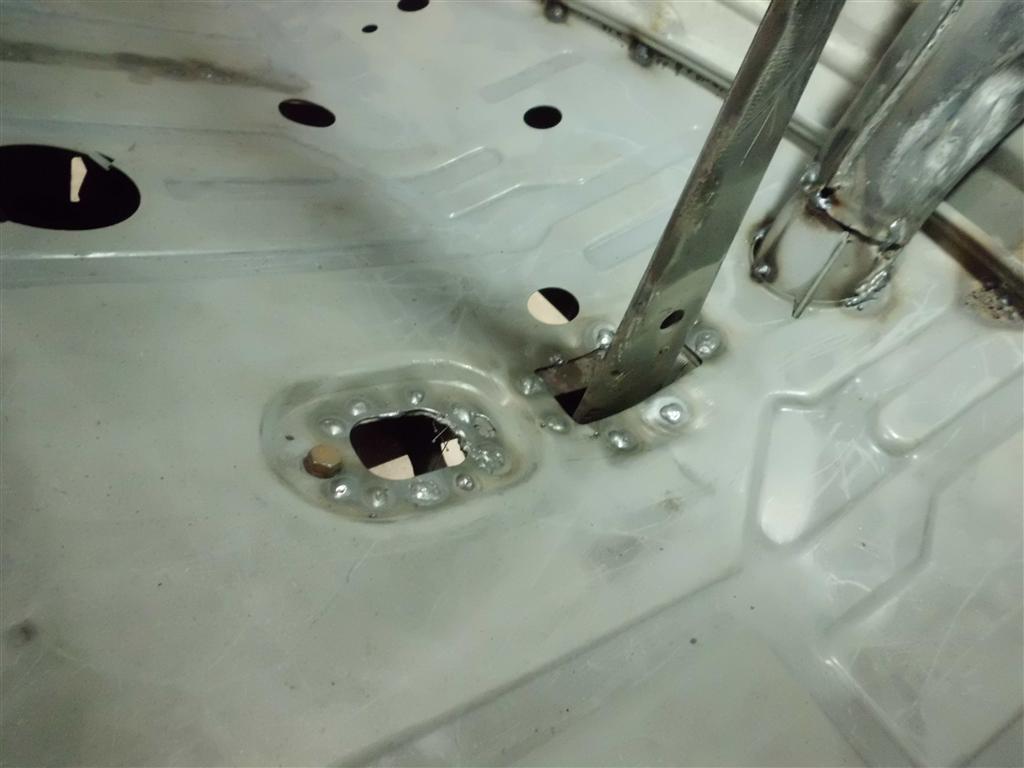
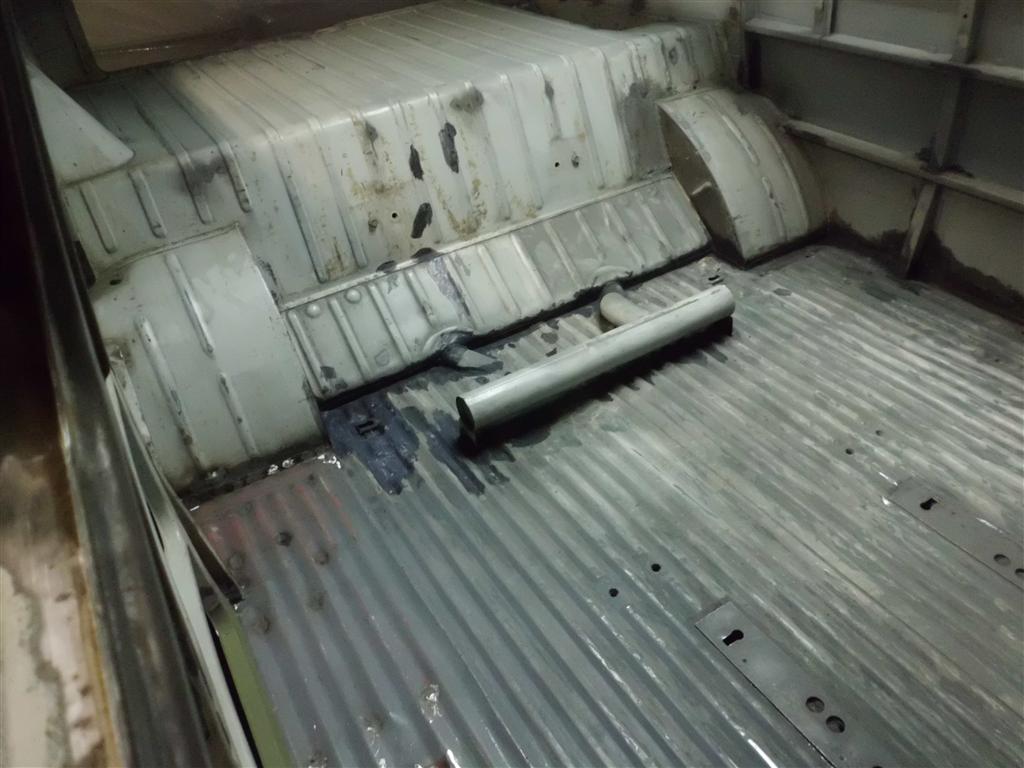
The engine bay is now reasonably clean after many hours with a wire brush and warm soapy water. Everything above the seal flange will be painted with the rest of the bus, everything below will wait until the bus is mobile since I can then access the area more easily by driving onto ramps. Many other items were tidied up, mostly related to the front floor area which I had tacked into place after I first got the bus but had not been finalized. Scuffing of the exterior paint and rust treatments were done in anticipation of primer tomorrow.


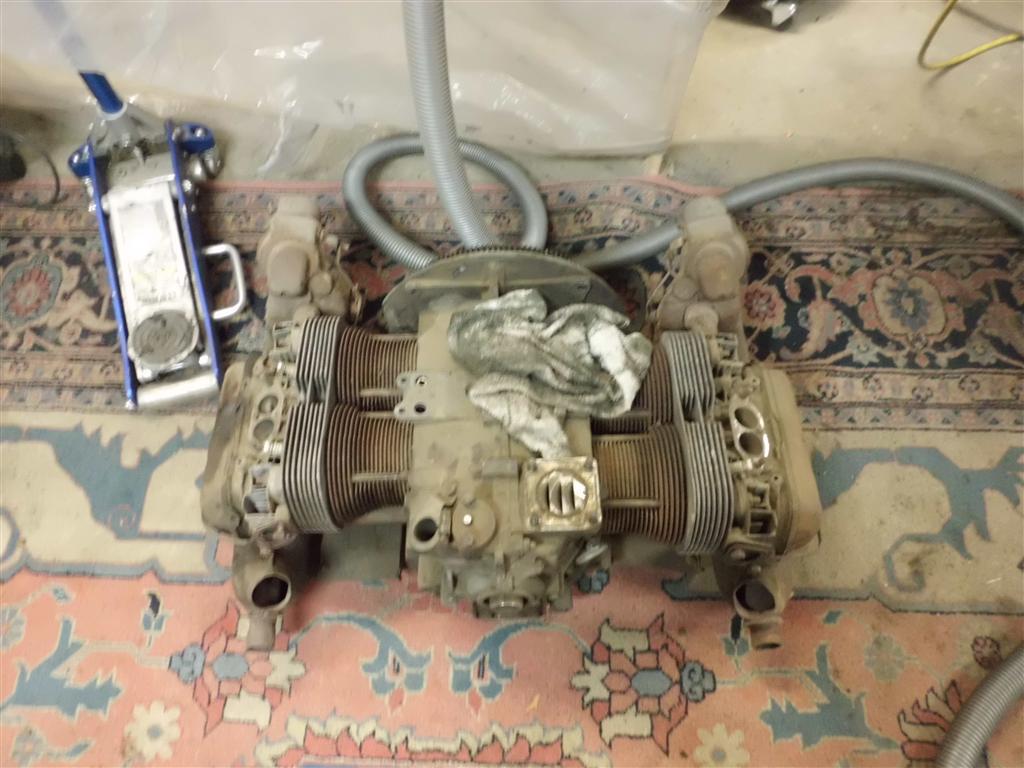
Engine removed, cleaning begins
The engine was removed and cleaning began on the engine bay. There’s a thick coating, up to an inch in some places, of muddy grime that’s covering both the lower and upper engine/transmission areas. The engine removal took less than 15min and it’s easy to carry around, cleaning will take much longer.
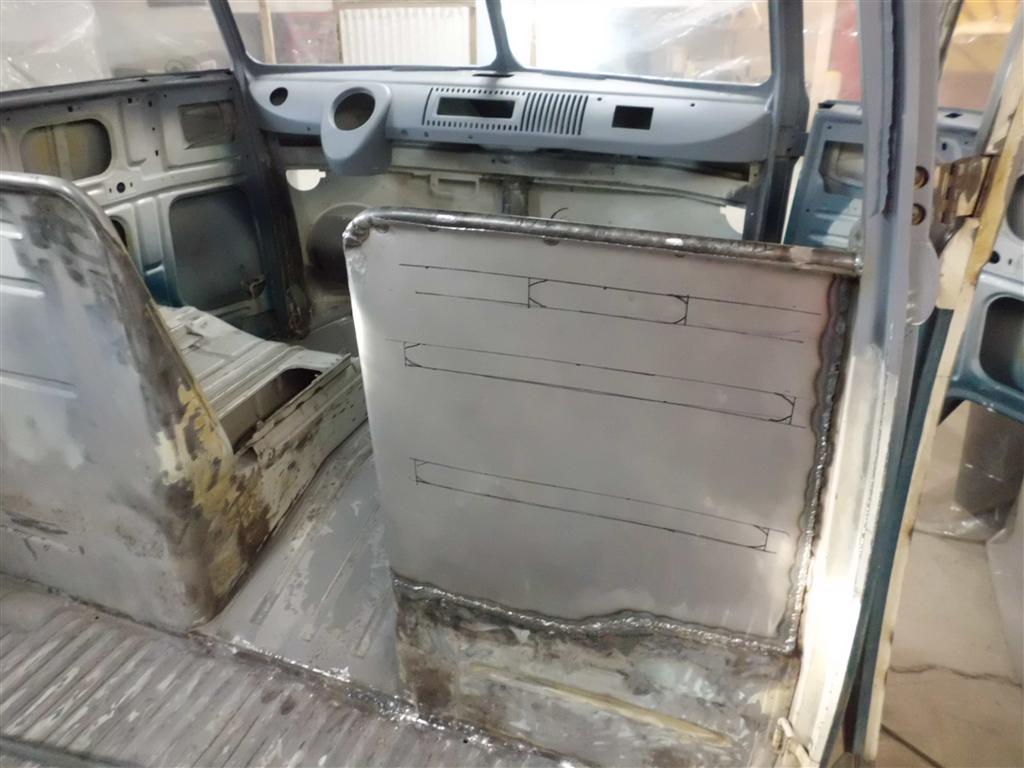
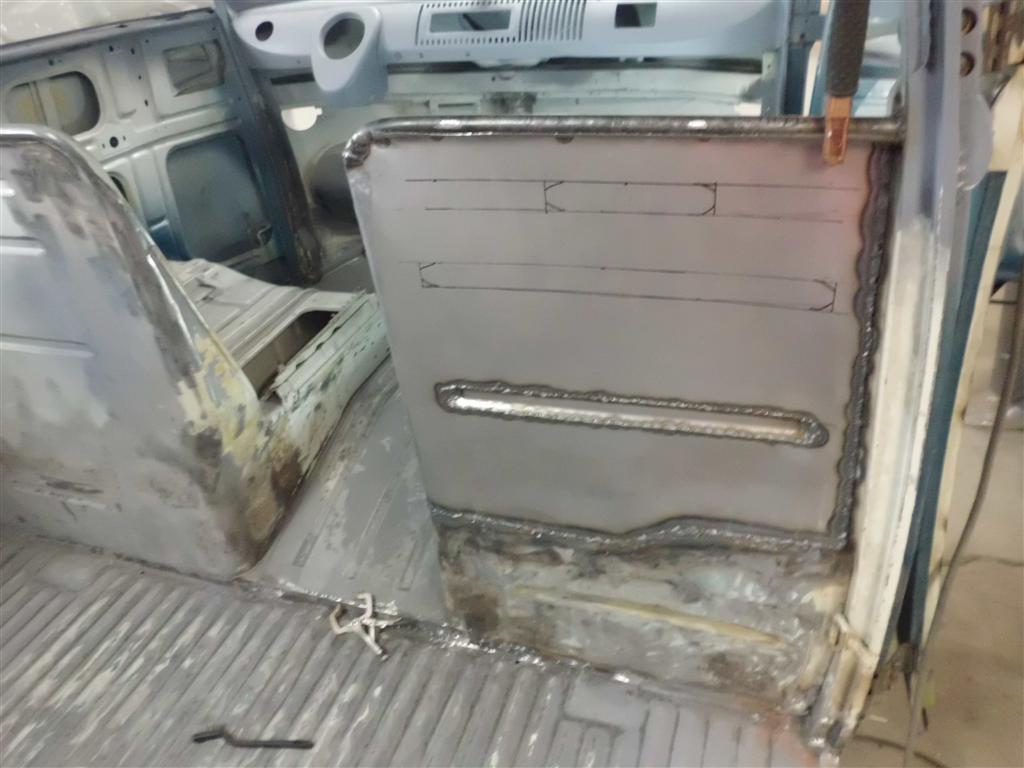
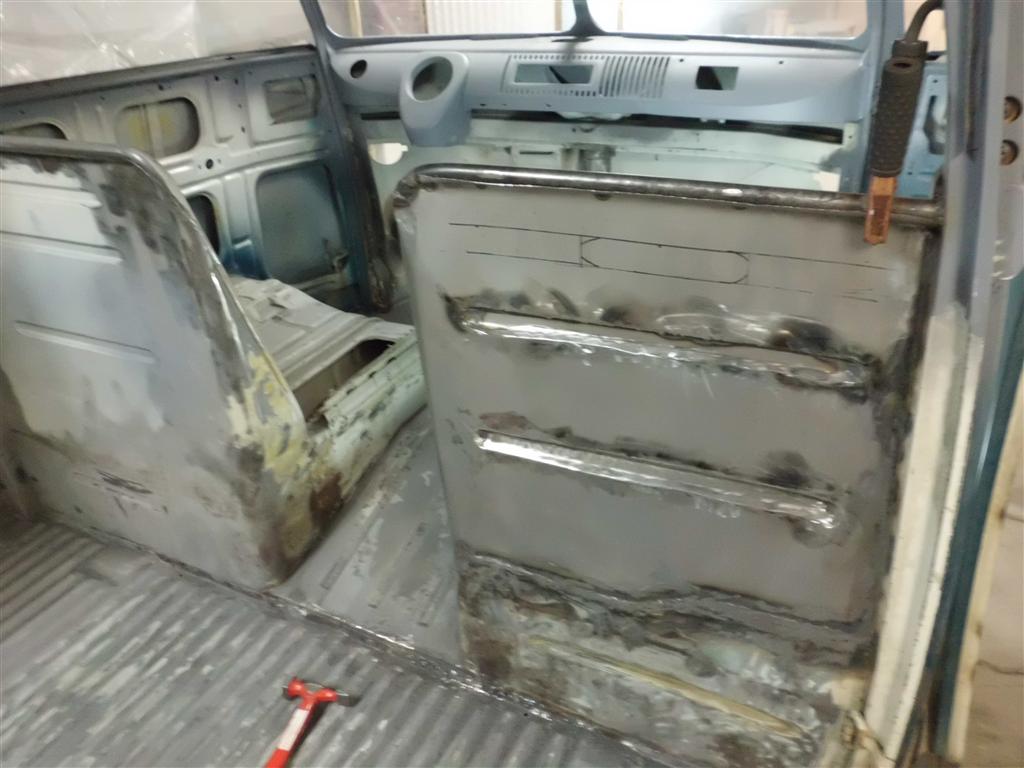
Passenger seat partition completed, Antenna deletion
The top rib was added to the passenger seat partition, completing this area. Also, the original antenna location is not really compatible with the safari windows that are being added since the passenger side windshield would swing into the back of the antenna. The factory got around this problem by having a special antenna that was S-shaped at the bottom for clearance. I could probably fabricate something close to this special antenna but since I think that looks weird I’m opting to instead fill the hole. I’ll worry about the antenna later, there’s so much glass surface area that I may be able to mount it hidden under the headliner and still have plenty of reception.
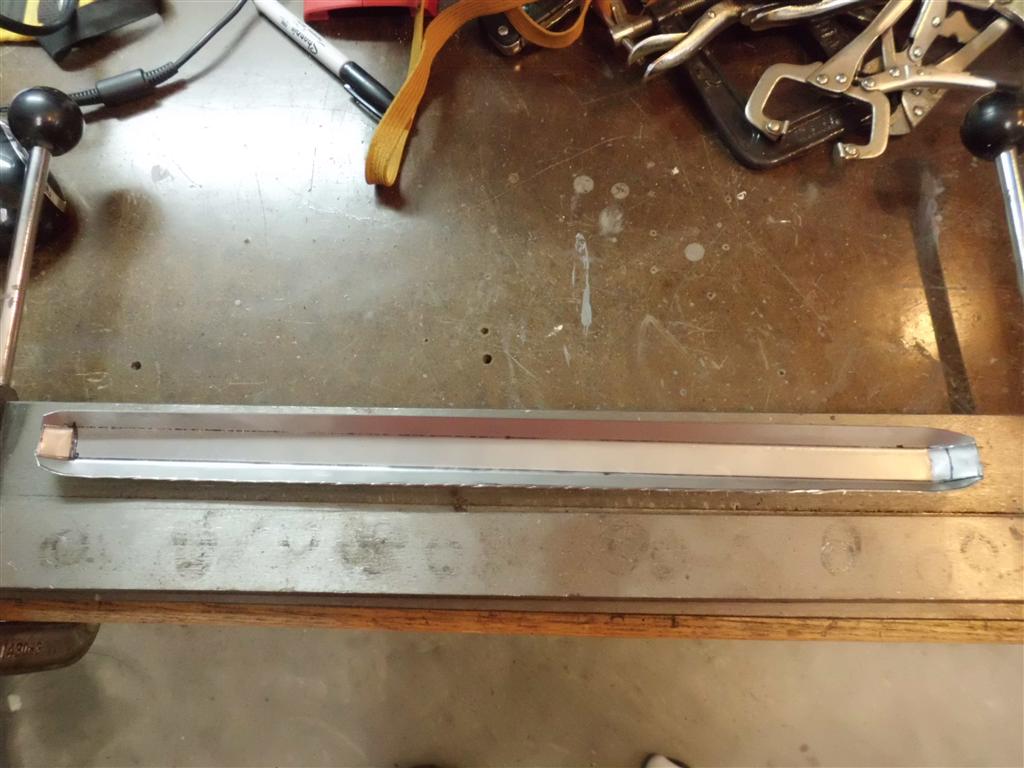
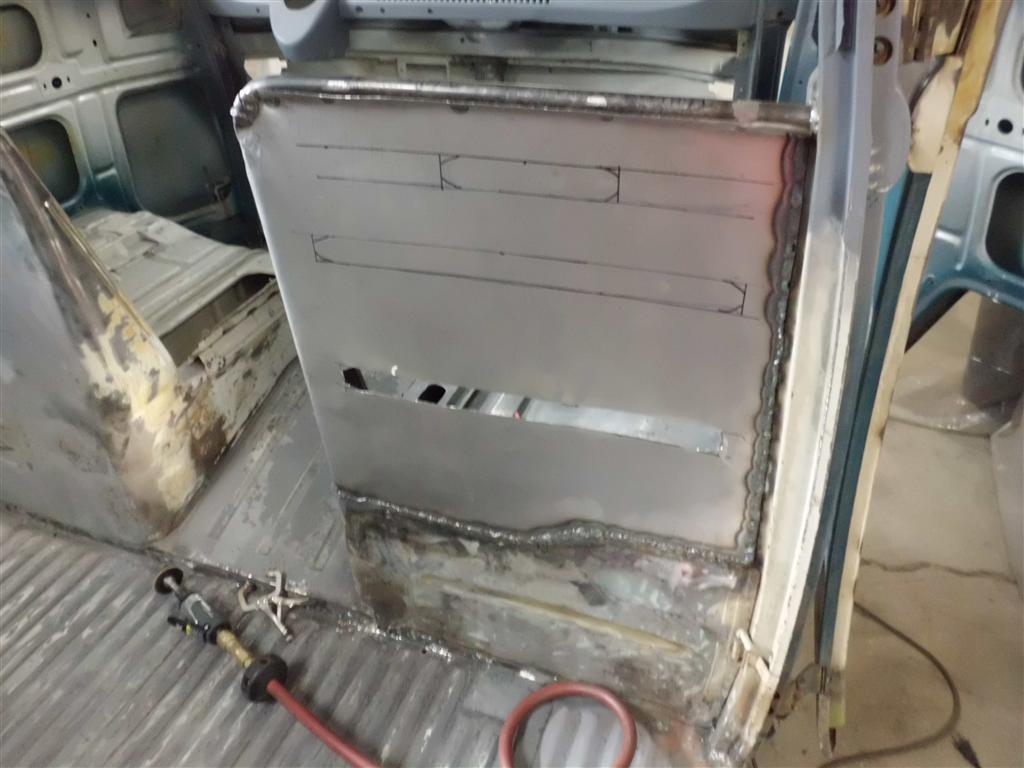
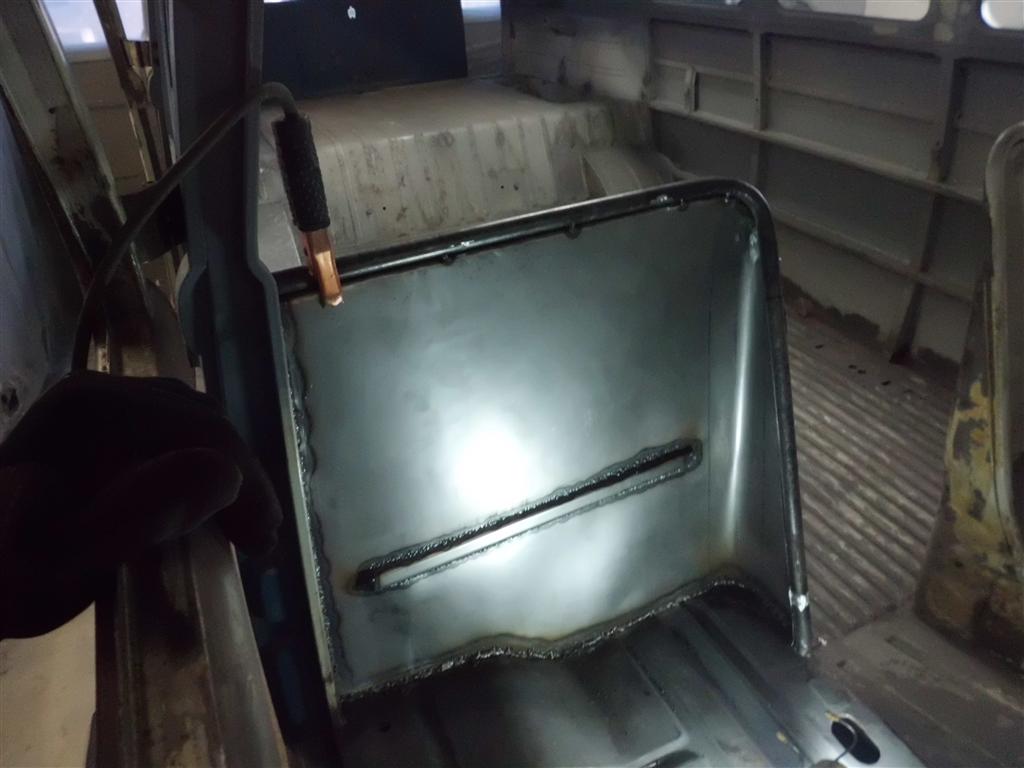
Passenger Seat Partition Fabrication pt2
The fabrication of the walkthrough partition continued with the addition of ribs to the sheet metal installed yesterday. The ribs add strength to the otherwise flat sheet metal, preventing the panel from resonating while the bus is running. These ribs would have originally been pressed into the panel by a machine twice the size of the garage the bus is being restored in. Since I don’t have one of those, the ribs are being recreated by welding in a section of sheet metal bent into a “C” shape.