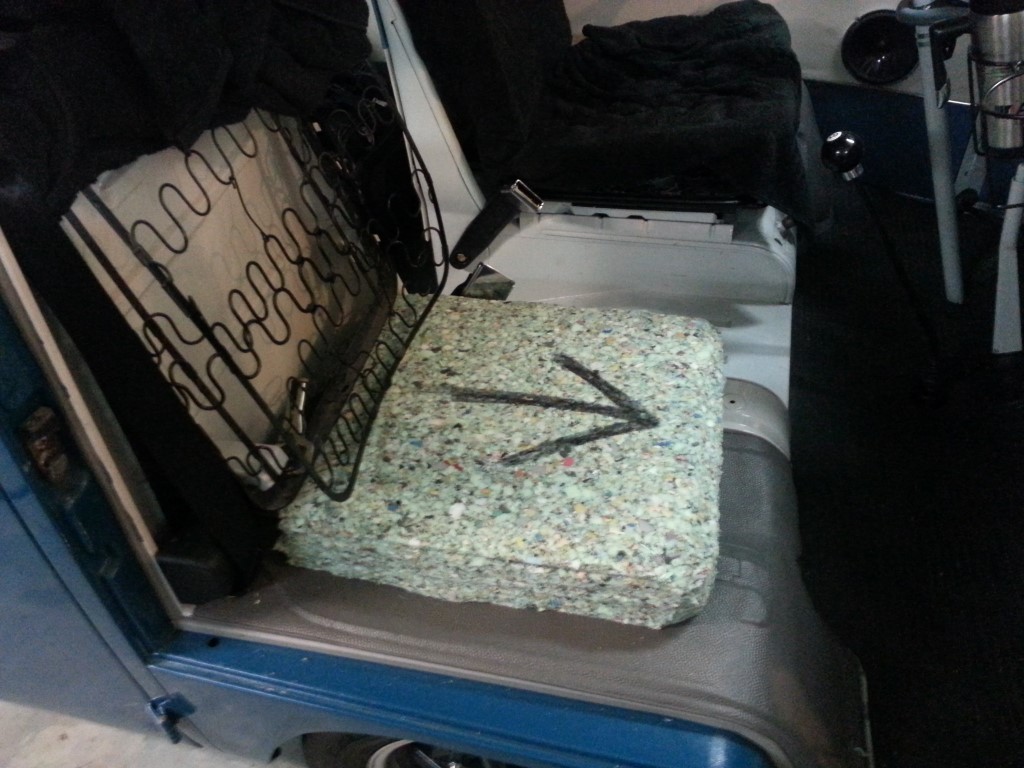
Passenger Front Seat
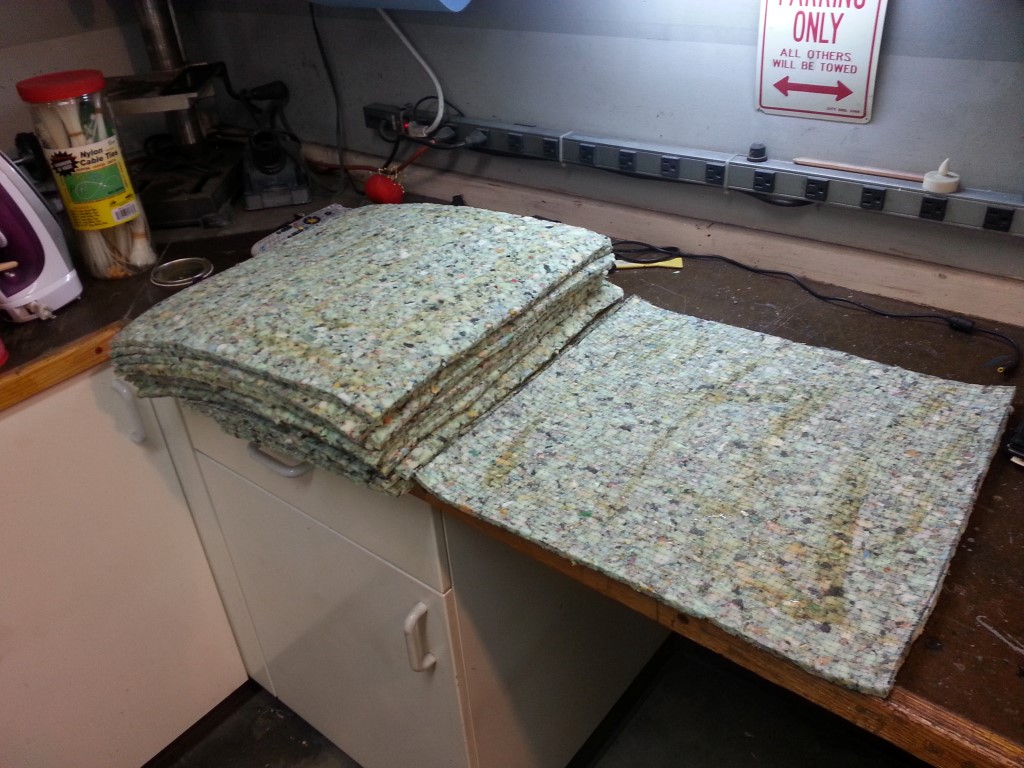
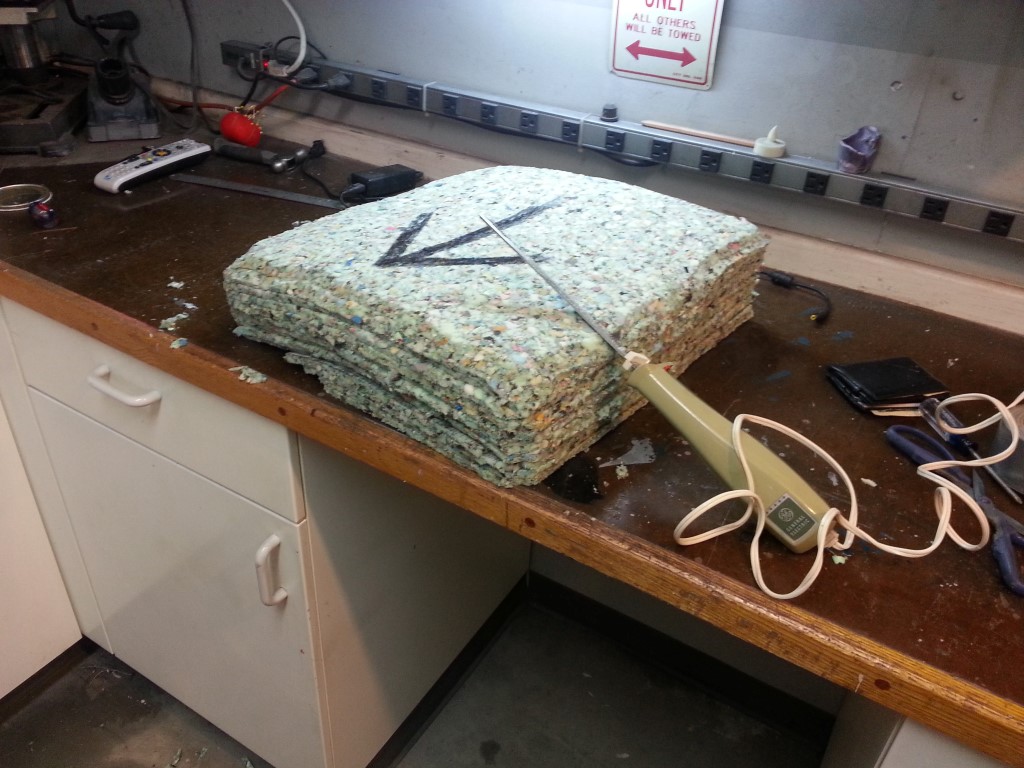
The only seat component missing in the whole bus prior to today was the seat bottom of the passenger side front seat. Since the bus has the “walk through” option instead of the standard front bench seat, the seat bottom is hard to find. So tonight I built a seat bottom out of foam until an original seat bottom can be found. I used carpet padding since it’s fairly cheap and locally available; the technical foam industry name for this stuff is “rebond” since it’s made from foam scraps glued together. Rebond is also used in modern car seats, so although a seat made from carpet padding sounds weird, it’s actually correct/ideal. I glued the layers together with contact cement and then shaped the whole stack with an electric carving knife. The result is very comfortable and compresses much less than I was afraid it might.
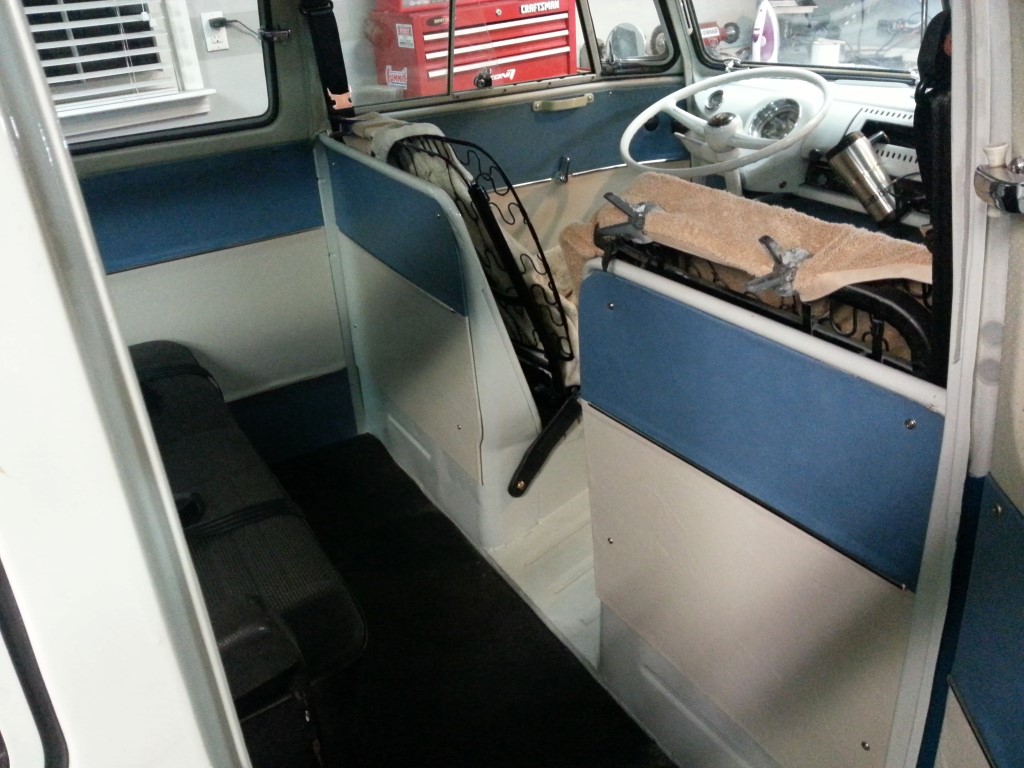
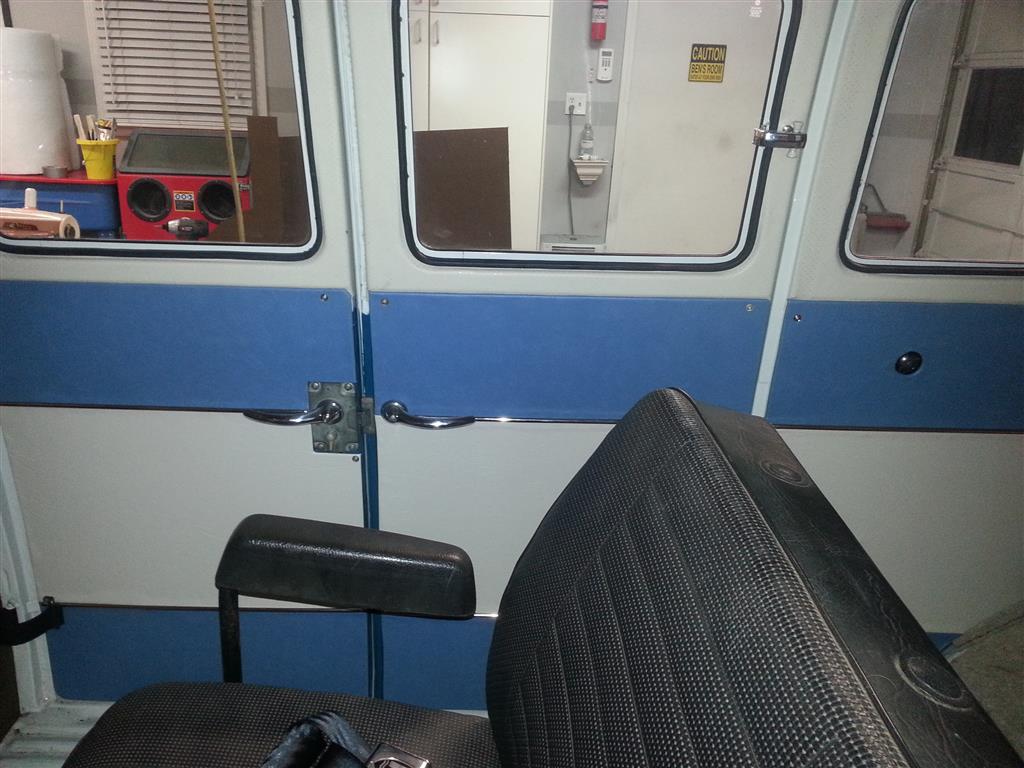
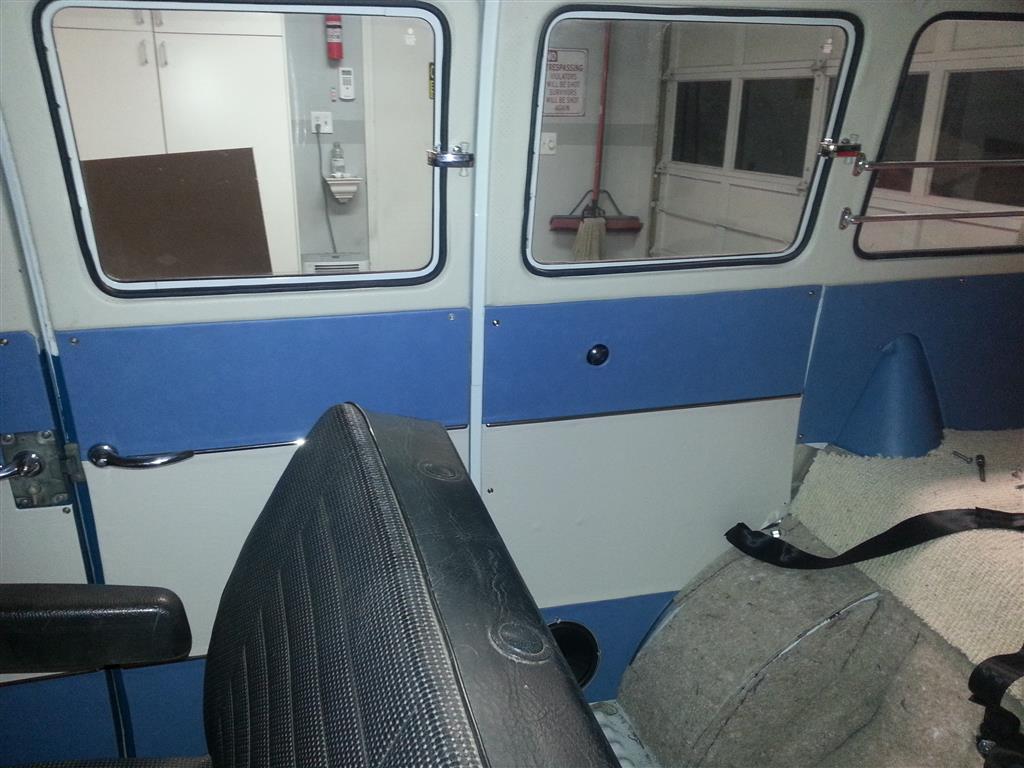
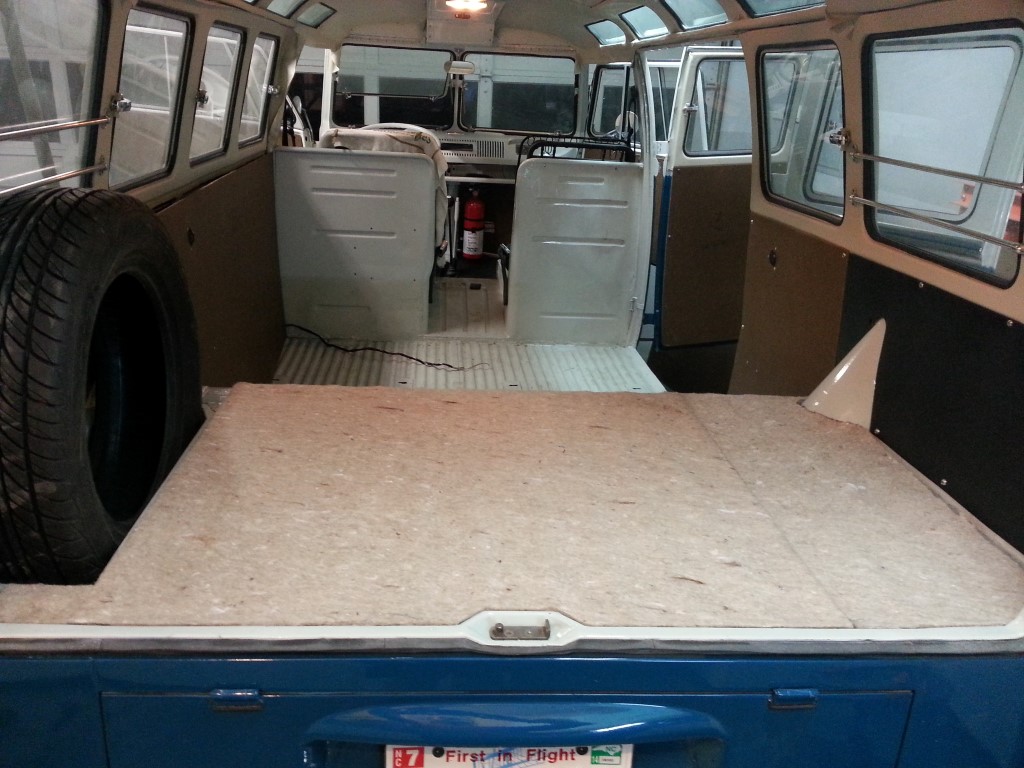
Interior Panels Complete
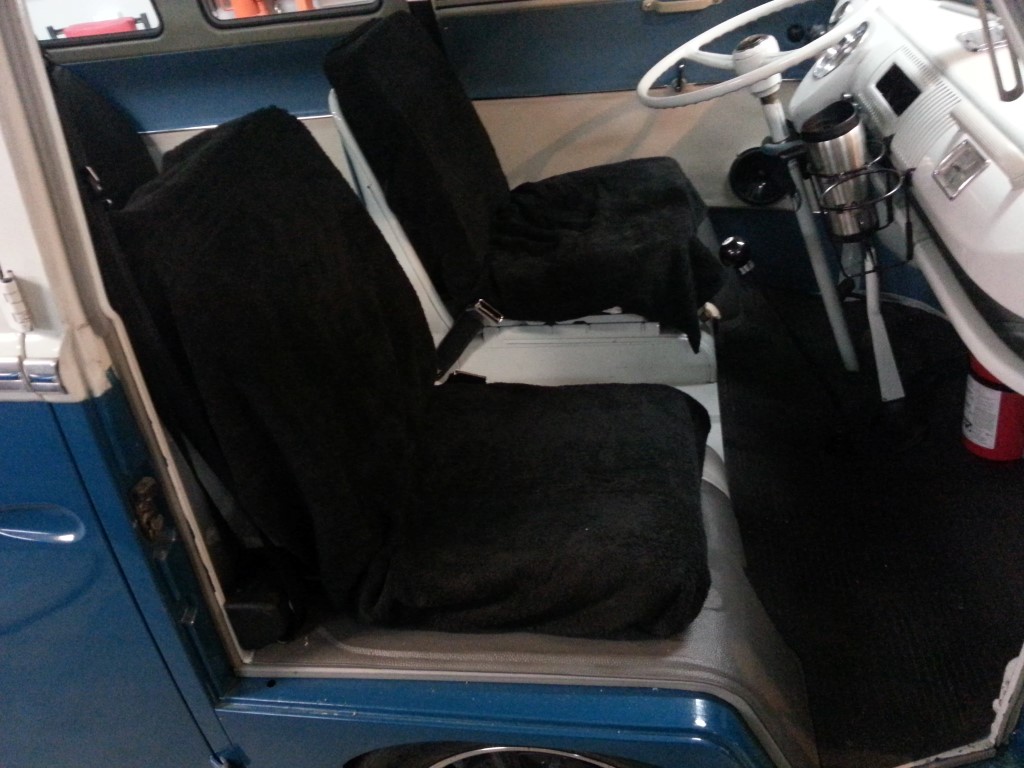
I finished up the last two big interior panels tonight; all that’s left to do on the interior is:
– Two tiny hardboard/vinyl panels for behind the sun visors
– Rubber/trim around the bottom of the front seat pedestals
– Plywood/vinyl panel under the rear seat
– Make/install vinyl seat covers
– Passenger front seat bottom
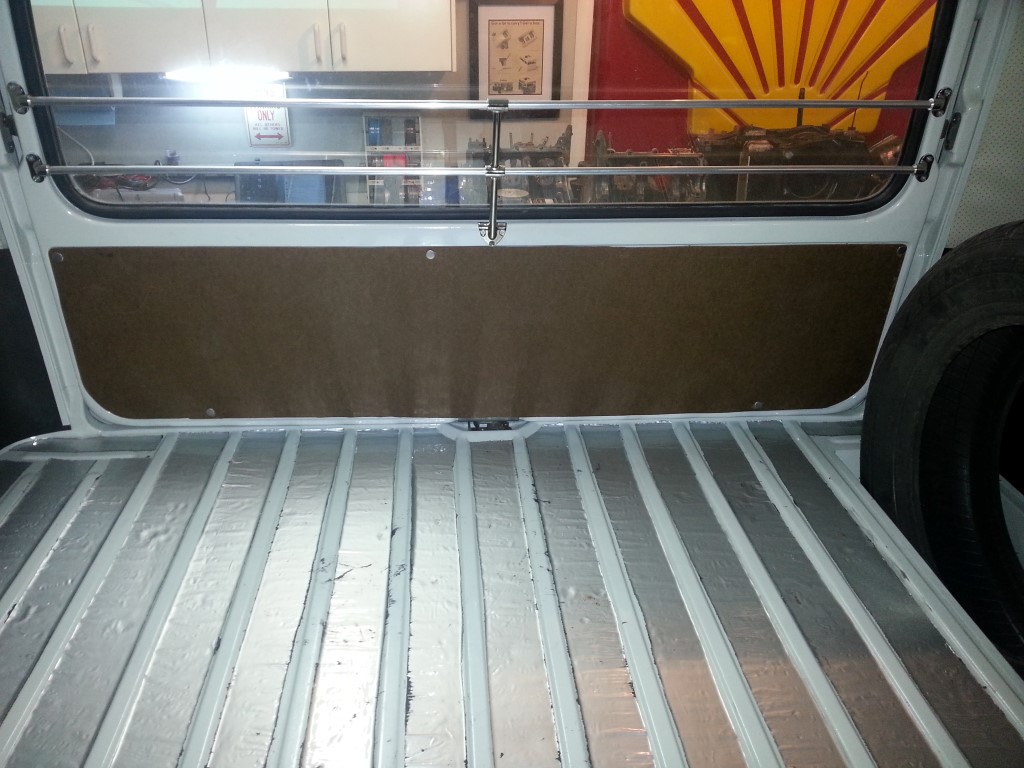
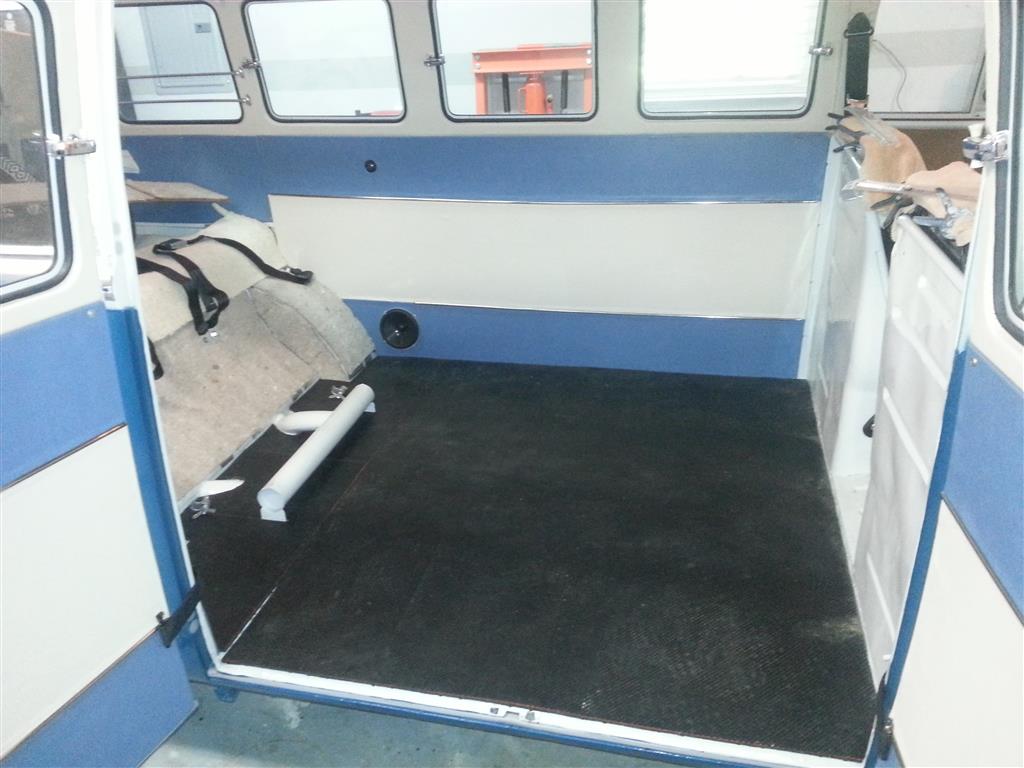
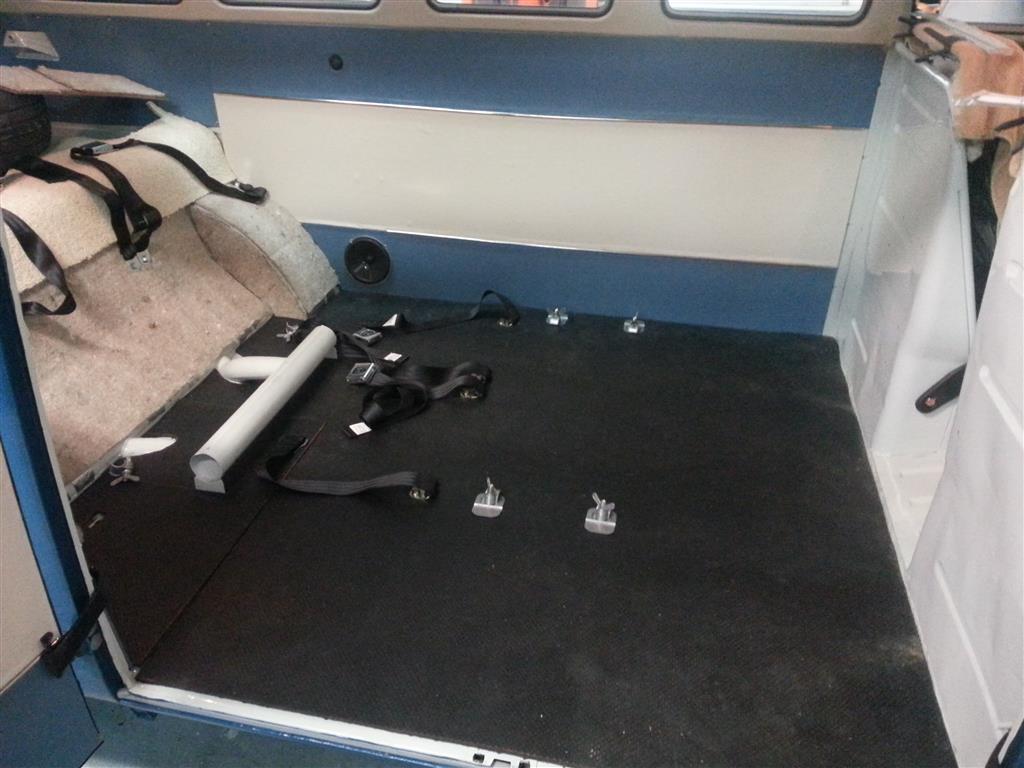
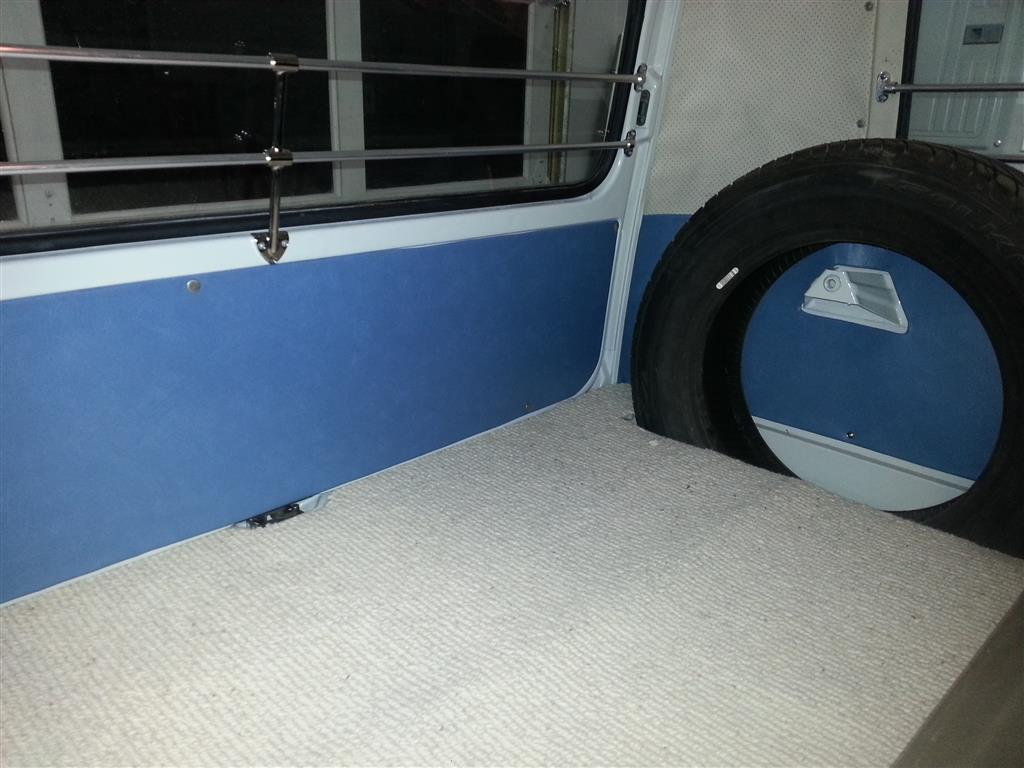
Rear Floor Mat
Today I put in the rear floor mat and completed a few more interior panels. The floor mats are reproduced, but for something that will get abused they’re expensive (expensive shipping too), and the reproductions are known to wear out quickly. So to get around all of these problems I instead used a big (4’x’8) generic rubber mat that I already had; I think it’s sold as a horse stall mat, so it should be very durable. The mat is also very heavy, so it should help the inside of the bus sound less like a big metal trashcan, despite being built like one.
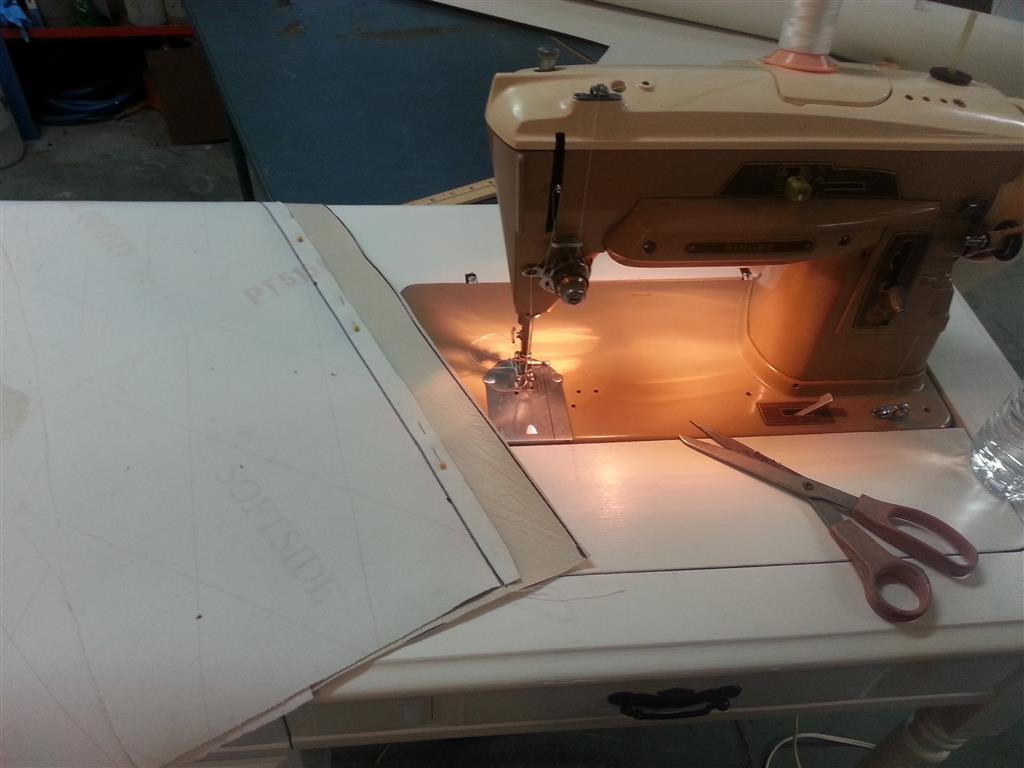
More Vinyl
Today I borrowed Christina’s sewing machine to start on the 3-part panels. Construction is fairly simple; it’s just a matter of making two parallel seams that are the correct distance apart. After this step, the resulting piece gets attached the same way as the single-color panels. The stainless trim attaches by drilling through the panel, installing the clips, then bending the clips over on the back of the panel. I finished 3 panels today, only 5 more to go…
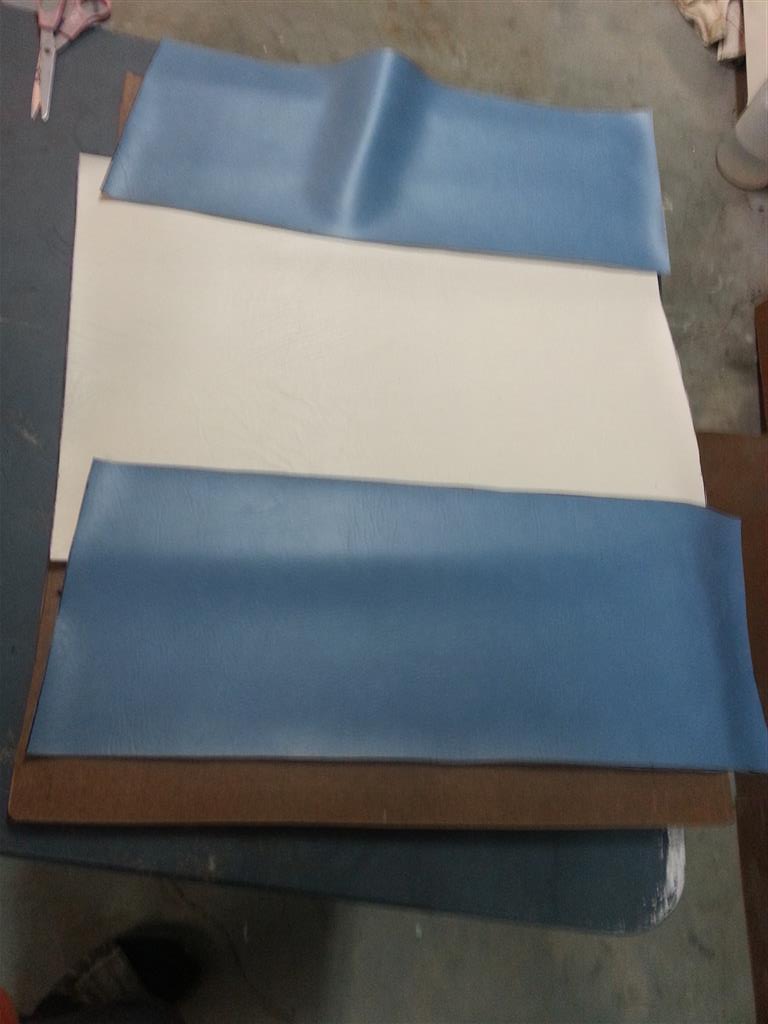


Vinyl
Vinyl arrived today, the colors very closely match the original “Aero Papyrus” color scheme. The layout will be the same as original also, the only difference will be the texture of the white vinyl; it was originally a ribbed pattern that is no longer made. I was able to get all of the single-color panels wrapped tonight; tomorrow I’ll work on the more complex 3-part panels.


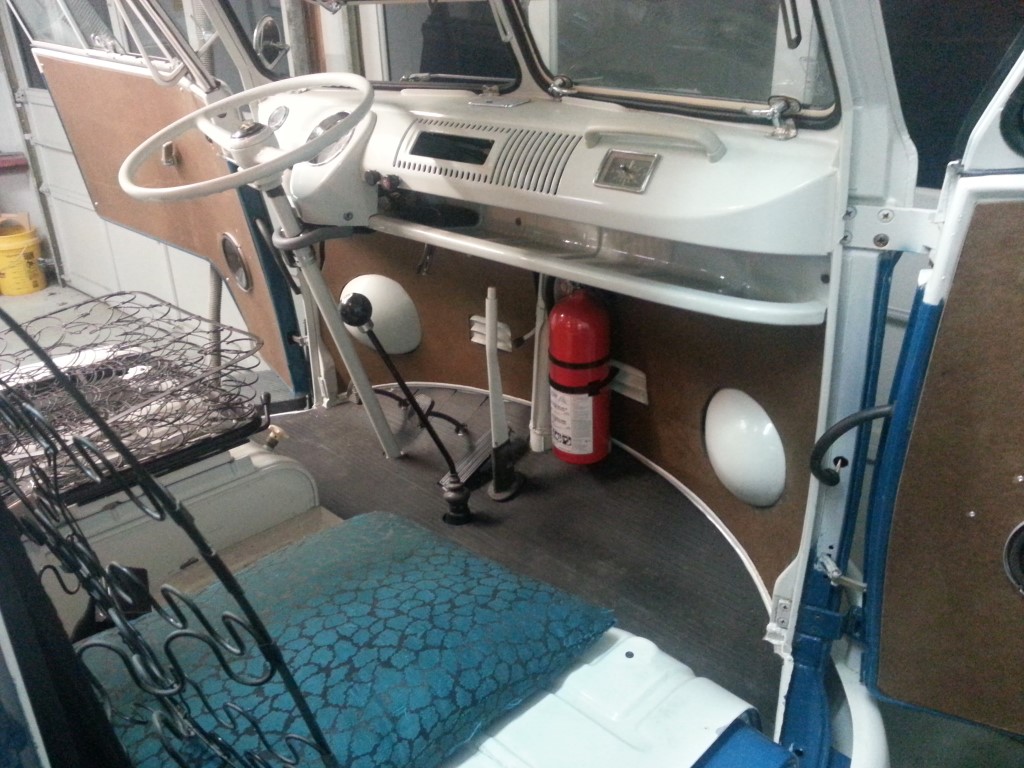
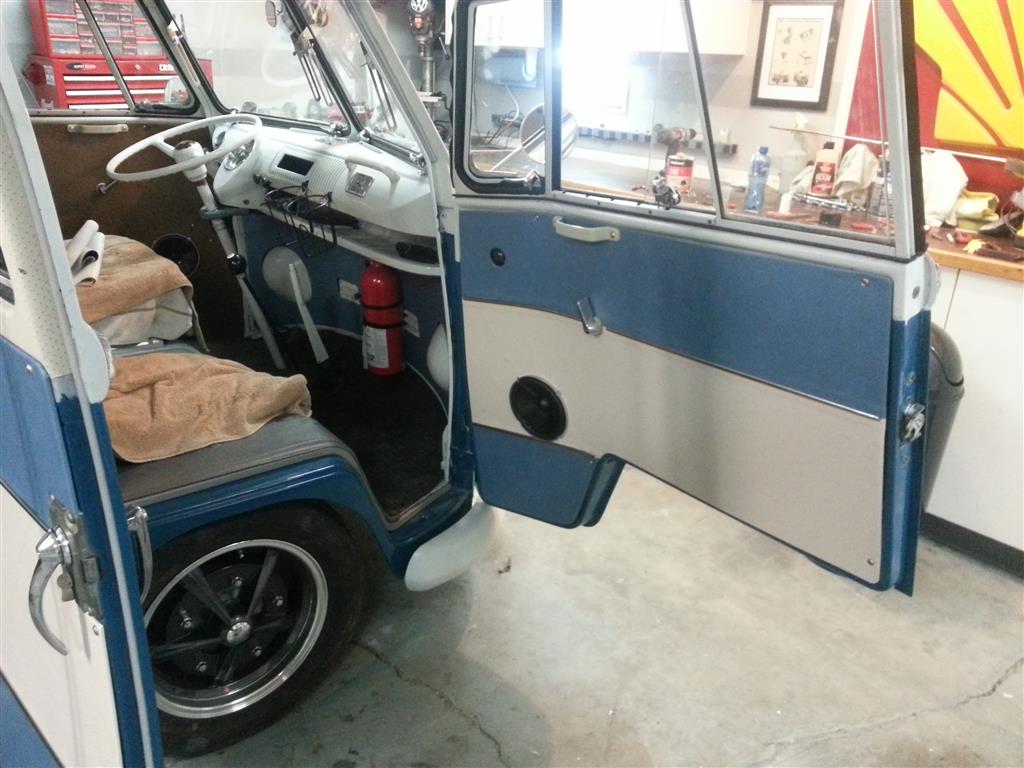
Door Adjustment
I spent most of tonight installing seals and adjusting the latch on the passenger front door.There’s an adjustment window of about 3 angstroms between the door closing well and it only staying closed when slammed. The latches have 2-stage catches and I have the 1st (outer) catch working well; the inner catch may not work until the new seals have time to break-in/compress. I’ll try for some improvement tomorrow night and then move on to the driver side.
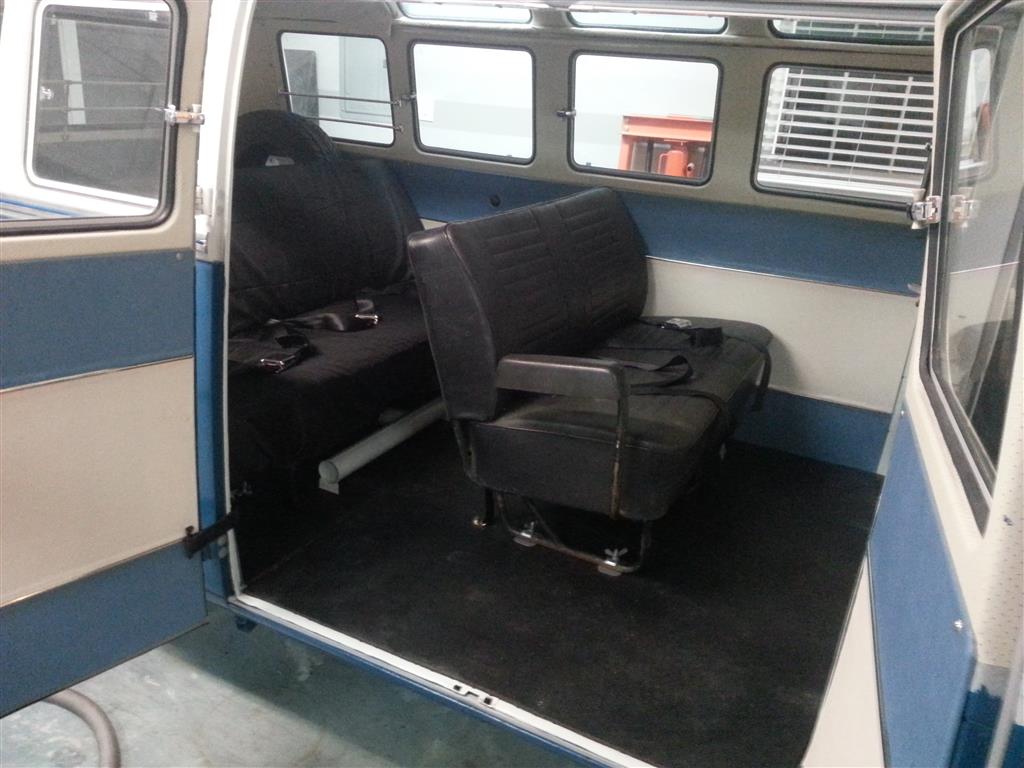
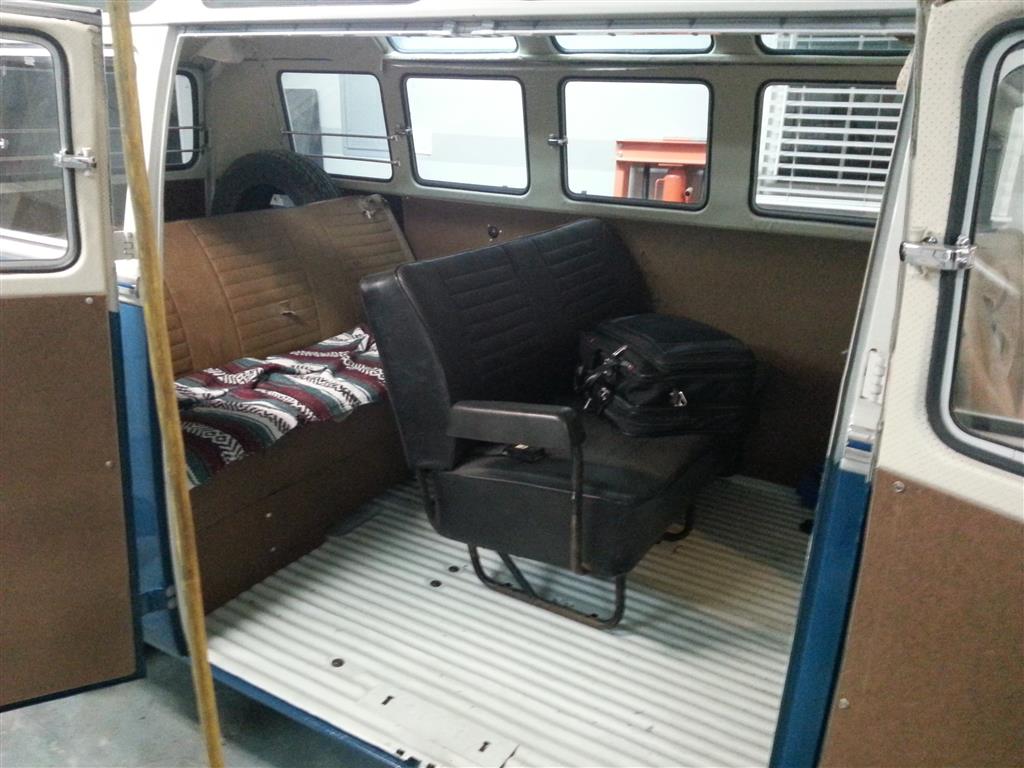
Middle Seat
Another trip tonight, this time much quicker, to pickup a middle seat. Like the rear seat, the middle seat is from a “bay window” bus, but is very close to correct and I could modify it to be an exact match. Since the bus has the “walk through” option for the front seats the middle seat is only two wide. This allows walking from the front to the rear seat without opening any doors. Non walk-through buses typically had full-width middle seats for a total of 9 seats, but the rear cargo door had to be opened to access the back row. I’m now just waiting on mounting hardware and rear seatbelts, then it will be a 7-seater. Also I may or may not have smelled a slight fuel leak tonight, I’ll have to investigate this before driving it again.
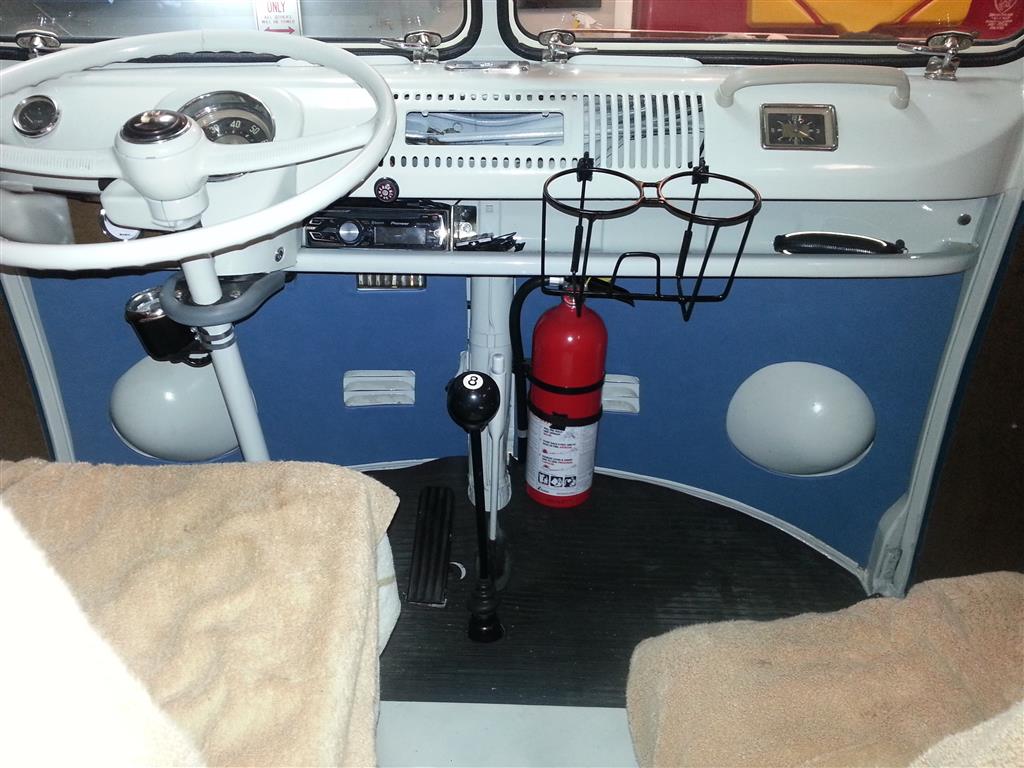
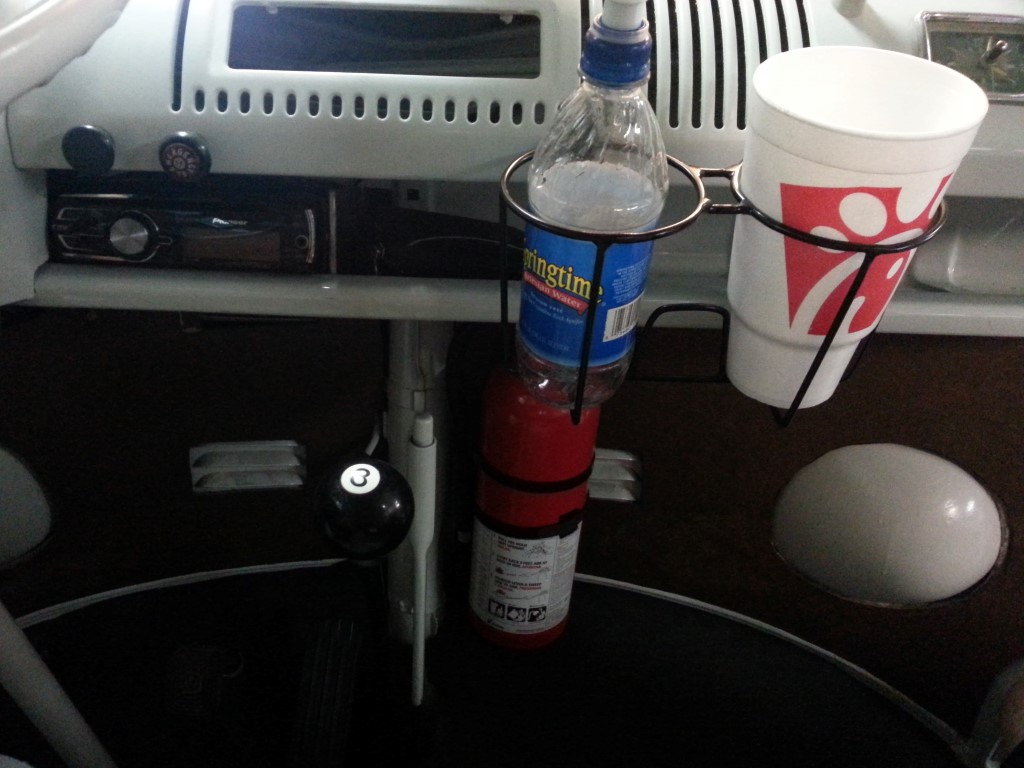
Cupholder
Today I fabricated a cup holder basket. It’s made entirely out of the frame from one of those annoying corrugated plastic signs someone had planted in my yard, so it was basically free. There was an original accessory cupholder of a similar design that I got the idea from. The original was more in tune with 1960’s european beverage size sensibilities; I’ve created mine to work with 2010’s US sized cups.
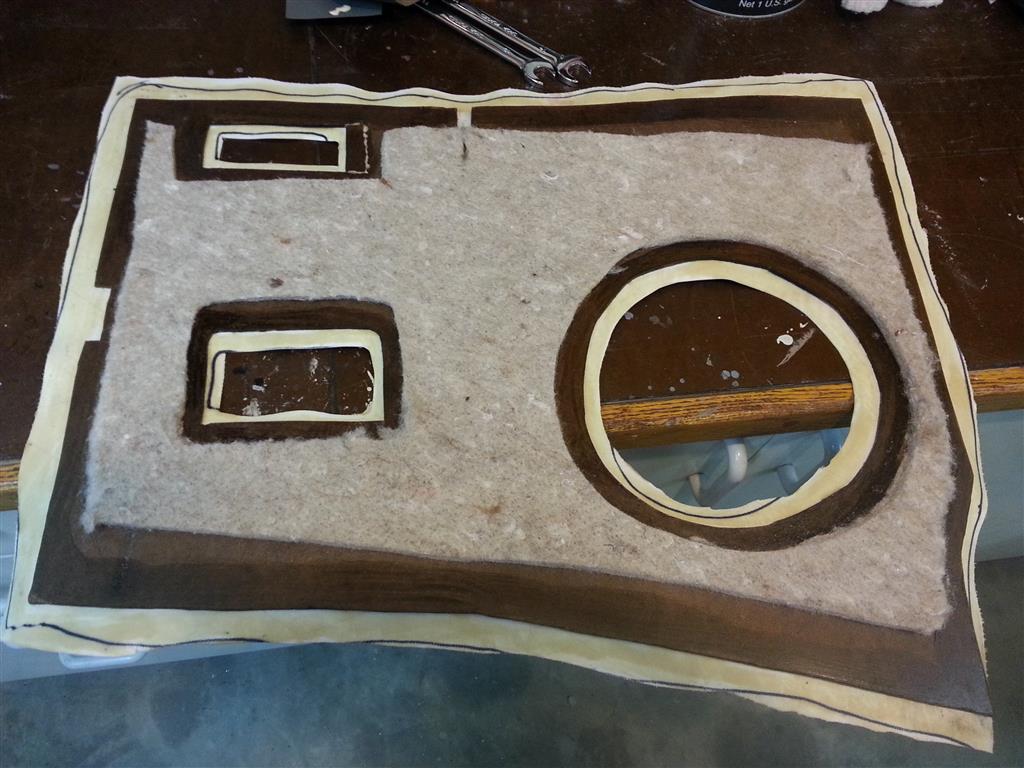
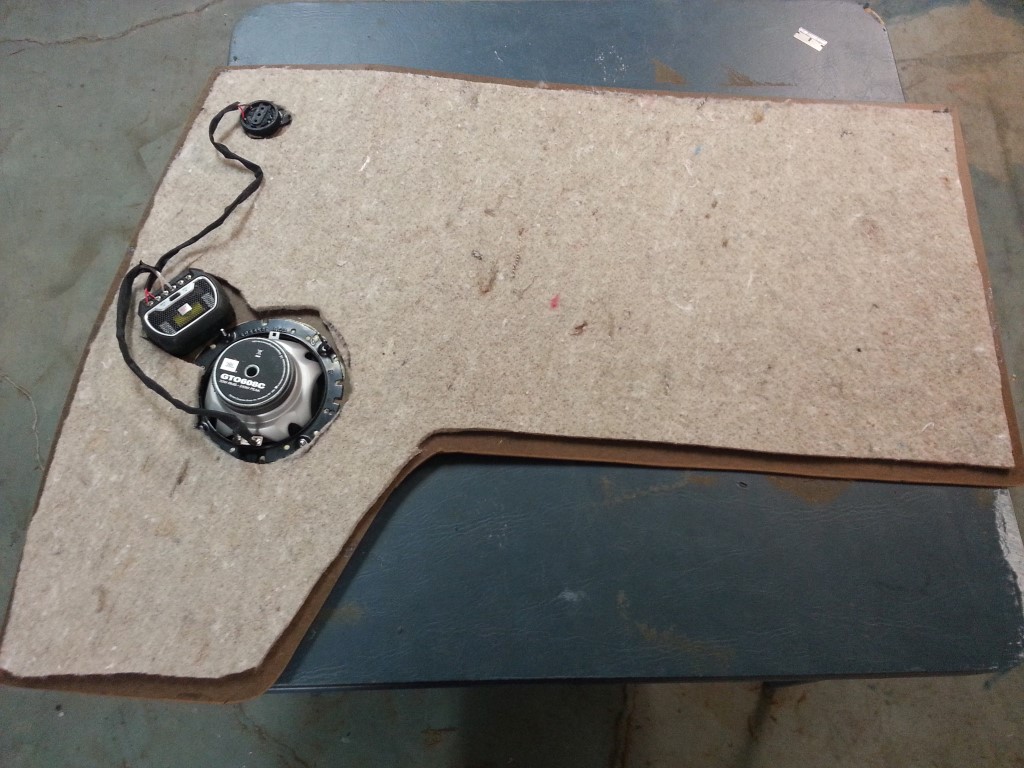
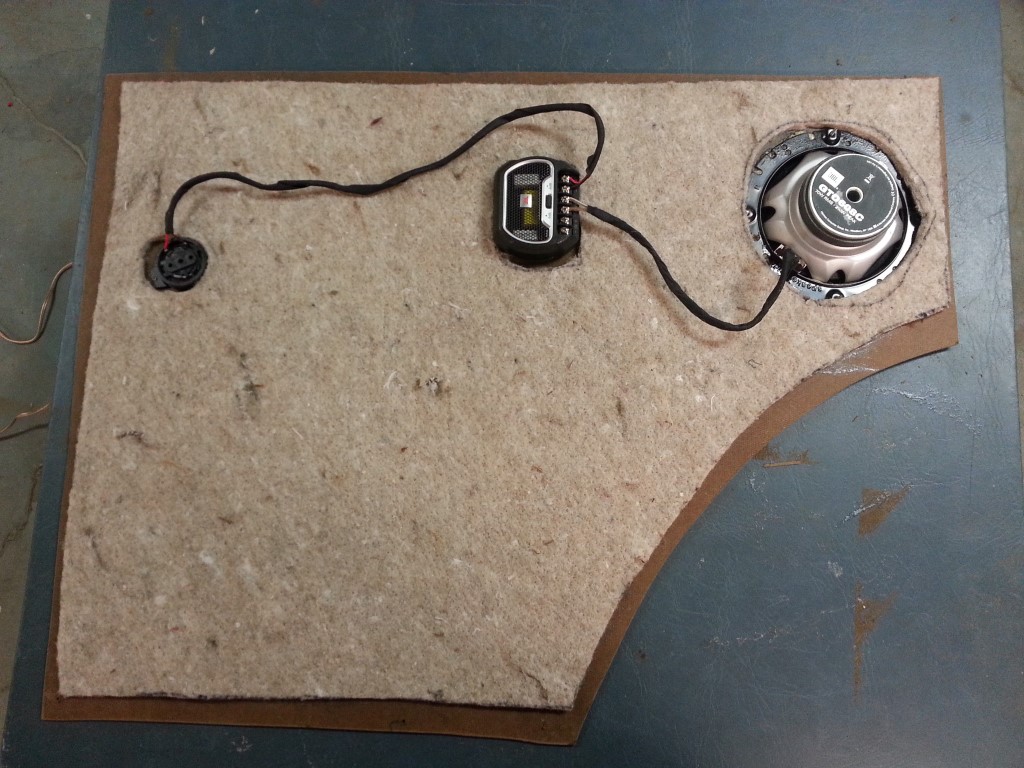
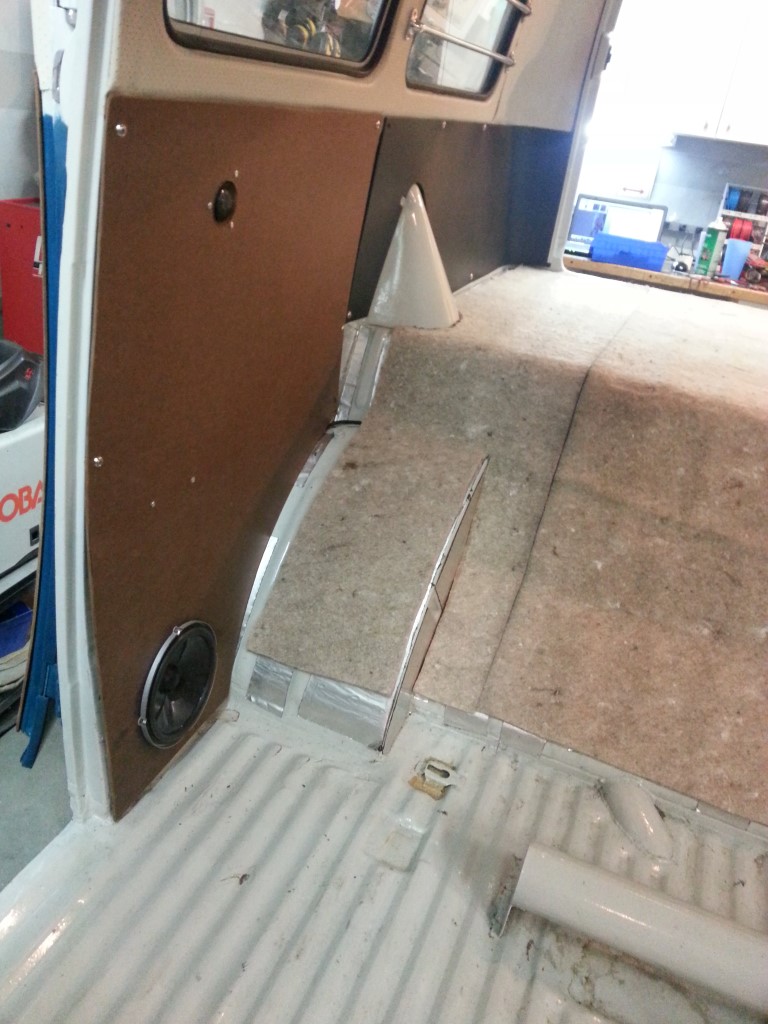
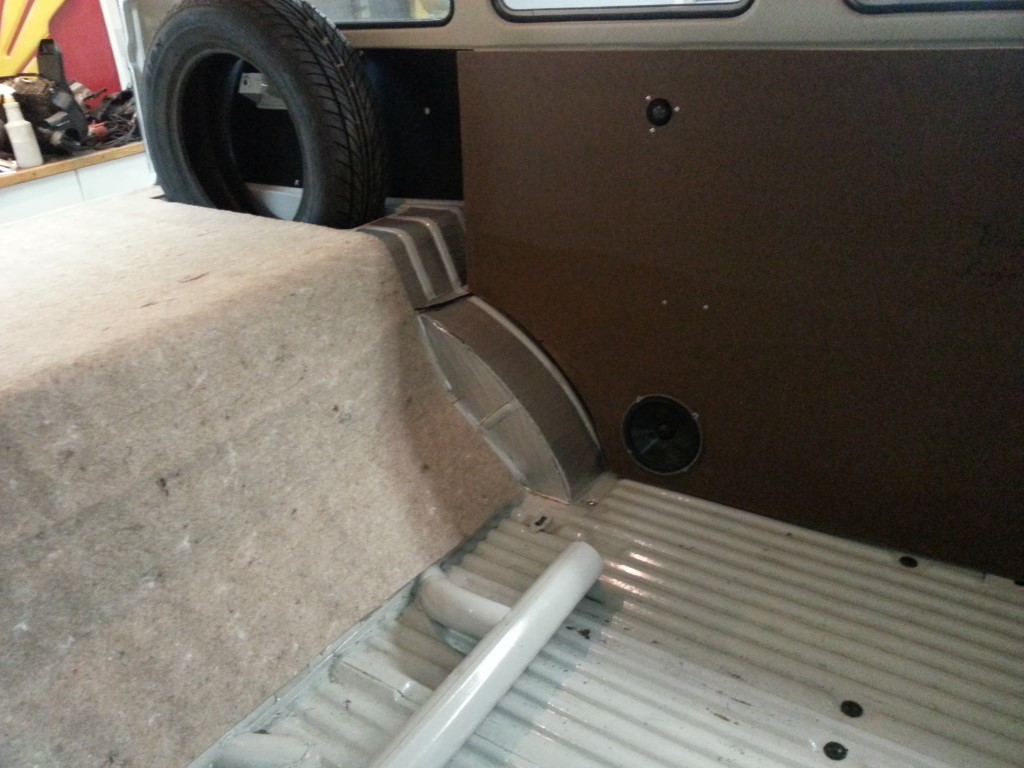
Interior Insulation & More Speakers
Since I’m again waiting on engine components, tonight I insulated the interior panels with jute insulation and added speakers to the rear interior panels. The rear speakers are lower than I’d like, but the bottom of the wall cavity is the only place thick enough (barely) to allow the speakers to sit mostly flush with the interior panel. I’ll be making era-appropriate covers for all 4 of the larger speakers that should provide some protection.
More Interior Progress
I finished several more interior panels tonight and installed the front door speakers.