Seat Belts (and Physics!)
Most of today was spent installing the front seat belts. The bus does have factory mounting points since seat belts were an option from the factory, but the factory mounting points are for lap belts only. It’d be perfectly legal to keep lap belts only, but with a metal dash and sitting so close to the windshield I see shoulder belts as a necessity. To add the shoulder belts I had to add a 3rd mounting point to the B pillar on each side. The 3rd mounting point consists of a nut welded to a chunk of 1/4″ steel plate, a slot is then cut in the B pillar, the plate & nut installed, and the slot welded shut. It’s important that the mounts are strong, time for some physics:
Stopping in 2ft from 45mph (a crash) creates a deceleration, which can be calculated as follows:
(EndSpeed)² = (InitalSpeed)² + 2(acceleration)(distance)
45miles per hour = 20.1168meters/sec
2feet = 0.6096meters
0 = (20.1168m/s)² + 2(acceleration)(0.6096m)
(20.1168m/s)²= -2(acceleration)(0.6096m)
404.6856m/s²= -1.2192m*(acceleration)
(acceleration) = 404.6856m/s²/-1.2192m
(acceleration) = 404.6856m/s²/-1.2192m
acceleration = -331.9272m/s²
331.9272m/s² = 33.83G’s
When decelerating at 33.8G’s, a 200lb mass (i.e. a person) will impart a force on the seat belt that’s calculated as follows:
F=M*A
200lb = 90.7185Kg
F= 90.7185Kg*331.9272m/s² = 30111.9377N
30111.9377N = 6769.4329lbs = 3.3847TONS
Assuming the force is spread evenly across the 3 mounting points, each point would need to withstand a little over a ton of force in this scenario. Granted, you wouldn’t want the mounts to be right at their breaking point, so I estimate each point should be able to withstand at least 5 tons. With 1/4″ plate steel I believe this has been achieved (and then some).
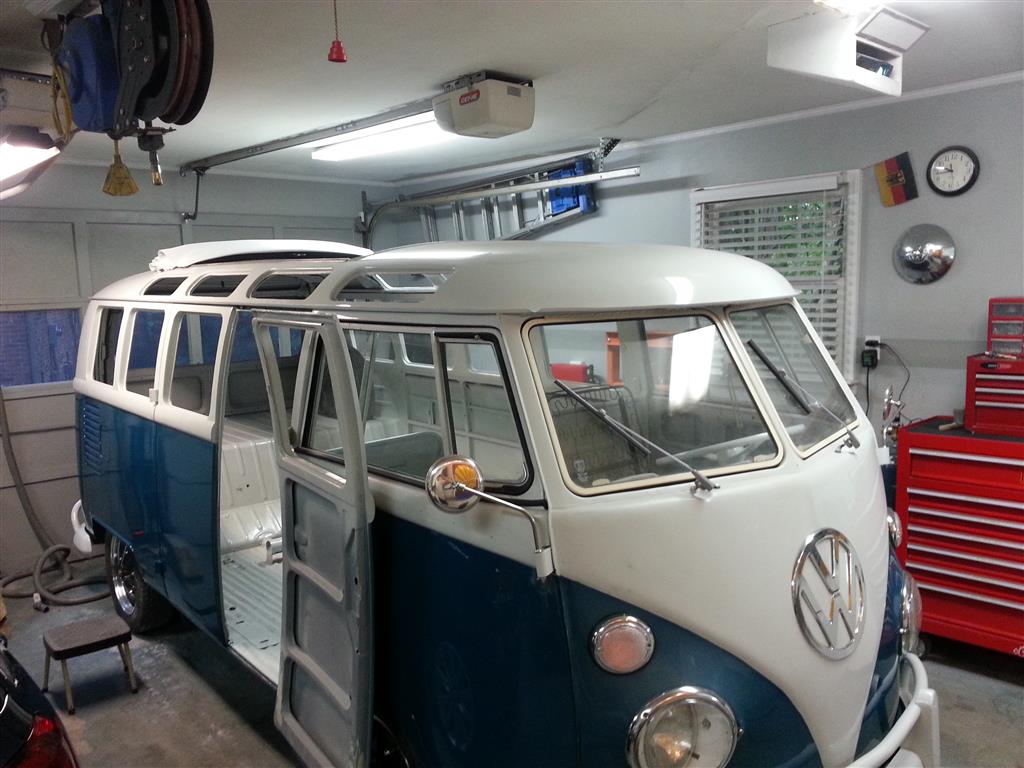
First Test Drive
I drove the bus on public roads for the first time today. It runs/drives great, but it does stall anytime it’s coming to a stop while warmed up. I was able to get around this by putting my foot on the gas during the end of each stop and pulling the handbrake lever to hold it in place, but this wont work longterm so I’ll have to look into the cause.
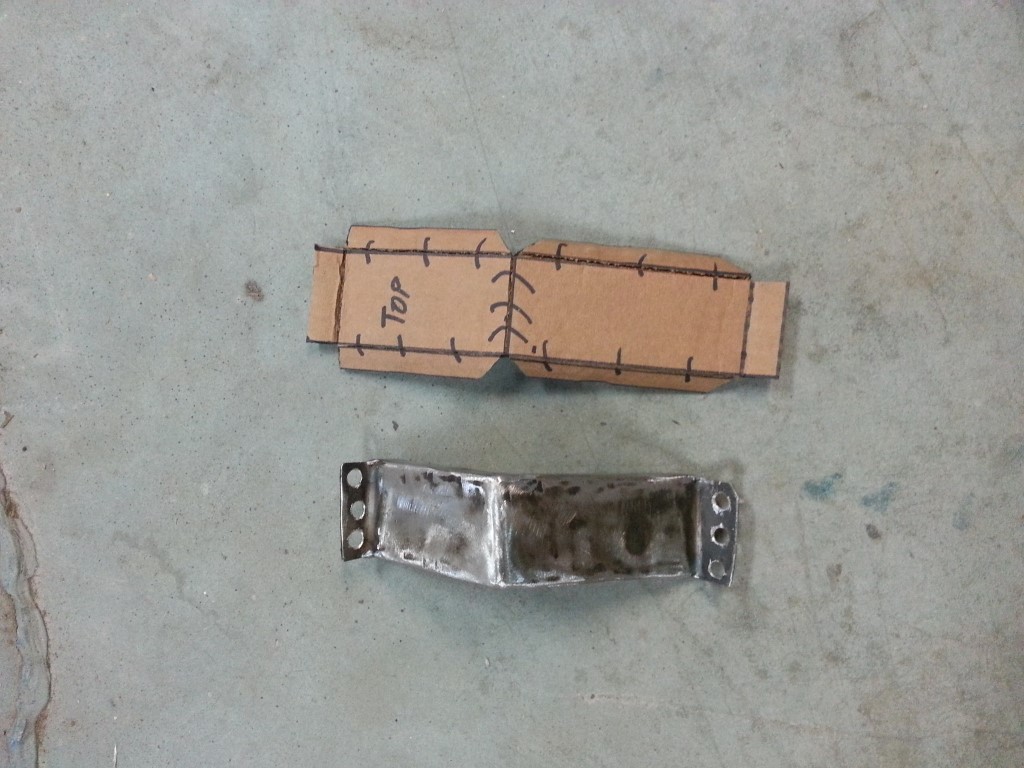
Today I also fabricated some brackets to hold the back of the passenger seat at the correct angle. These mimic the original brackets.
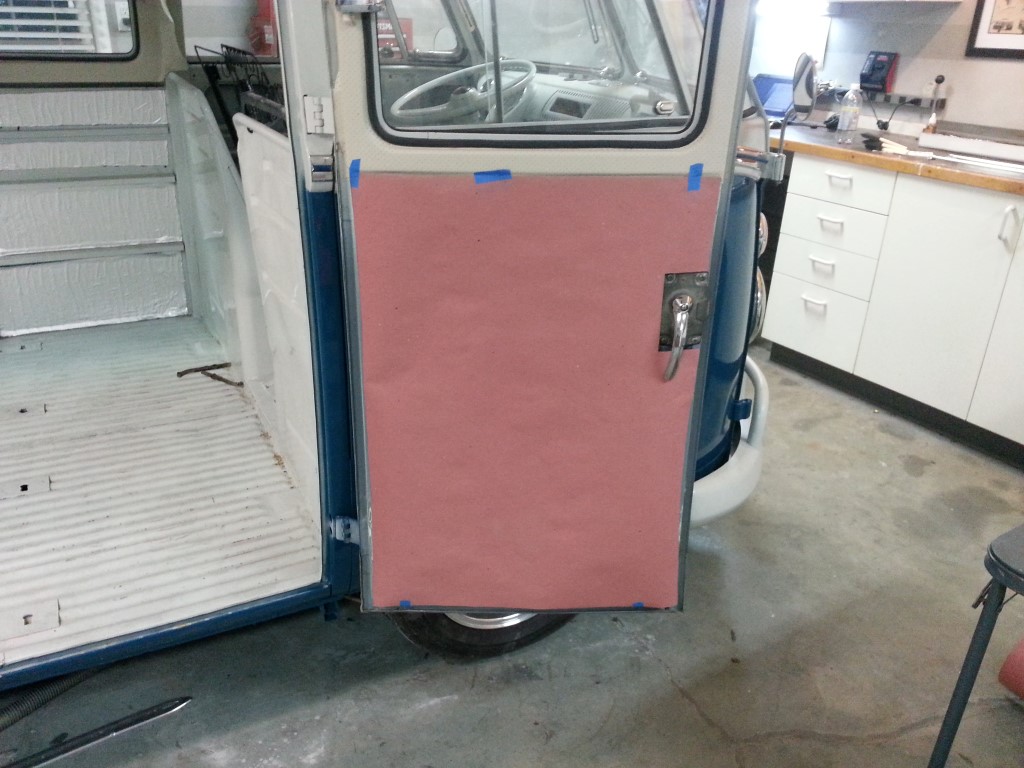
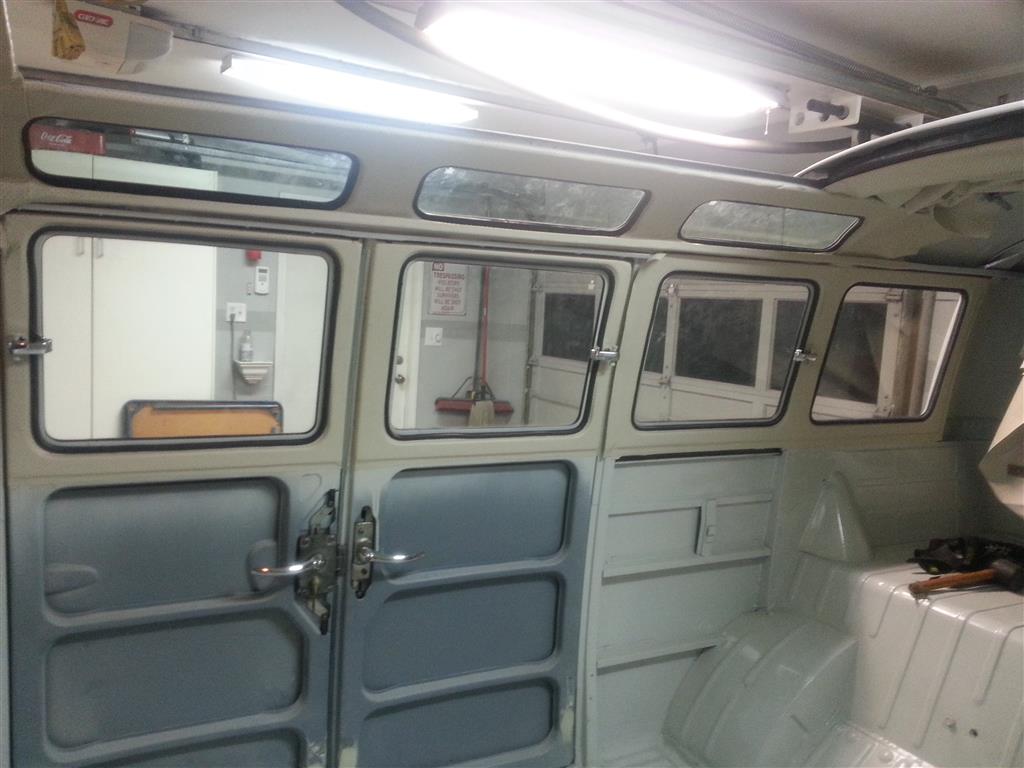
Interior Panels
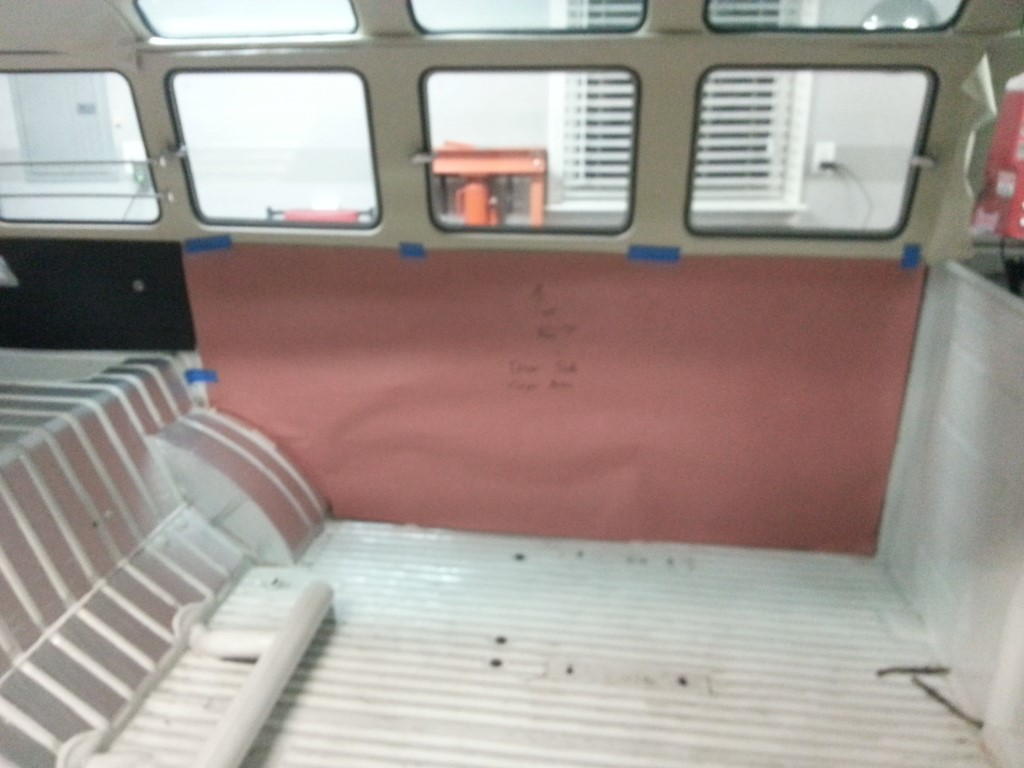
Tonight I started making the interior panels, starting with the cargo doors and cargo area side panel. First a paper template is made, then the panel is cut from 1/8″ tempered hardboard. The hardboard is an extremely close match to the original panel material, which would have been ~1/8″ tarboard. The hardboard has the same composition except is held together with dried linseed oil instead of dried tar; this type of hardboard was much more common than tarboard on other cars of the same era.
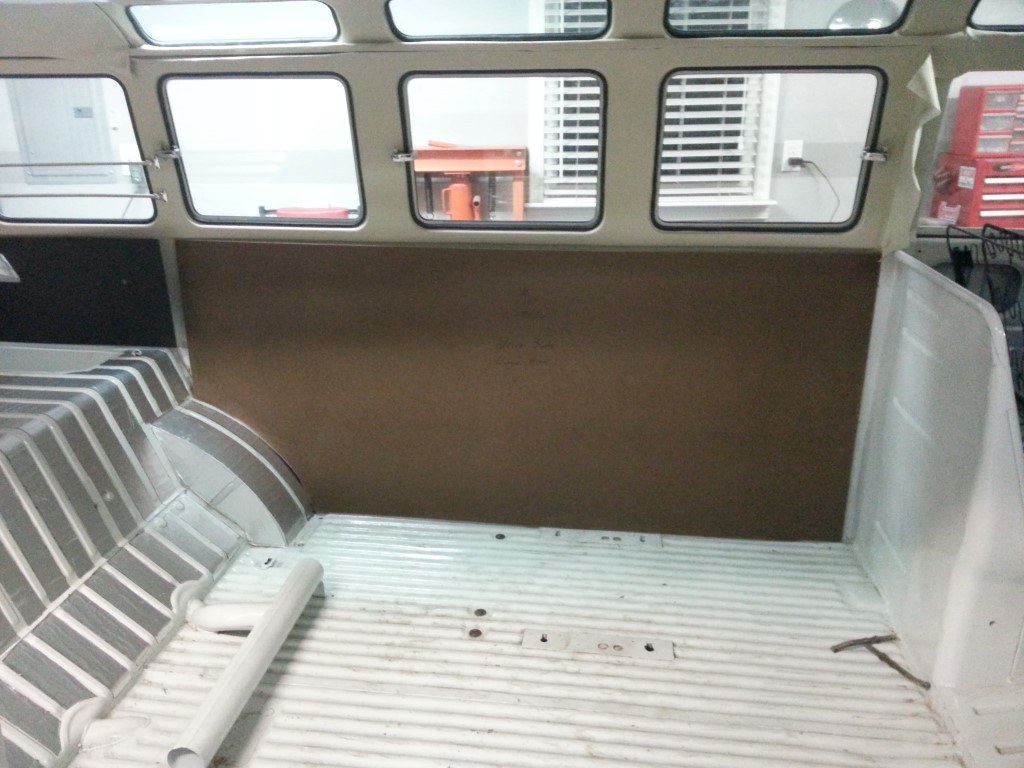
I finished 3 panels tonight and there are 8 more to go: Rear hatch, cargo area behind cargo doors, both front doors, under dashboard (2 panels), and back of both seat partitions. Once they’re all finished they’ll be covered in vinyl and mounted in place.
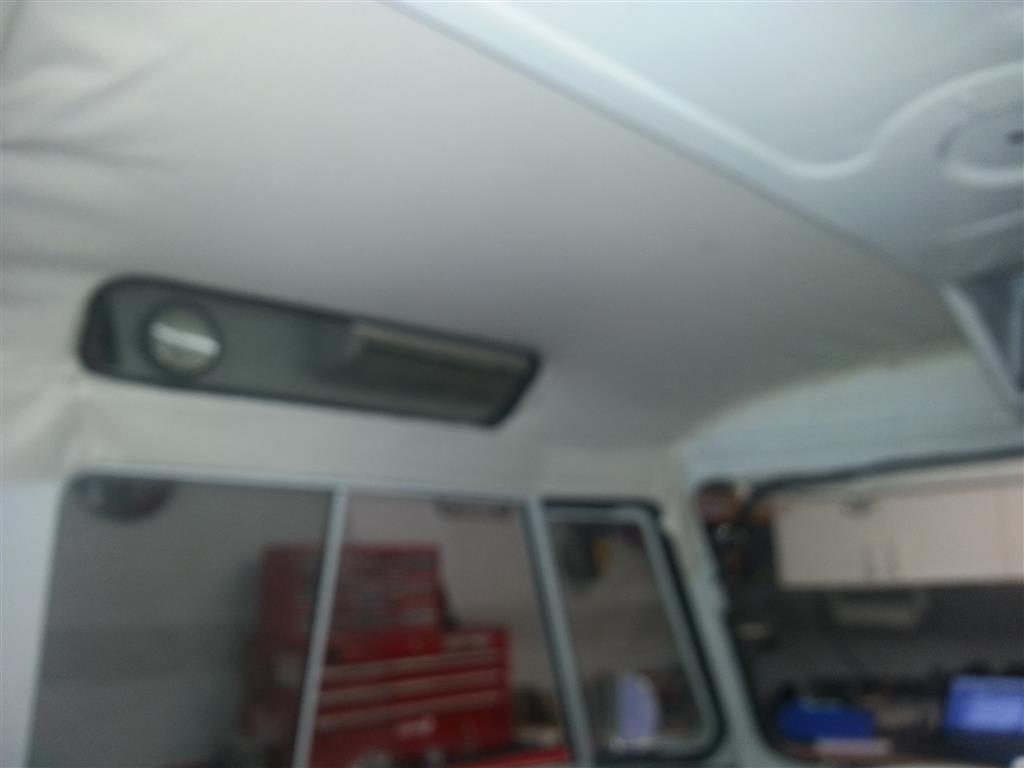
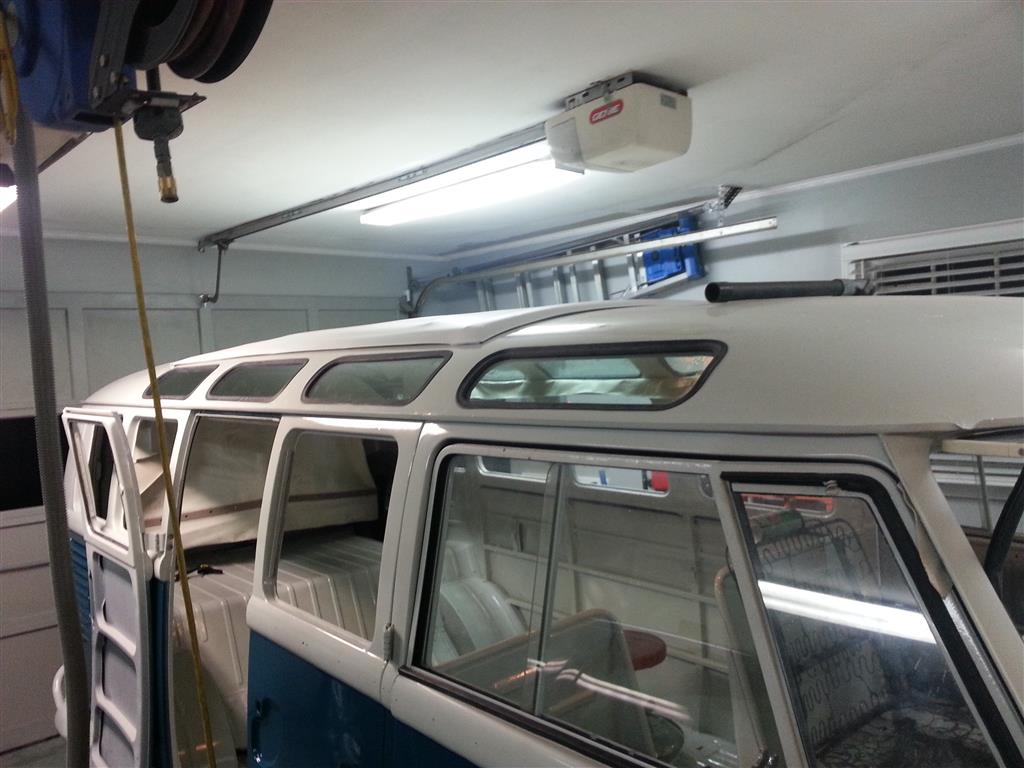
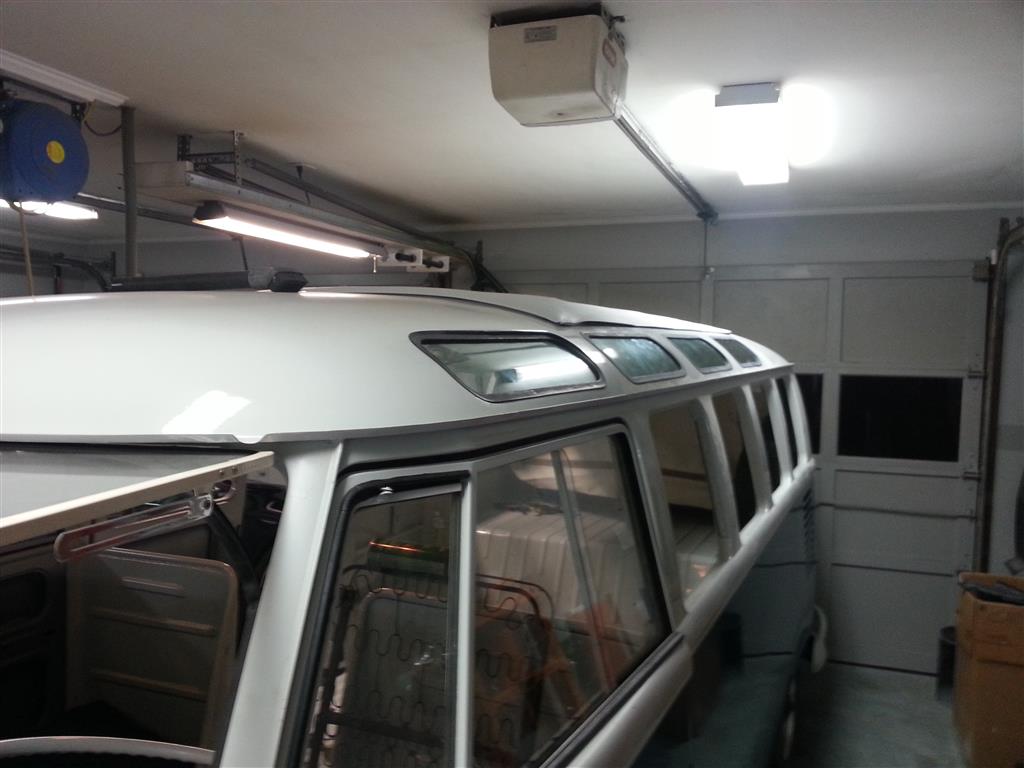
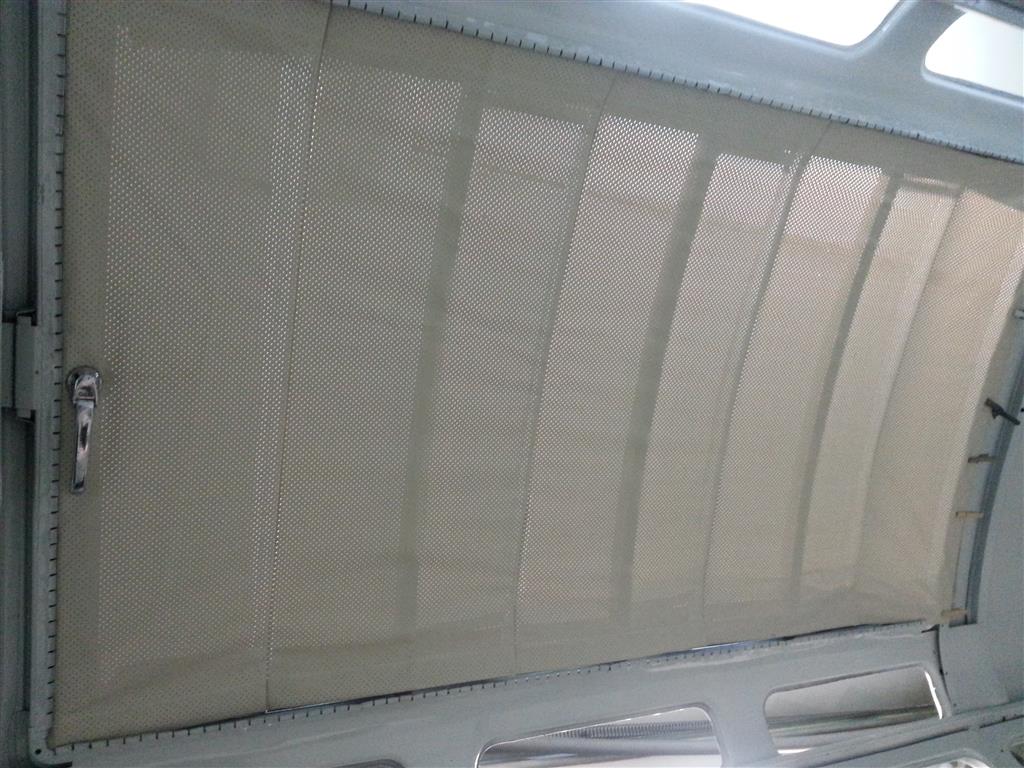
More Headliner Progress
Tonight more progress on the headliner, allowing more windows to be installed. The original deluxe molding was polished and reinstalled.
Headliner Install
Tonight I started installing the headliner and skylight windows.
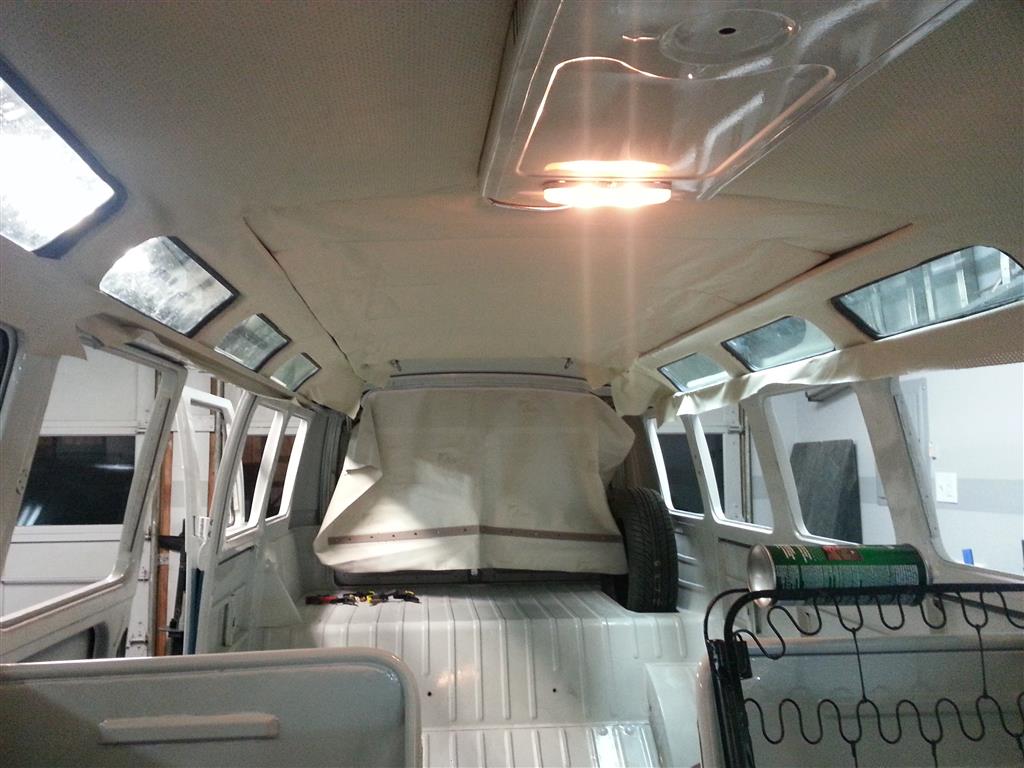

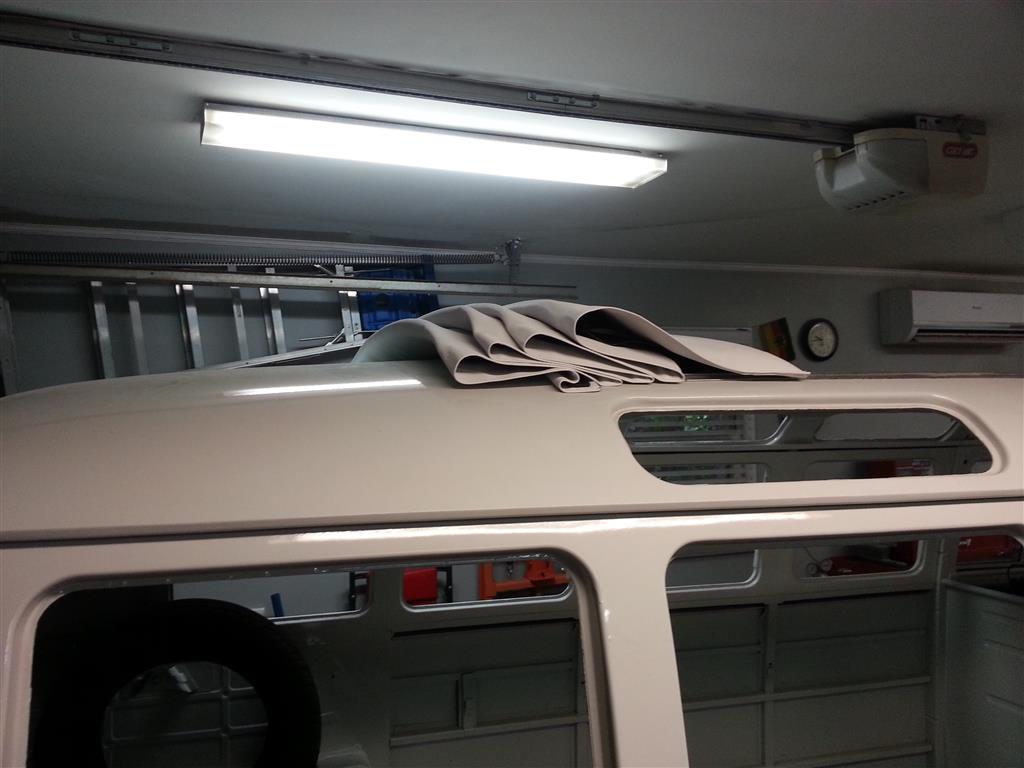
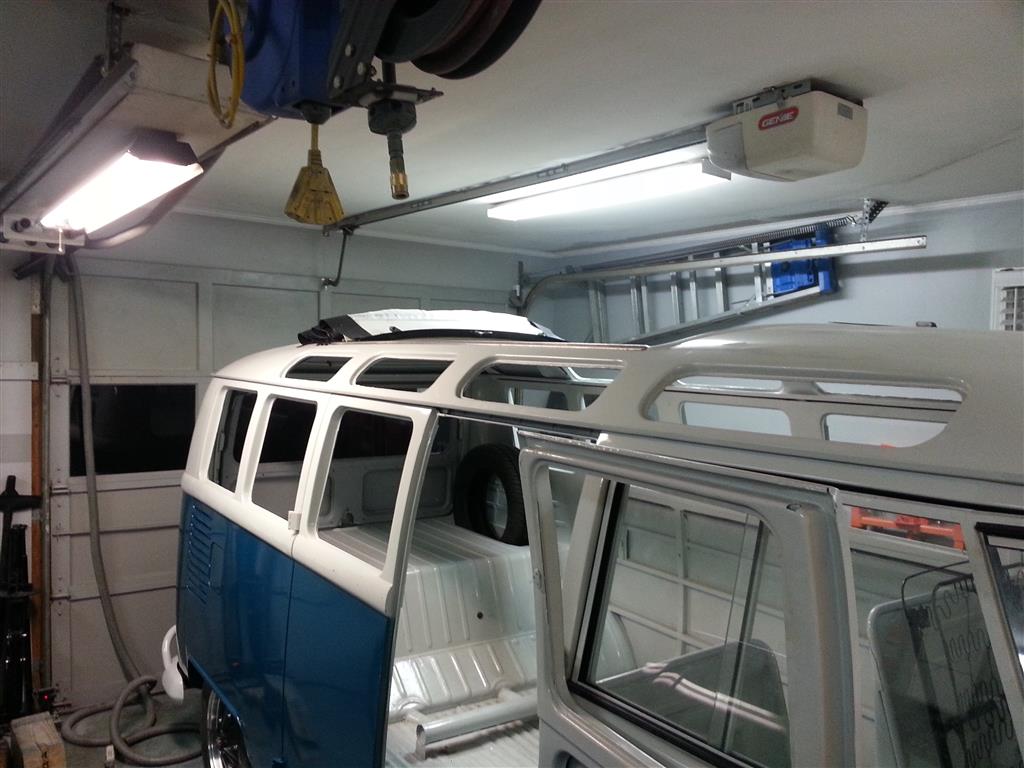
Sunroof Complete
Today the sunroof cover was installed and the sunroof is basically complete.

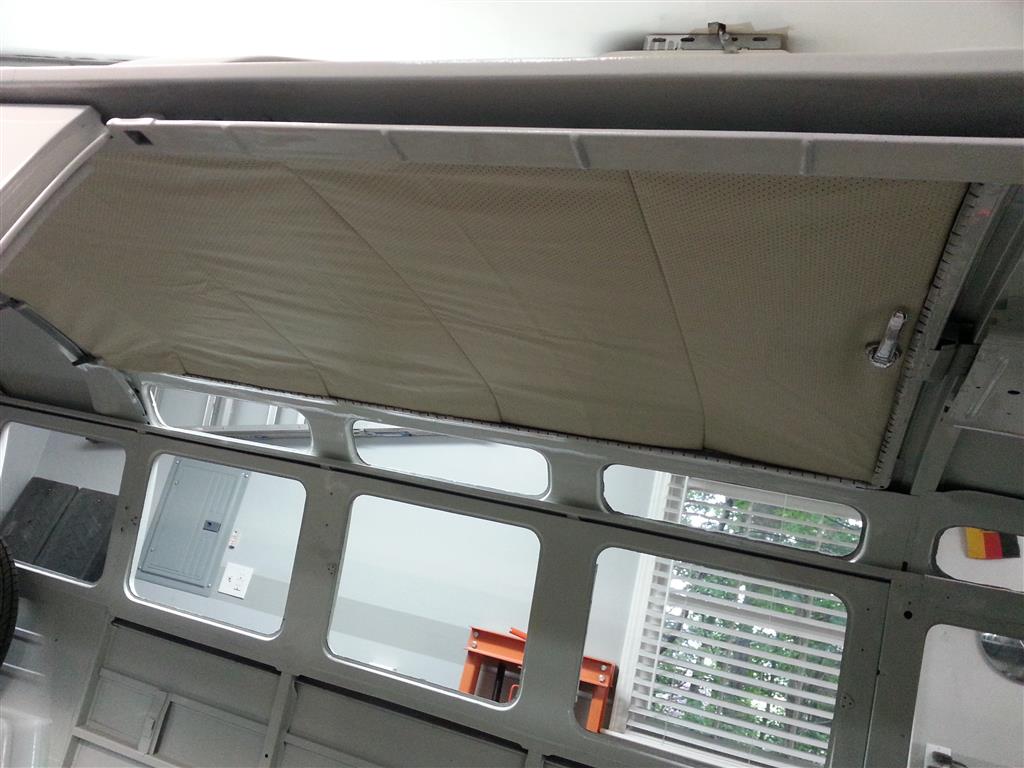


Sunroof Continued
Tonight the sunroof was assembled and the sunroof headliner sewn to the the sunroof frame.
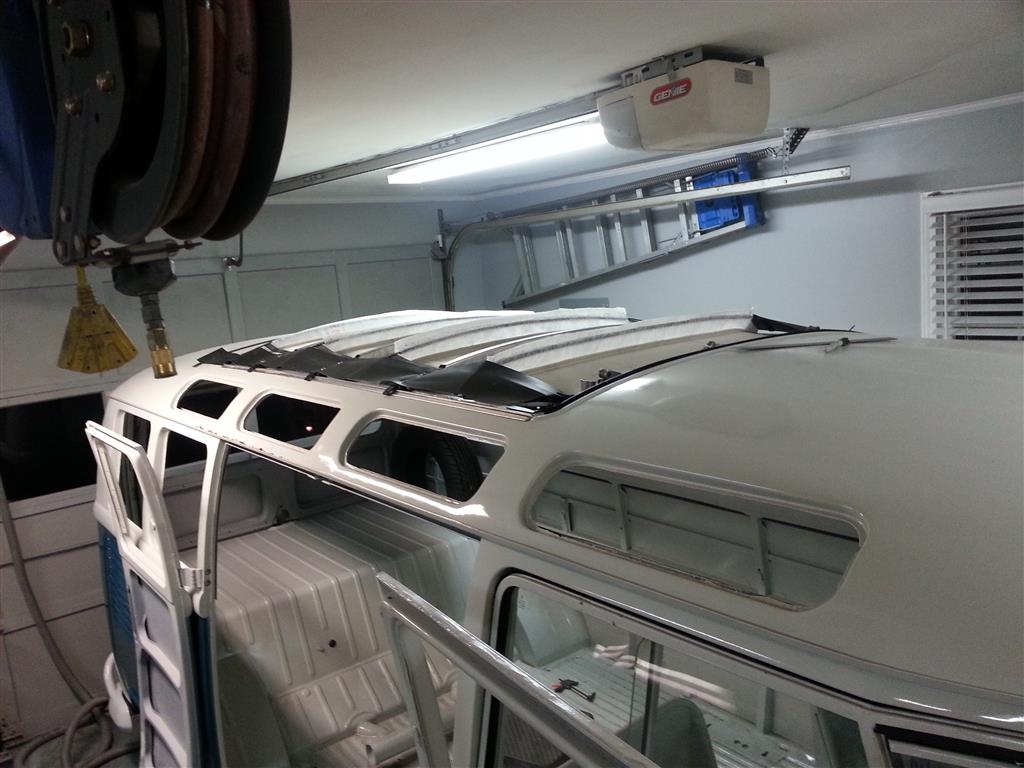
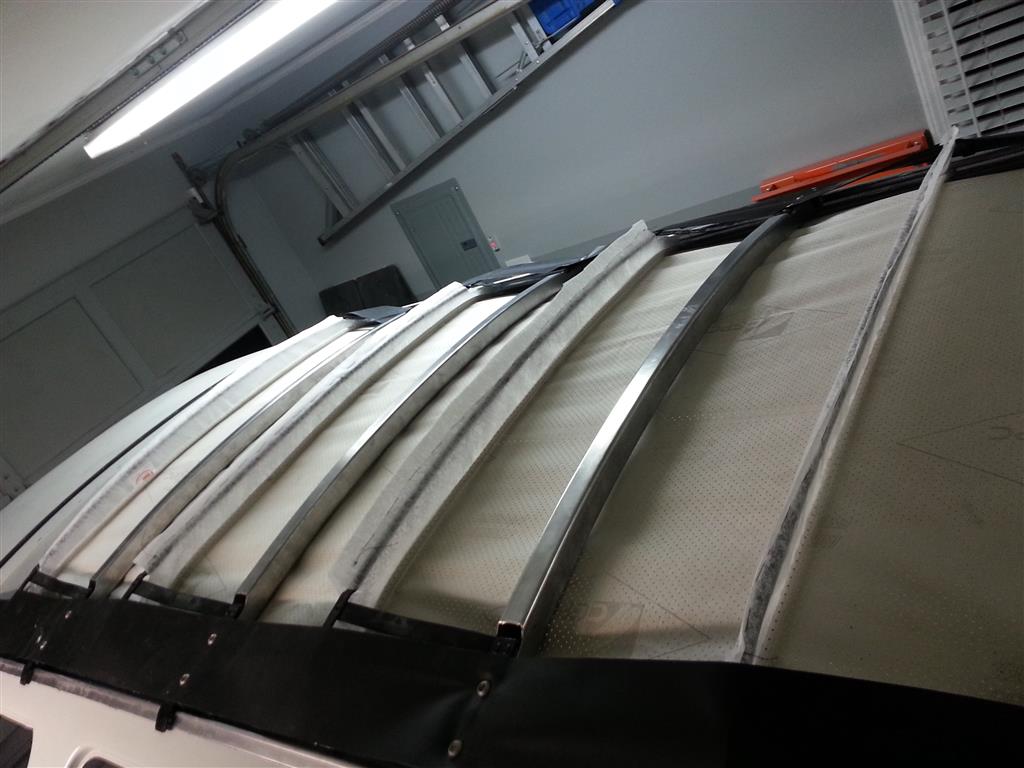
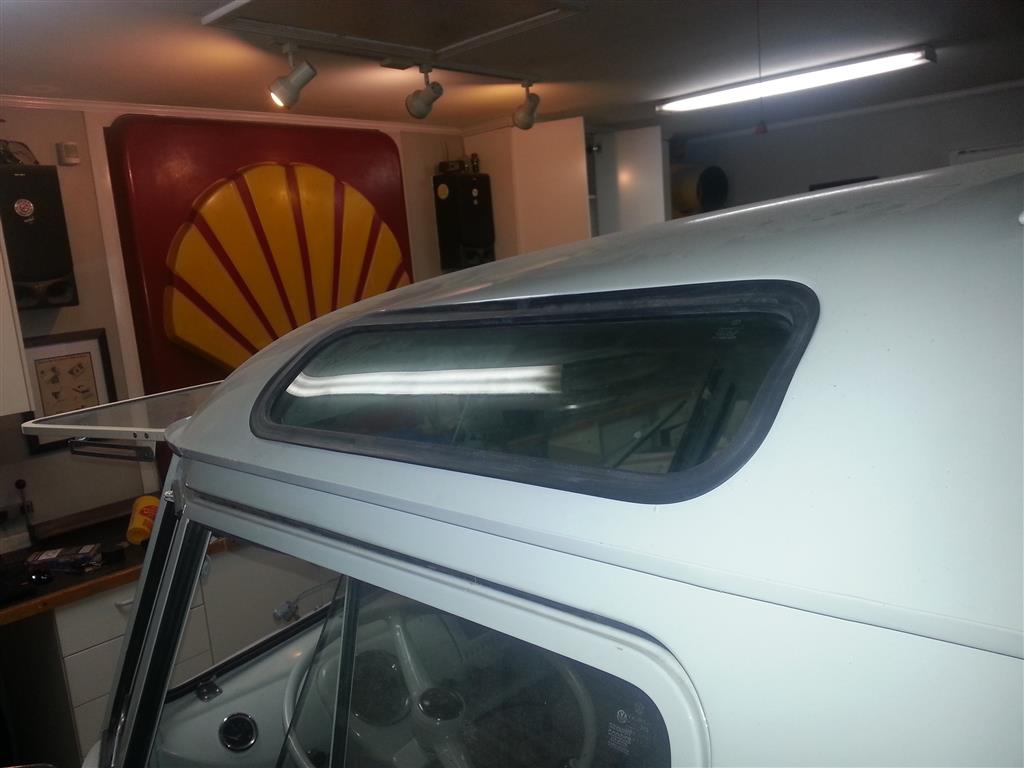
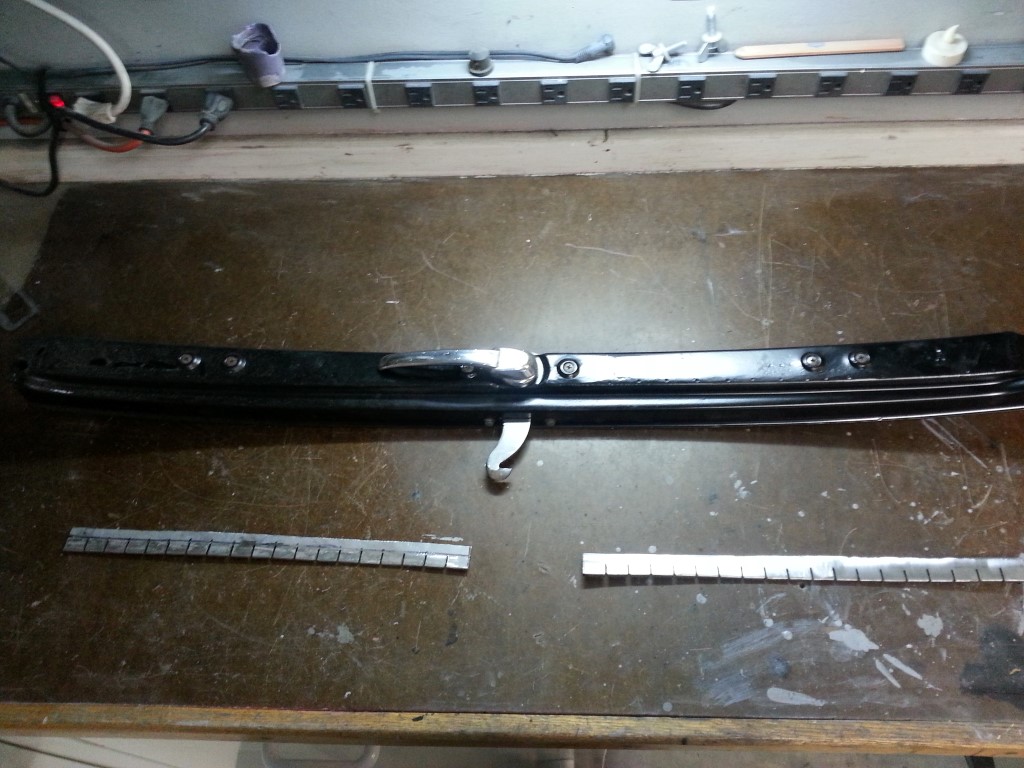
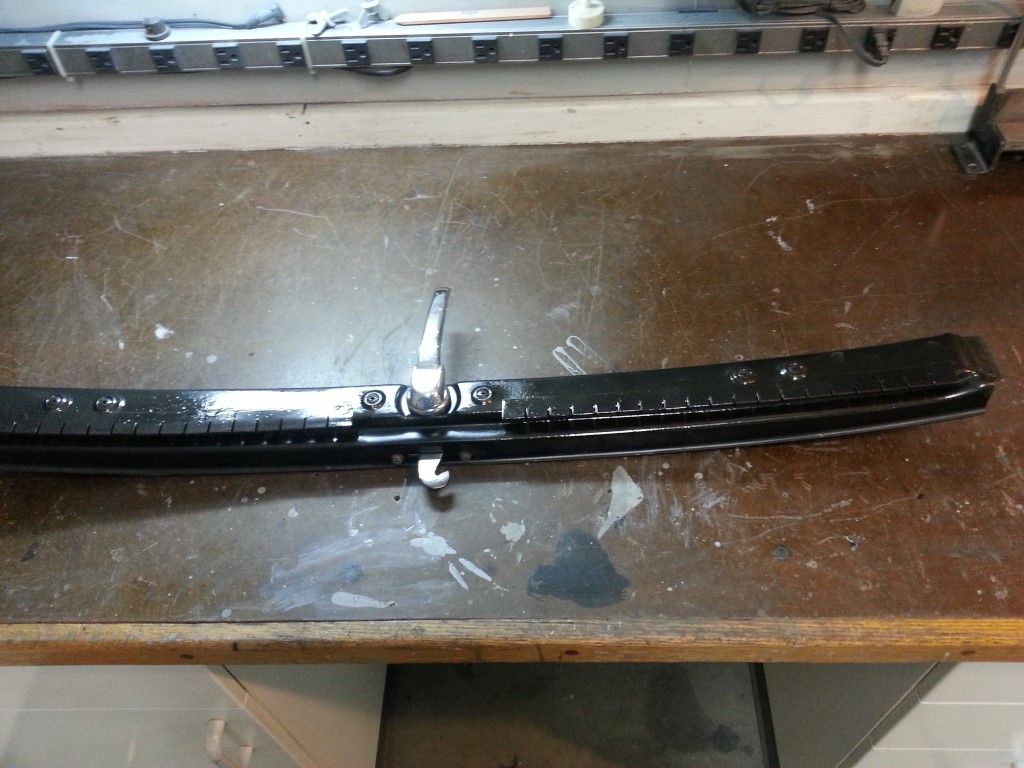
Sunroof
Today I worked on installing the sun roof. I polished and installed the aluminum tracks on the roof, assembled all the various pieces and installed the tension straps that keep the bows spaced correctly. Now that it’s all together I’m beginning to wrap my head around how it works; it’s actually simple, it just looks complicated because of all the pieces.
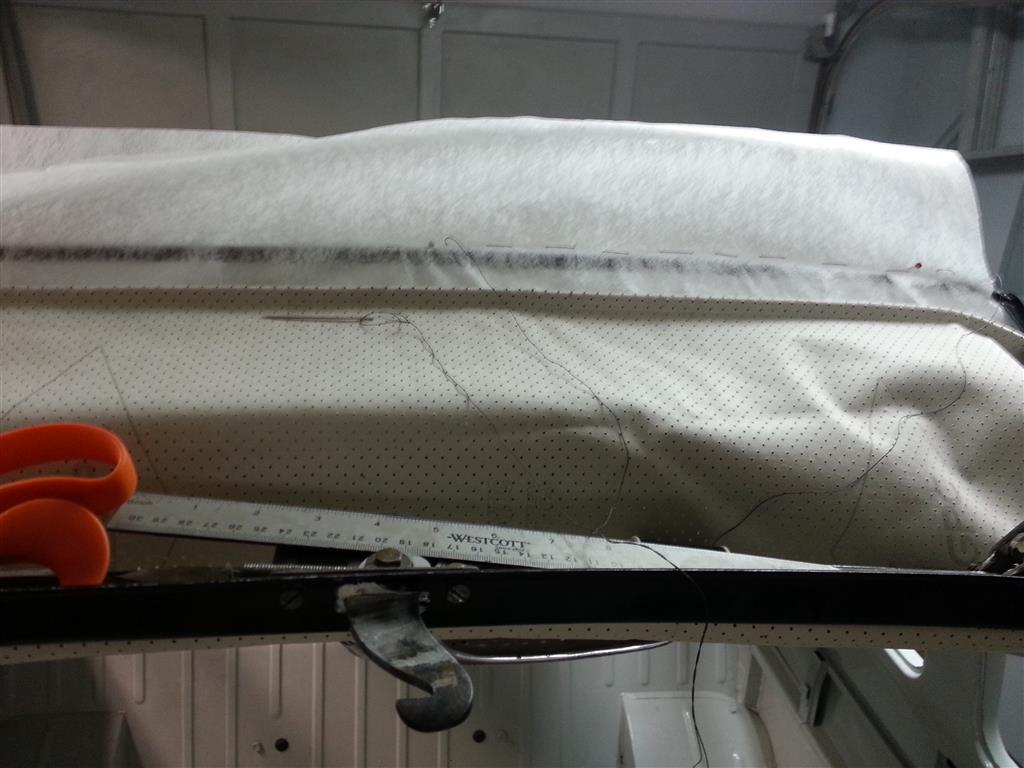
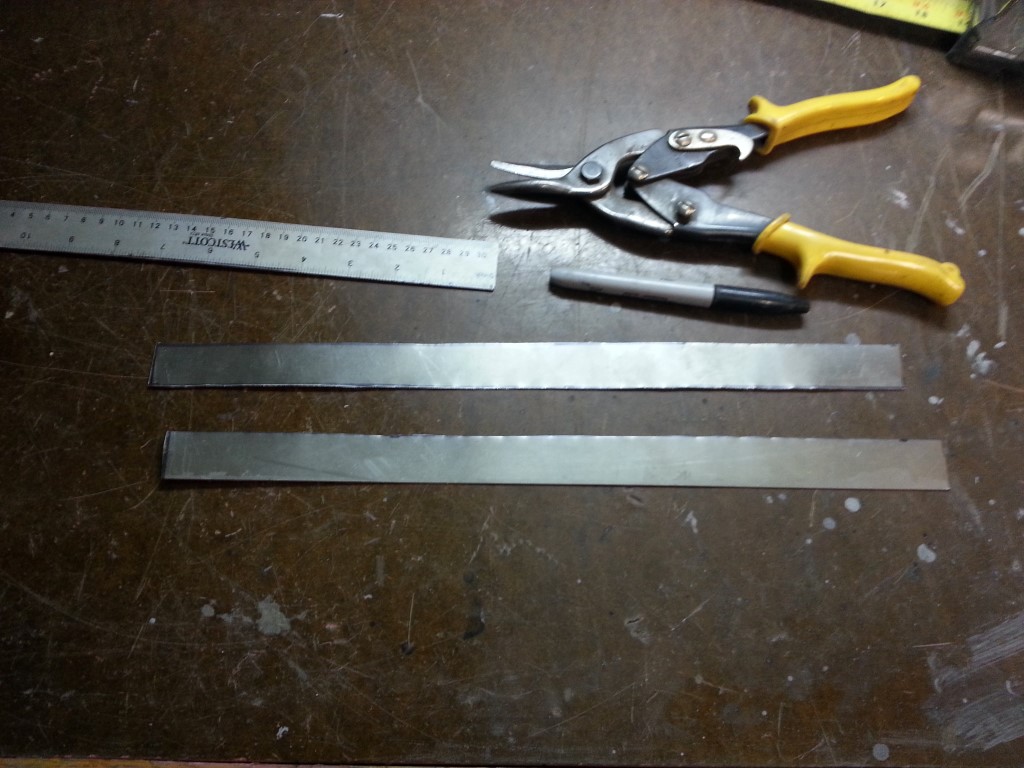
The forward-most sunroof bow was in mostly OK condition, I had blasted and painted it a while ago, however the metal tabs that hold the headliner had mostly rusted off. The tab strips aren’t available, but they’re easy enough to make, so I did exactly that. Once the strips were made they were welded to the bow and painted. These metal strips fold over a thin strip of plastic that’s sewn to the edge of the headliner fabric.

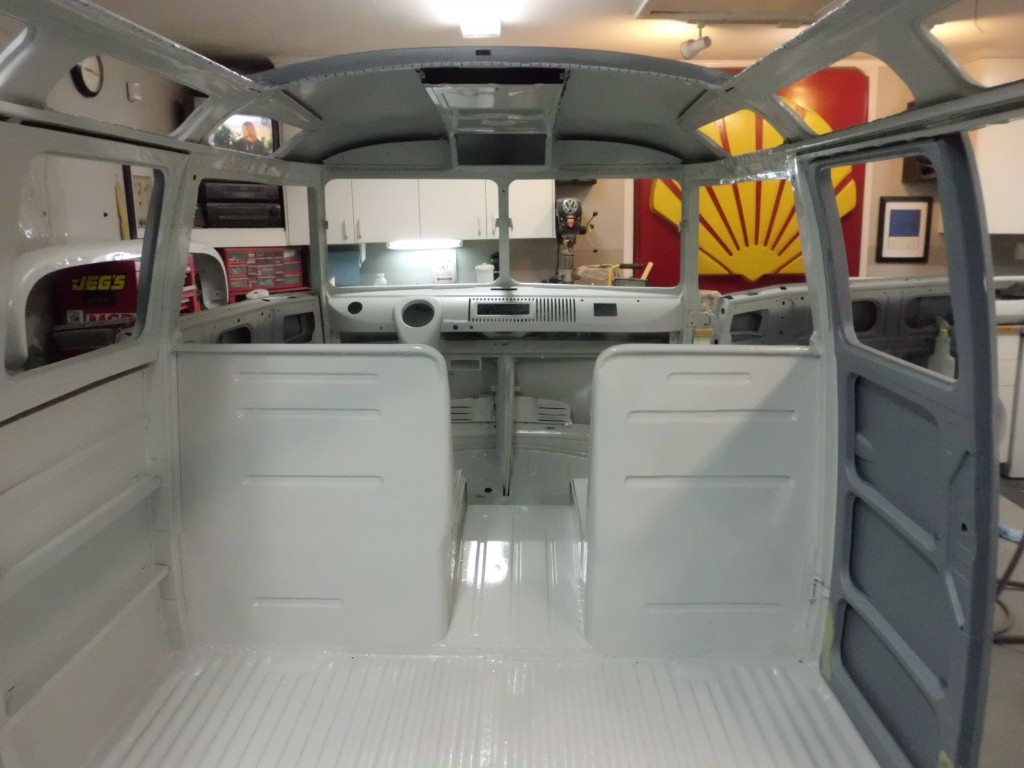
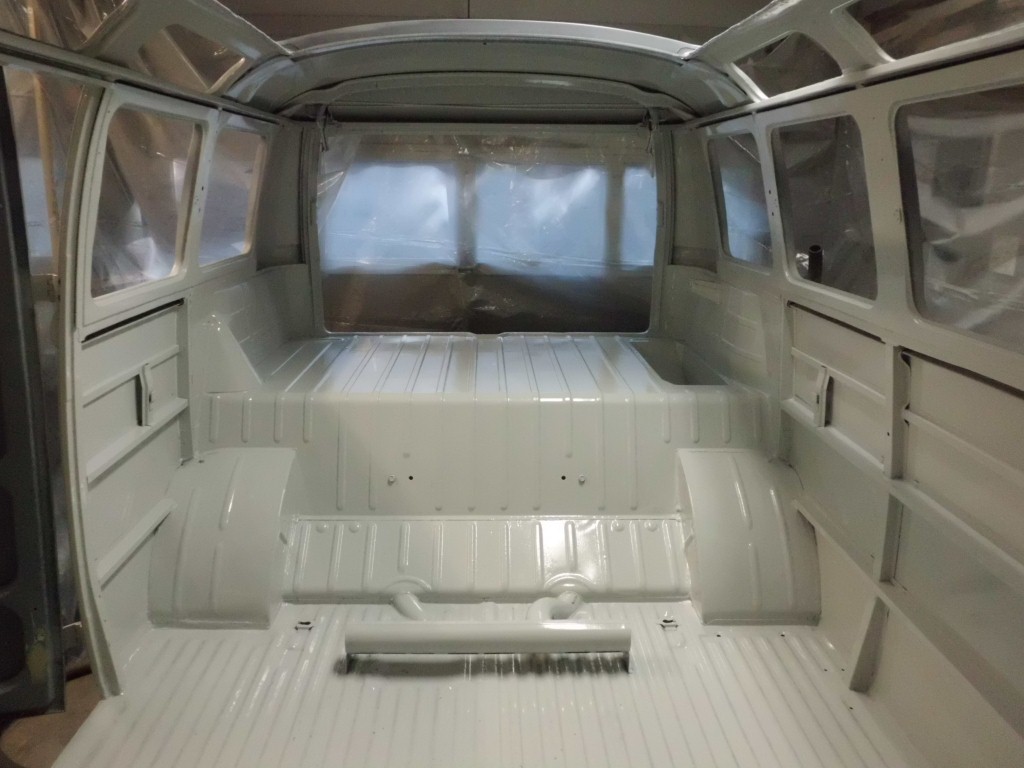
Interior Painted
Another big day in the bus restoration – The entire interior has now been painted. Much of what can currently be seen will actually be covered by either the headliner, carpet, or cover panels but it was worth painting to add another layer of corrosion resistance and to have a clean/consistent surface to attach the headliner, carpet, and acoustic/thermal insulation. This is somewhat “over-restored” because the Hanover Germany plant would have just painted the exposed surfaces and settled for a light coating of over-spray everywhere else on the interior. The next step is to block off all the window openings with cardboard so the inside stays reasonably protected from over-spray while the outside is completed.

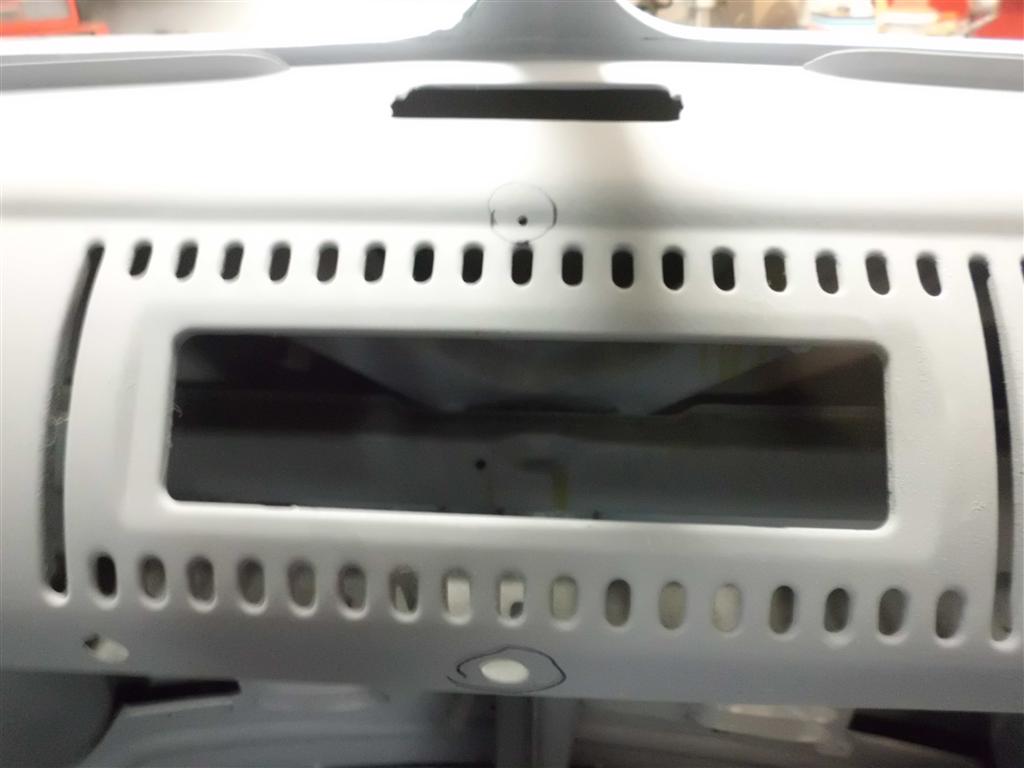
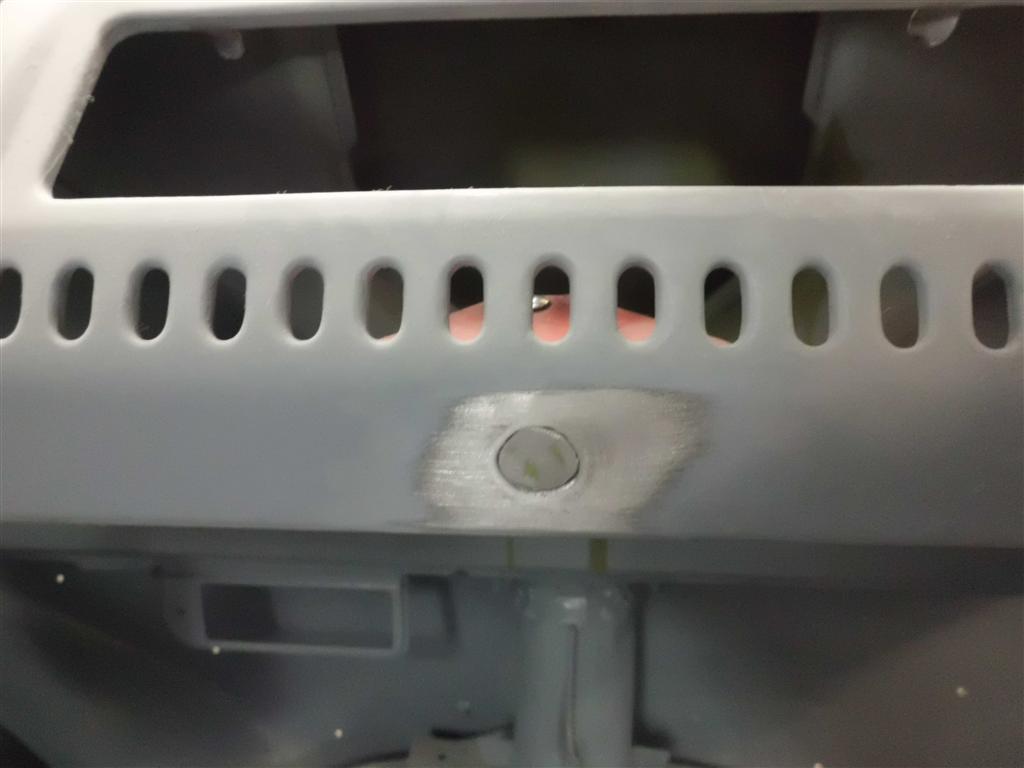
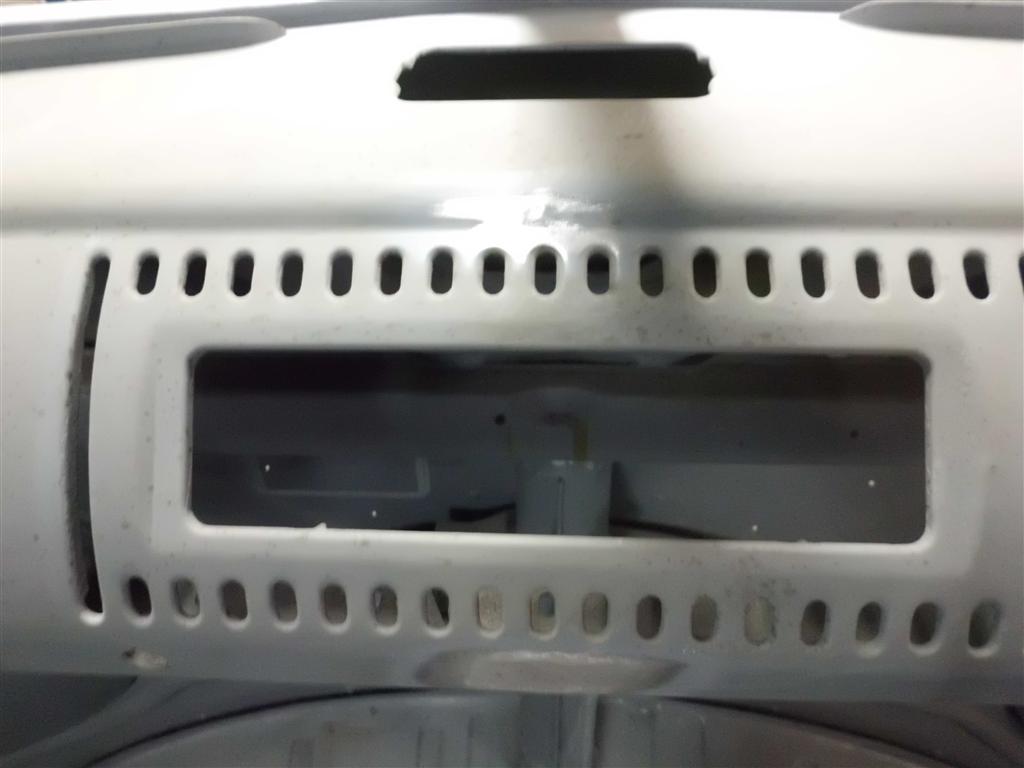
Dash Holes Patched
In the process of organizing small parts and inventorying what parts are missing I discovered that there were two extra holes in the dash: one small screw hole above the radio hole, and another larger hole under the radio hole that was probably used for an extra switch at some point. After making/fitting a patch for the larger hole, both holes were welded shut and ground down. Also, the lower half of the accelerator pedal hinge was welded to the floor, as original.