-
Recent Posts
Recent Comments
Category Archives: Bus
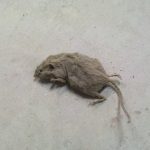
Eine Maus!
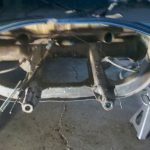
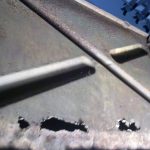
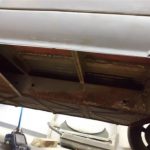
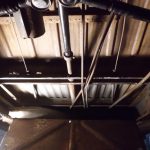
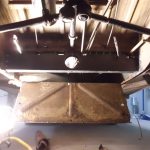
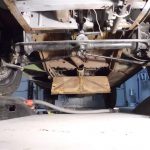
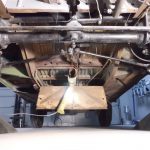
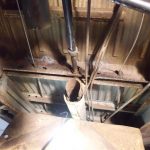
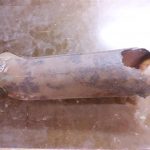
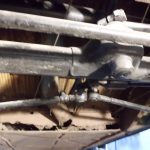
Tonight I pulled out the transmission (it’s surprisingly easy) to allow access to clean and paint the area above/around the transmission. With the transmission out it was easy to see what had been blocking one of the heater channel entry points just above the transmission, a mouse! It was basically mummified so I’m sure it had been there since the bus was stored outside. Also, over the weekend I had cleaned/painted the underside of the belly pans but didn’t post or take any pictures, so I took a picture of the underside tonight.
Made Where?
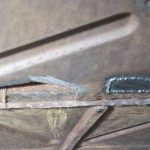
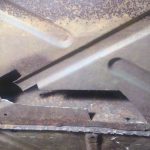
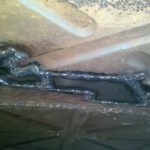
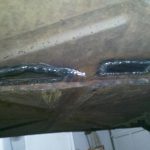
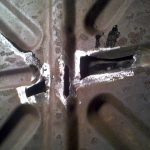
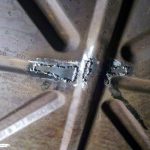
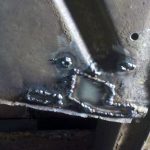
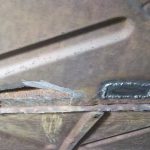
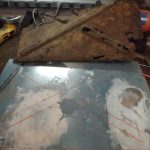
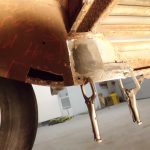
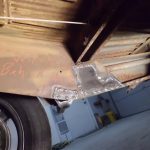
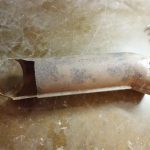
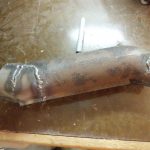
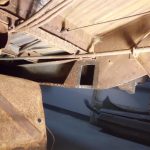
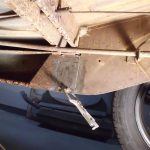
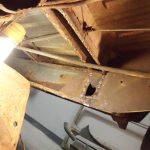
I got the bus back onto its wheels and have it raised as high as it will go for the next steps. I’ve been putting this off for a while but the last remaining metal work is to the center crossmember and passenger side front ‘belly pan’. It looks really bad but it’s actually very well isolated to the crossmember and heating duct. It appears that water came into the crossmember from the drain holes above and, with it’s own drain holes clogged, the water stayed in the corssmember, rotting it. The bus structure is a uni-body design, being supported by a complex web of parts instead of body-on-frame construction; so although I wouldn’t want to drive it this way there isn’t any danger of the entire bus becoming warped due to having this piece (temporarily) missing. My next step is to cut this crossmember out and weld in the new one. While everything is setup for easy underside access I’ll also POR15 the entire underside to stop the surface rust.
I also connected the parking brake, clutch, and shifter linkages; these will need some tweaking and a few small parts but are generally working for the first time since I’ve had it. The next action in this category is to get the hydraulic brakes working; this will mainly consist of replacing all of the steel brake lines, making the connections, and bleeding the brakes.
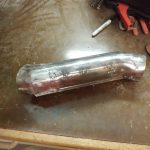
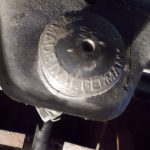
As for the title of this post, look closely at picture #1 “Made in W. Germany”; in 1967 Germany was still 23 years away from reunification.
Assembly begins
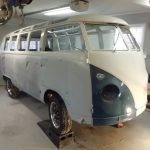
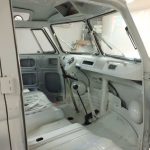
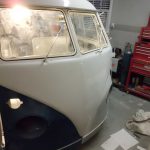
I wet-sanded and polished the dash and the drivers side half of the nose. With this complete it allowed installation of parts to begin. The safari windows and dash instrumentation were all installed. The dash and nose were the first parts I painted so I expect that more wetsanding an polishing will be needed here when I see it in direct sunlight for the first time; it should be minor though so I’ll be able to do this without removing anything.

