-
Recent Posts
Recent Comments
Category Archives: Bus
Interior Painted
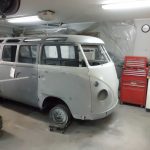
Another big day in the bus restoration – The entire interior has now been painted. Much of what can currently be seen will actually be covered by either the headliner, carpet, or cover panels but it was worth painting to add another layer of corrosion resistance and to have a clean/consistent surface to attach the headliner, carpet, and acoustic/thermal insulation. This is somewhat “over-restored” because the Hanover Germany plant would have just painted the exposed surfaces and settled for a light coating of over-spray everywhere else on the interior. The next step is to block off all the window openings with cardboard so the inside stays reasonably protected from over-spray while the outside is completed.
See Blau!
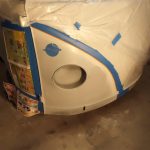
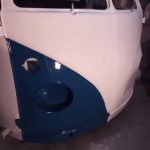
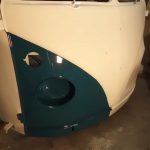
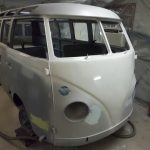
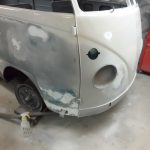
Half of the nose received a few coats of see blau (lake blue AKA sea blue) today. This was done to prove the taping method prior to painting the rest of the bus, and also as a test of a new spray gun. The new spray gun performs substantially better and I’m able to leave much less orange peel and runs with it. The area is first masked with regular painter’s tape, staying about 1/8″ away from the trim line. After the regular painter’s tape is on it’s followed up with 1/4″ flexible fine line tape flush with the trim line and overlapping the painter’s tape. The smaller fine line tape is much easier to peel off of the wet tape without making a mess, and that’s possible to do since it ends up on top using this method. This also leaves the edge of the masking tape dry, making it easier to remove cleanly. (The white area has been wetsanded in preparation for polishing, which is why it isn’t yet as shiny as the freshly painted blue area)
Pop-Out Window Assembly
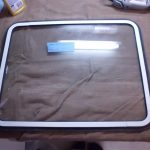
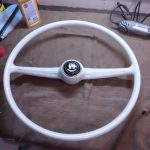
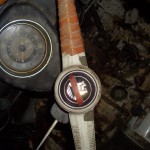
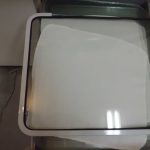
Tonight the pop-out window frames had dried enough to assemble into pop-out window units, each consisting of: 2 frame halves, 2 rubber seals, and 1 glass pane. Four of these windows open toward the back of the bus and two open toward the front; because of this, and in order to keep the original “Sekurit” logos (1960’s and present glass supplier to VW, now “Saint-Gobain Sekurit”) oriented correctly, there are four different assembly combinations that must be made. The hieroglyph on the masking tape is a reminder as to what window position the particular popout was assembled for; with any luck all the “Sekurit” logos will end up in the right spots. I installed the horn button assembly into the steering wheel; for comparison I’m re-posting a steering wheel picture from 7/2009, it’s come a long way! The “before” picture actually makes it look better than it was since the wheel was badly cracked underneath the steering wheel wrap.
Part Test Assembly, Front Door Progress
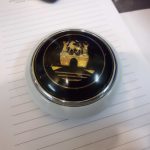
The passenger front door got a coat of high build primer over the body work and was wetsanded, it’s now ready for blue paint once a few areas inside the door jambs are finished. A final coat of white was added to the rear bumper and steering wheel. The steering wheel center was dry enough to test fit the horn button; this was polished a month or so ago and although it’s not perfect it is original to the bus and looks much better than the starting point or any reproduction. See the first post on the site (7/1/2009) for an idea of what this originally looked like. I also test fit the popout window frames to the glass and seal; this worked well and window assembly should go smoothly once all the frames are ready. The front bumper is now ready for wetsanding/polishing, and assembly; one of the trim pieces was polished and turned out very nicely.
Bumper Paint, Flow-through Vent Assembly
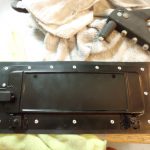
Today the front bumper was painted white as well as the rear bumper, steering wheel, and various small parts; The nose also received a second coat since the experimental wetsanding/polishing had left a few places too thin. In preparation for the first blue coat, the passenger side door was painted white above the trim line and some bodywork was completed on the door bottom. The flow-through ventilation flap that was painted yesterday was riveted back together with a new rubber seal; it doesn’t look like much but it’s exciting since it’s one of the first pieces to be re-assembled after going through the entire sandblast>clean>epoxy>highbuild>paint assembly line.
Front Bumper Primed, Small Parts Painted
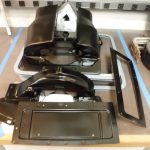
The front bumper was further improved today by first epoxy priming, followed by high-build priming. Various small parts (many more than pictured) were epoxy primed and then painted black. Wetsanding and polishing supplies also arrived.
Front Bumper Towel Bar Progress
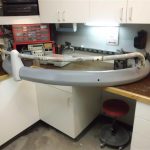
Tonight the “towel bar” on the front bumper was stripped, further bent into shape, and then the dents were filled. This part will still require a bit of work to make acceptable. Since it’s tubular it will never be 100% perfect; for a 45yr old bumper I can live with that. The only other way would be to find one that is perfect (unlikely) or to fabricate one from scratch. I have a long weekend this week so I should start to make lots of bus progress beginning tomorrow.
Front Bumper Mock-Up
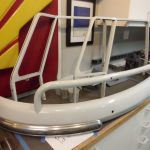
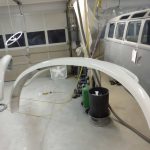
The front bumper over-riders and “towel bar” were assembled onto the front bumper to check the fit of the towel bar. The towel bar came from a different bus and had a fair amount of denting and deformation. Initially the holes did not line up by several inches; a 1/16″ relief cut in exactly the right spot was all that was needed to allow the bar to bend and the holes to all align. Much of the bodywork for the towel bar will be done with it assembled to the bumper to avoid causing any warping that would prevent reassembly. Also, small parts were organized into a rough assembly line, progressing from right to left. Some sub-assemblies are very close to the point where they could be re-assembled but are waiting on a part or two to be finished.
First Paint on Body!
I haven’t updated in a while; there has been some undocumented progress prior to today however work on the bus was mostly stopped while outdoor spring projects were completed at the house/yard.
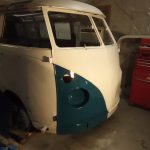
Various small parts have been painted prior to this, but this is the first paint on the body shell in 45yrs, so it’s a real milestone. I choose the front dash and nose area because #1 it’s one of the more intricate areas and if I’m having to wetsand/polish anyhow then I may as well start there; potentially if I get good enough with the paint gun later there will be minimal wetsanding/polishing needed on the large flat areas. And #2, the front area has the most accessory pieces over the paint then anywhere else (emblems, gauges, etc.) and if there’s any problem with paint thickness or part fitment I’d rather see it now when it’s easier to fix.
Overall the clarity is good after some extensive wetsanding and polishing, since it’s warmer now I’ll have to dial back on the amount of reducer next time so there are fewer runs to sand out. I let the white blow freely over the body line, this way there is a soft edge for when the blue is sprayed below. Otherwise I’d either have to match two edges perfectly, or there would be a ridge visible under the blue paint.
I couldn’t resist installing the emblem, clock, window weatherstripping, wipers, and even the “one-eyed duck” that holds the wipers away from the safari windows. These will all come off again to be protected from overspray, but it was good to see a few areas look ‘finished’ for the first time.


