Lights
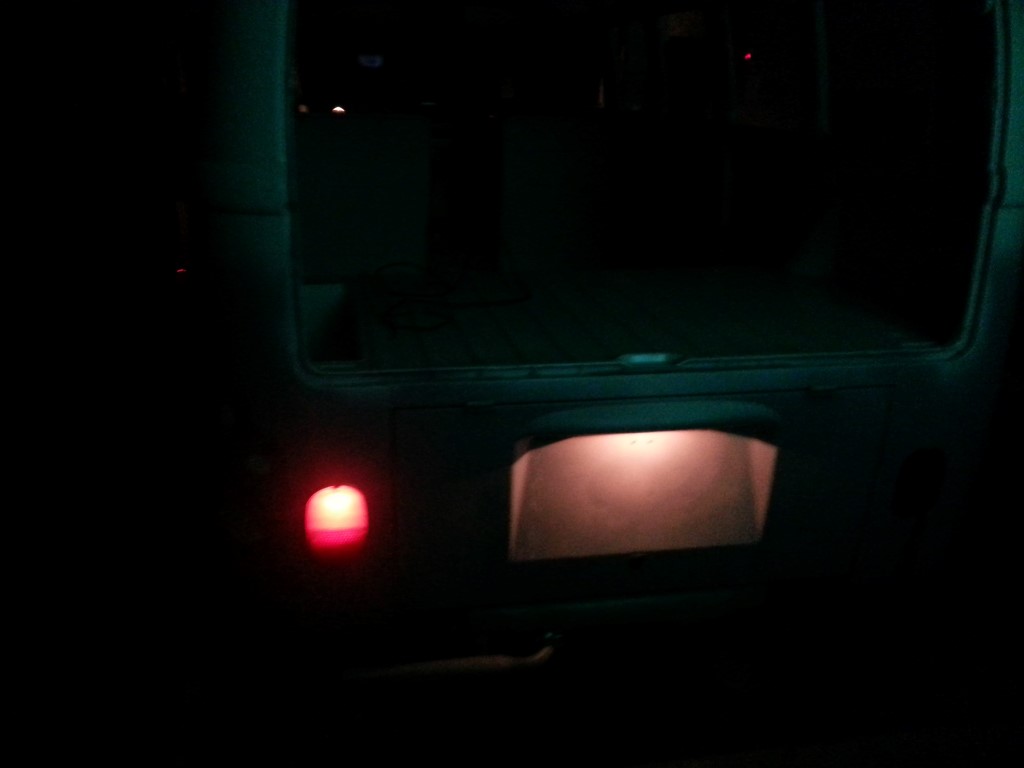
The last few nights have been spent installing the electrical harness and getting all of the electrical parts working. The lights (high/low headlights,blinkers,hazards), wipers, clock, ignition, and starter are all working.


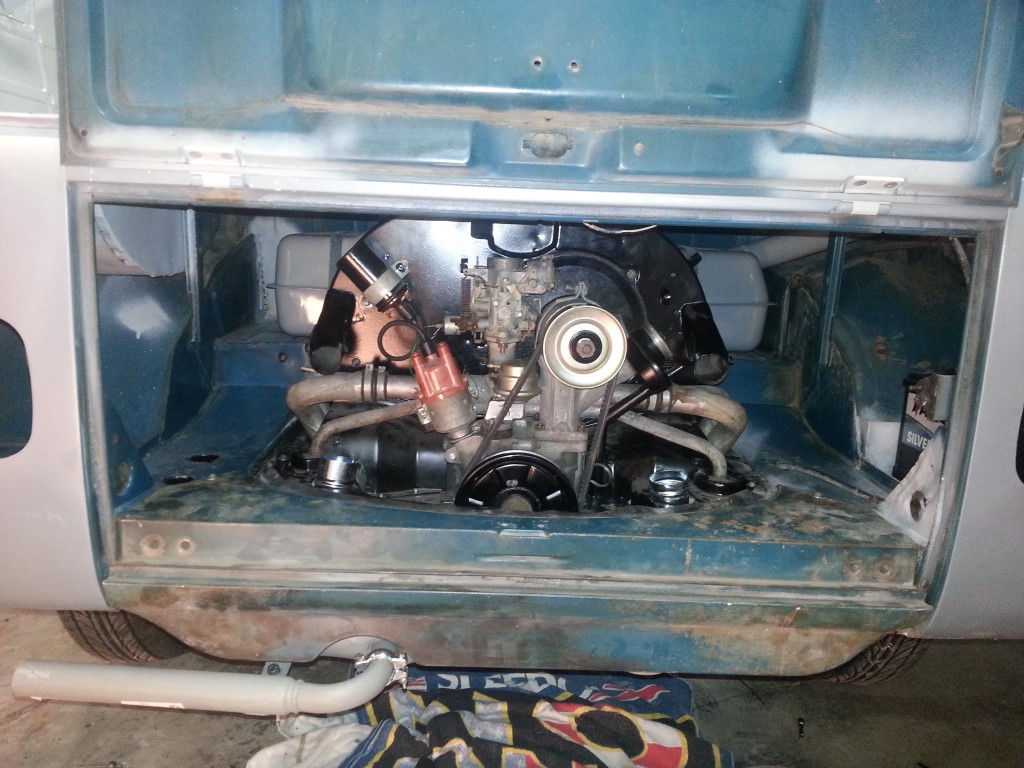
Engine & Battery Installed
Tonight I finished installing the baffles, reassembling, and reinstalling the engine. I also picked up and installed a battery since I’m getting close to hooking up and testing the electrics. Now that the engine is in I was also able to test and adjust the clutch linkage; this is working great, the only driver control that remains is the throttle cable. Remaining to-do prior to starting:
– Install heat exchangers, muffler, and rear apron
– Install alternator/fan/belt
– Connect and test electrical harness
– Connect fuel lines, fill tank, and leak test
– Connect throttle linkage
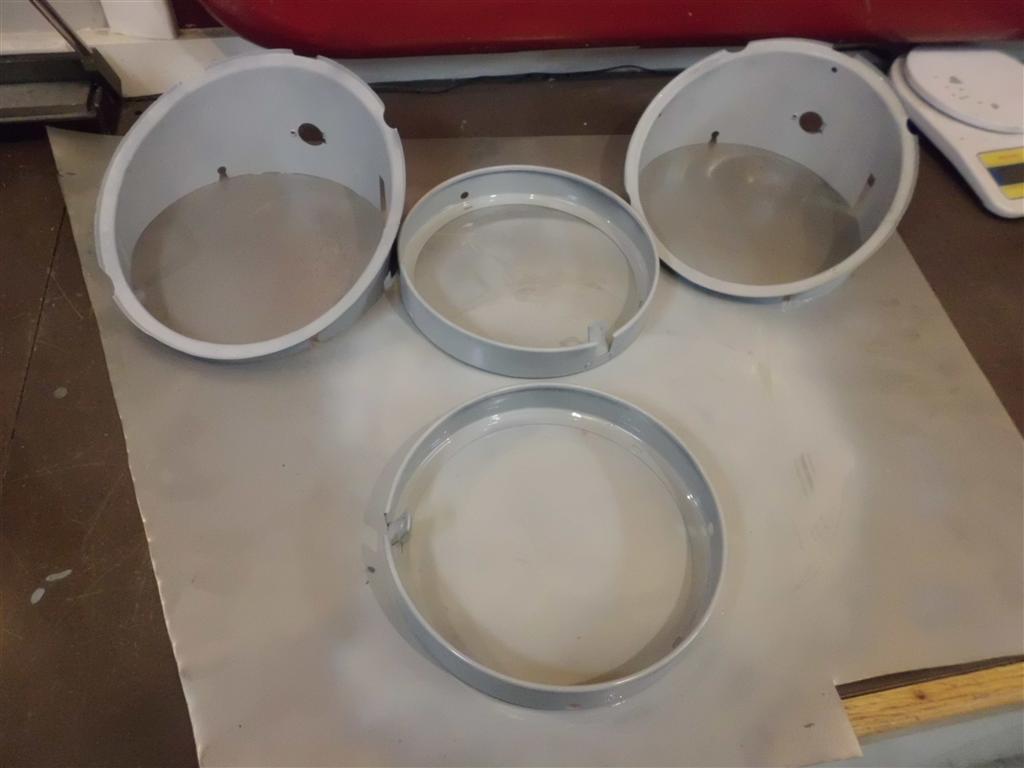
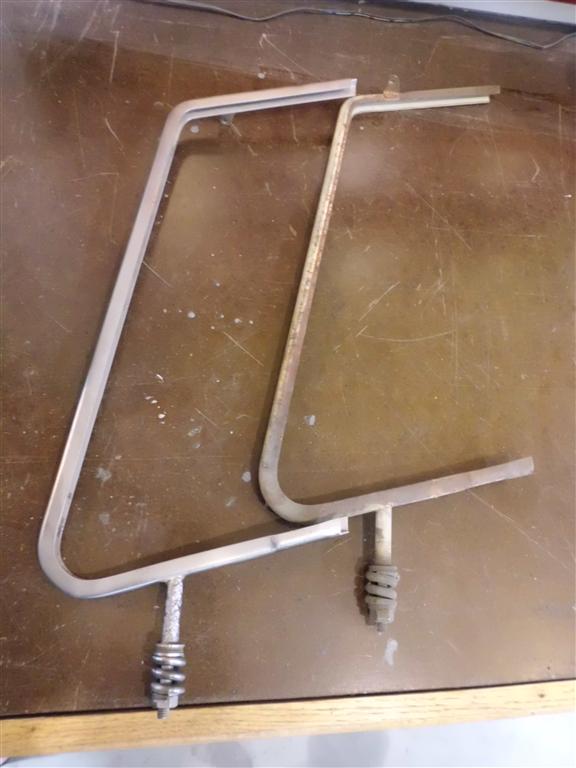
Headlight Assembly Restoration
The headlight assemblies that were media blasted yesterday were primed and painted today. Once the paint was dry the bezels and lens were cleaned and polished, then everything was re-assembled. More media blasting was completed on the vent window frames and other miscellaneous parts. The pop-out windows were disassembled; all of the rubber was dry-rotted so it took considerable time picking all of the rubber out of the sealing channels before the screws could be loosened to separated the frame halves and release the glass. There was substantial rust and the screws are tiny, so many had to be drilled out. Most of the frames can be salvaged and the drilled screw-holes re-tapped for slightly over-sized screws. (The head of the over-sized screws is the same size, so no difference will be visible once assembled)


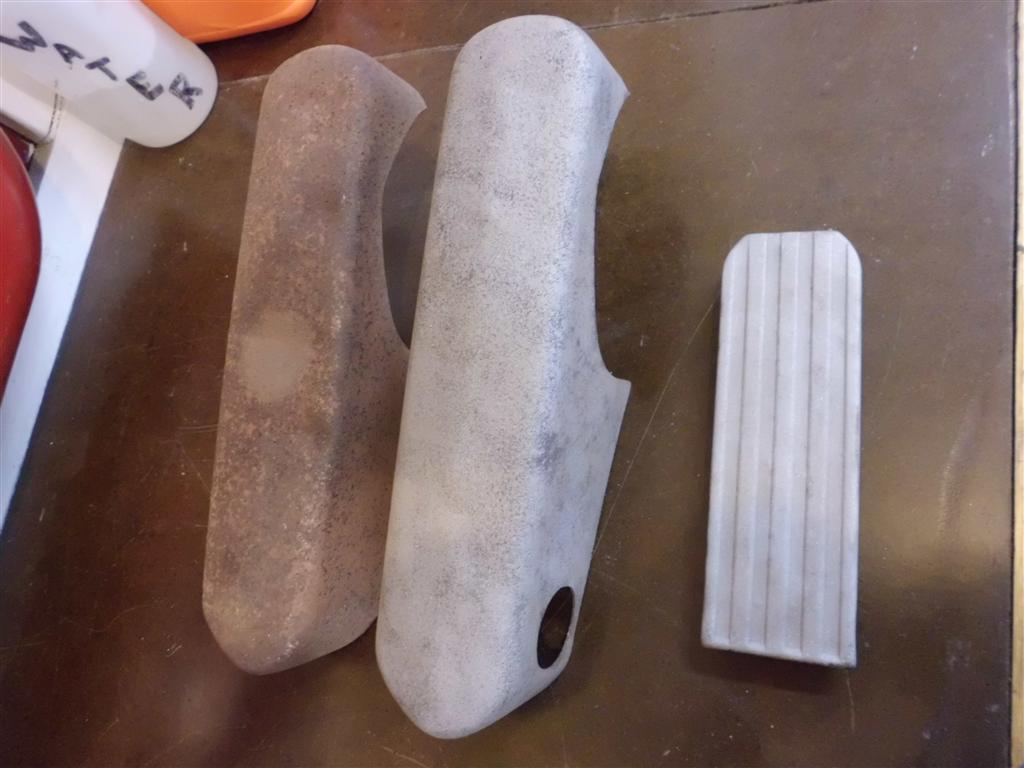
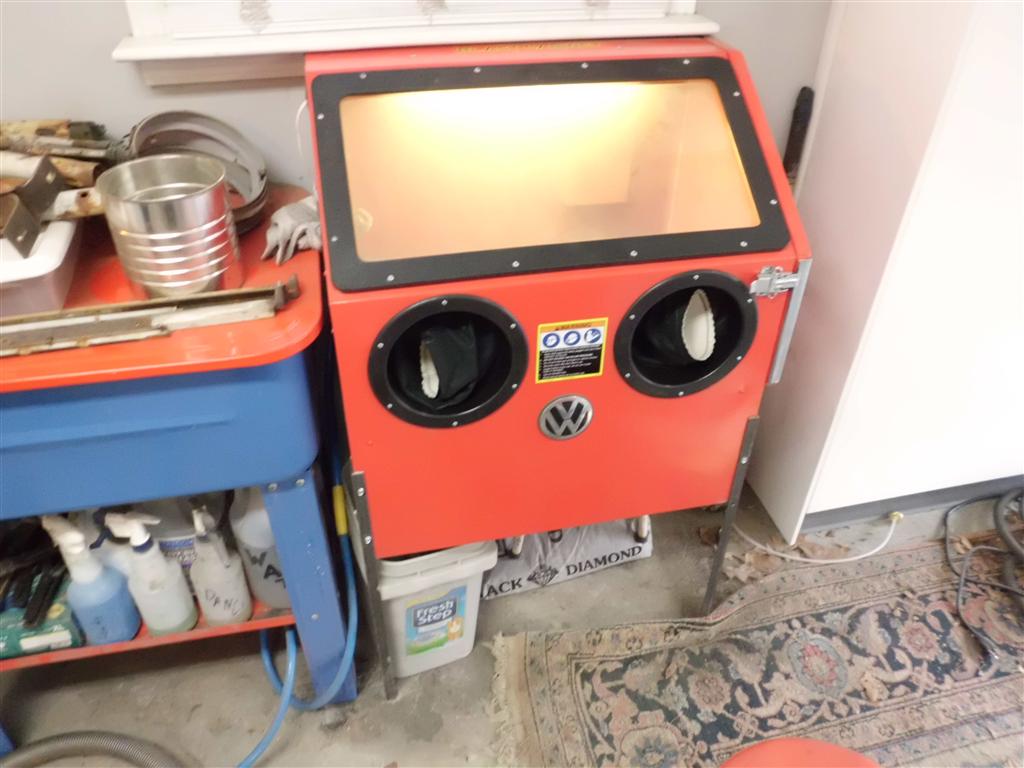
Sandblasting Small Parts, Finished Gauge Repairs
With the colder weather I’m limited to painting only small parts, the garage is heated but painting requires so much ventilation that the temperature drops below the paint minimum temperature. If the catalyzed automotive paints I’m using (epoxy, acrylic urethane) drop below their minimum temperature during the curing process, the molecular cross-linking stops and the paint is permanently in a gooey state. So since I’m limited to painting small parts for a while I needed a way to strip the paint and rust from all the various small parts. Sandblasting is a quick way to do this. However I had no way of recovering the blasting media, making blasting completely impractical, messy, and wasteful for small parts. To solve this problem I found a (deeply discounted) blasting cabinet that will enable blasting the small parts inside without using excessive amounts of blast media. After the performance today I wish I had gotten this a while ago because the results are much better than can be obtained by hand, infinitely faster, and with barely any effort required.
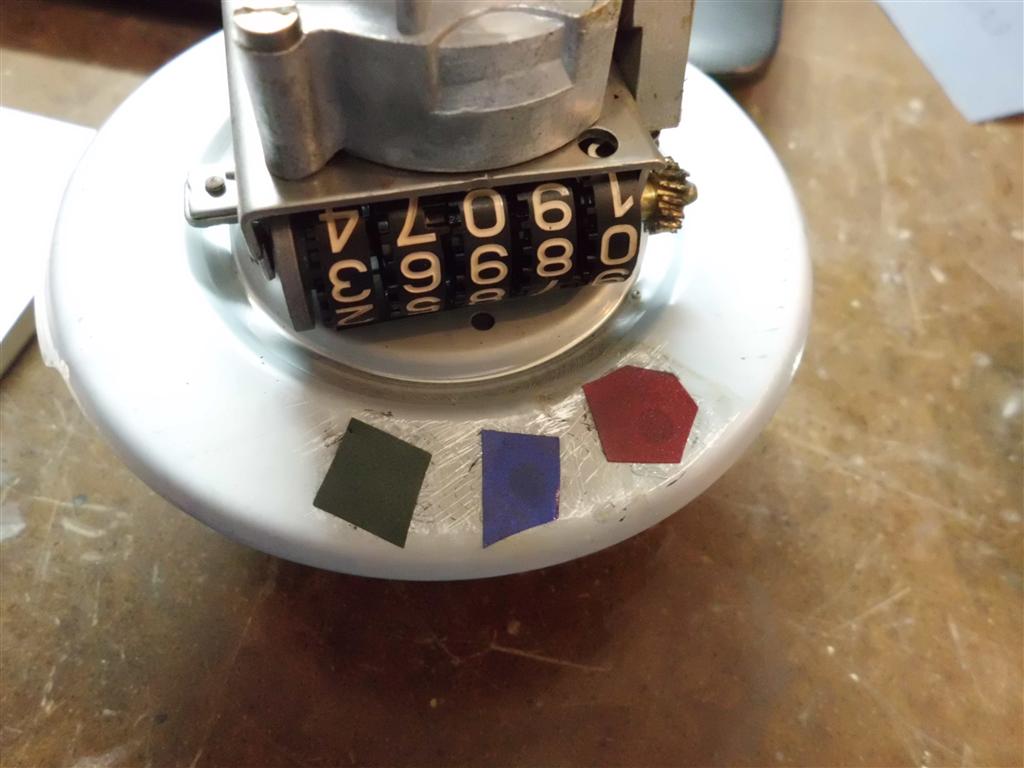
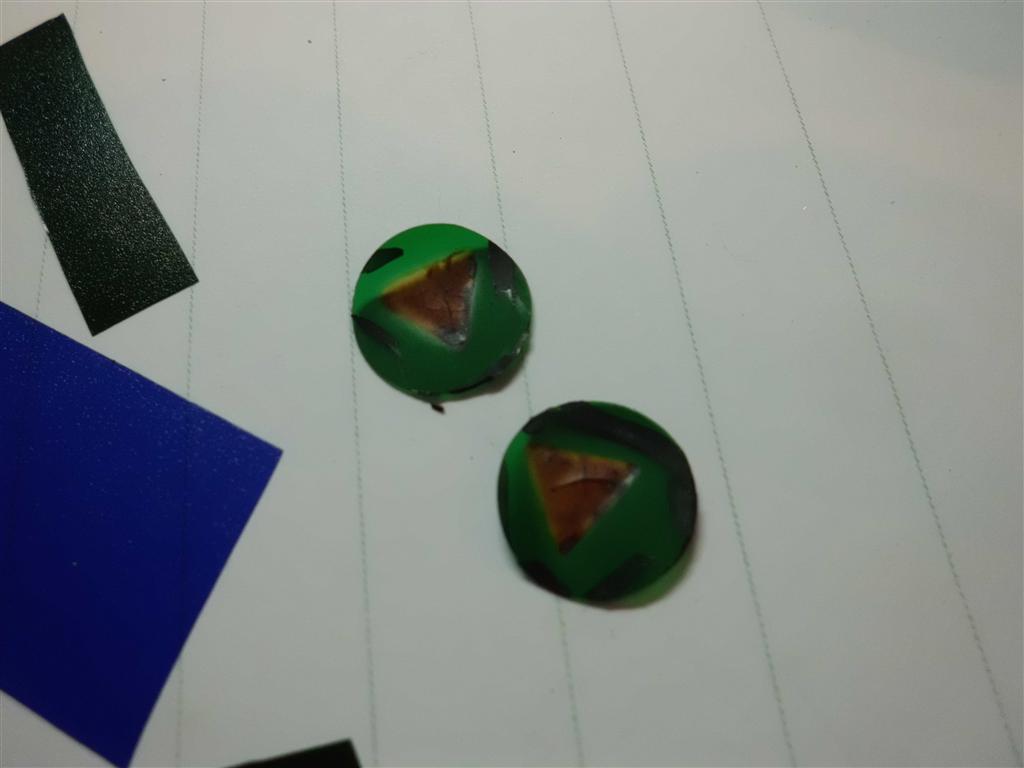
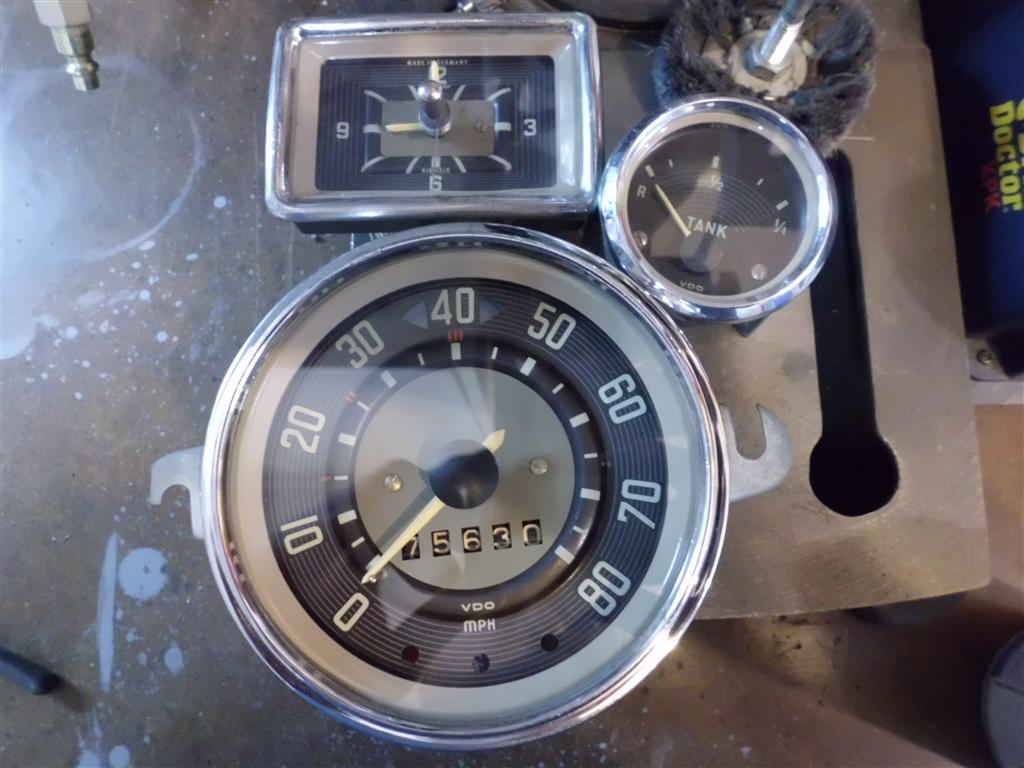
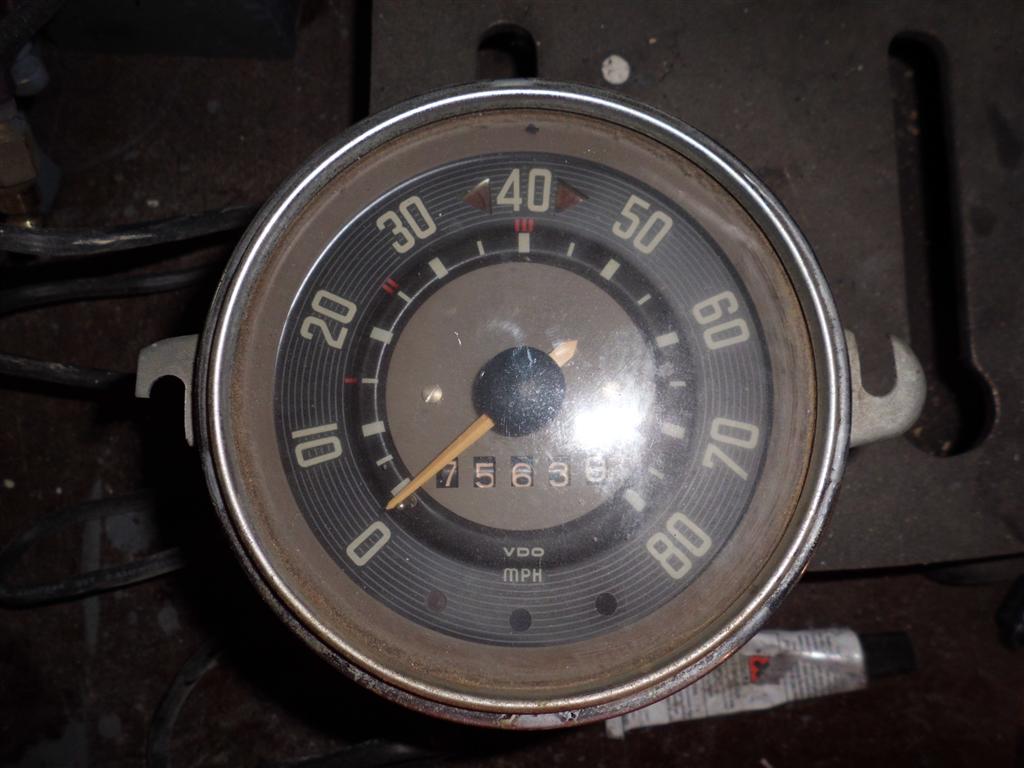
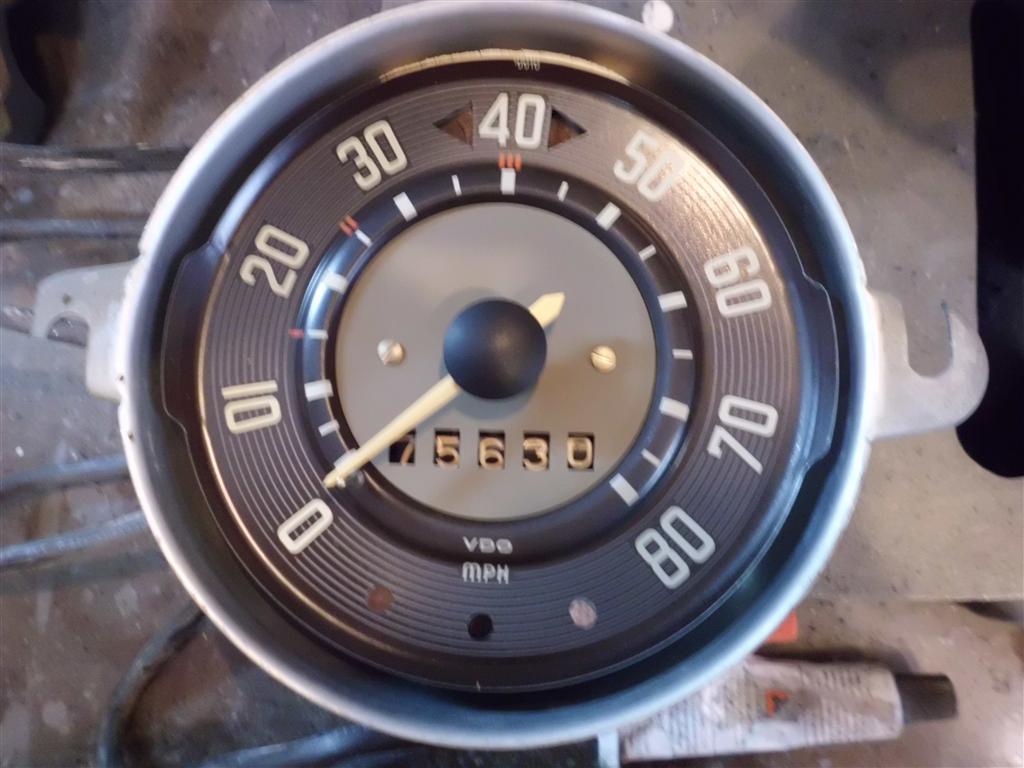
After many parts were blasted I finished the gauge restoration. The broken fuel gauge needle was replaced with a section of a “T” pin and painted to match the other two gauges. The sunburned celluloid indicator light lenses on the back of the speedometer were replaced with new lenses. Finally, everything was re-assembled including repainted light rings for all the gauges.


Speedometer and Clock Restoration
Taking another break from painting/sanding, I worked on cleaning up the speedometer and clock. The speedometer was in generally OK condition but needed some polishing. In the process of disassembly and polishing the bezel and glass I found that the light ring needed repainting. The light ring is the khaki-colored ring between the glass and gauge face, it reflects light from the back of the gauge housing onto the gauge face. In other words the gauges do not have illuminated numbers like a modern car, instead the effect is more like holding up a flashlight to the gauge face.
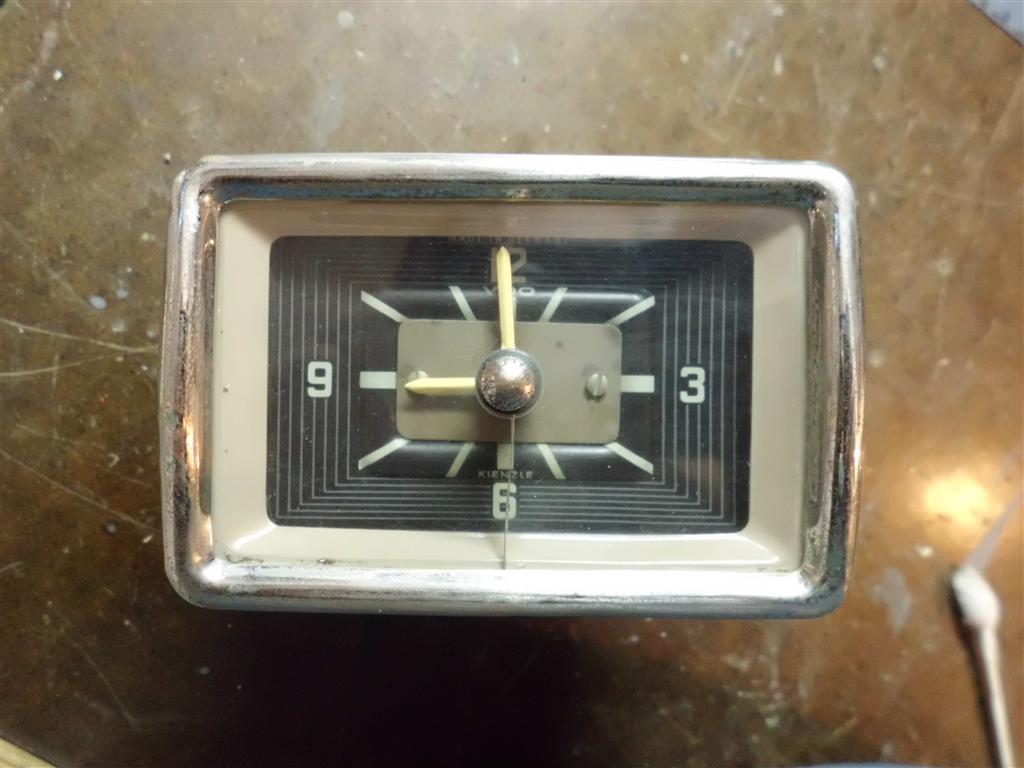
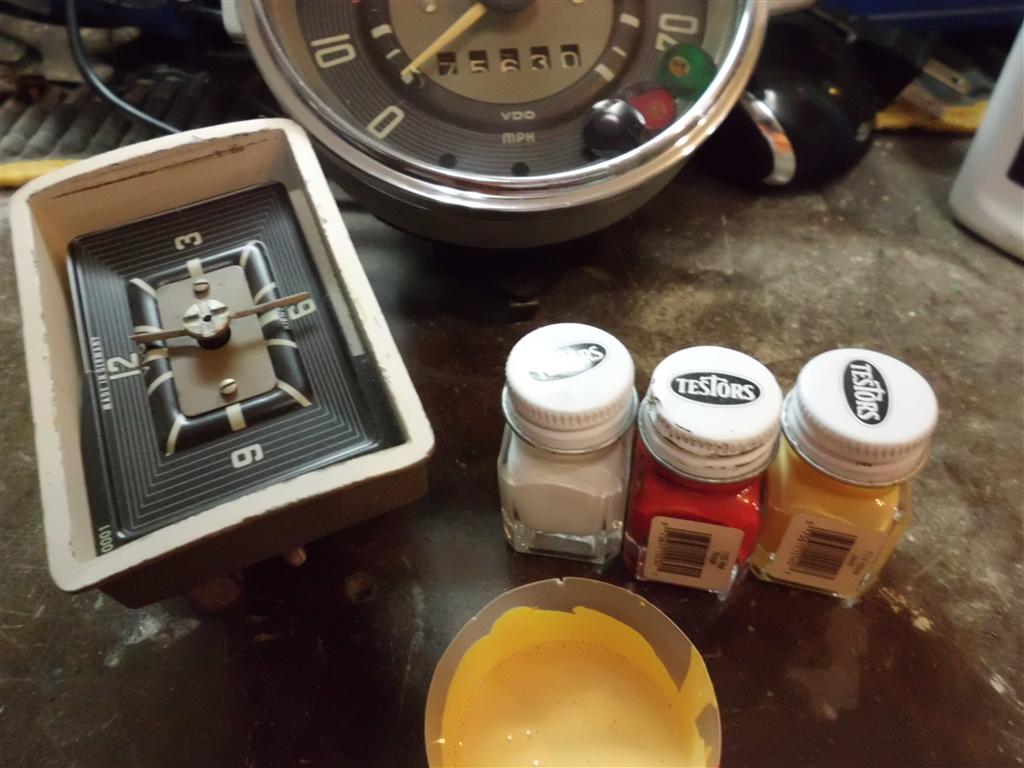
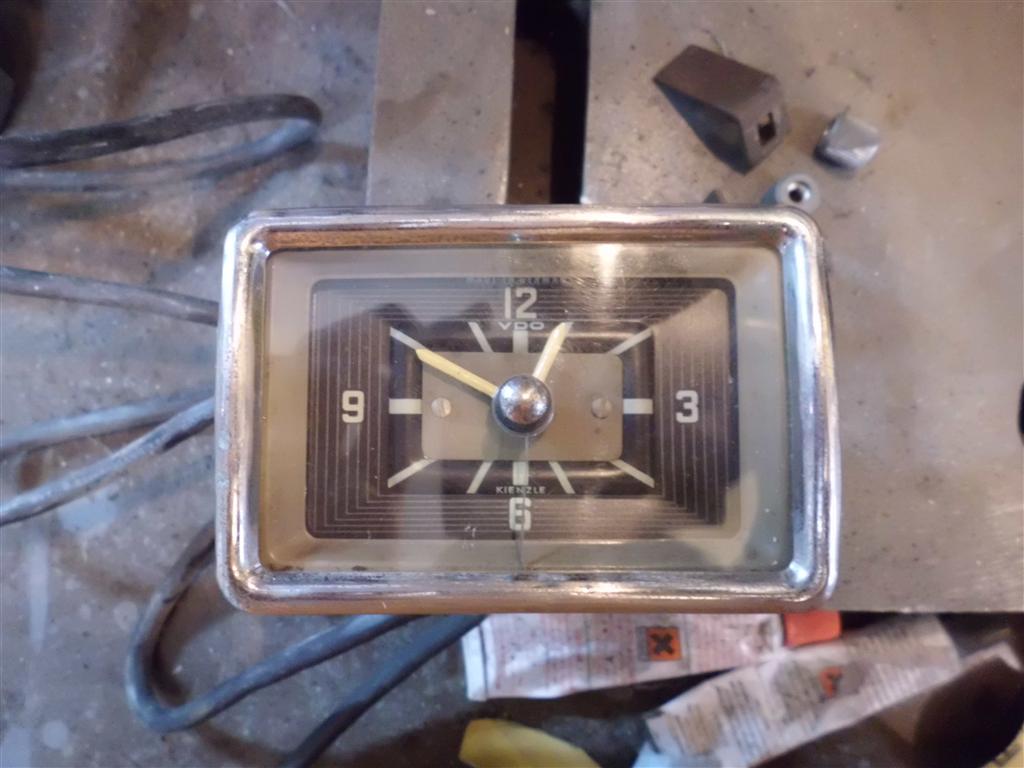
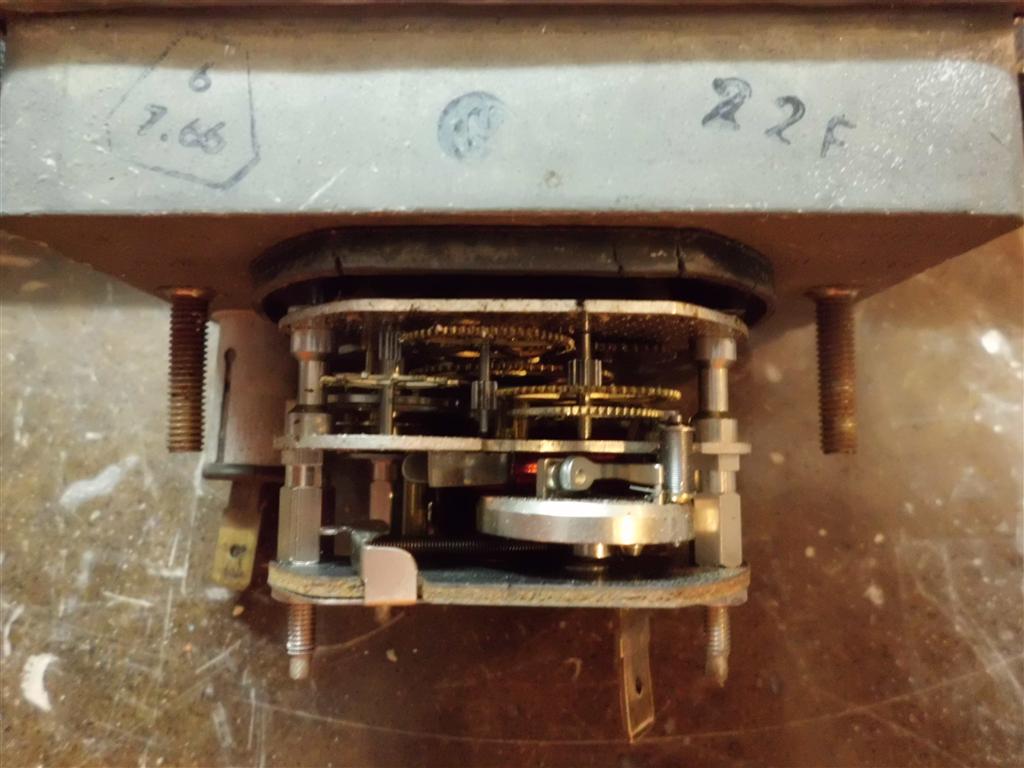
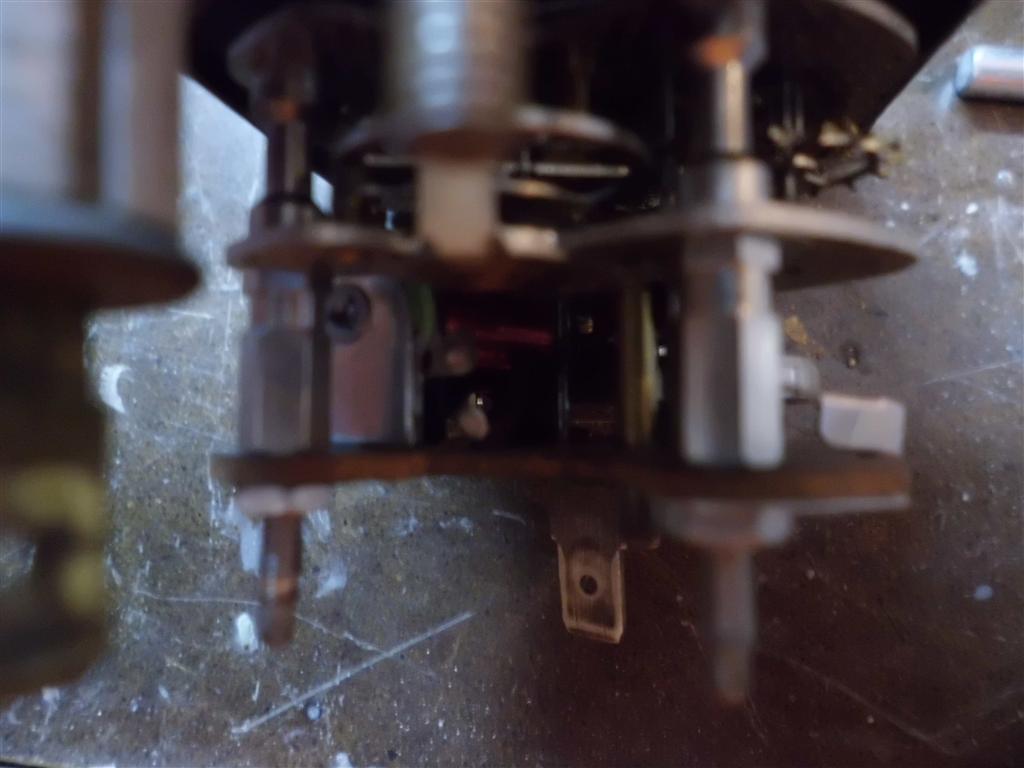
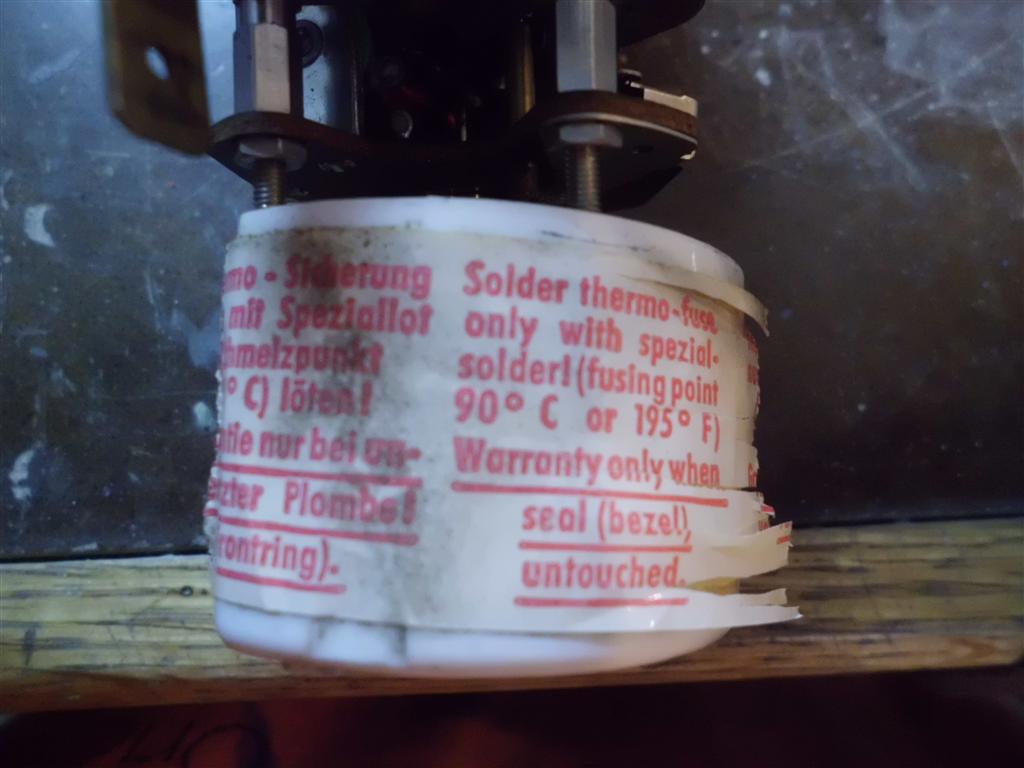
The clock had the same cosmetic issues with the bezel, lens, and light ring. Additionally the clock’s hands had faded badly and the mechanism was not working when connected to 12V. The hands were repainted by carefully mixing model airplane paint to match the color of the speedometer hands (which also matches reference pictures online). After disassembling the clock mechanism I found the the fusible wire connecting the rewinding coil was broken. After the wire was re-soldered the clock fired right up. The clock is completely unlike the digital clock in a modern car (or modern anything) in that it is a mechanical action. The clock contains a spring, escapement, and flywheel just like a pocket watch and actually ticks while operating. When the spring gets close to unwinding a set of contacts closes and the aforementioned coil rewinds the spring.


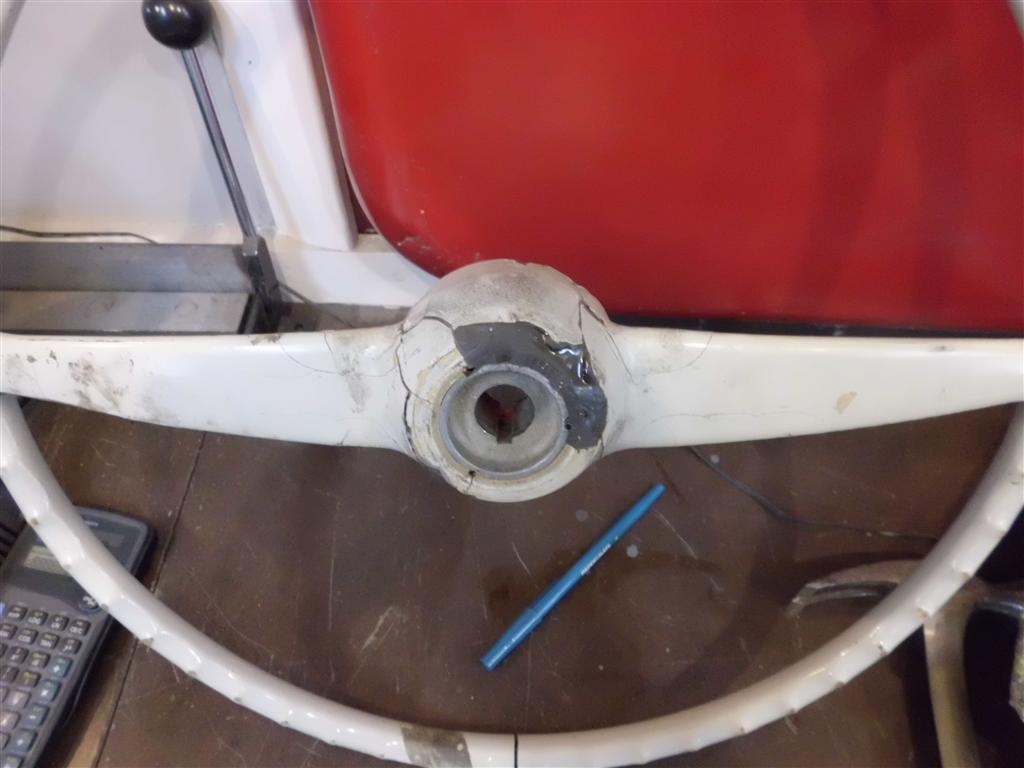
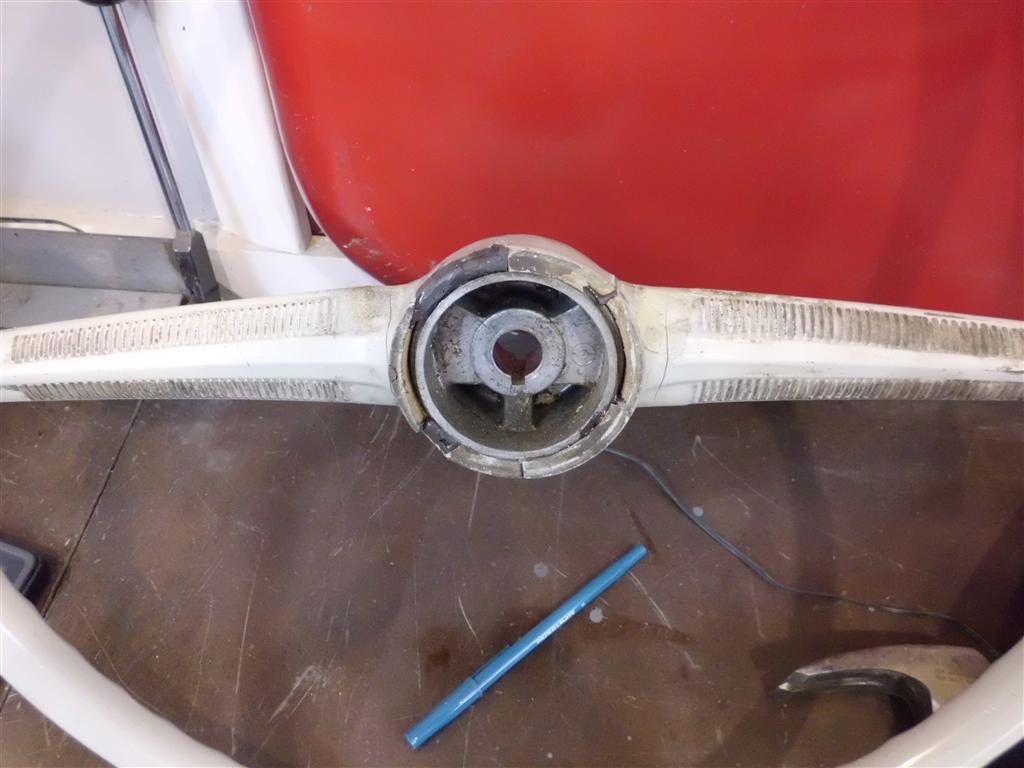
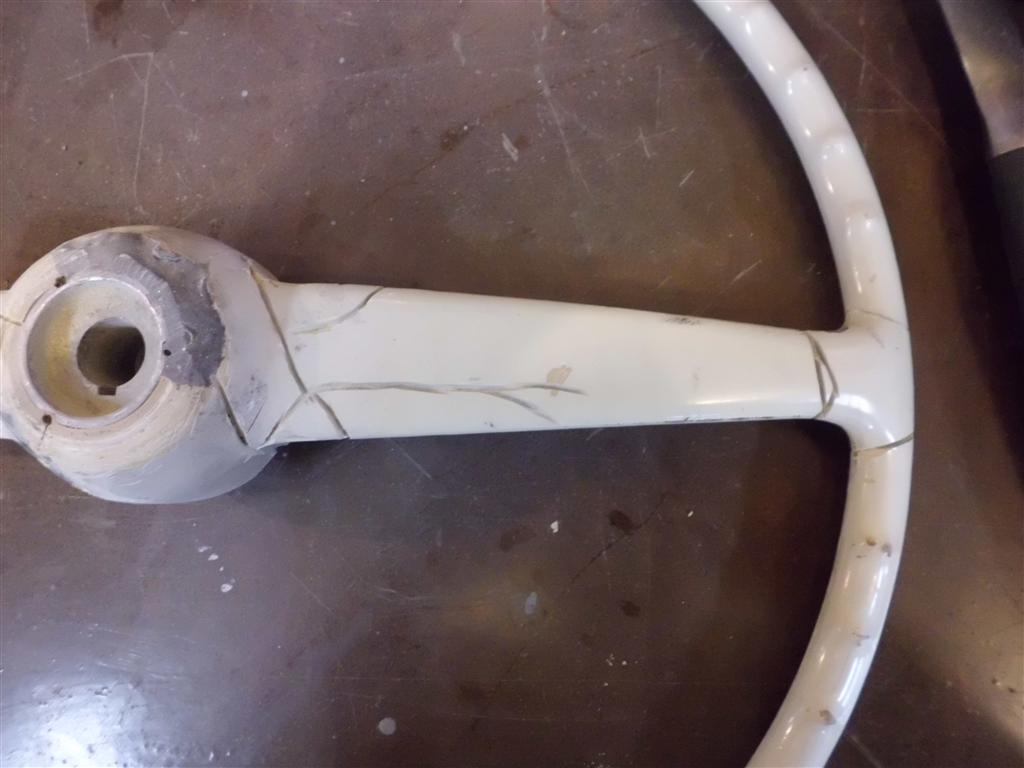
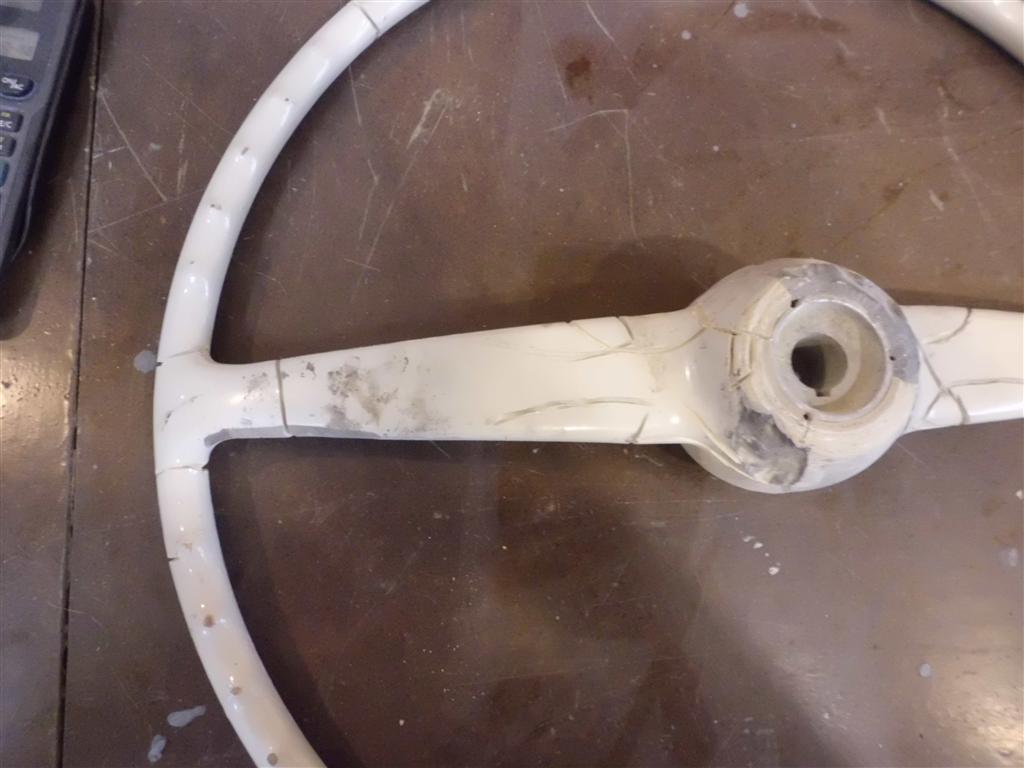
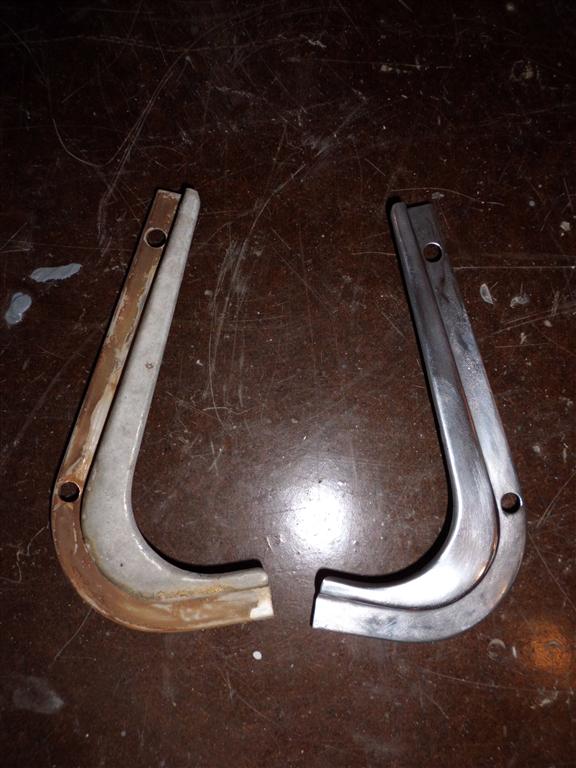
Steering Wheel Restoration and Small Part Polishing
Work started on repairing the heavily cracked steering wheel. The wheel basically made of pressed wood fiber (like MDF) coated in a bakelite (primitive 1960’s plastic) shell. As the bakelite aged and cracked it allowed humidity in the air to swell the wood fiber and create more cracks. A “V” groove was cut in every crack to allow application of epoxy resin, which was then sanded flat with the wheel surface. Epoxy primer will then coat the entire wheel to seal out moisture and stabilize the wood fiber, followed by a catalyzed acrylic urethane in the original white color. Also, to take a break from painting/sanding, many small parts were polished with great results.