High Build Primer
The bus and many small parts got a coat of high build primer tonight and last night. I was even able to get started with block sanding. The bus has very long flat panels so I’m primarily using a flat sanding block that’s about 18″ long, this is doing a great job of knocking down high spots that I’m not currently able to see or feel, but that would easily show up on the shiny top coat. The sanded surface can be ‘read’ while sanding: low spots stay shiny since they’re not touched by the sandpaper, and high spots are the first to have their texture disappear since they make first contact with the paper. Several more iterations of priming/sanding will be needed to get it as smooth as glass.


Lower Bodywork
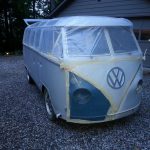
This weekend I worked on the bodywork in areas that will be painted blue. It looks like a lot of filler by area, but by volume and thickness it’s not much; just a skim coat to smooth out areas were metal repairs were done and parking lot dents. The top is now mostly masked in preparation for the endless loop of priming & sanding that will soon occur.coats of high-build primer that will soon be painted on the bottom. Once that’s complete it will be time for blue paint followed by reassembly.


Miscellaneous Cleaning/Painting/Polishing
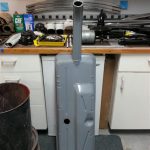
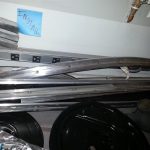
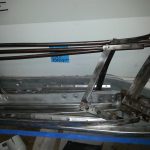
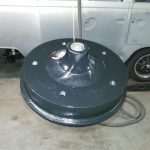
Several key parts for reassembling the reduction boxes and rear brakes are still on their transcontinental journey. In the mean time I’ve: thoroughly cleaned all of the gunk off of the inside and outside of the fuel tank and repainted it, polished more aluminum trim, stripped many sunroof parts, and blasted/painted some other random parts.
Big Parts Blasted
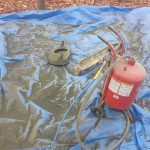
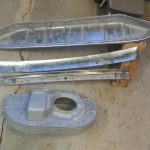
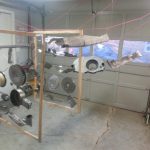
Today the remaining unblasted parts that were too big for the blast cabinet were media blasted outside. The parts were then hung up and primed. Many of these parts will be black, I should have the black paint completed in the next few days.
Engine Parts Ready for Paint
Front Left Wheel Well
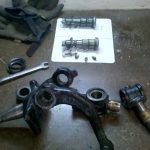
Today was basically a repeat of yesterday, with the same treatment (clean/etch/paint & spindle flip) being given to the front left wheel well. Pictured below is the, now dried, front left wheel well. The end result with both flipped spindles is shown at right. It’s tough to fully picture since it’s on ramps and the bumper isn’t installed, but this looks like it will be a good height.
Front Right Wheel Well
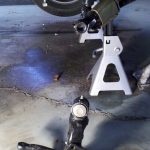
Today I worked almost exclusively on the front right wheel well. The area had several unground welds from previous work on the front and rear floors. These welds were ground down and then the entire area was cleaned/etched/painted. To make access easier I first removed the brake/spindle assembly; I needed to do this anyhow in order to ‘flip’ the spindle to achieve a lowering effect. Flipping the spindle lowers the bus by about 3.5″ and closes up the wheel opening to top of tire gap, it also improves handling and just generally looks better. Going back to stock height would only require performing the same procedure in reverse.


