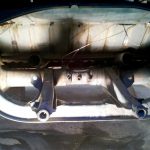
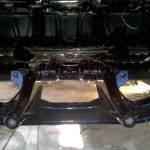
Transmission Tunnel Painted
Today the transmission tunnel was more thoroughly cleaned then etched with phosphoric acid and coated with POR15. This was very time consuming due to the many weird angles and hidden areas involved. Prior to cleaning/painting the many dents/dints to the underside of the transmission cradle were fixed.
Assembly begins
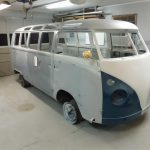
I wet-sanded and polished the dash and the drivers side half of the nose. With this complete it allowed installation of parts to begin. The safari windows and dash instrumentation were all installed. The dash and nose were the first parts I painted so I expect that more wetsanding an polishing will be needed here when I see it in direct sunlight for the first time; it should be minor though so I’ll be able to do this without removing anything.
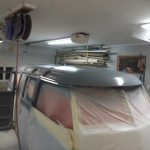
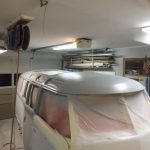
Roof Painted!
The roof was painted today, it’s starting to look very different. There were a few minor runs and other problems but these can be wet-sanded/polished out fairly easily.
Roof Sealed
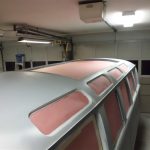
Roof sealed with epoxy primer to isolate the bodywork from the top coats. The bodywork and high build layers can slowly absorb moisture and cause rust if they have any path to the elements; the epoxy sealer is impervious to moisture and prevents this from happening.
Roof Bodywork
Progress made on the roof bodywork. The roof doesn’t have any major damage or warping but there is some minor distortion along the roof hard points that makes it look like the roof was used as seating on occasion. It’s also giant spider season, there are dozens like the one shown around the garage.
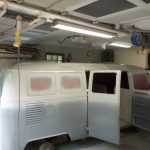
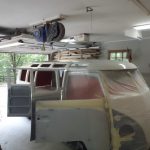
Windows Masked
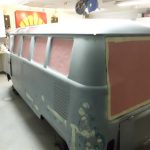
All 21 windows and the sunroof were masked in preparation for exterior paint. The masking will keep the recently painted interior clean while the exterior is painted. The wheels were taken off to get the roof even lower to allow working on the roof without a ladder. The next phase is to complete the bodywork on the roof in order to paint all white above the trim line. After this is completed the white areas will be masked off and the bus raised as high as practical to work on the blue areas.
Garage Cleaning
The garage was thoroughly cleaned and the last sections of the bus bubble were taken down. It wasn’t doing much for overspray and was starting to block a lot of light; the garage is kept clean/sealed enough that the bubble was also not needed to keep the paint area clean. For the next phase I need as much light as I can get and also needed more room around the exterior of the bus. Once the bubble was taken down the bus was moved over and taken of the moving dollies to get the bus roof further away from the garage ceiling.
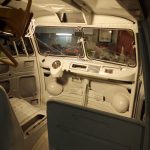
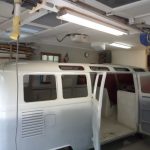
Interior Painted
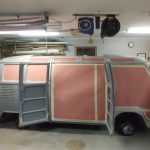
Another big day in the bus restoration – The entire interior has now been painted. Much of what can currently be seen will actually be covered by either the headliner, carpet, or cover panels but it was worth painting to add another layer of corrosion resistance and to have a clean/consistent surface to attach the headliner, carpet, and acoustic/thermal insulation. This is somewhat “over-restored” because the Hanover Germany plant would have just painted the exposed surfaces and settled for a light coating of over-spray everywhere else on the interior. The next step is to block off all the window openings with cardboard so the inside stays reasonably protected from over-spray while the outside is completed.


