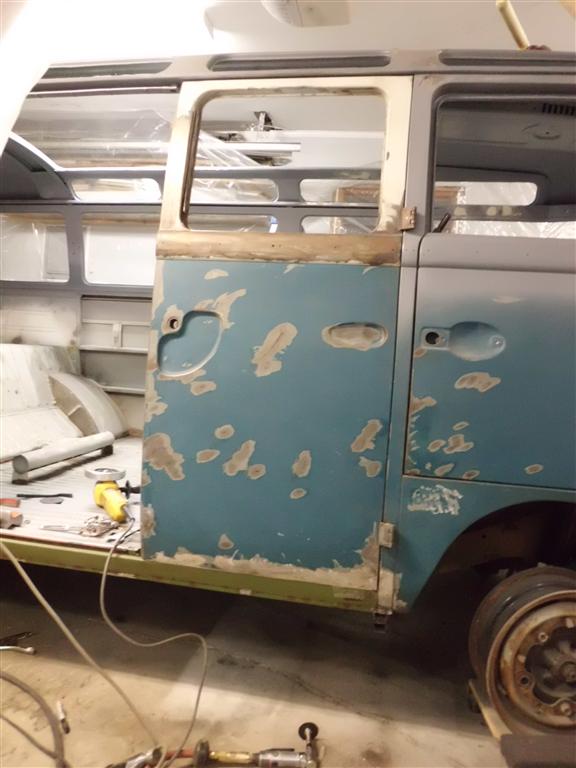
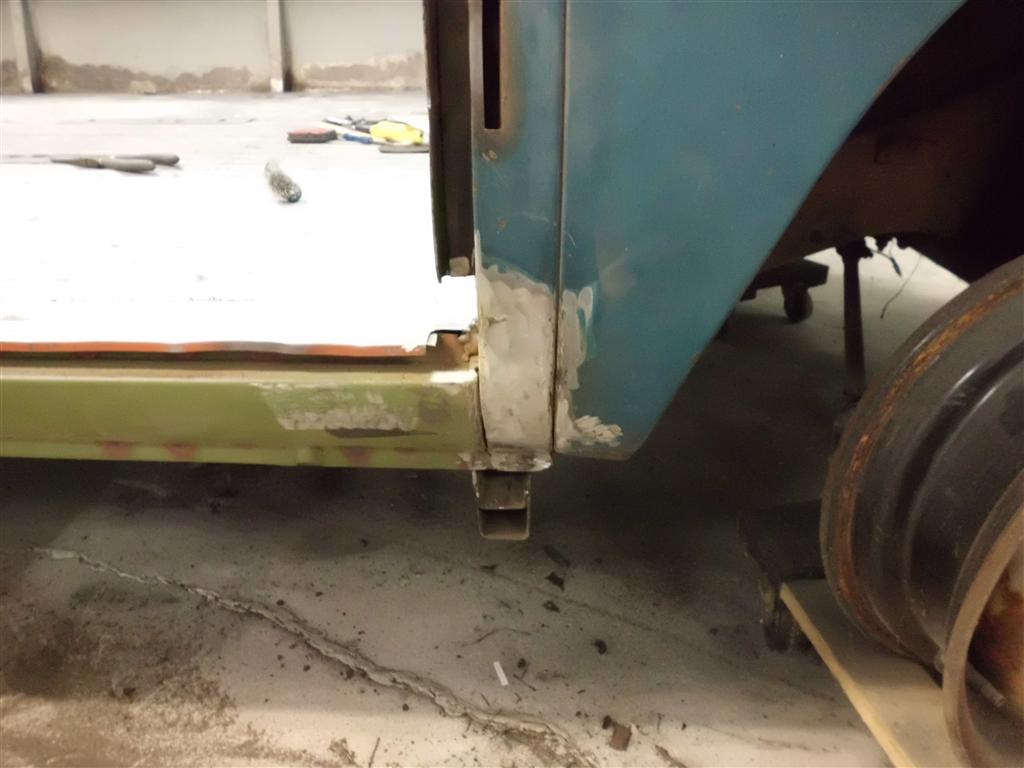
The forward cargo door was hung in the door opening and many tweaks were made to achieve a consistent panel gap around all three sides. Previously the rusty/warped bottom of the cargo doors caught against the floor, causing the bottom of the doors to bow outwards. Also, the quarter panel patch was fitted, welded, and ground. The quarter panel still needs to be plug welded to the flanges that intersect it from behind; once this is completed the repair will be 100% complete.


More Cargo Door Repair
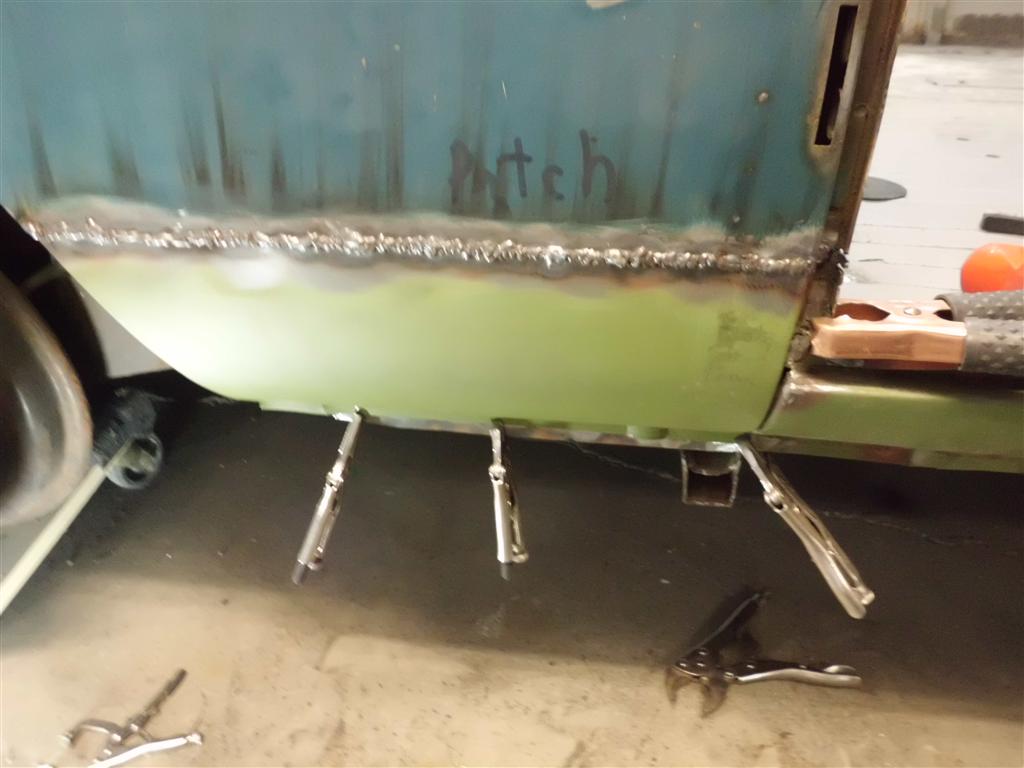
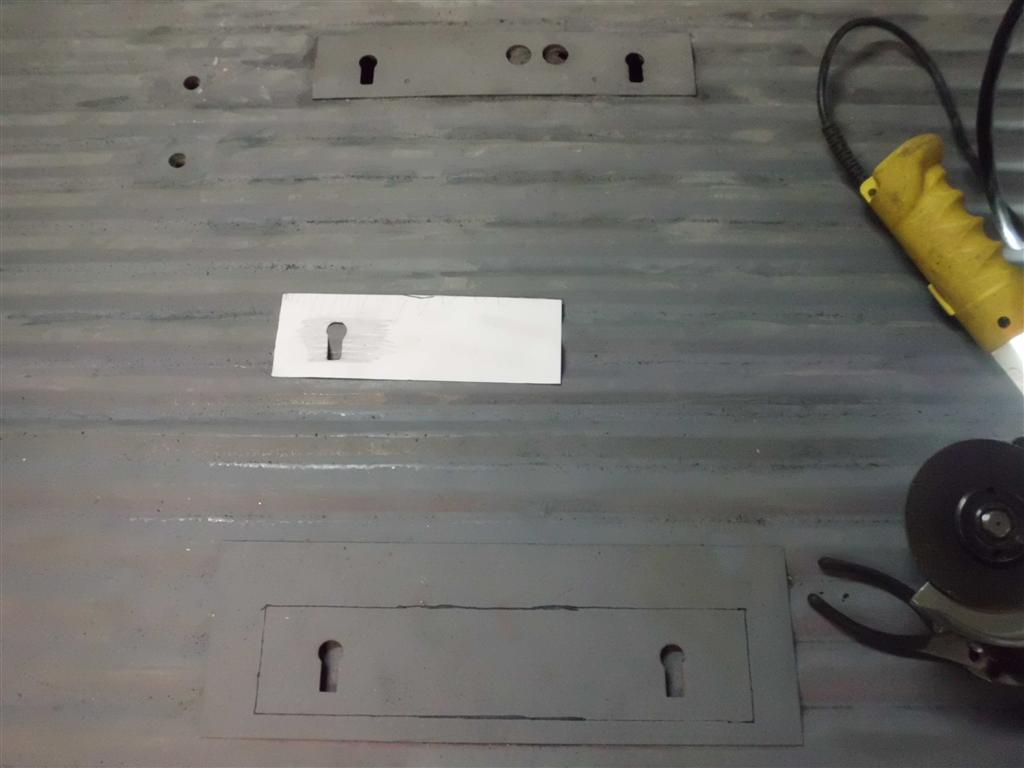
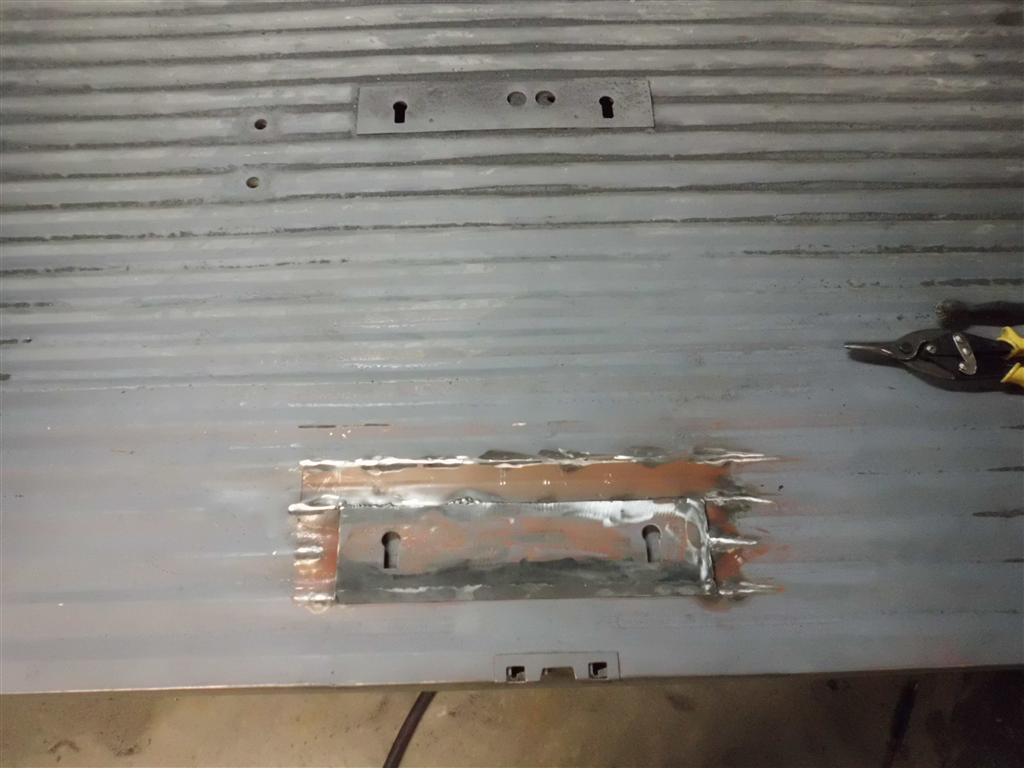
The repair on the forward cargo door was finished and the same repairs were made on the rear cargo door. The latch plate on the cargo area floor repair section had never lined up with the holes in the rocker panel, the holes in the doors, or the holes above the doors. Luckily all the holes lined up except for the latch plate, so the latch plate was moved to match the rest.

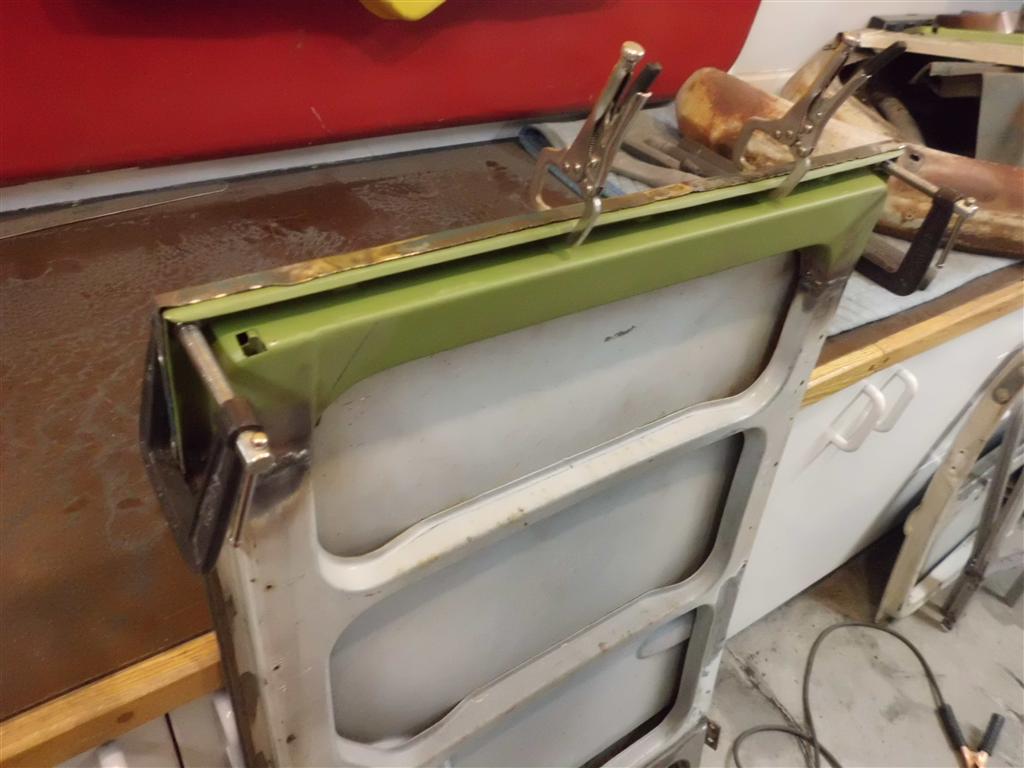
Cargo Door Repair
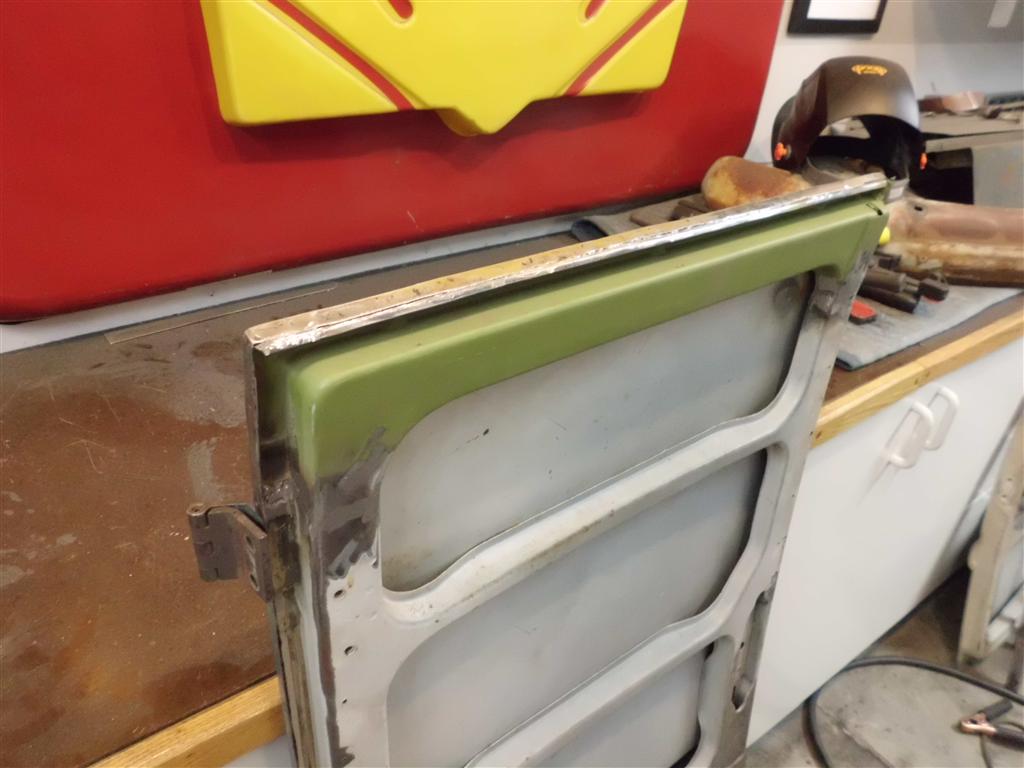
The lower exterior of the forward cargo door was patched. This area had many pinholes along the line where the interior frame joined the door skin and water collected. Welding together the good metal on either side of the pinholes was time consuming but still faster & neater than replacing the lower door skin.

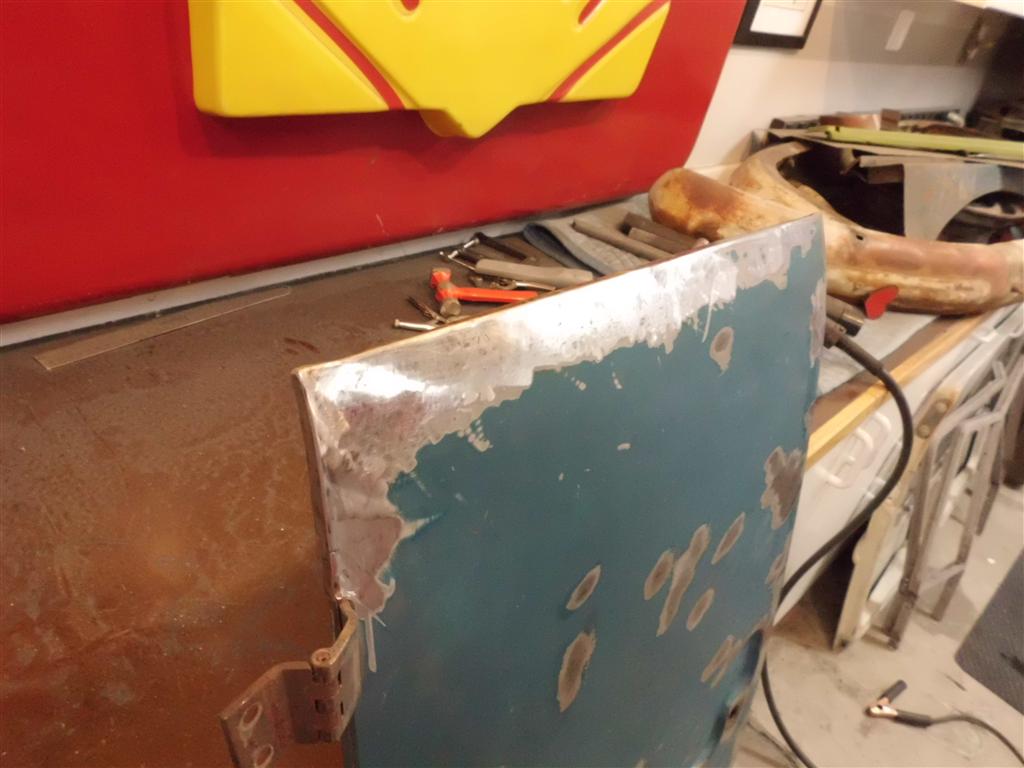
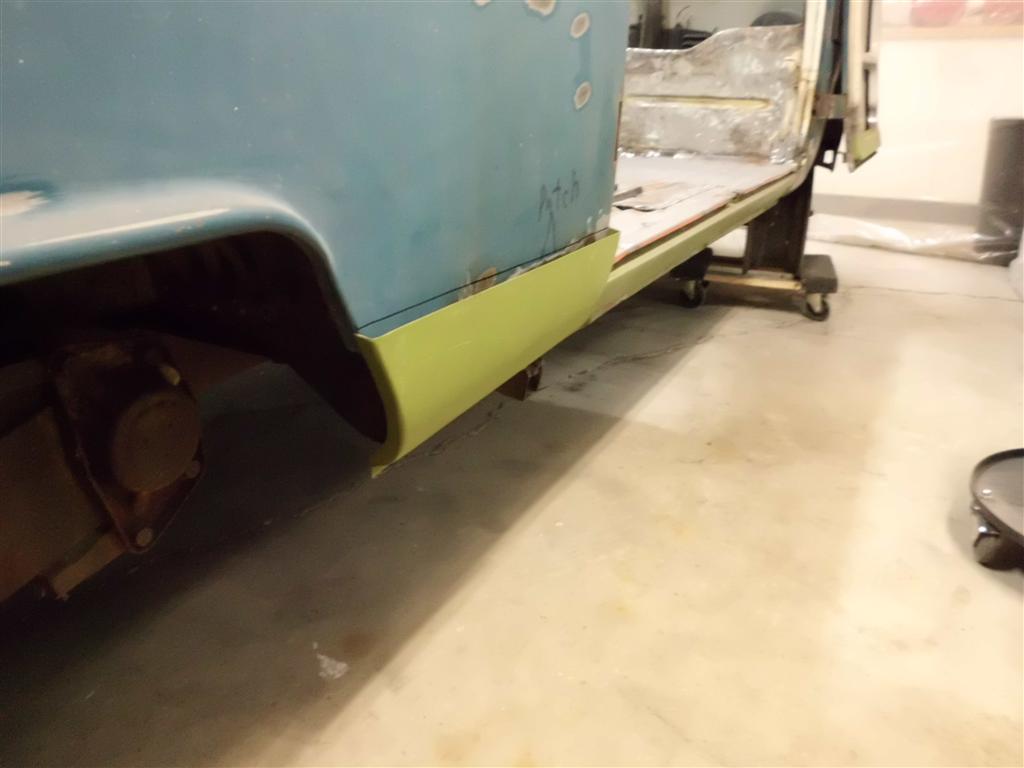
Passenger Lower Quarter Panel Removed
The passenger lower quarter panel was heavily pin-holed with rust and although I had previously attempted repairs here it was in need of replacement. This is another scenario where the replacement part is readily available in a high-quality reproduction at a reasonable price; so it wasn’t worth chasing pinholes in paper-thin metal when a far better repair could be made with less effort by replacing the whole section. Removing the lower quarter panel also gives access to the outer frame rail so that a minor dent in this area can be fixed; this will also allow priming/rustproofing of the interior surface.

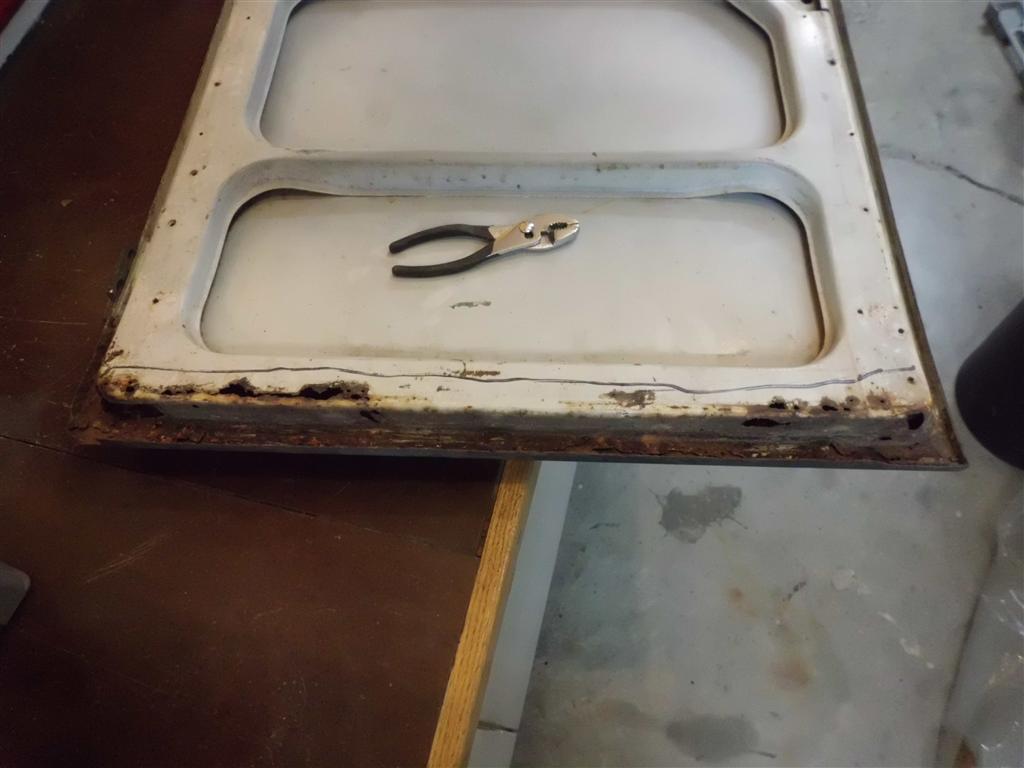
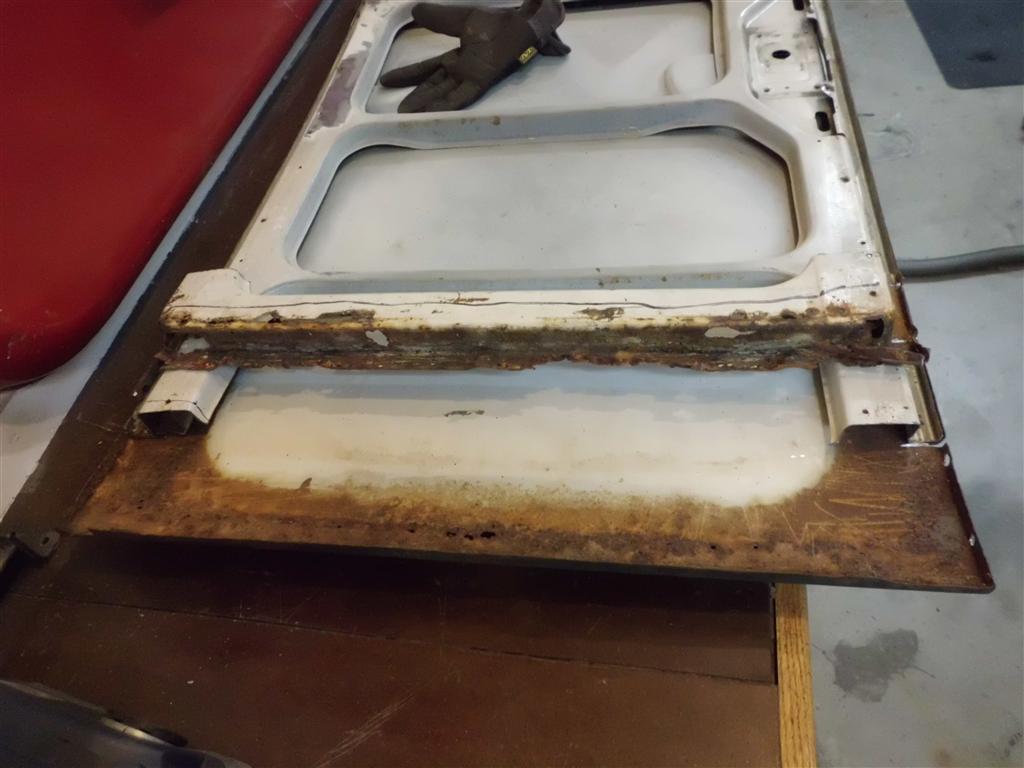
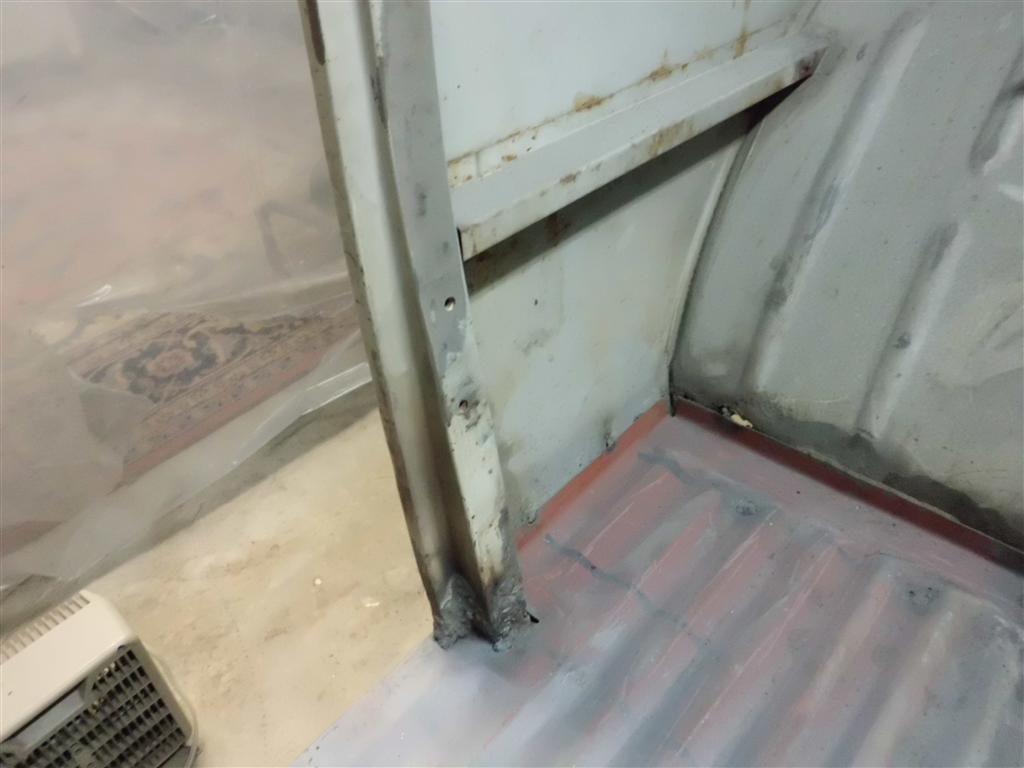
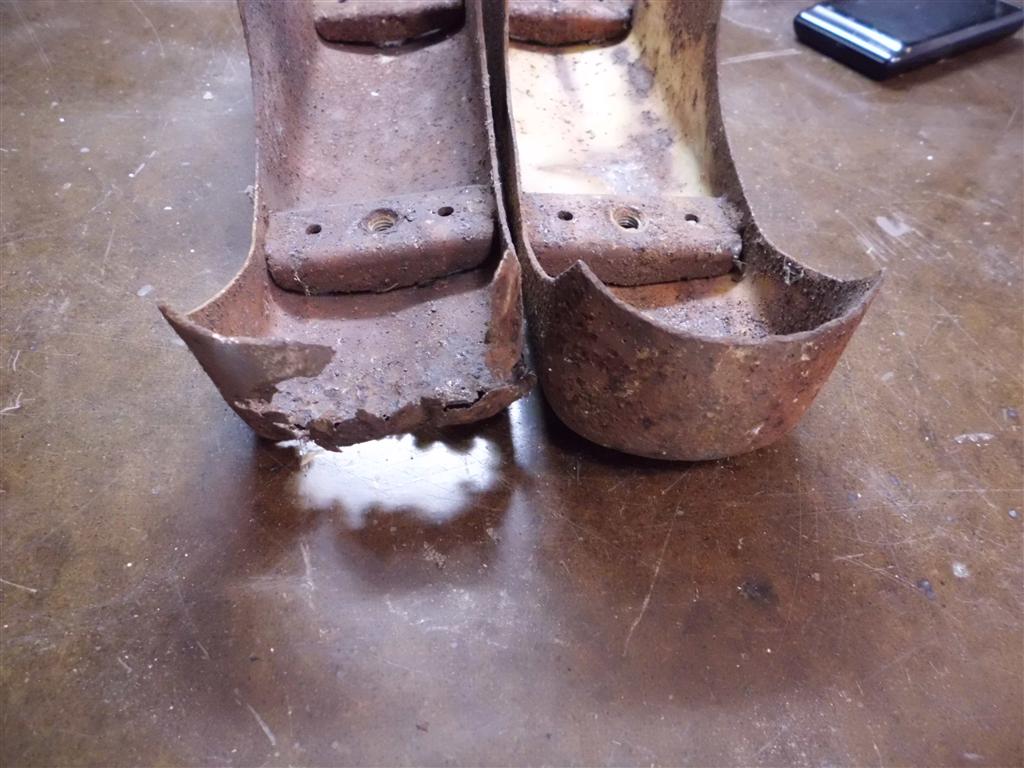
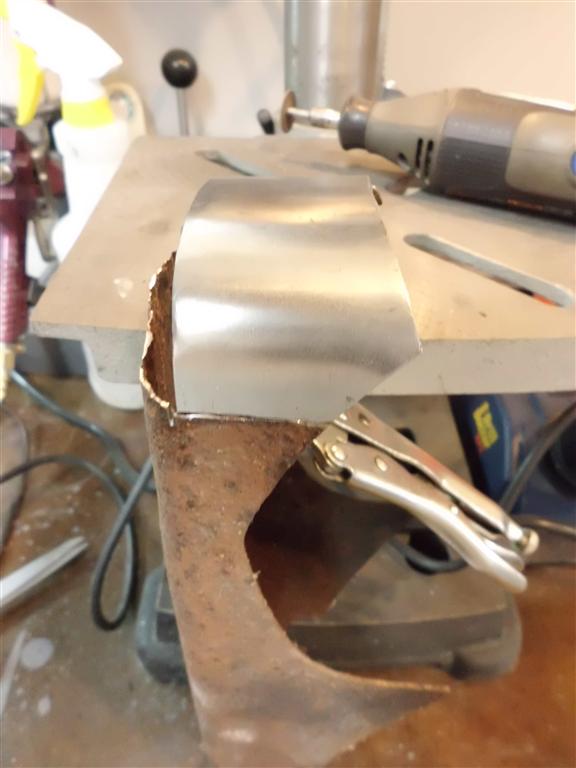
Miscellaneous Repairs Along Bottom of Cargo Door Area
Various repairs were made to the passenger side B and C pillars. The bottom of one of the cargo doors was examined more closely. Repairing the door bottoms with custom patches is possible but this area is available as a high quality repair section at a reasonable price. I’ve put the repair parts on order and when they arrive I’ll cut the inside of both door frames to the repair section size and weld in the repair.


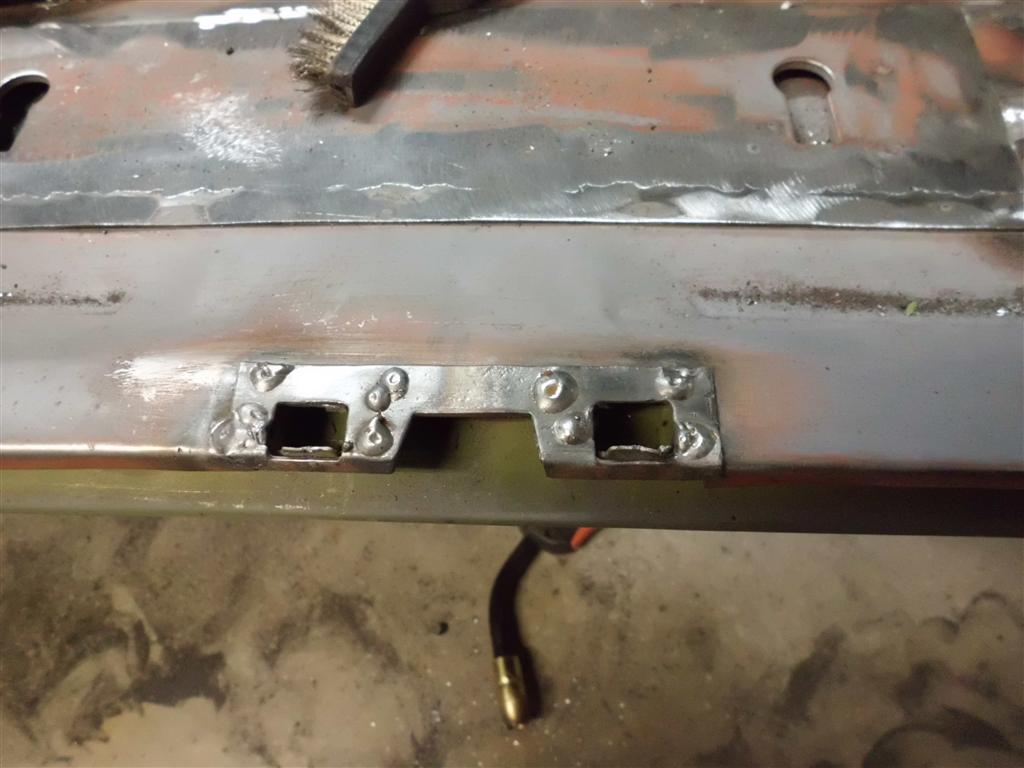
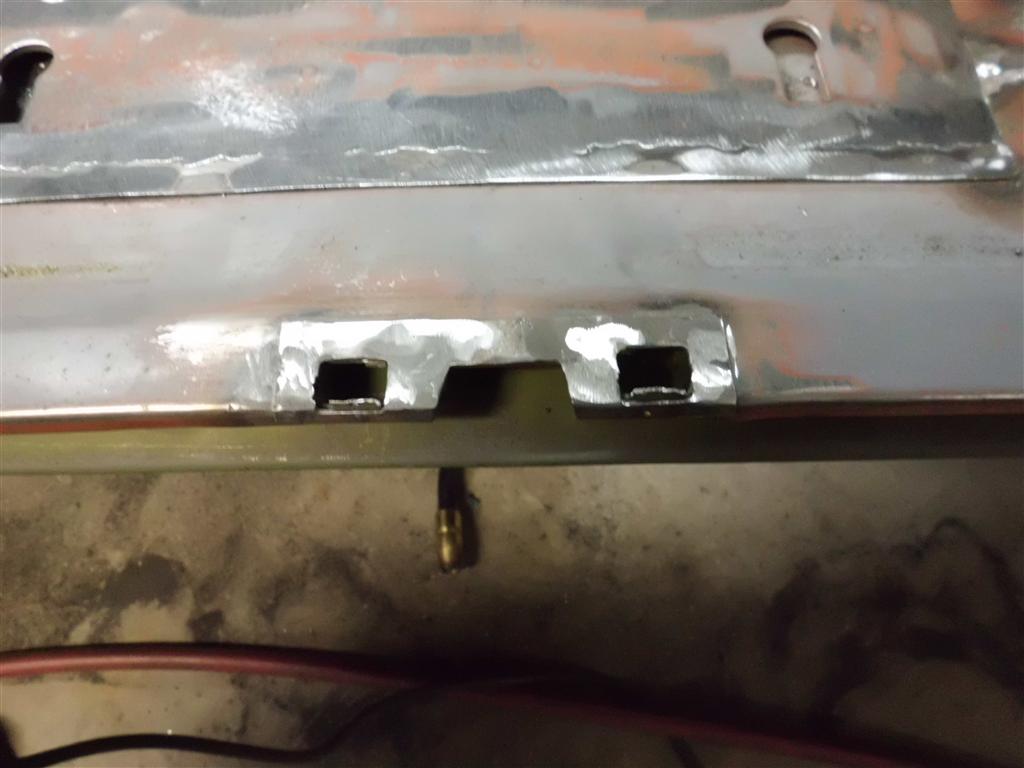
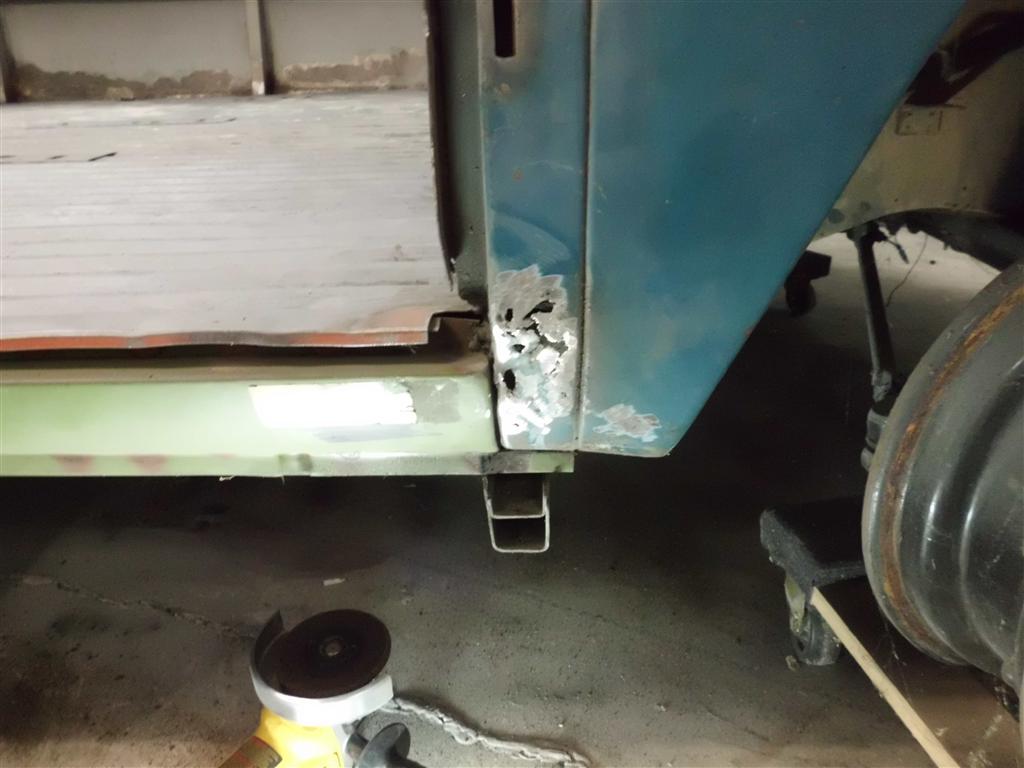
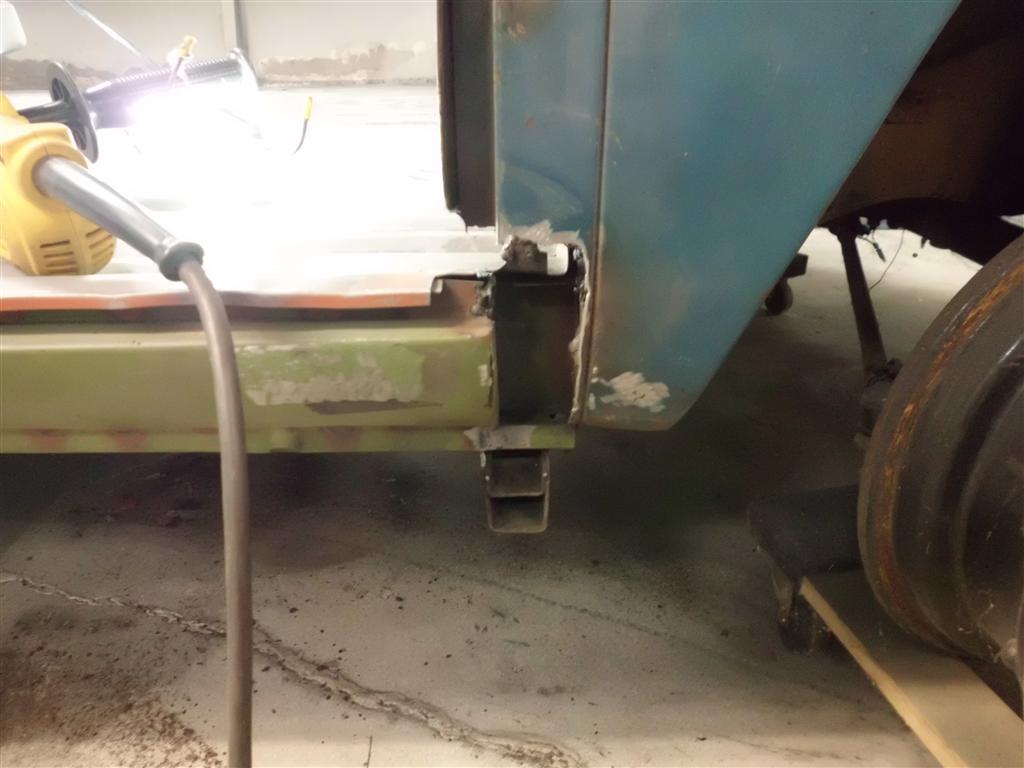
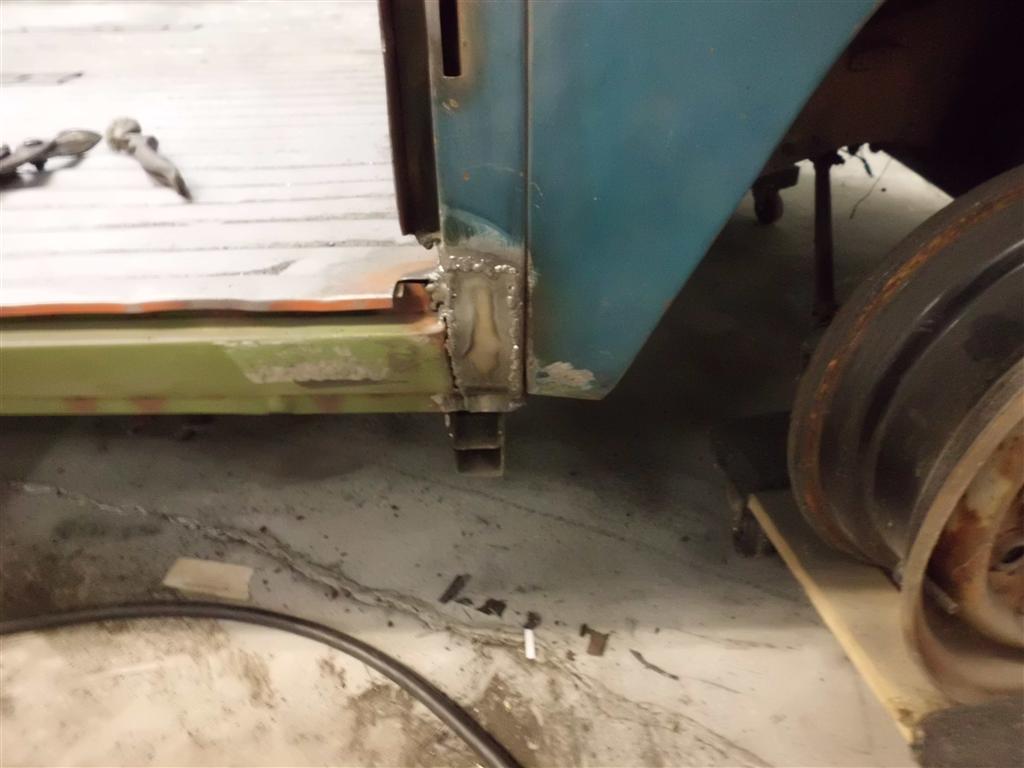
Lower Passenger Side B Pillar Repair
The bottom of the passenger side B pillar had rusted through. The rusted section was cut out, a custom piece was cut, bent, and then welded in. Also, the passenger side cargo floor repair section that I installed years ago was a generic repair piece that fit buses from the late 1950’s through 1967. Somewhere in that date range the size of the seat mounting plate shrunk. The repair piece had included the larger size plate, so I trimmed it to match the three remaining original plates.
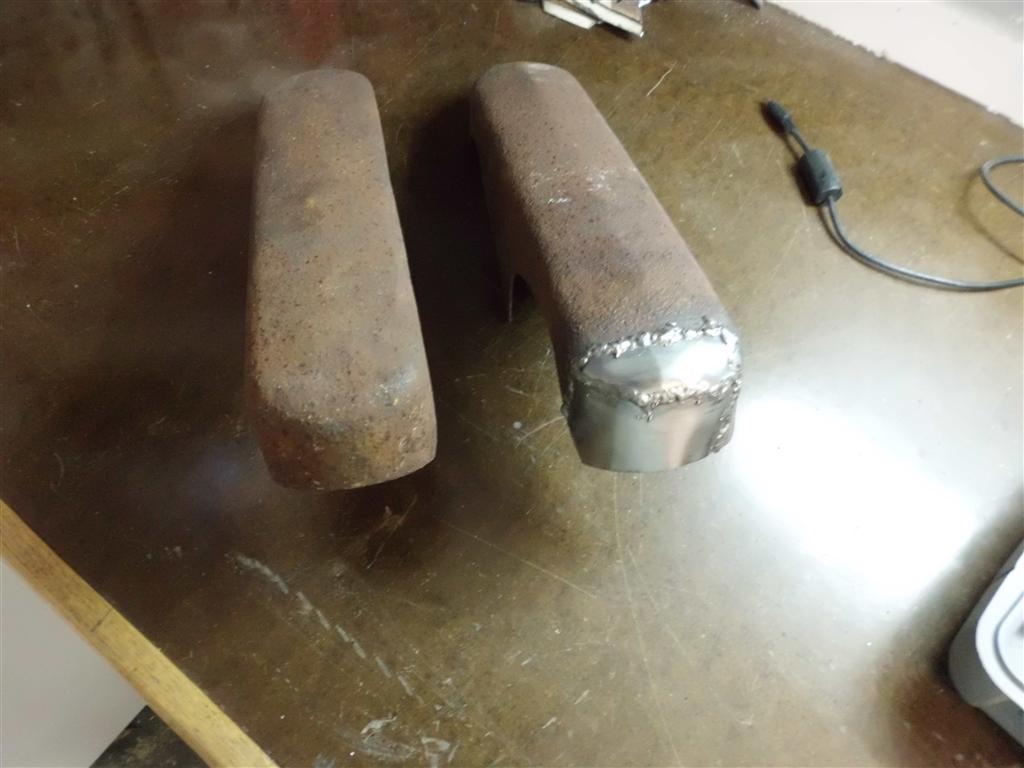
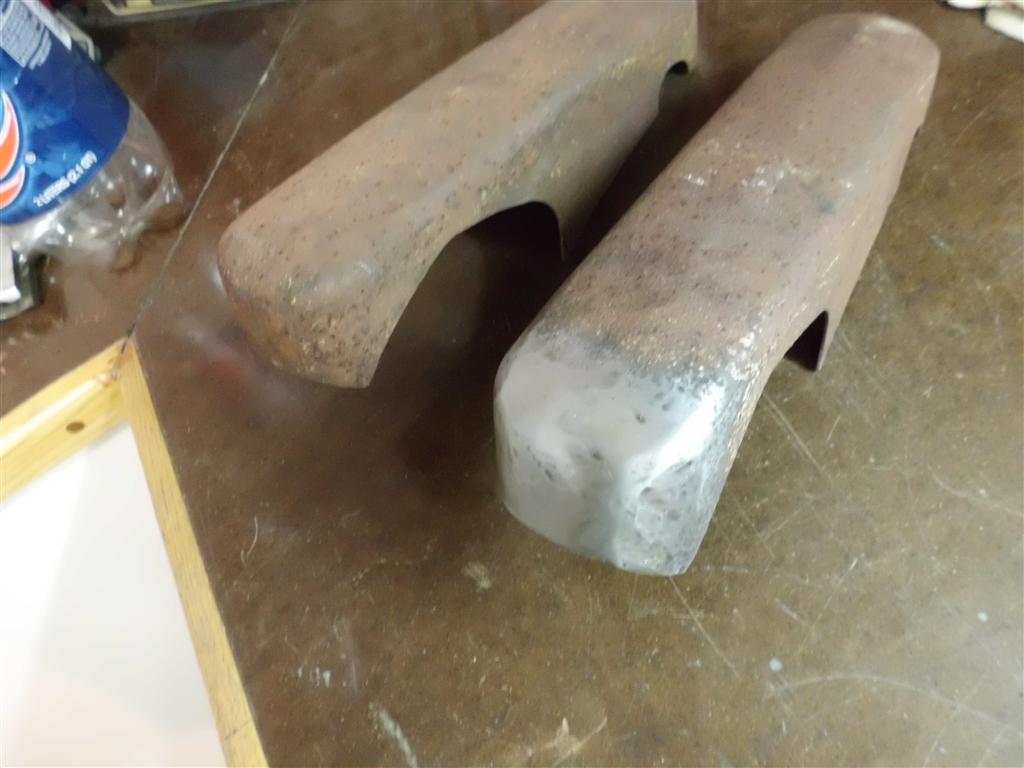
Front Bumper Overrider Repaired
The bottom of one of the front bumper overriders was rusted through. The overrider parts are what makes this the “US-only” version of the bus bumper; buses sold outside the US & Canada did not have the overriders. The overriders and bumper are in generally OK condition after the repair. Some dents will be smoothed later, but I do plan to leave some ‘character’ on the bumpers.


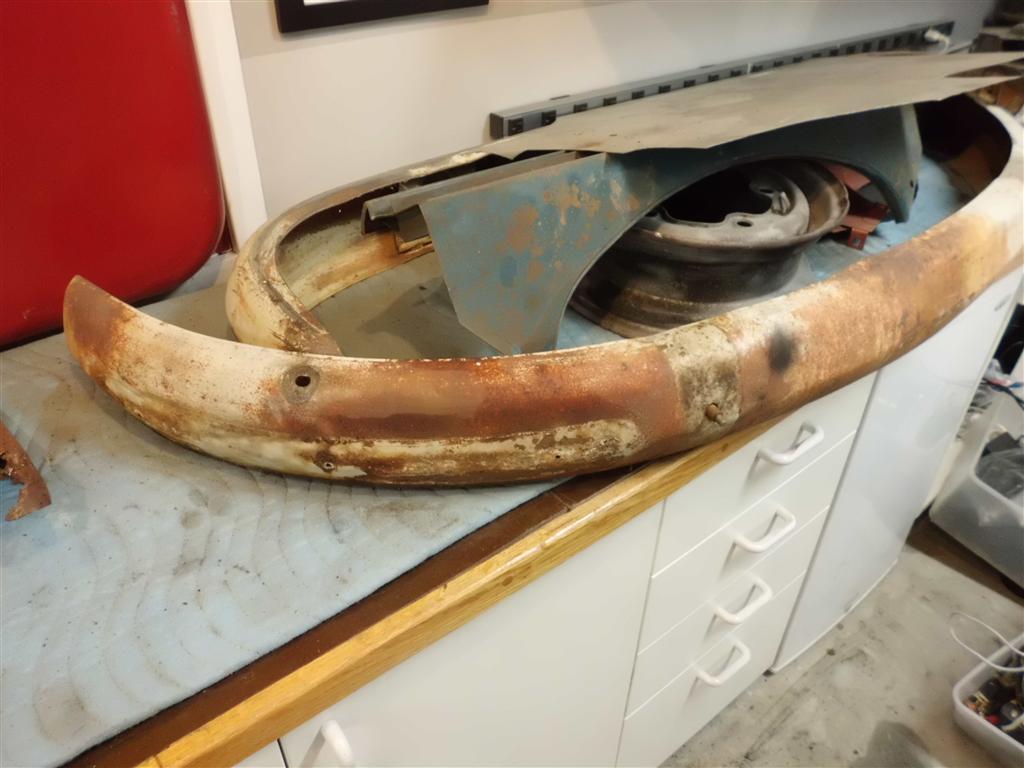
Front bumper disassembly
I had been putting off disassembling the front bumper for a while but it had to be done so that it can be ready for primer during the next big primer phase. Every screw and bolt was solidly rusted to the bumper and the rubber rub strip was dry-rotted solidly into it’s aluminum trim piece.
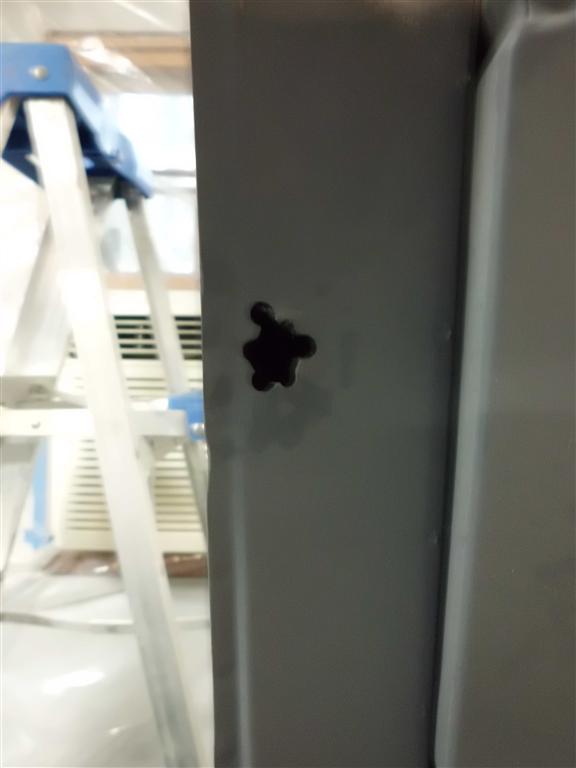
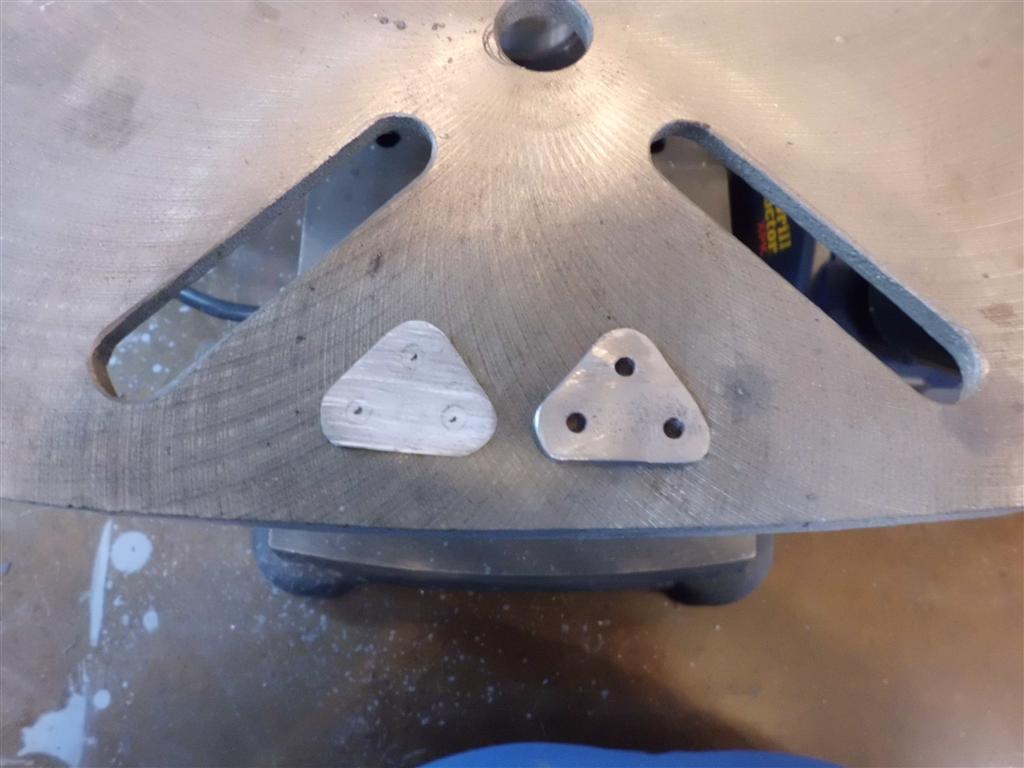
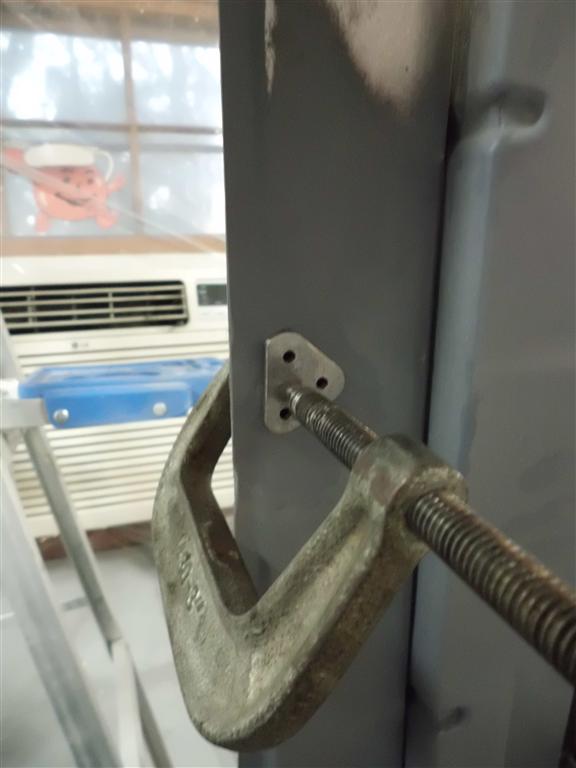
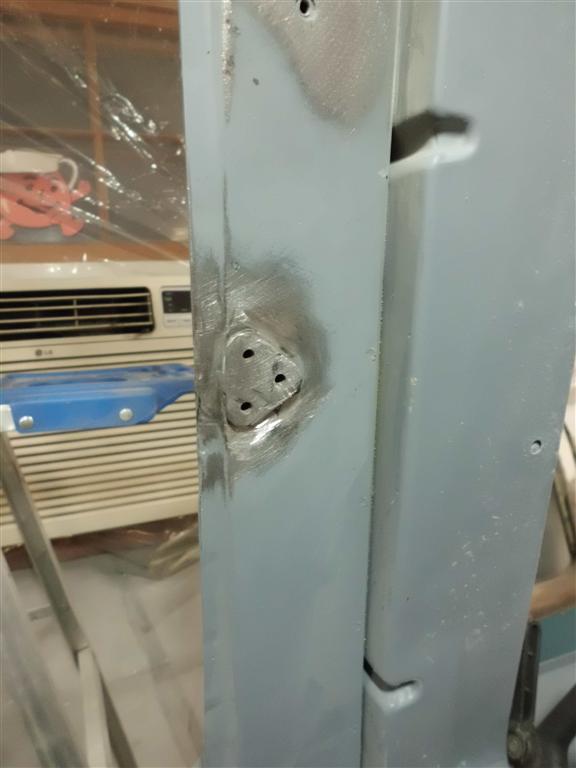
Pop-out Window Bracket Repair
Another part for the “why did they cut that off!?” category. For some reason the pop-out window bracket for the first window behind the driver’s side door had been chopped off. Luckily the same bracket is used on 3 other windows and I was able to create a paper template by rubbing over an existing bracket with pencil/paper. Once the new bracket was shaped, drilled, and tapped it was welded in place. The picture makes the grind marks look deeper & messier than they actually are; after the next primer coat the new bracket should look as good as the factory brackets.

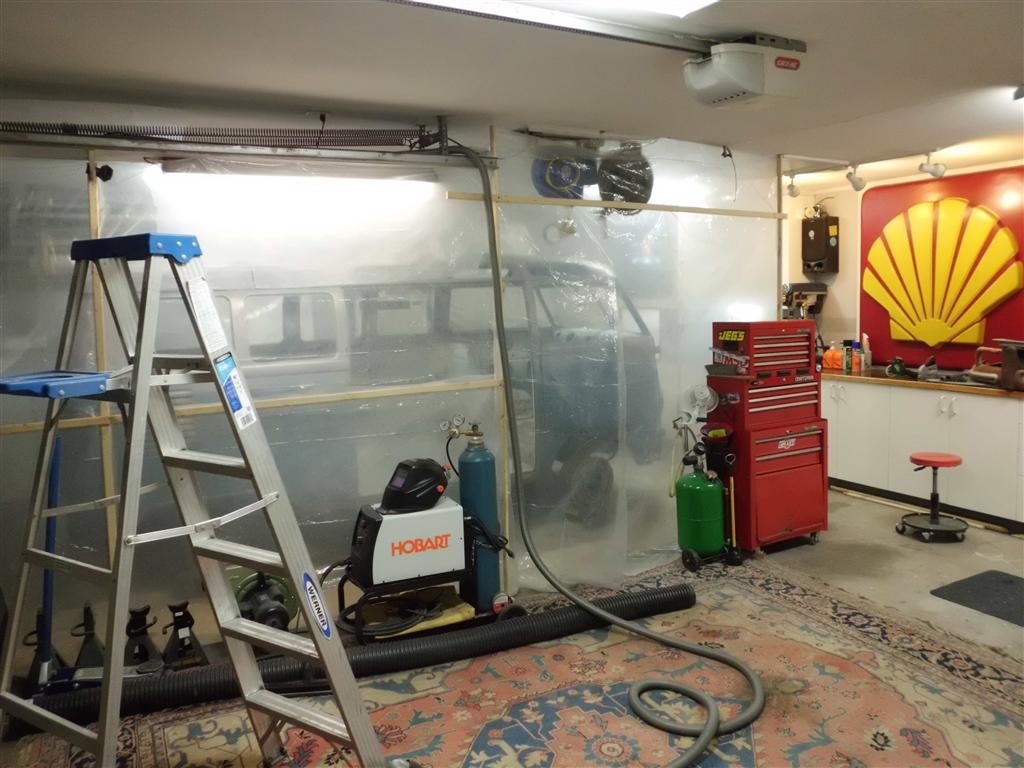
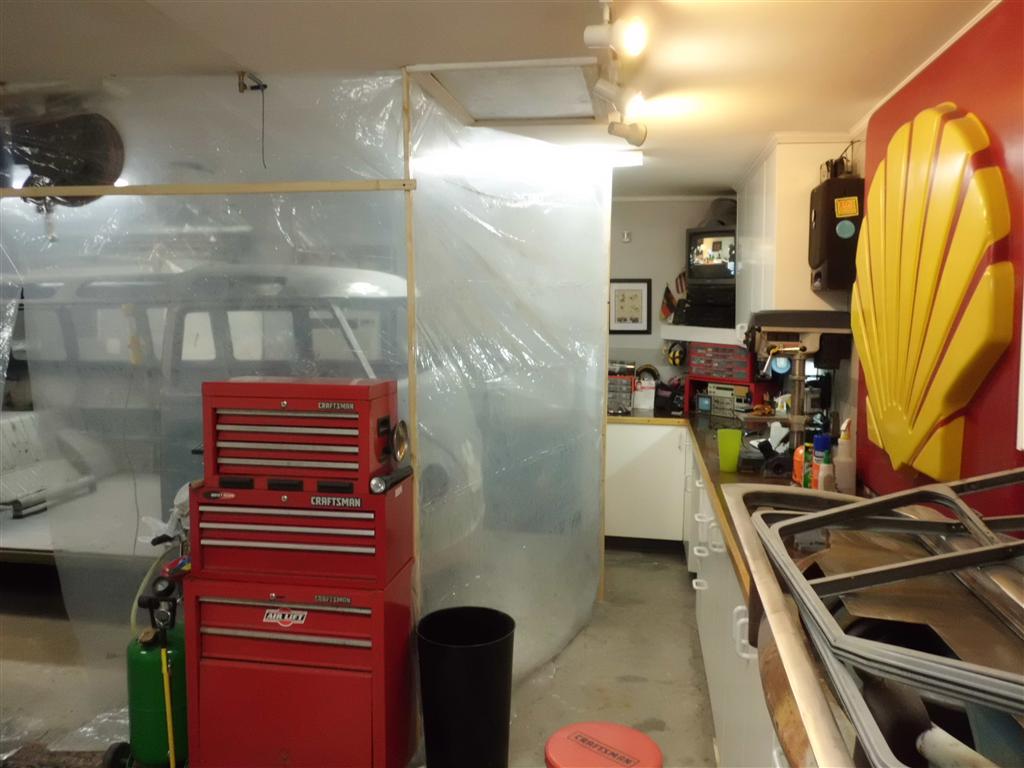
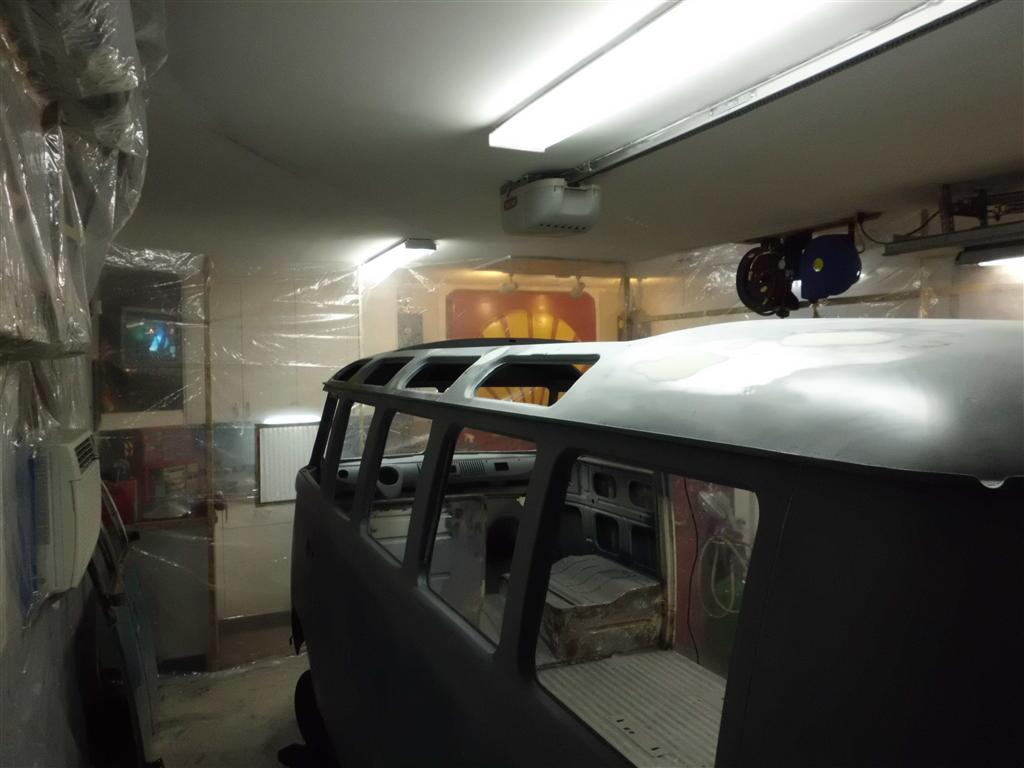
Bus Bubble v2.0
The bus was moved 90 degrees again to the other garage bay. The original bus bubble worked well but had the disadvantage of blocking both garage bays. The new-and-improved version only takes up one bay while staying roughly the same size inside. Structure was also added at key points to prevent the sides from sucking in too much when the exhaust fan is turned on.