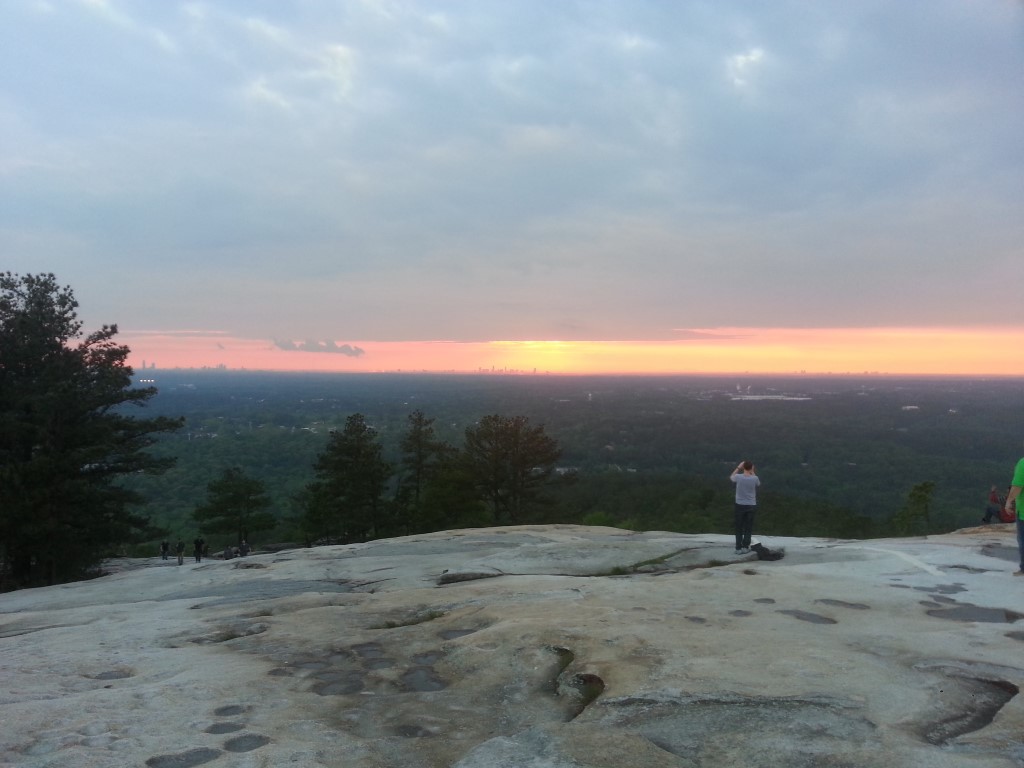
I haven’t updated in quite some time; summer was very busy with work, travel, and the occasional practice flight. I documented a number of these things with the intention to later post, however I failed logging into my phone one too many times and it deleted all photos.
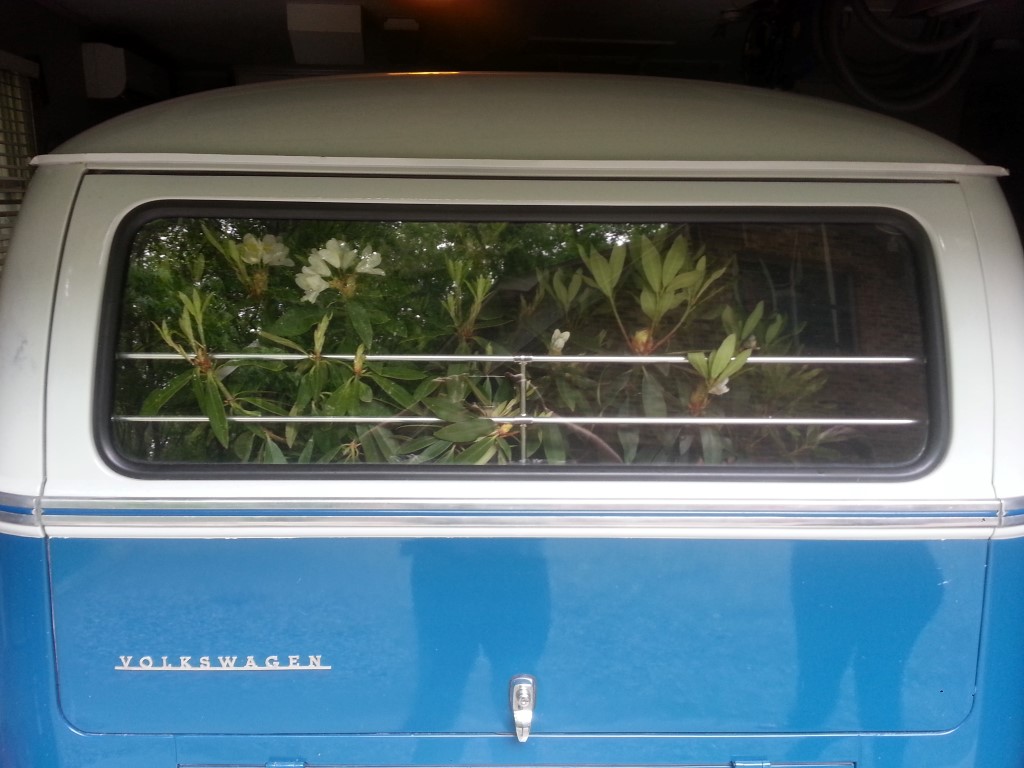
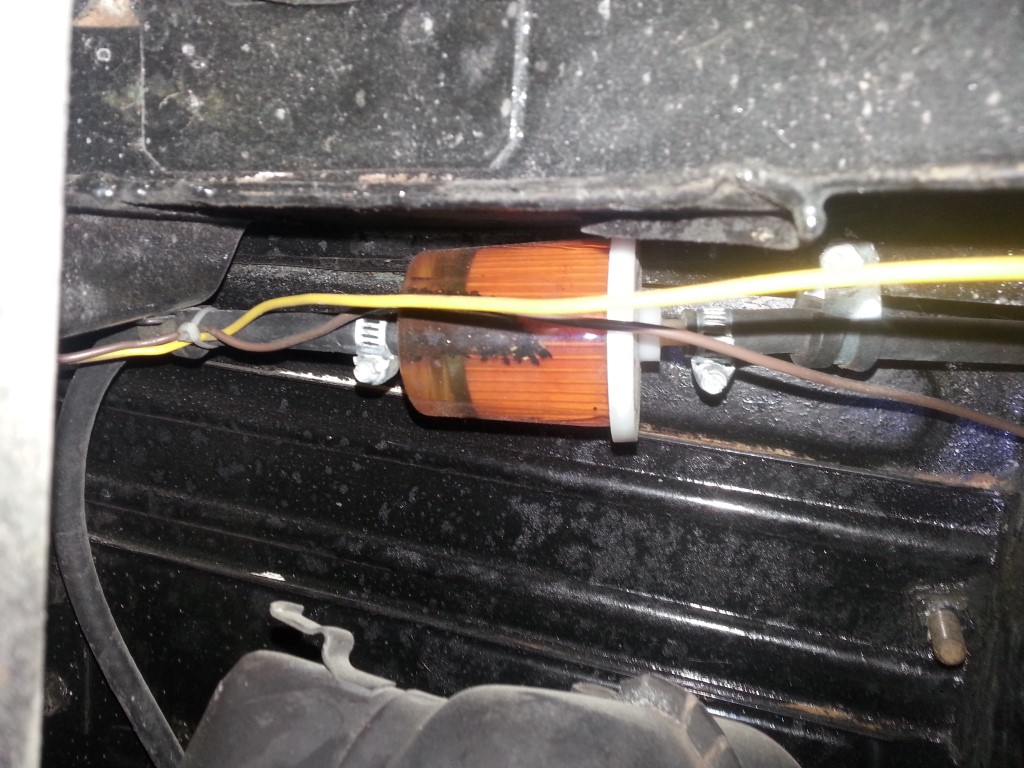
Bus: Only minor work done on the bus, mainly more wet-sanding & polishing.
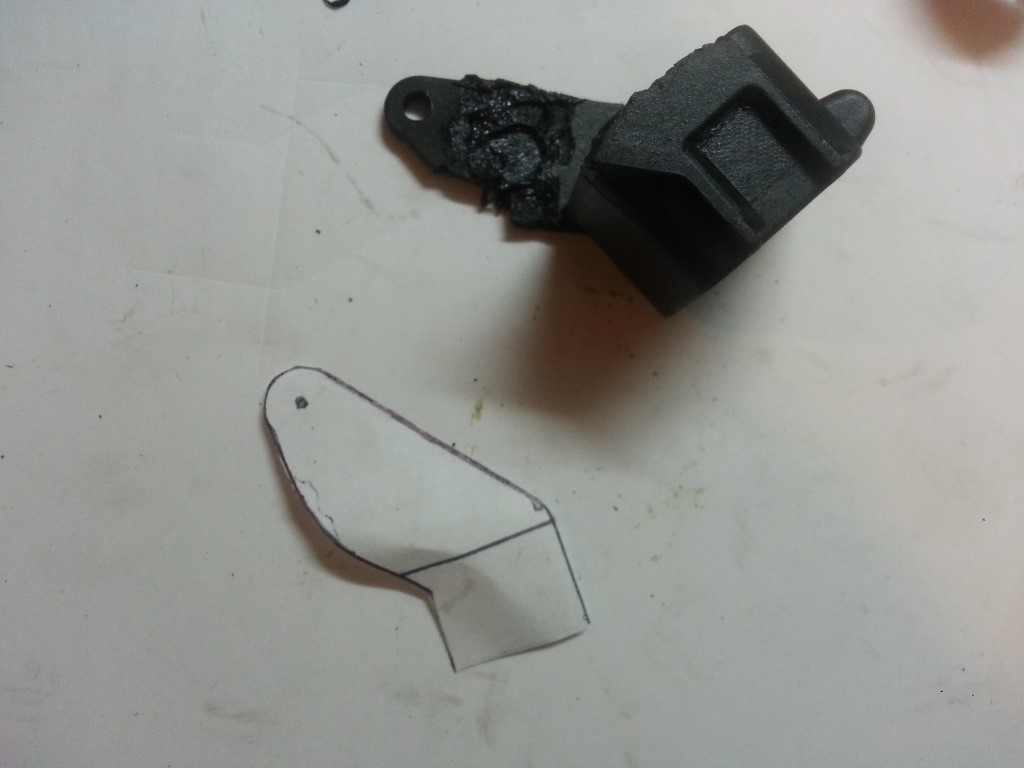
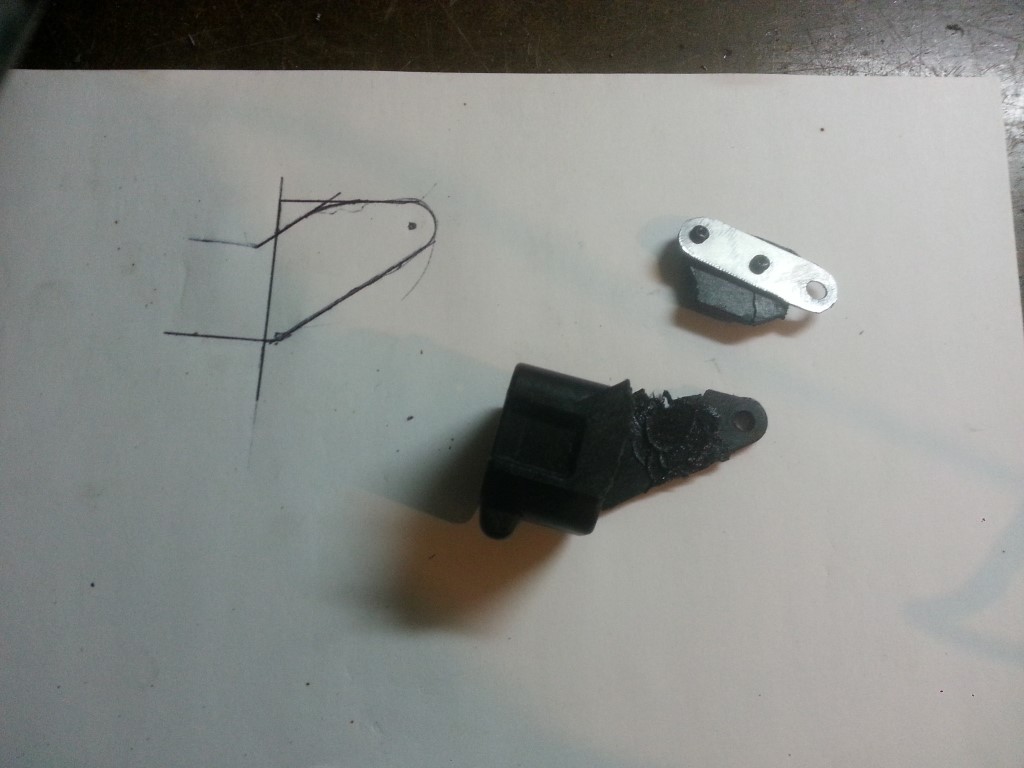
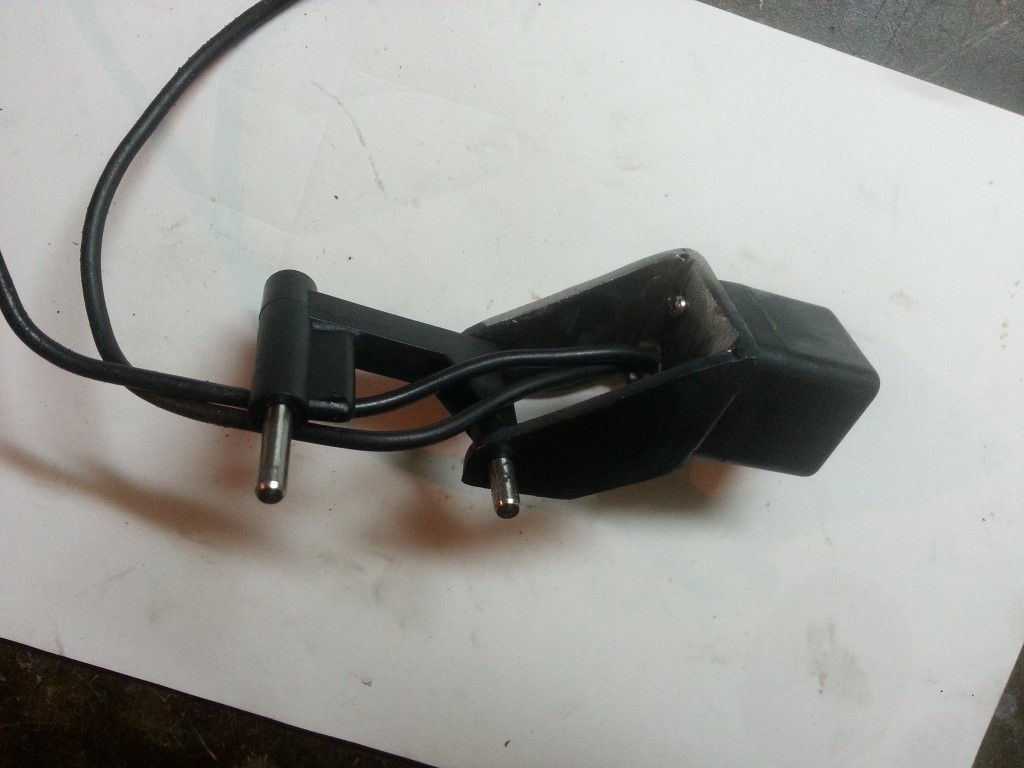
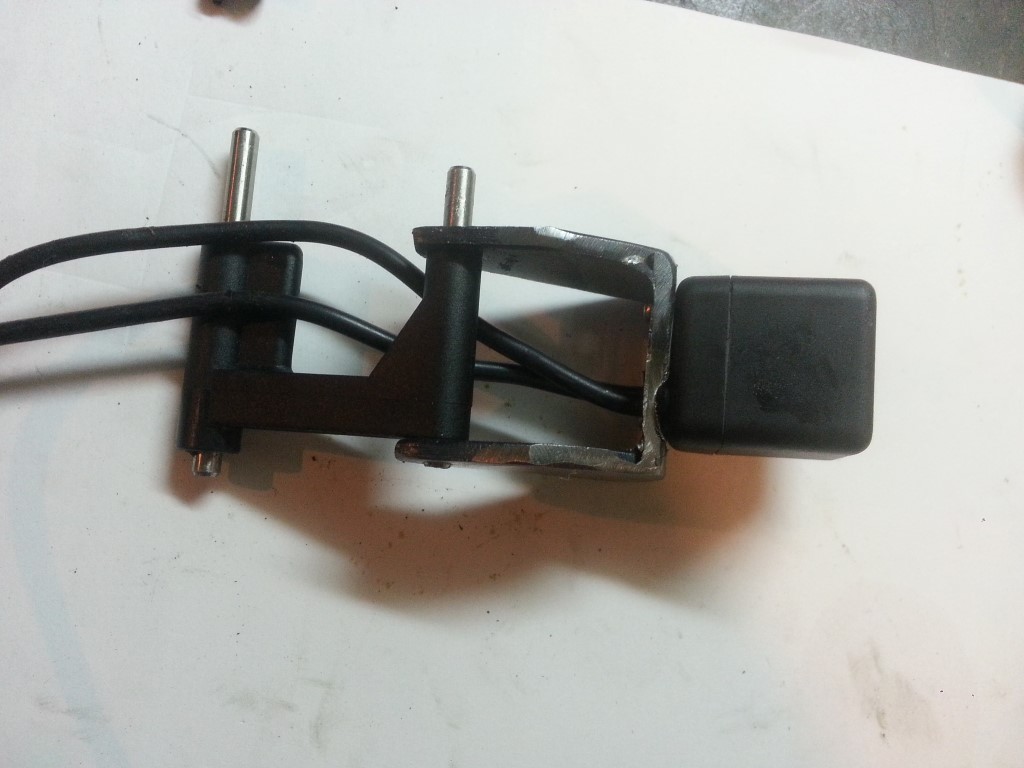
CNC: I created a homemade drag knife for cutting out vinyl/cardboard/paper. This is still a work in progress as are accuracy refinements and fine tuning.
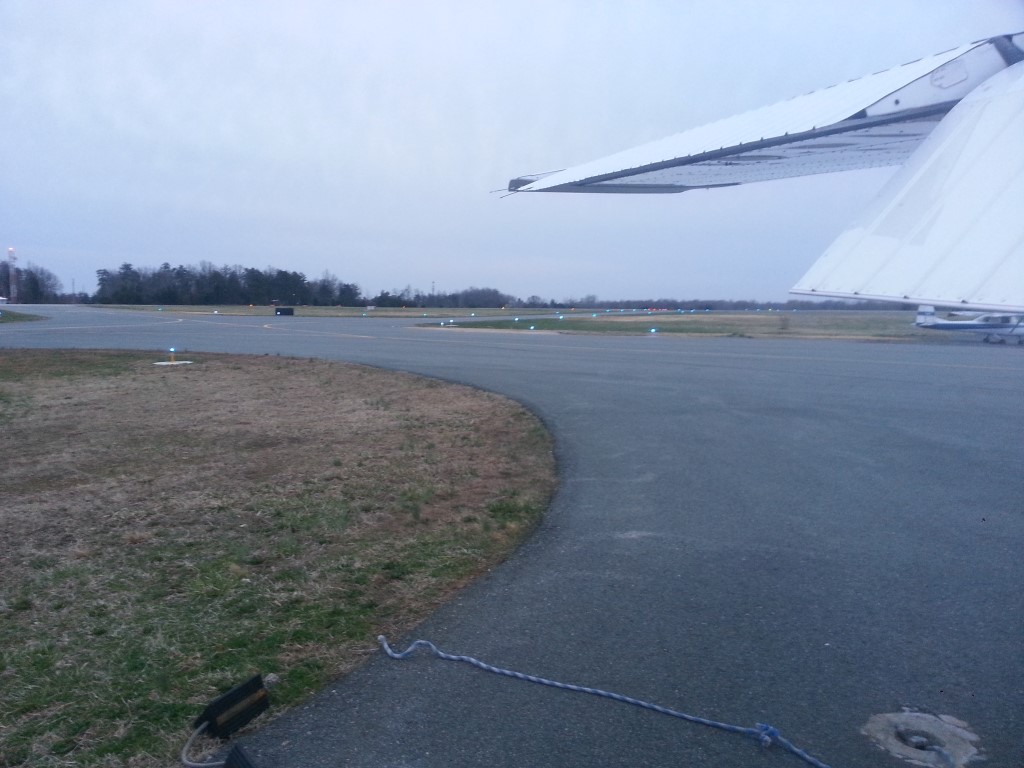
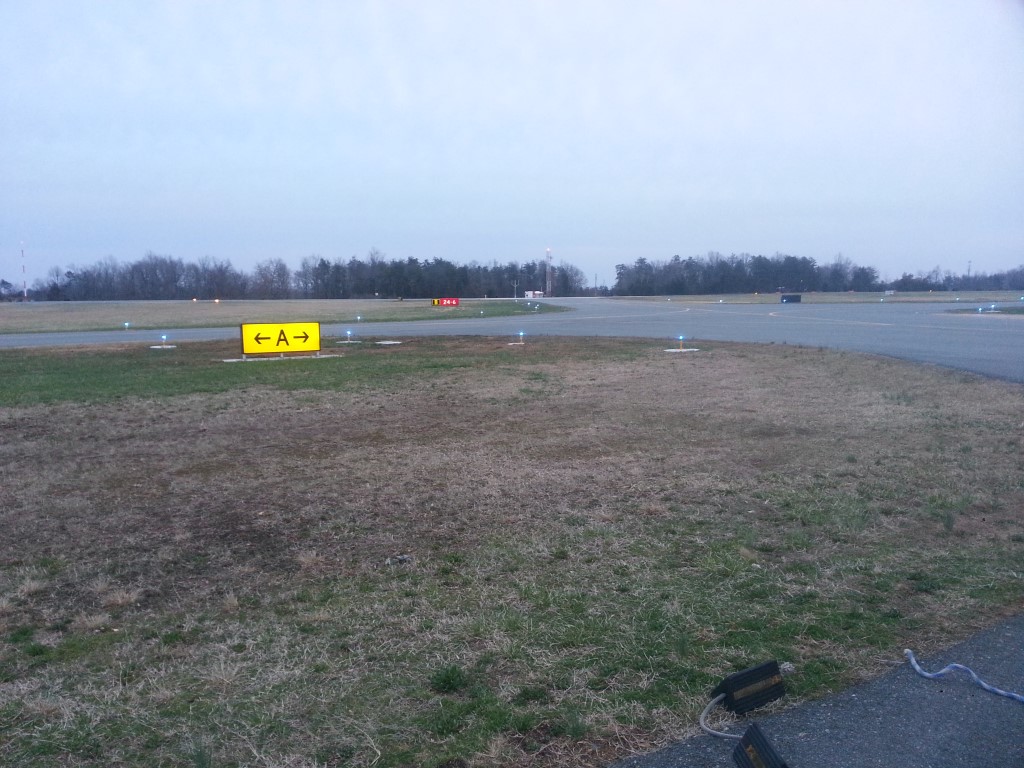
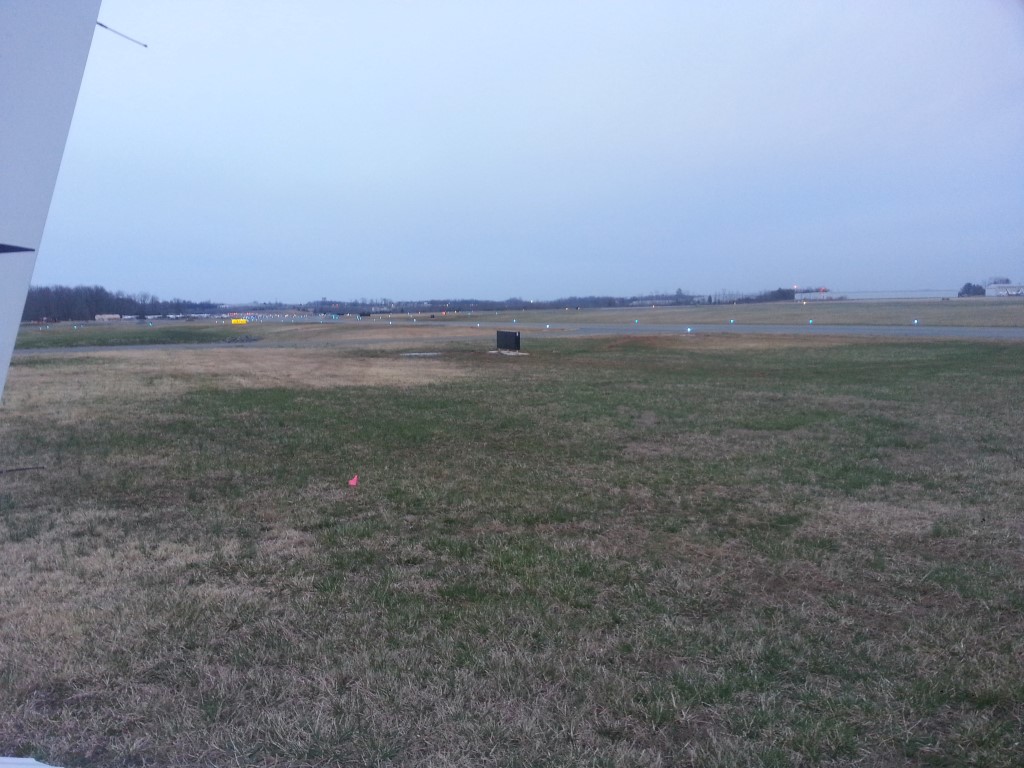
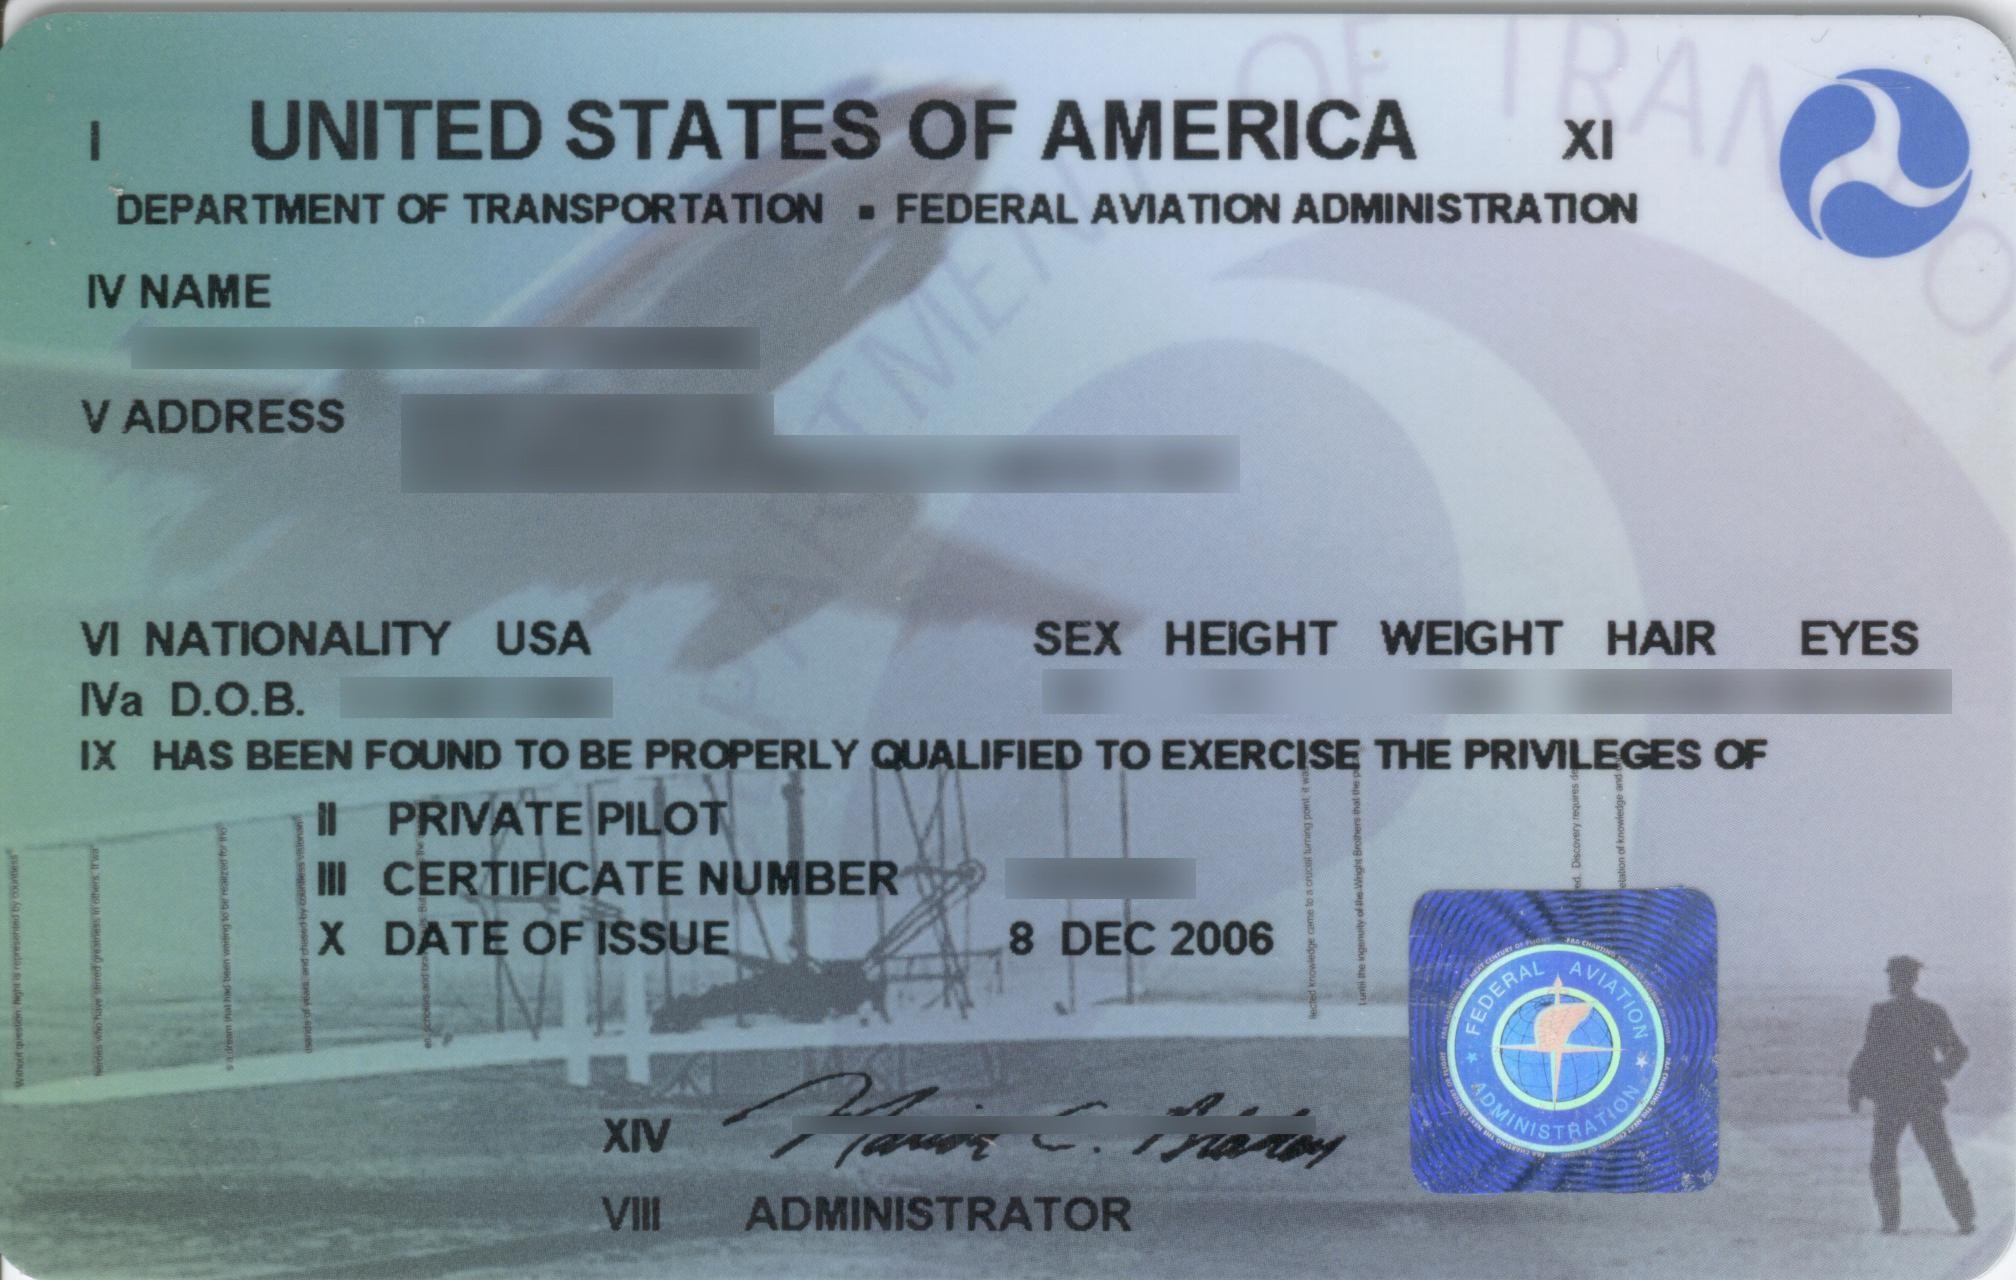
Aviation: I passed the Private Pilot check ride! This generally means I can now fly any single engine land airplane (that does not require a Complex, Hi Performance, or tail-wheel endorsement) to/from any airport (besides the obvious: military/etc); and I can now carry passengers that aren’t flight instructors. I should be getting the official plastic certificate (There’s no such thing as a “Pilot’s License”) card in the next few weeks like the one below.
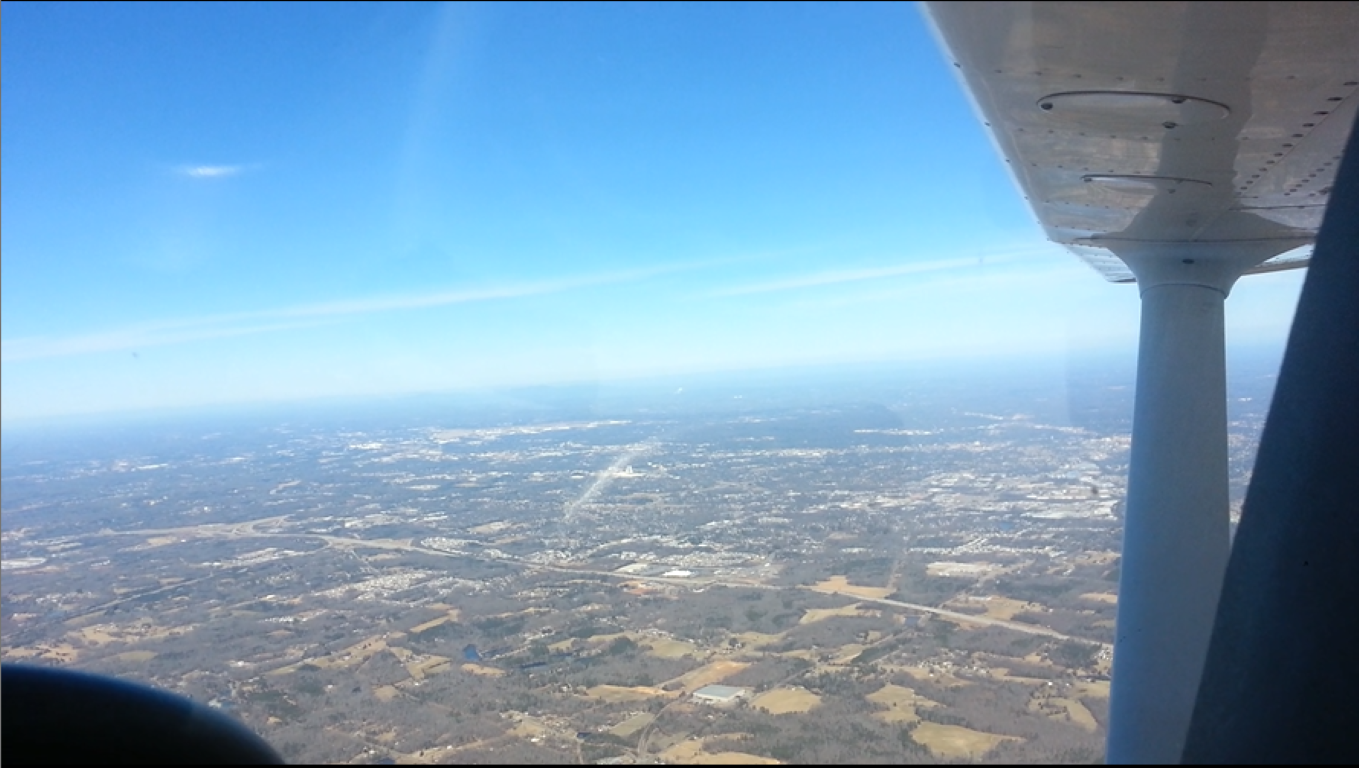
 In practice, switching to something other than a Cessna 172 would require a little bit of transition training and there are time limitations to renting the trainer plane. So not sure what’s next with this hobby, but there’s a lot to learn and it’s still very interesting…