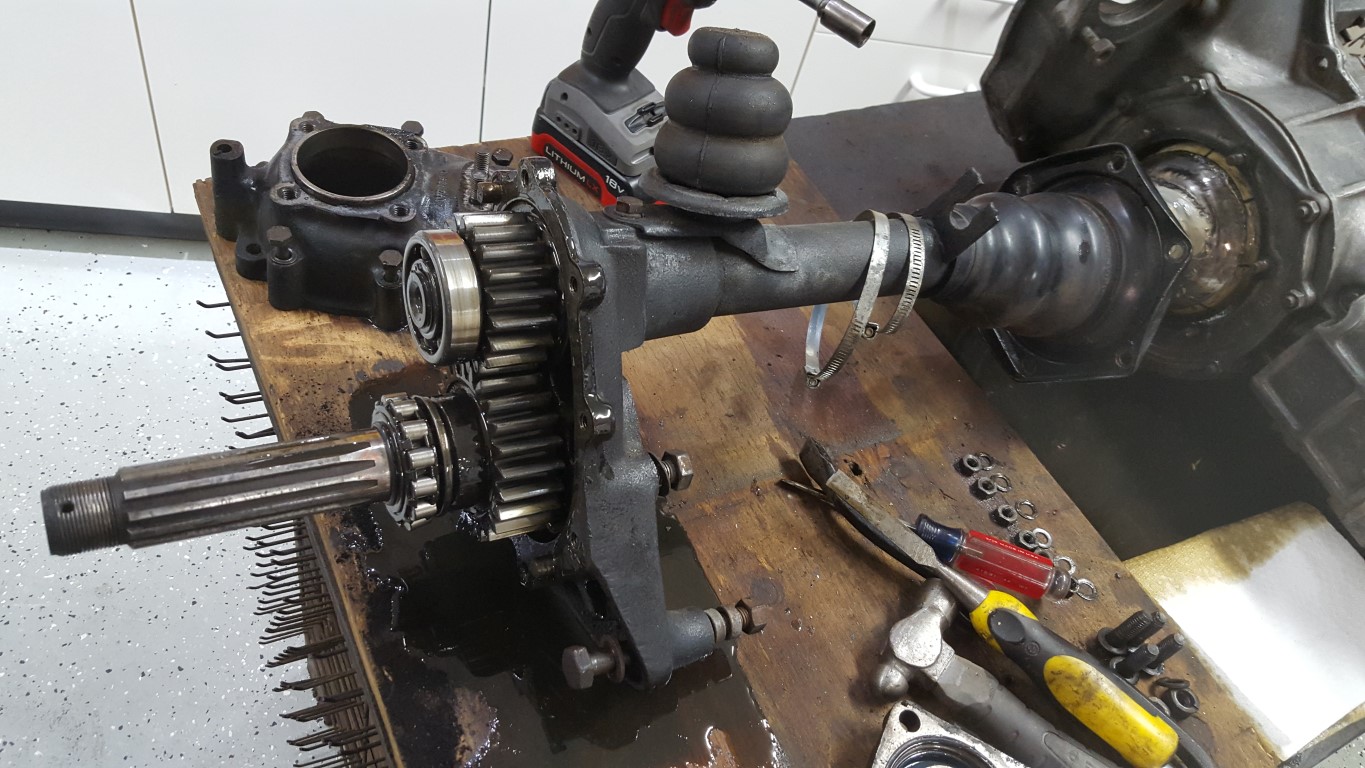
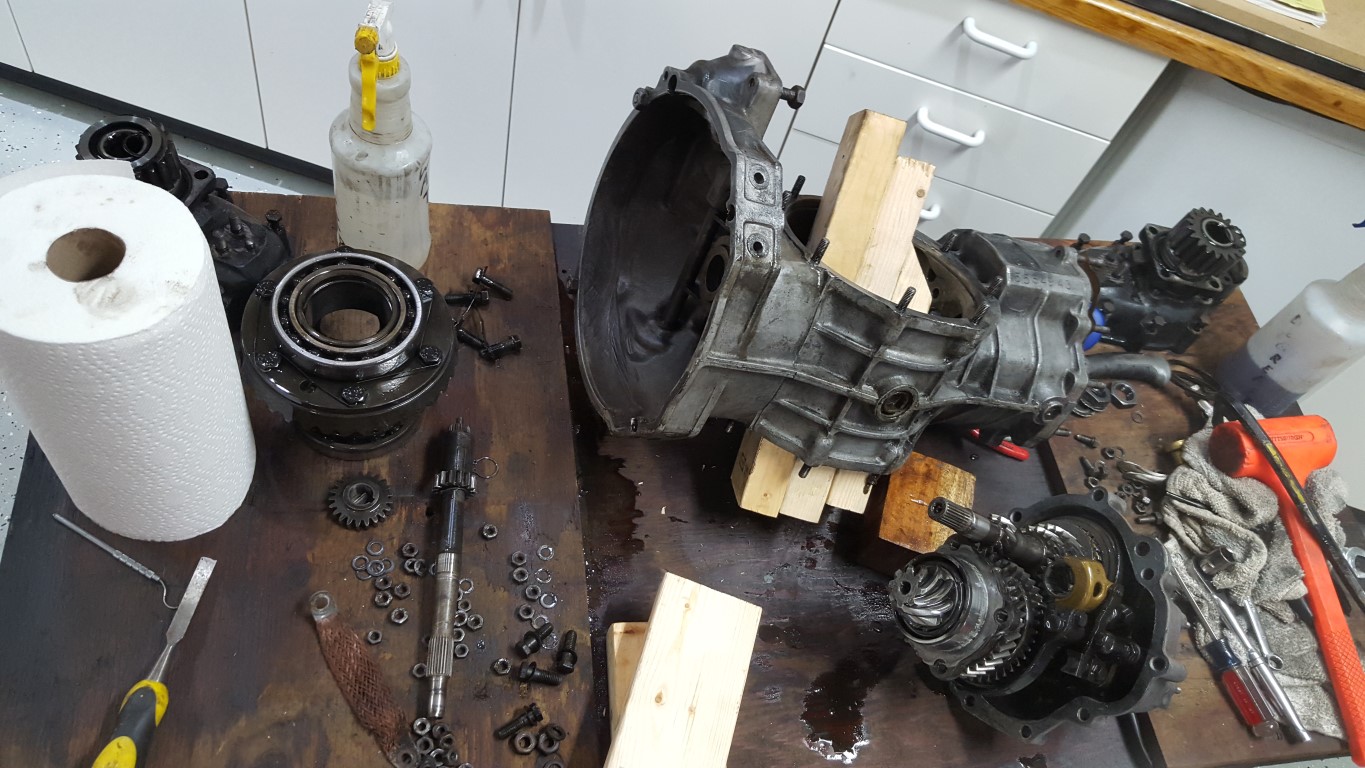
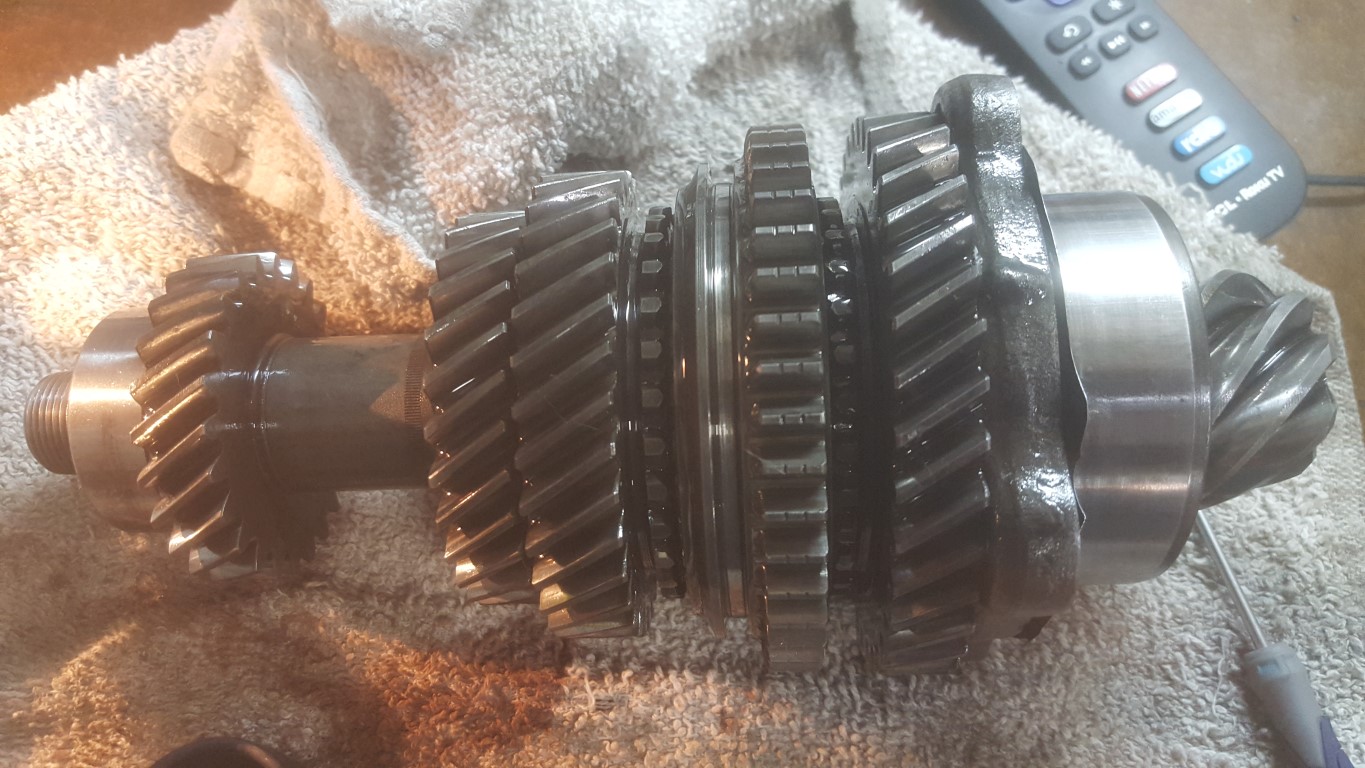
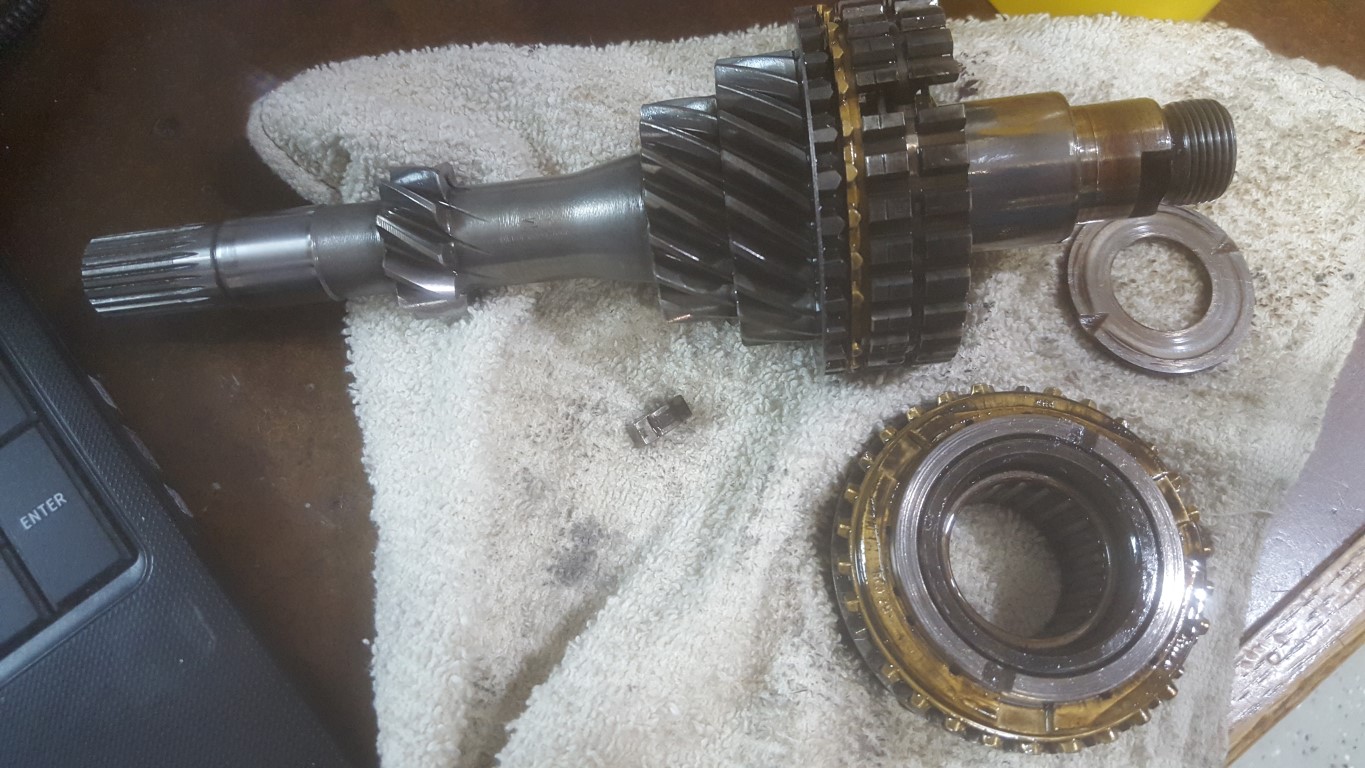
A slight change of direction with the transmission rebuild. I was looking forward to going through the transmission and readjusting everything to make it work again, but to get more speed I would have needed to swap out the ring/pinion gear as well as 4th gear. The cost for these gears separately was not too much different from the cost of a rebuilt transmission that included these gears. Because of this, there’s a rebuilt transmission on the way that already has the ‘correct’ gearing. Since this is a hobby I normally don’t think about time too much, but this also buys me a lot of time that gives me a chance to instead go through the engine while I’m waiting for the transmission to arrive.
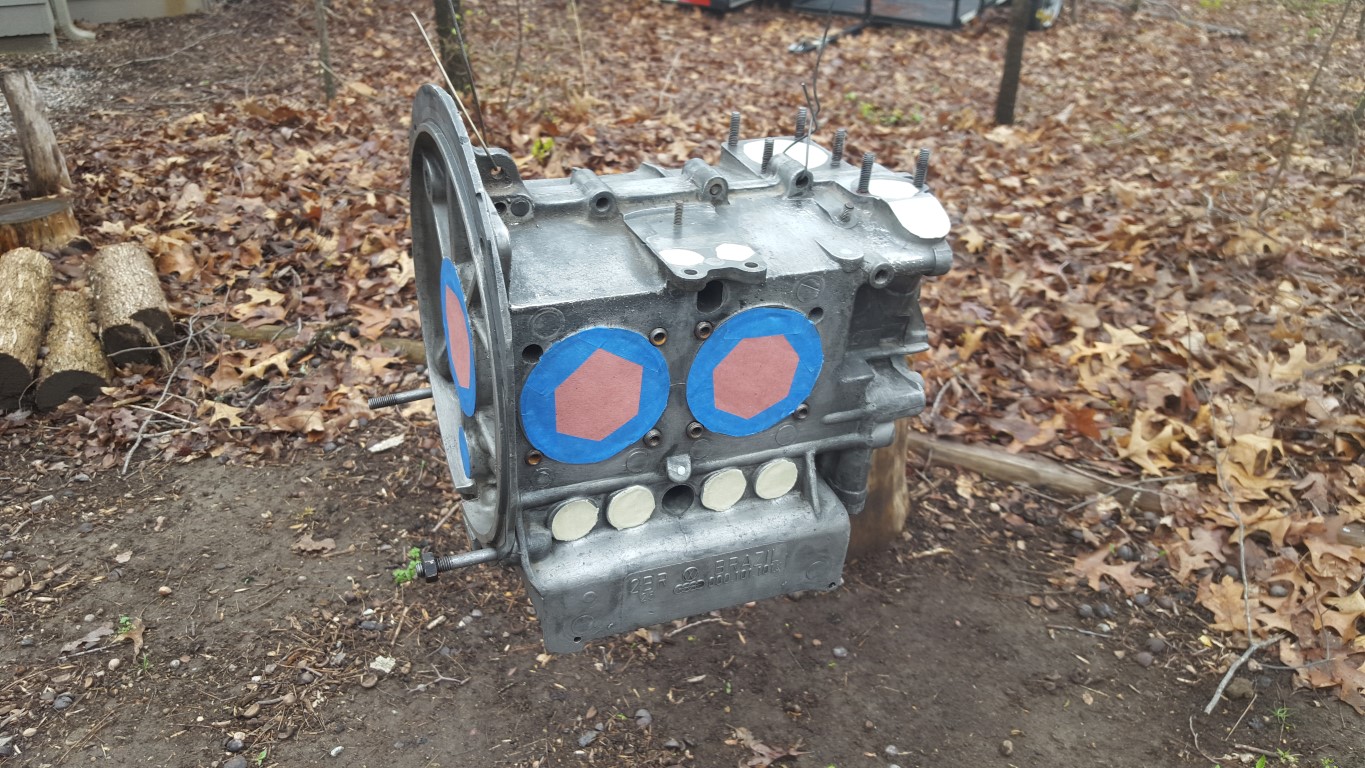
I started going though the engine this weekend. There wasn’t anything necessarily ‘wrong’ with it, but it was put together somewhat hurriedly prior to having the bus at the wedding; I’ve since had a chance to second-guess a few things I did, especially with balance. I stripped it down to the case and this time gave it thin coat of black paint; heat has been an ongoing issue and changing the color to flat black will actually improve heat dissipation slightly. Overall everything looked good, bearing wear looked normal.