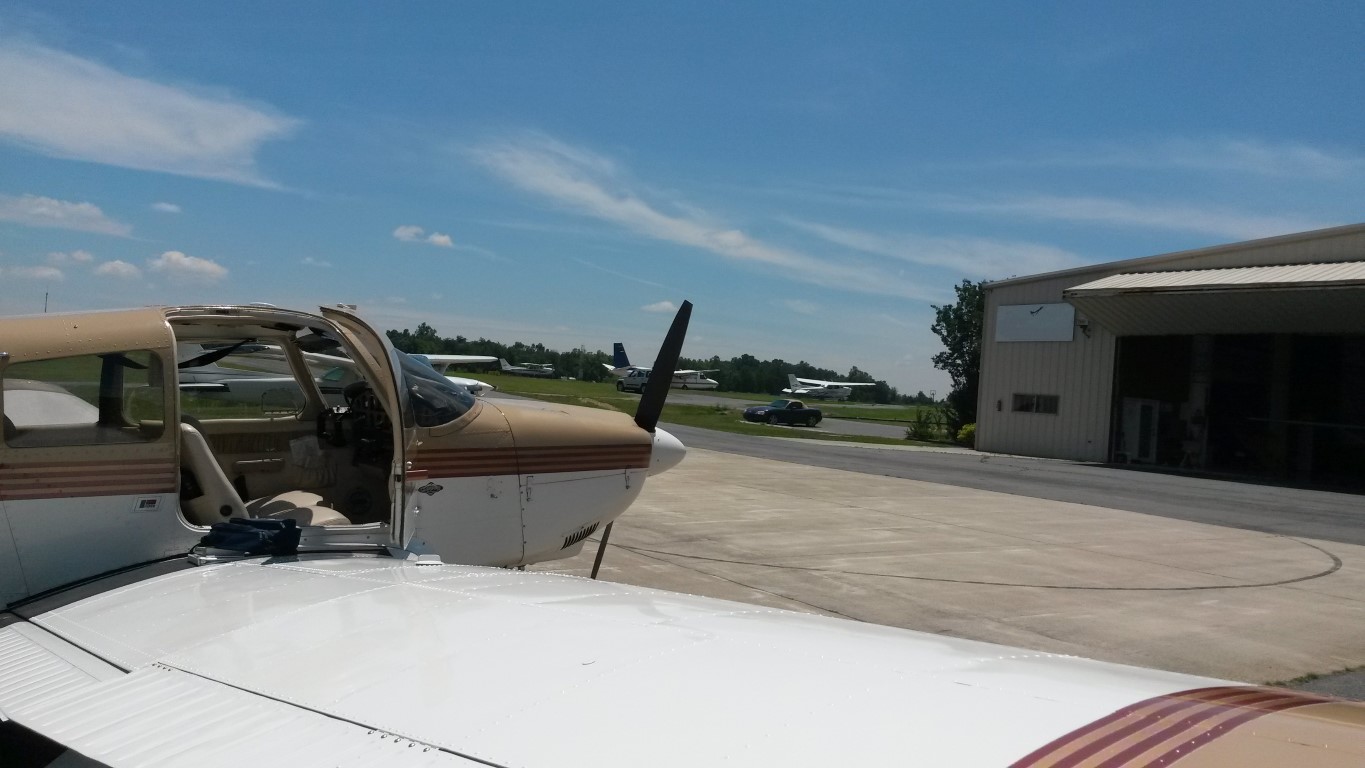
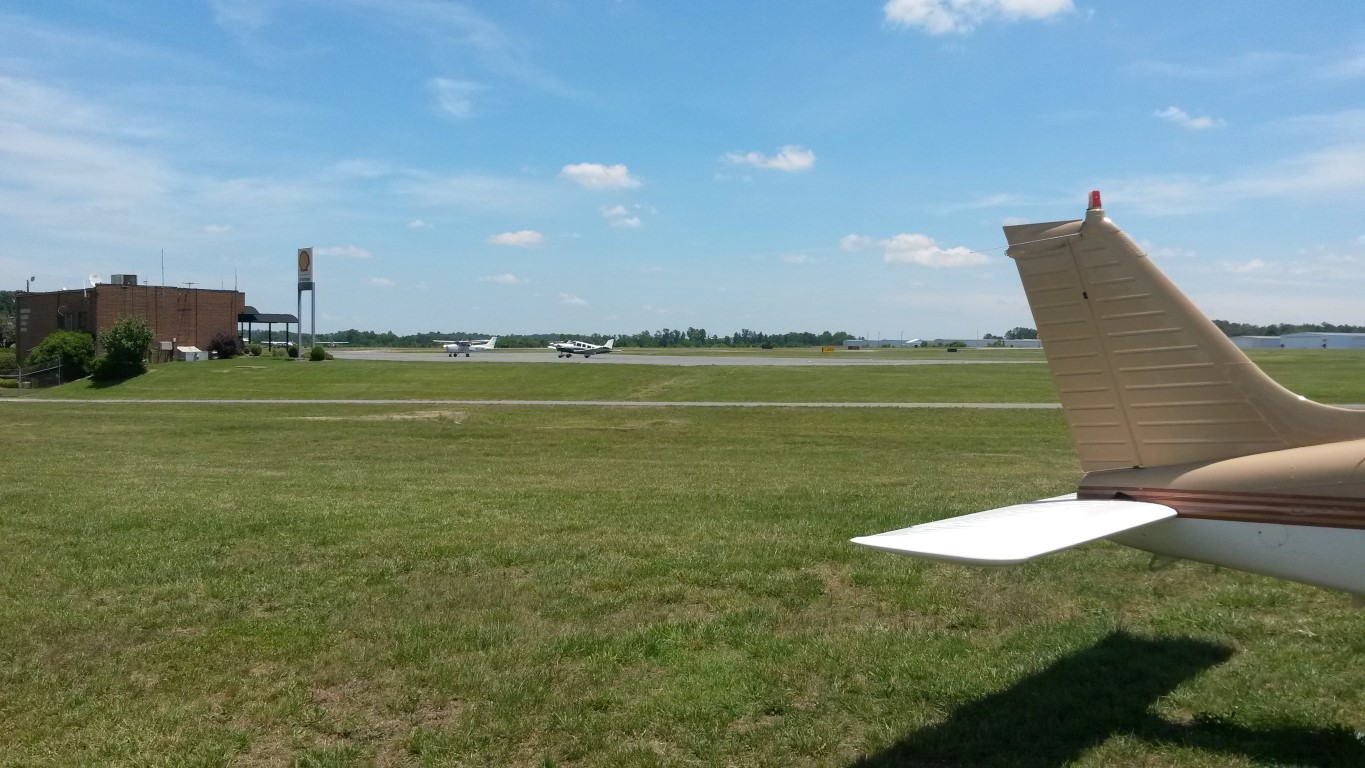
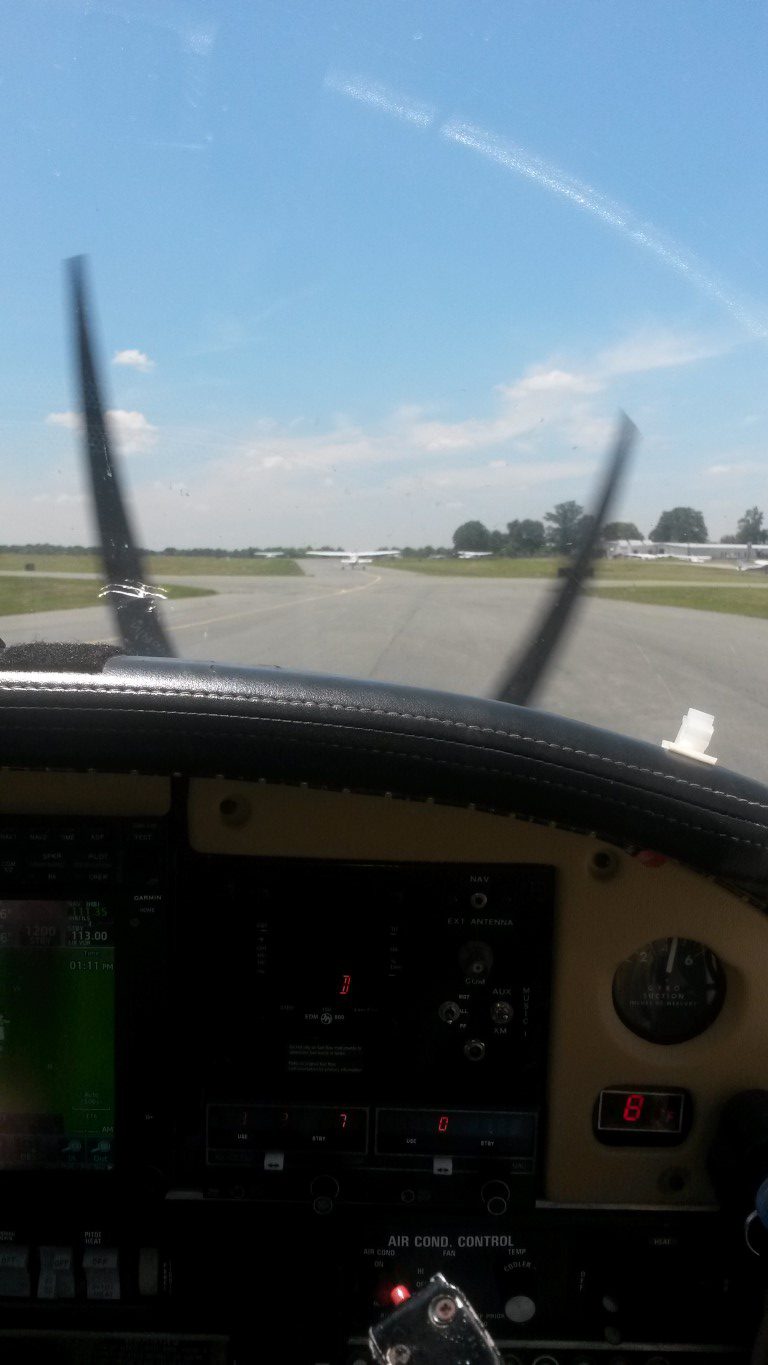
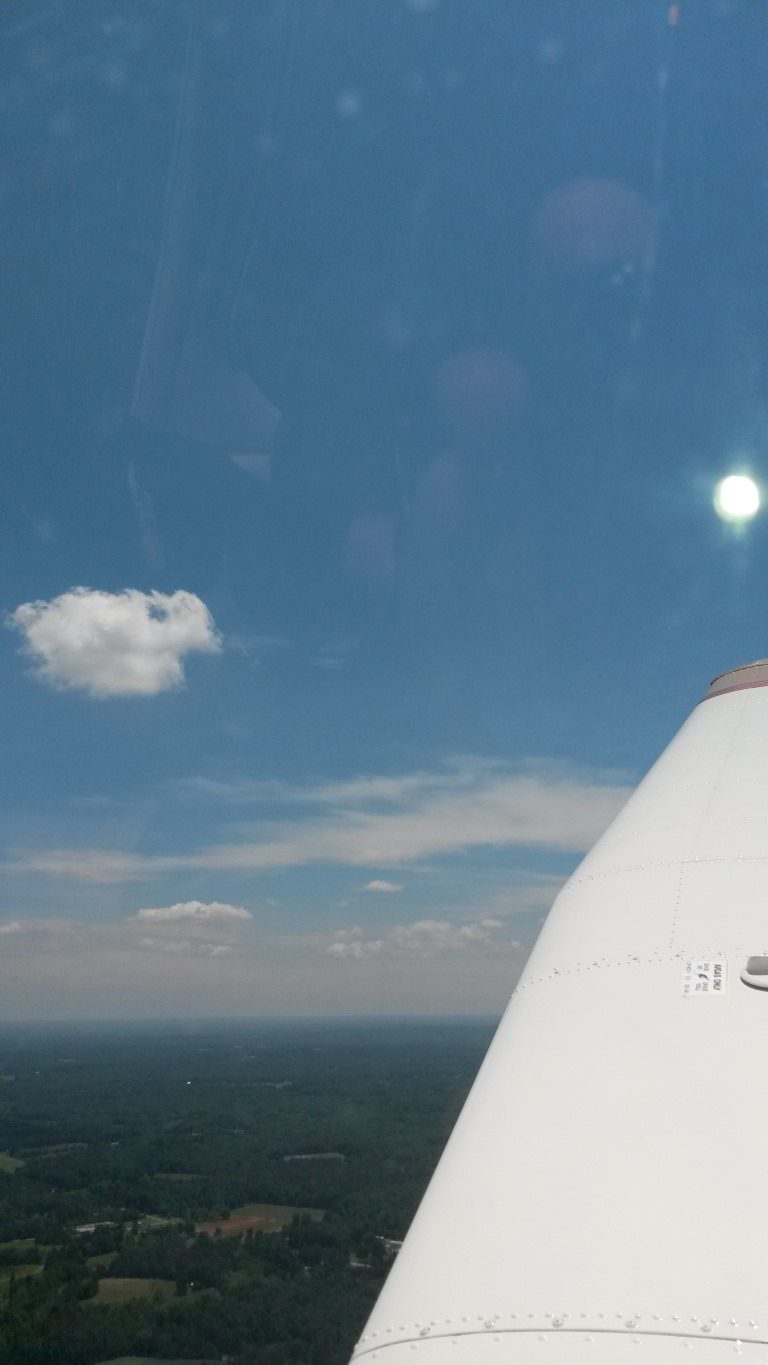
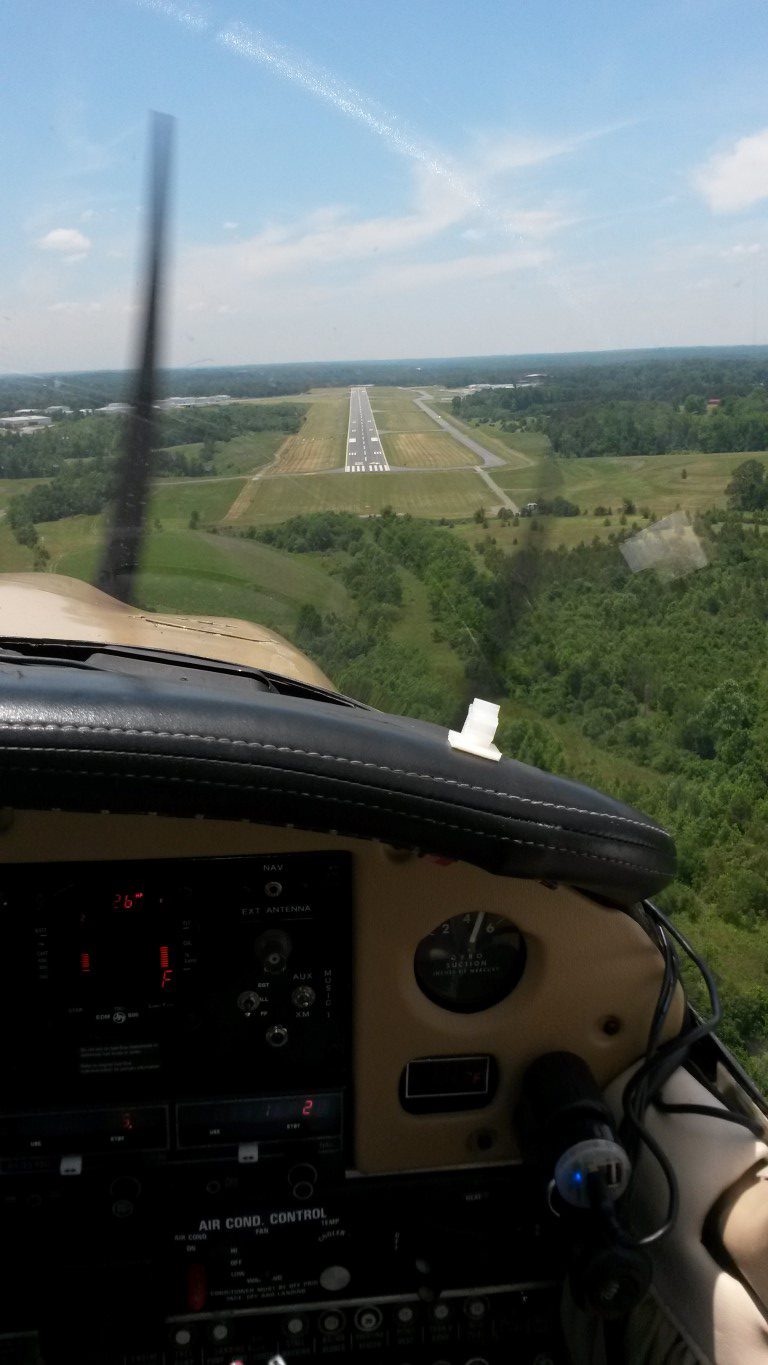
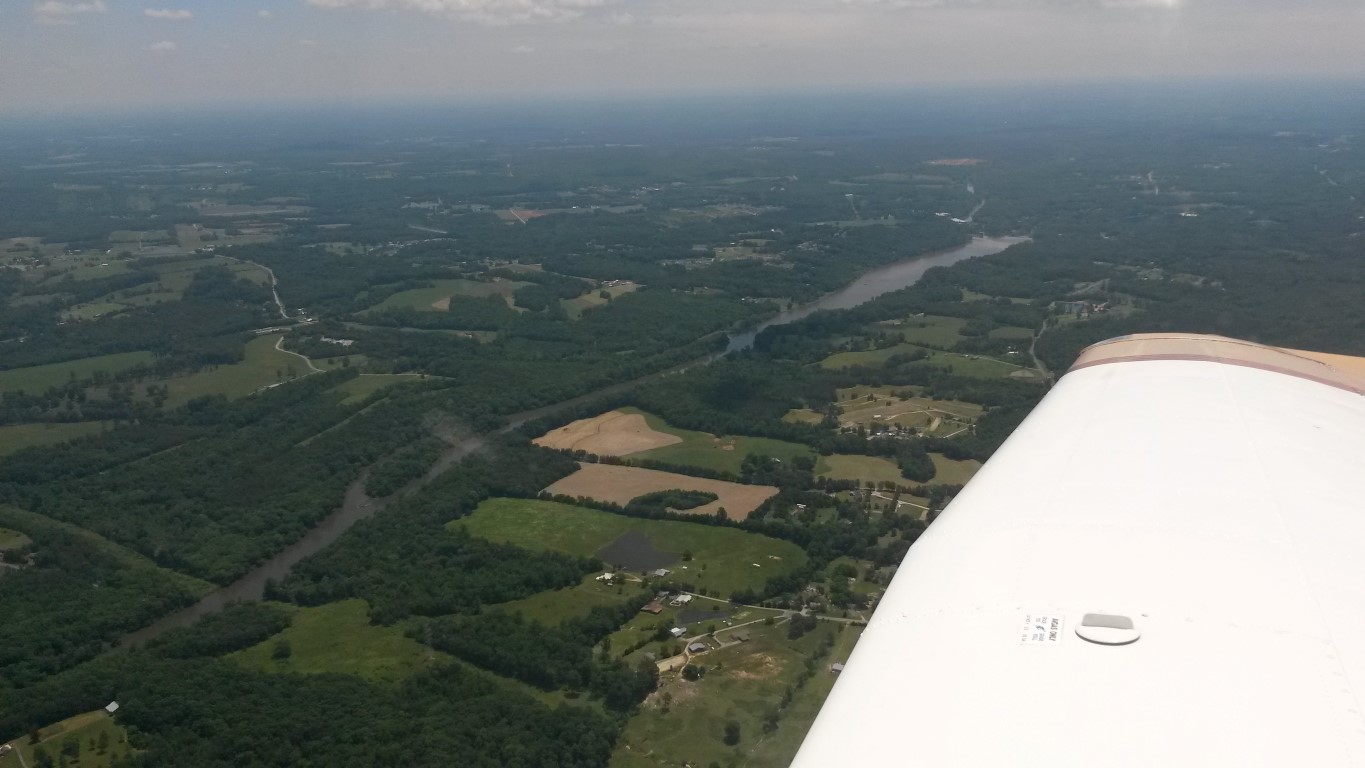
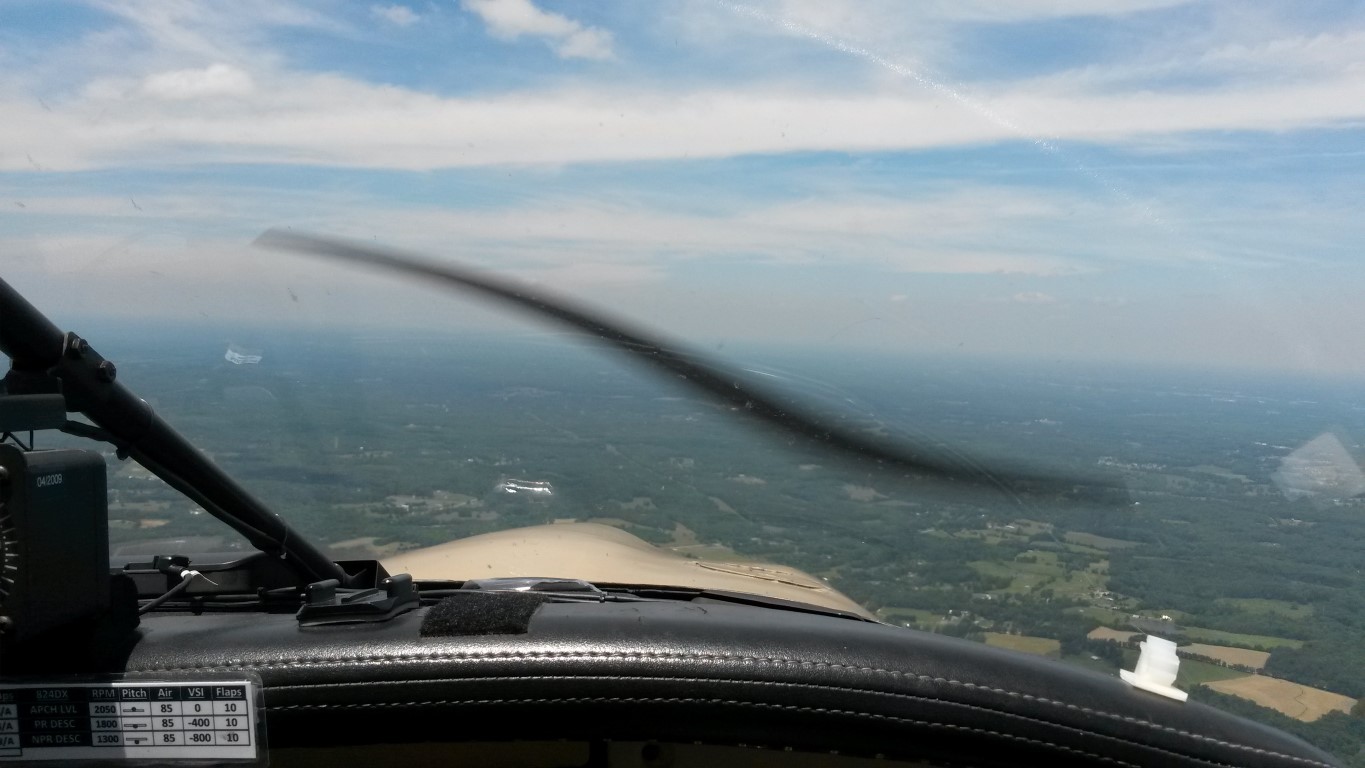
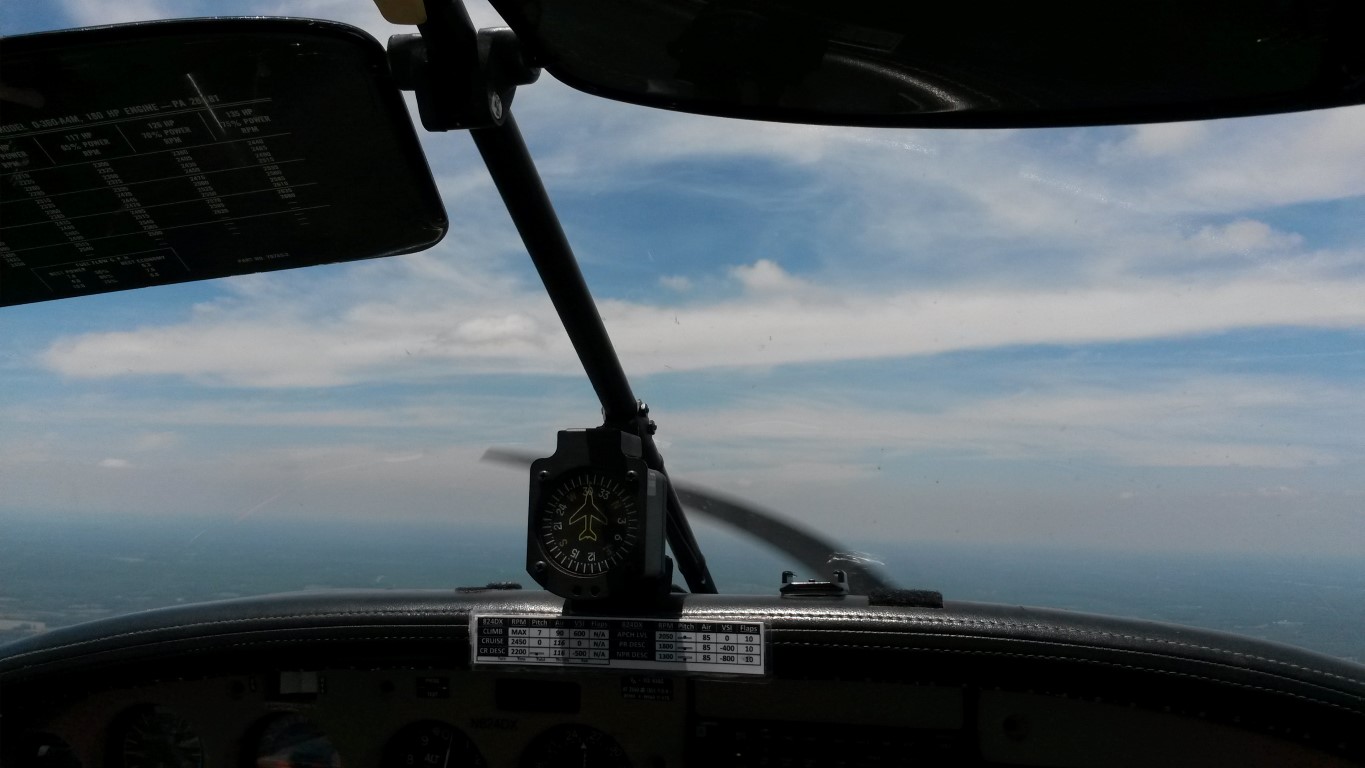
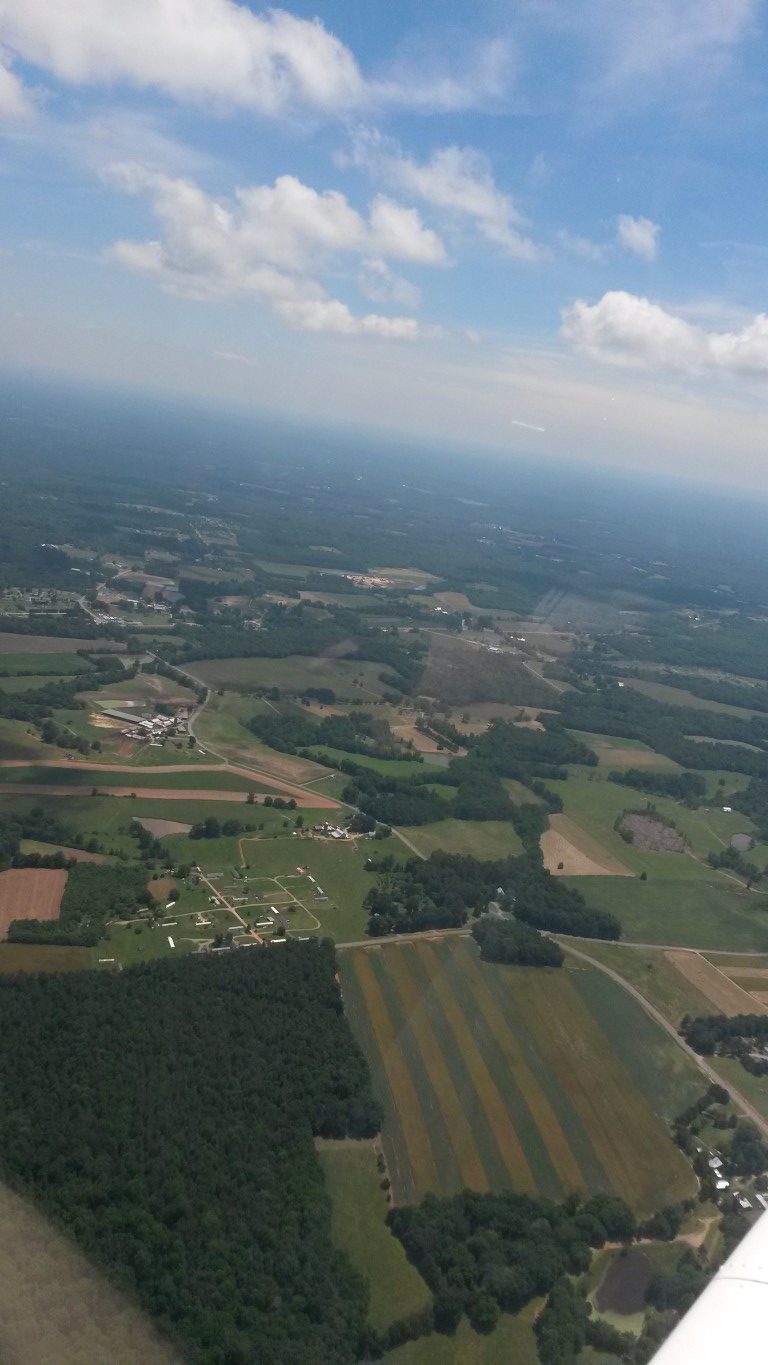
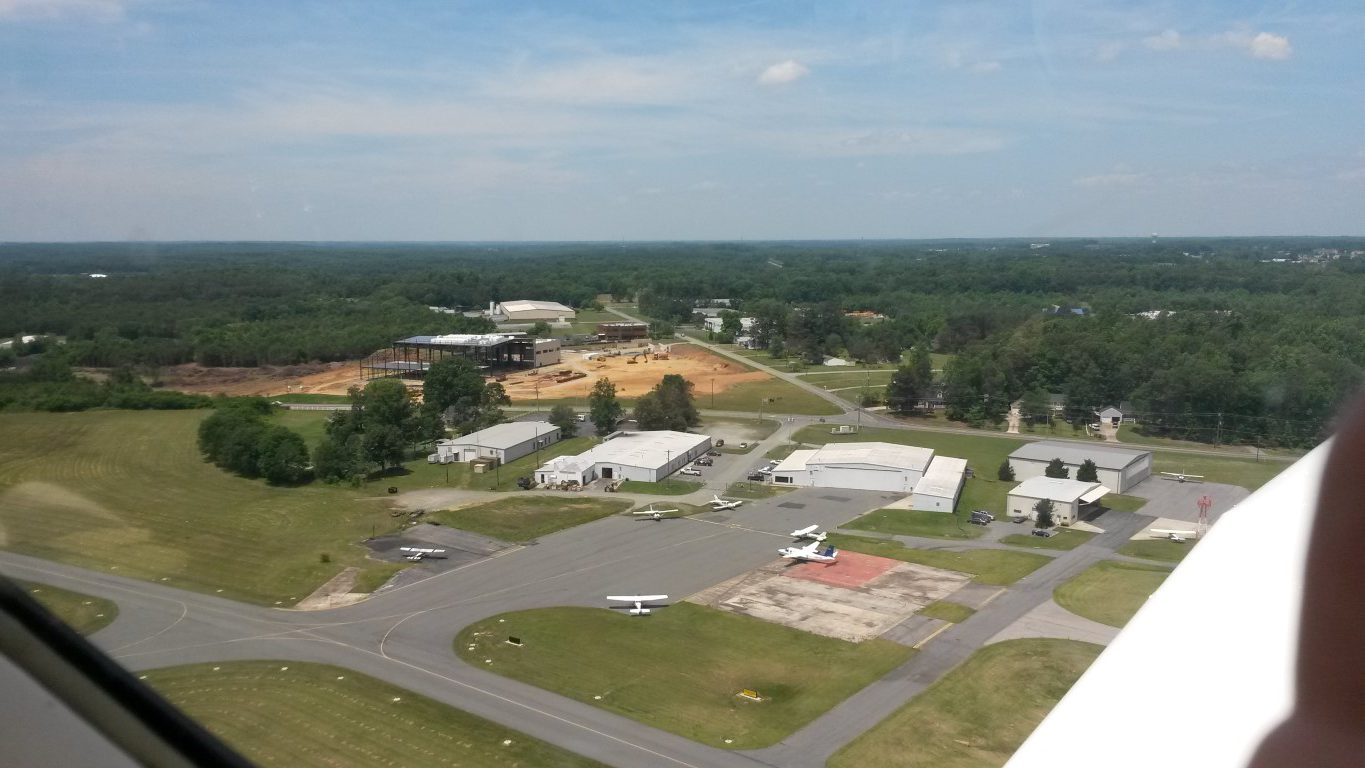
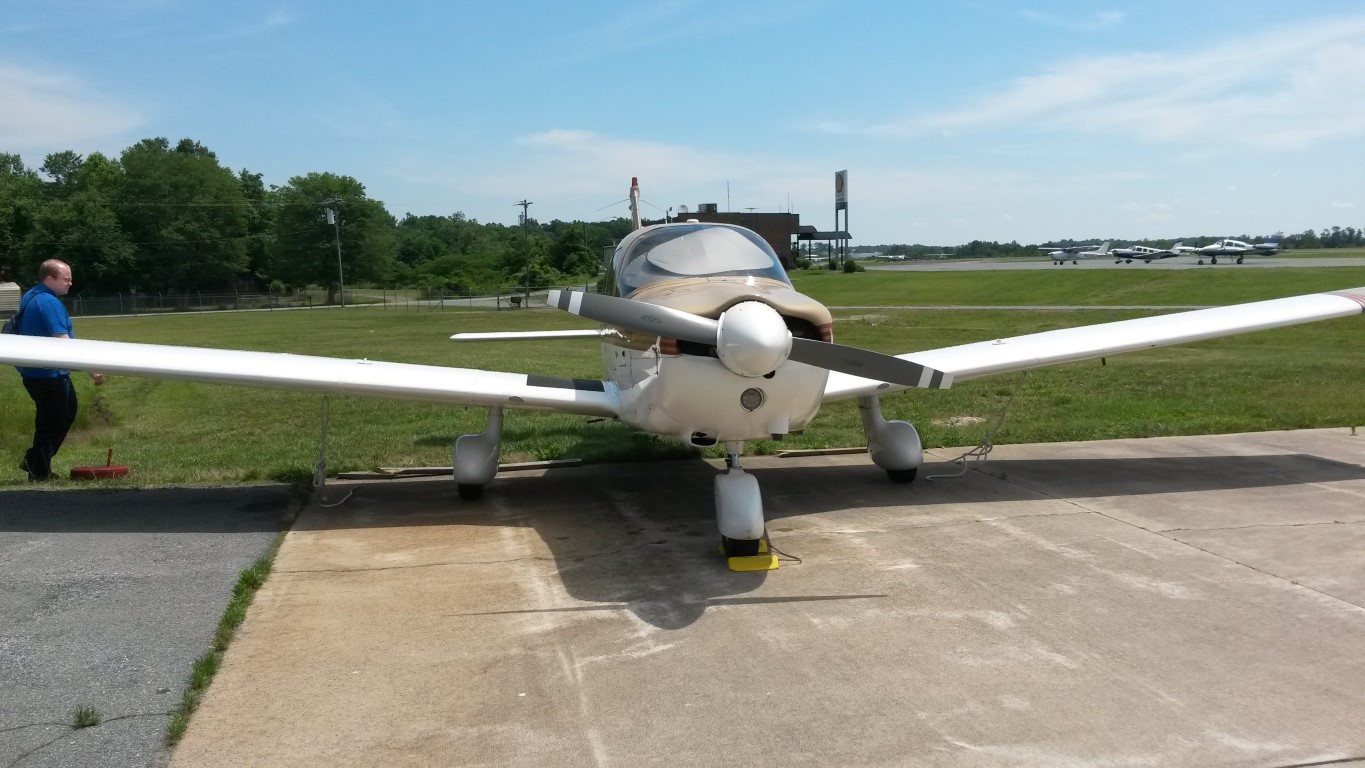
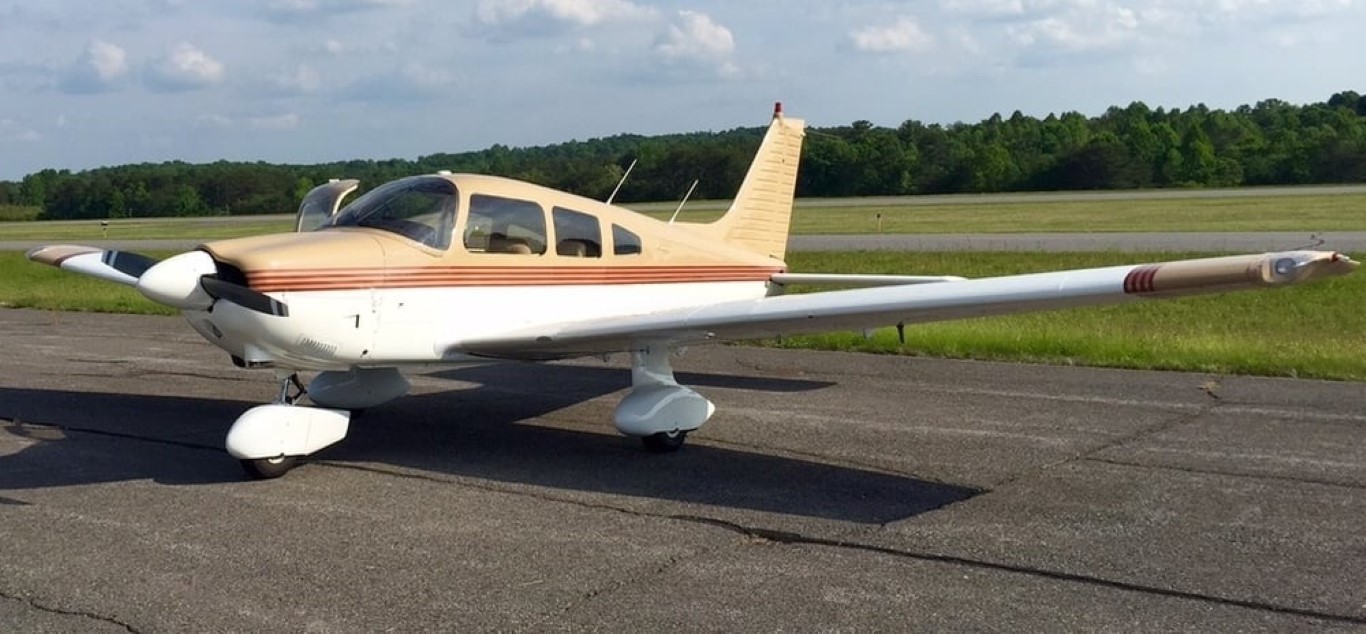
After another flight I was signed off to fly the Archer and we took it out this weekend for a scenic/practice flight. It was a nice, relatively clear, day and Christina got lots of pictures.
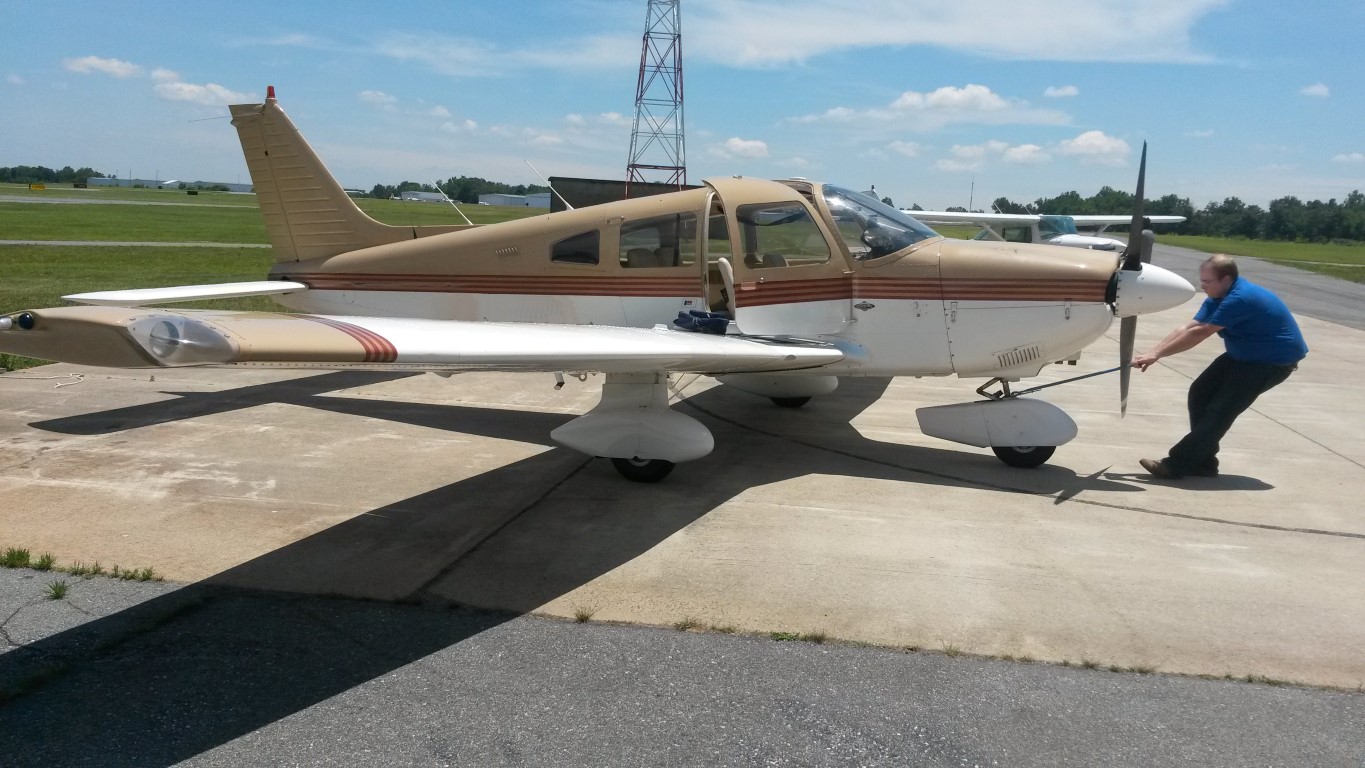
(and for anyone that notices – I’m not flying a plane with no tail number, that would be very bad. I just edit it out of the photos the same as I do with license plates or any other identifying info)
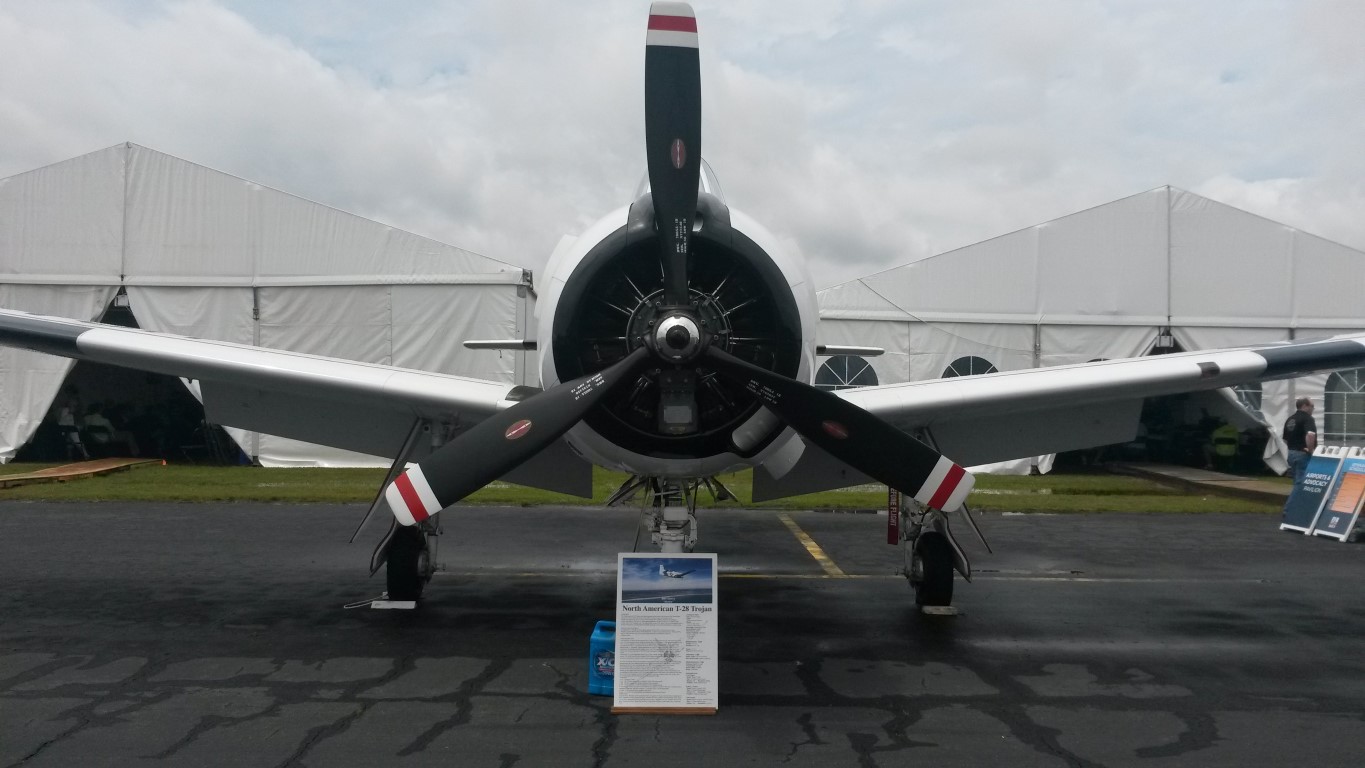
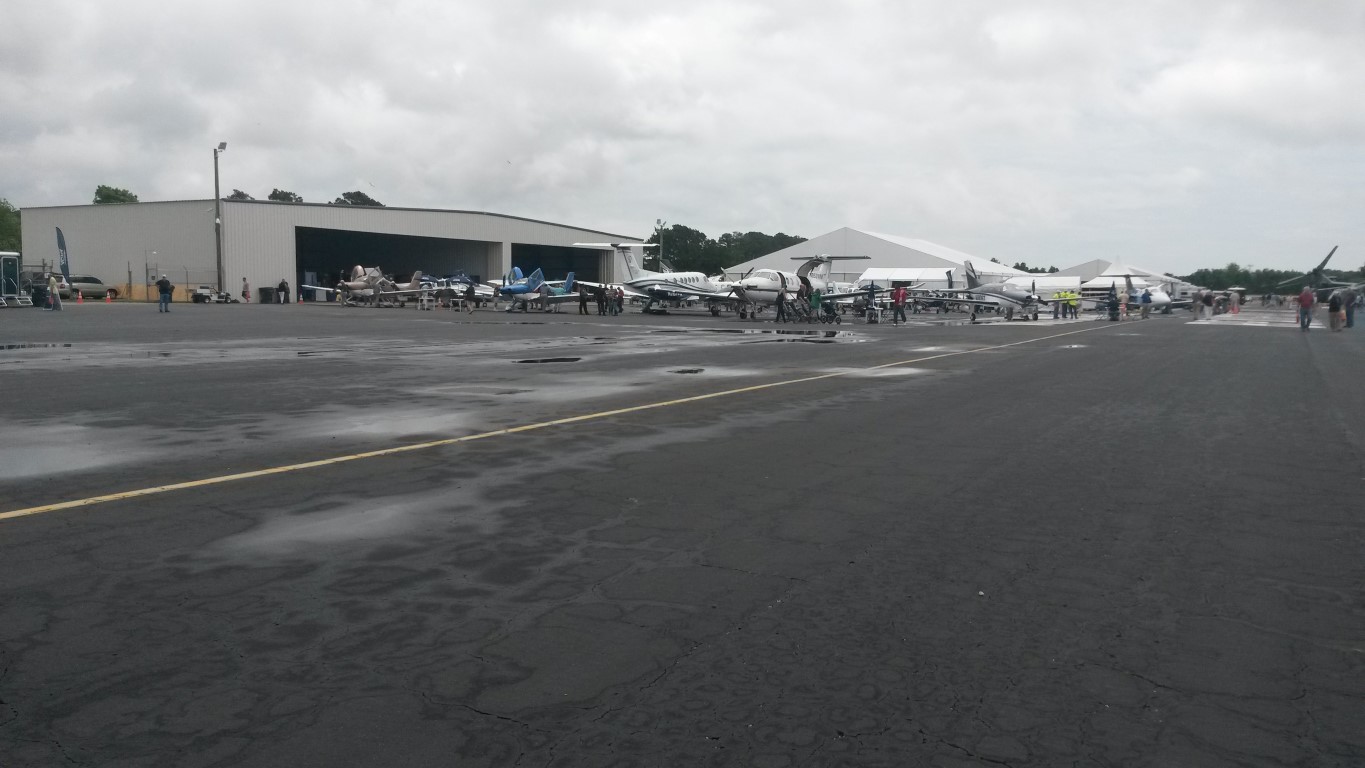
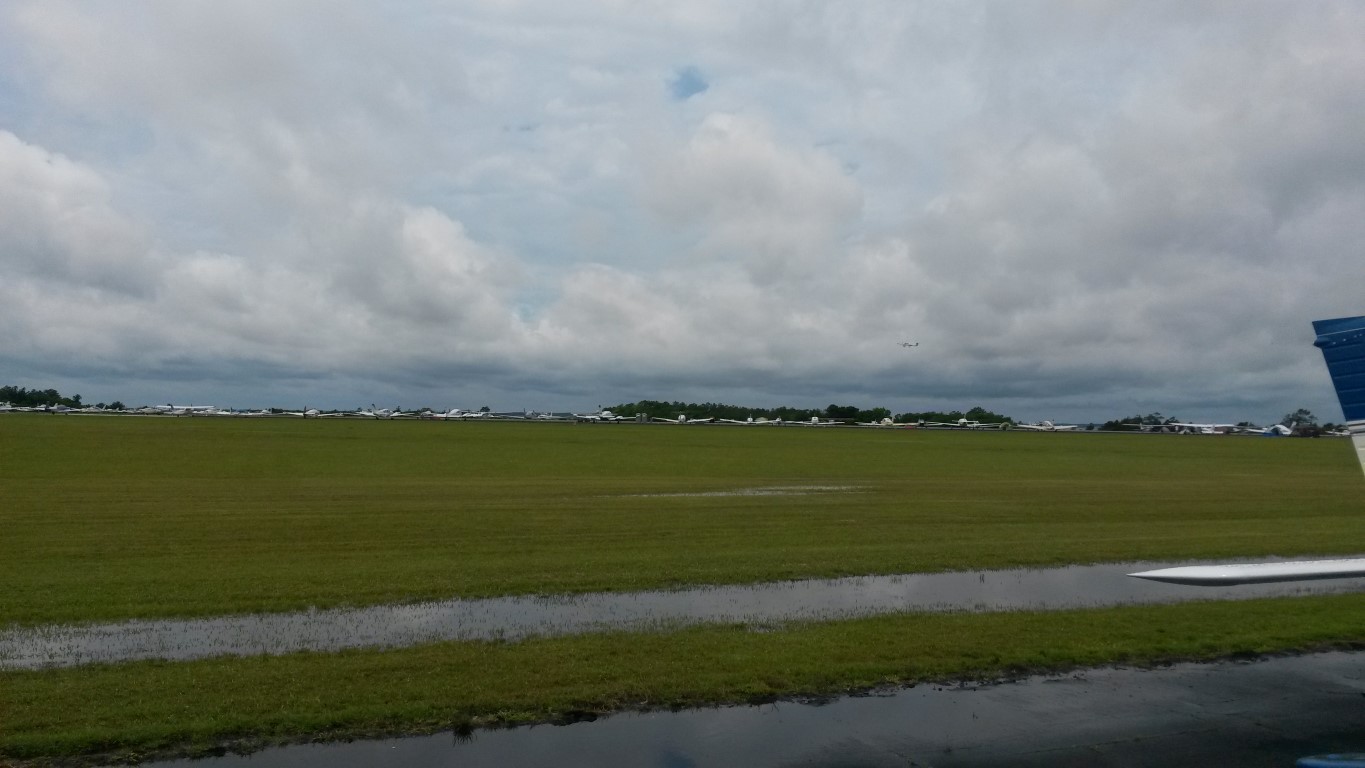
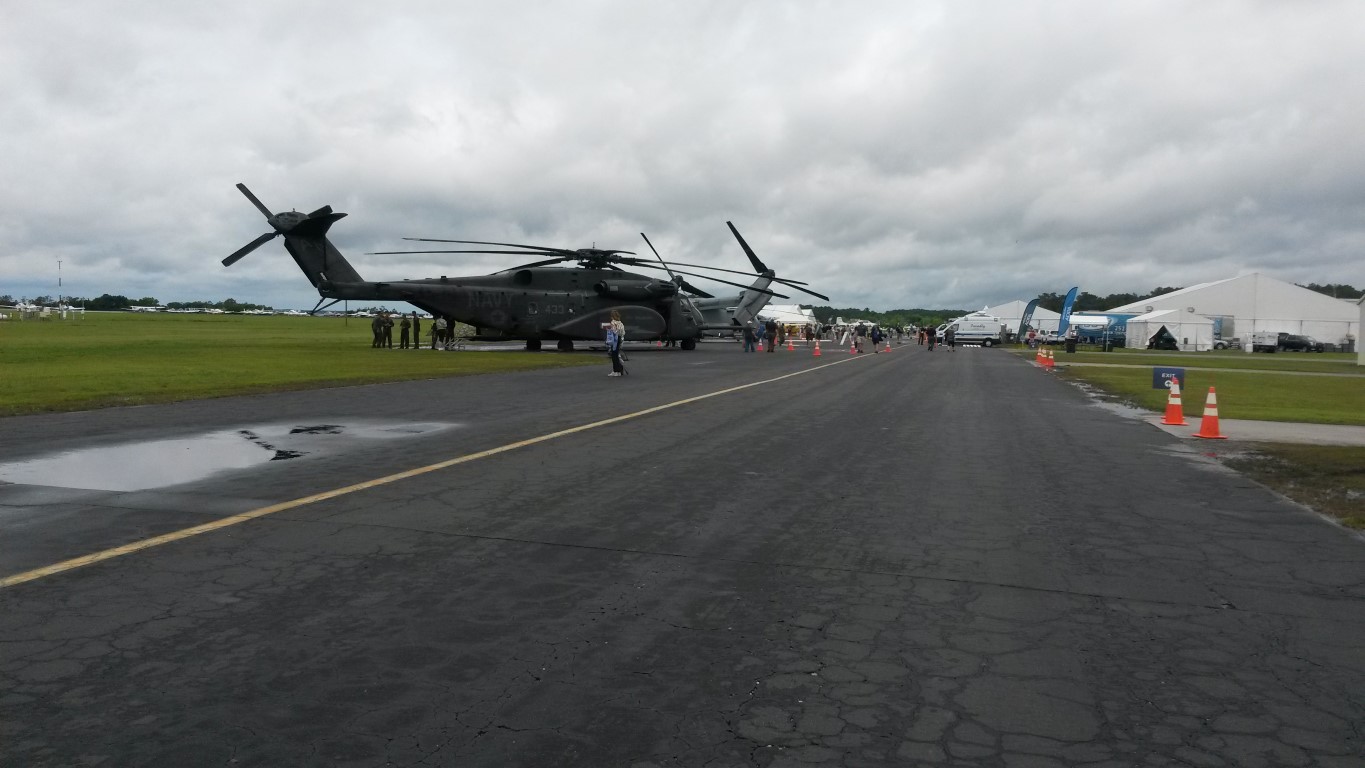
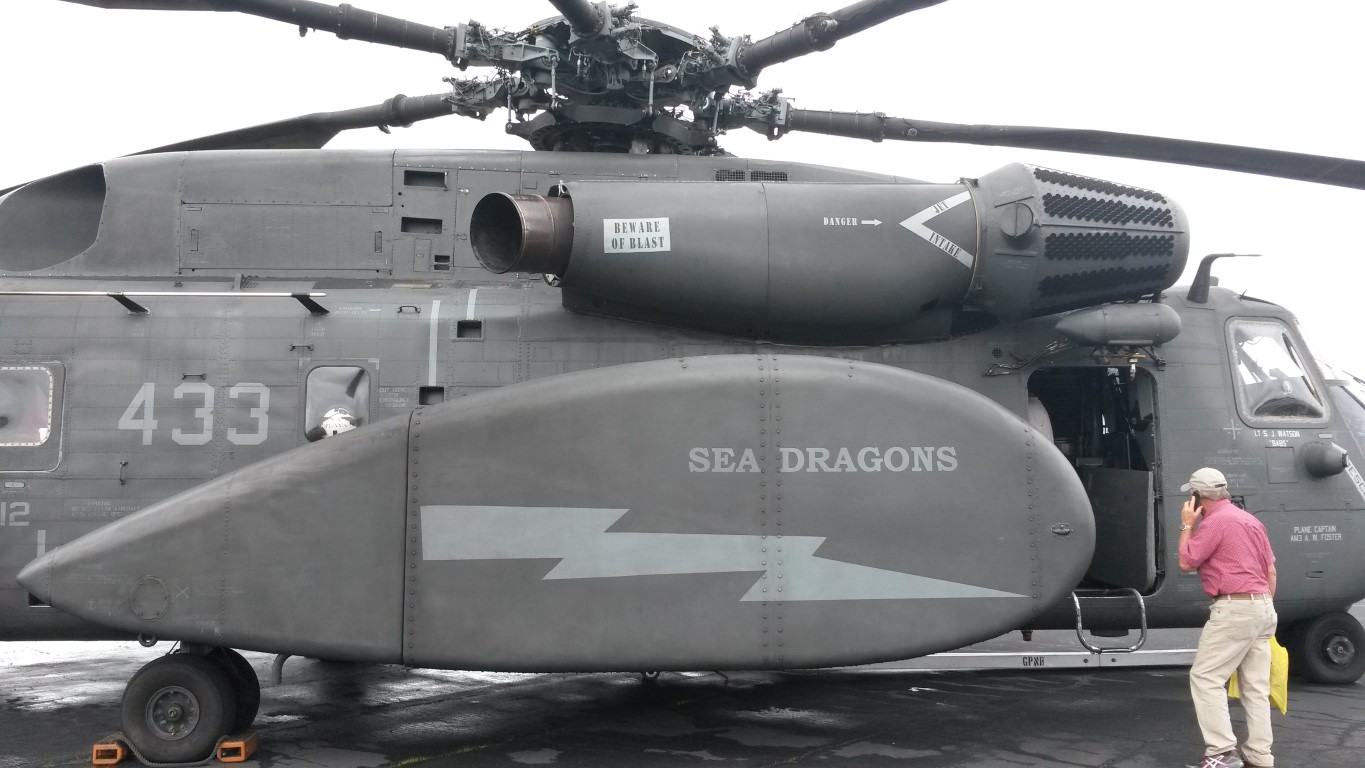
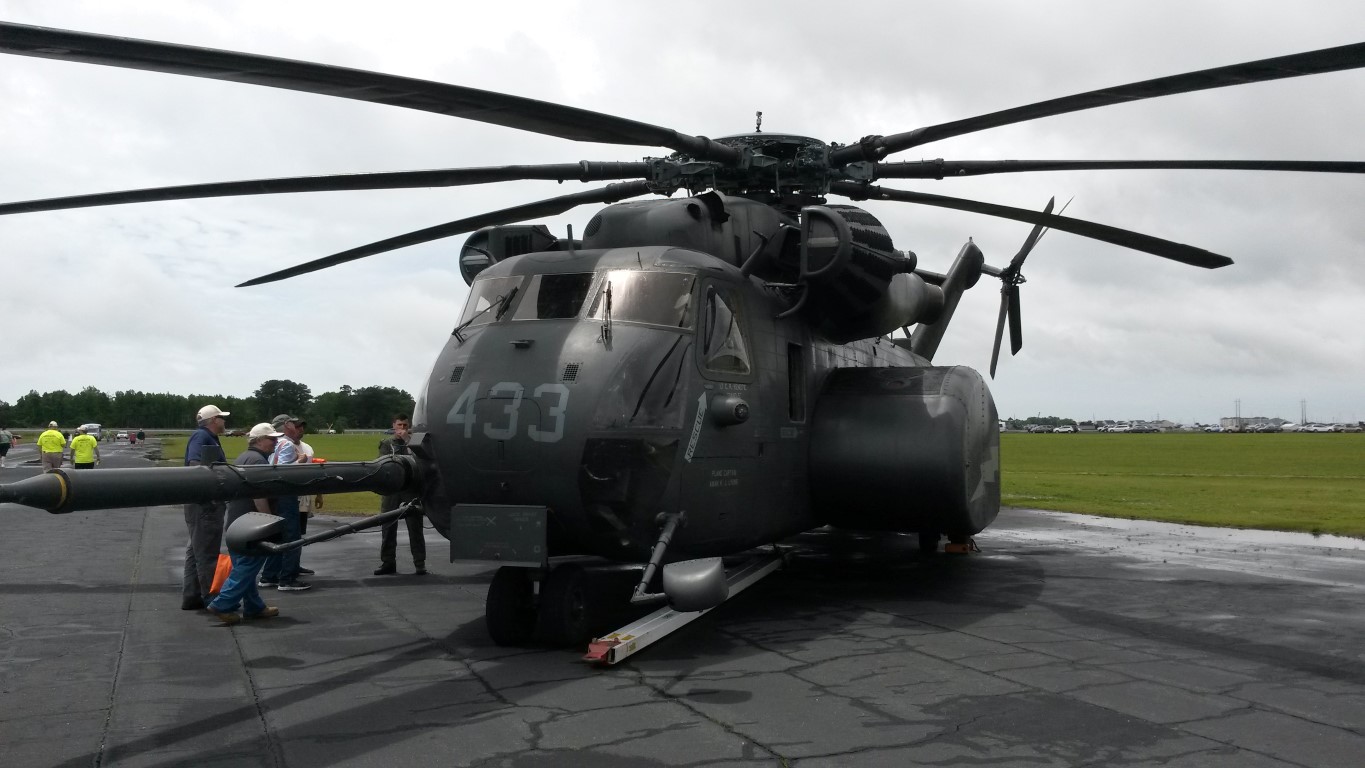
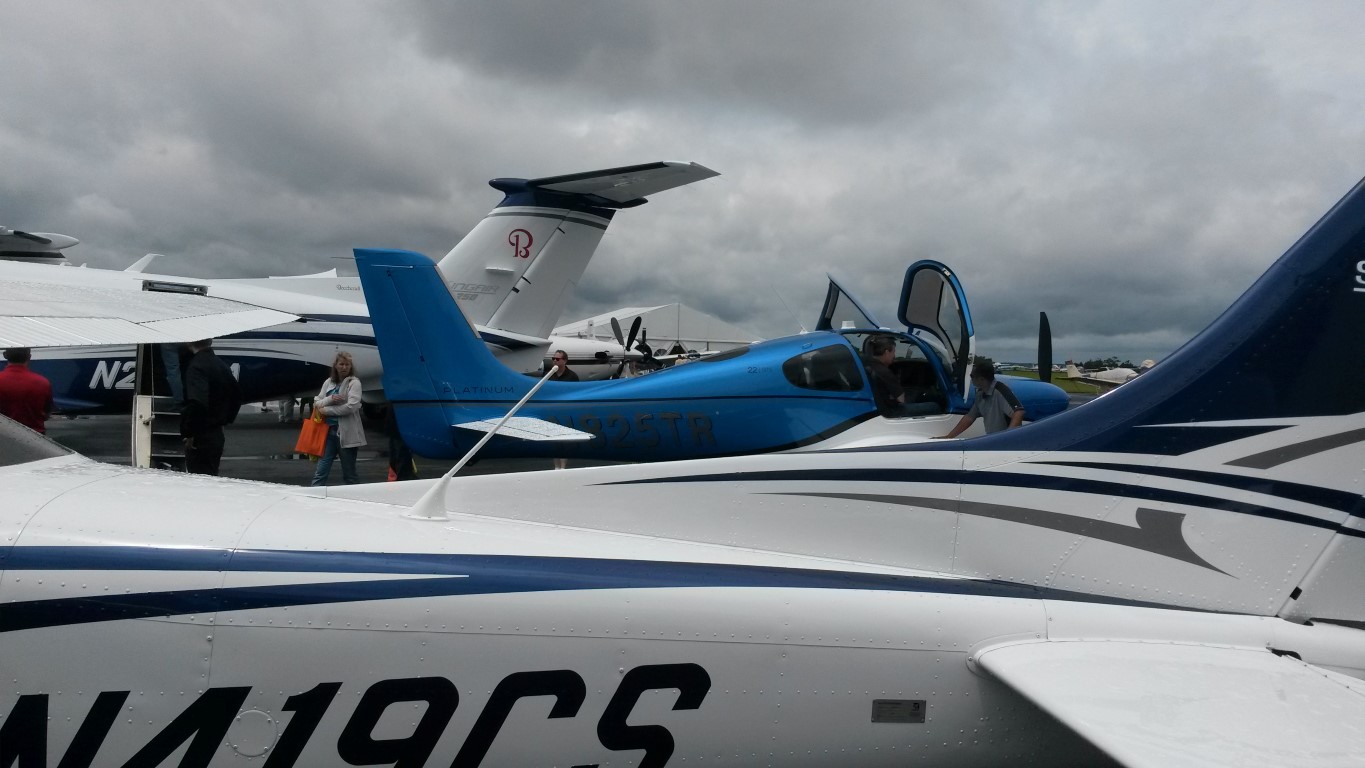
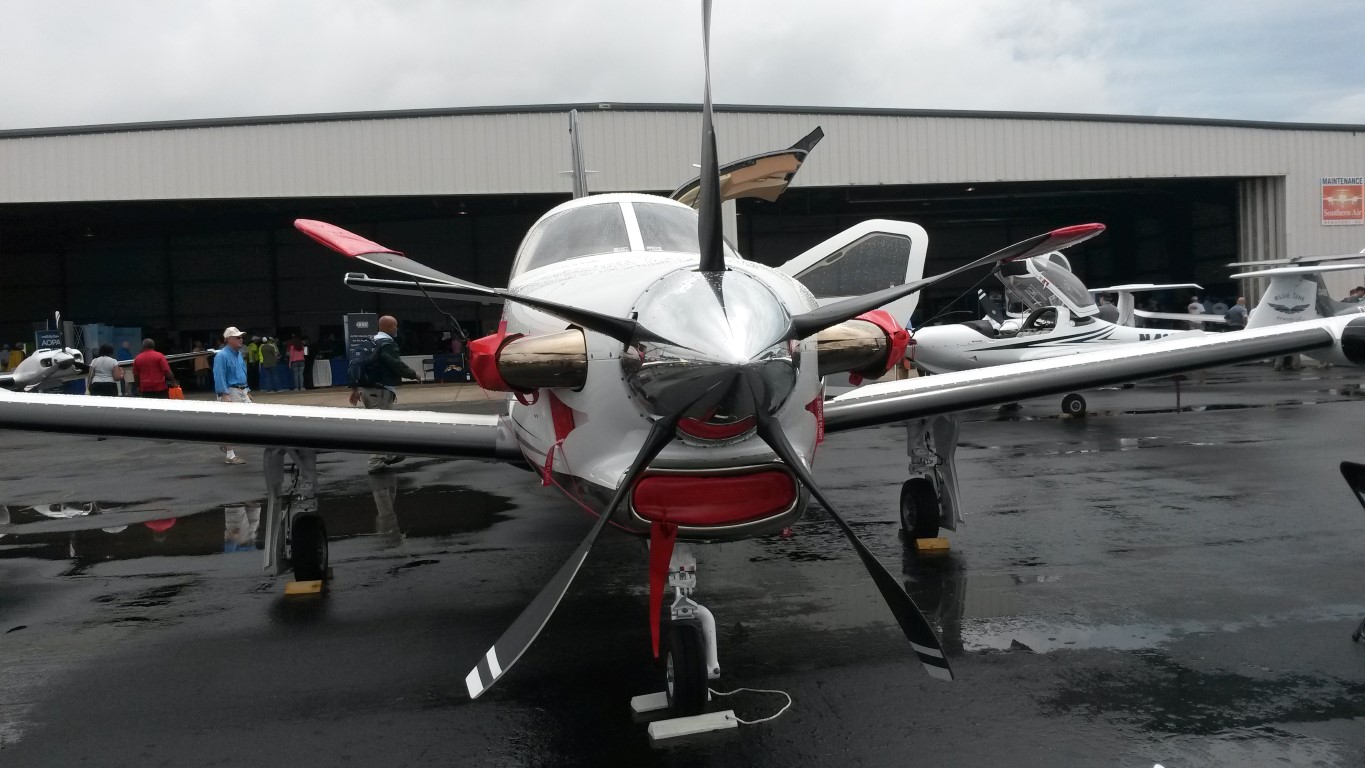
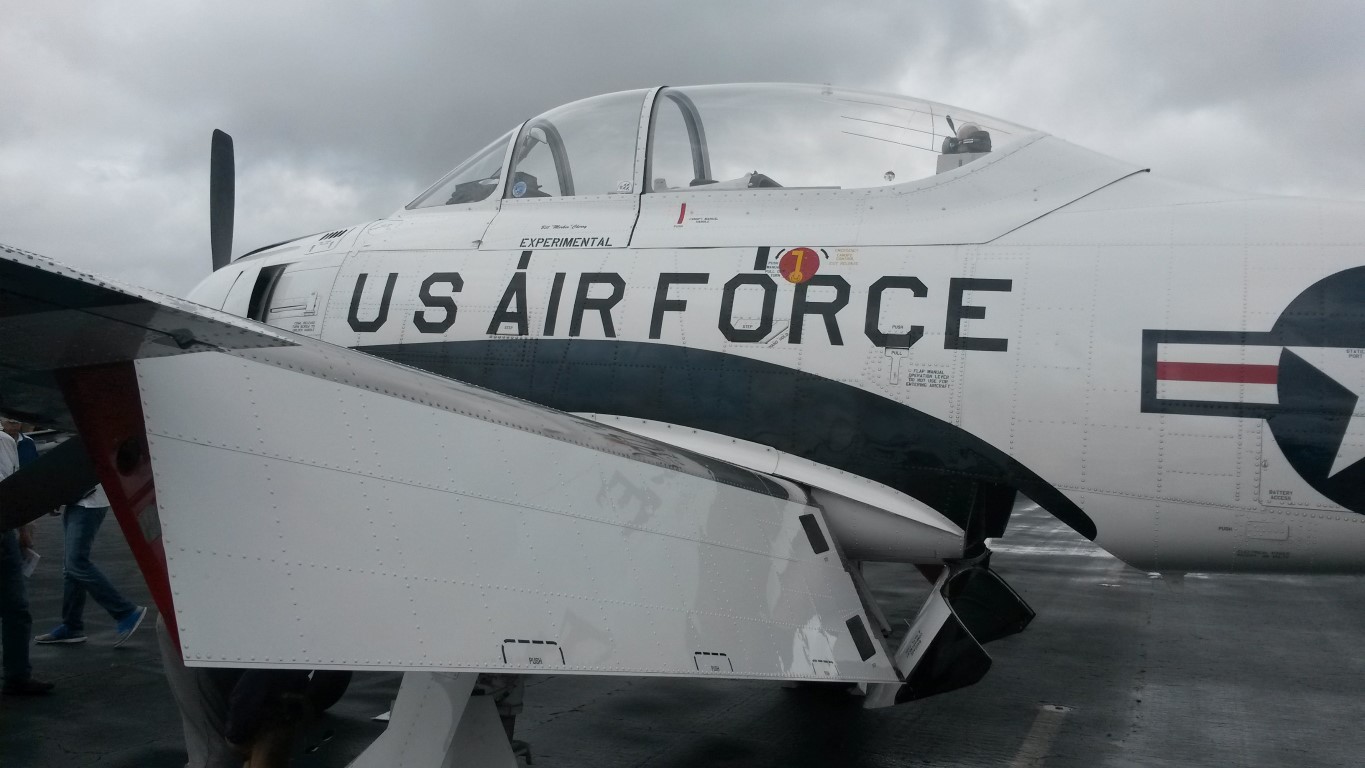
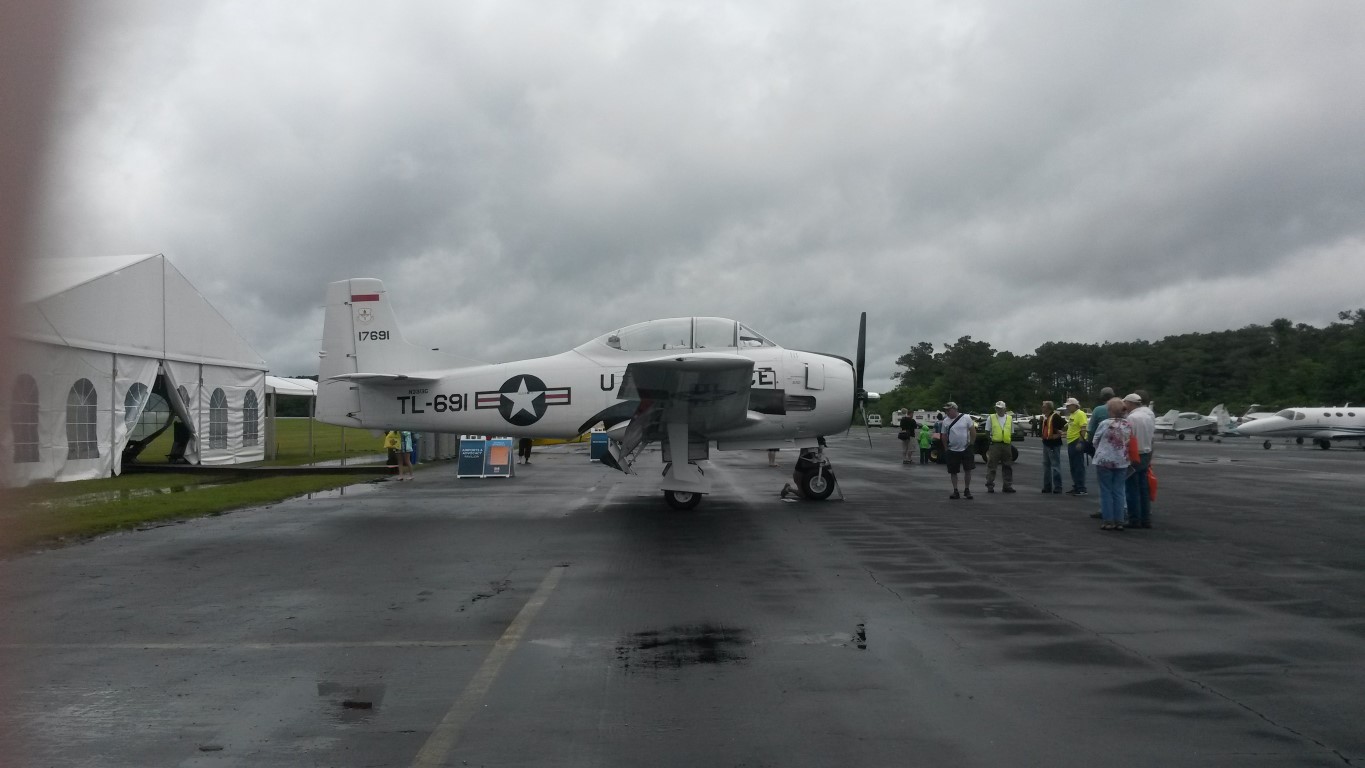
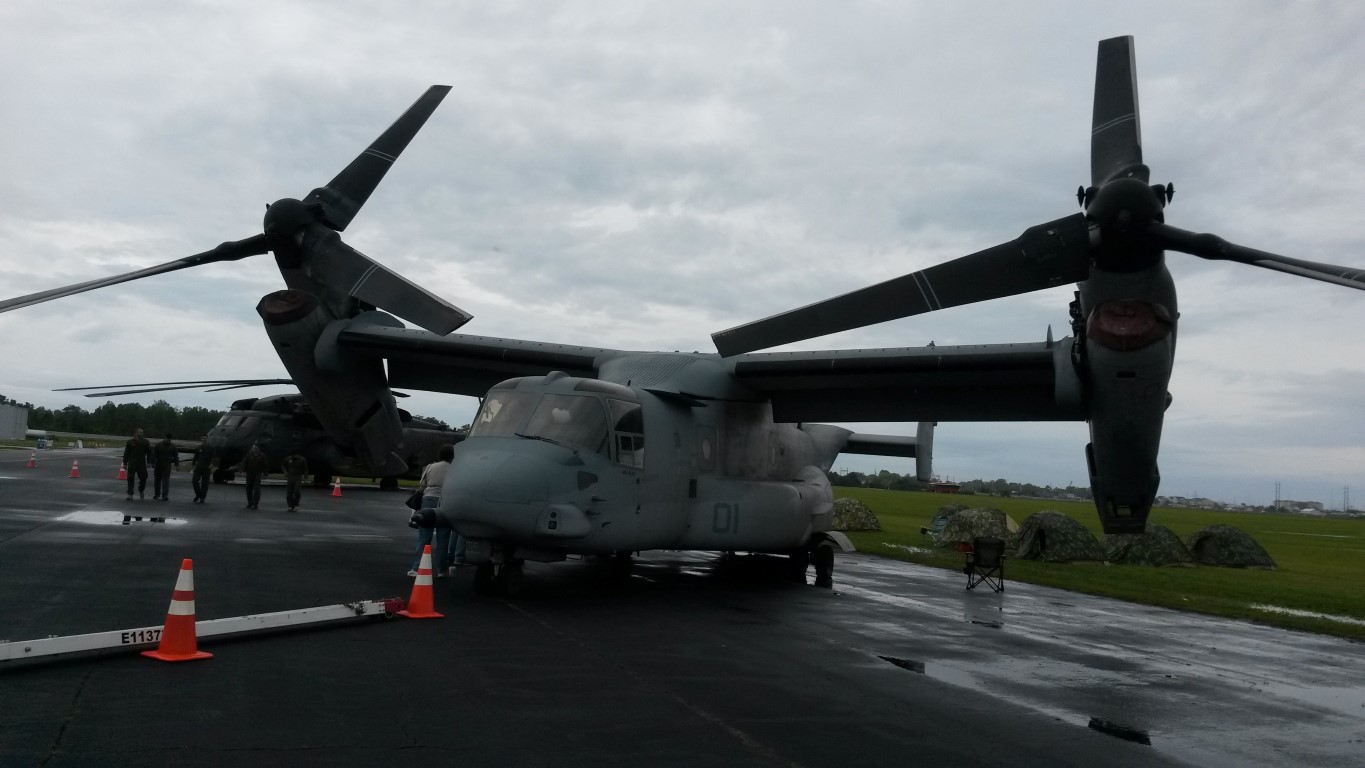
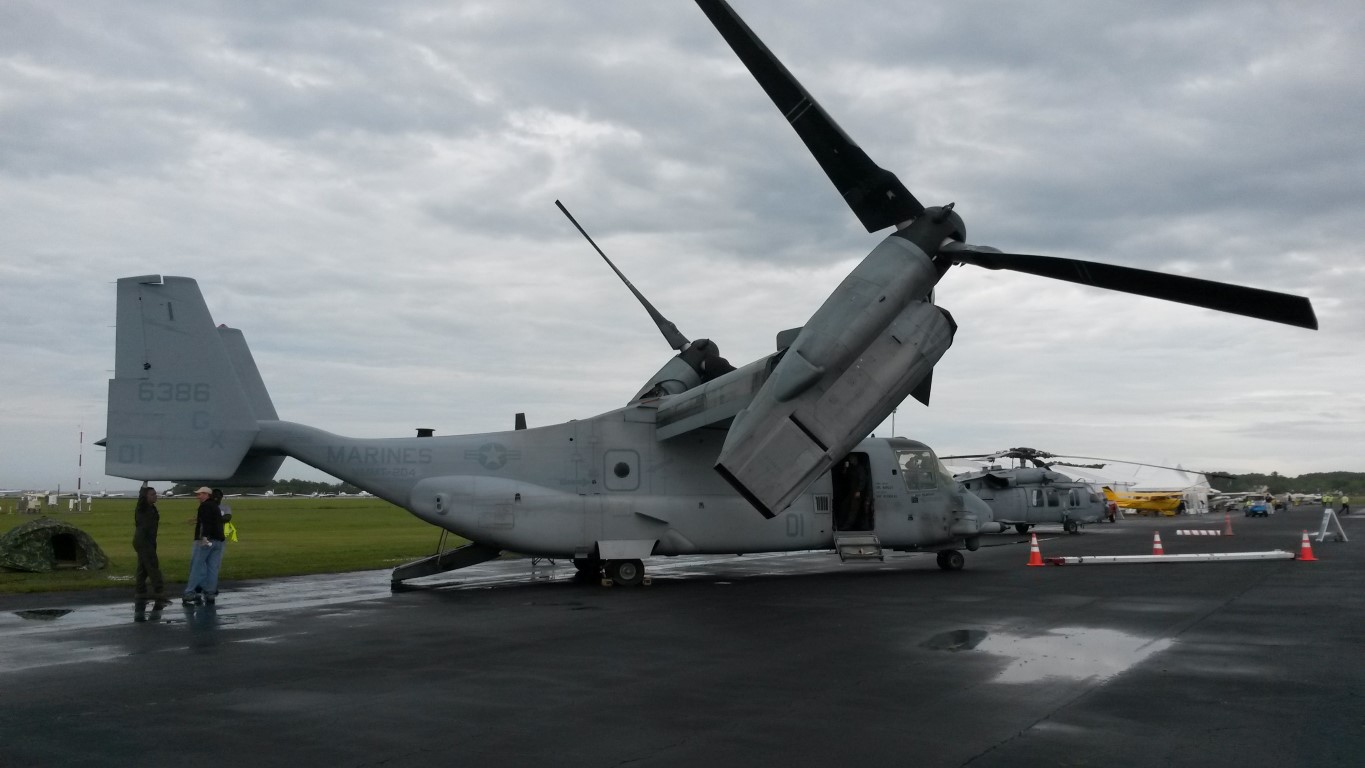
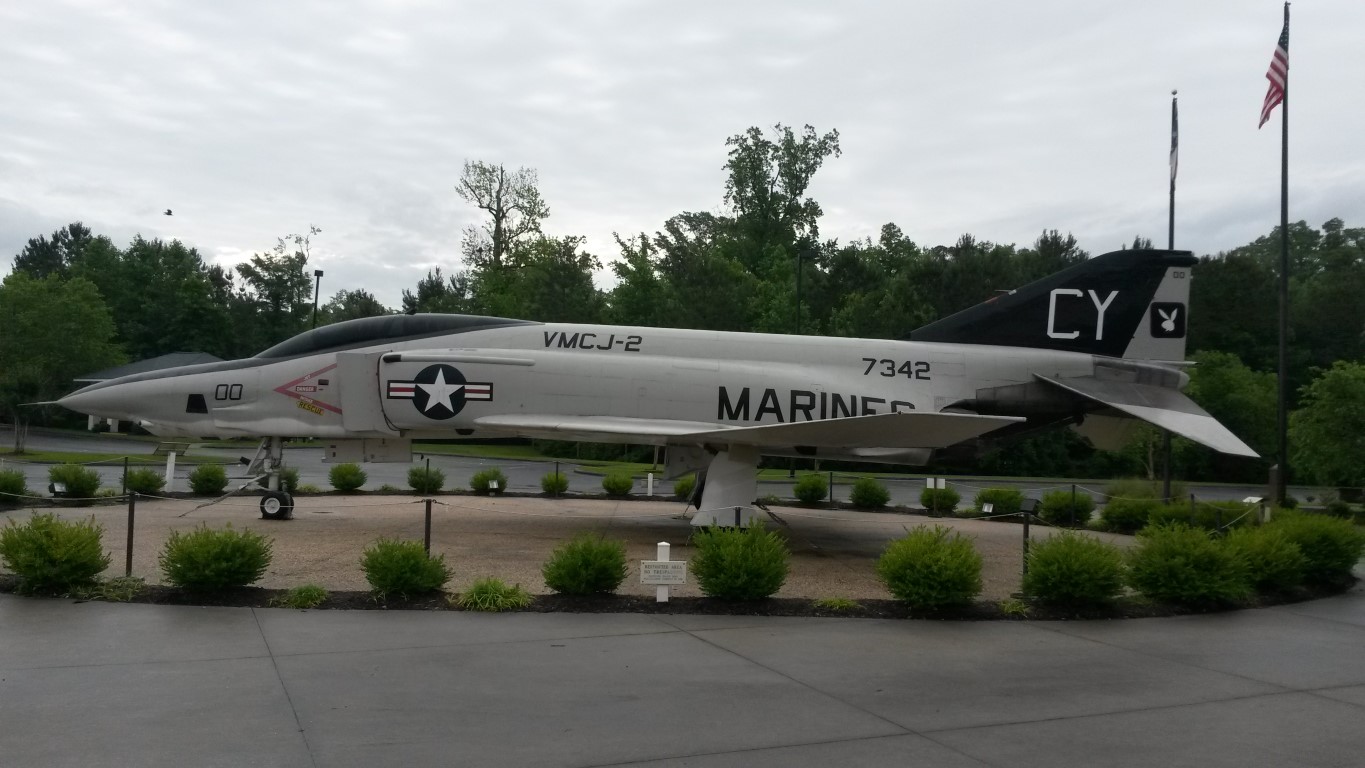
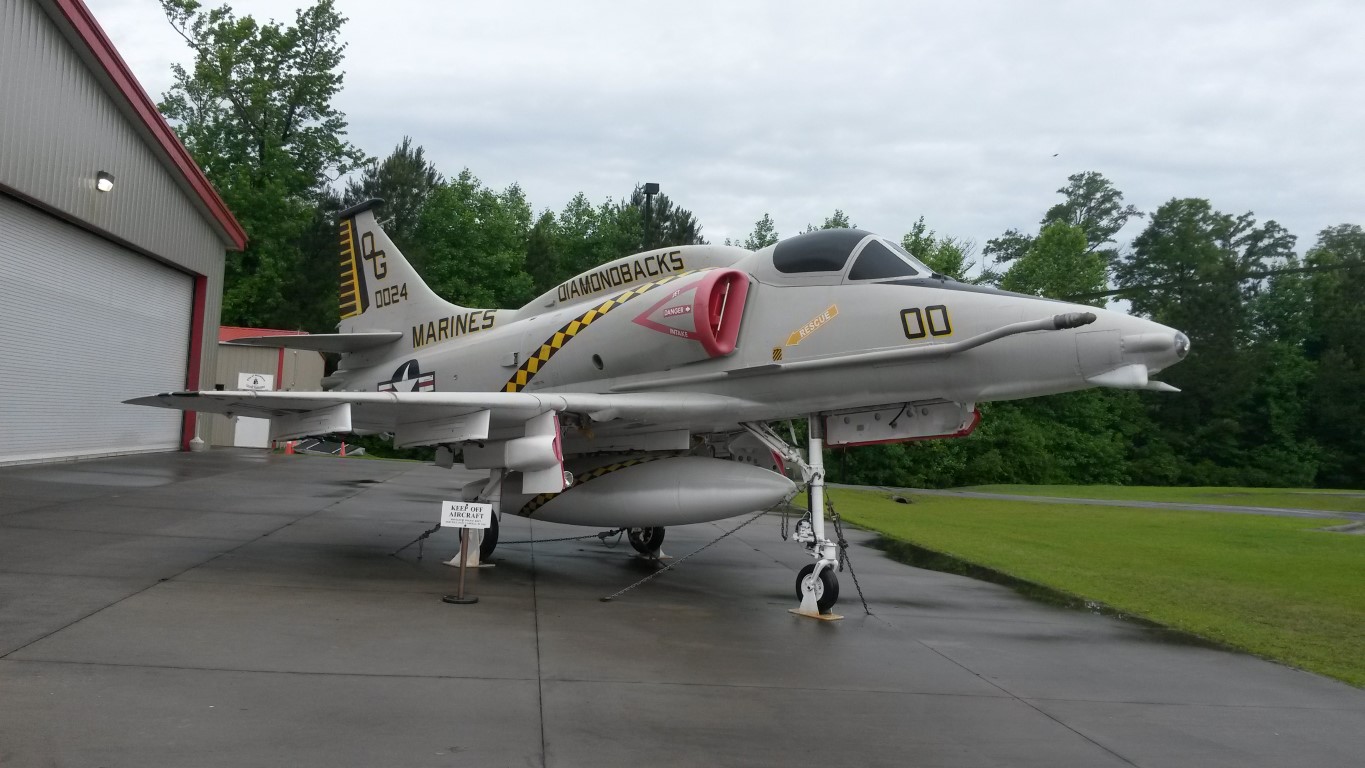
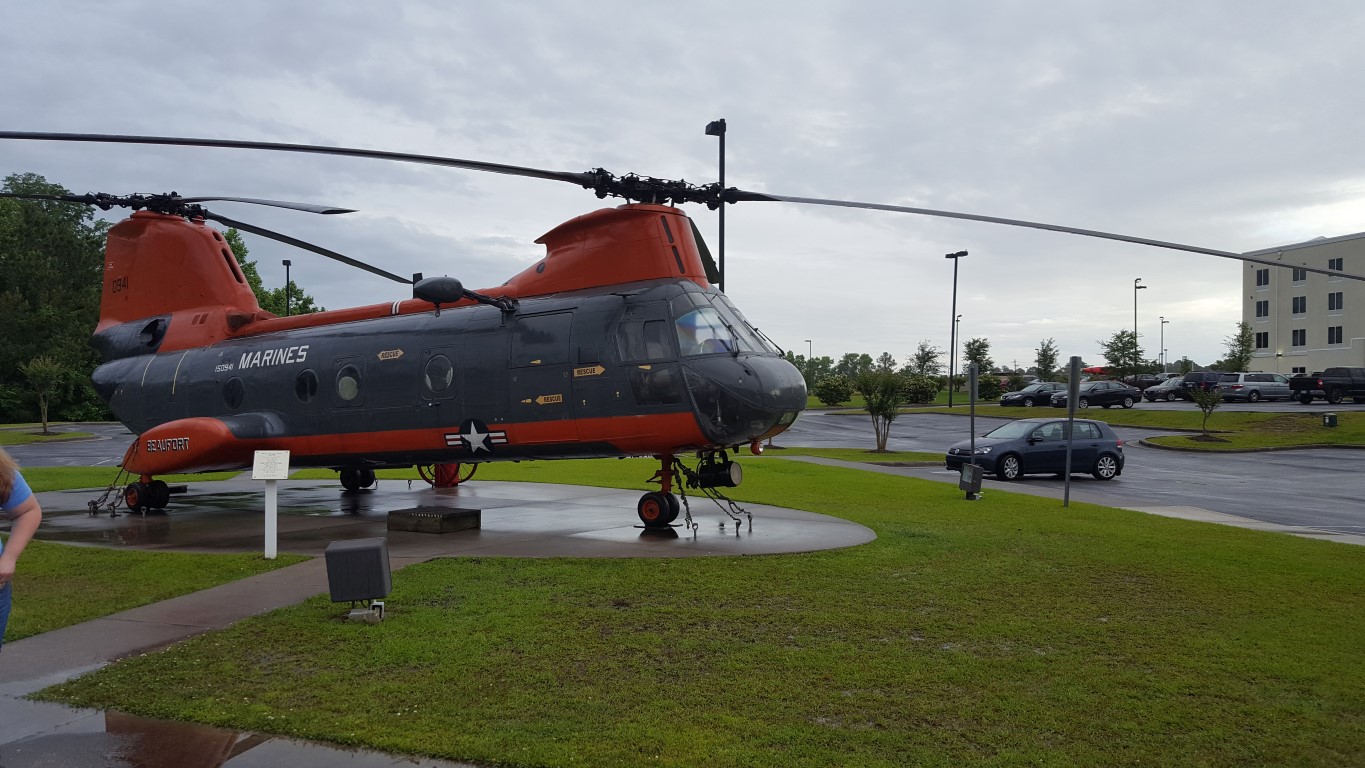
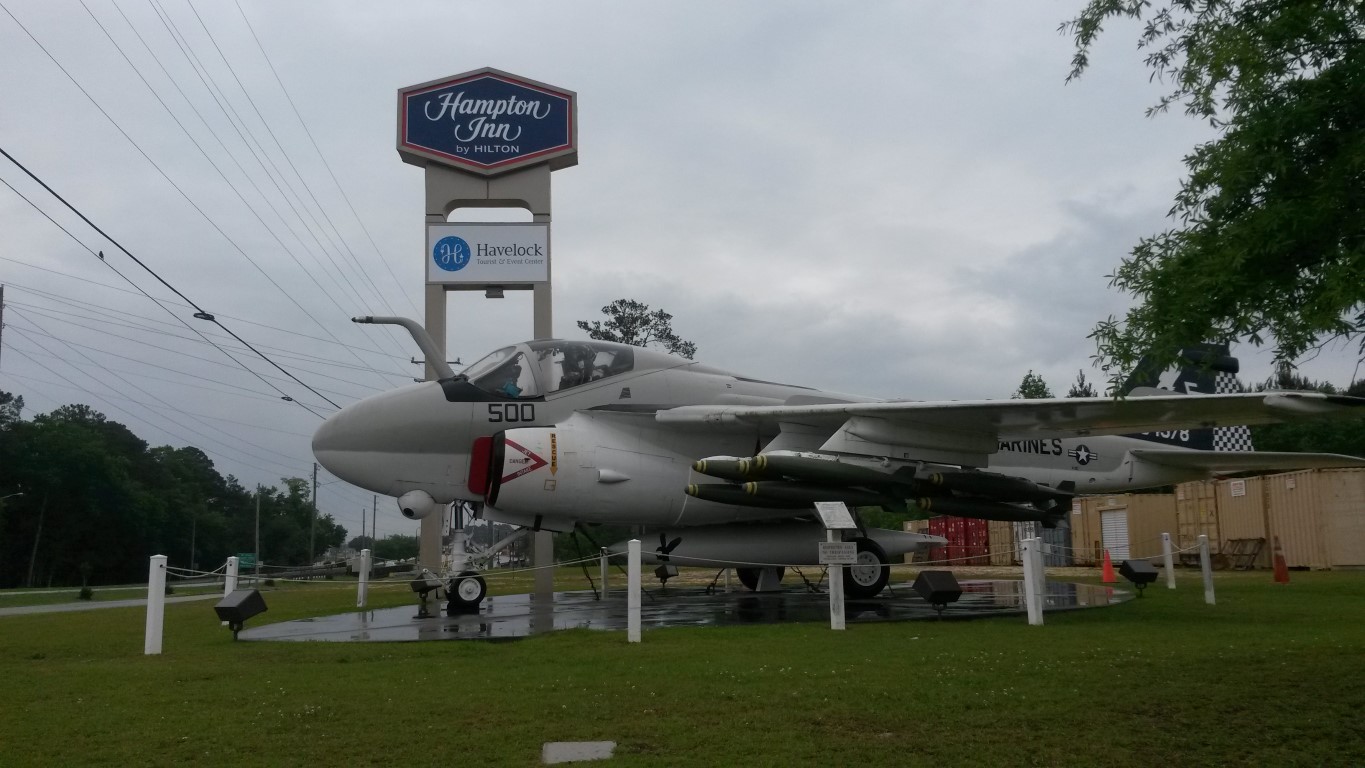
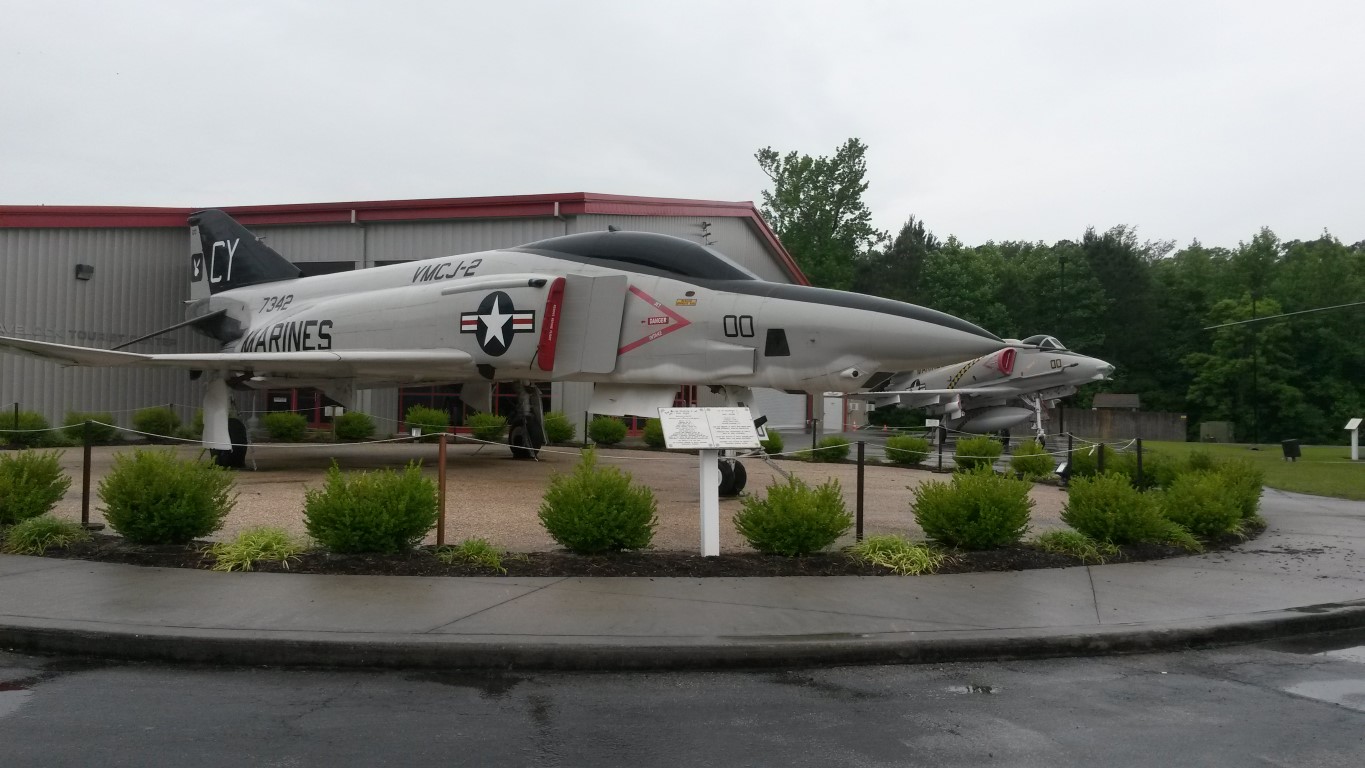
We drove down to the coast this weekend for an aviation conference. It was very rainy but the worst of it passed by mid-morning. We went to a number of great classes and learned a lot. There were several military helicopters and an Osprey that were there and open to free tours. Christina got a lot of pictures.
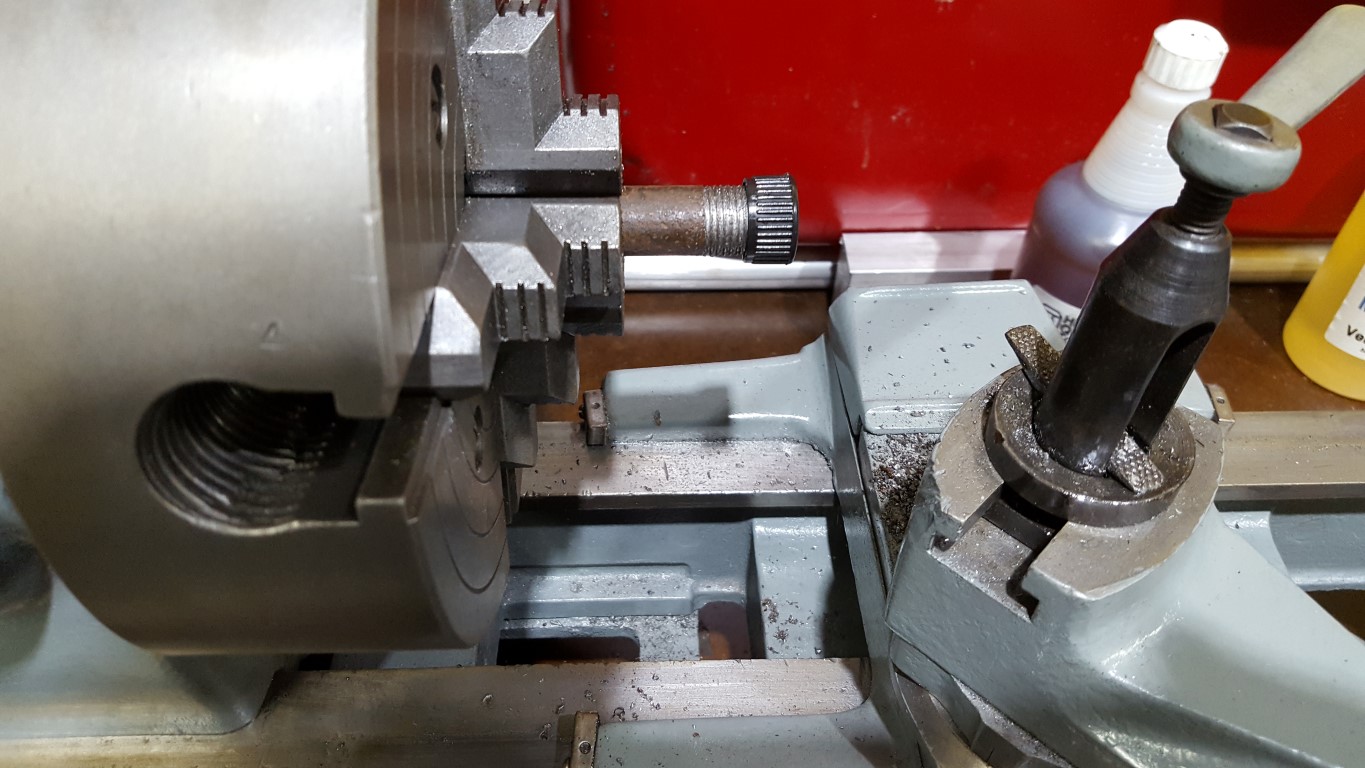
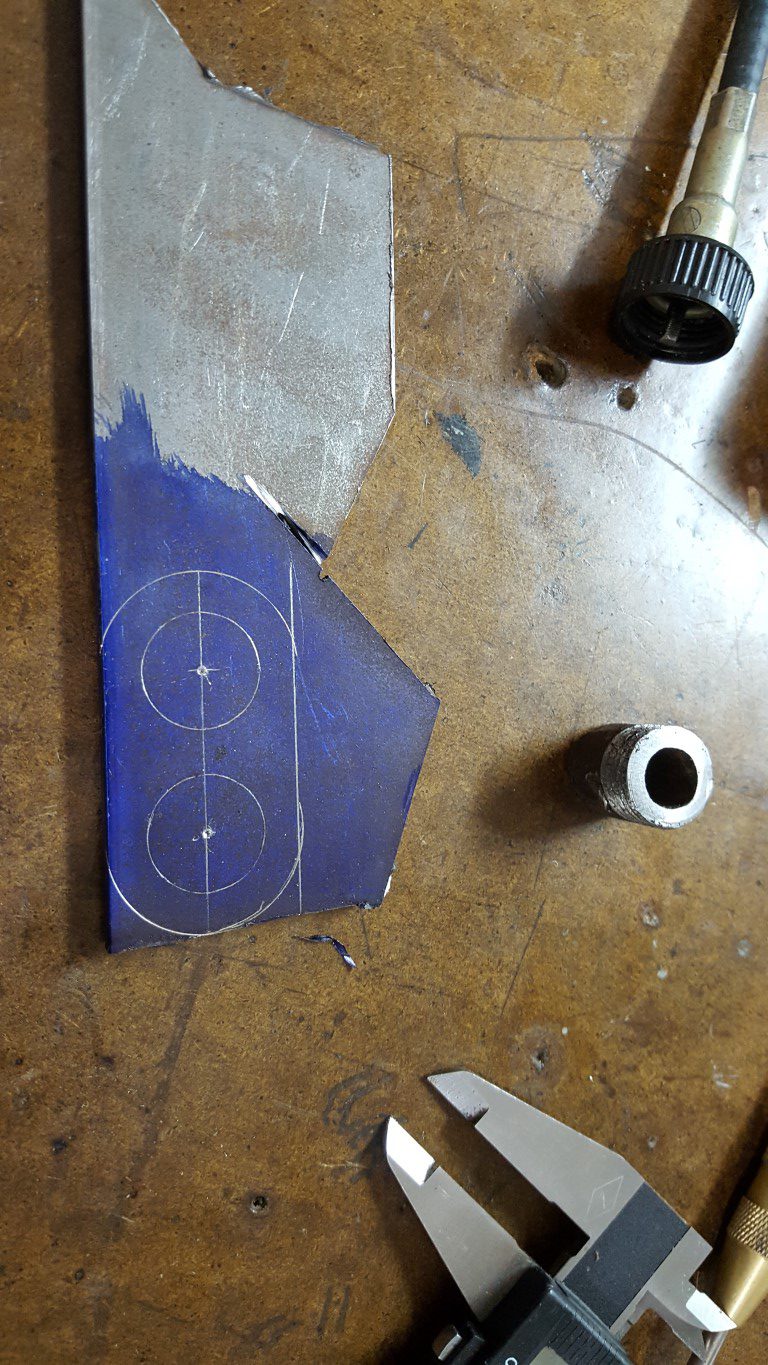
Today I started making a speedometer calibrator to compensate for the somewhat smaller tires on the bus vs original. I’ll use parts from an old speedometer cable to attach the calibrator to the speedometer, so I ‘only’ need to make two pulleys that differ in diameter by a percentage to the current speedometer error (Reads ~6-7MPH faster than actual) and a base plate with bushings for the pulleys to mount to. There’s very little load, so I’ll just use a big o-ring as the drive belt.
After a busy winter and uncooperative weather I’m finally back to doing some flying; first the usual Cessna 172 a few weeks ago and then this weekend a new type: Piper Archer. The Archer is roughly the same size but ‘low wing’ rather than ‘high wing’ like the 172; other than that and cruising a bit faster (~145mph vs ~135mph) it basically works the same way. After another hour or so of adjusting to the differences I should be cleared to go solo with it.
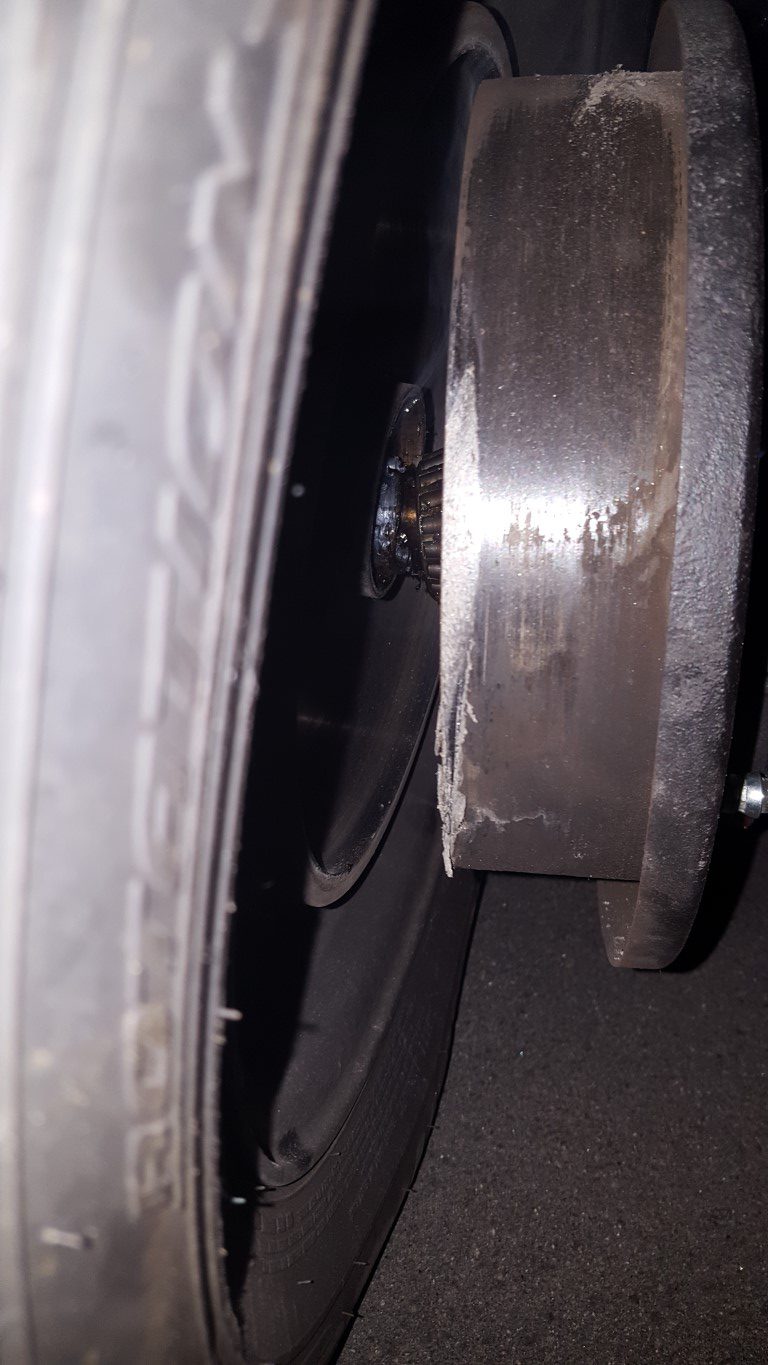
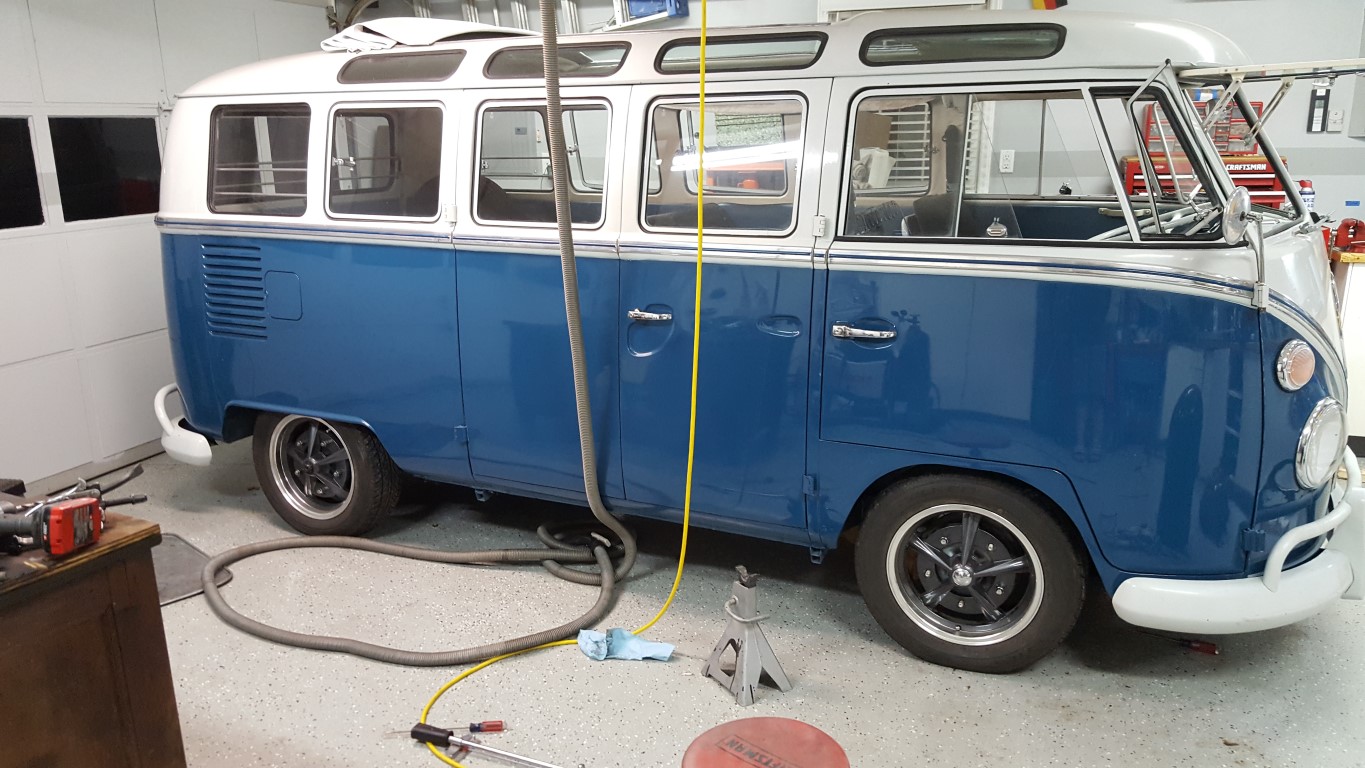
This weekend during a test drive of added soundproofing, the front left started getting noisy and shortly later there was a pop and a slight swerve. I safely got it to a parking lot, but the front wheel bearings were metal-on-metal at that point, and the wheel had shifted outwards so it wasn’t possible to drive any further.
With the wheel shifted out I didn’t want to risk further damage when loading on a tow truck, so Christina came to pick me up and we returned with a trunk full of tools and spare bearing from home to replace the bearing on-the-spot. This would have been a ~30min job except that the spindle nut and inner race of the outer bearing had lightly welded themselves to the spindle. I returned with a dremel (and inverter to power it) – the spindle nut was removed, but removing the bearing race was not possible. I found a big metal spacer that served the purpose of keeping the wheel retained on the spindle, though it did not work as a bearing and wasn’t driveable more than a few hundred feet.
With the spacer in place it was safely towed back. The next morning with better light and bigger tools I was able to get the bearing race off of the spindle. The bearing was even available locally and I got it all back together quickly. Special attention was paid to the bearing end-play, this was set to the correct spec with a dial indicator and the bearing thoroughly greased. This was then repeated on the other side.
The front wheel bearings were perhaps the only area that I had not yet gone through since getting the bus; so the failure isn’t necessarily surprising. Both sides had minimal grease and light rust pitting which, along with the bus’s new faster speeds, contributed to the overheating and failure.
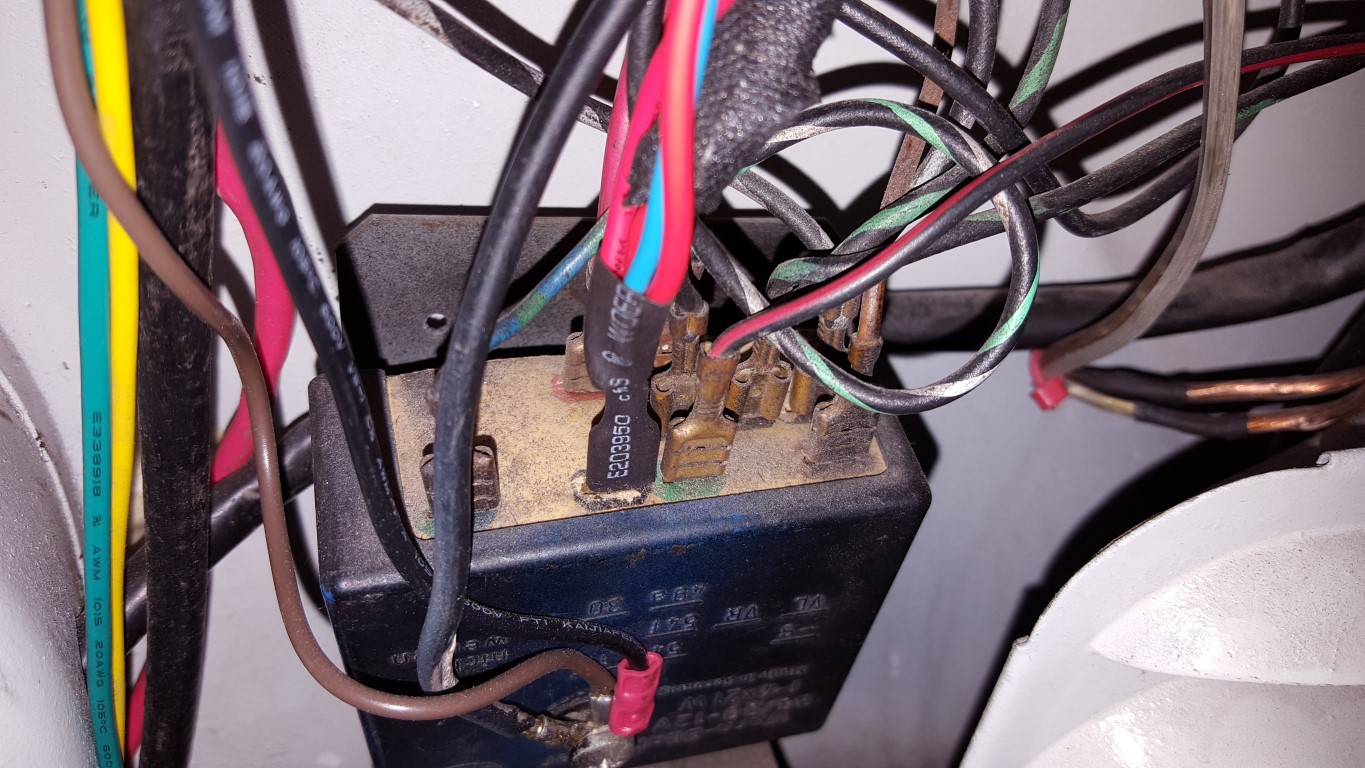
On the last few test drives the blinkers had begun blinking very fast. On many cars, even today, which use a thermal timer relay this would mean a bulb was burned out. The bus, however, uses a resistive/capactive timer circuit that’s relatively immune to such load changes. I opened up the ‘black box’ hazard/blinker control module and even though it only consists of a few relays, a pair of germanium transistors*, and a handful of discrete parts it’s by far the most sophisticated electronic part in the bus; actually it’s the only electronic part if no radio was installed.
*This was roughly the time frame when people discovered that silicon was nearly as good of a semiconductor but far cheaper and easier to work with.
Troubleshooting “Space Age” electronics like this is basically the same as troubleshooting modern electronics:
#1 – Replace any/all electrolytic capacitors.
#2 – If it doesn’t’ work, throw it away unless it’s really valuable and further in-depth analysis can be justified.
This repair was no different, though I had to guess at the values since the capacitor code/markings were non-standard and only decipherable to electrical engineers of 1960’s Germany. With new capacitors its back to blinking at a good rate for both blinkers and the hazard signal.
The clock also needed attention as it stopped a while back. Once I opened it up I found that everything appeared to be OK. I poked the rewind contacts with a pin while the clock was powered on and there was a small spark followed by a successful rewind; meaning the contacts were just dirty. After cleaning the contacts it successfully went through it’s usual automatic cycling. It’s a ‘normal’ old-fashioned wind-up clock in every way except that there’s a solenoid on a crank to rewind it and when the spring unwinds electrical contacts come together to energize the solenoid and rewind itself. Because it always has battery power available, the spring only lasts a minute or so before it cycles again.
Also, not pictured, I finished fabricating the passenger seat frame and added tabs to the seat mount. The seat pads arrived for both front seats; all seats are now complete and ready for covering in the spare vinyl that I have set aside.
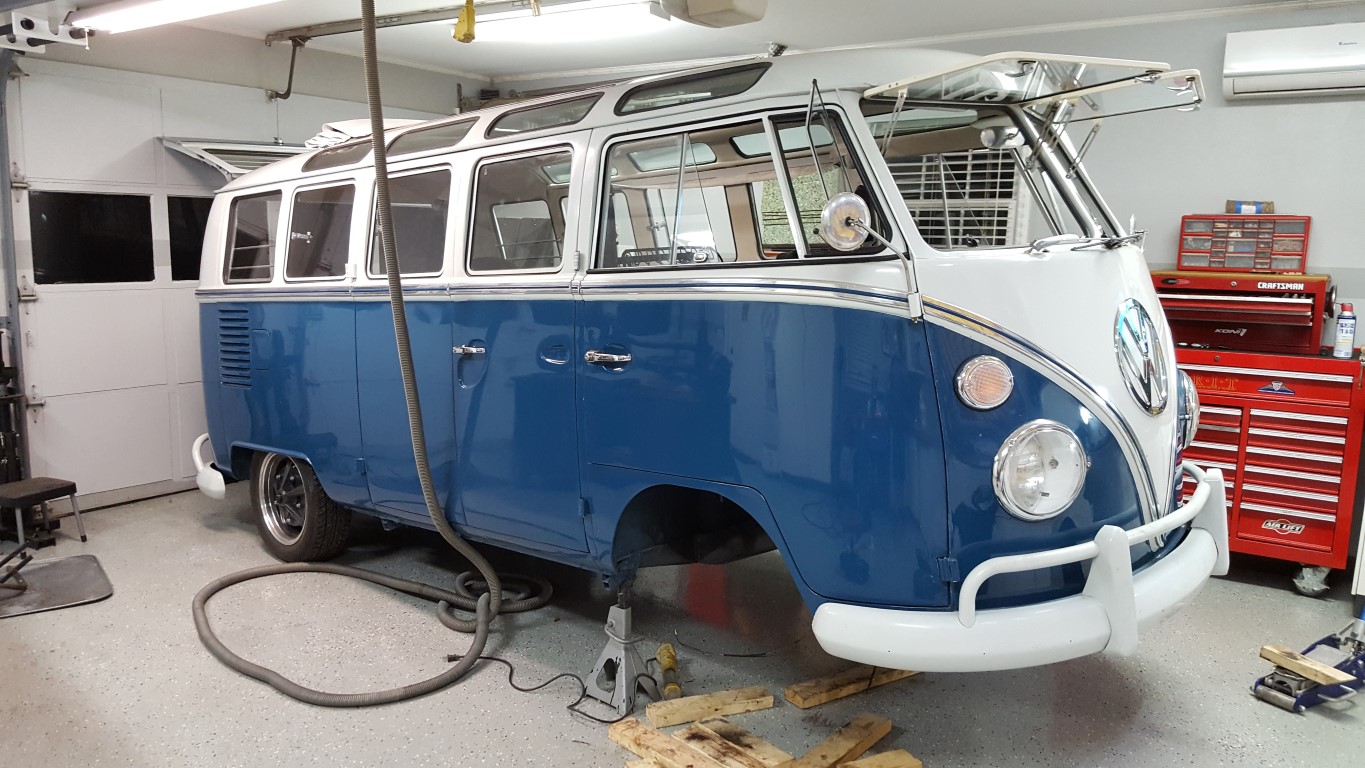
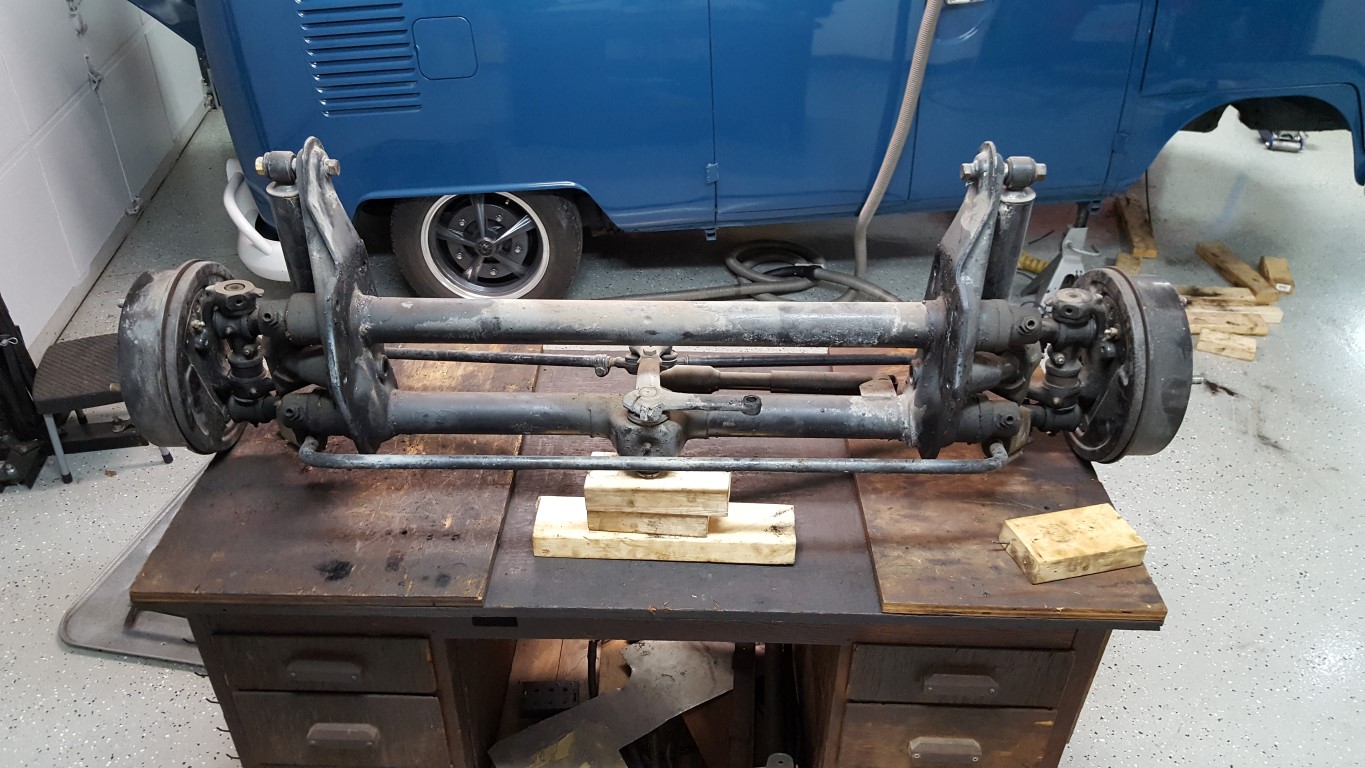
During the original bus rebuild I had ‘flipped’ the front spindles to lower it some. Stock height on buses was alarmingly high, lowering allowed for better handling and gave the possibility of the bus fitting in the garage with a roof rack. The spindle flip, however, lowers by a fixed 4-5″; just low enough that the front wheels would rub the wheel wells during bumps or heavy braking/cornering. Cornering was particularly exciting since the outside wheel would rub, slowing down that wheel with the tendency to make the turn tighter – or “positive feedback” for those of us that are into control systems (not a good thing).
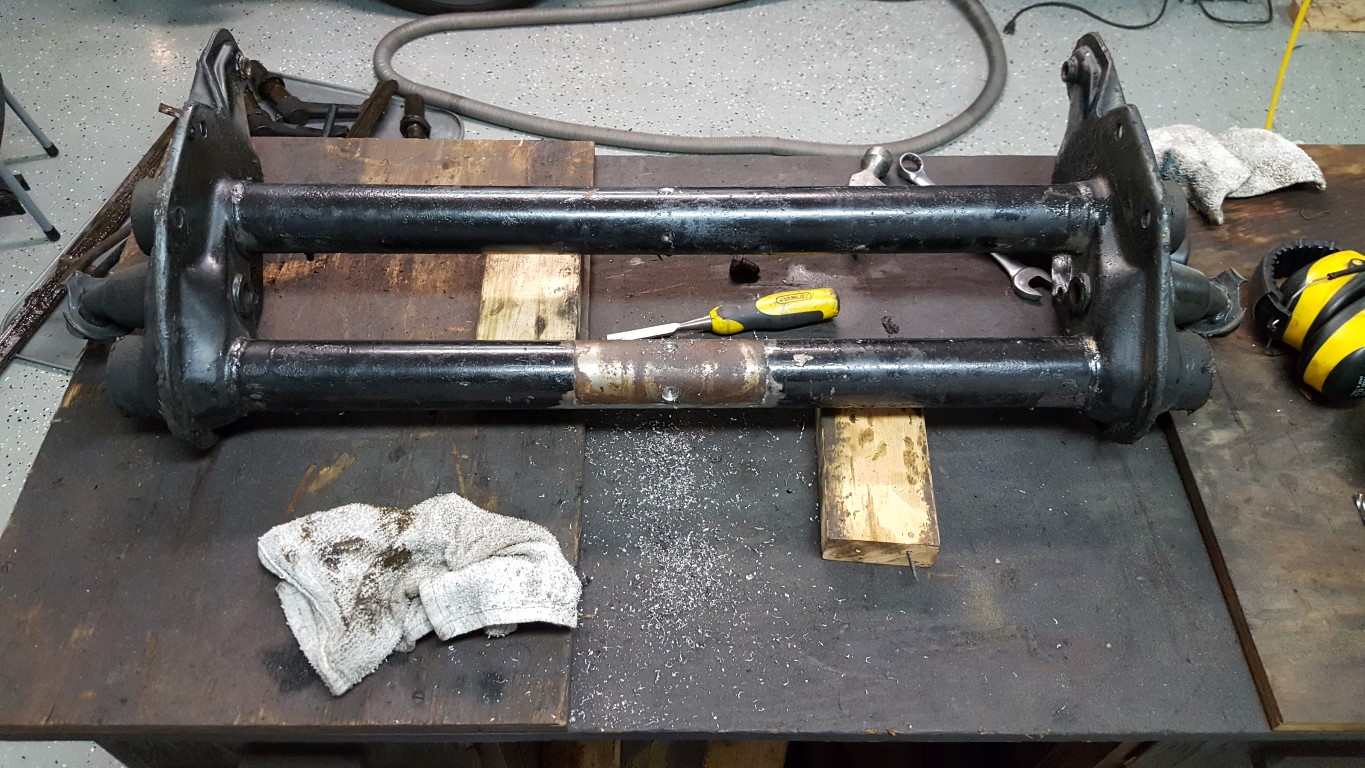
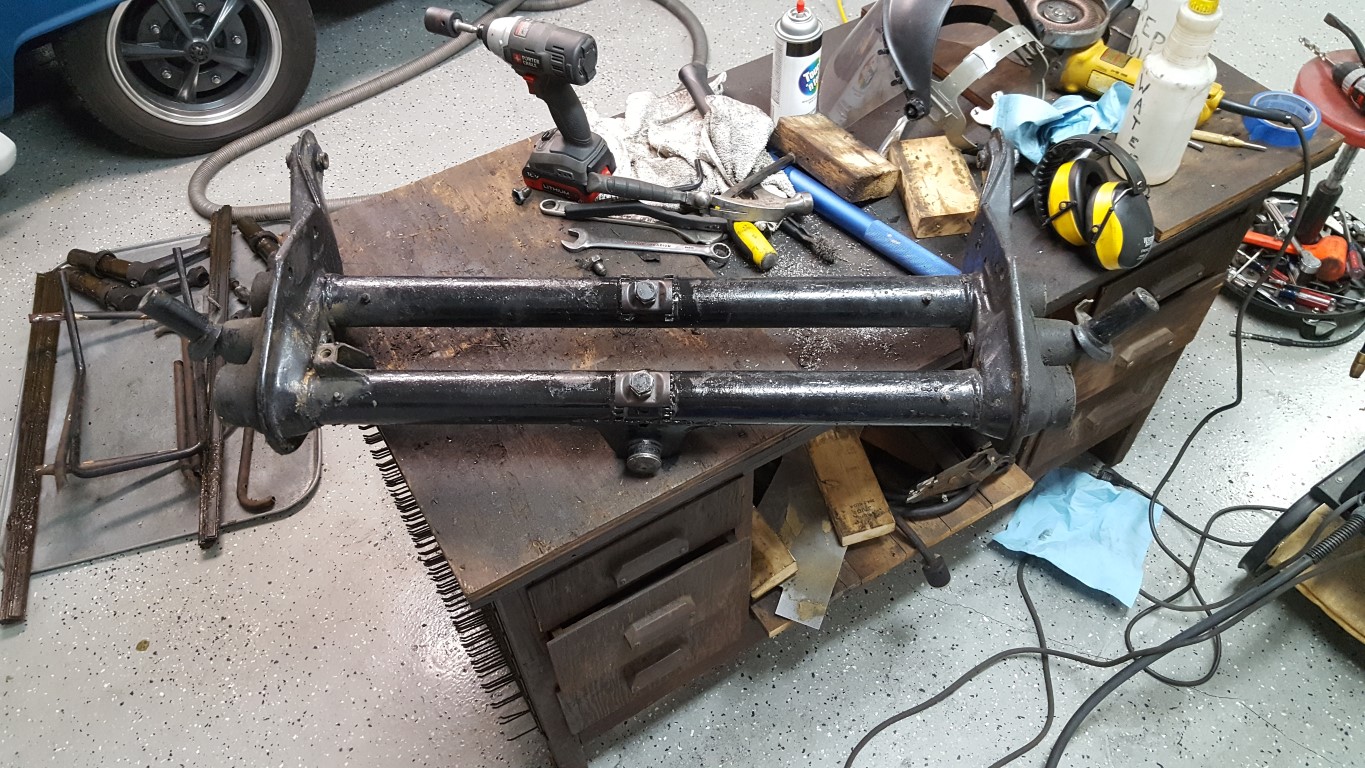
To remedy this, a way was needed to raise the front back up an inch or two. Old VW’s use a very unique front suspension design with two sets of torsion leaf springs inside of a beam with two tubes. The leaf spring packs are held fixed in the center of each tube and are capped at both ends with the four trailing arms. Minor raising and lowering can be accomplished by changing the angle the springs are held at the fixed center point. The center spring holder is held by divots crimped into the tube which engage with holes in the spring holder; these divots were drilled out which freed the holder. Toothed sections were then welded to the tubes; when the center is bolted in place a nut is tightened against a toothed plate that engages the teeth, holding the torsion spring pack at the new angle.
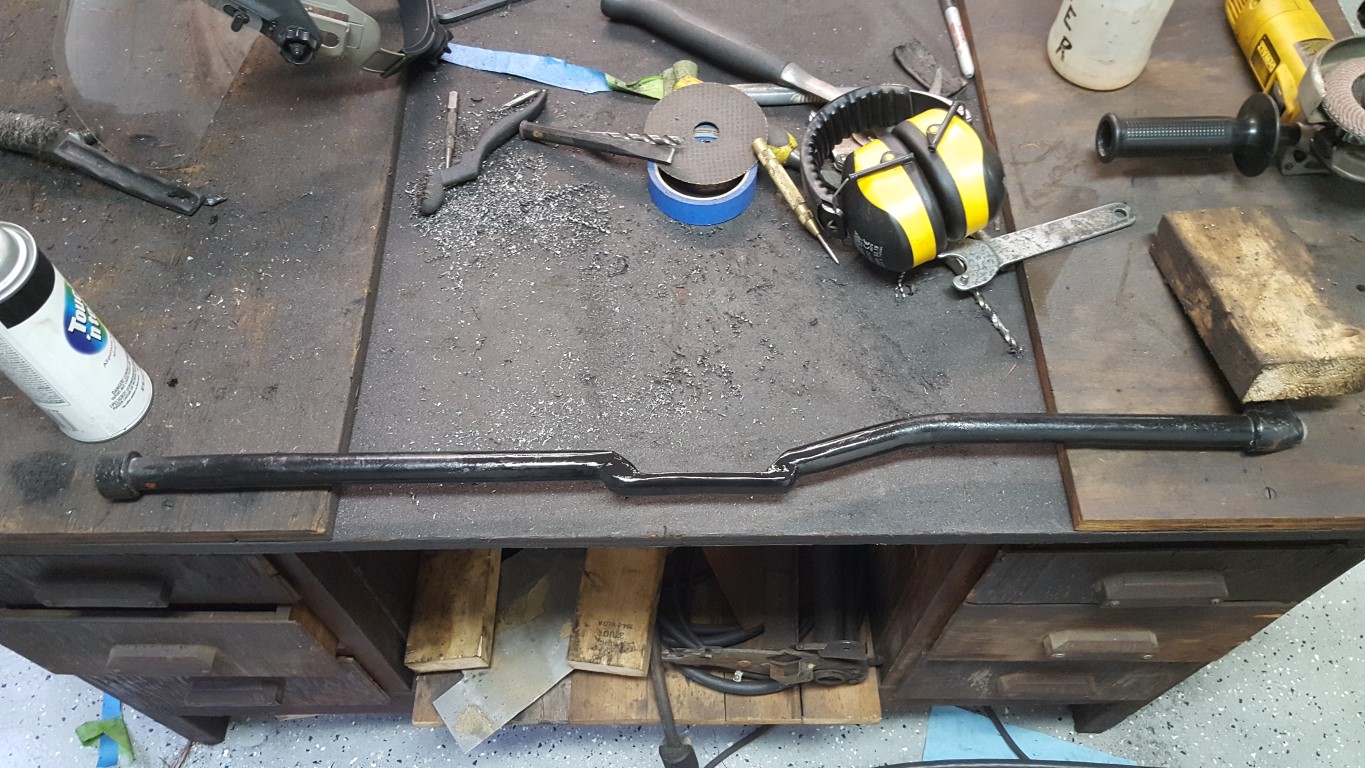
Lots of things had to be disconnected and then reconnected to get the beam in/out. This made it a greasy, awkward, and tedious job but overall it went well. The only hiccup was that after the beam was re-installed the shift linkage interfered with the adjuster bolts, though I had read this could happen. To solve this problem I welded a chunk of plate steel to the bottom of the linkage to hold the geometry and then ground out a strategic section of the linkage tube. The plate is as strong or stronger than the tube, and it’s in just the right spot to clear everything above/below it. After everything was back together the bus is level and no longer rubs the front wheels!
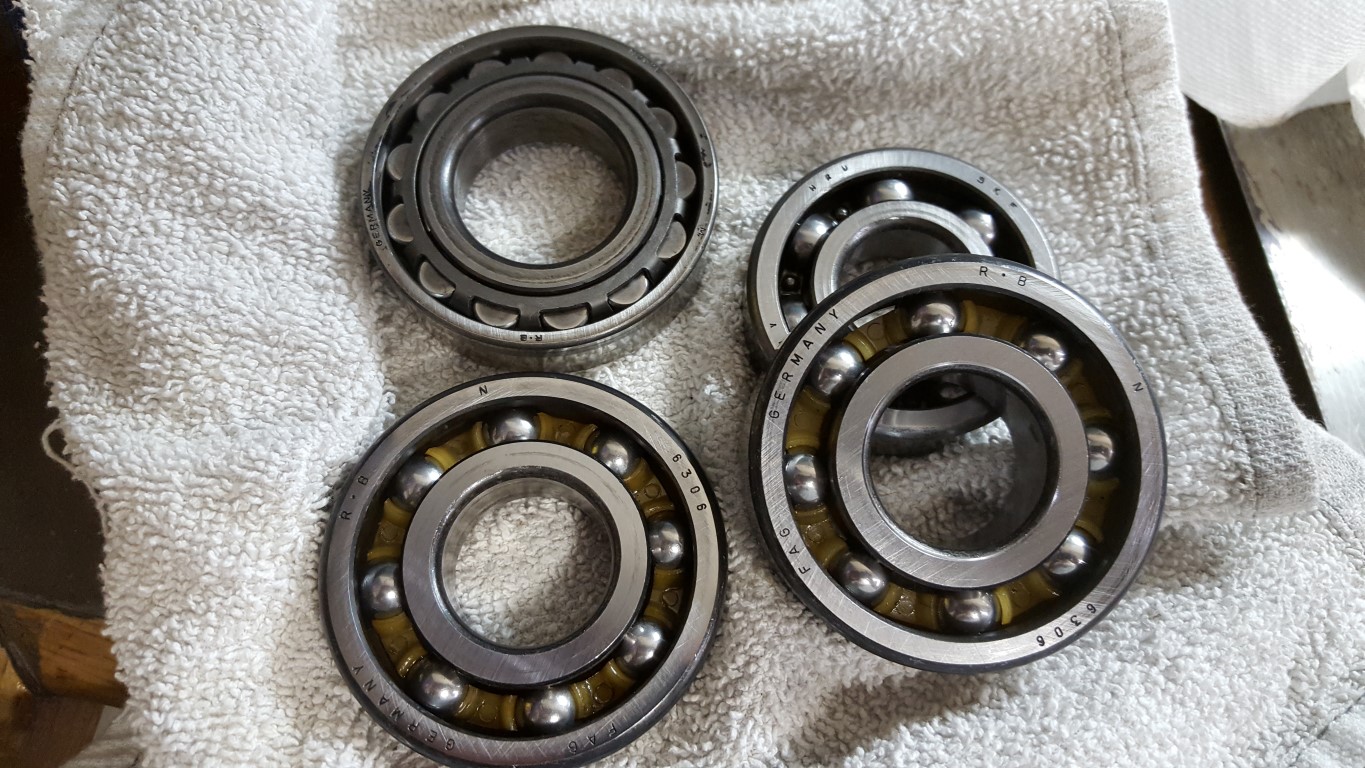
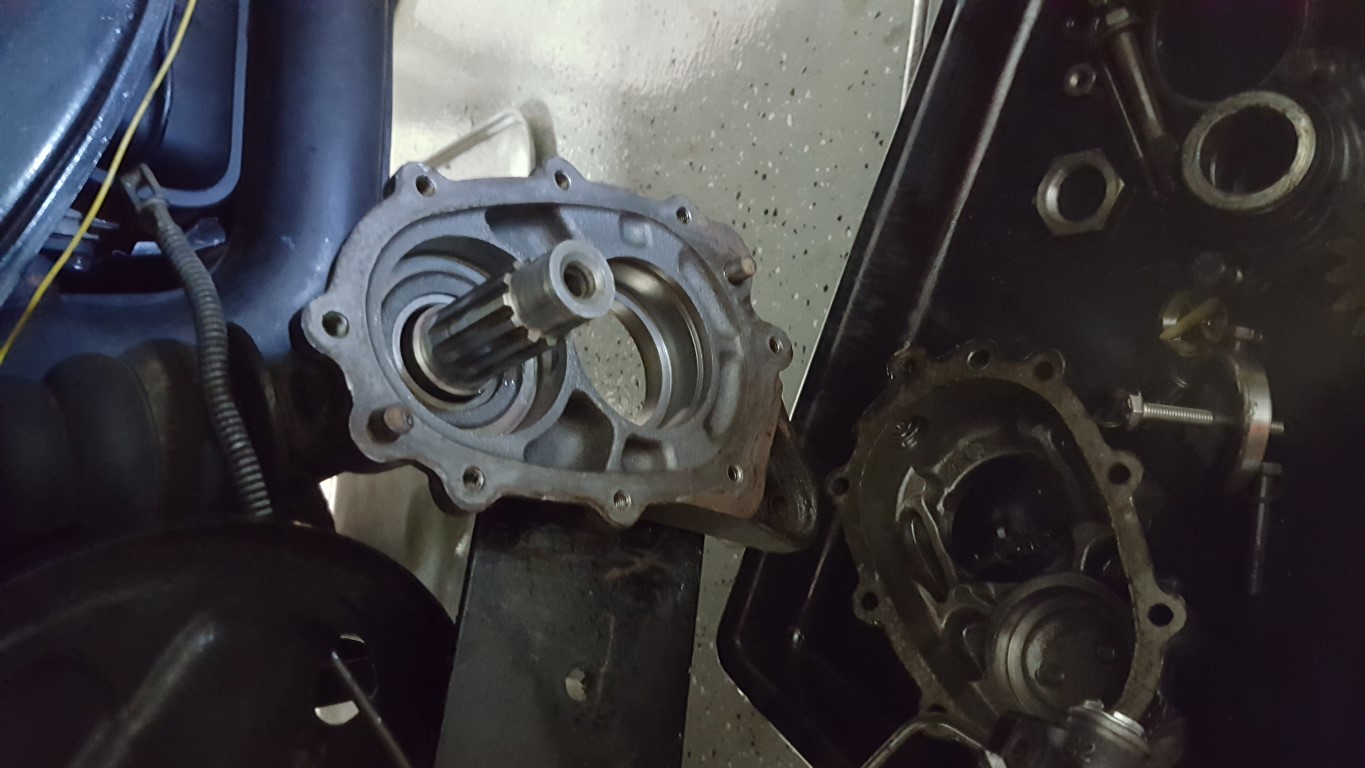
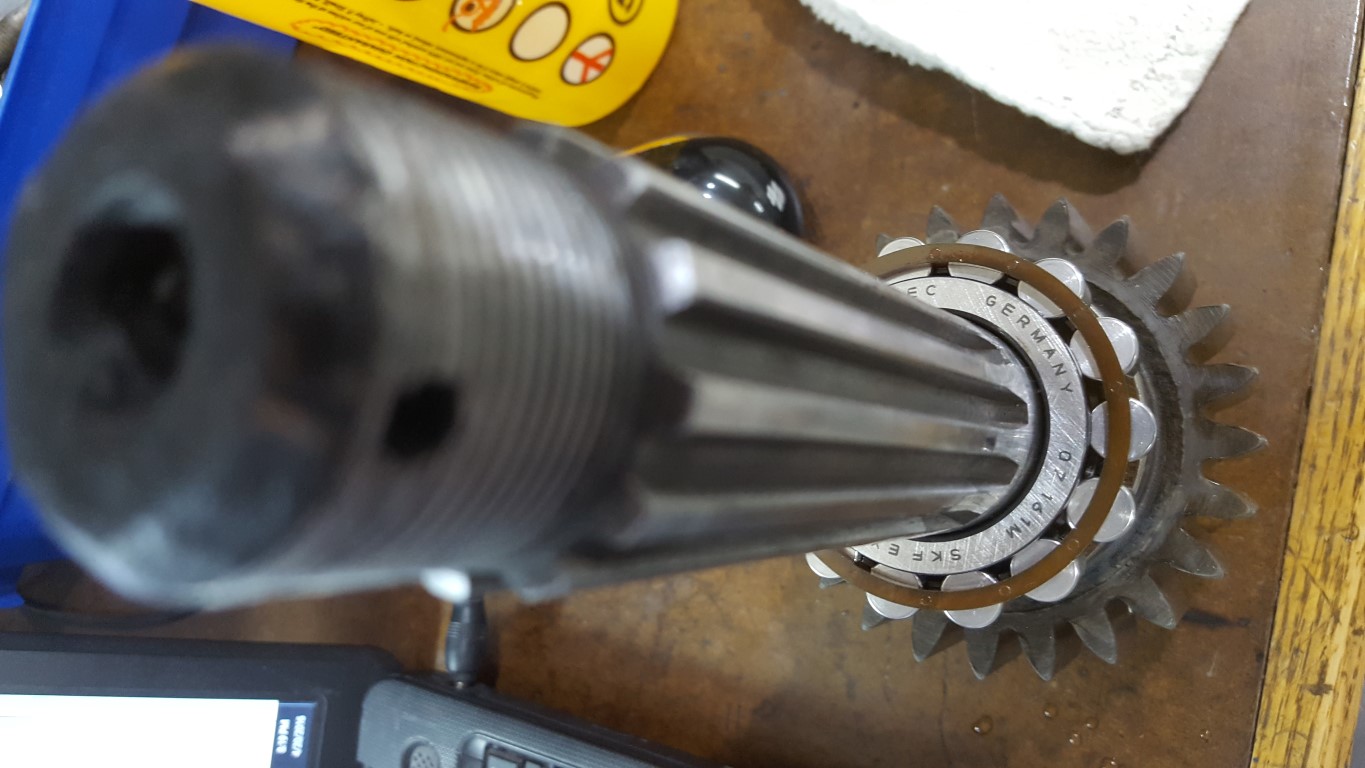
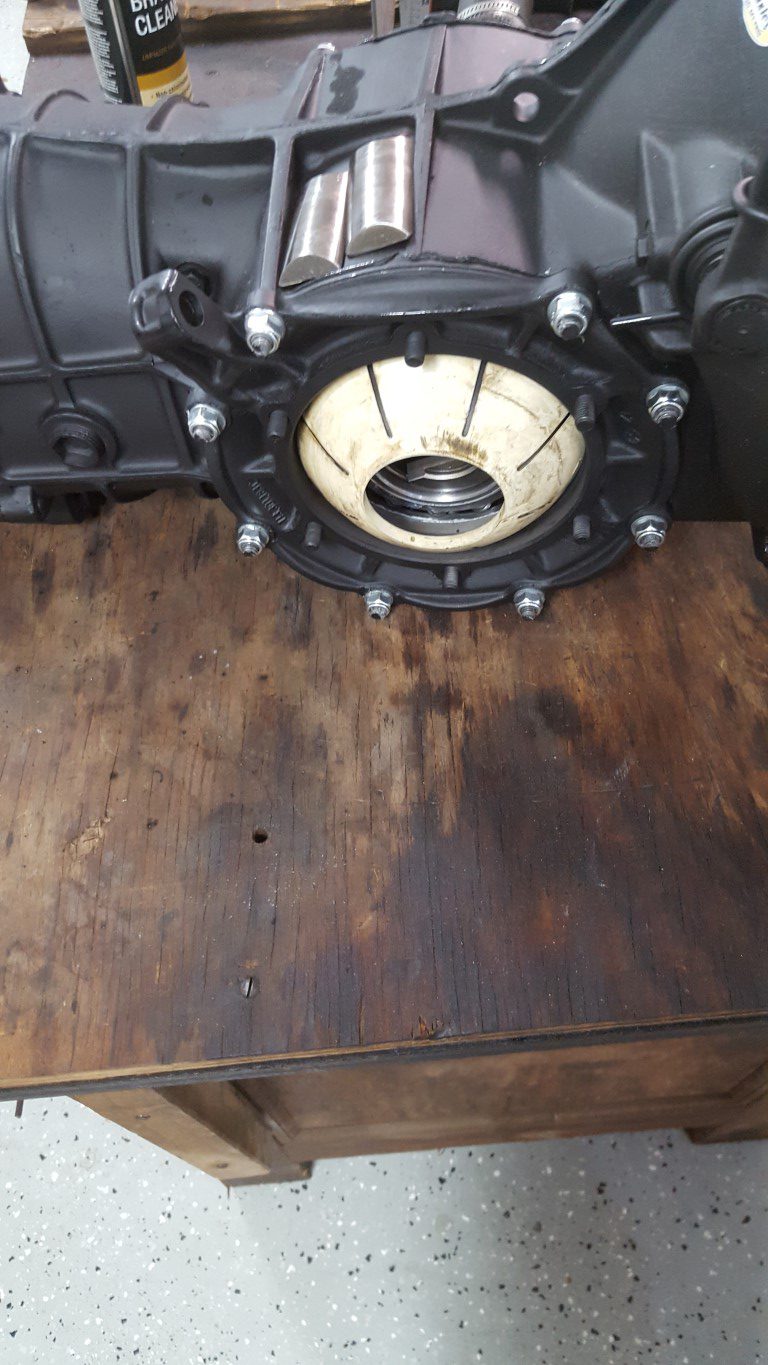
This weekend I finished rebuilding the reduction boxes. Luckily I was able to do this with engine/transmission still installed. It’s a relatively simple process overall, but because most of the parts involved are press fit I had to get creative and make/modify various pulling/holding tools. The old bearings didn’t have any signs of complete failure (yet) but most did have rust pitting and a few had a fair amount of excess play. Driving the bus after the swap is a night/day difference in noise. Its still loud, but now that a major noise source has been eliminated it’s just a matter of tracking down all the miscellaneous body air leaks and other minor noise sources.
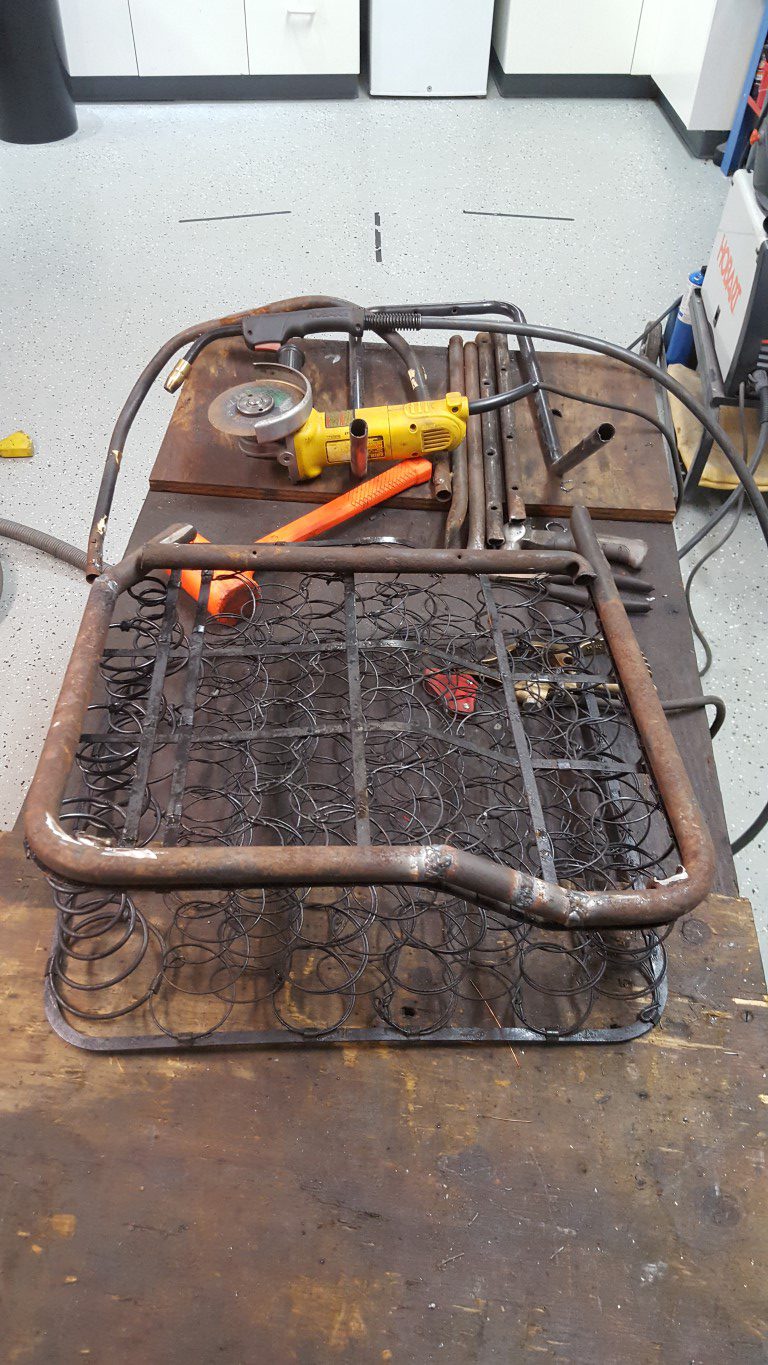
Also, I finally found a passenger front lower seat section – these are hard to find since they’re specific to the ‘walk-through’ option, especially since I already had the top part and didn’t want to buy the whole thing. The one I found only included the springs without the seat frame itself, but the frame seems easy enough to fabricate and I’ve started on this using scrap metal from the incorrect (vanagon?) seats that came with the bus when I got it.
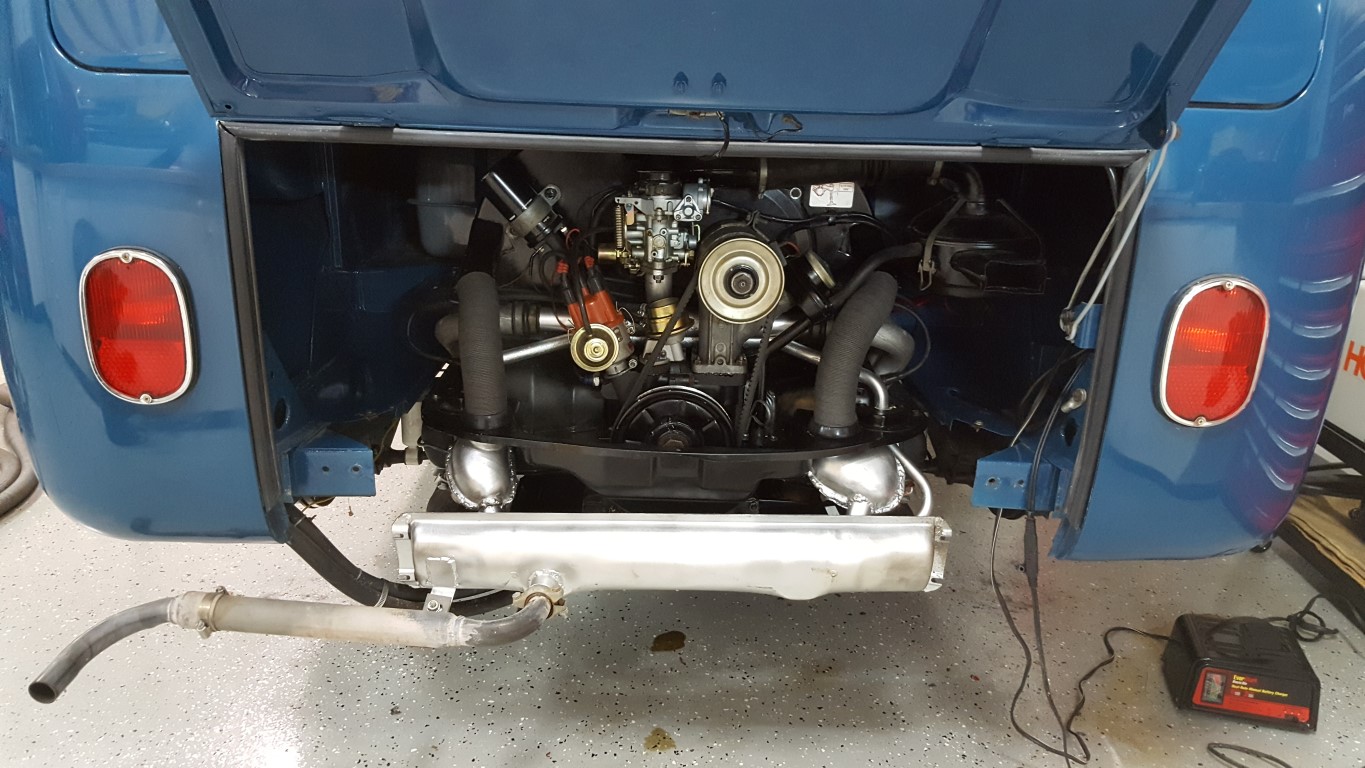
This weekend the transmission arrived and I got everything back together. While waiting on the transmission I completed a few miscellaneous things:
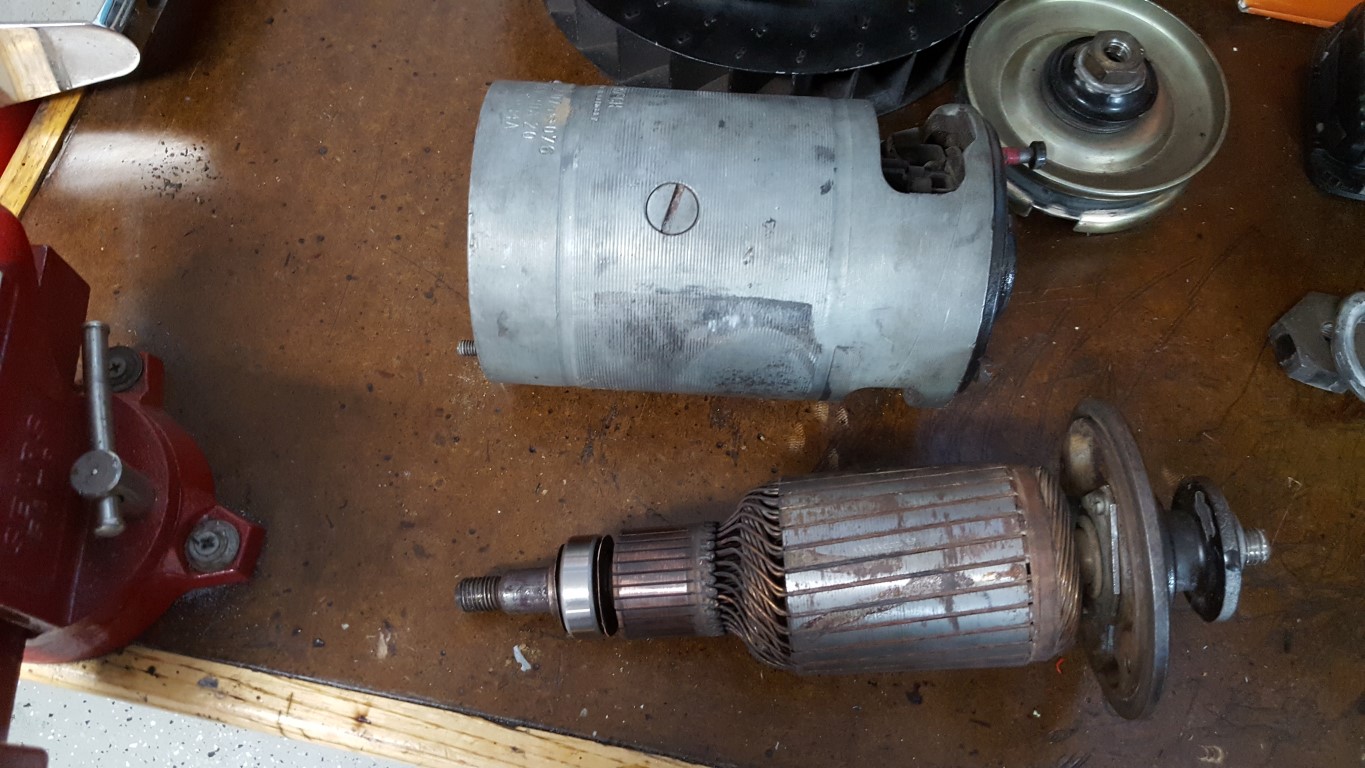
Replace bearings in the dynamo/generator (it’s not an alternator like in ‘modern’ cars)
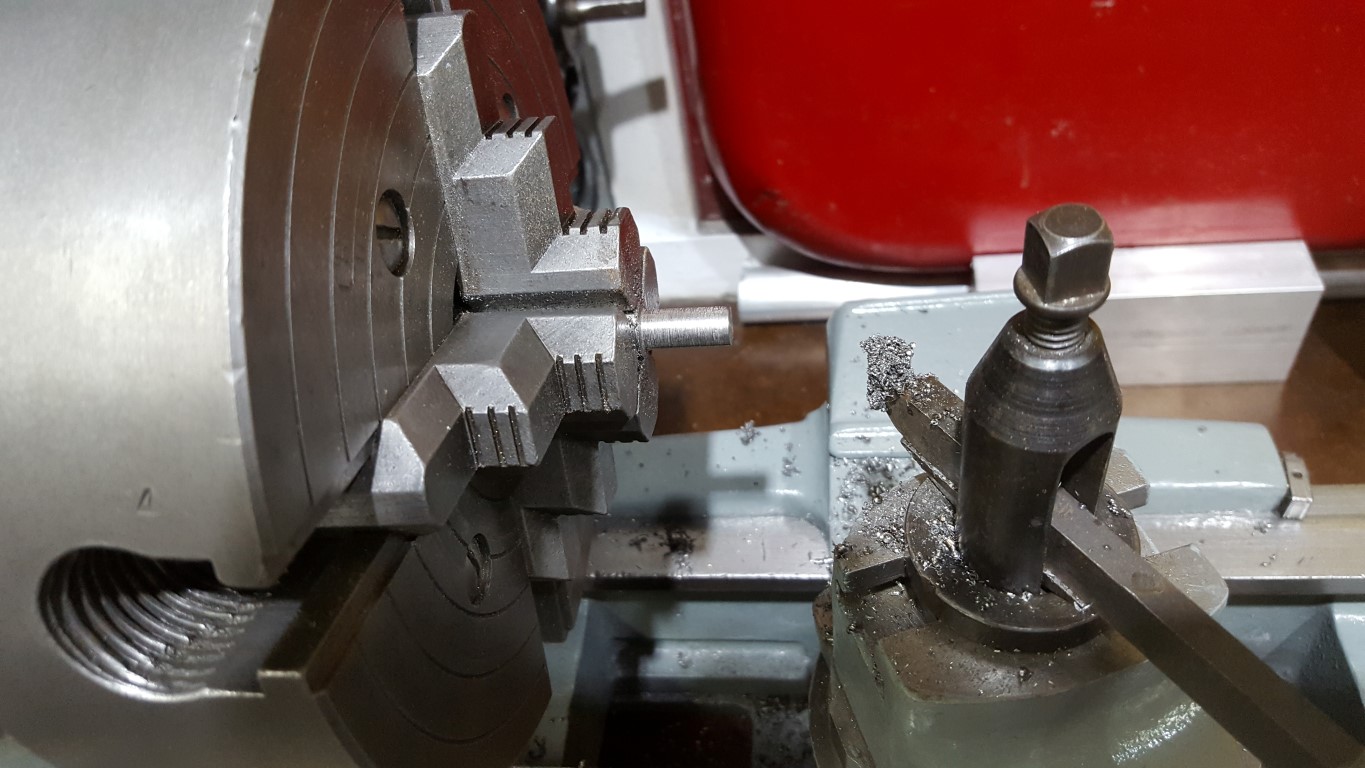
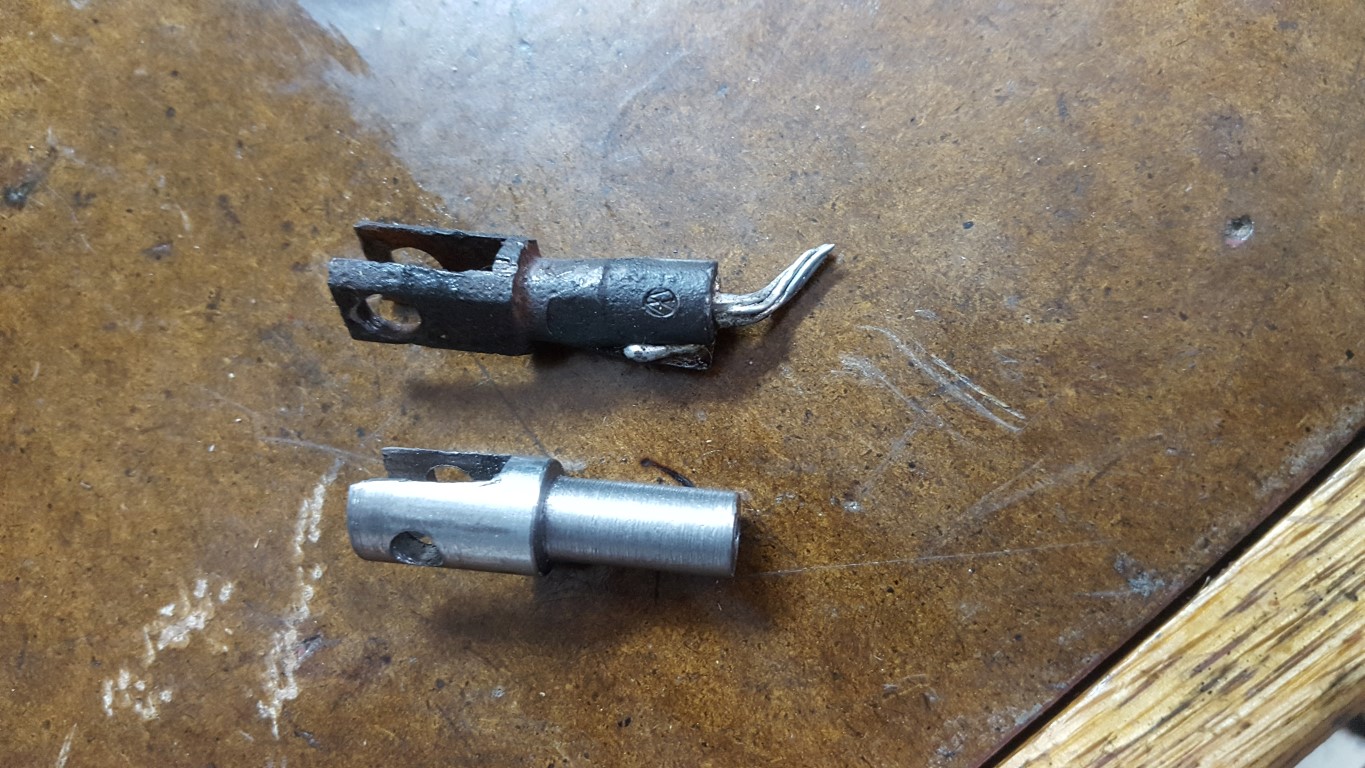
Fabricated replacement clutch cable, including making a new end link on the lathe. The end links were then crimped onto the cable with the 12 ton hydraulic press and soldered in place, so they shouldn’t be going anywhere.The clutch cable had partially broken and was stretching with each press, causing the clutch not to disengage all the way. This is what took the bus out of commission in December. Since it was still connected at both ends and not completely loose it seemed OK until I removed the pedal pan and saw many broken wires.
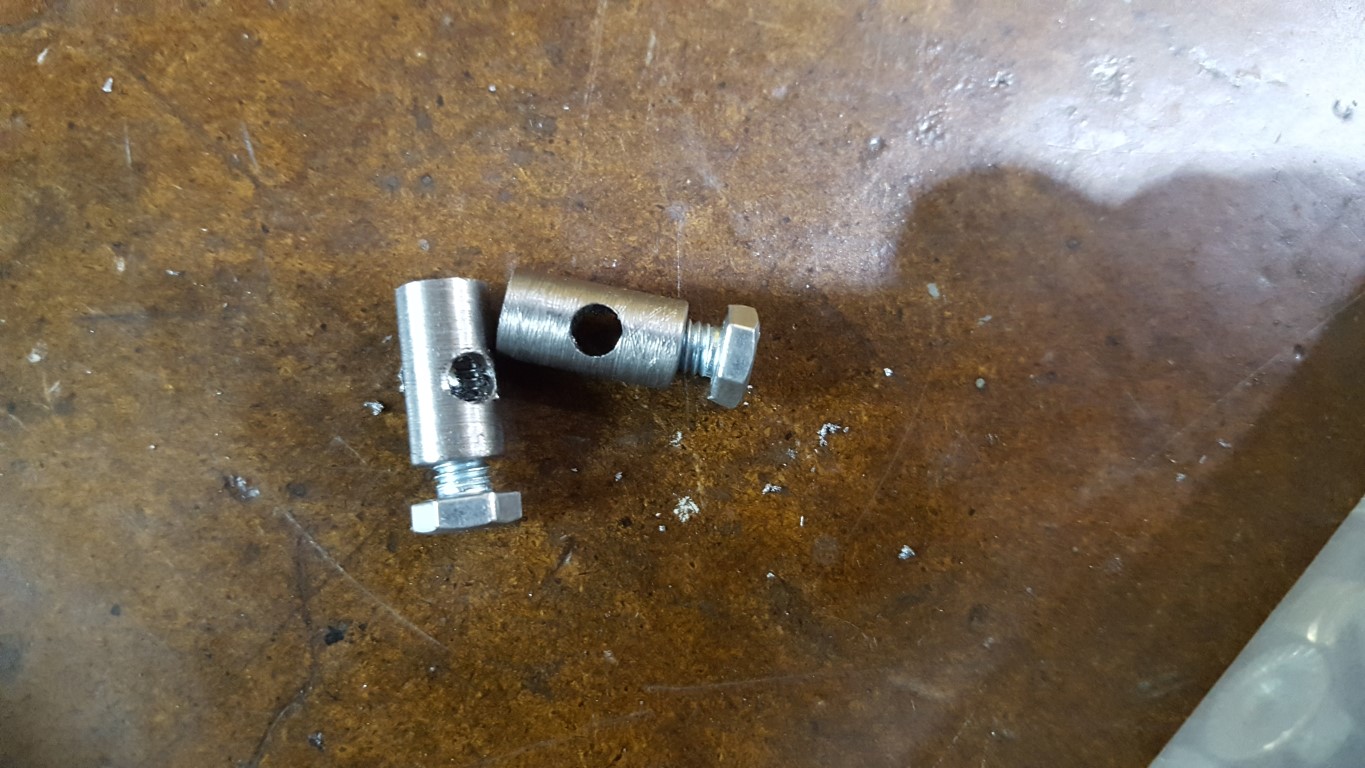
Fabricated the special barrel nuts needed to connect the heater control cables to the exhaust heater boxes.
The test drive went very well, it’s noticeably smoother but noise levels are still quite high inside. Part of the noise level is a minor exhaust leak that I’m tracking down, but the new smoothness also allowed me to notice for the first time that a majority of the noise is from the axle reduction boxes. This was confirmed by carefully running in 2nd gear with the back wheels on jack stands – the bearing rumble then became even more noticeable. Replacement bearings are on the way and I should be able to swap them out with the engine/transmission still in place.
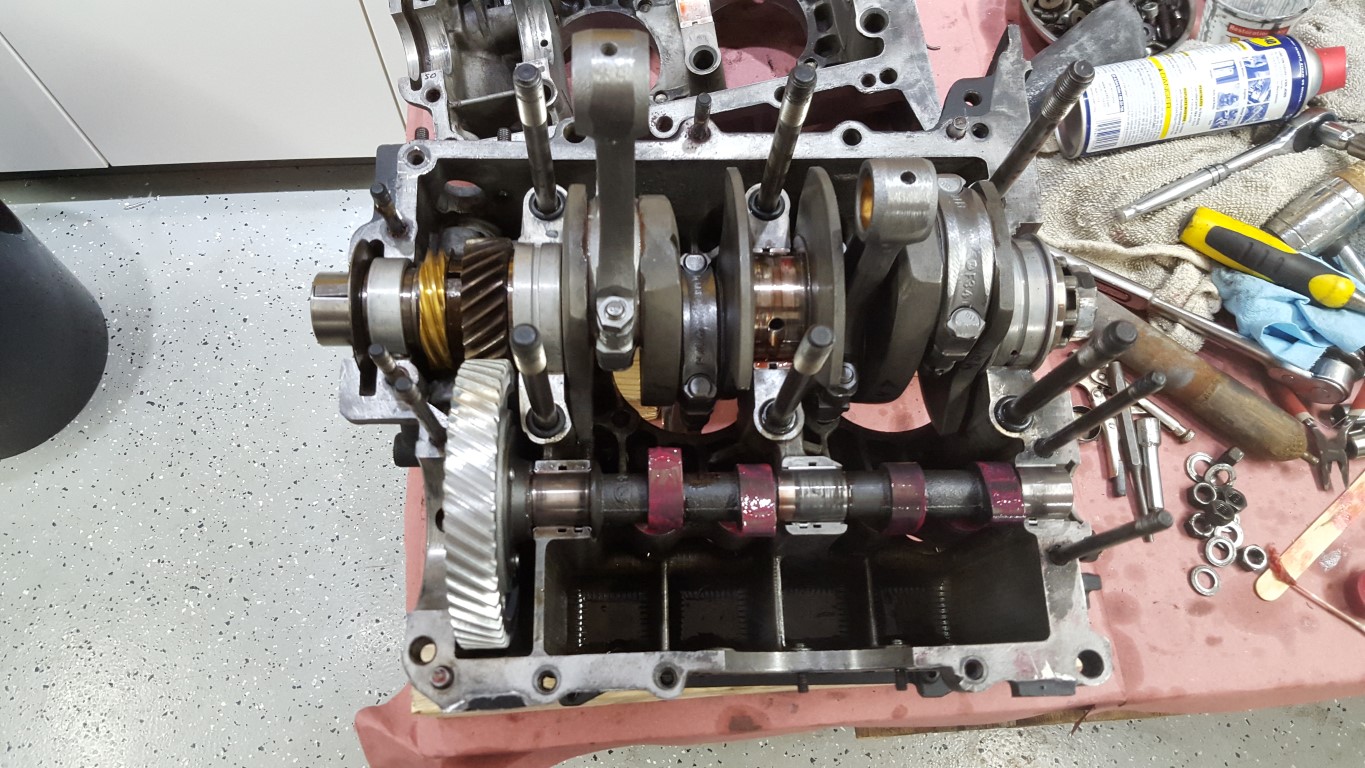
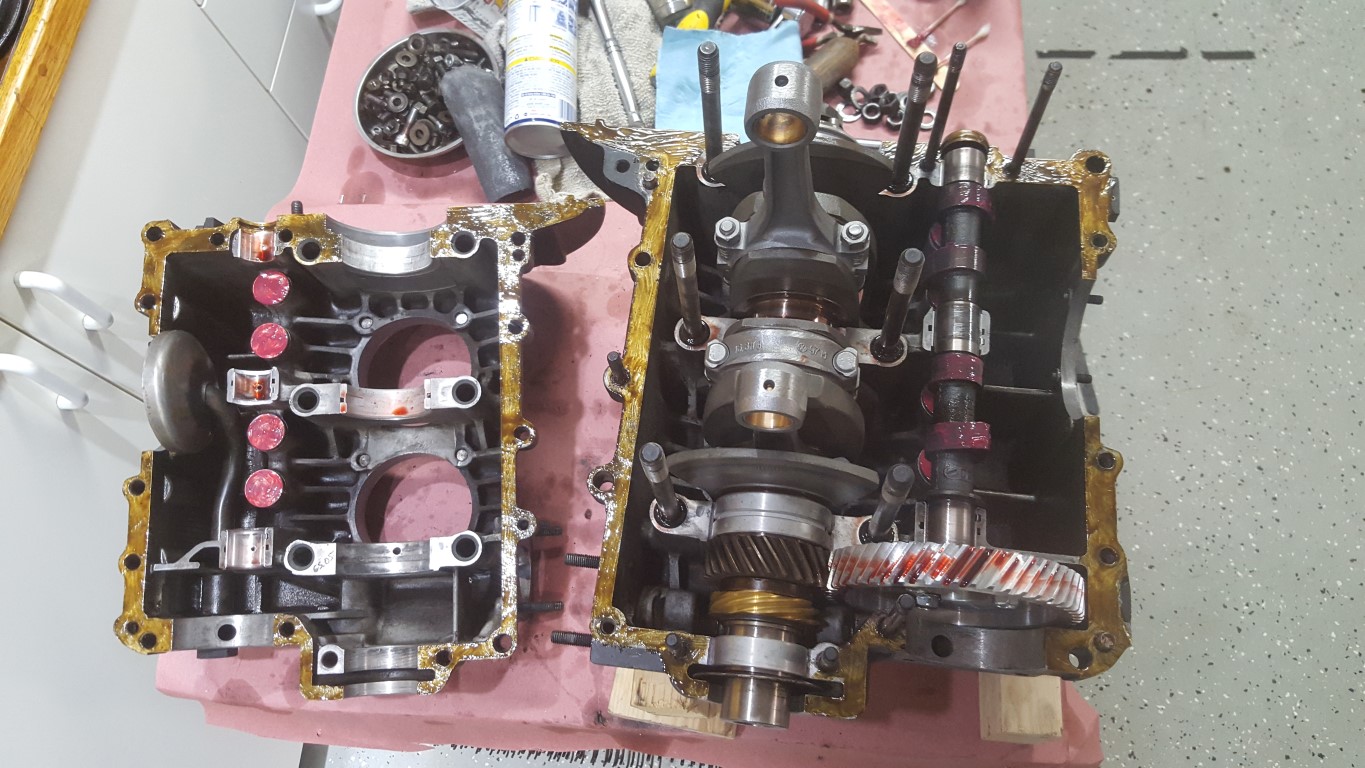
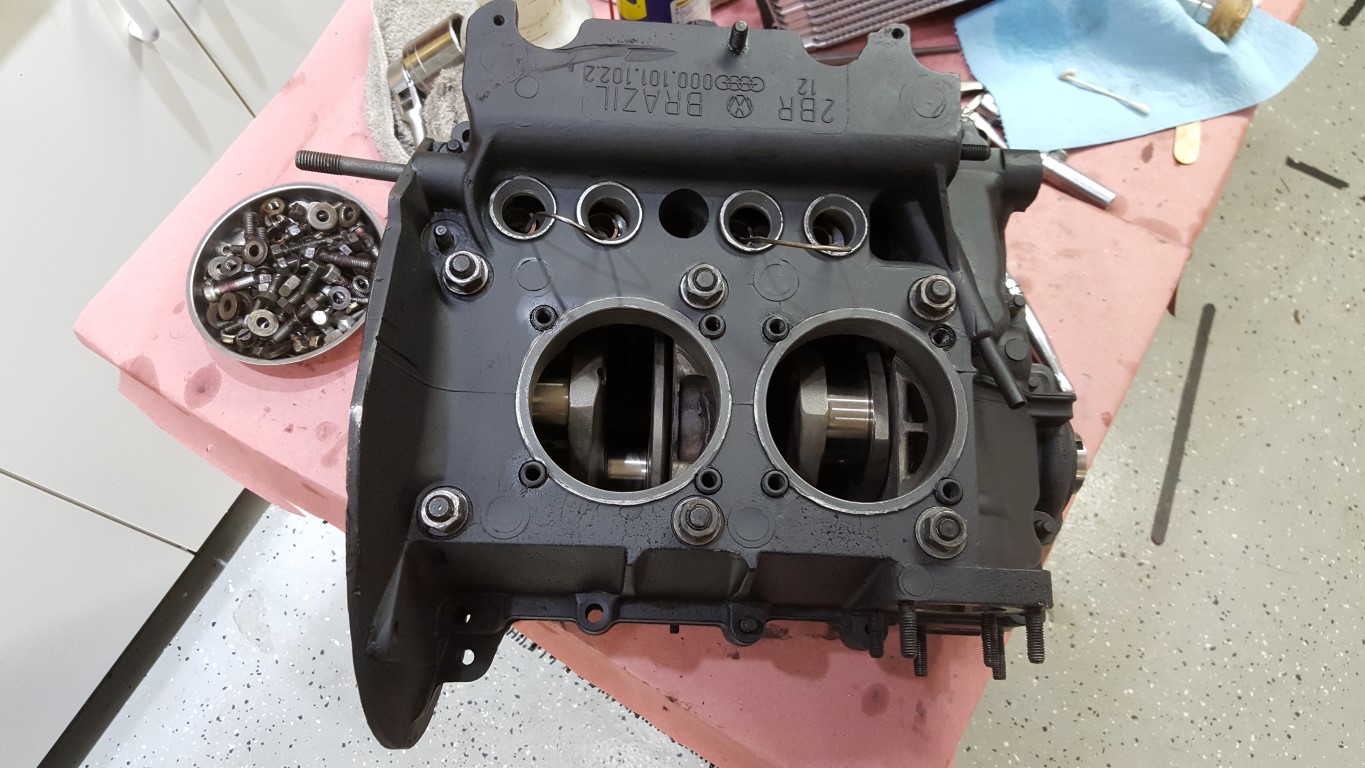
This weekend I started putting the engine back together, and I’ve decided to replace a number of parts:
Camshaft – A few of the lobes were worn down, limiting valve lift. Replaced with a very mildly modified cam that will provide more power to go along with the new higher transmission ratios.
Lifters – Lifters had worn slightly concave rather than the correct slightly convex.
Connecting Rods – All rods weighed the same but were not balanced end-to-end and there was not enough material left to grind off and correct the problem.
Bearings – The bearings were OK but it’s easy enough to replace these while the case is open.
Pushrod Tubes – These could have been reused but were a little beat up and now is an easy time to replace, ensuring no leaks.
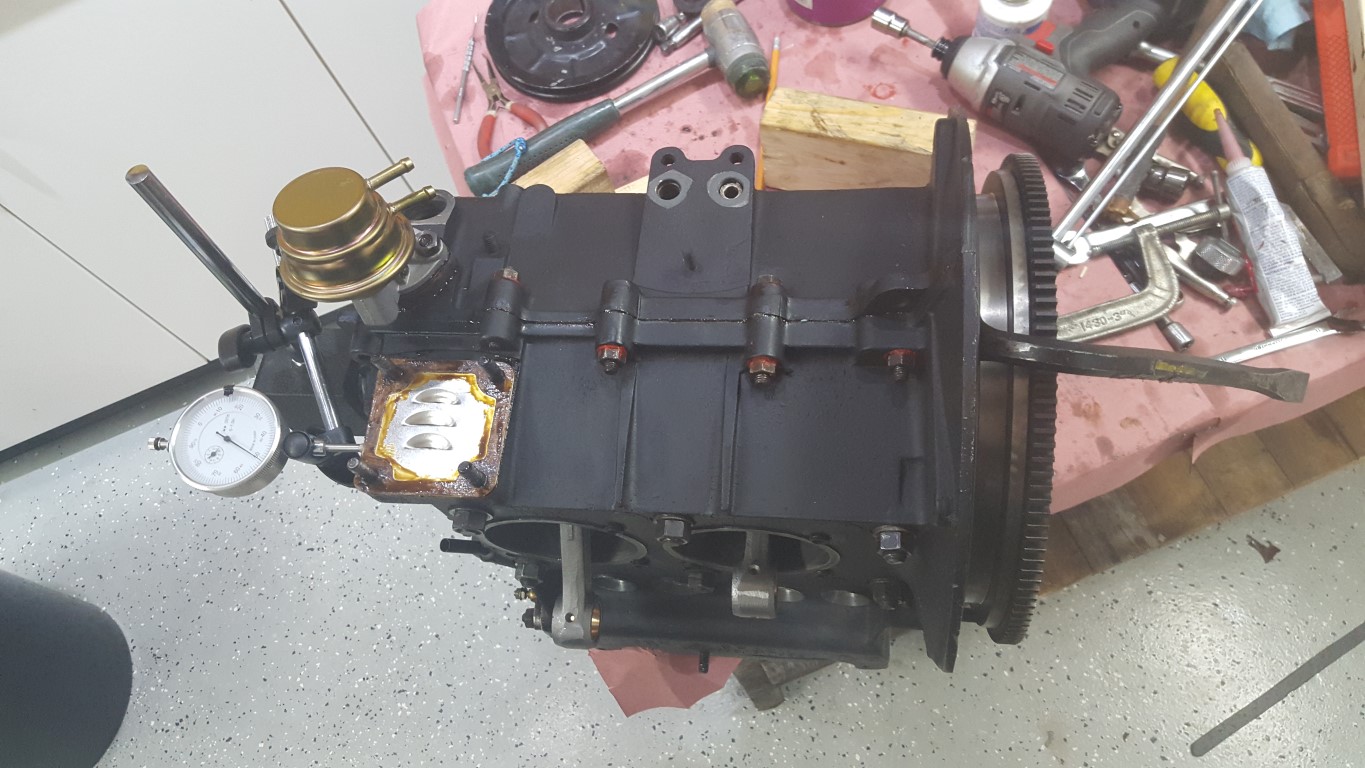
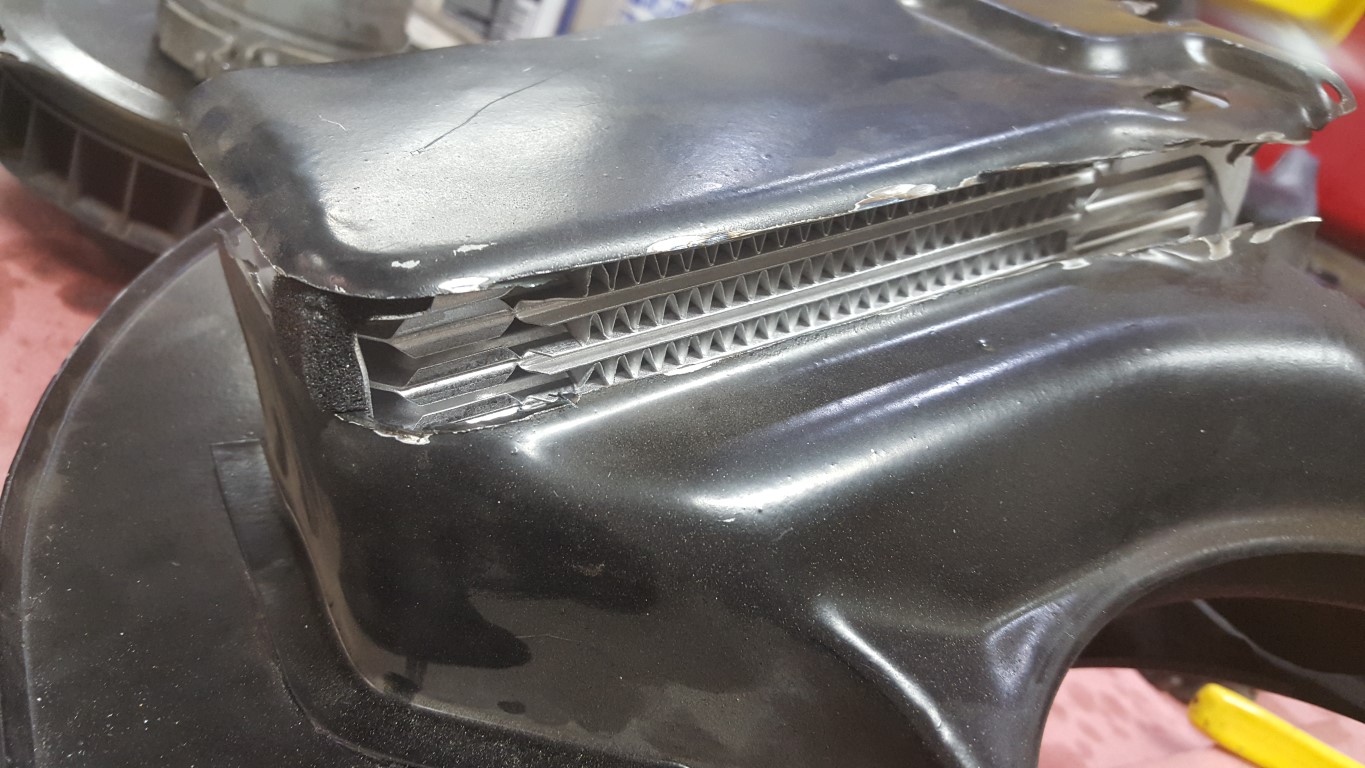
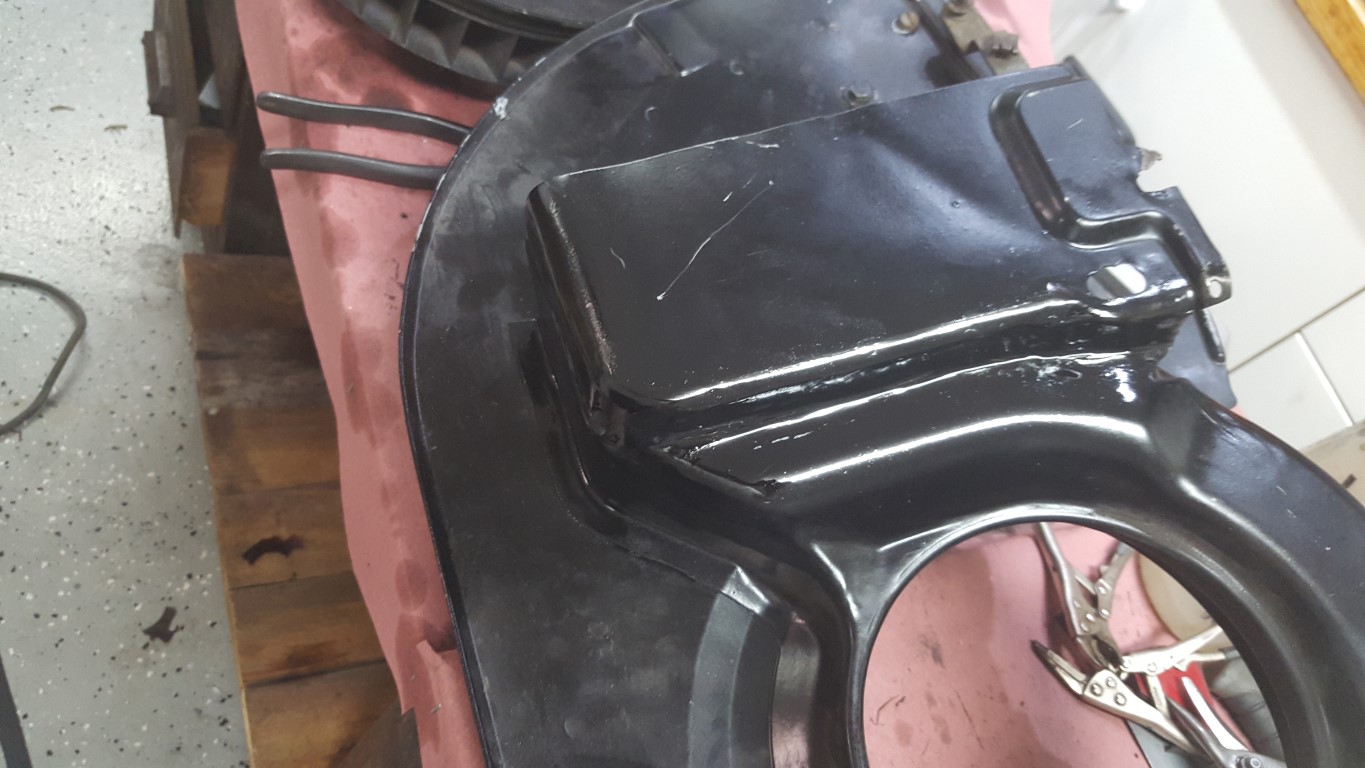
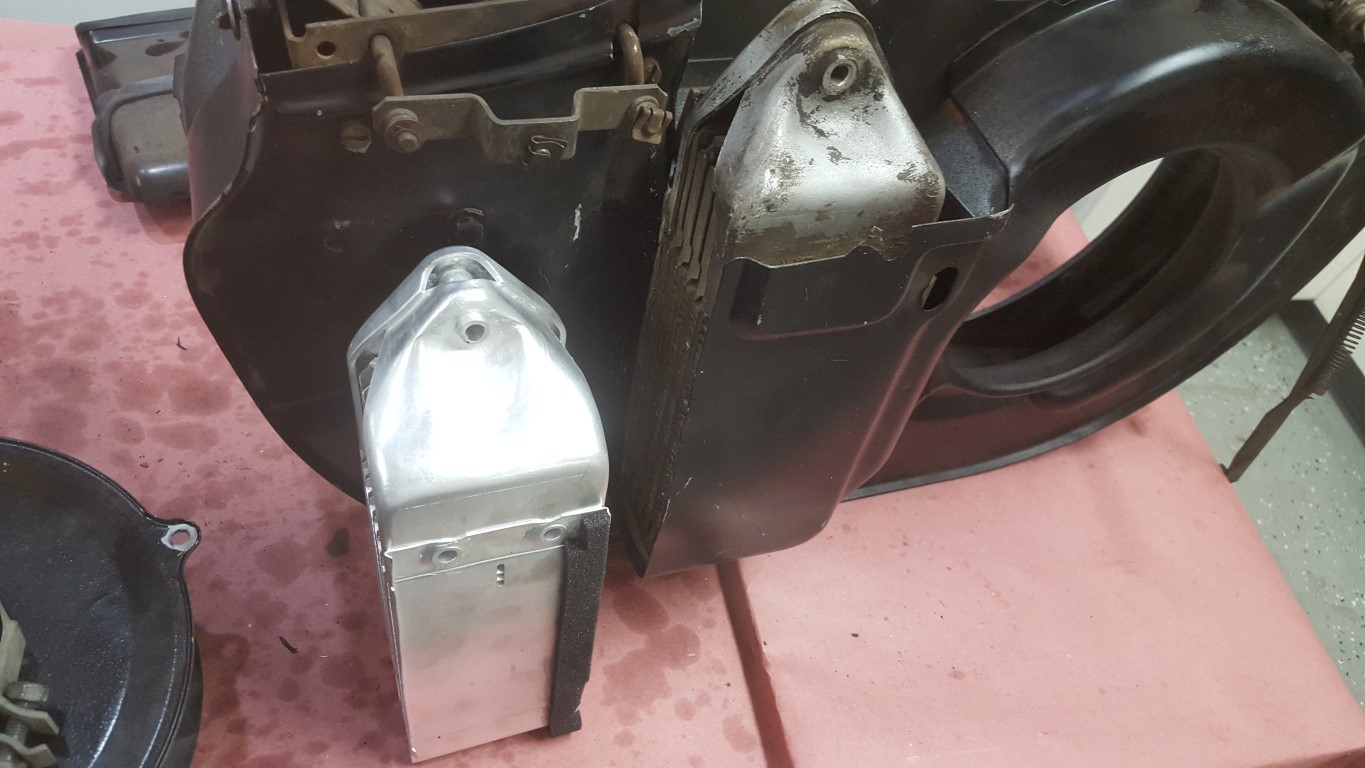
Oil Cooler – The old cooler was made in 1971, no telling how much build-up there was inside preventing heat transfer. Replaced with a larger cooler from a later engine style.
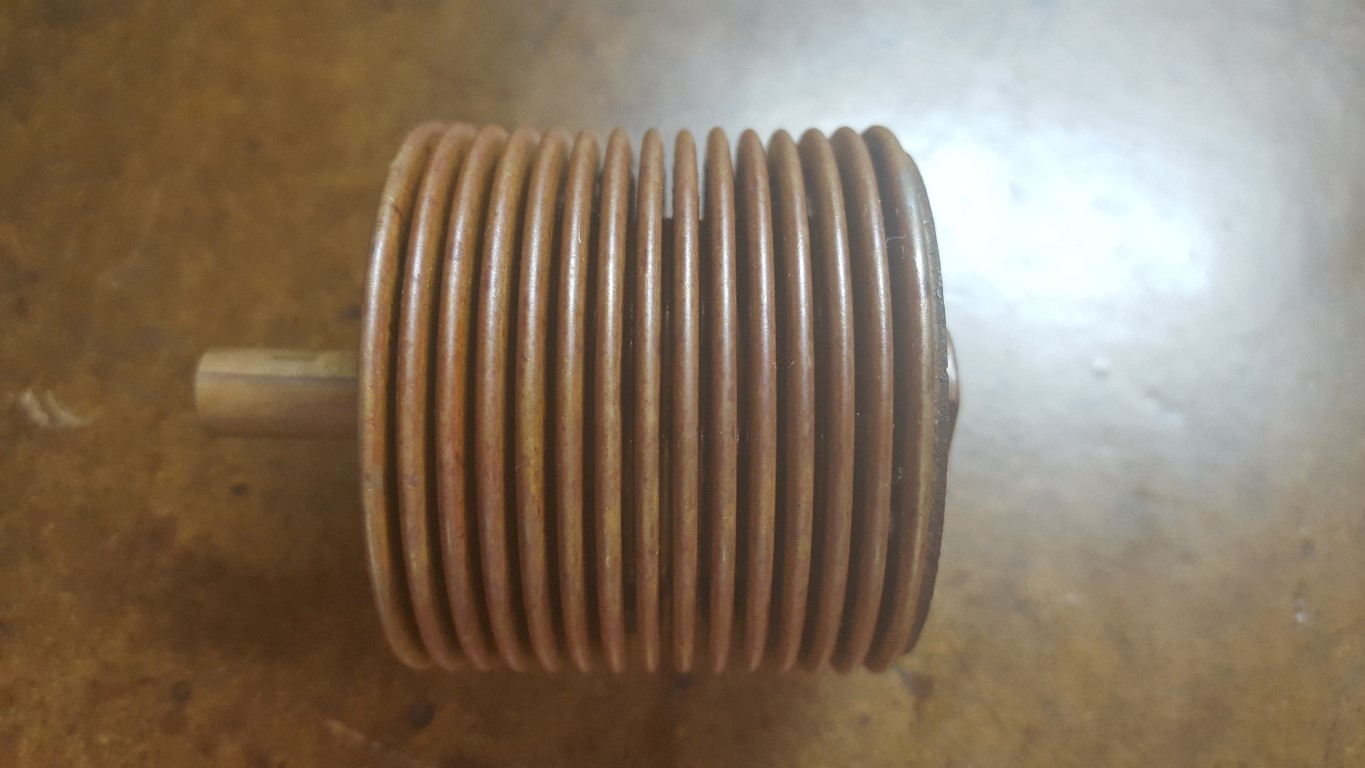
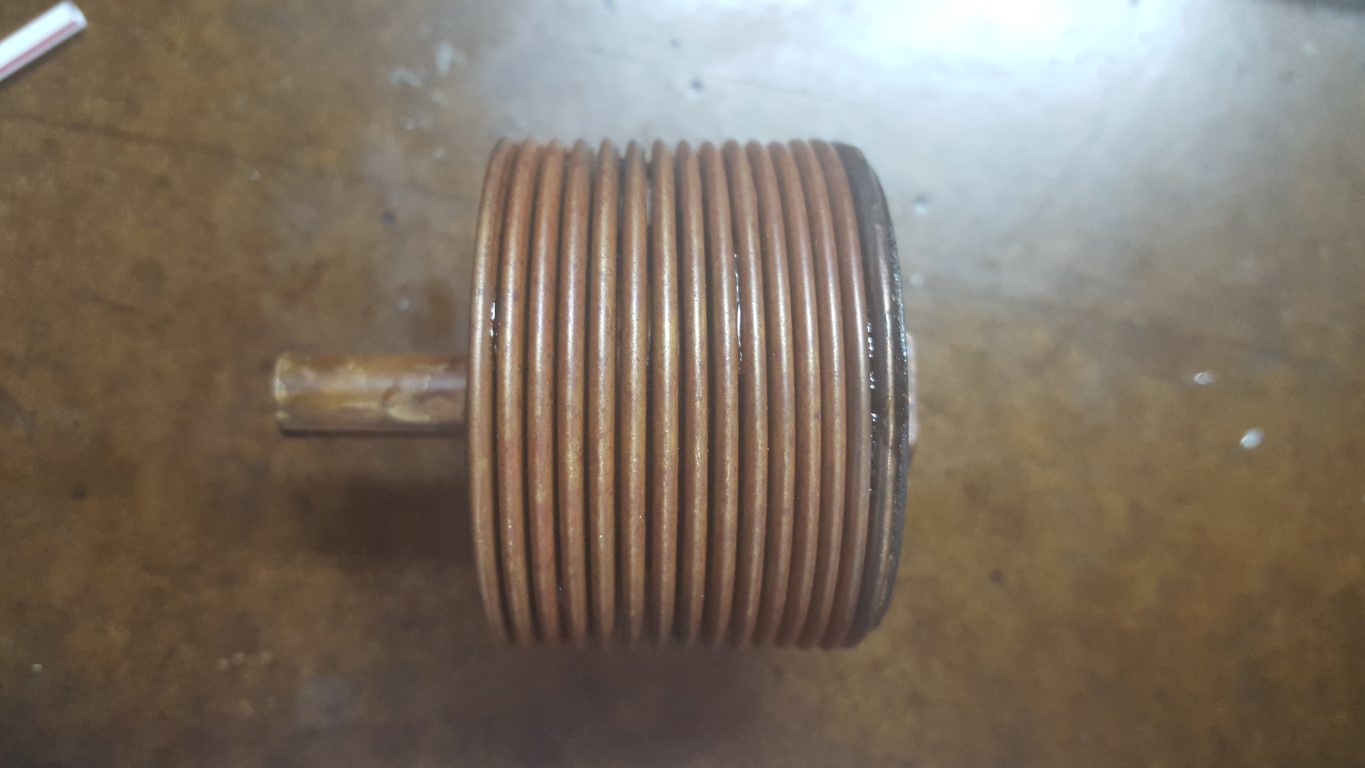
It’s mostly reassembled now, including shimming the crank/flywheel for proper end play and verifying with a dial indicator to 0.001″ (end play is critical on aircooled VW’s). I also modified the fan shroud to accept the bigger oil cooler and also re-built the thermostat. The thermostat is a sealed copper accordion that expands when heated. For some reason mine had expanded permanently; these are no longer made and becoming increasingly rare, so I had to fix it. Luckily I was able to find information about others who have had the same problem and I was able to fix it in the same way; the fix consisted of unsoldering the end plate, compressing the accordion, dropping in a bit of rubbing alcohol, and resoldering the plate before it had a chance to evaporate. The thermostat is now completely contracted at room temp and begins to expand around 80°C, allowing it to push on a linkage that opens cooling flaps in the fan shroud.
The new bearings are “structurally guaranted[sic]”, hopefully that’s just a typo and not a clever way to dodge claims – “they weren’t guaranteed, they were guaranted”