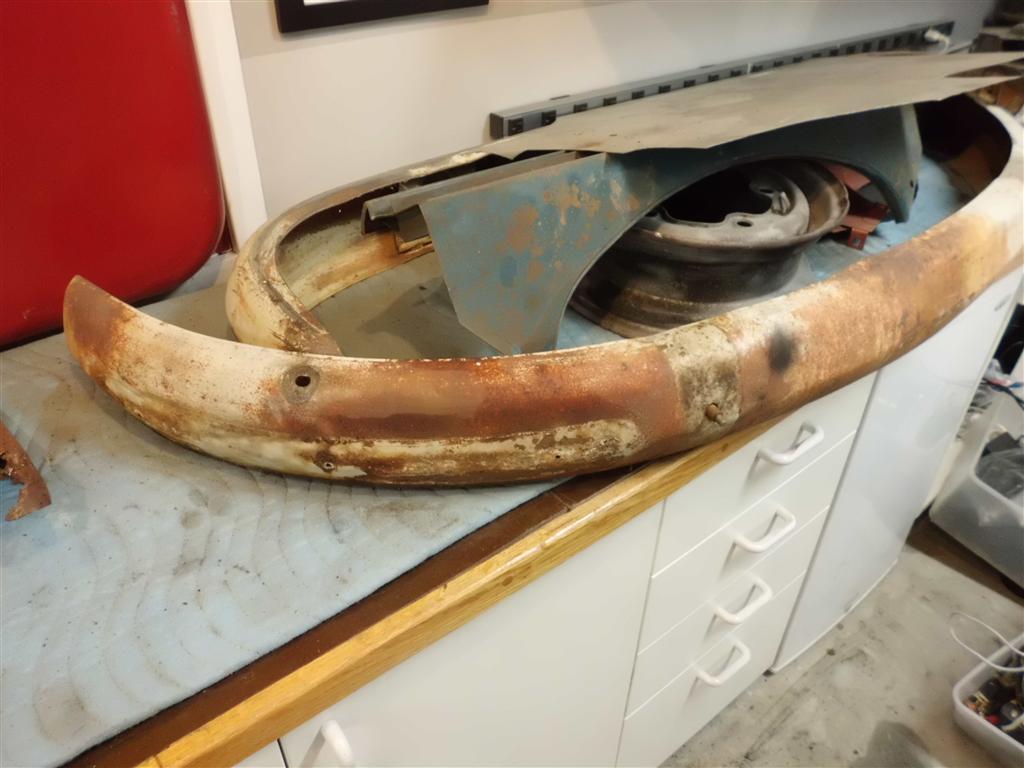
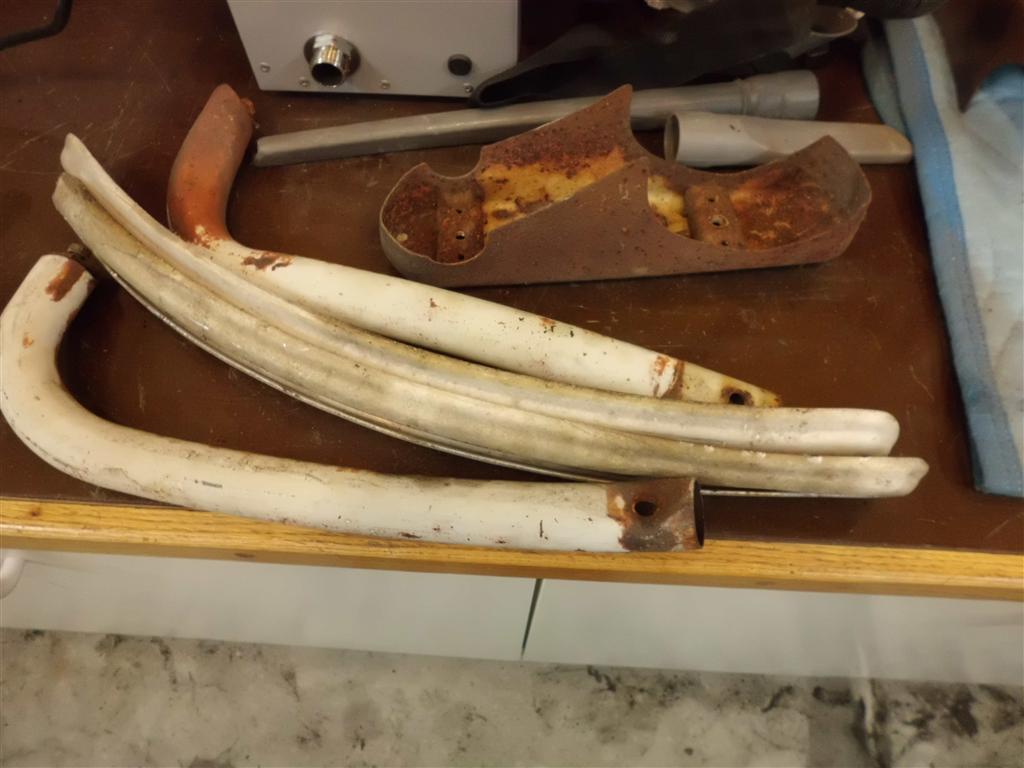
Front bumper disassembly
I had been putting off disassembling the front bumper for a while but it had to be done so that it can be ready for primer during the next big primer phase. Every screw and bolt was solidly rusted to the bumper and the rubber rub strip was dry-rotted solidly into it’s aluminum trim piece.
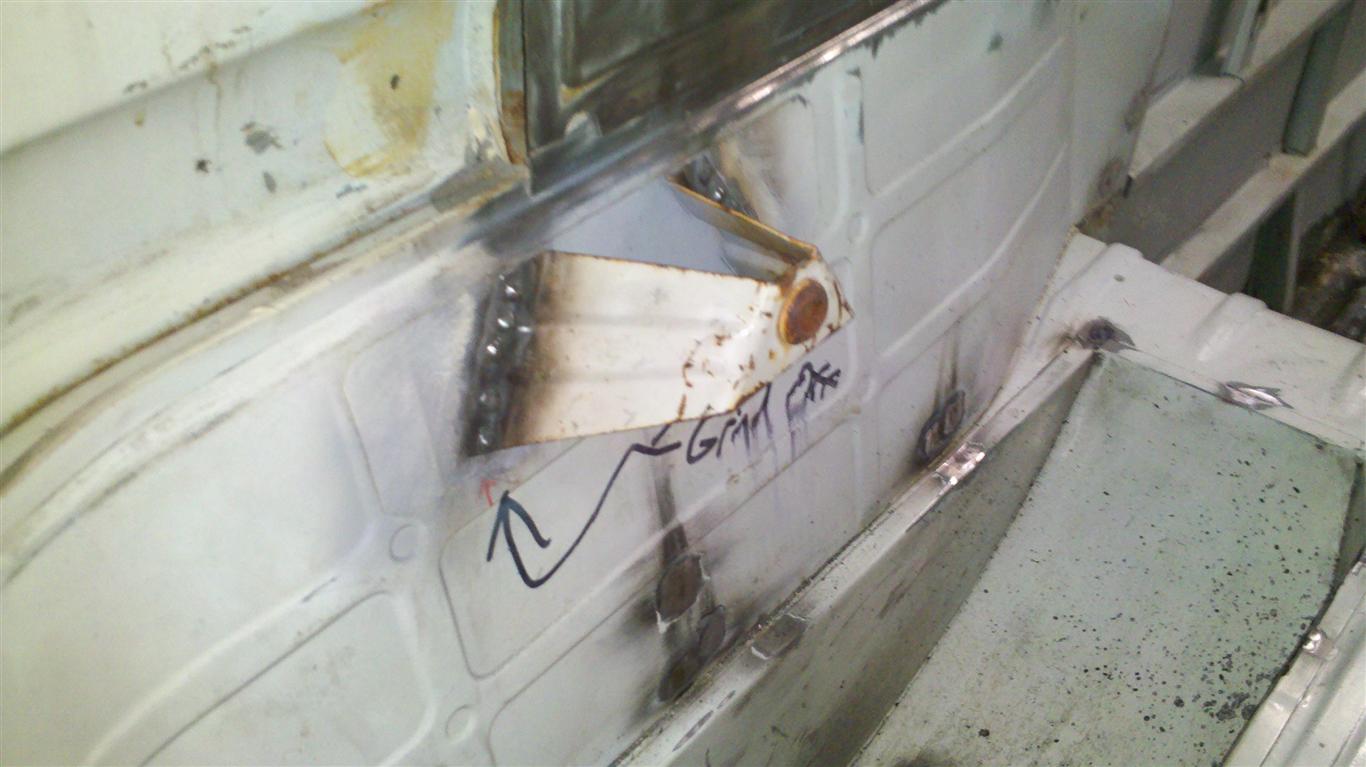
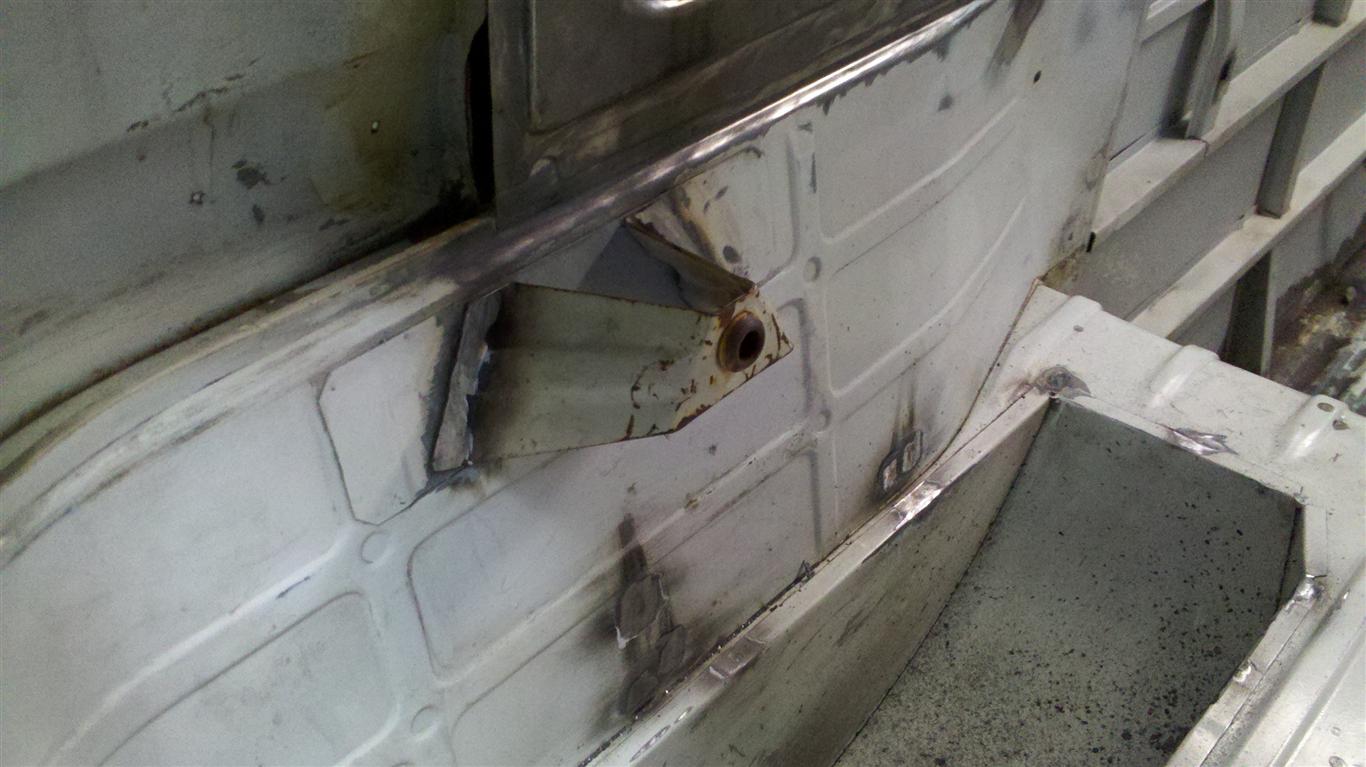
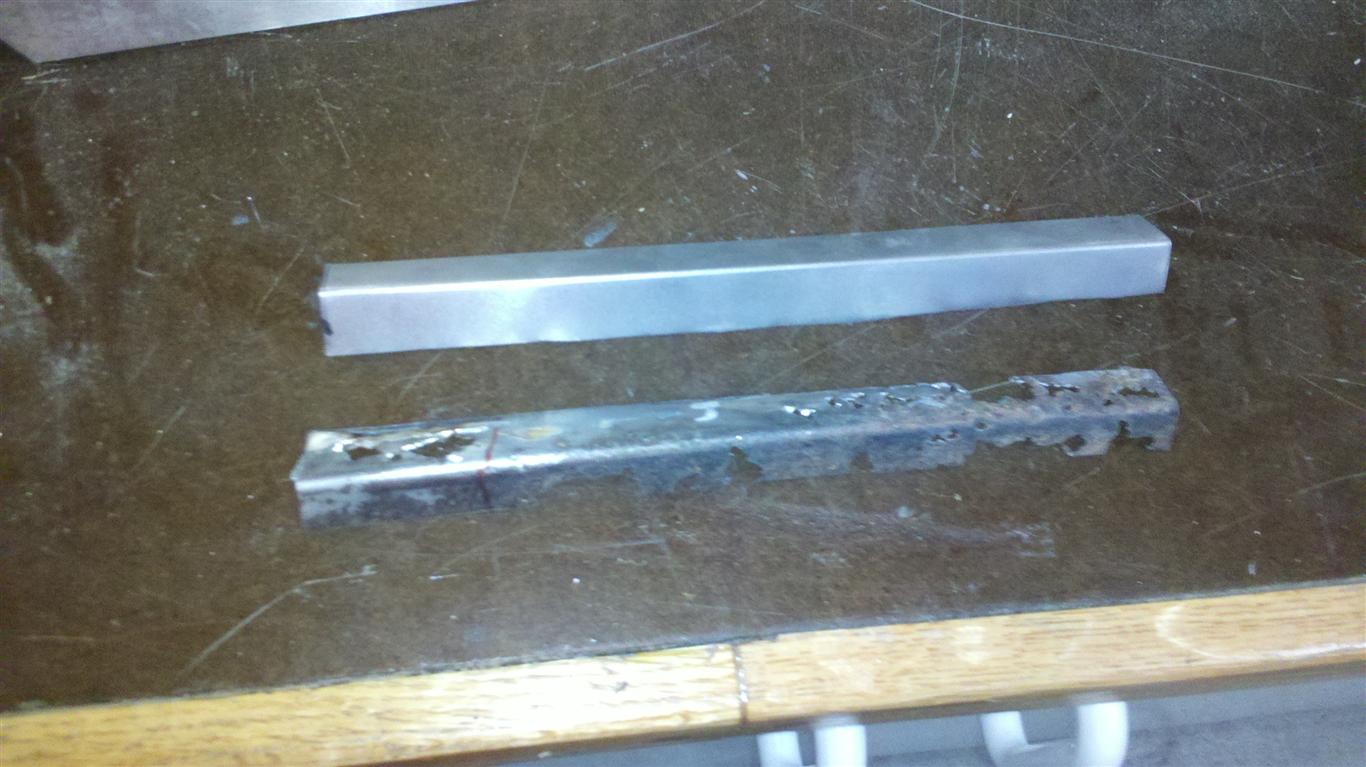
Pop-out Window Bracket Repair
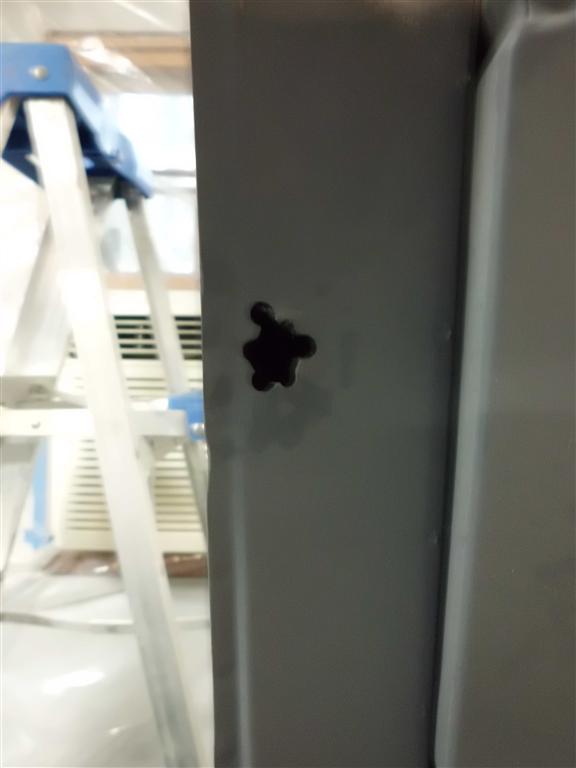
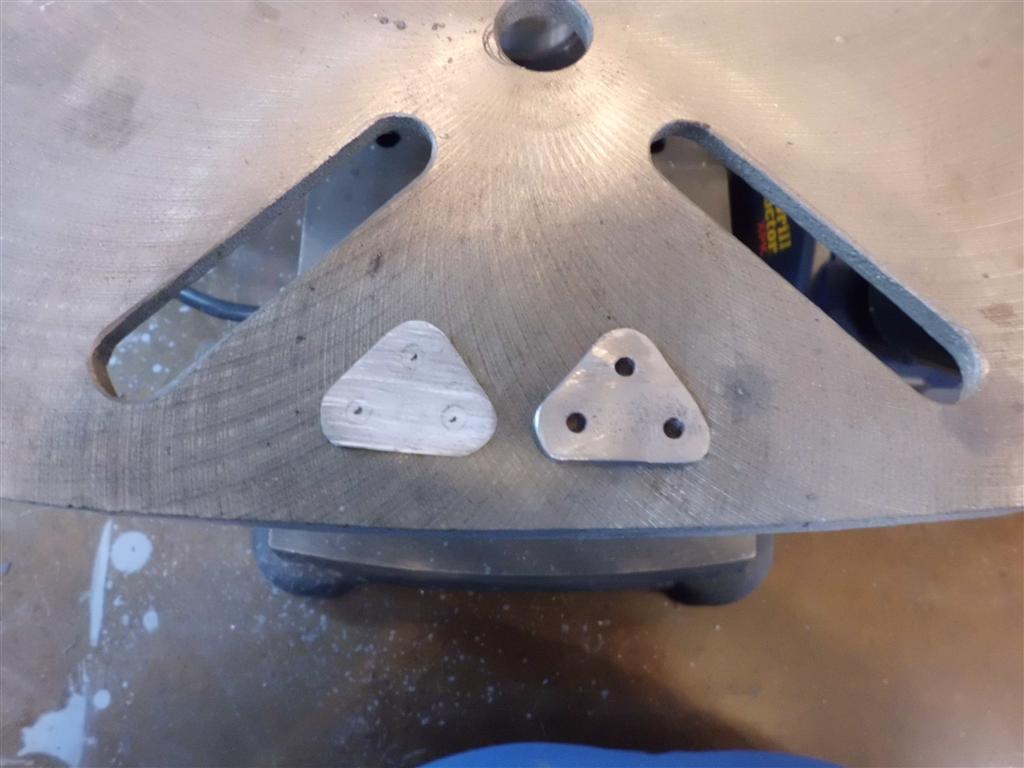
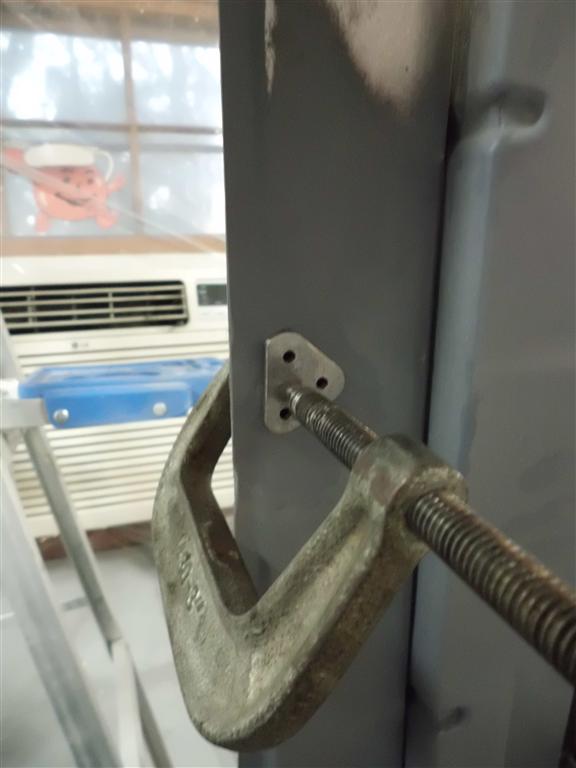
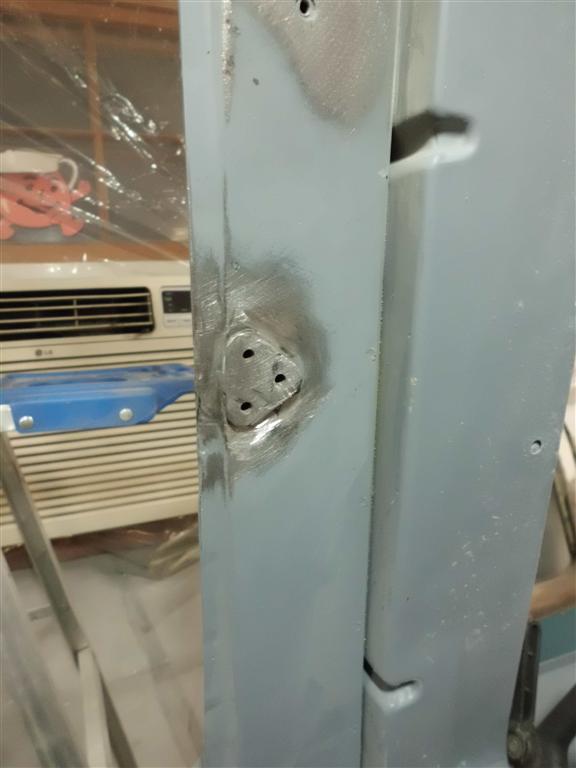
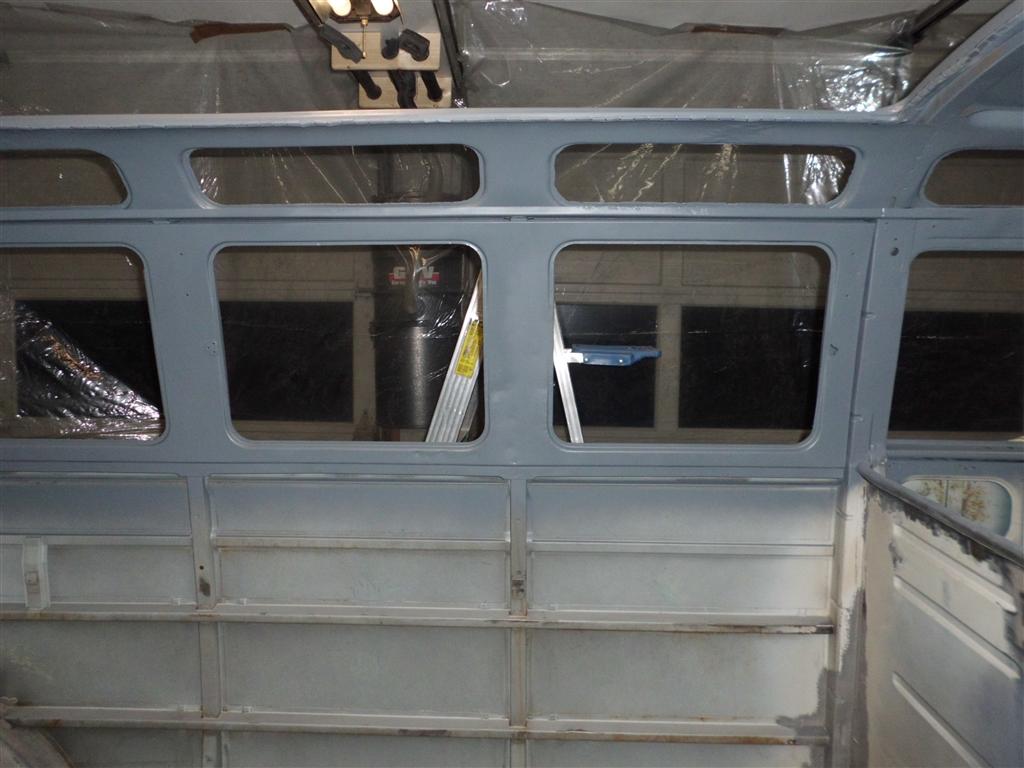
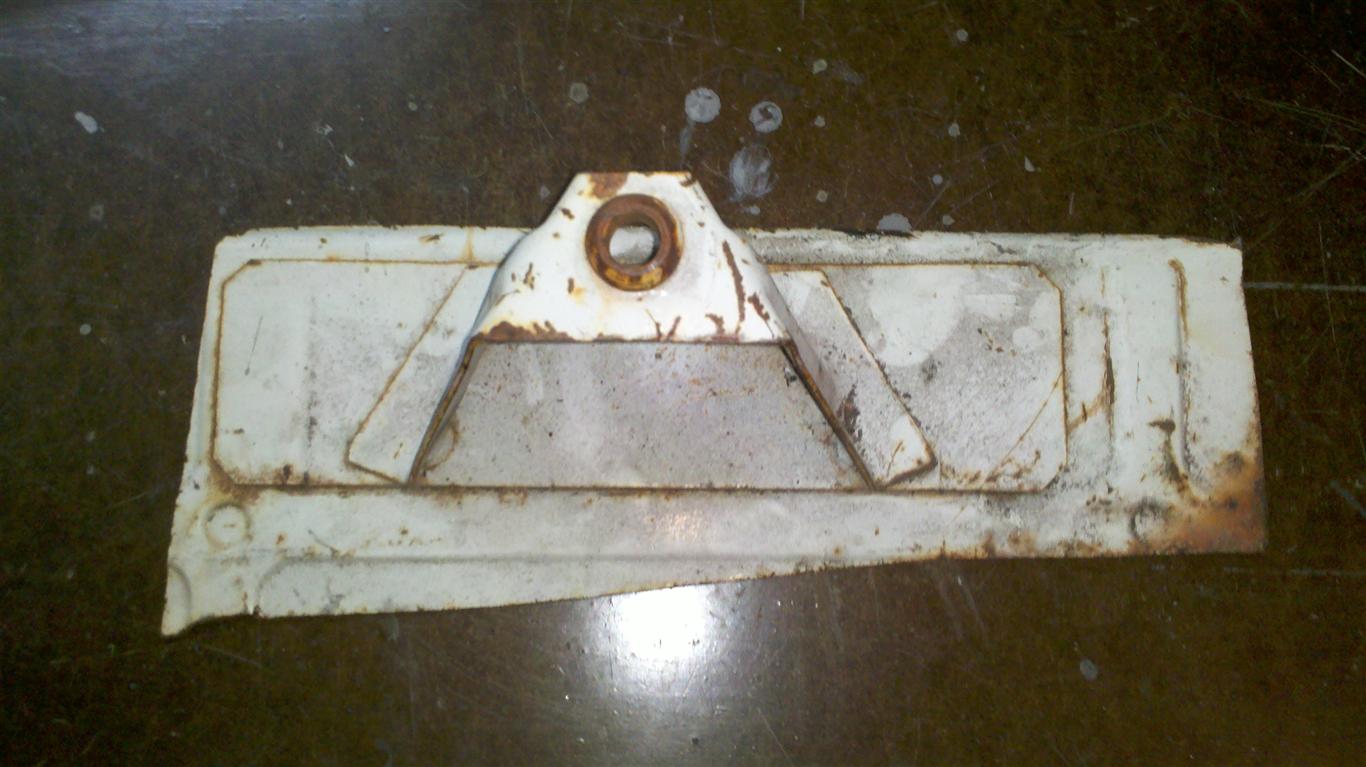
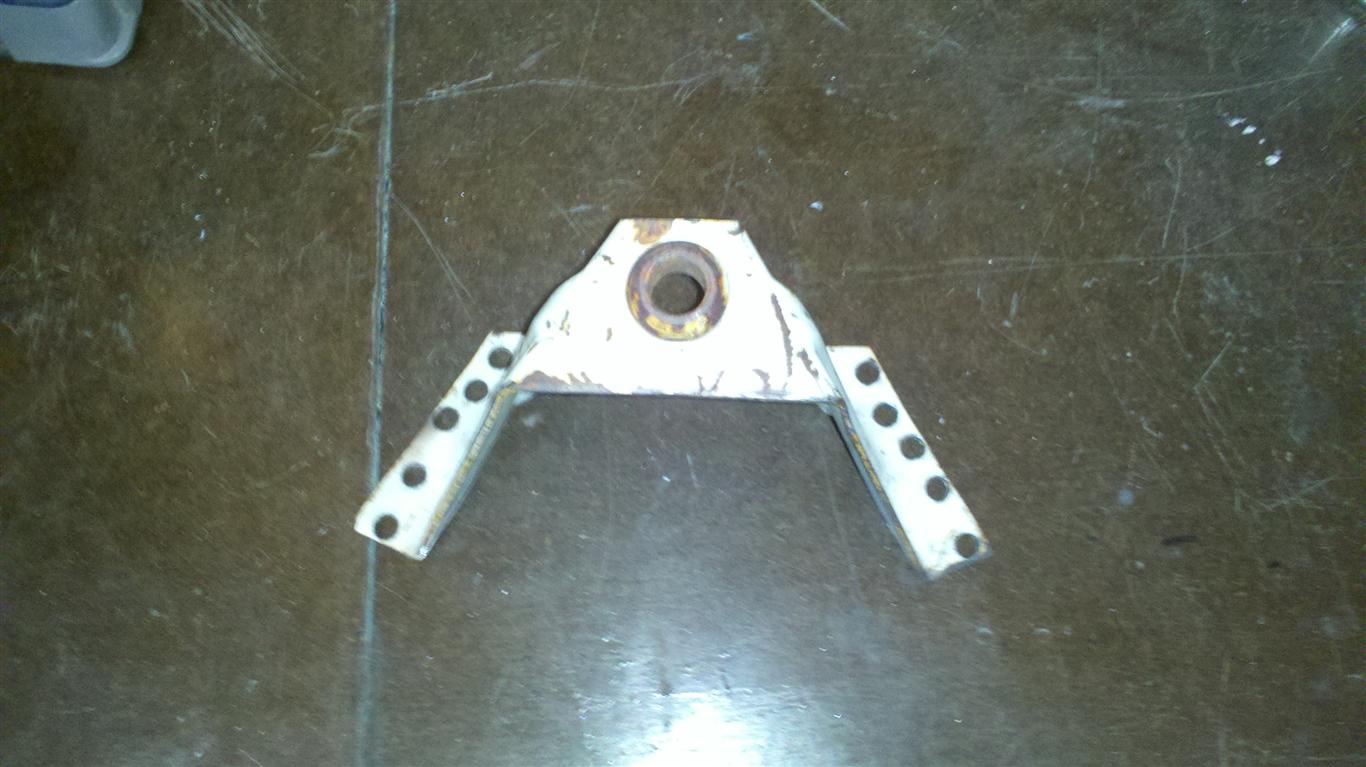
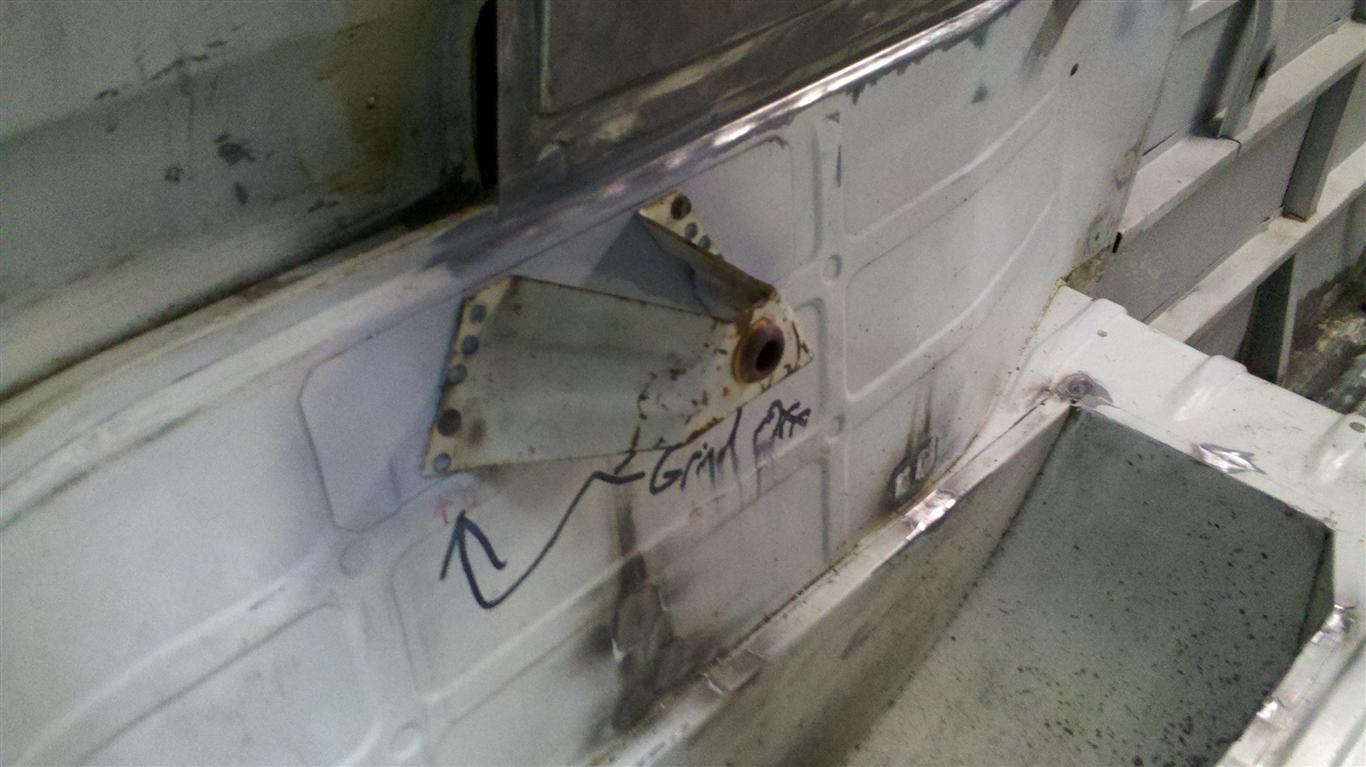
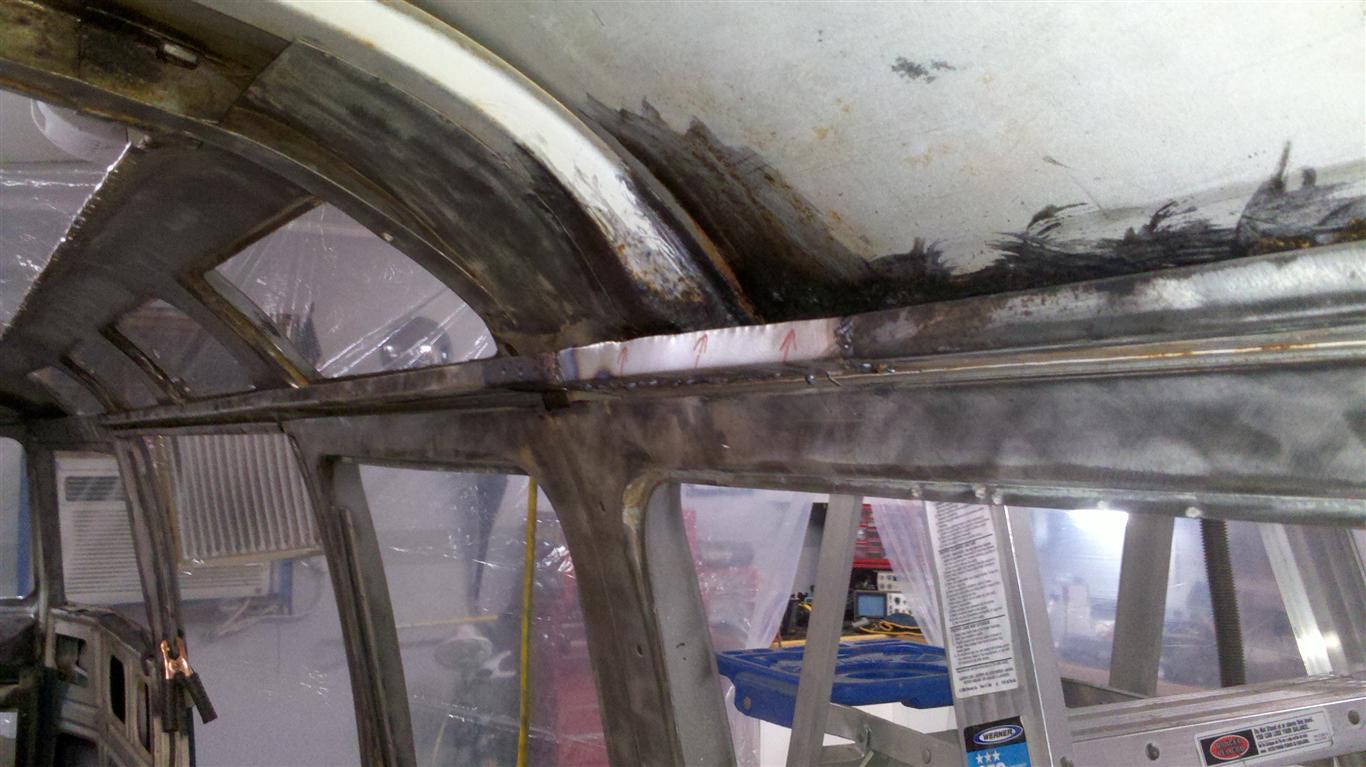
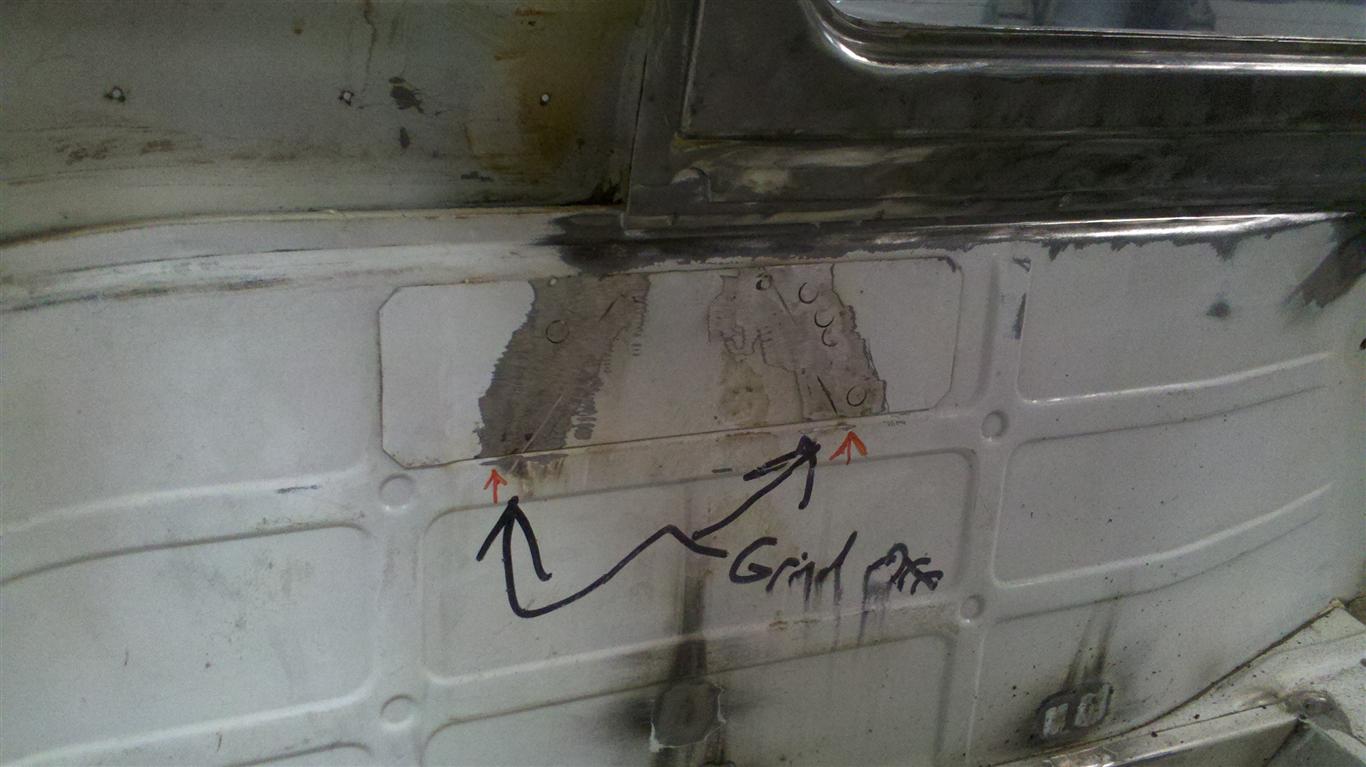
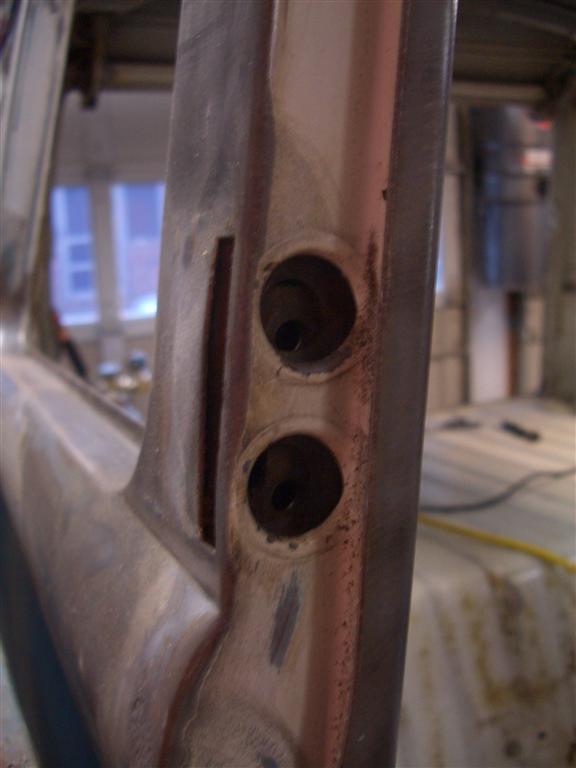
Another part for the “why did they cut that off!?” category. For some reason the pop-out window bracket for the first window behind the driver’s side door had been chopped off. Luckily the same bracket is used on 3 other windows and I was able to create a paper template by rubbing over an existing bracket with pencil/paper. Once the new bracket was shaped, drilled, and tapped it was welded in place. The picture makes the grind marks look deeper & messier than they actually are; after the next primer coat the new bracket should look as good as the factory brackets.

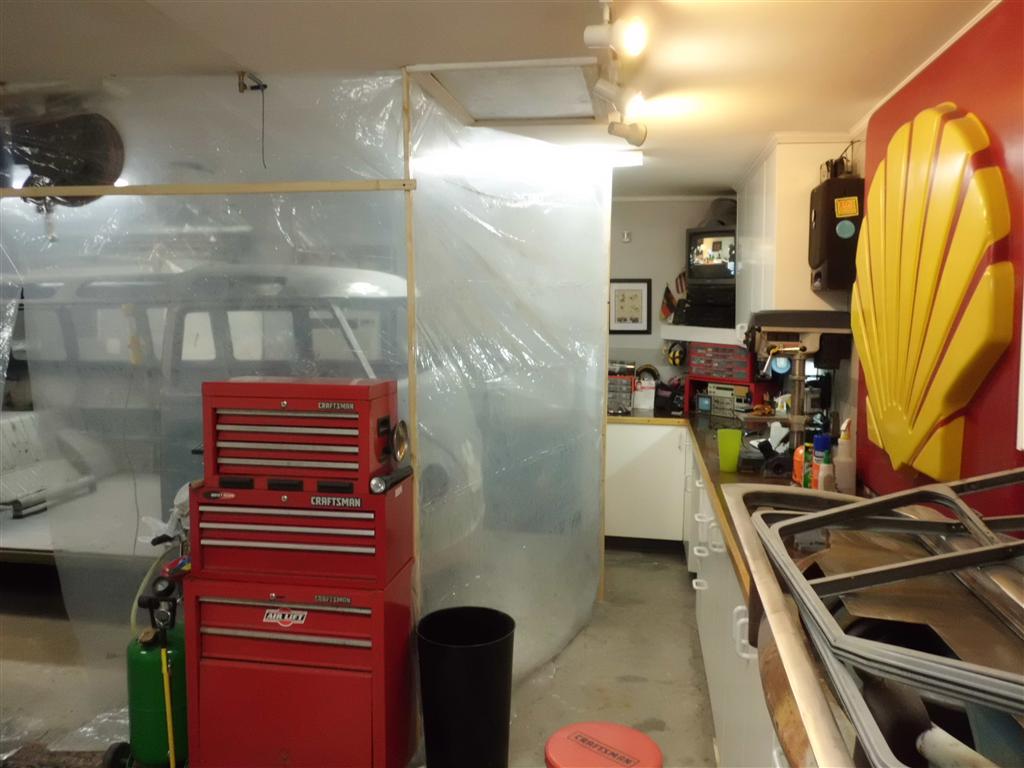
Bus Bubble v2.0
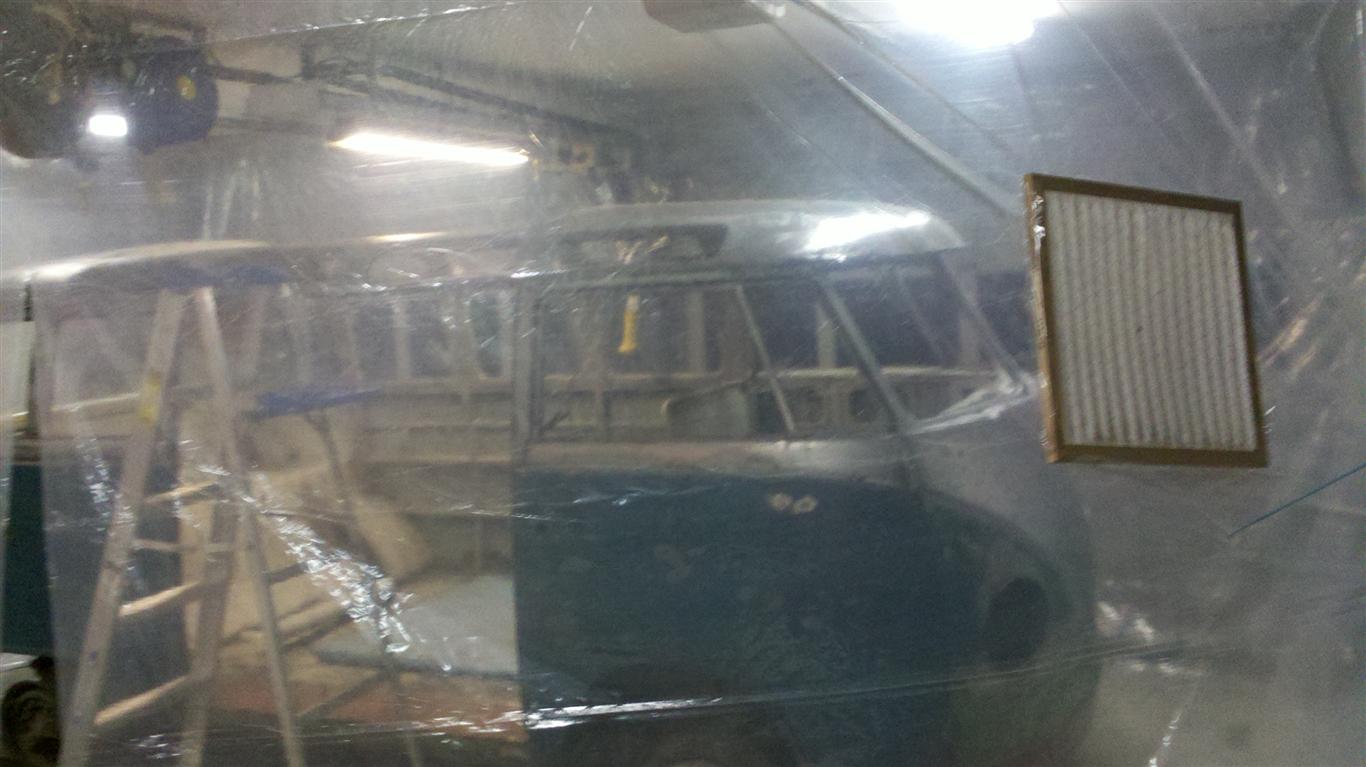
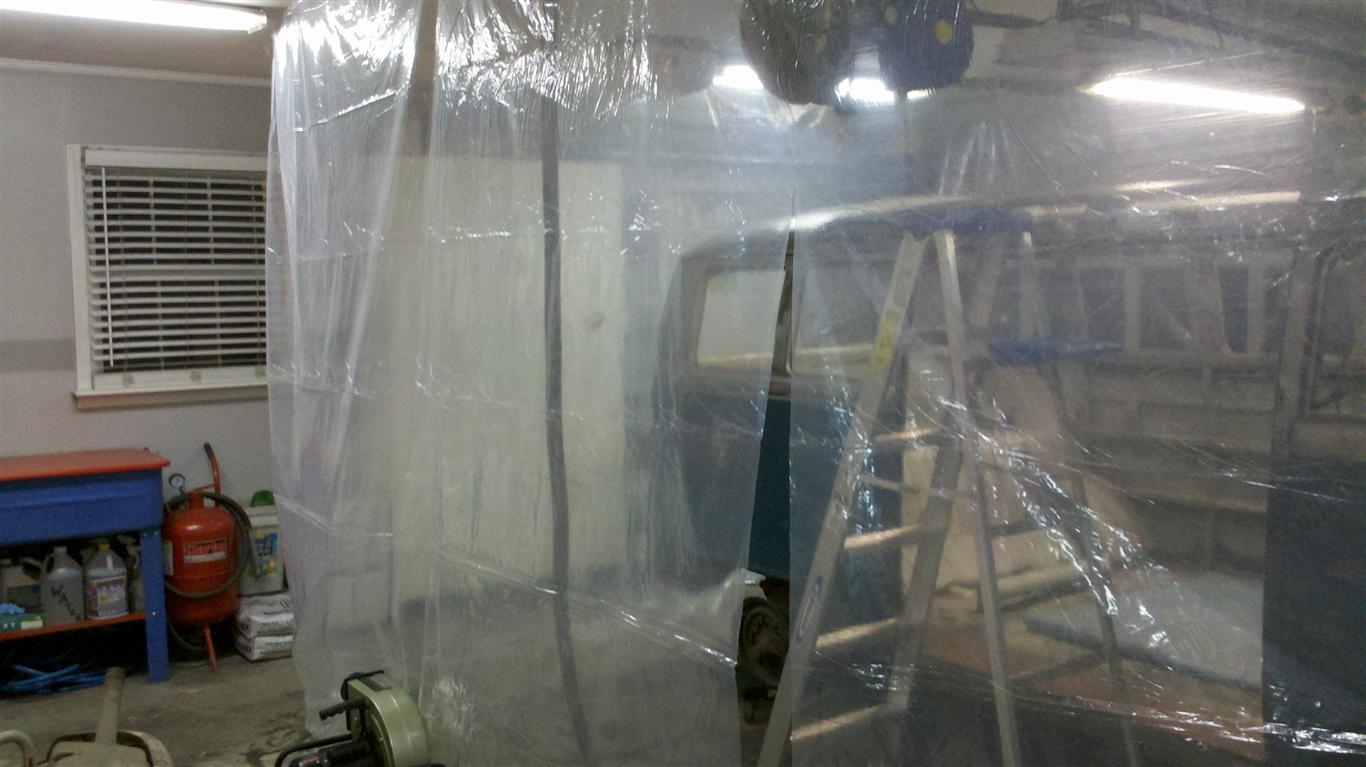
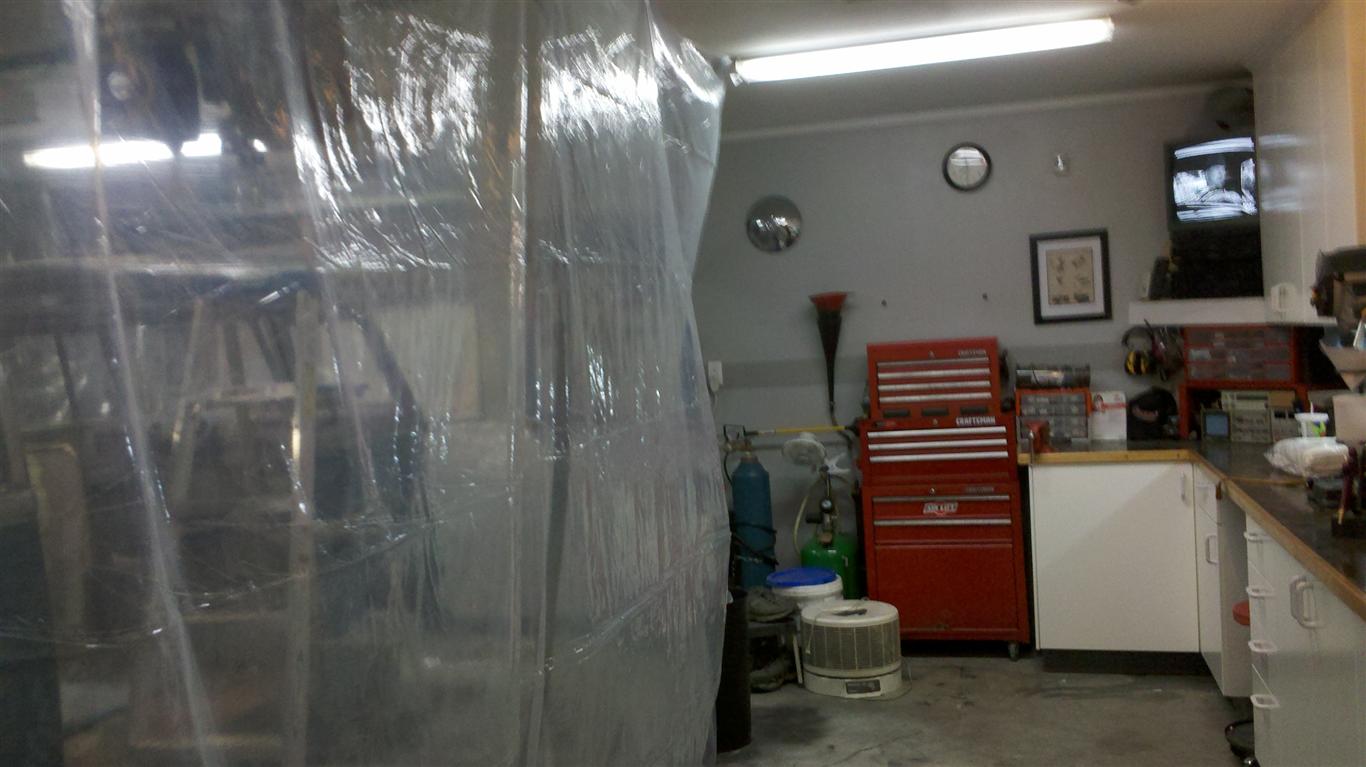
The bus was moved 90 degrees again to the other garage bay. The original bus bubble worked well but had the disadvantage of blocking both garage bays. The new-and-improved version only takes up one bay while staying roughly the same size inside. Structure was also added at key points to prevent the sides from sucking in too much when the exhaust fan is turned on.

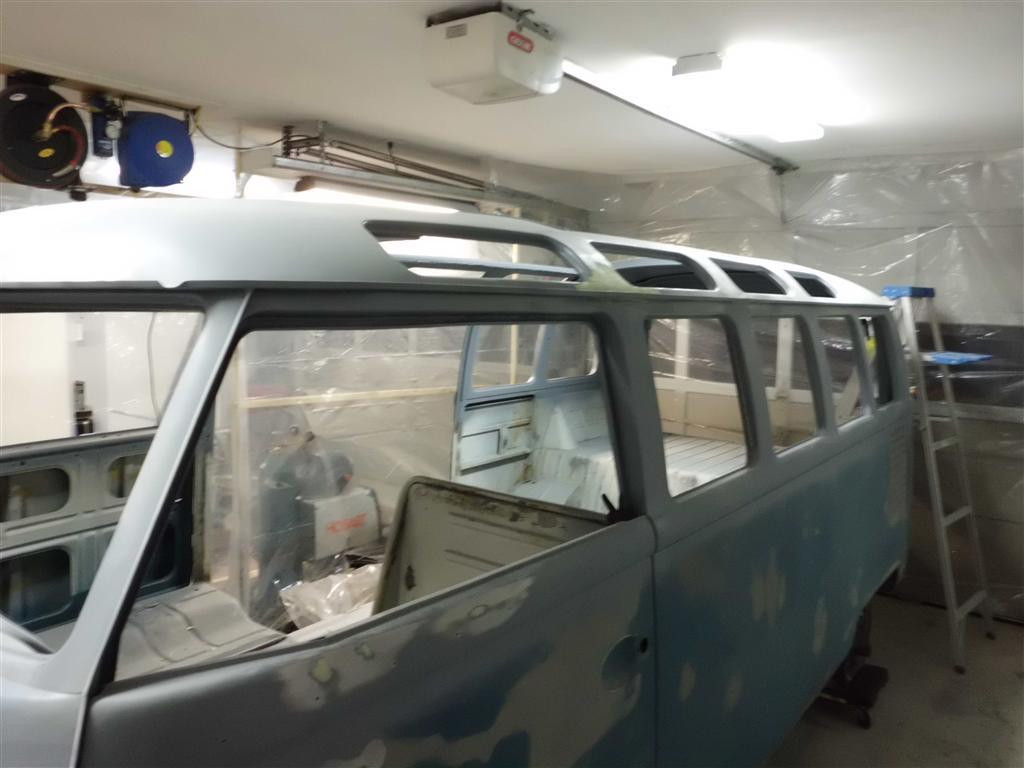
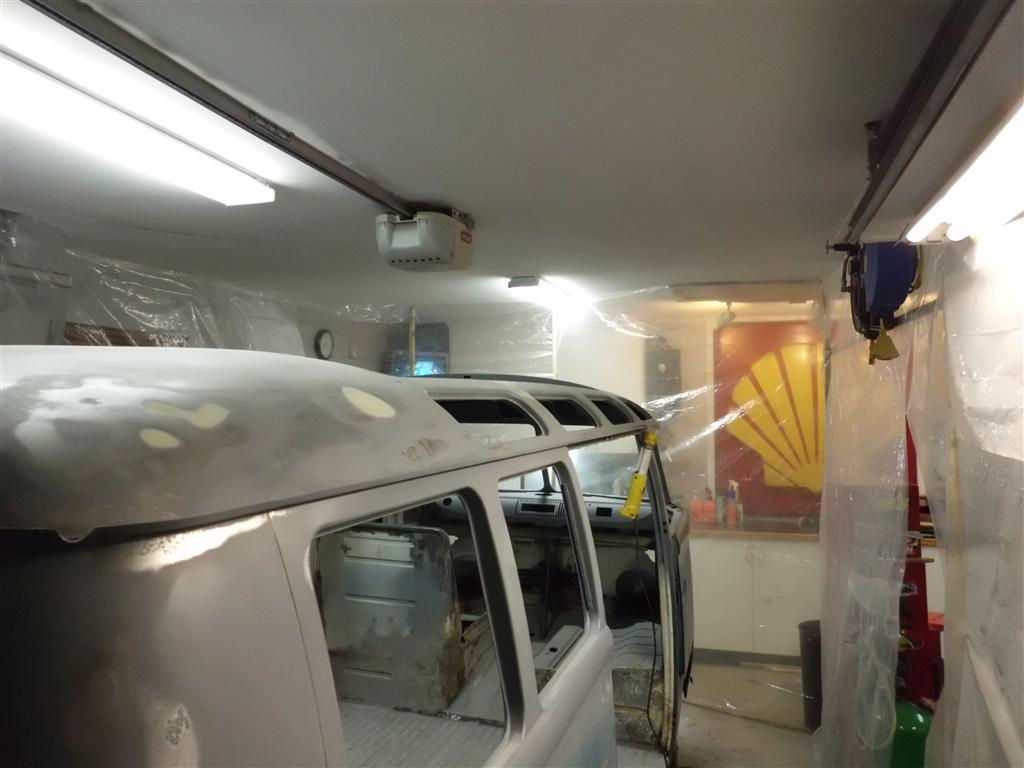
Primer!
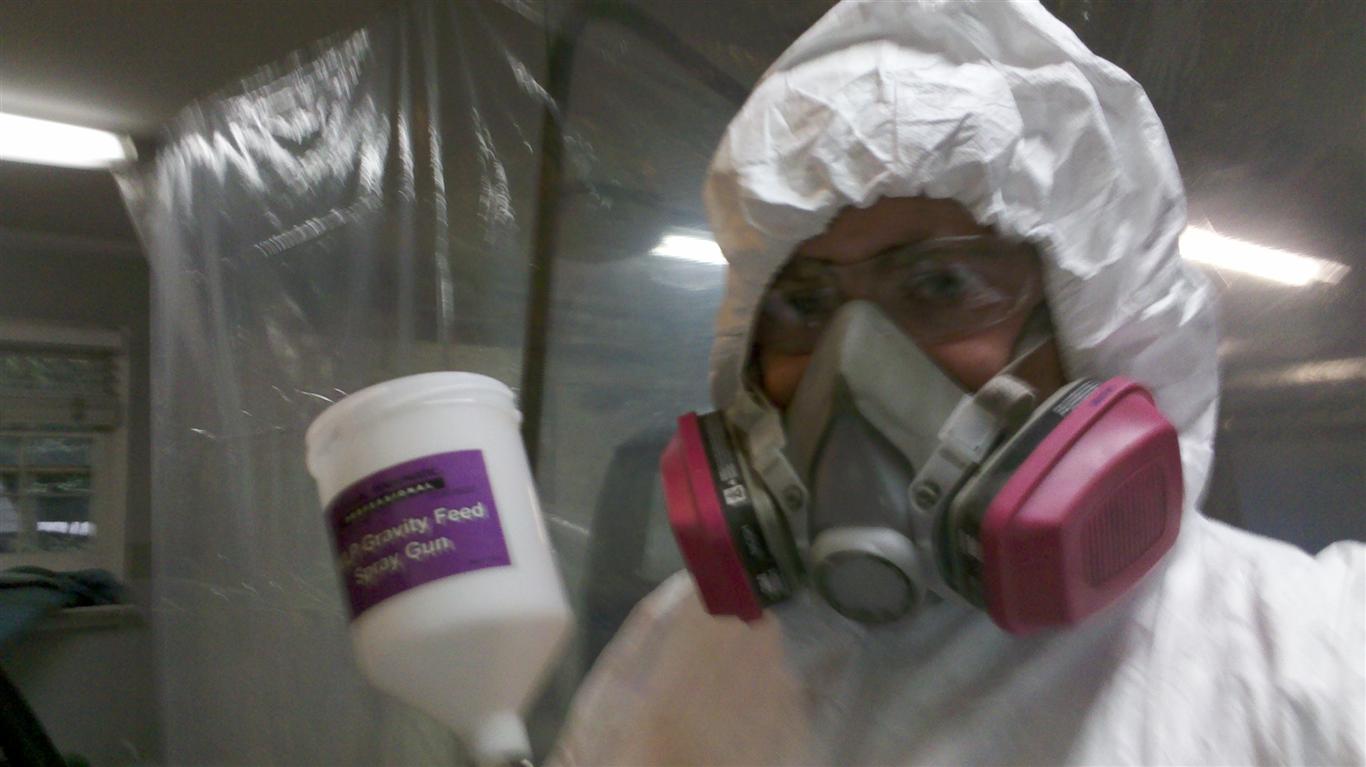
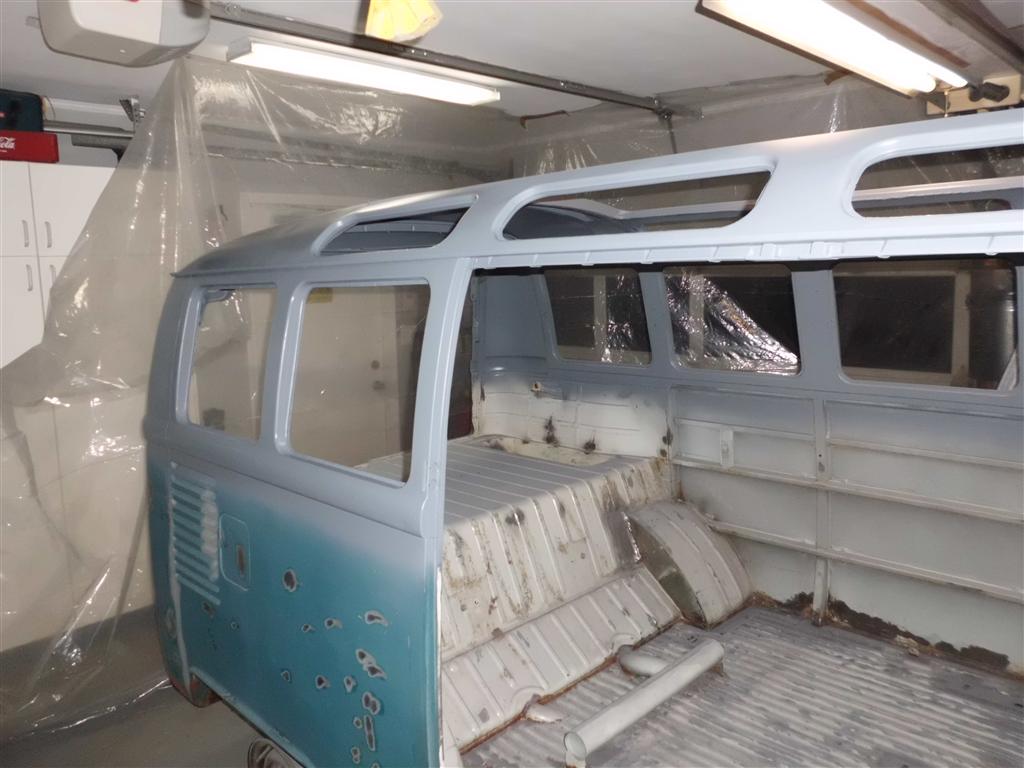
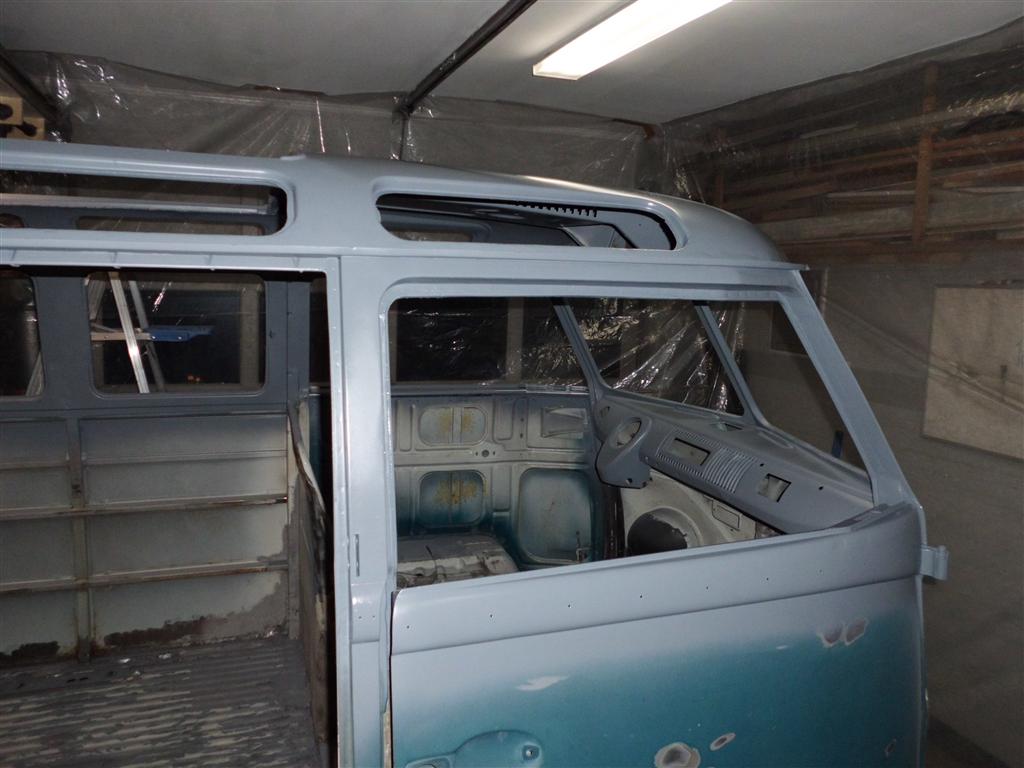
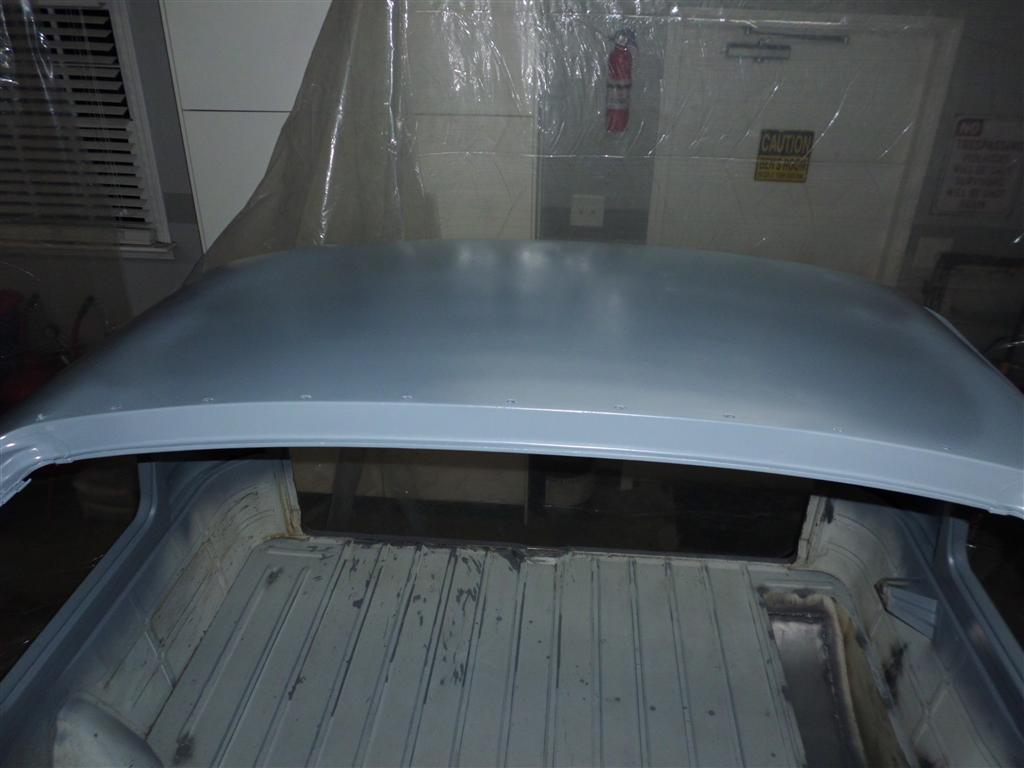
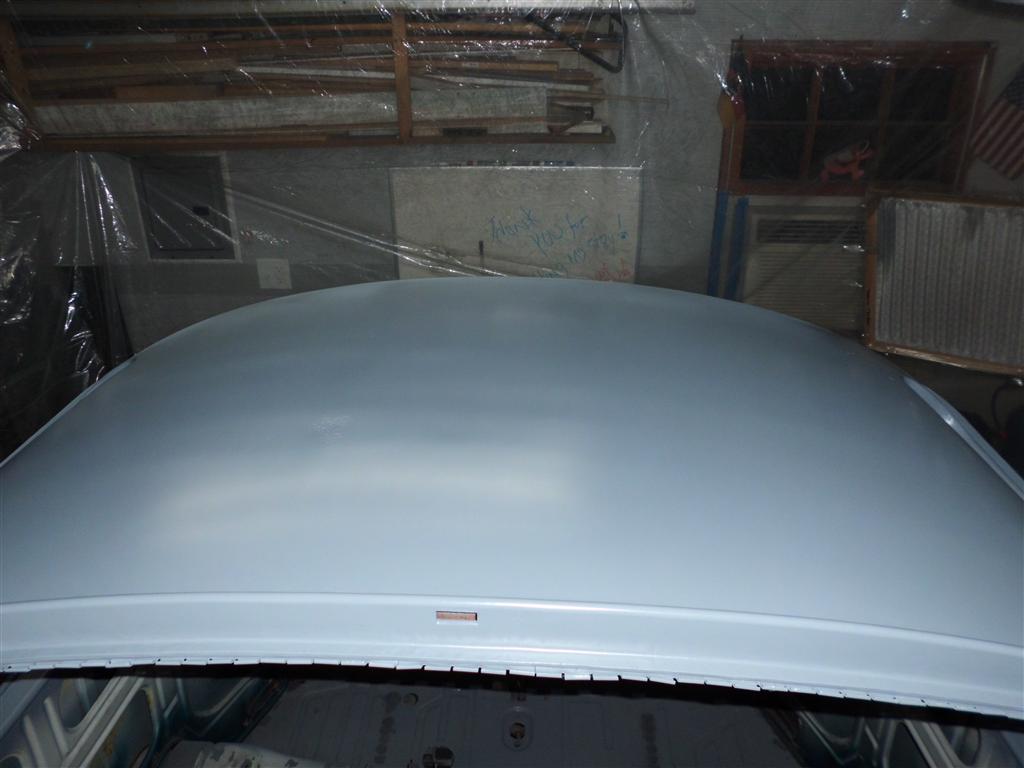
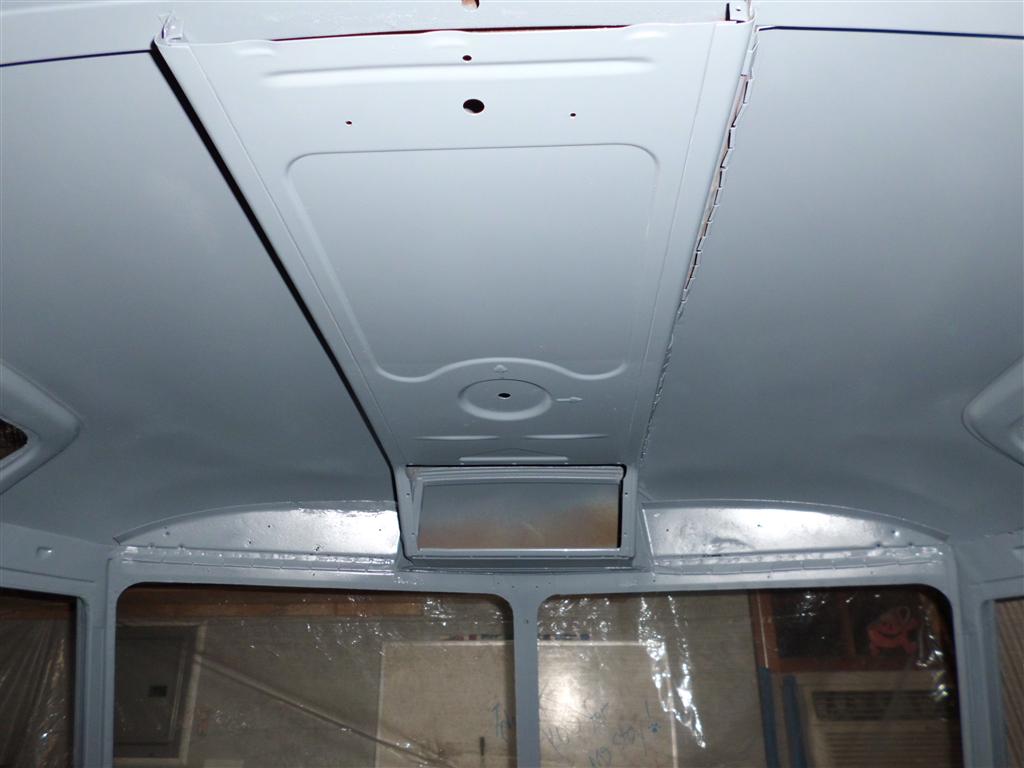
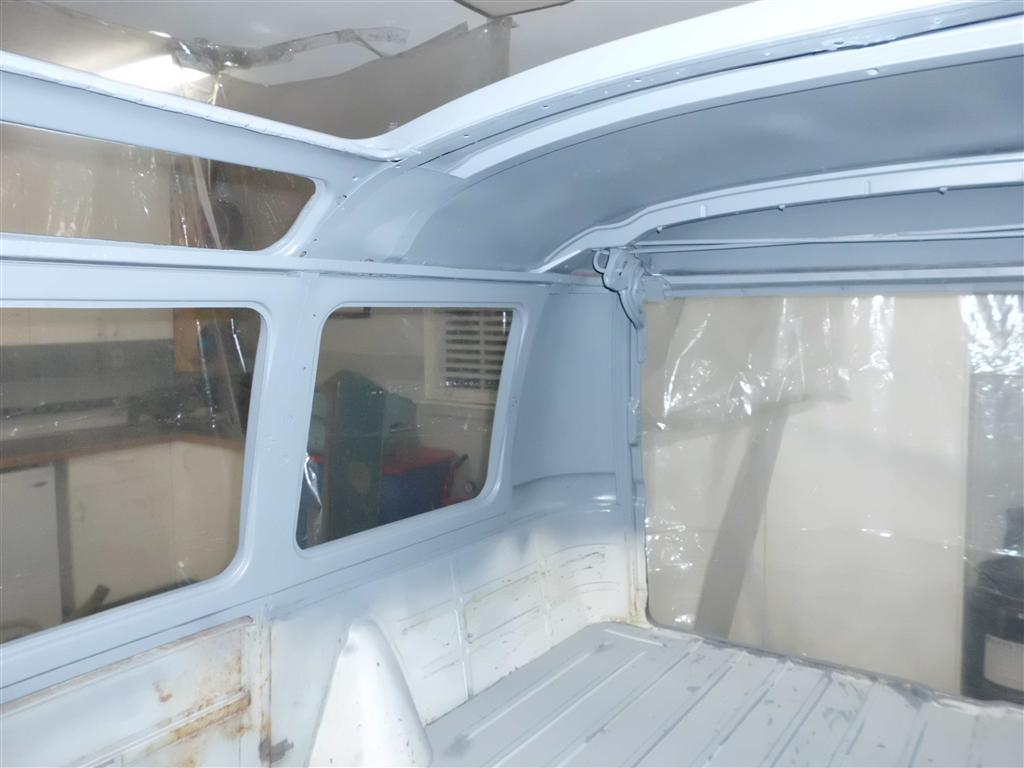
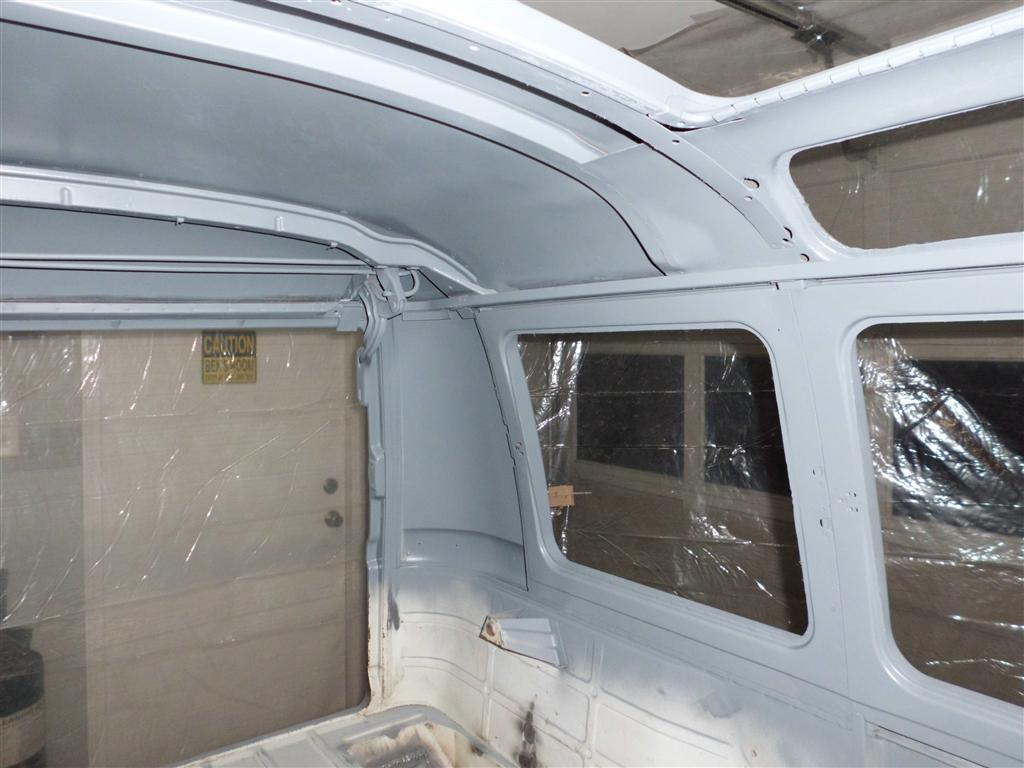
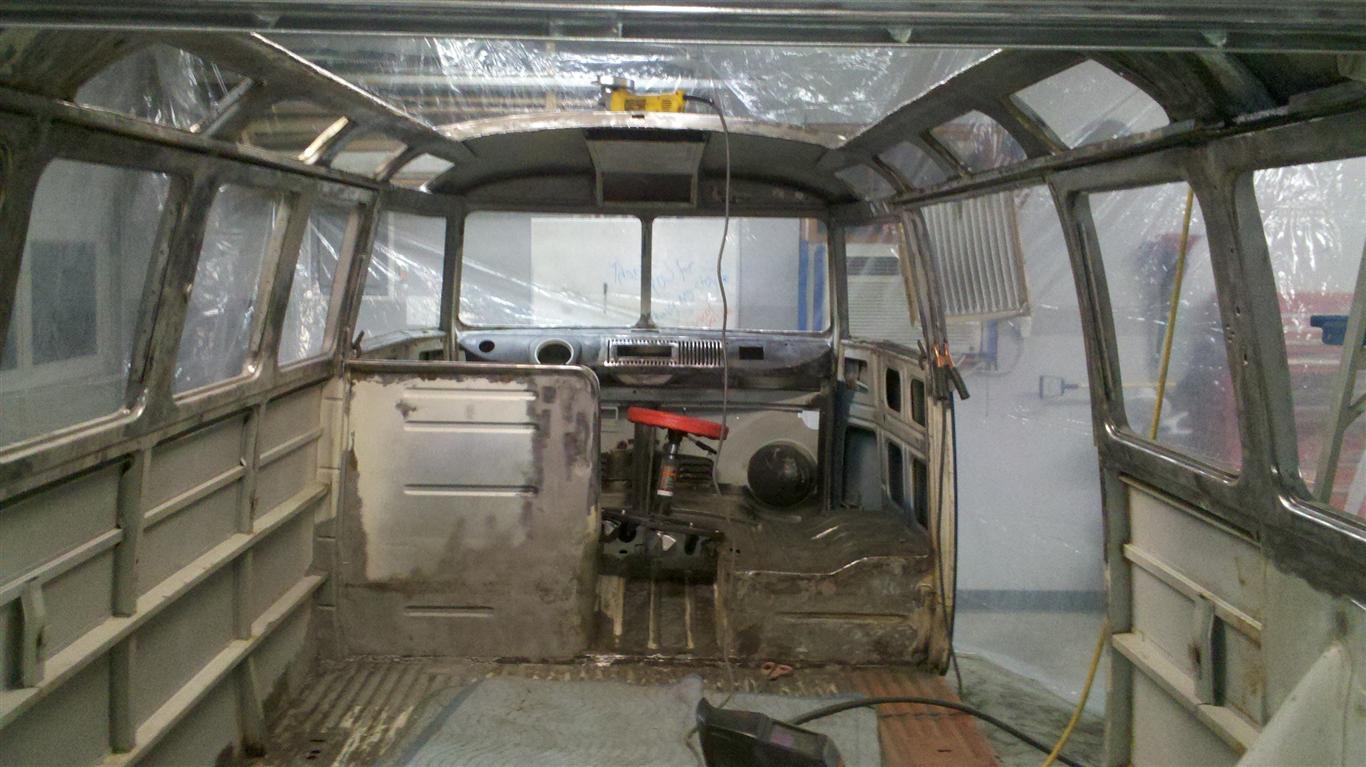
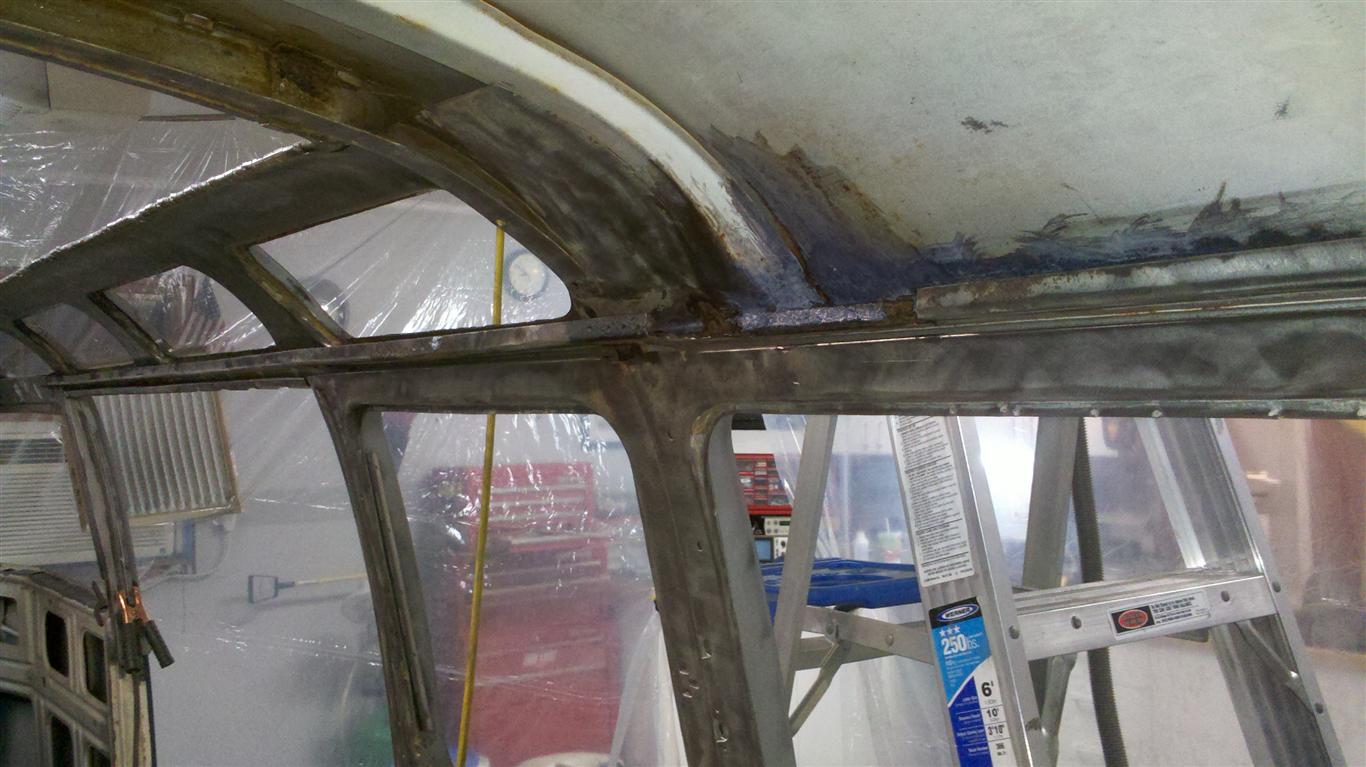
For the first time in this project something new is going onto the bus rather than coming off. (patch metal doesn’t count) Everything inside & out above the trim line was coated with epoxy primer. The epoxy primer creates a barrier between the bare metal and the surfacing layers and topcoats that will follow. Despite careful cleaning and tack cloth usage a good bit of lint/trash ended up embedded in the epoxy. This contamination was caused by the roughness of the bare metal pulling lint off of the cleaning clothes; since the epoxy is smooth this shouldn’t be a problem with the remaining coats.


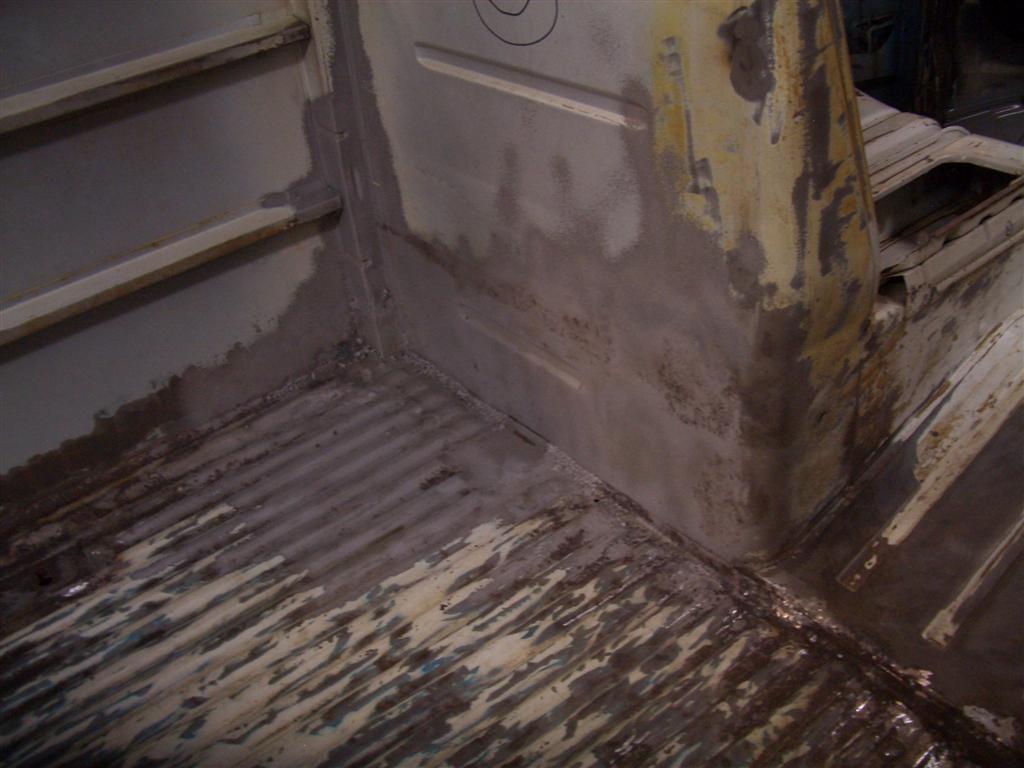
Spare Tire Bracket Installed
At some point in the bus’s past most of the spare tire bracket was removed, leaving only about 1/4in of the original bracket. A donor bracket was located and after a bit of prep work it was welded onto the left rear cargo wall. The position of the remains of the original bracket were used as a guide.
Miscellaneous Metal Repair
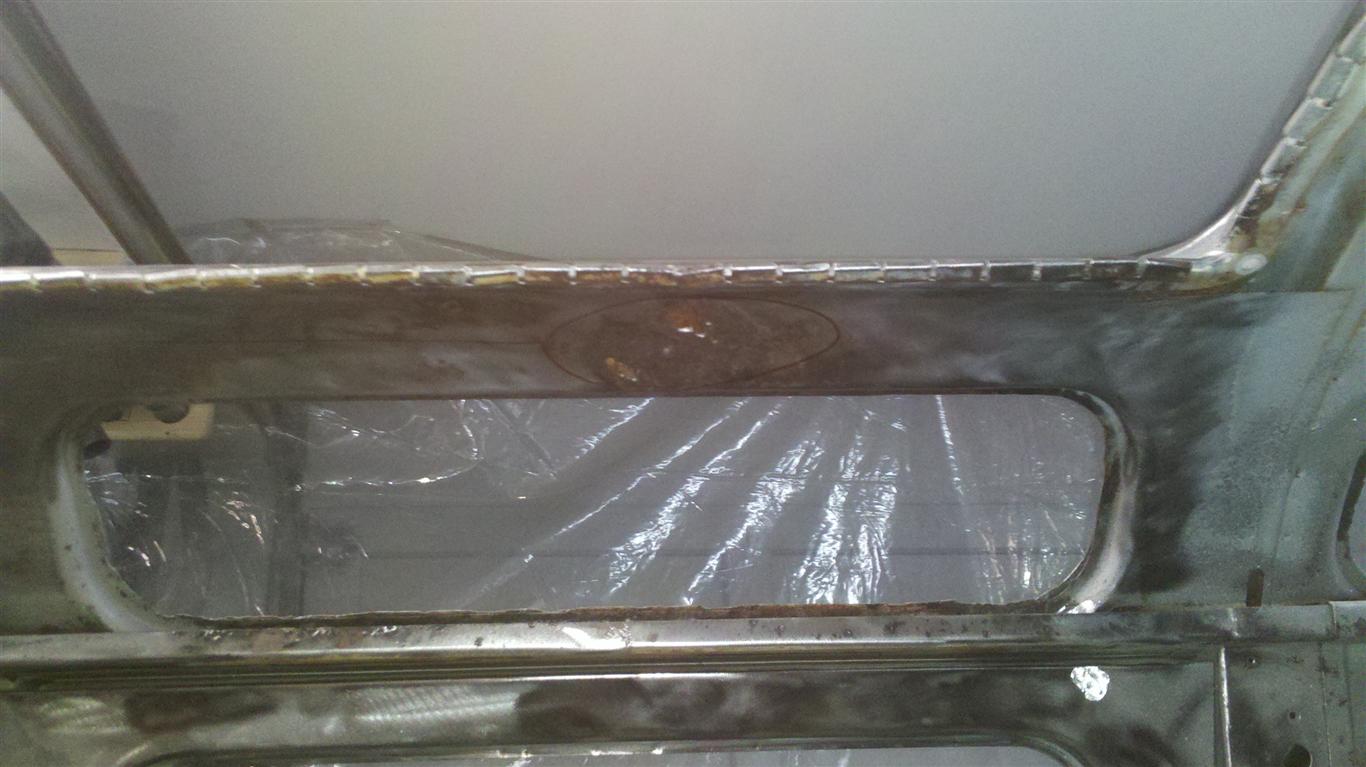
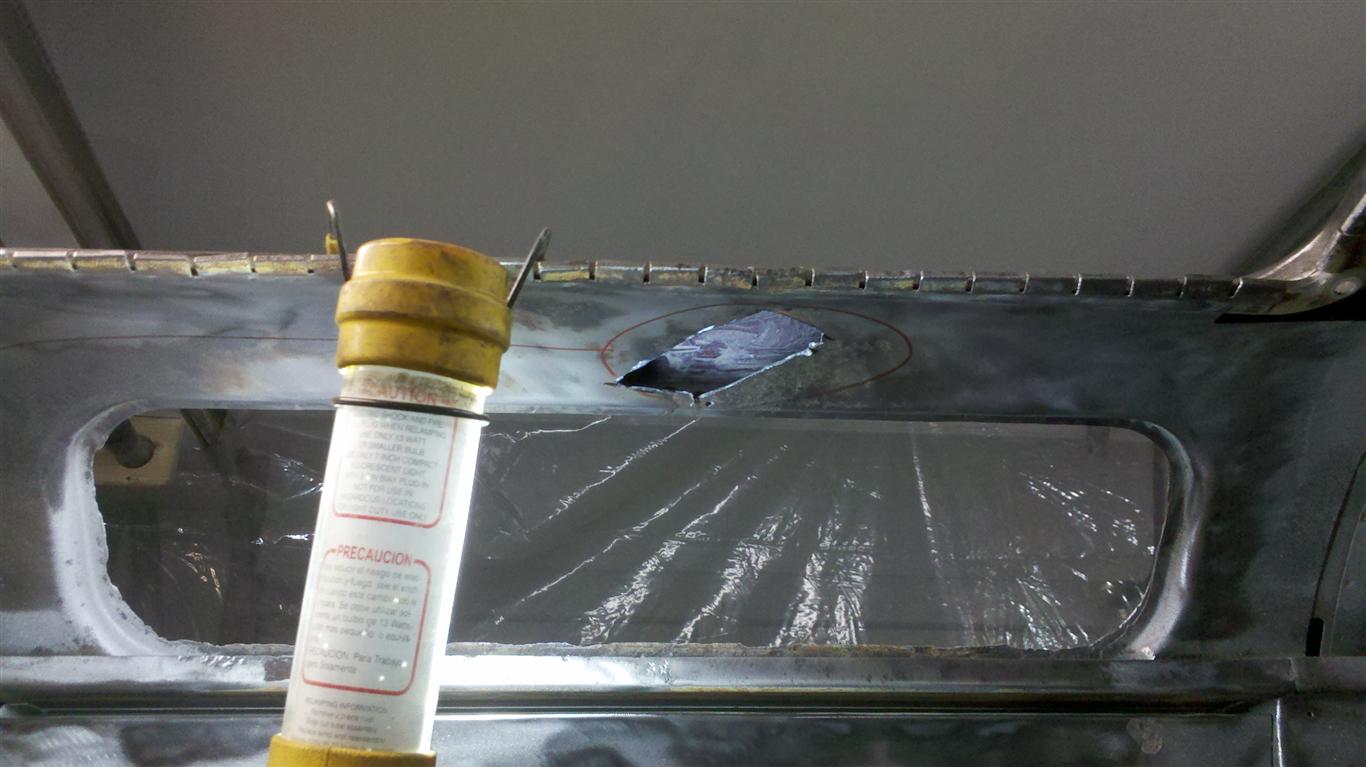
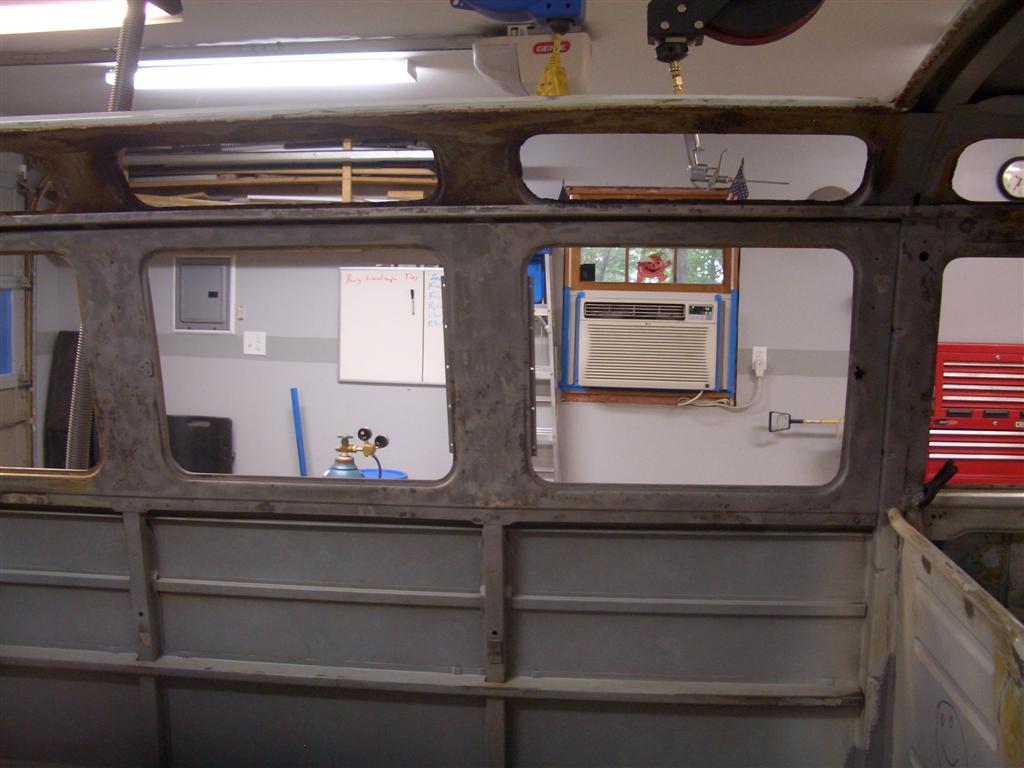
Paint has been mostly stripped from above the trim line. The wire wheel found a few previously unnoticed weak spots which were repaired. The remaining pieces of the spare tire mount were carefully removed in preparation for a replacement that’s on the way.

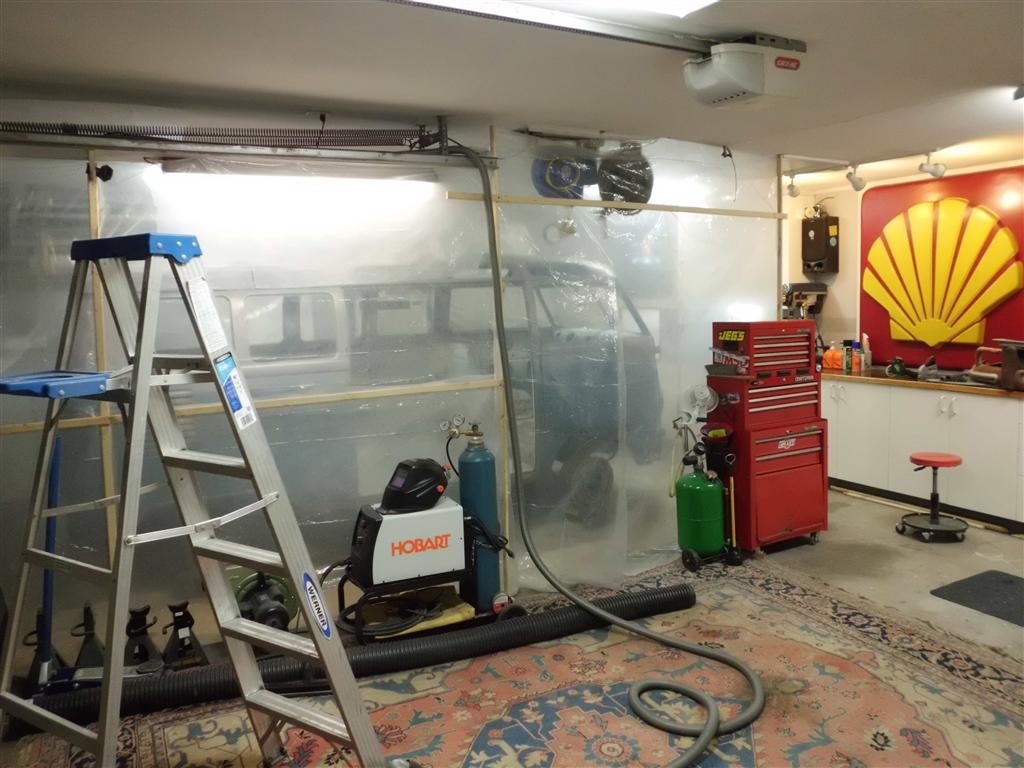
Bus Bubble Created
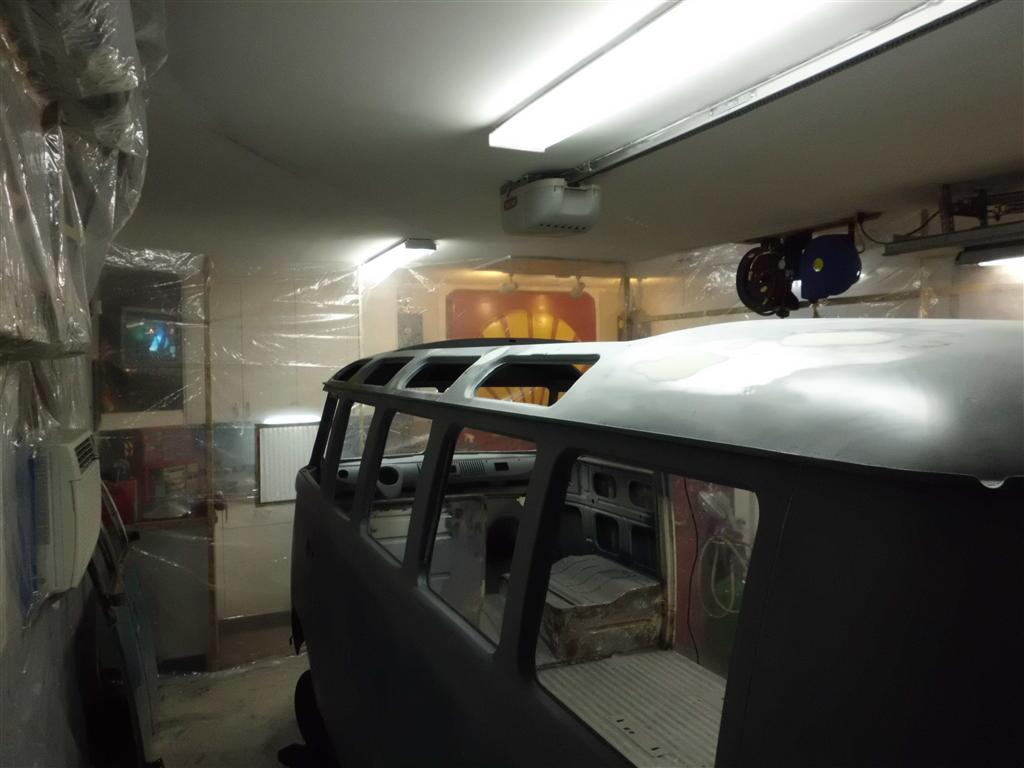
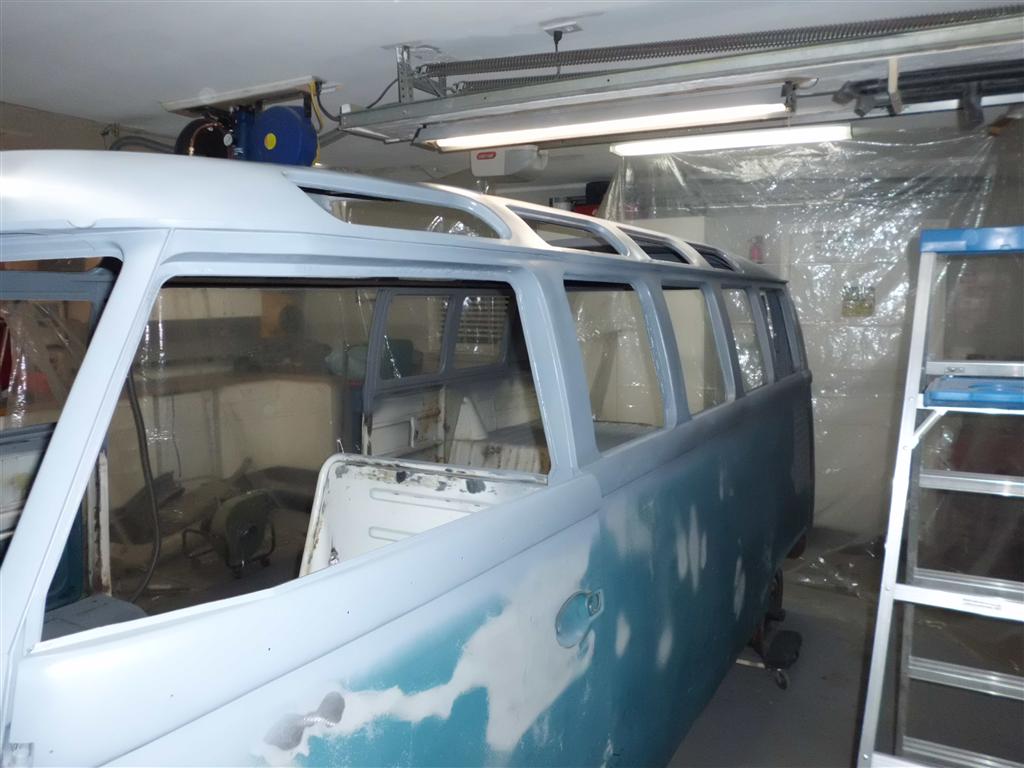
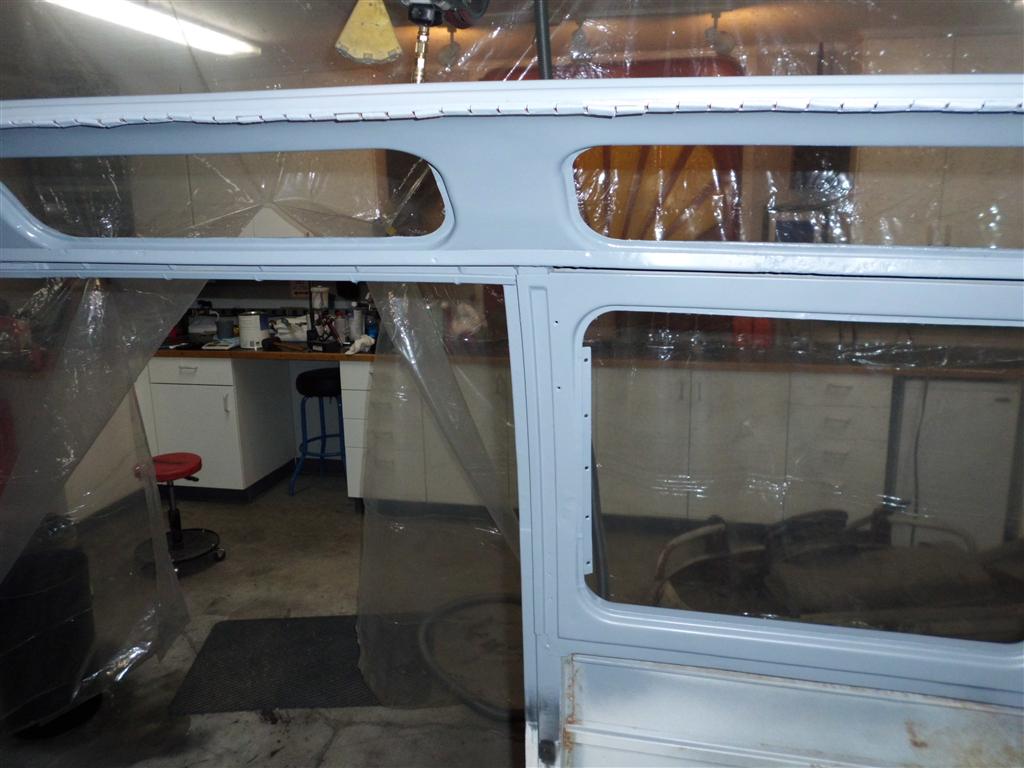
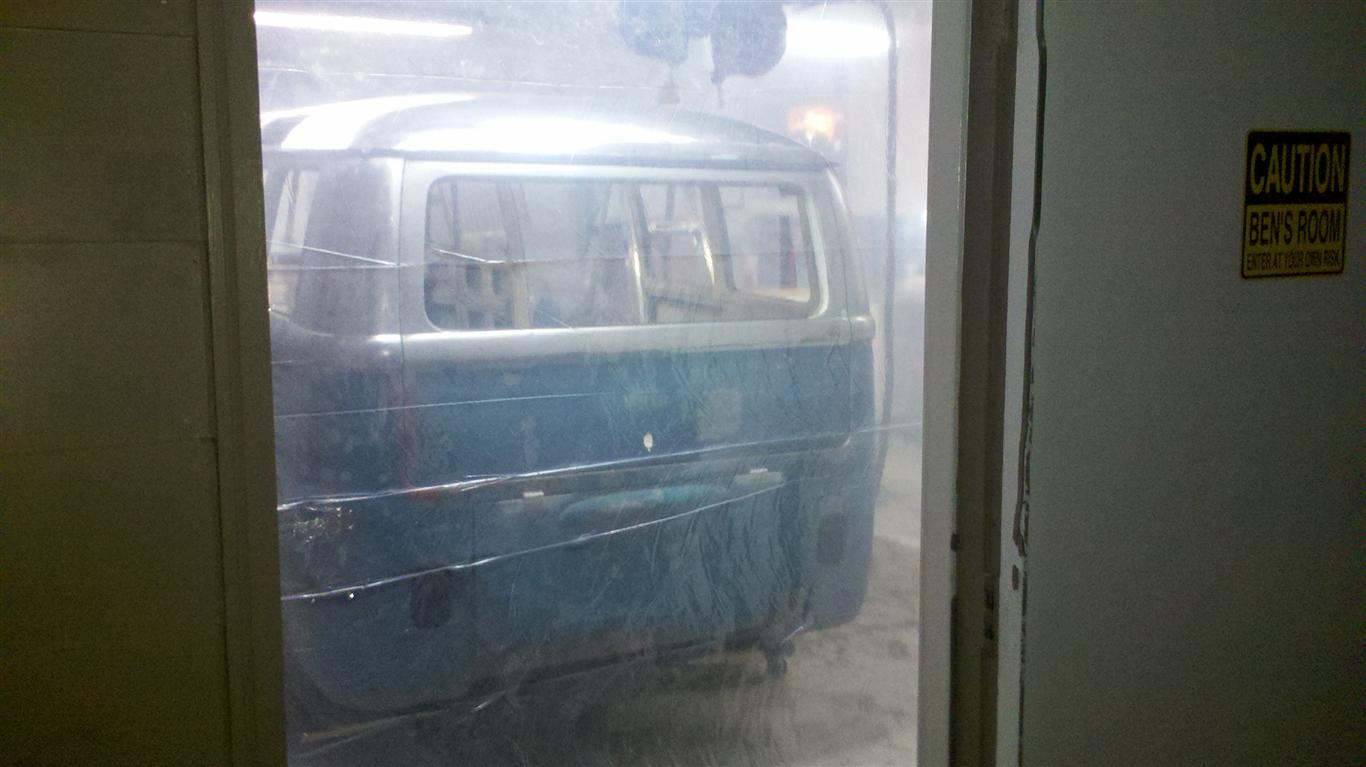
A plastic room has been built around the bus to control dust while the remaining paint is stripped and to control overspray during primering.
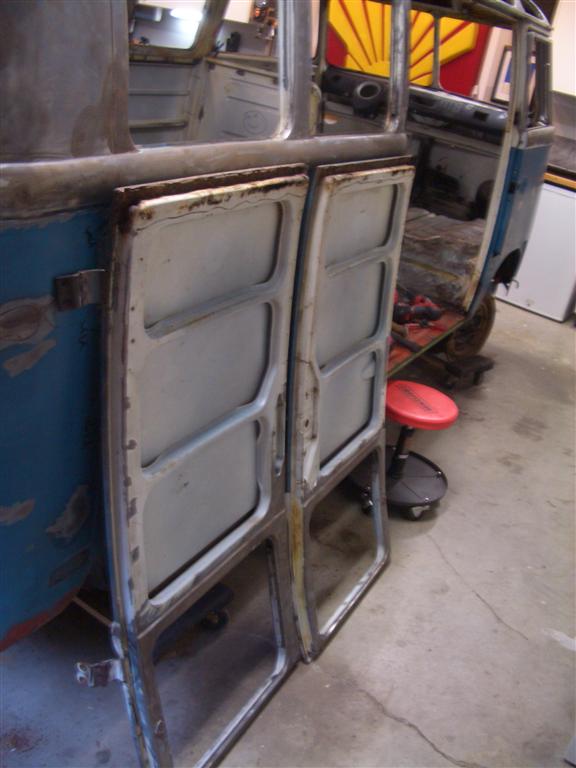
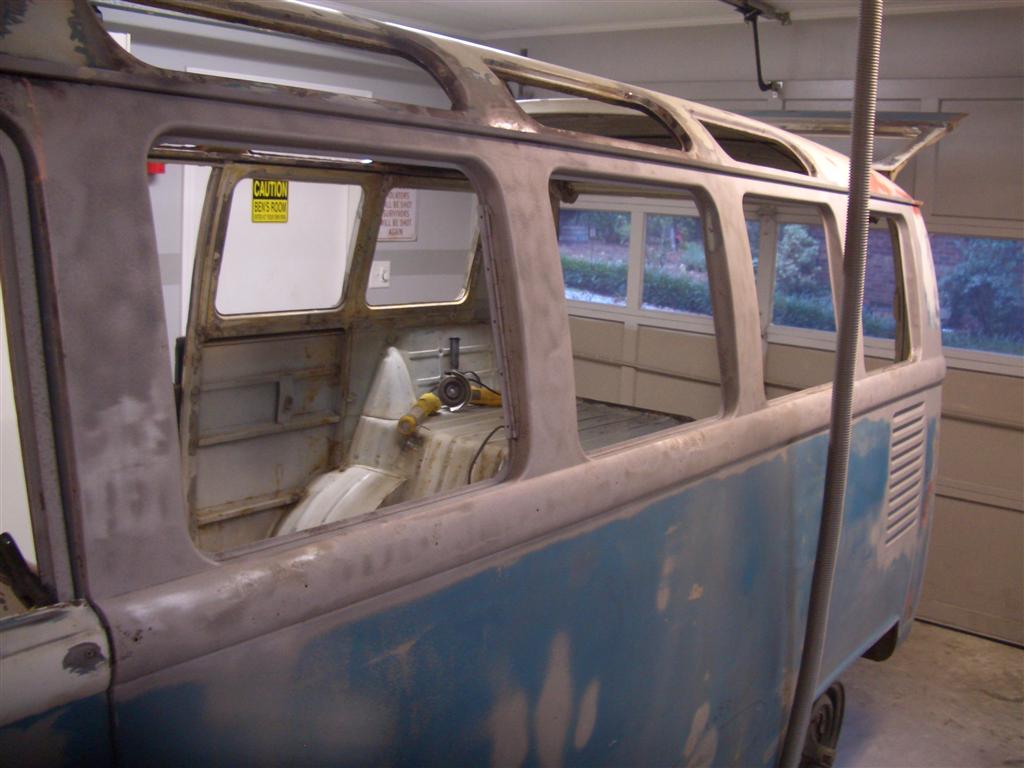
Cargo door removal, Spare tire well patch, and window sandblasting
The 8 large Phillips head bolts holding on the cargo doors were removed after much heating, hammering, and some cutting. The cargo doors were removed and a patch was created/installed for the floor of the spare tire well. All window frames were then sandblasted and nearly all paint stripped from the inside/outside of everything above the trim line.
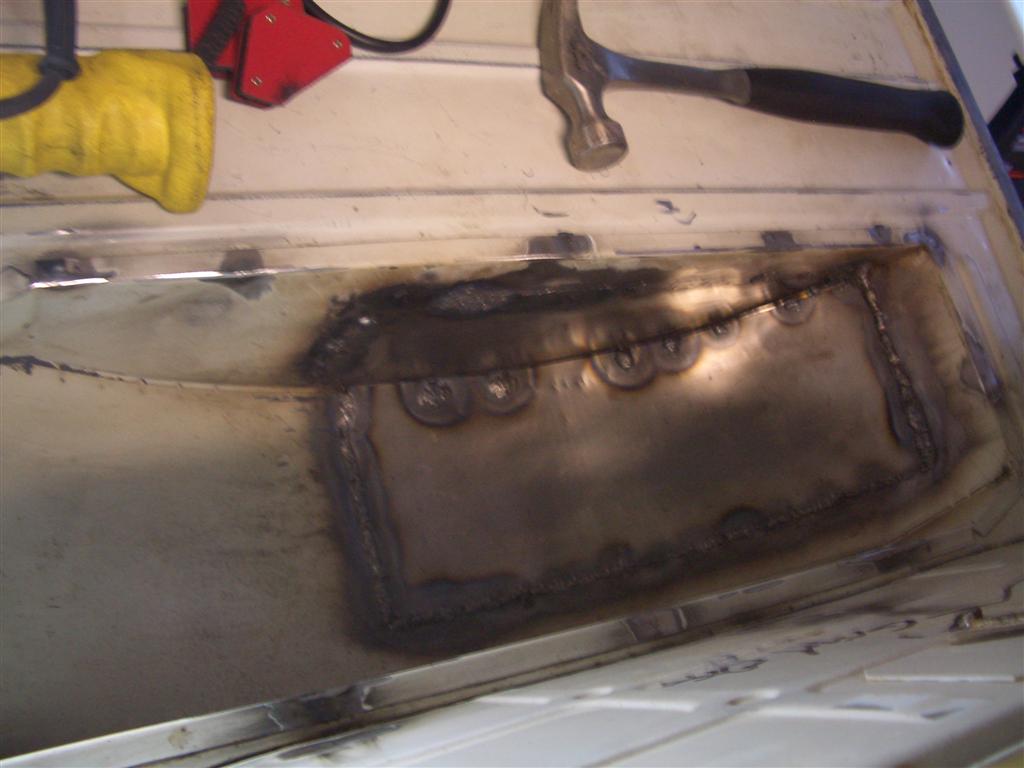

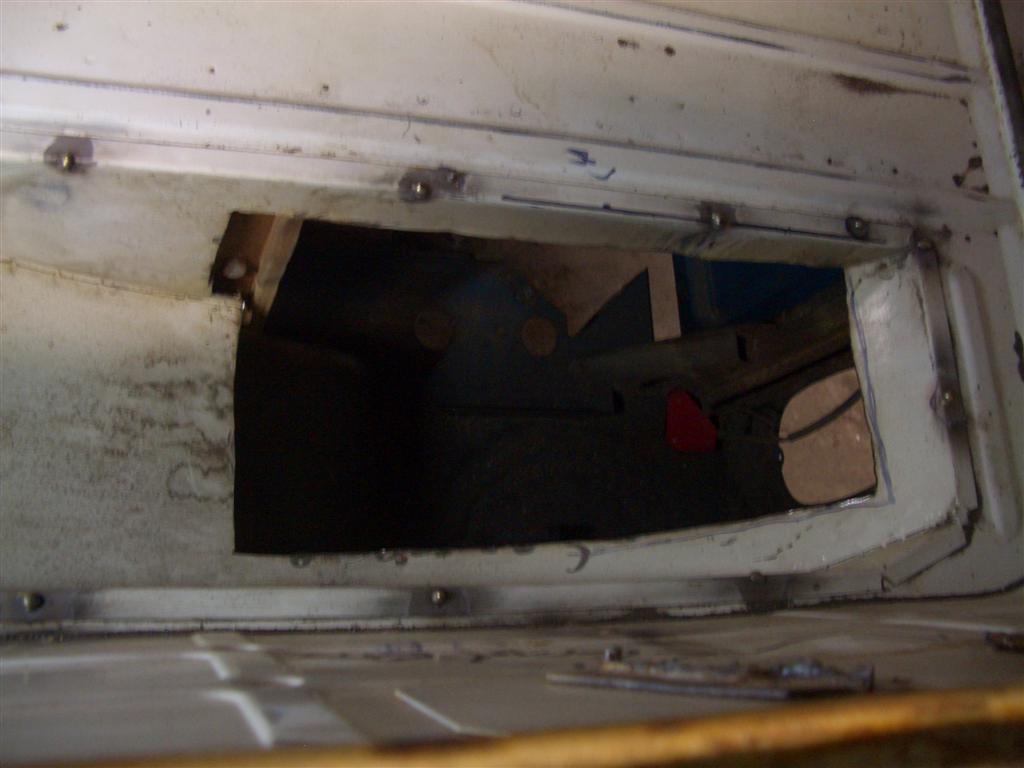
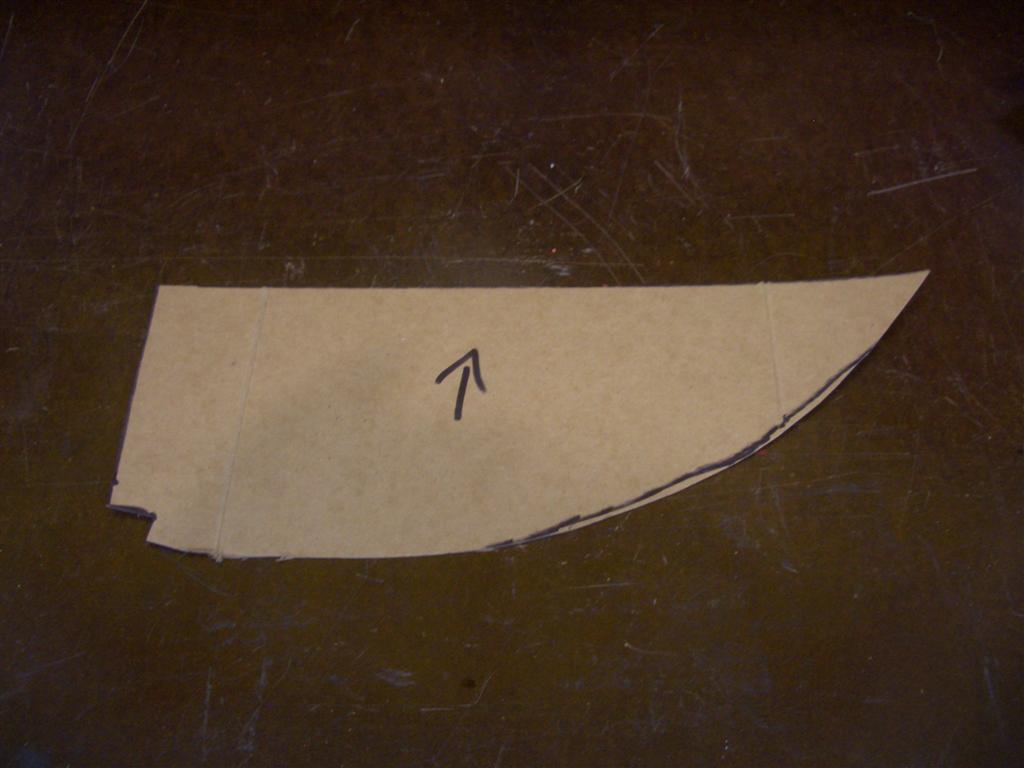
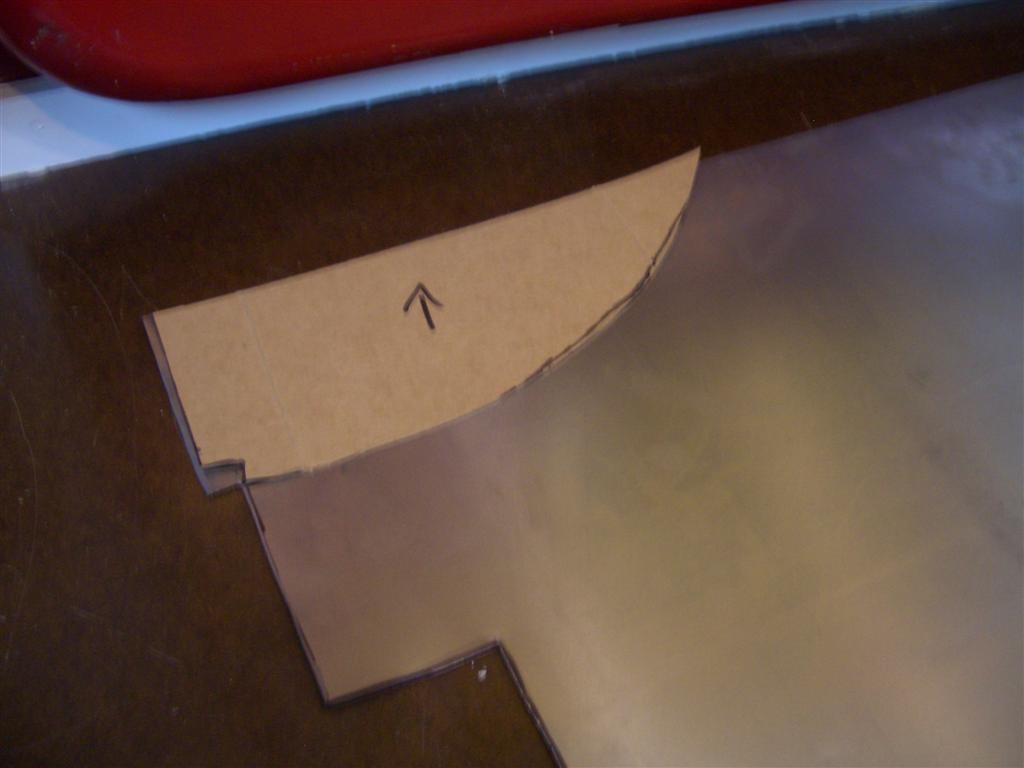
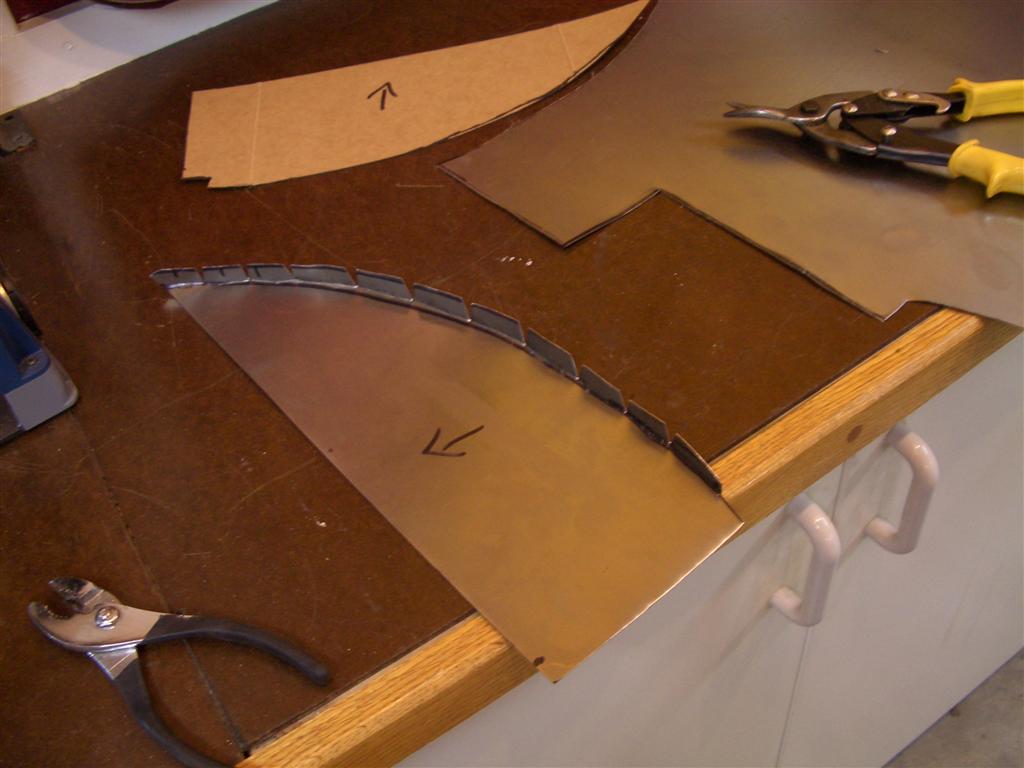
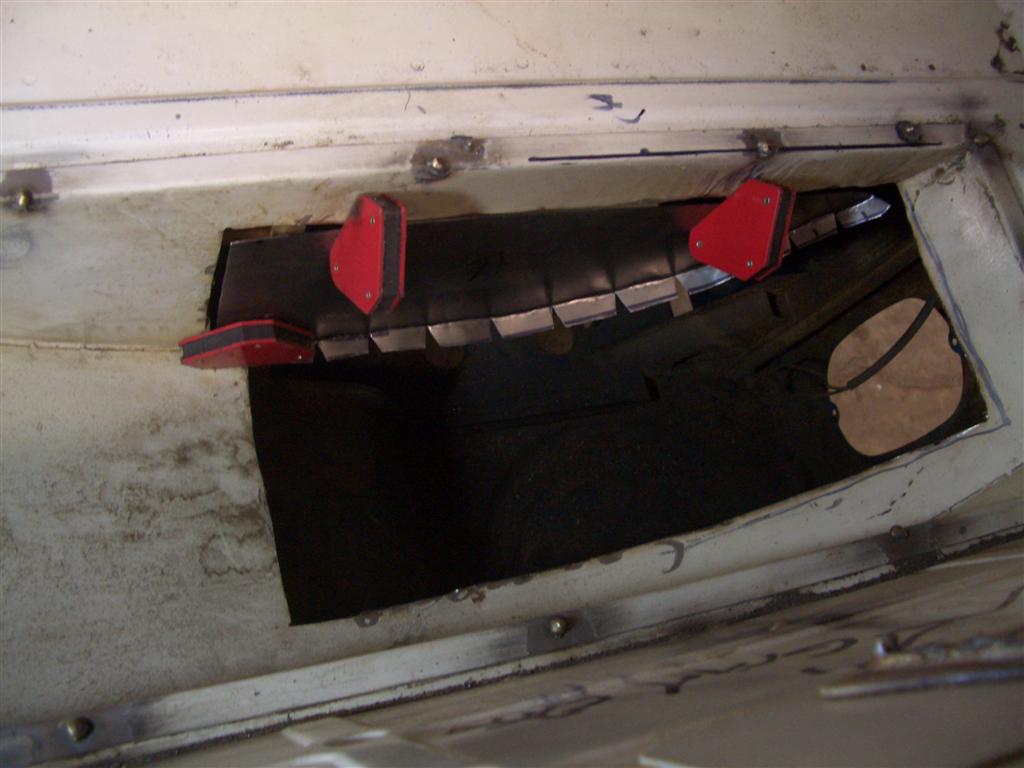
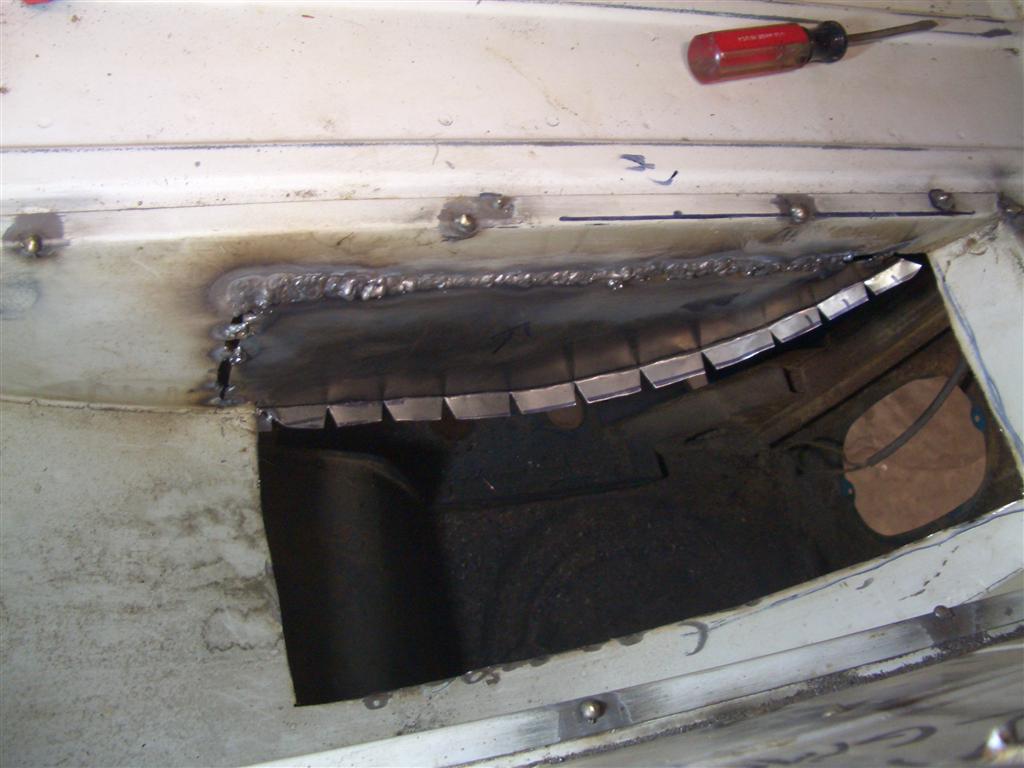
Patching begins on spare tire well wall
The spare tire well had a hole similar to the mystery hole from previous posts cut at some point in the bus’s past. The hole was cut very raggedly so I squared it off with a cut-off wheel to make template creation easier.
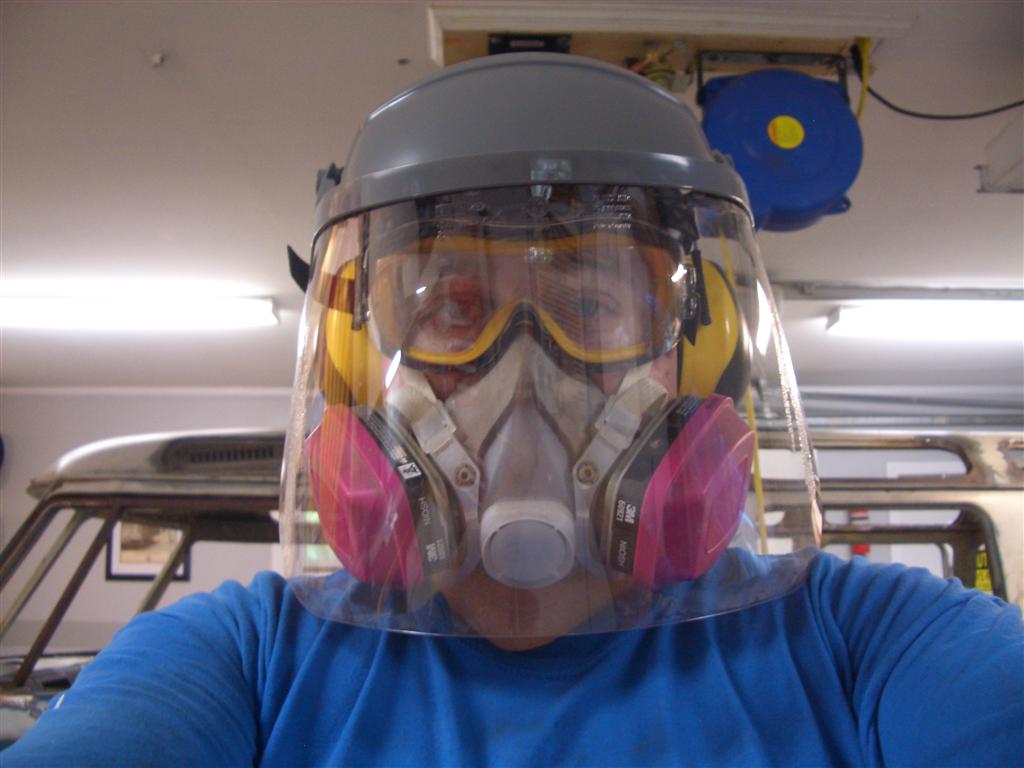
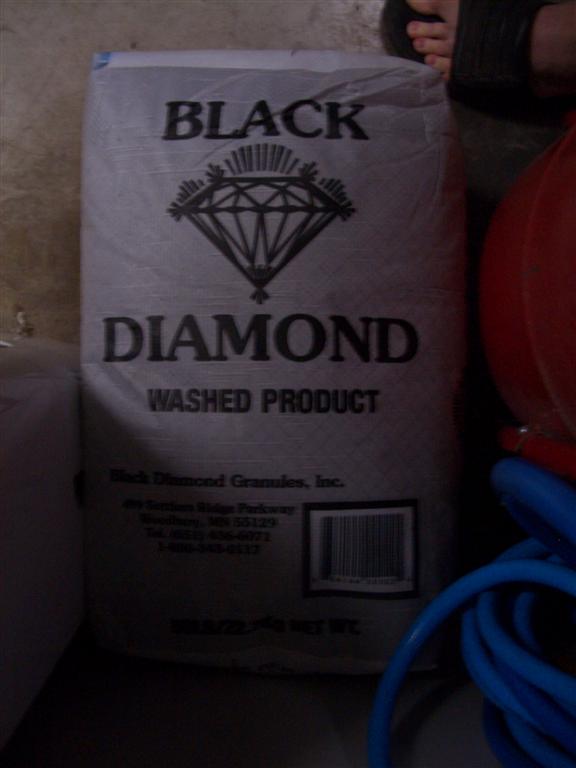
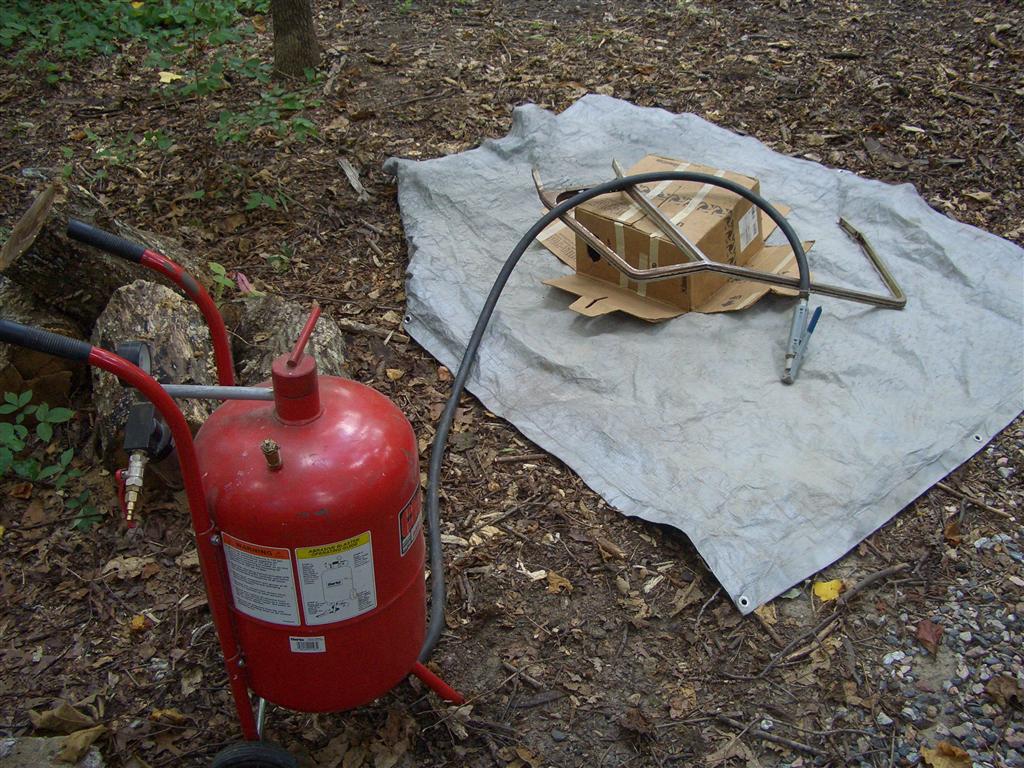
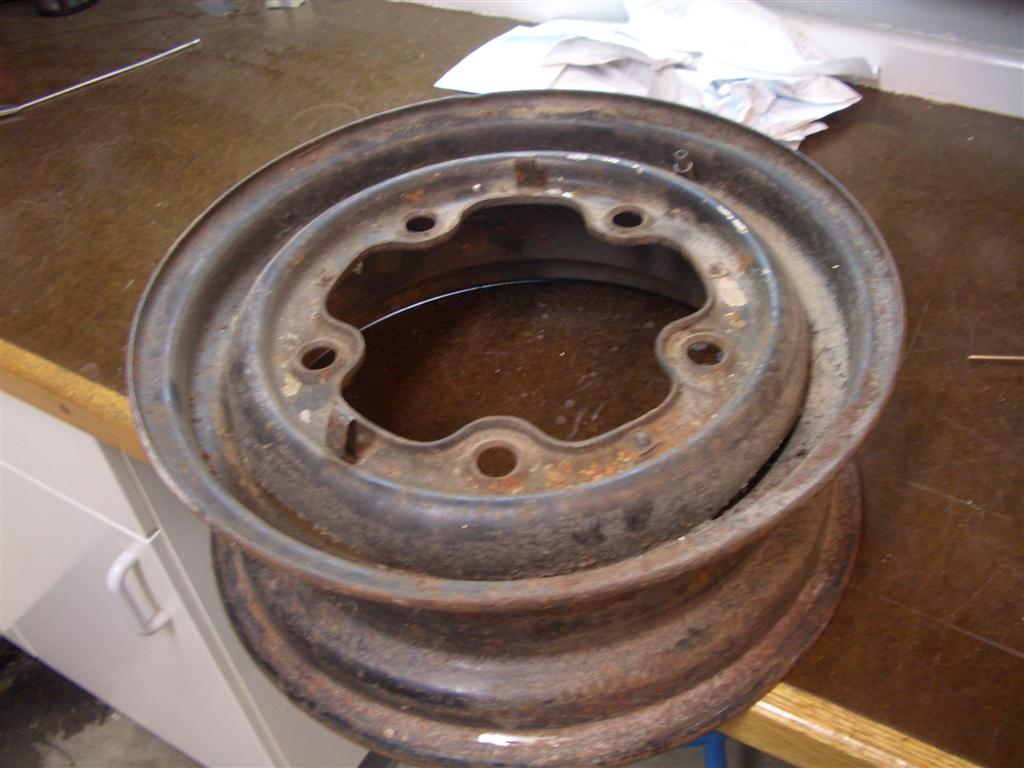
Blasting Time
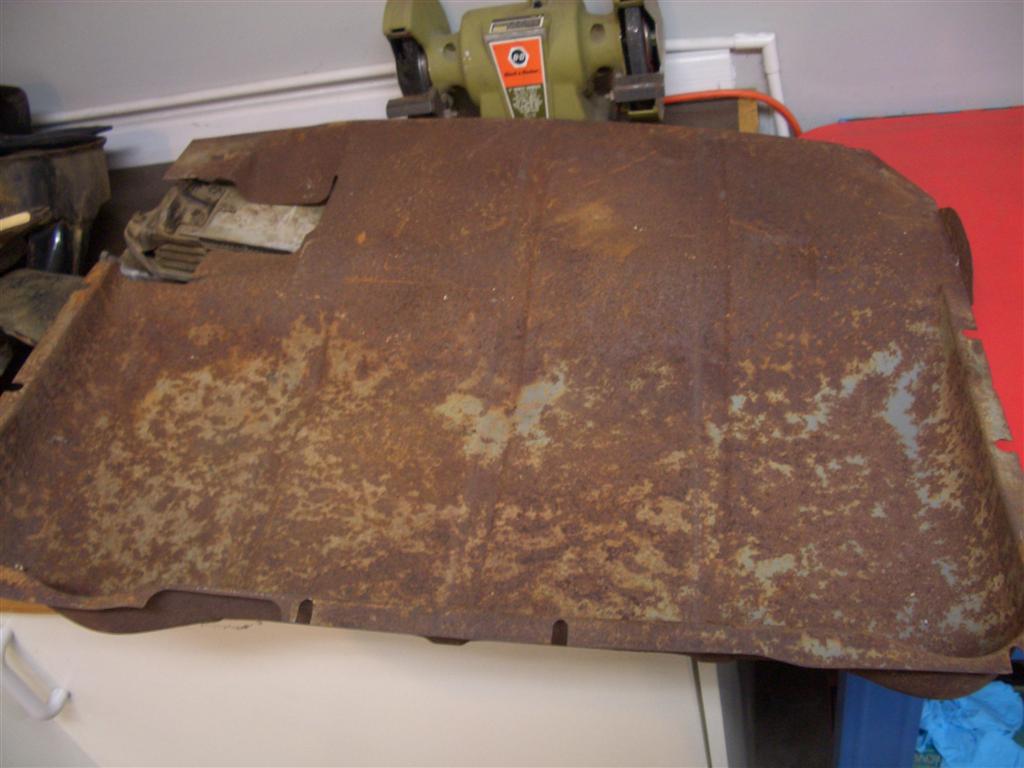
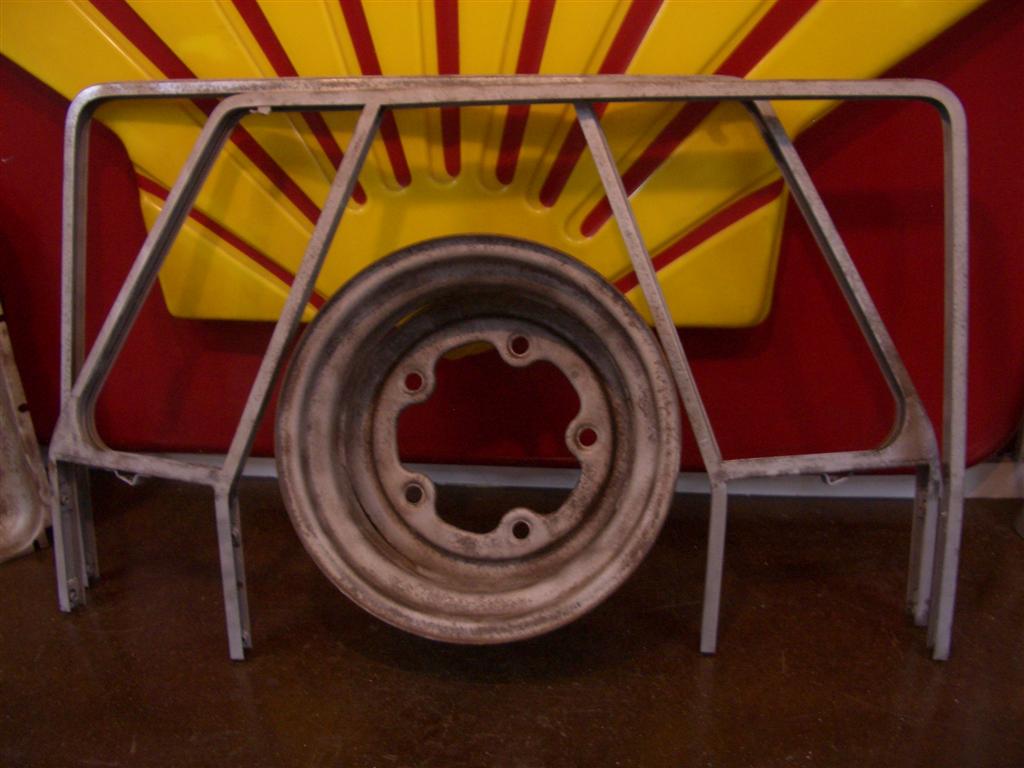
Sandblasting trial run. The rusty front window frames, splash pan, and one of the wheels were blasted with coal slag; initial results were very good. Since the metalwork is nearing an end the plan moving forward is to restore all of the wheels so the bus can be rolled out to the driveway for blasting of detailed areas (non-removable window frames, door jambs, etc.) After that’s completed it can be stripped with a stripping wheel, washed, etched, and primed.