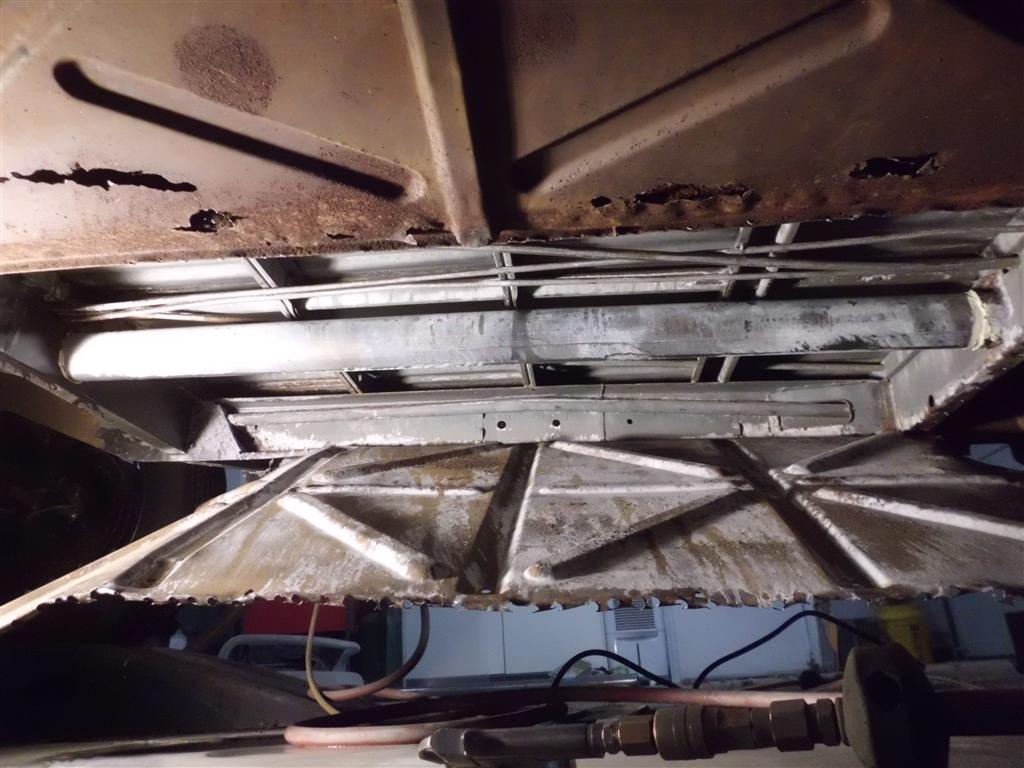
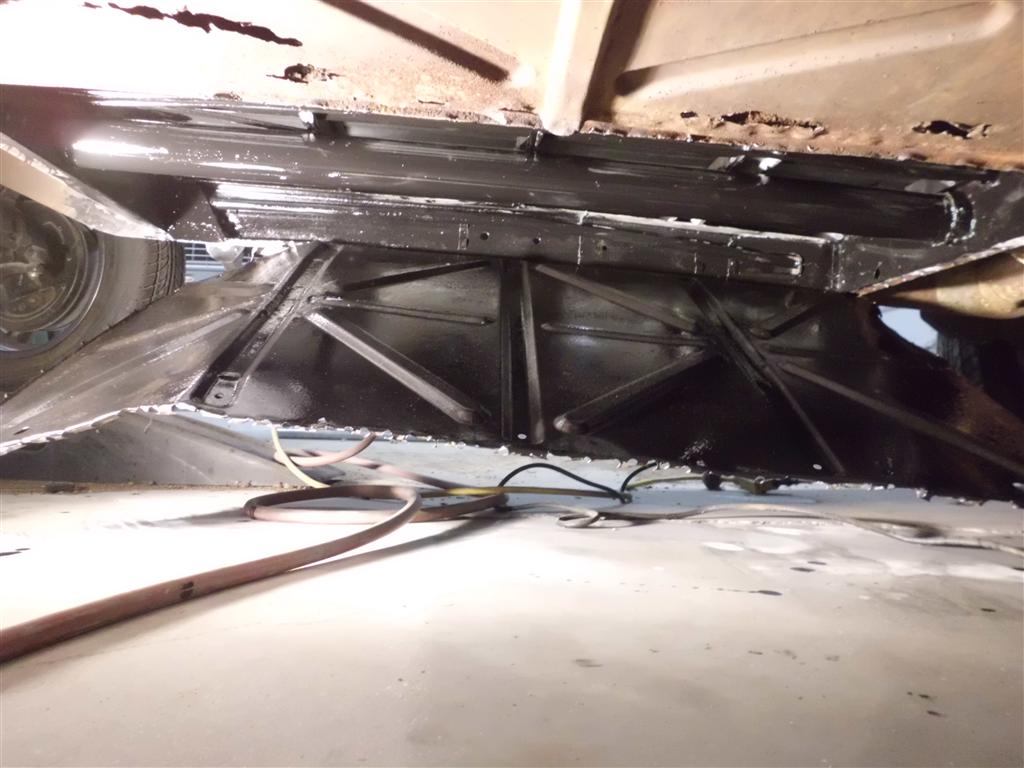
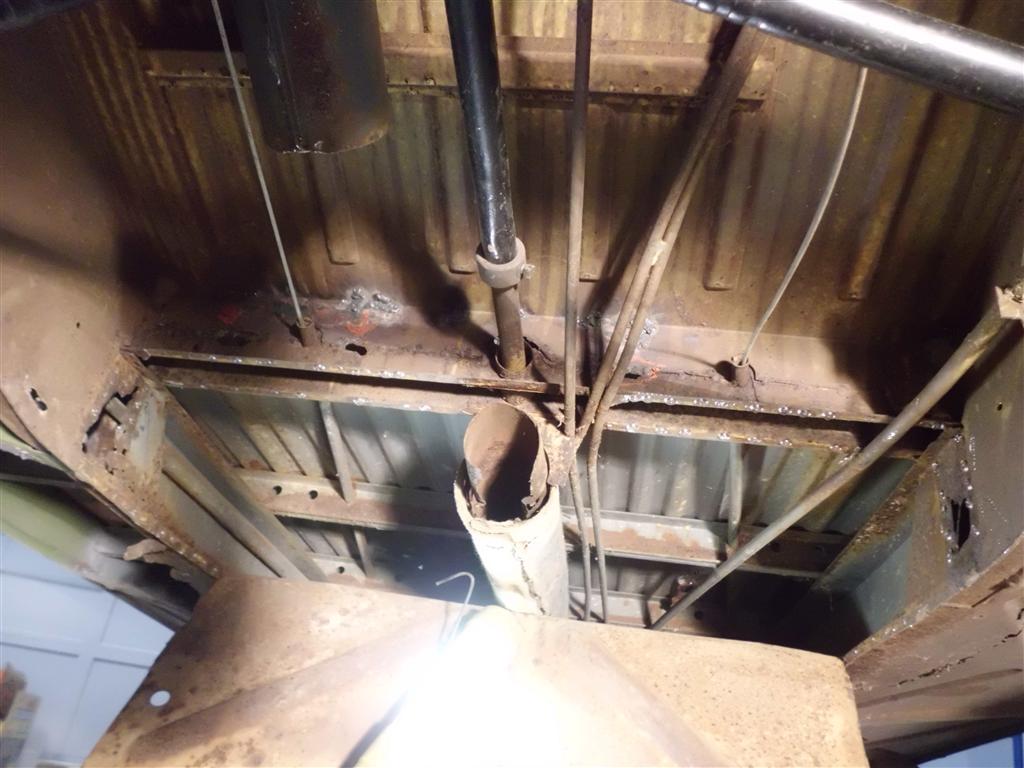
Heater Channel Replaced
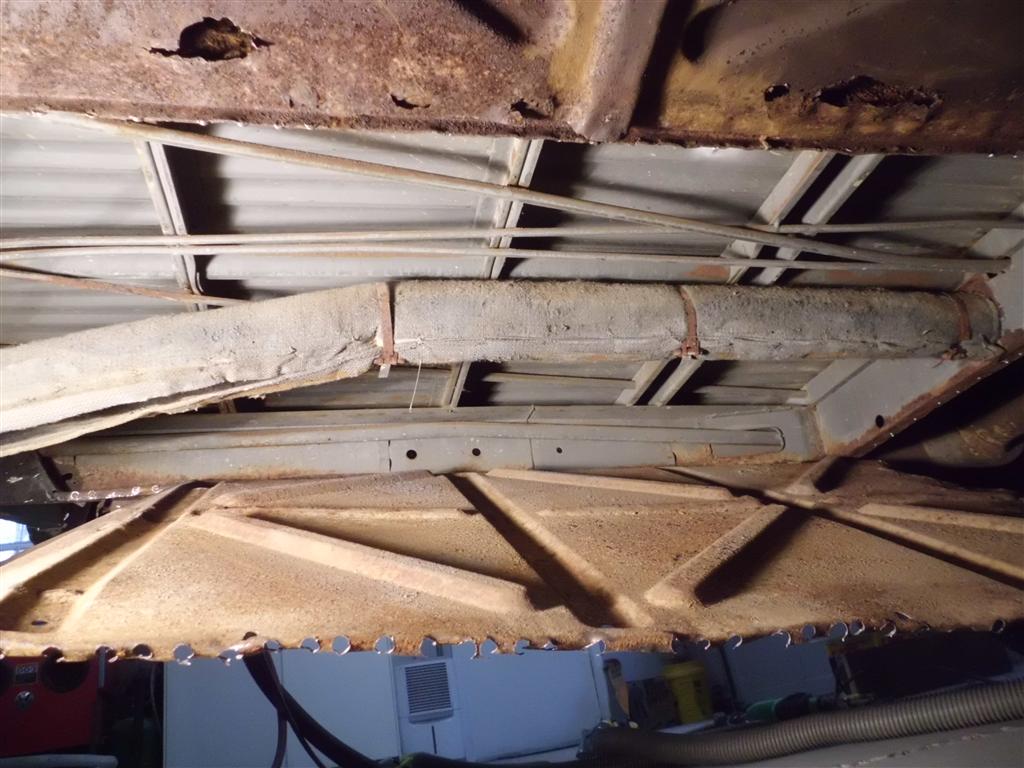
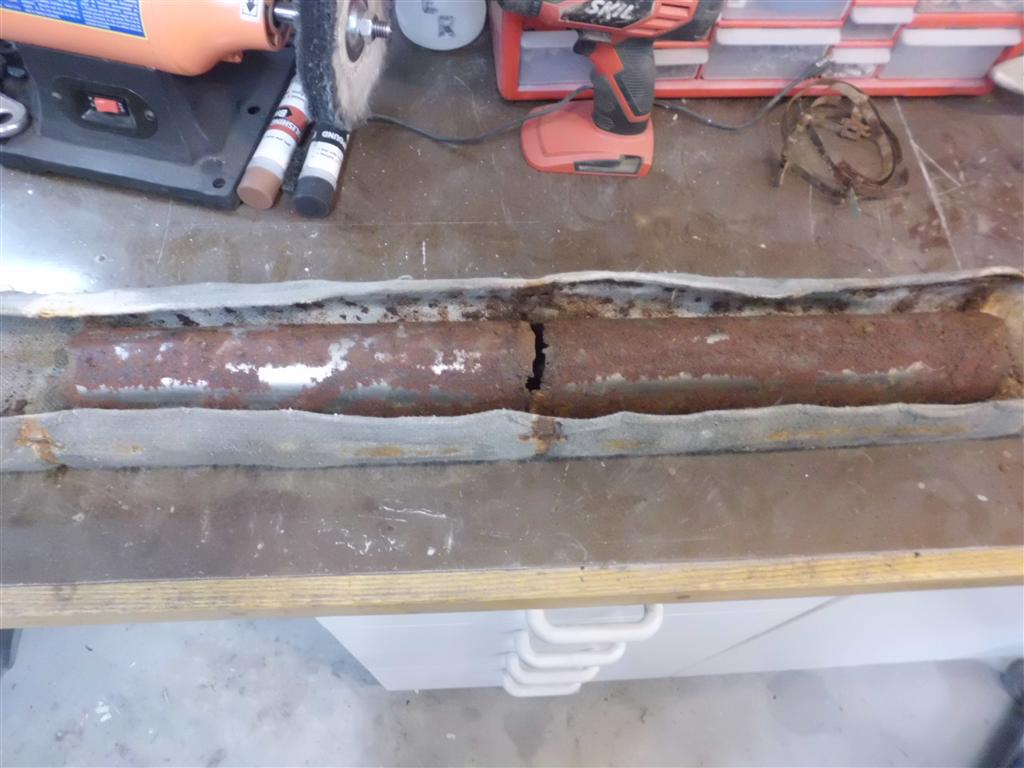
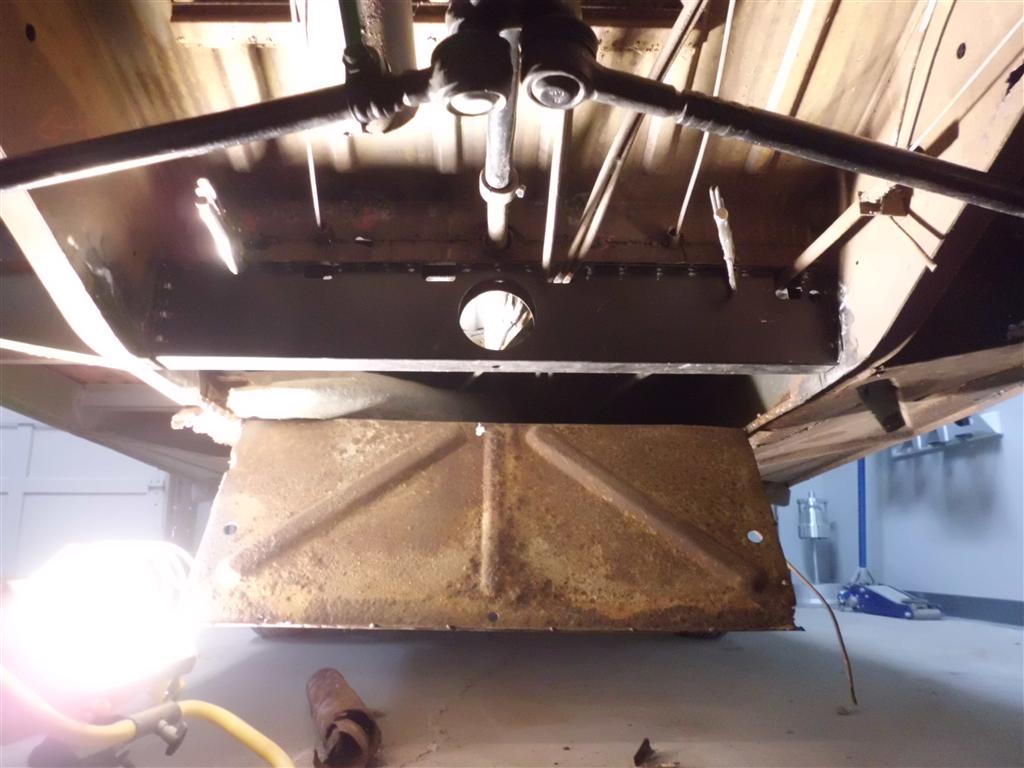
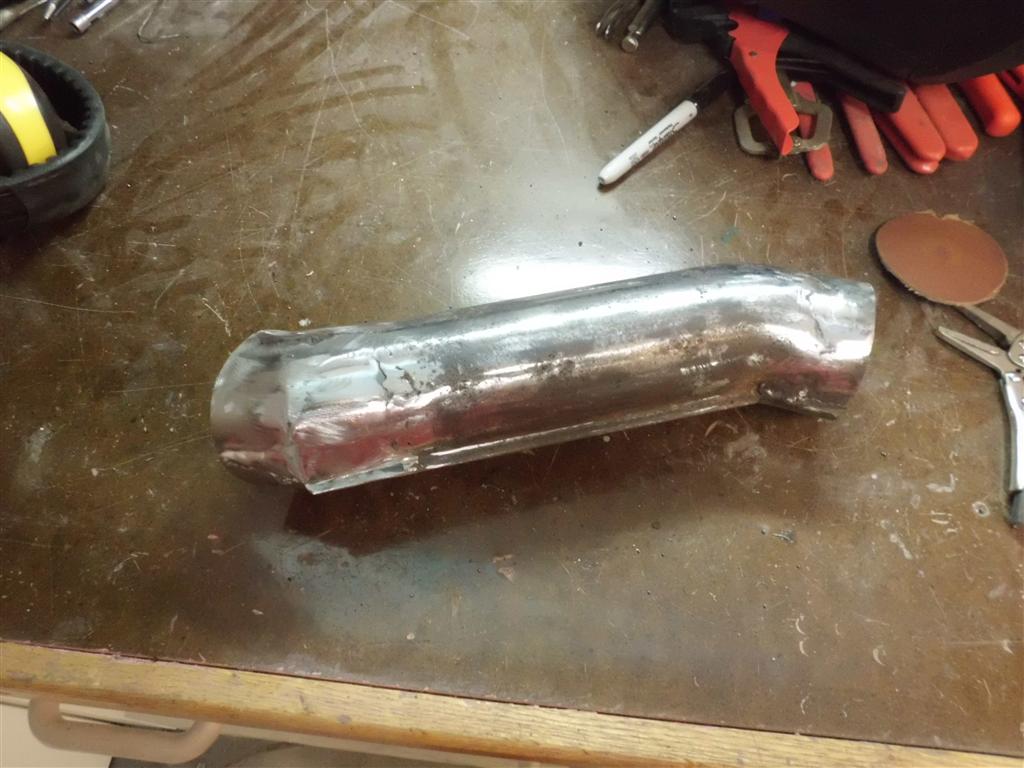
Today the rest of the spot welds on one side of the center belly pan were drilled to allow access to the heater tube. It appears that the heater tube’s insulating blanket was holding water against the tube, causing it to rust. The tube was replaced and then the entire inside of the center floor compartment was thoroughly cleaned, acid etched, and coated with POR15.
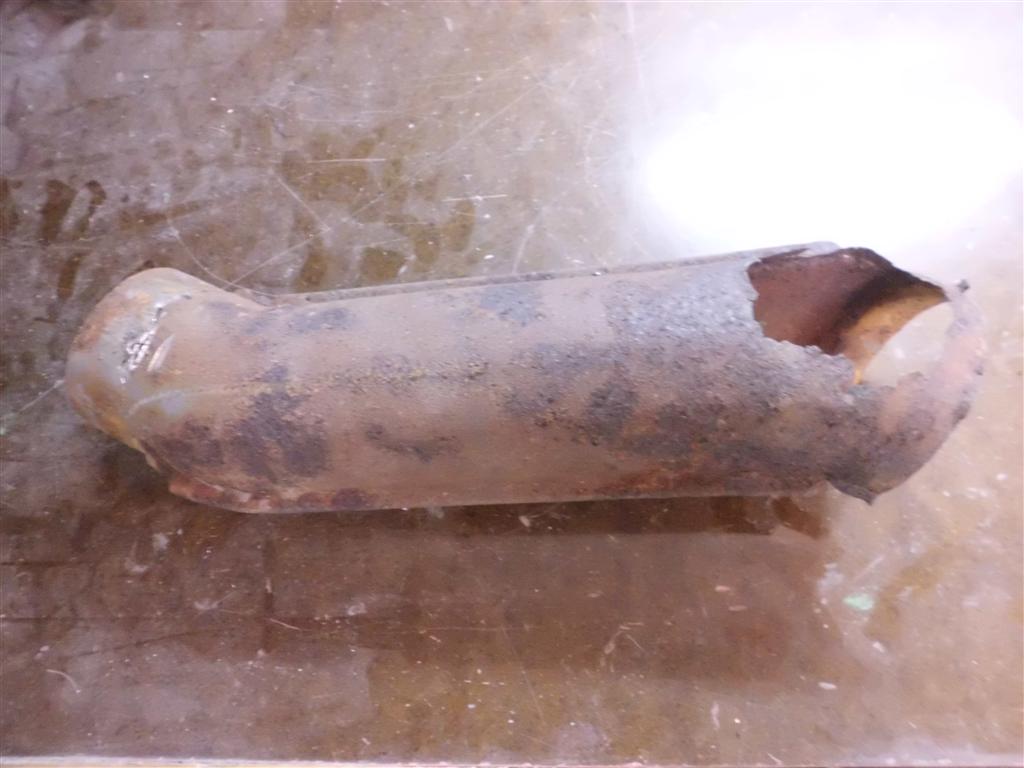
Frame Repaired, Crossmember in Place
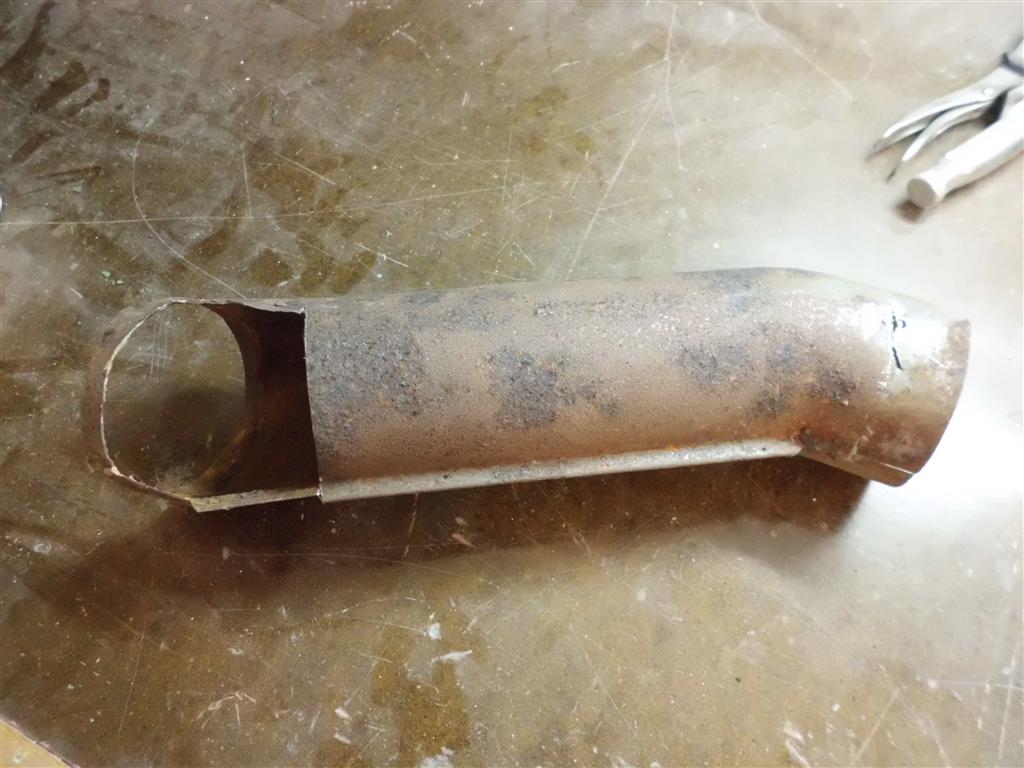
Tonight the other frame rail was repaired and the crossmember welded in place. I had planned on just repairing the end of the center heater tube but I was able to pull the entire tube out. So apparently, and this makes sense now, the water that collected in the crossmember traveled down the heater tube and rusted it out. The center belly pan will have to be fully removed and the center heat tube replaced.
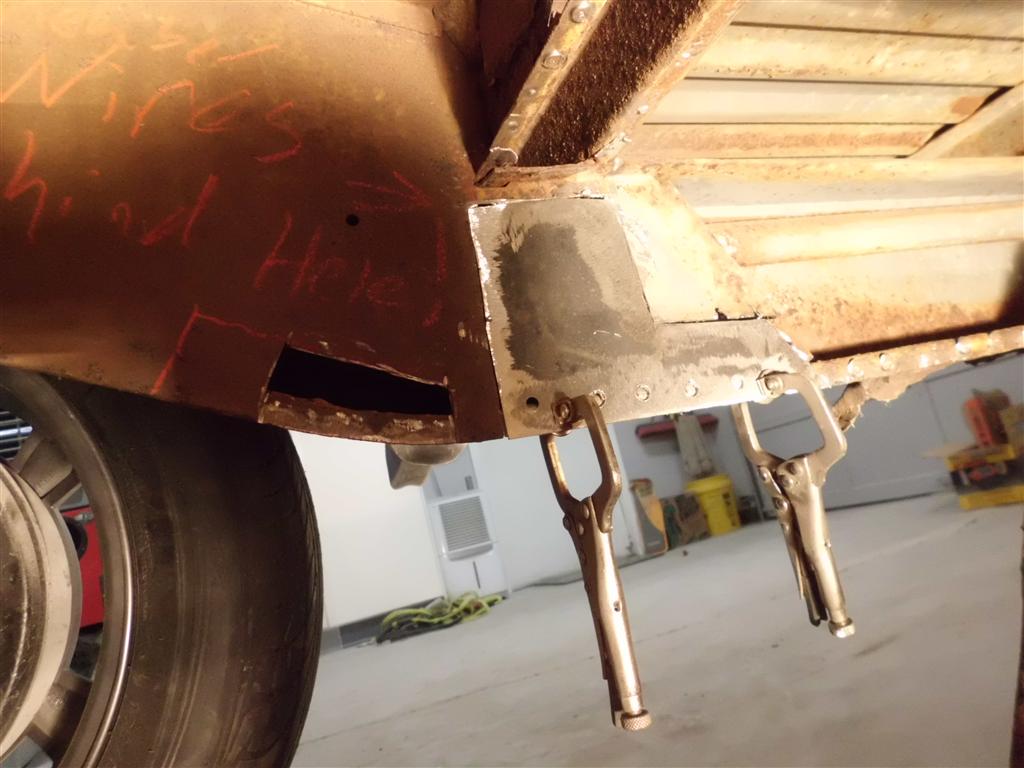

Heater Channel and Frame Rail Repair
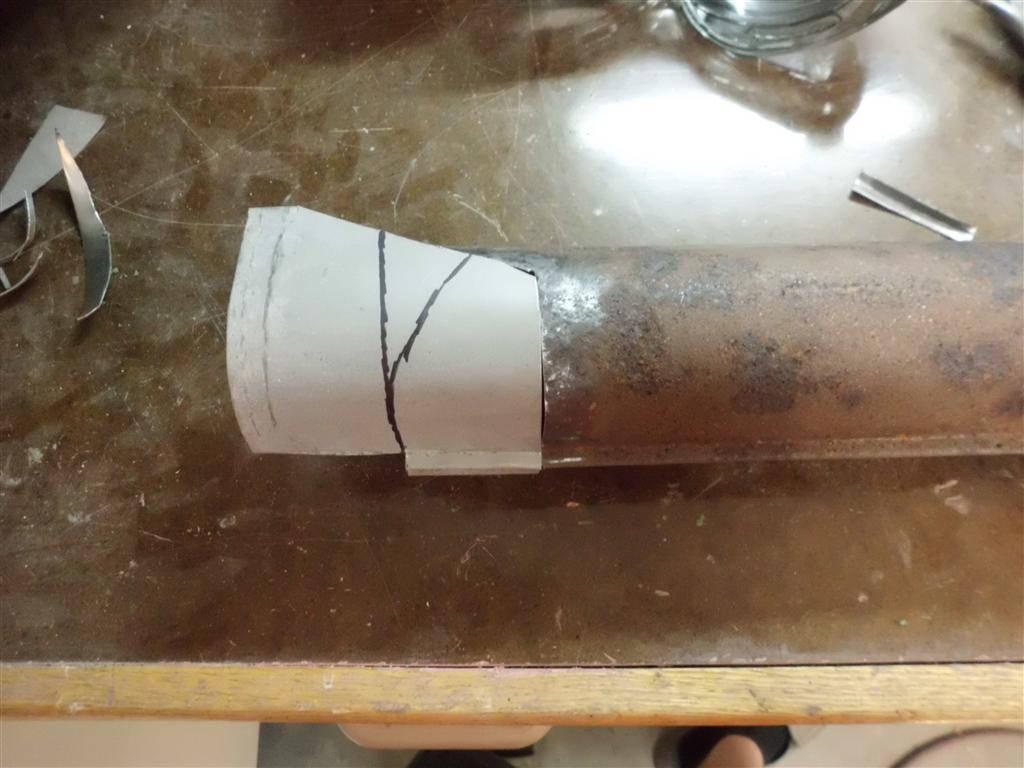
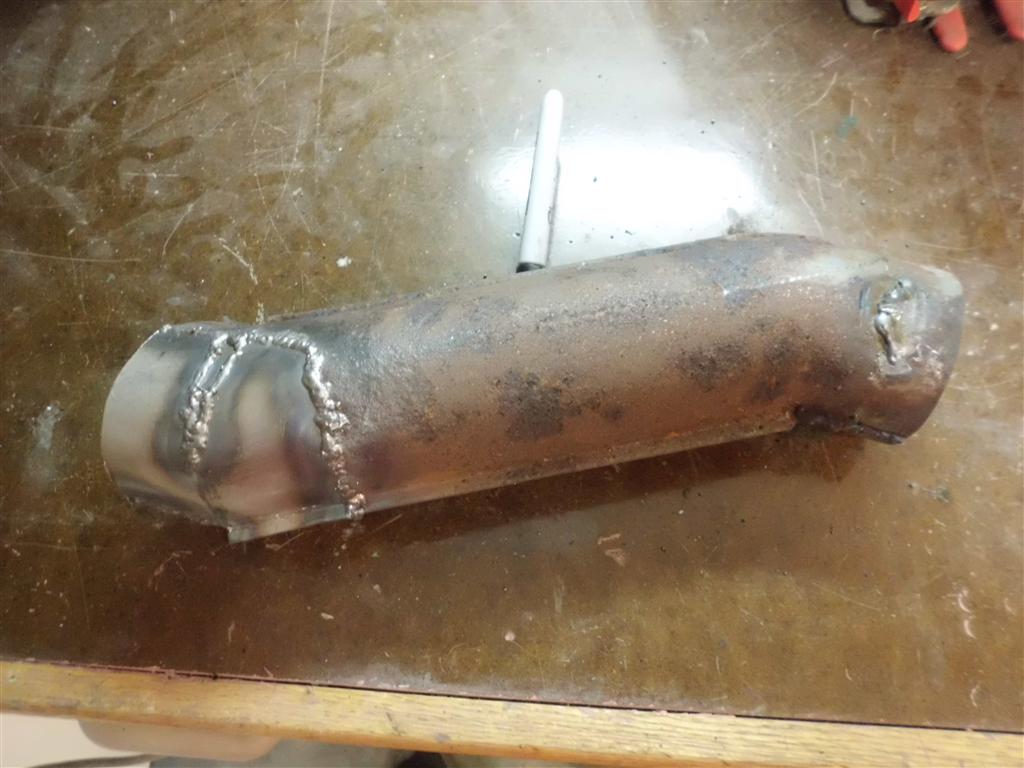
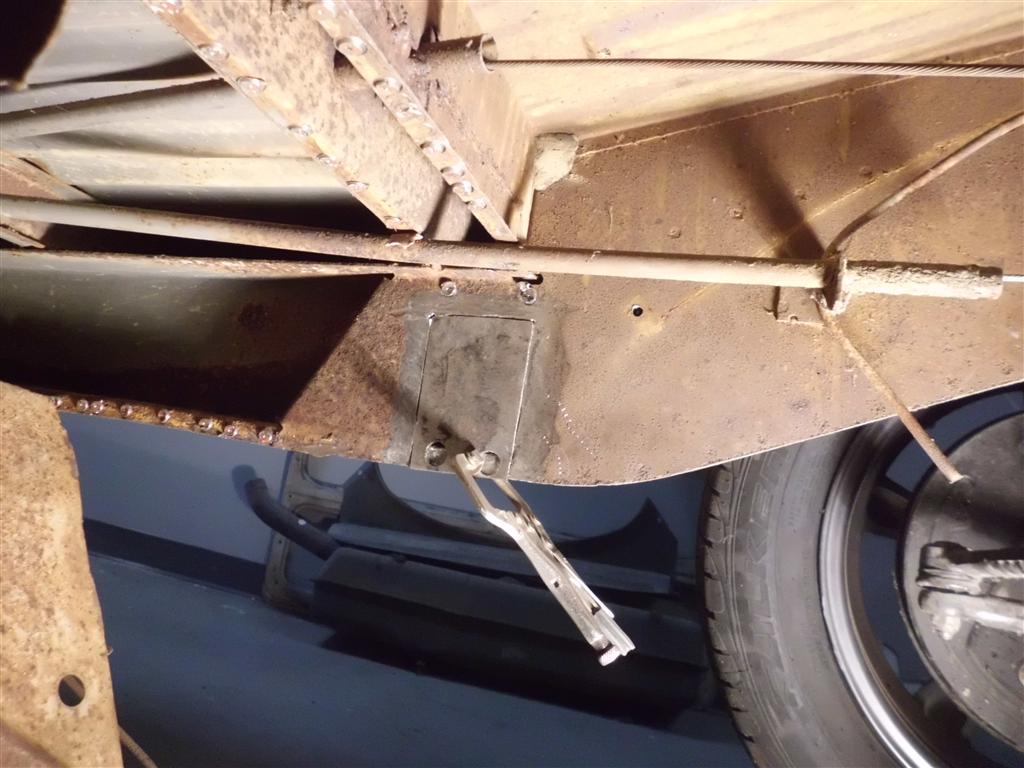
Tonight I fabricated and installed a repair piece for the heater channel and worked on the frame rail holes left by the crossmember. This is going much more easily than I had expected, thanks in part to having the bus lifted extremely high, and in part due to the parts being much heavier gauge steel here, which is much easier to weld. One of the four frame repairs is complete (except for grinding), one has been prepped, and two remain untouched; I should be able to finish all of these tomorrow night.


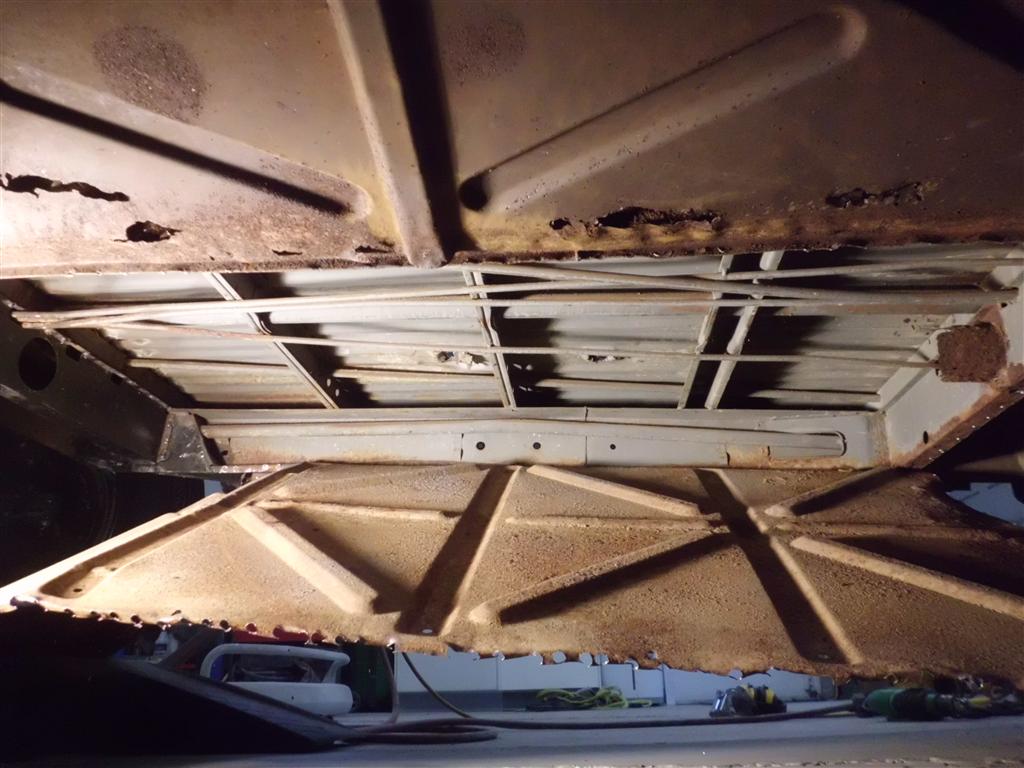
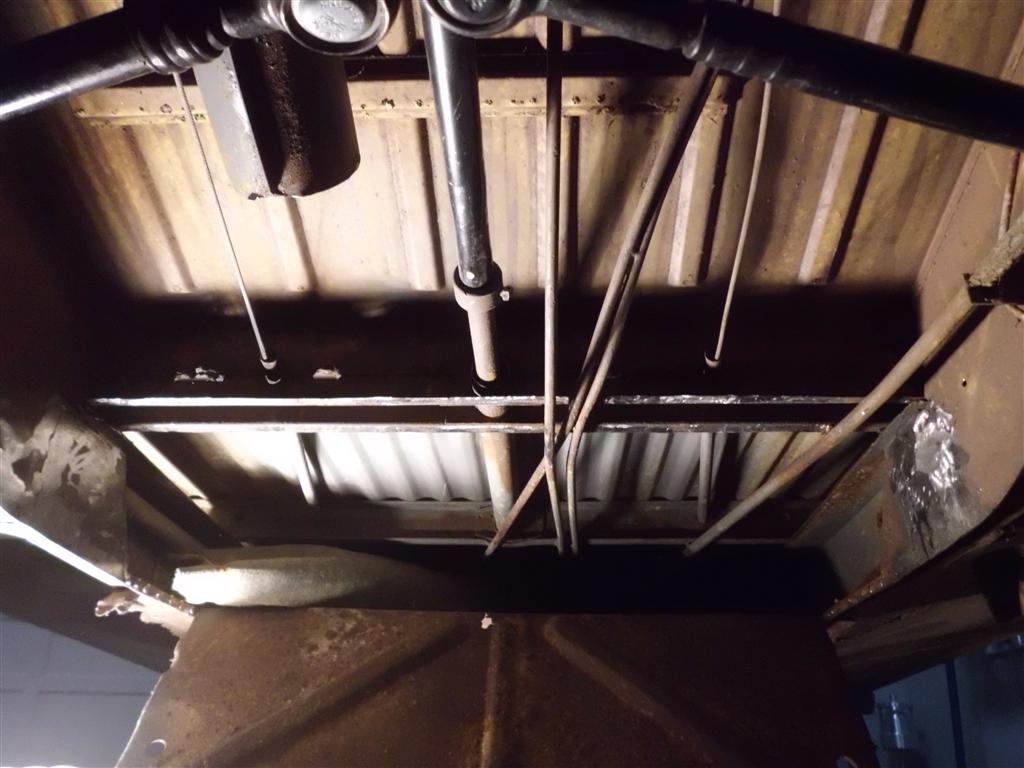
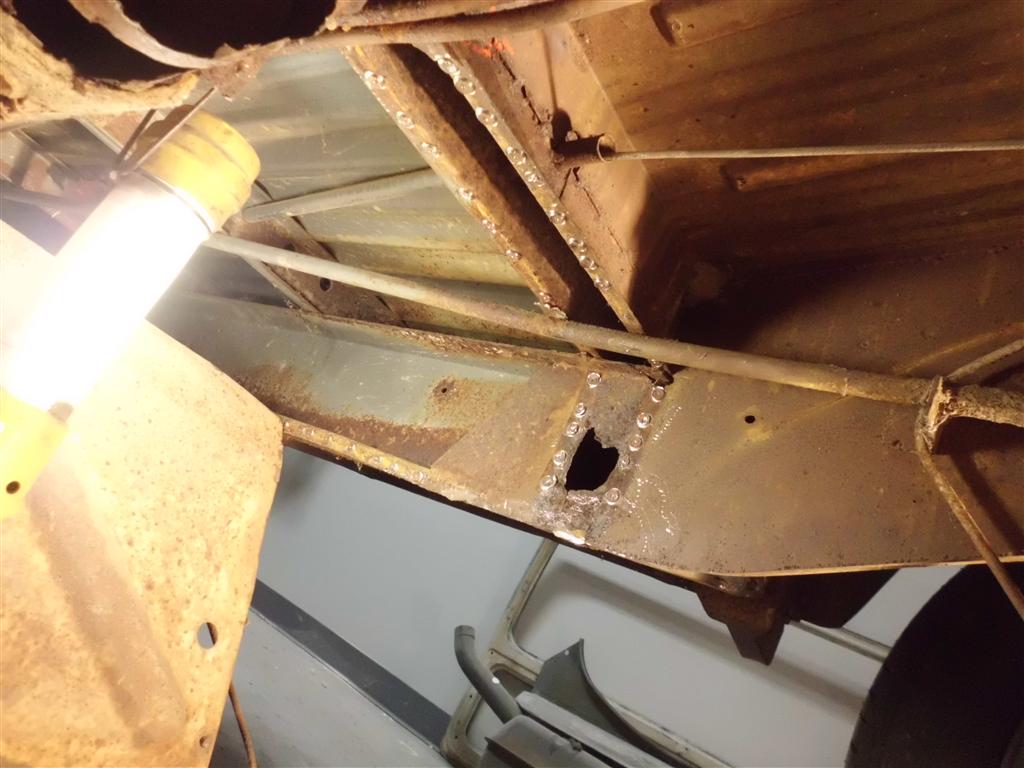
Crossmember Removed
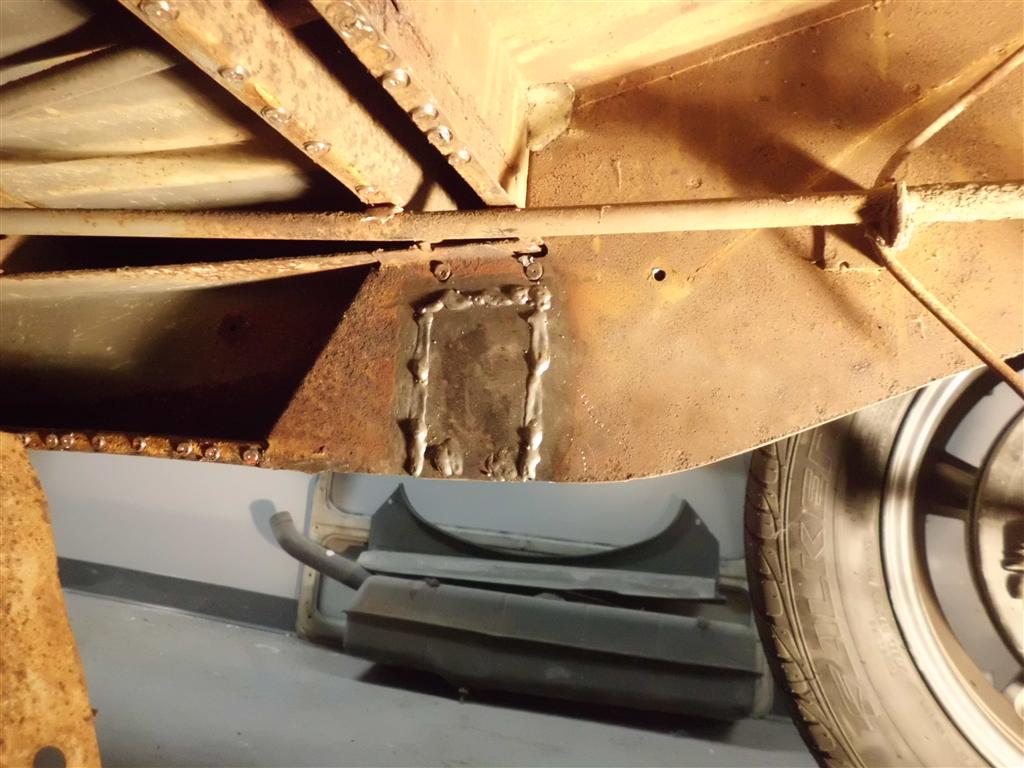
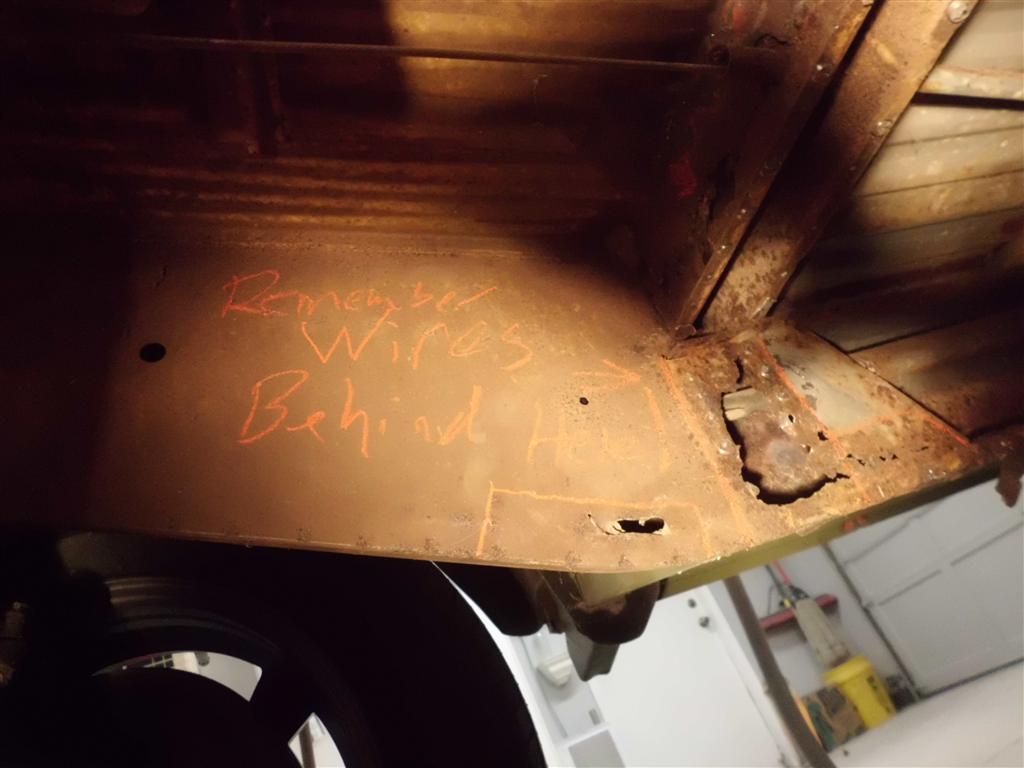
Tonight the crossmember was removed; It was in extremely bad shape, with all of the bottom missing. Once it was removed though I found that everything around it is solid. It had even blocked rust from spreading to under the floor, for the most part. It’s apparent that the crossmember had been holding water, and because of this there are two rust holes in the frame where the frame met the end of the crossmember. These areas will be cut out and patched along with the hole in the heater tube.
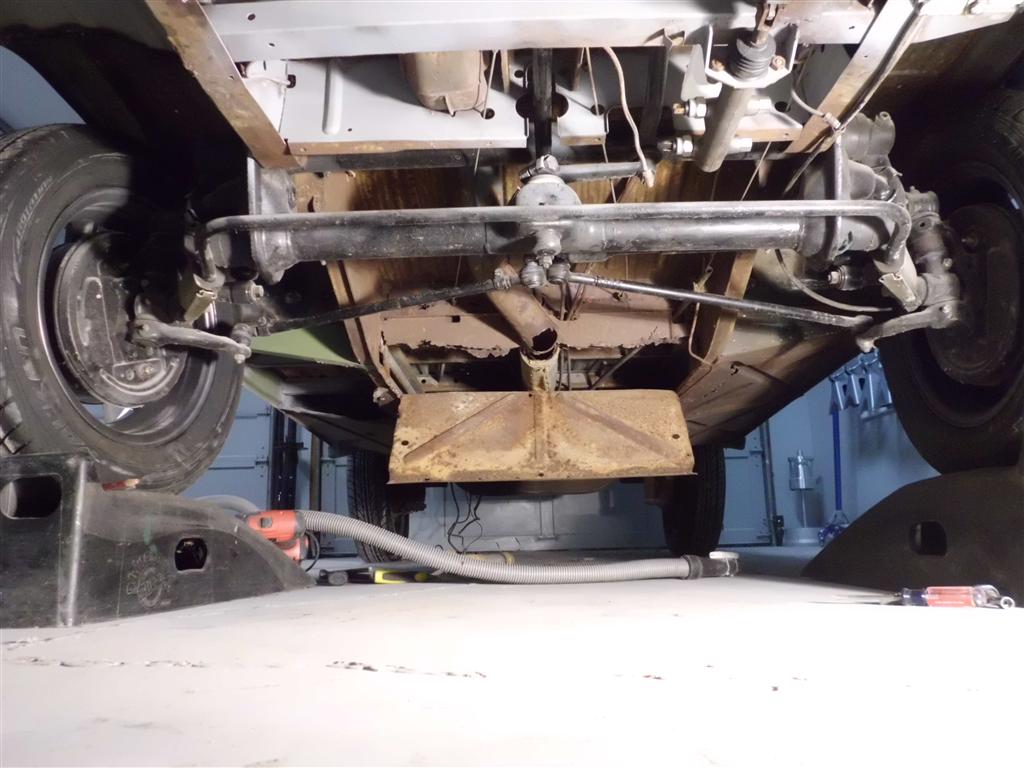

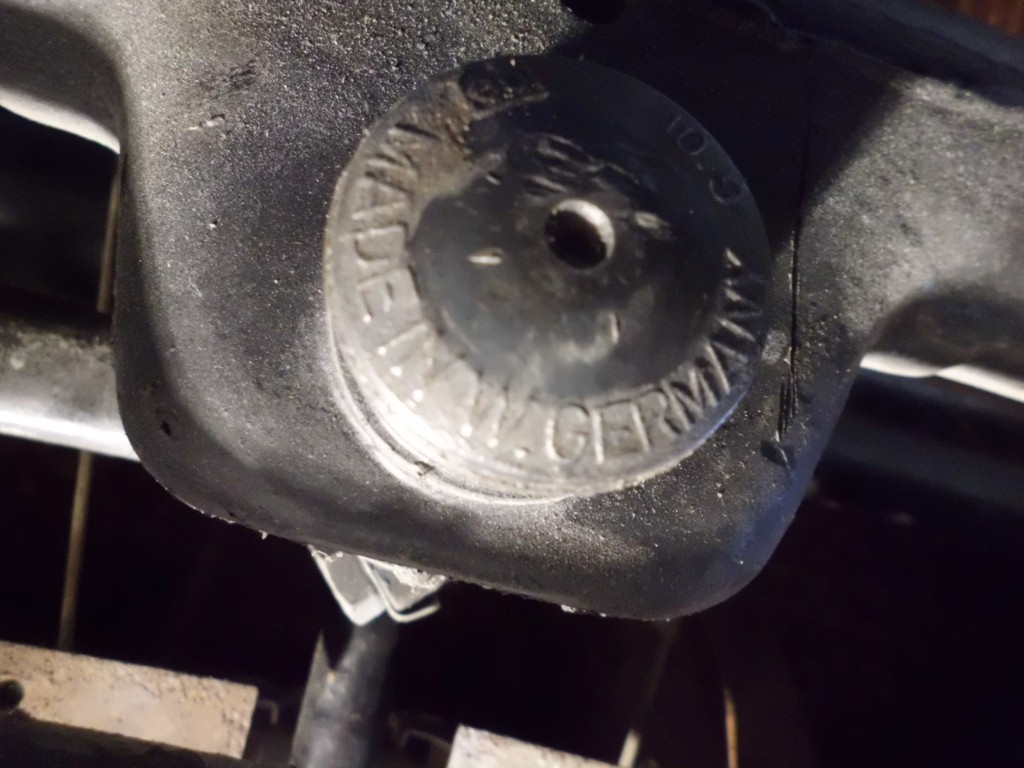
Made Where?
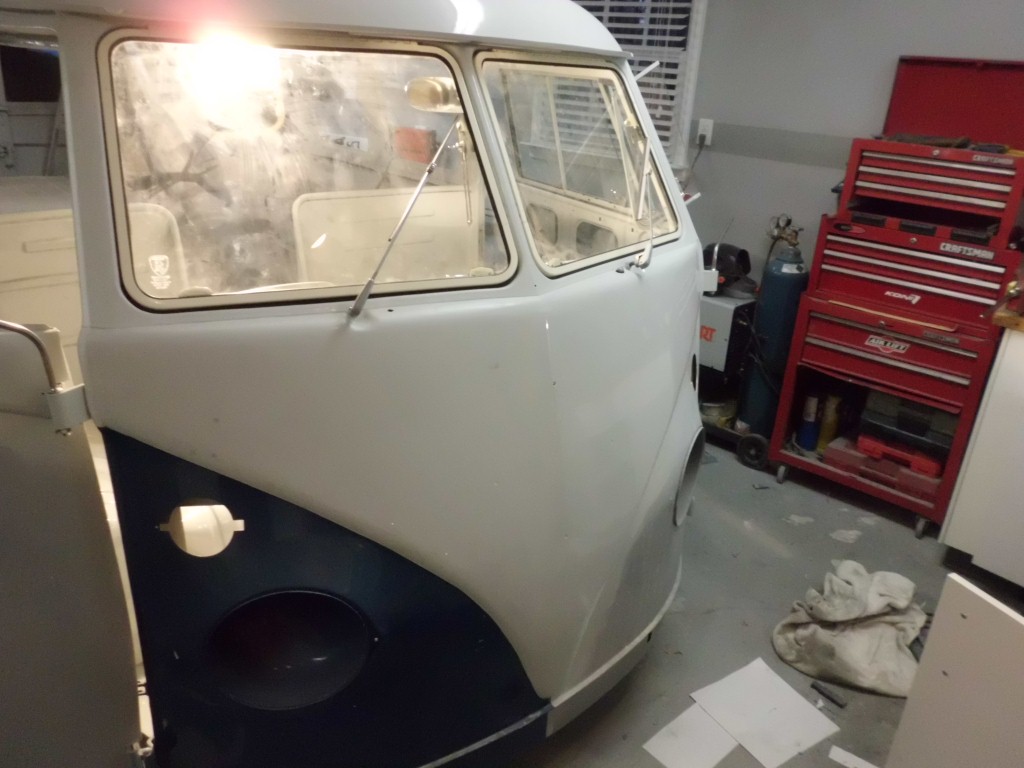
I got the bus back onto its wheels and have it raised as high as it will go for the next steps. I’ve been putting this off for a while but the last remaining metal work is to the center crossmember and passenger side front ‘belly pan’. It looks really bad but it’s actually very well isolated to the crossmember and heating duct. It appears that water came into the crossmember from the drain holes above and, with it’s own drain holes clogged, the water stayed in the corssmember, rotting it. The bus structure is a uni-body design, being supported by a complex web of parts instead of body-on-frame construction; so although I wouldn’t want to drive it this way there isn’t any danger of the entire bus becoming warped due to having this piece (temporarily) missing. My next step is to cut this crossmember out and weld in the new one. While everything is setup for easy underside access I’ll also POR15 the entire underside to stop the surface rust.
I also connected the parking brake, clutch, and shifter linkages; these will need some tweaking and a few small parts but are generally working for the first time since I’ve had it. The next action in this category is to get the hydraulic brakes working; this will mainly consist of replacing all of the steel brake lines, making the connections, and bleeding the brakes.
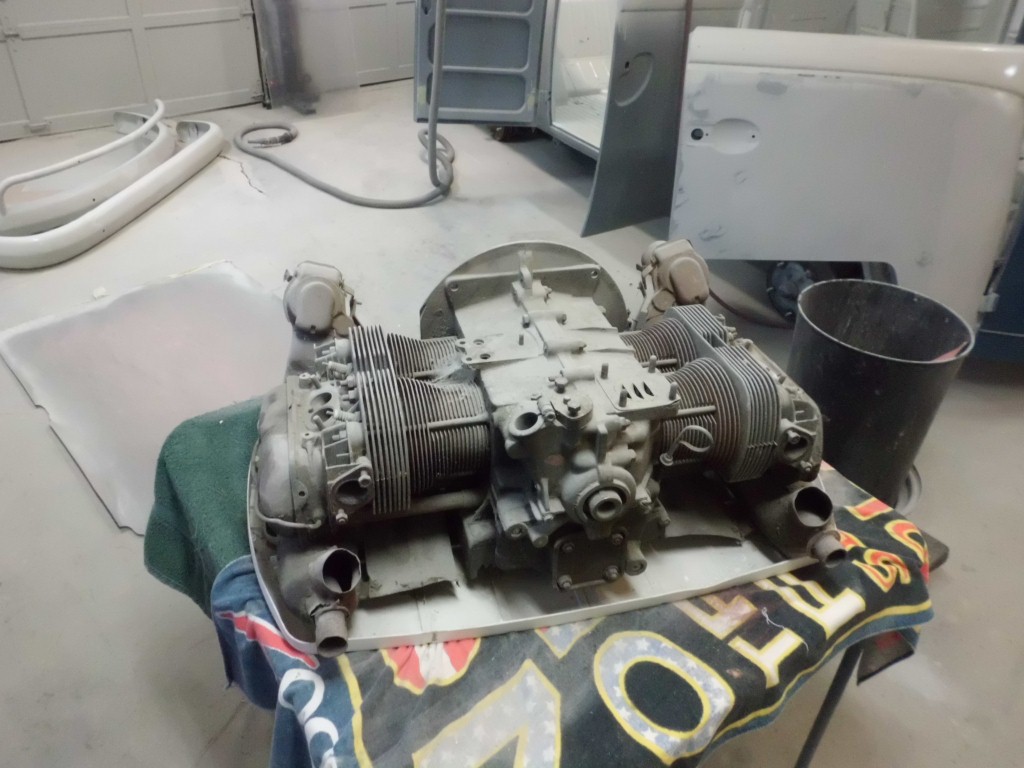
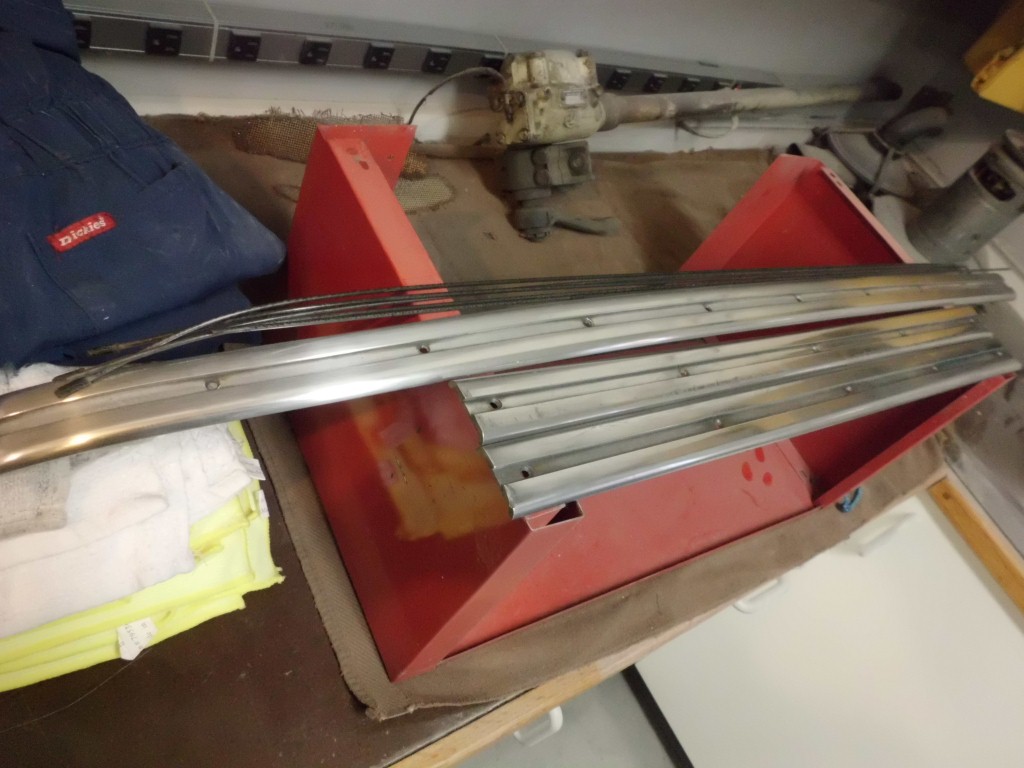
As for the title of this post, look closely at picture #1 “Made in W. Germany”; in 1967 Germany was still 23 years away from reunification.


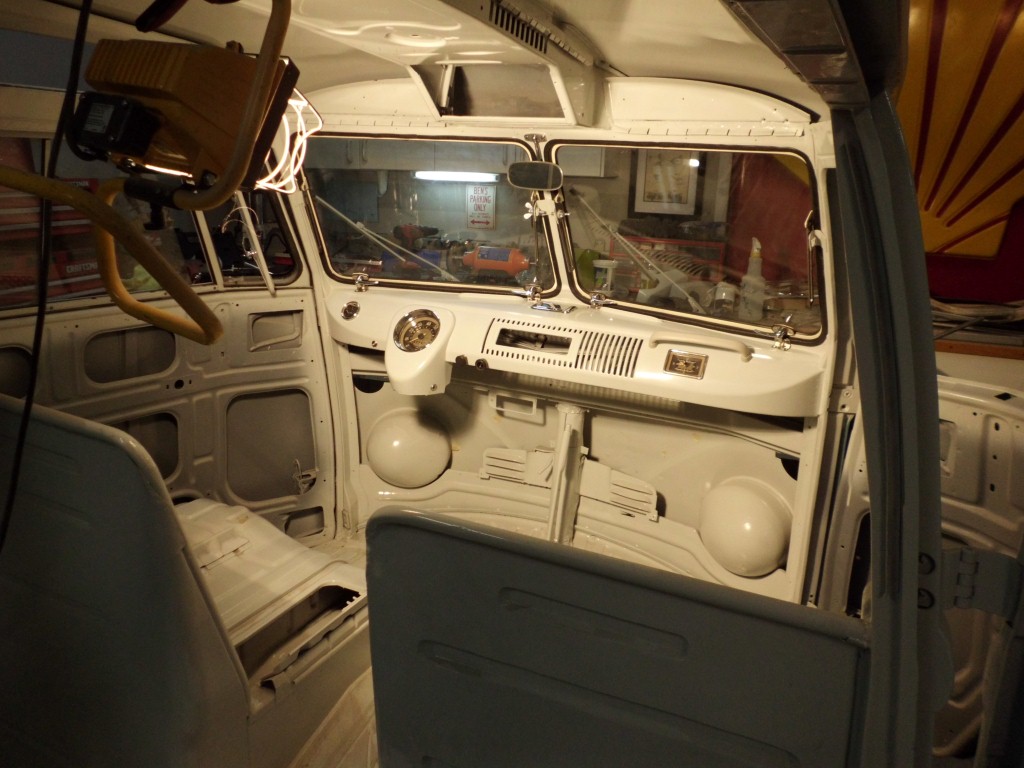
Assembly begins
I wet-sanded and polished the dash and the drivers side half of the nose. With this complete it allowed installation of parts to begin. The safari windows and dash instrumentation were all installed. The dash and nose were the first parts I painted so I expect that more wetsanding an polishing will be needed here when I see it in direct sunlight for the first time; it should be minor though so I’ll be able to do this without removing anything.
Engine Cleaned
I cleaned the engine and checked everything out. I had noticed that it would lock up just short of completing a full rev so I pulled the cylinder heads and discovered a small piece of metal in cylinder #2. The origins of this piece of metal are unclear but there is no damage anywhere, so it does not appear that this happened while it was running. The intake manifold has been off for some time now so the metal piece probably just fell into the open intake port. Overall it’s in great shape with very little wear and good compression, I have a gasket kit on the way since some of the seals are questionable and they’re much easier to replace now then when everything is back together.
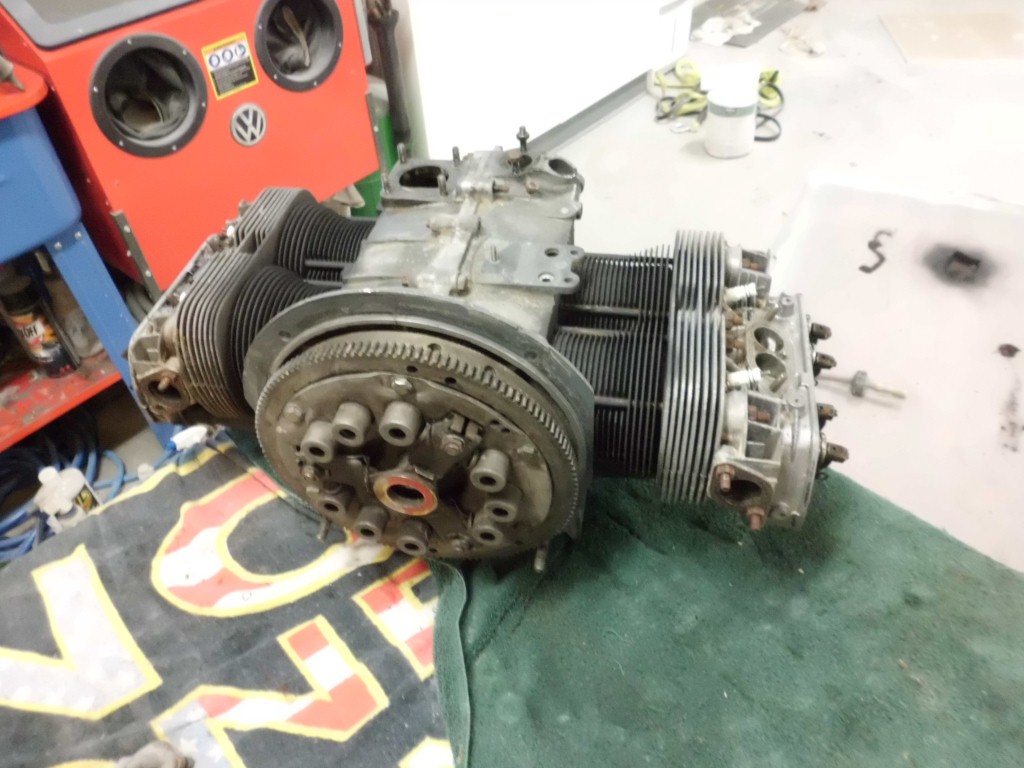
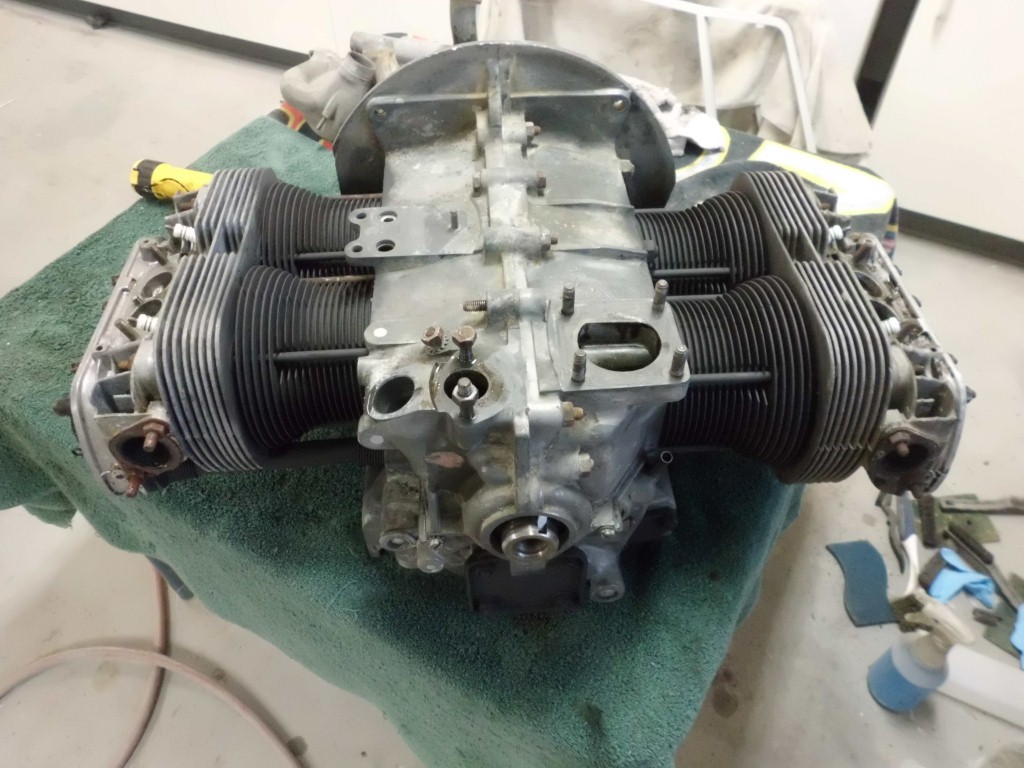
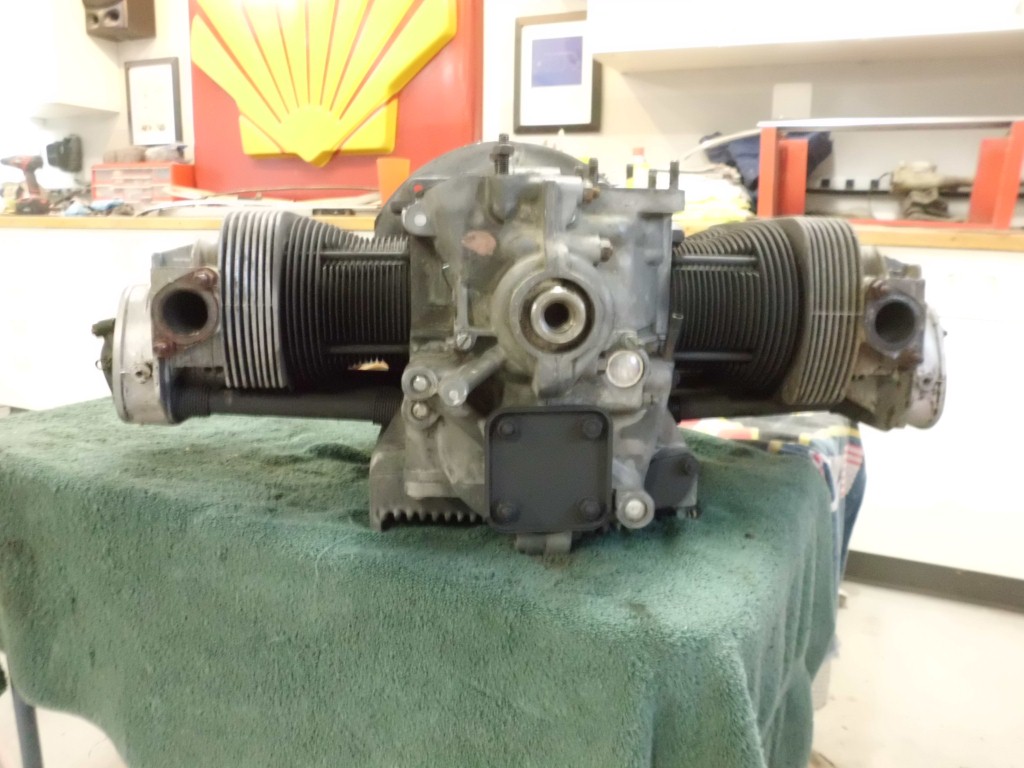
Best of all, the lightweight magnesium construction means I can, for now at least, move it around by hand.
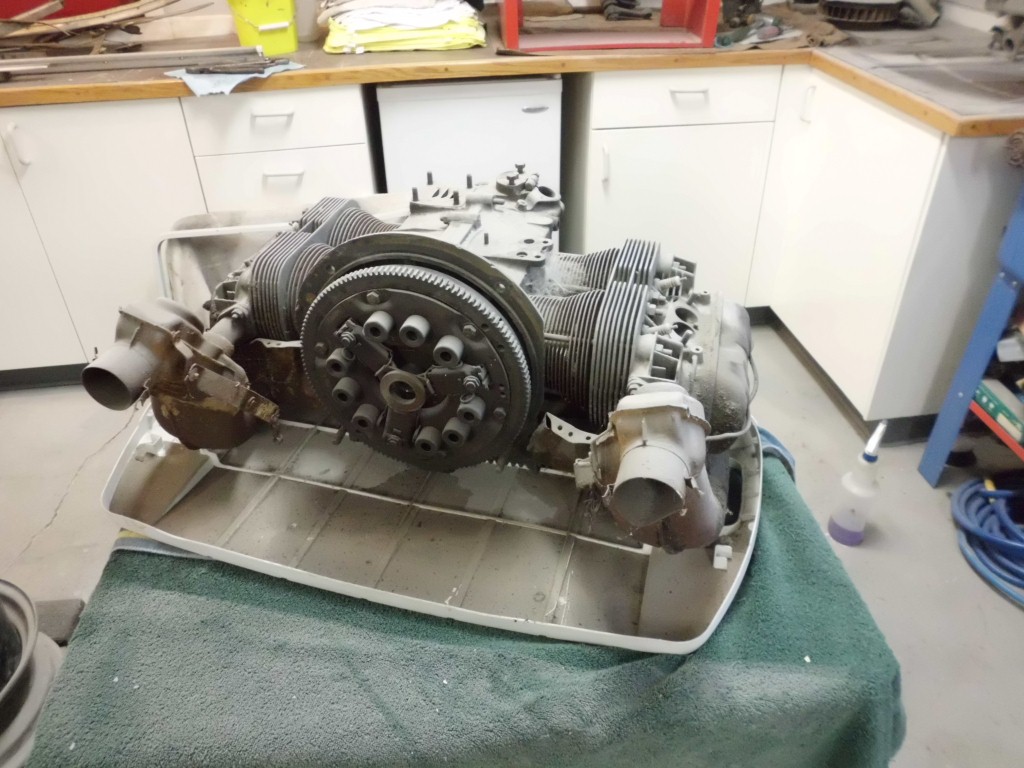
Back to work (again)
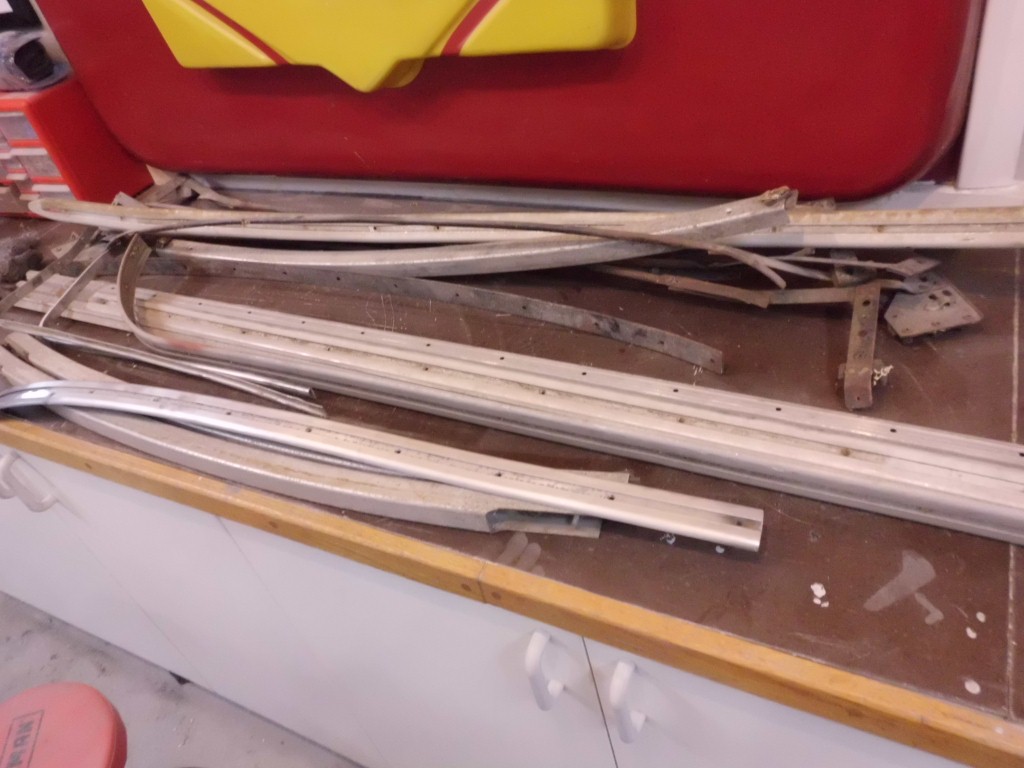
There’s been another months-long break in bus progress due to house projects, traveling, and the Golf restoration. I’m back to working on it now since there is less than a year left until it must be completed. This weekend I started by degreasing the engine and polishing some of the aluminum trim.

The plan currently is:
#1 – Install everything that can be installed that won’t be in the way later. This includes trim, gauges, headliner, etc. This will get stuff onto the bus and out of the way.
#2 – Finish restoring all ‘small parts’, particularly engine parts over the winter since it’s now too cold to paint the blue area around the bottom of the bus. As parts are completed they can be installed.
#3 – Reassemble engine and get the bus drivable. This will allow more flexibility in where the bus is worked on (i.e. can drive it into driveway to paint, avoiding overspray) and also allow progress on the rehabilitation of the garage floor.
#4 – When the weather warms up all that should be left to do is mask off the entire top and paint the bottom blue. The entire bus can then be wetsanded/polished under direct sunlight in the driveway.
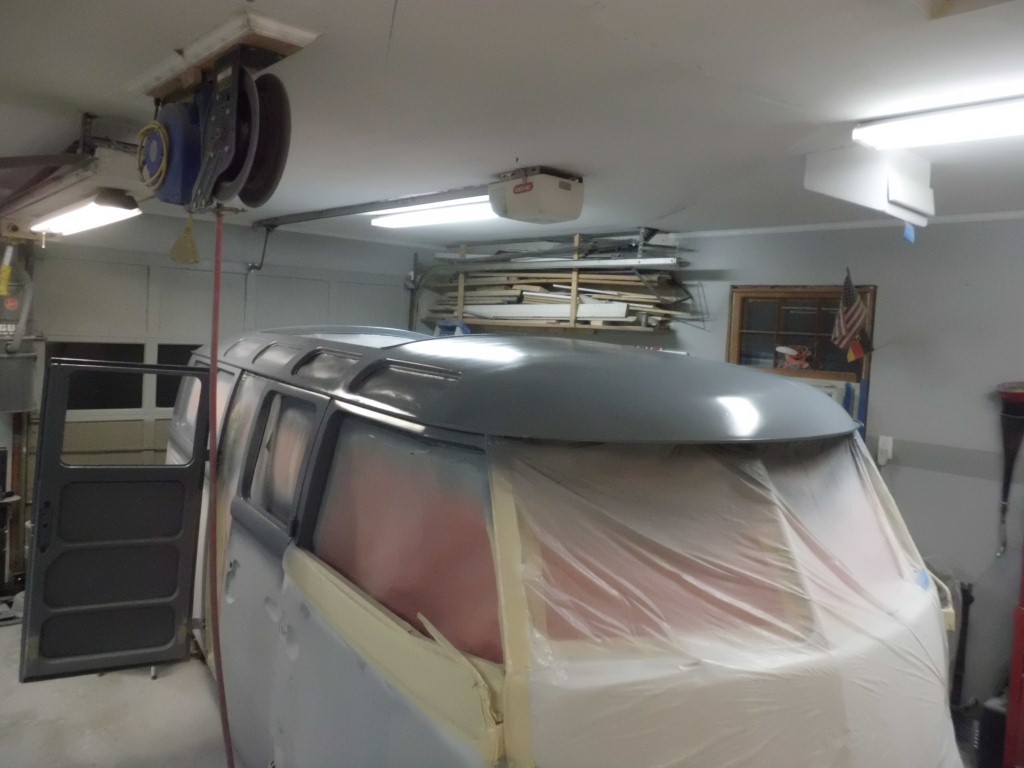
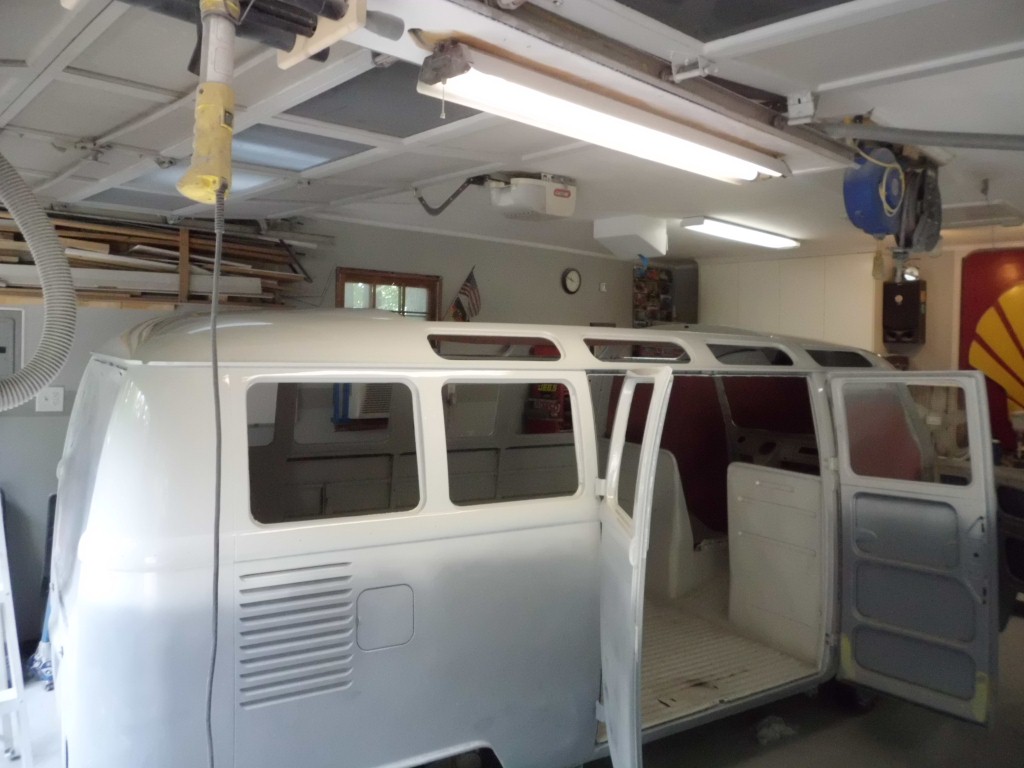
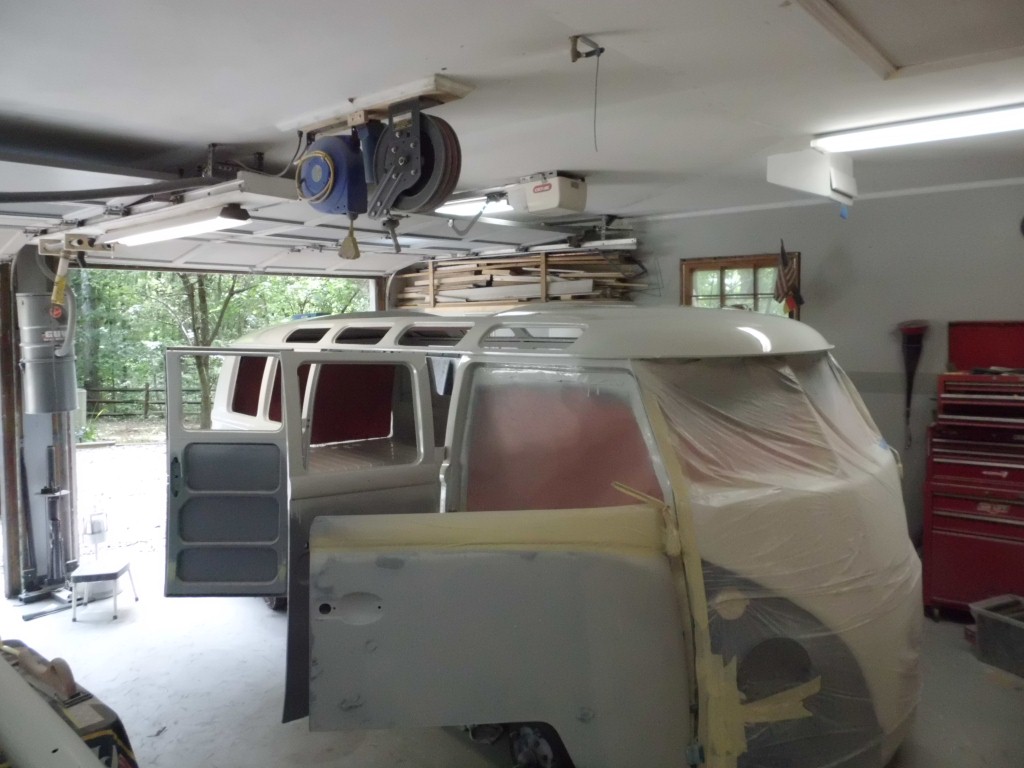
Roof Painted!
The roof was painted today, it’s starting to look very different. There were a few minor runs and other problems but these can be wet-sanded/polished out fairly easily.

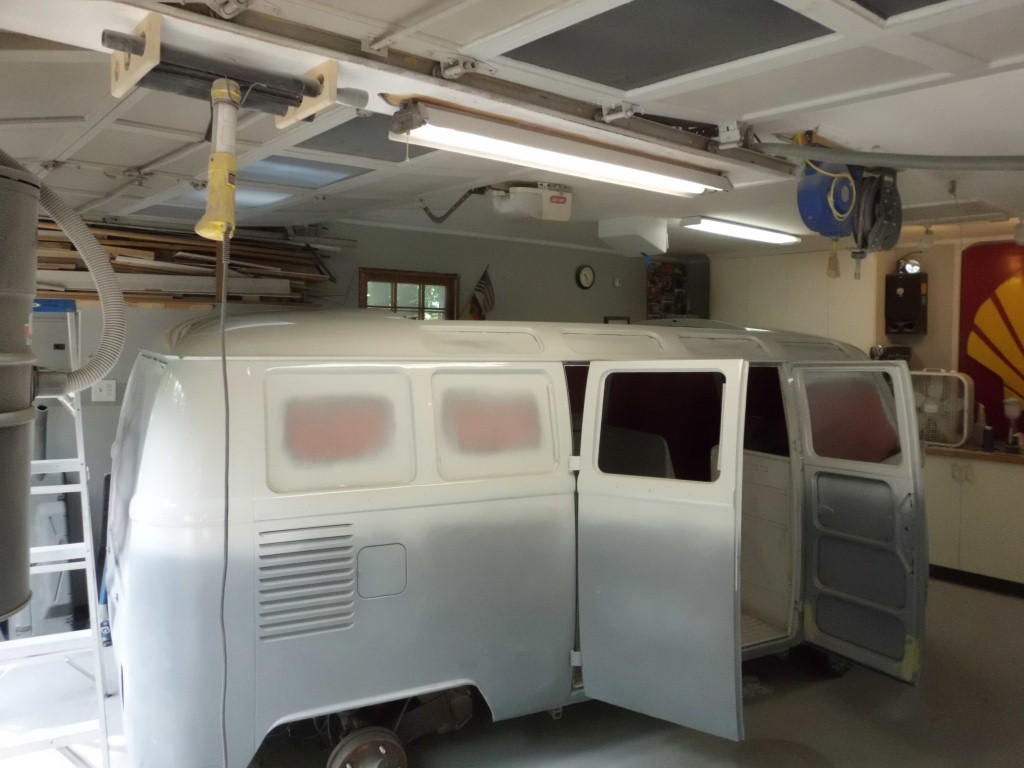
Roof Sealed
Roof sealed with epoxy primer to isolate the bodywork from the top coats. The bodywork and high build layers can slowly absorb moisture and cause rust if they have any path to the elements; the epoxy sealer is impervious to moisture and prevents this from happening.