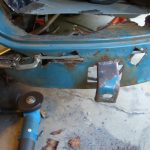
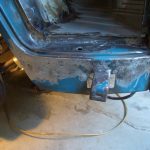
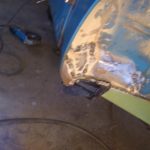
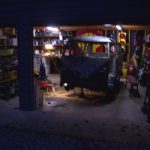
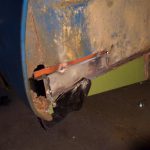
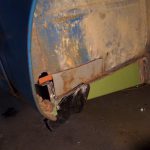
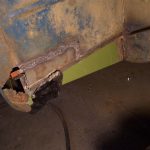
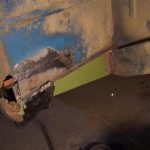
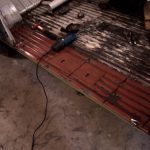
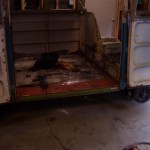
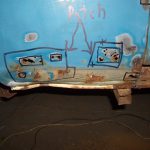
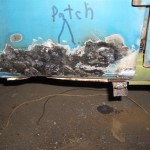
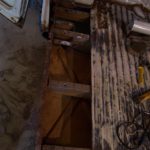
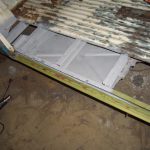
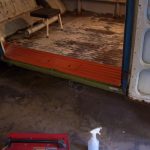
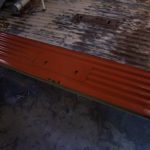
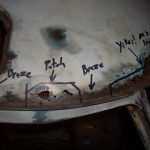
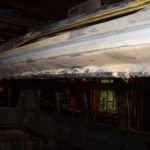
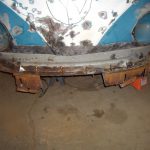
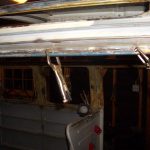
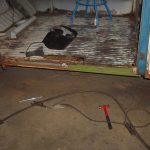
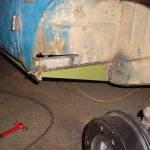
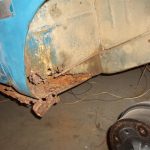
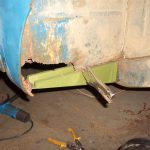
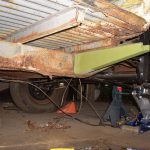
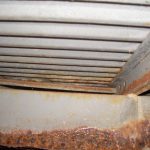
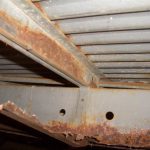
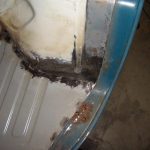
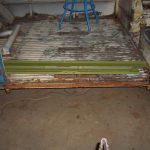
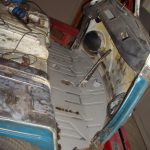
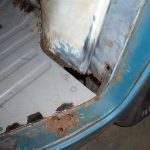
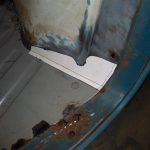
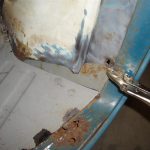
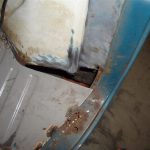
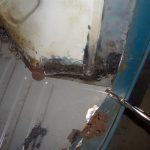
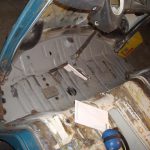
Passenger side “dog leg” before and after
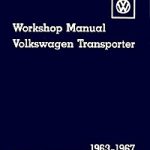
There’s a bit more grinding left but this went very well considering how much was rotted away. Also, the rest of the passenger lower seat pedestal is in, just needs to be ground down. But best of all, Christina got us the ’63-’67 VW Transporter Workshop Manual by Bentley.
Great weather today!
Half of the replacement metal at the base of the passenger seat pedestal is in. Like the rest of the patches made so far the goal is to get a solid foundation that requires a minimal amount of filler to smooth. Creating a perfect surface at the sheet metal level is nearly impossible and of limited value except for museum vehicles. See below for the repair sequence: Cut-fit-weld-grind.
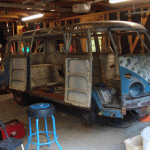
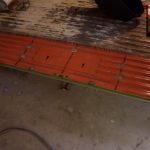
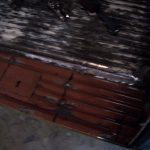
The cargo rocker panel, jack point, and the rear floor are welded on.
Also the loooong weld on the cargo floor repair section is completed and mostly ground down. This weld turned out very well, it should look seamless once the primer is on. Some patching of the passenger side ‘B’ and ‘C’ pillars remains, but after that I should be able to move on to the front.
Some patching on…
…the passenger side quarter panel, cleaned up in-between the floor and belly pan, a test fit of the floor repair section and rocker panel.
Replacement parts have arrived!
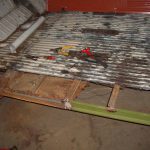
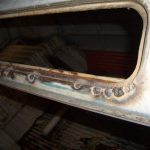
Prepping the outer 11″ of cargo floor for replacement. Welded the gutter section and started patching holes around the ‘Samba’ windows. (lots of fine-tuning left with these welds)
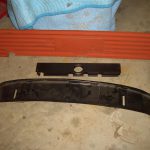
Getting ready for a front valance…
…that’s on a slow truck from Vancouver, BC. Also scratch-built a replacement gutter over the passenger side door and welded up the replacement cargo rocker
‘Outrigger’ and inner rocker panel welded in…
…(with a scratch-built ‘tophat’ panel). The floor no longer sinks down when stepping into the back, das ist gut!


