

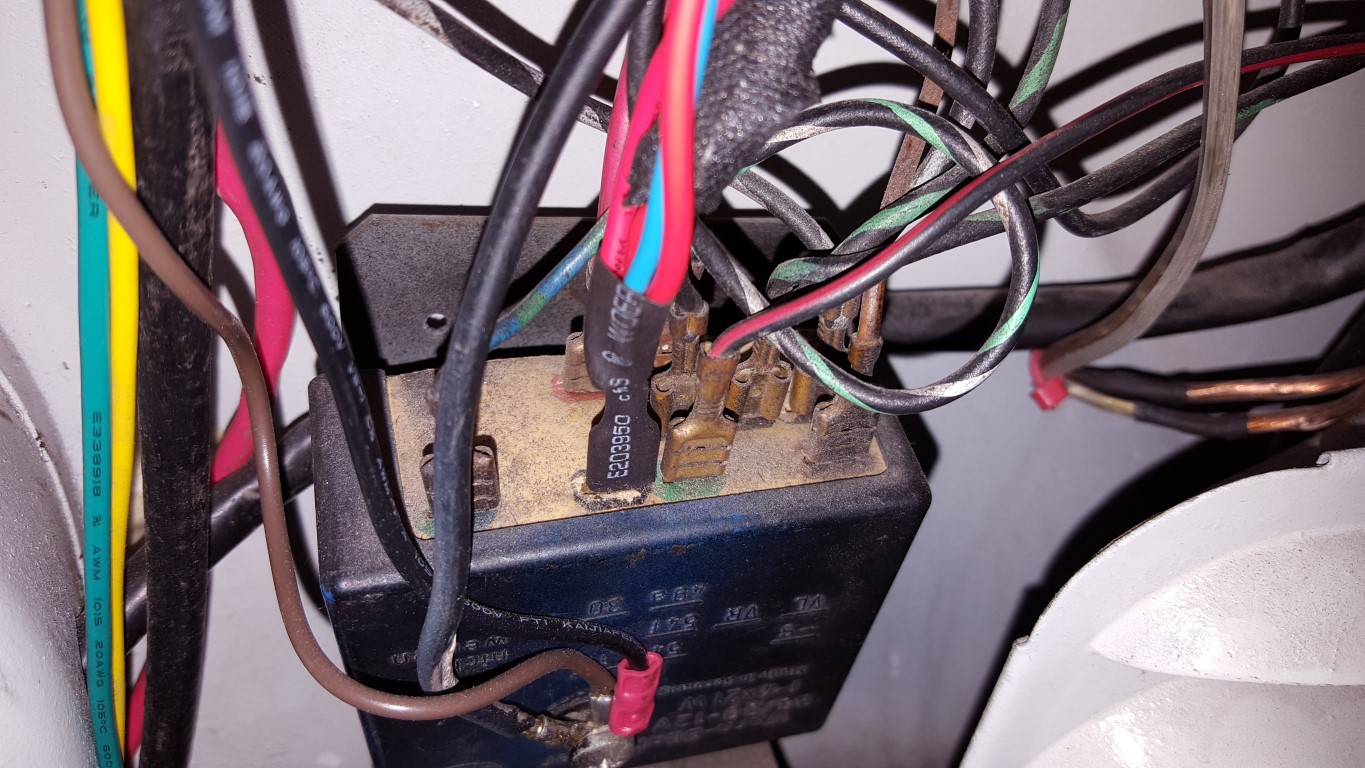
On the last few test drives the blinkers had begun blinking very fast. On many cars, even today, which use a thermal timer relay this would mean a bulb was burned out. The bus, however, uses a resistive/capactive timer circuit that’s relatively immune to such load changes. I opened up the ‘black box’ hazard/blinker control module and even though it only consists of a few relays, a pair of germanium transistors*, and a handful of discrete parts it’s by far the most sophisticated electronic part in the bus; actually it’s the only electronic part if no radio was installed.
*This was roughly the time frame when people discovered that silicon was nearly as good of a semiconductor but far cheaper and easier to work with.
Troubleshooting “Space Age” electronics like this is basically the same as troubleshooting modern electronics:
#1 – Replace any/all electrolytic capacitors.
#2 – If it doesn’t’ work, throw it away unless it’s really valuable and further in-depth analysis can be justified.
This repair was no different, though I had to guess at the values since the capacitor code/markings were non-standard and only decipherable to electrical engineers of 1960’s Germany. With new capacitors its back to blinking at a good rate for both blinkers and the hazard signal.

The clock also needed attention as it stopped a while back. Once I opened it up I found that everything appeared to be OK. I poked the rewind contacts with a pin while the clock was powered on and there was a small spark followed by a successful rewind; meaning the contacts were just dirty. After cleaning the contacts it successfully went through it’s usual automatic cycling. It’s a ‘normal’ old-fashioned wind-up clock in every way except that there’s a solenoid on a crank to rewind it and when the spring unwinds electrical contacts come together to energize the solenoid and rewind itself. Because it always has battery power available, the spring only lasts a minute or so before it cycles again.
Also, not pictured, I finished fabricating the passenger seat frame and added tabs to the seat mount. The seat pads arrived for both front seats; all seats are now complete and ready for covering in the spare vinyl that I have set aside.
