The engine was removed and cleaning began on the engine bay. There’s a thick coating, up to an inch in some places, of muddy grime that’s covering both the lower and upper engine/transmission areas. The engine removal took less than 15min and it’s easy to carry around, cleaning will take much longer.
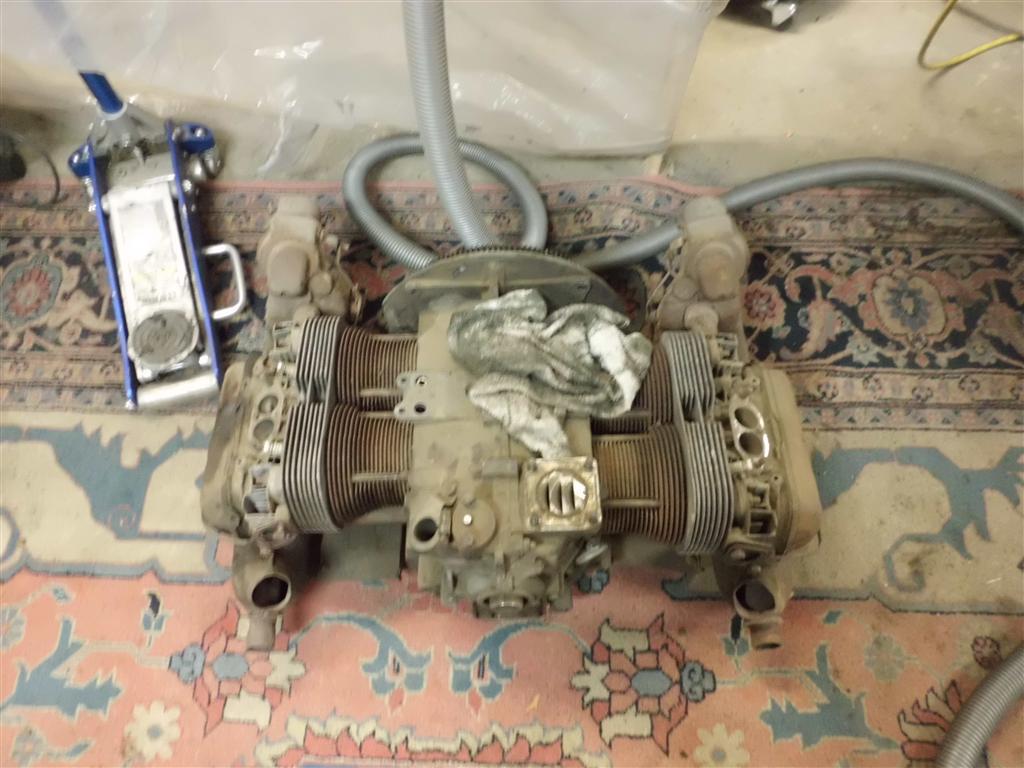
Engine removed, cleaning begins
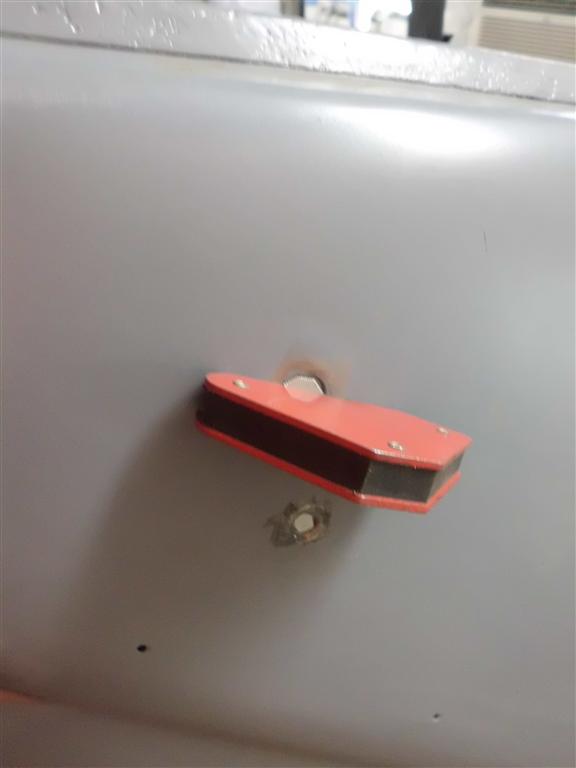
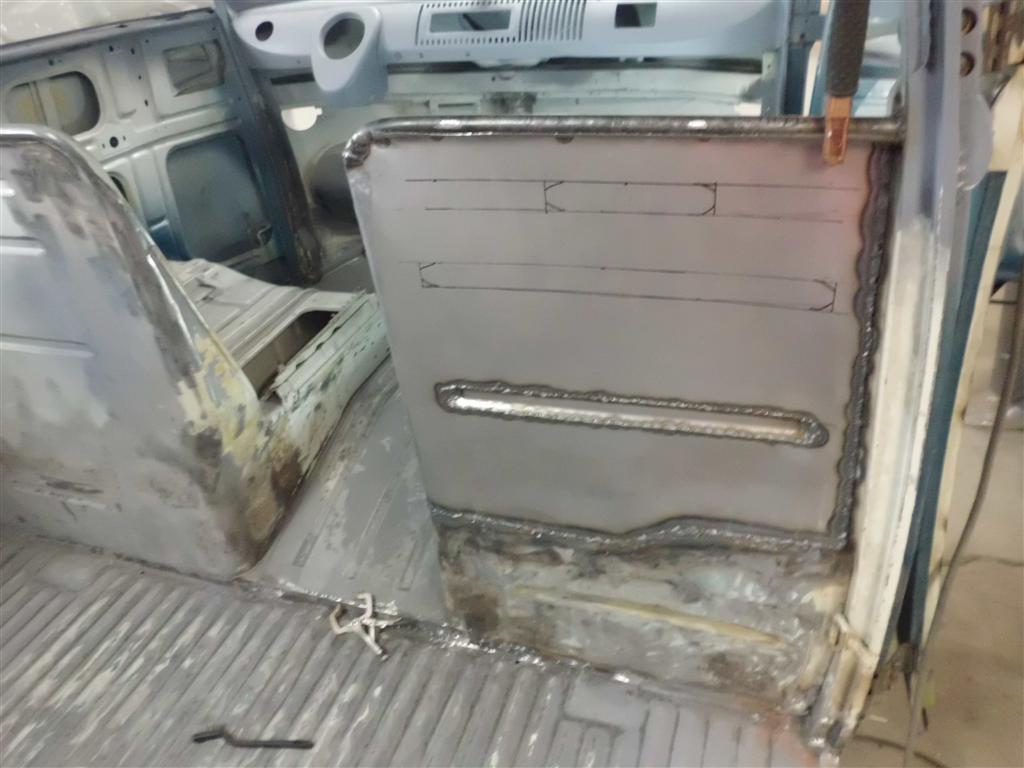
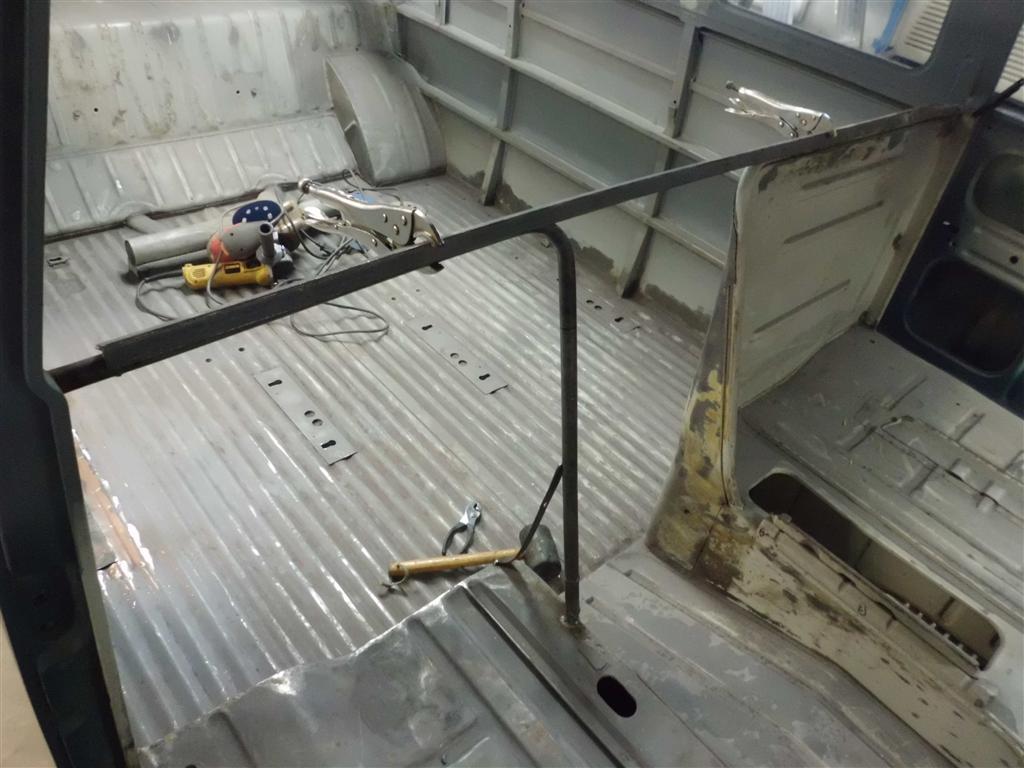
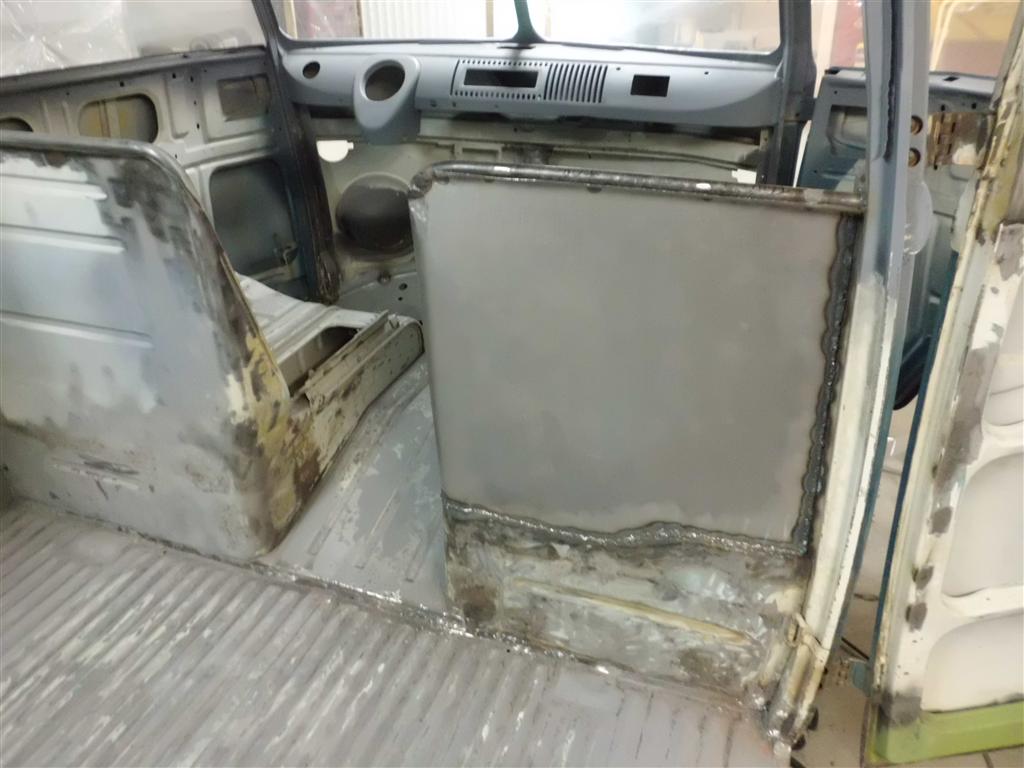
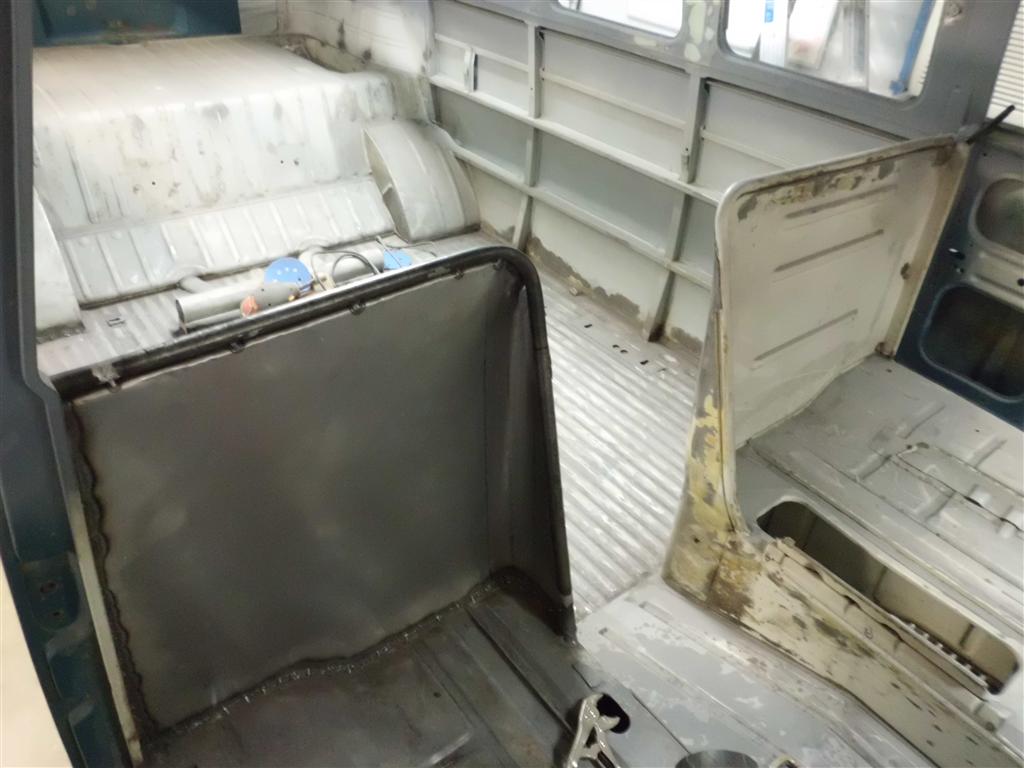
Passenger seat partition completed, Antenna deletion
The top rib was added to the passenger seat partition, completing this area. Also, the original antenna location is not really compatible with the safari windows that are being added since the passenger side windshield would swing into the back of the antenna. The factory got around this problem by having a special antenna that was S-shaped at the bottom for clearance. I could probably fabricate something close to this special antenna but since I think that looks weird I’m opting to instead fill the hole. I’ll worry about the antenna later, there’s so much glass surface area that I may be able to mount it hidden under the headliner and still have plenty of reception.
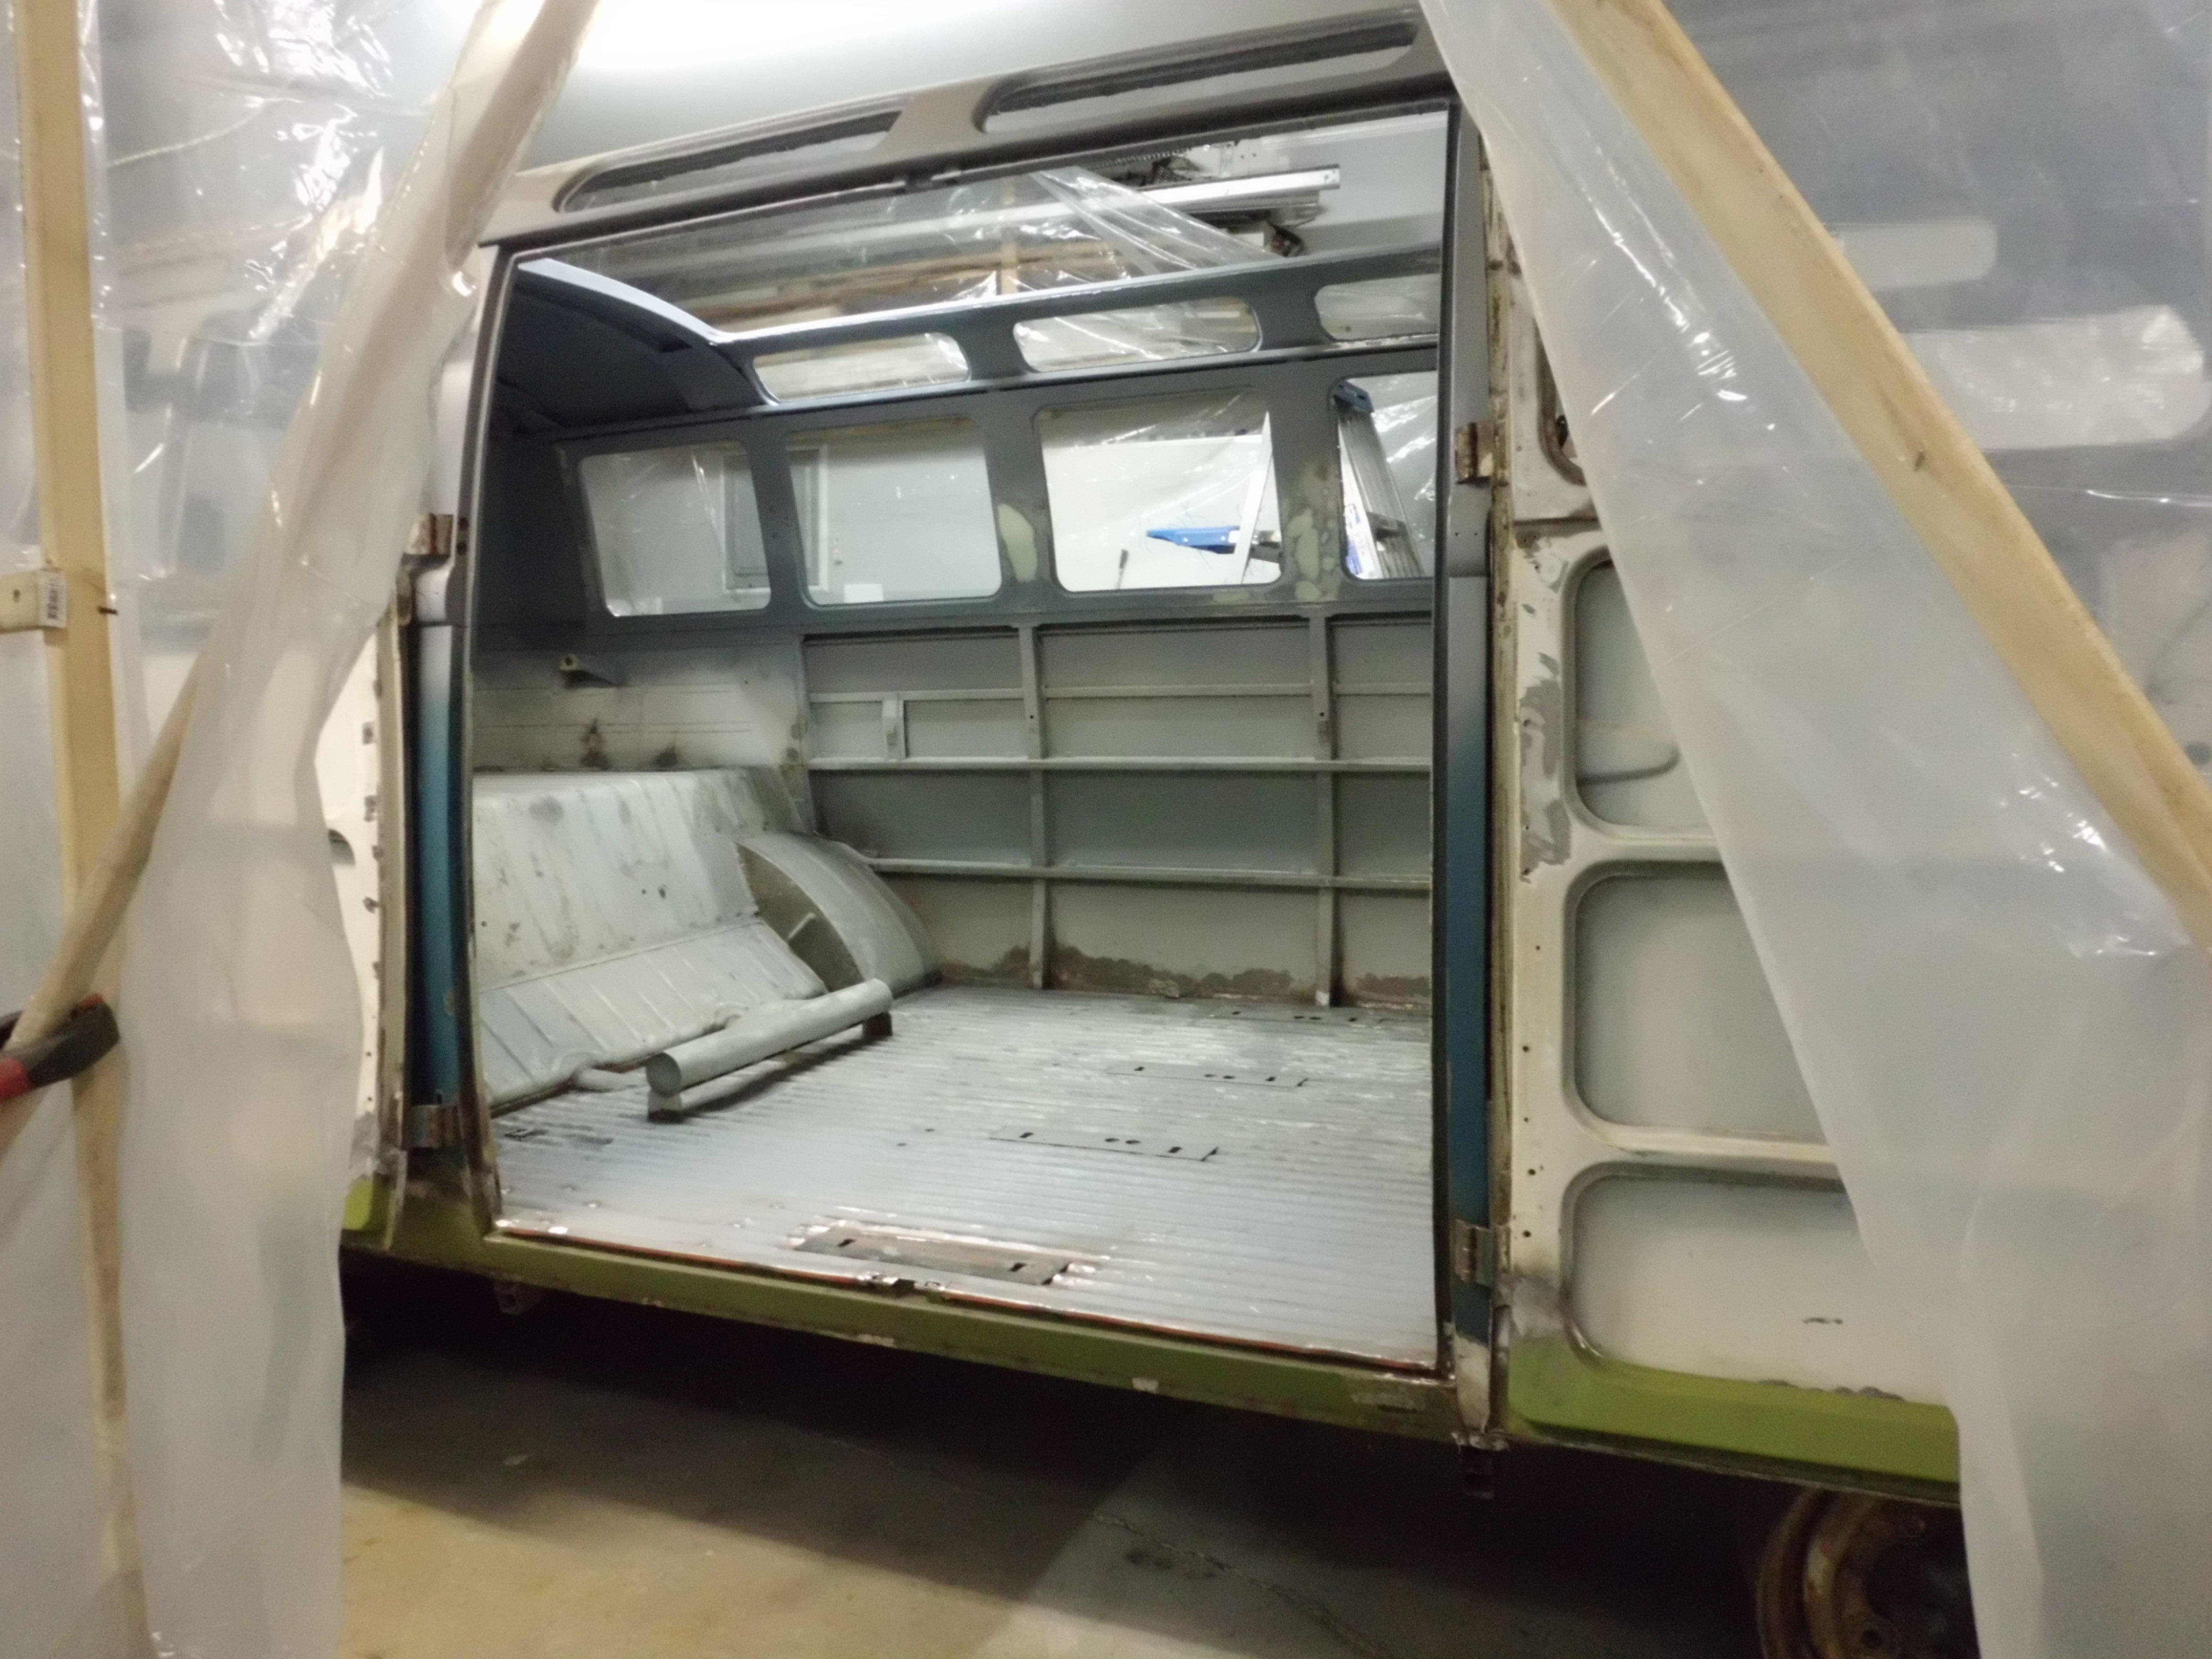
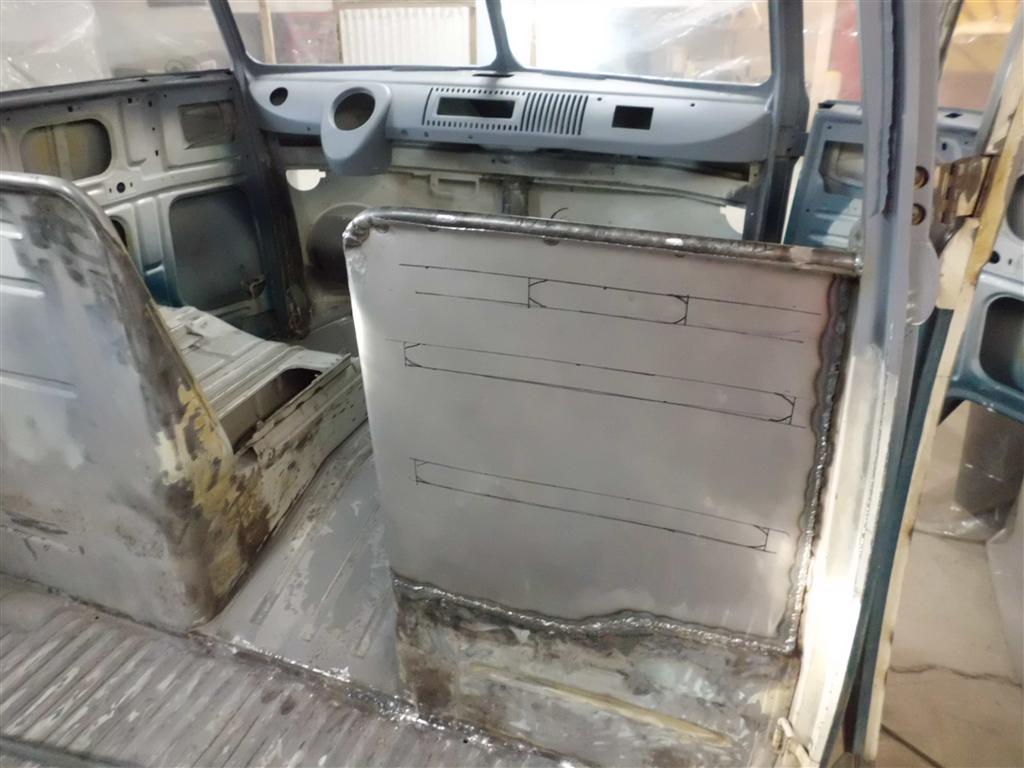
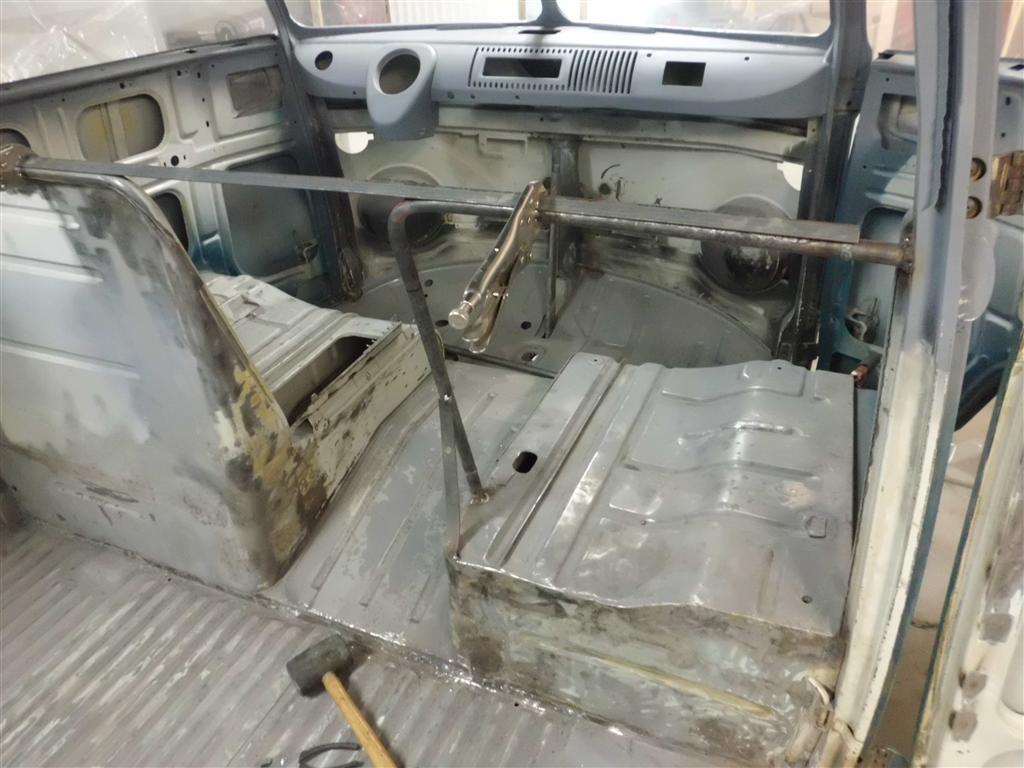
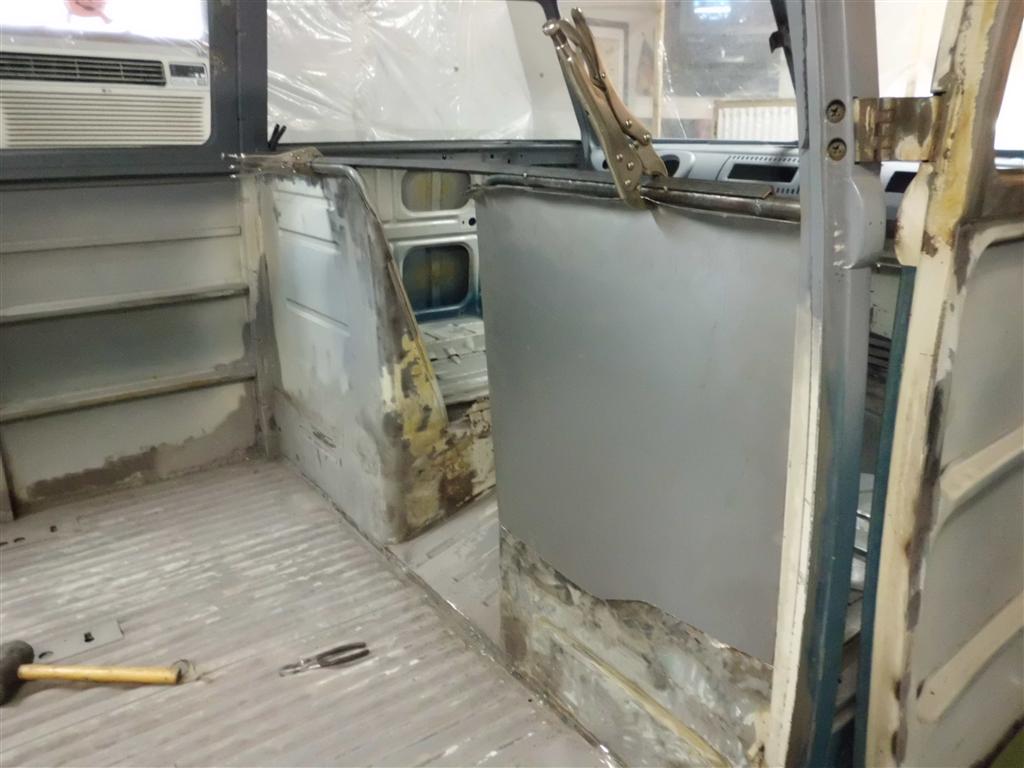
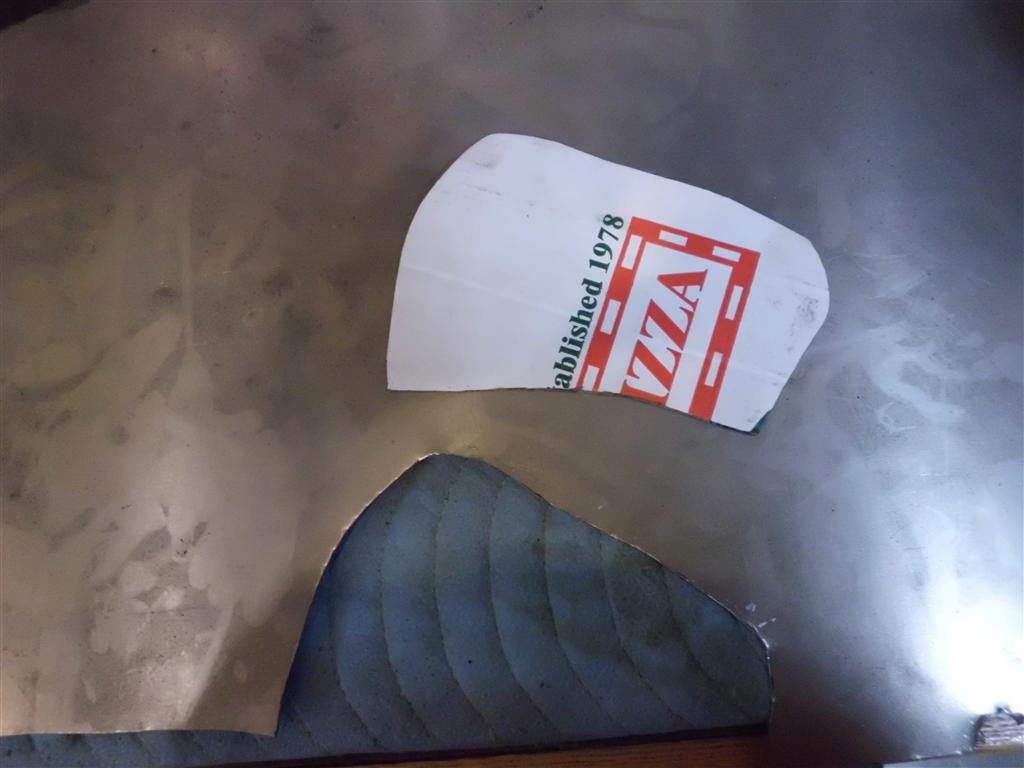
Passenger Seat Partition Fabrication pt2
The fabrication of the walkthrough partition continued with the addition of ribs to the sheet metal installed yesterday. The ribs add strength to the otherwise flat sheet metal, preventing the panel from resonating while the bus is running. These ribs would have originally been pressed into the panel by a machine twice the size of the garage the bus is being restored in. Since I don’t have one of those, the ribs are being recreated by welding in a section of sheet metal bent into a “C” shape.
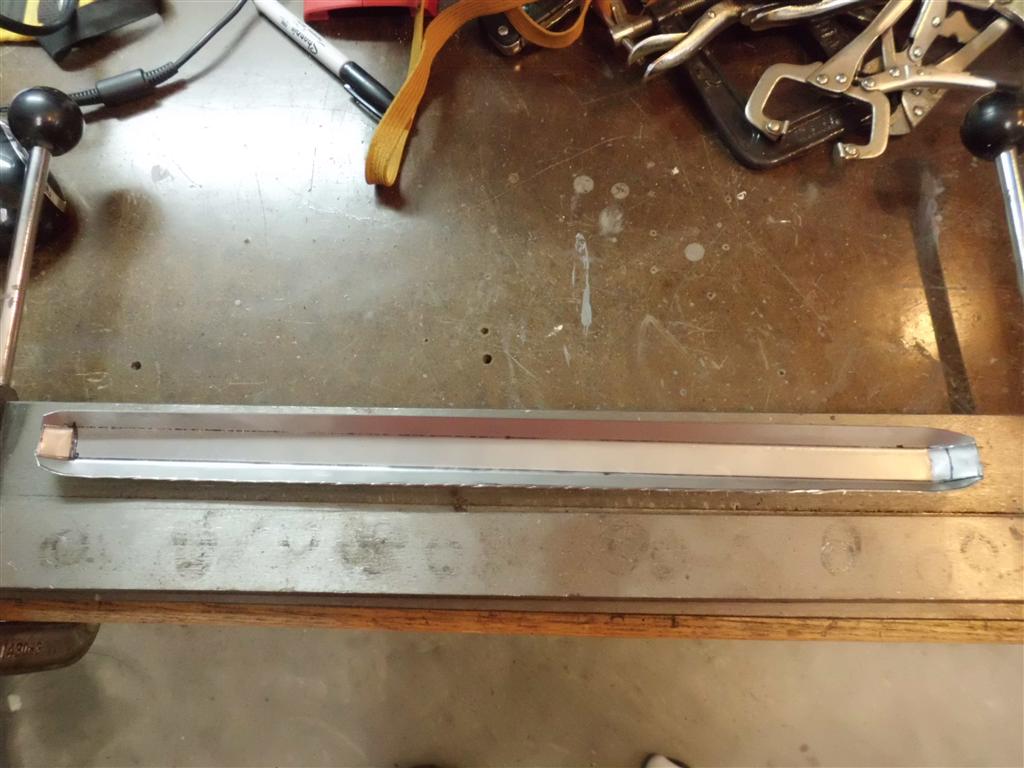
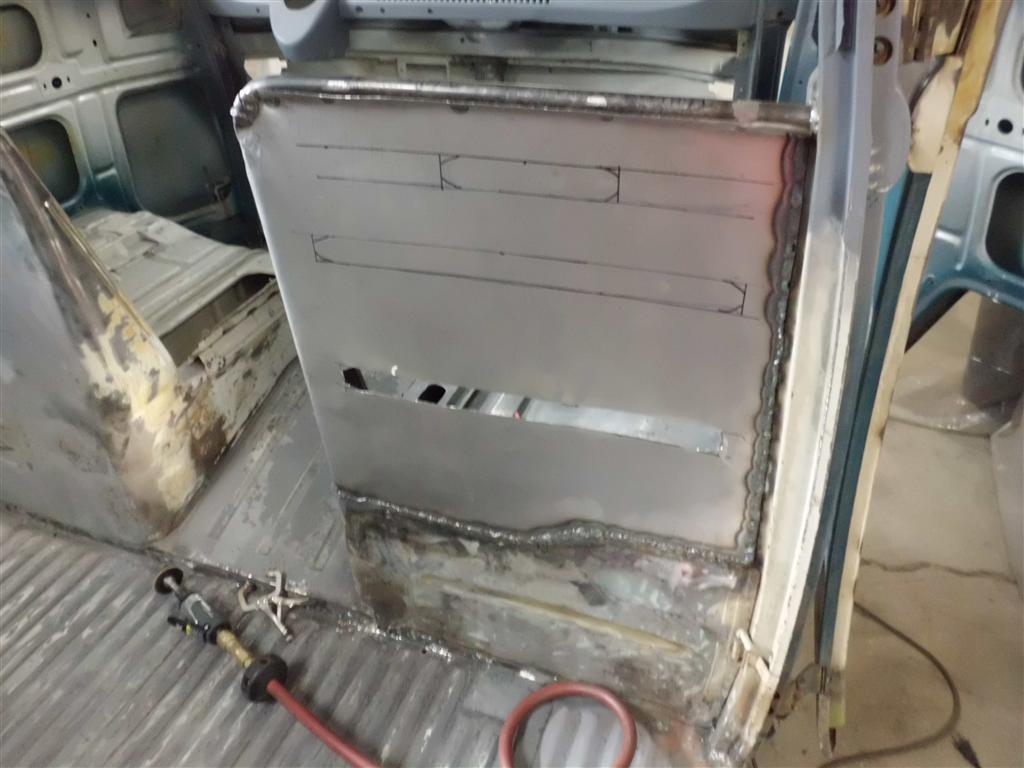
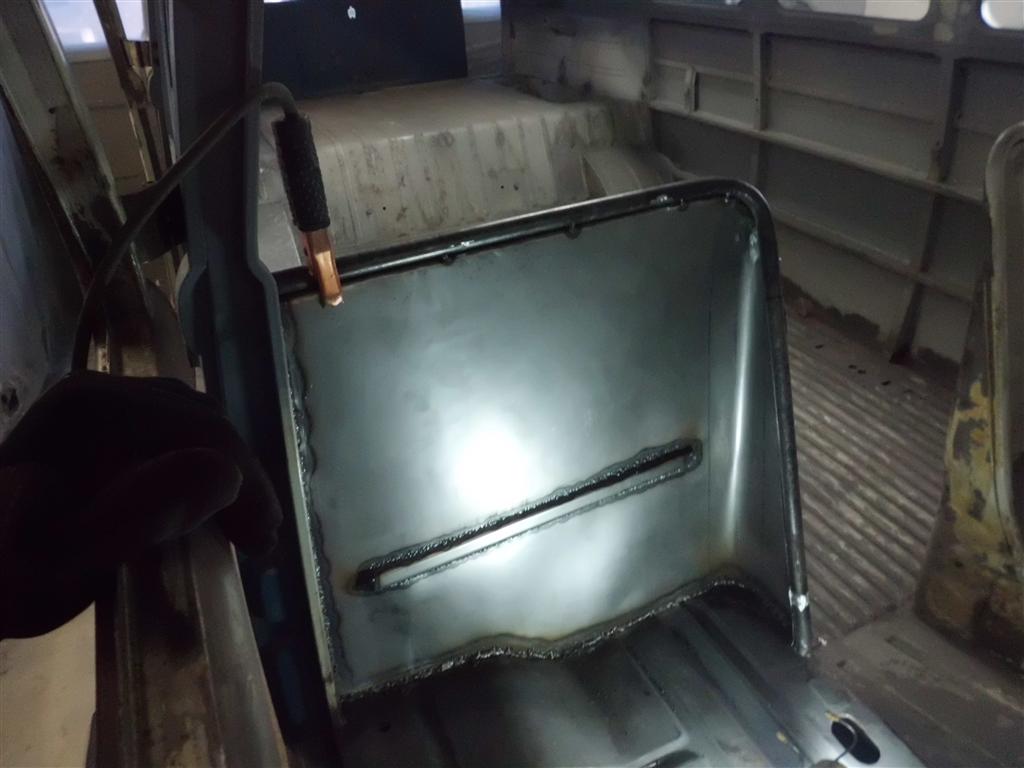
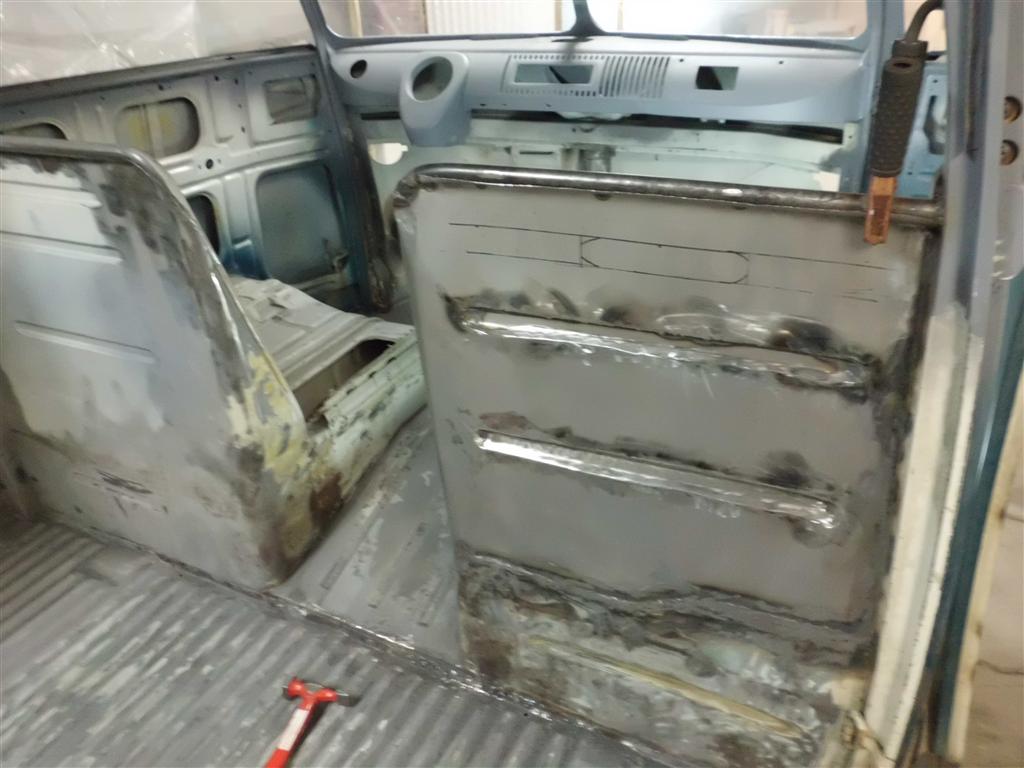
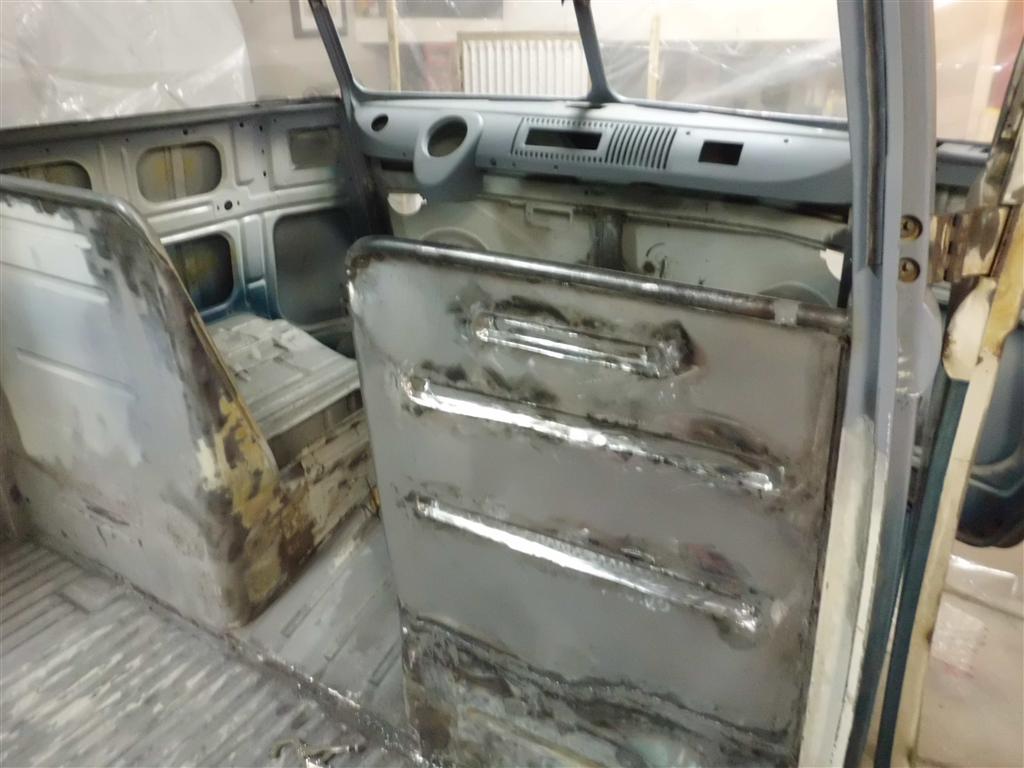
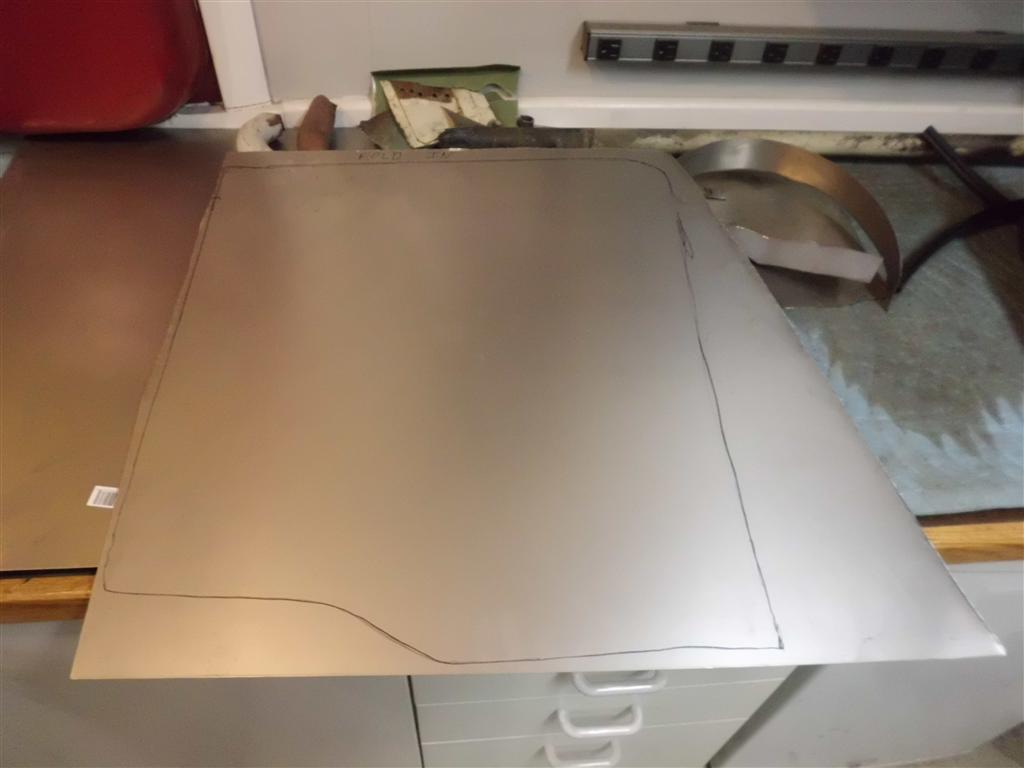
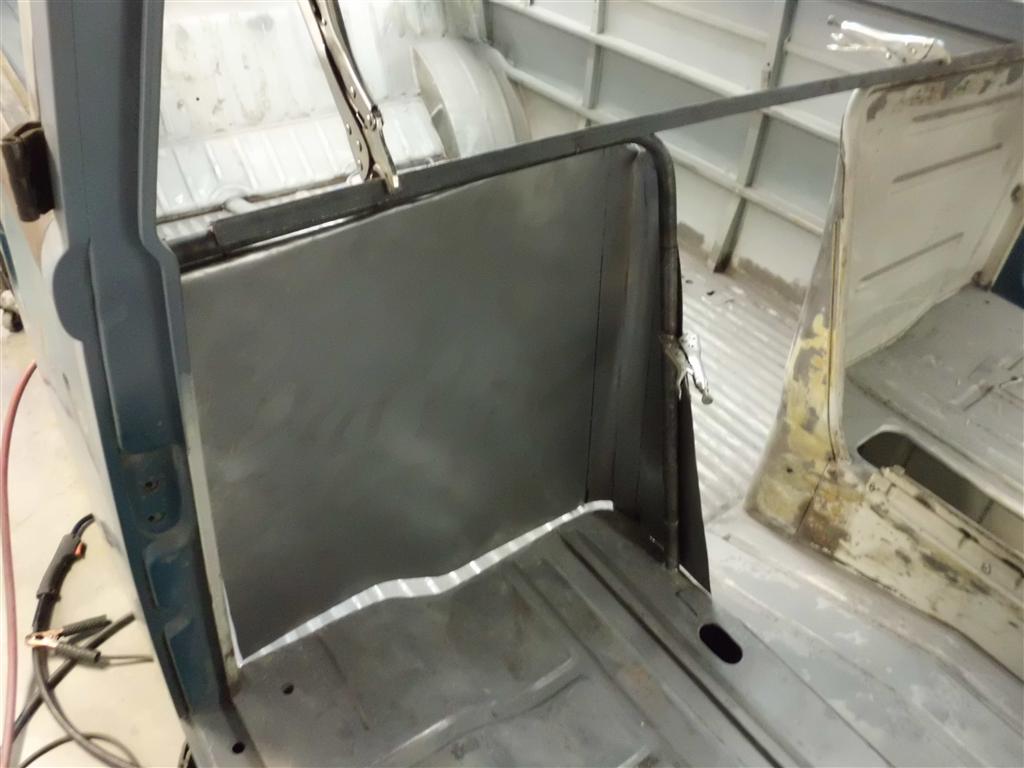
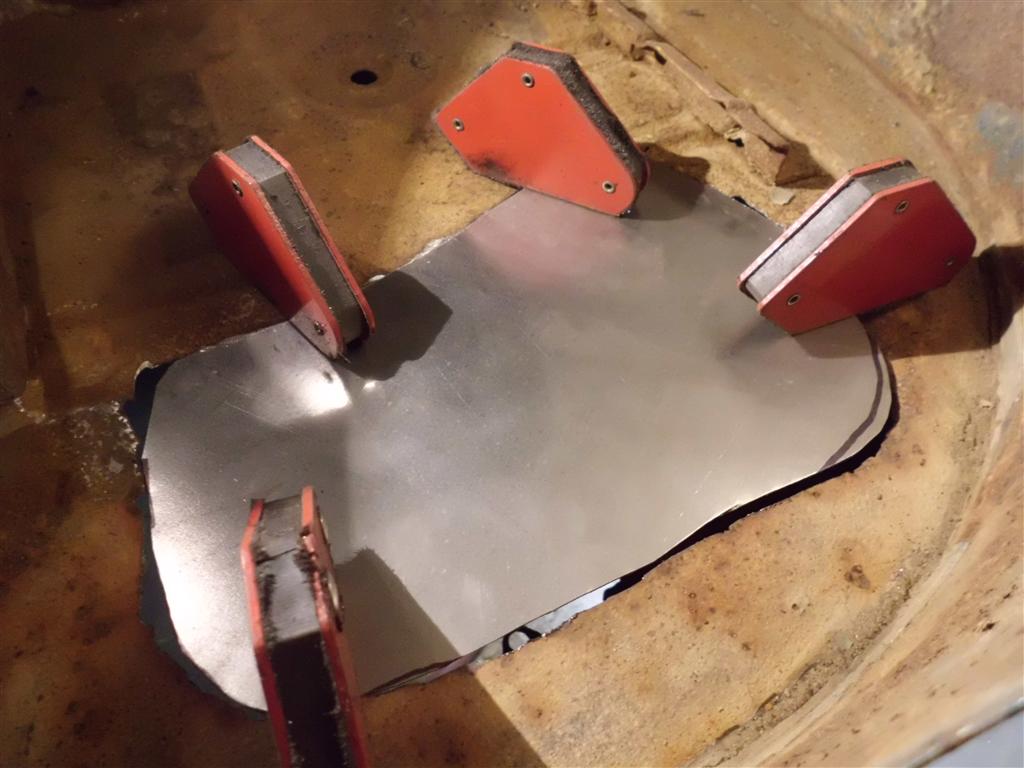
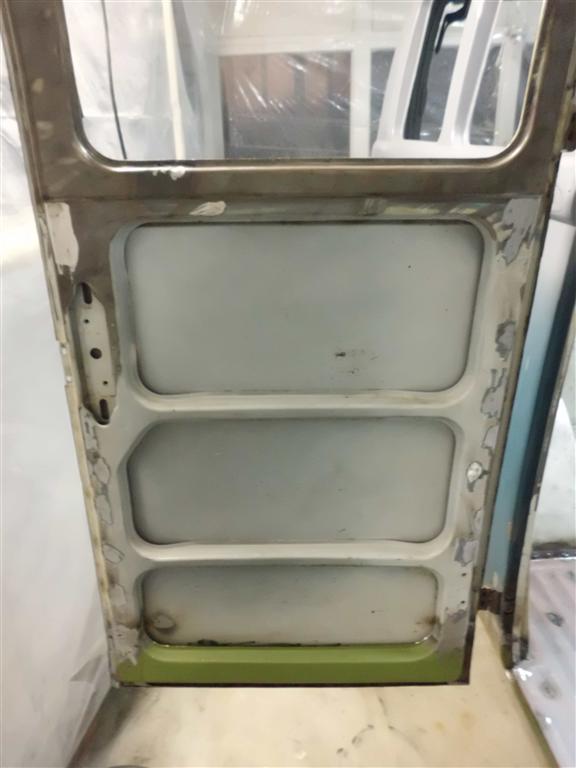
Passenger Seat Partition Fabrication
The passenger side partition panel had been cut out of the bus at some point in the bus’s past, presumably to allow the use of a swiveling seat. Although the restoration will not be 100% accurate, (i.e. non-original safari windows added) having a large part of the interior missing would have been too much of a deviation from original. So in what is probably the most ambitious fabrication project within the bus project so far, a new partition is being created. Luckily, the passenger side partition is somewhat simpler than the driver’s side partition since there are no compound curves required. First a section of tube was heated red hot and bent to the correct radius and welded in place, using a piece of angle iron clamped across the top of both partitions to keep the top tubes co-linear. Next the sheet metal was cut and bent to fit into shape. Finally the sheet metal was welded onto the top of the seat pedestal. The partition will have the raised sections added in the next few days to mirror the raised sections on the driver side partition.

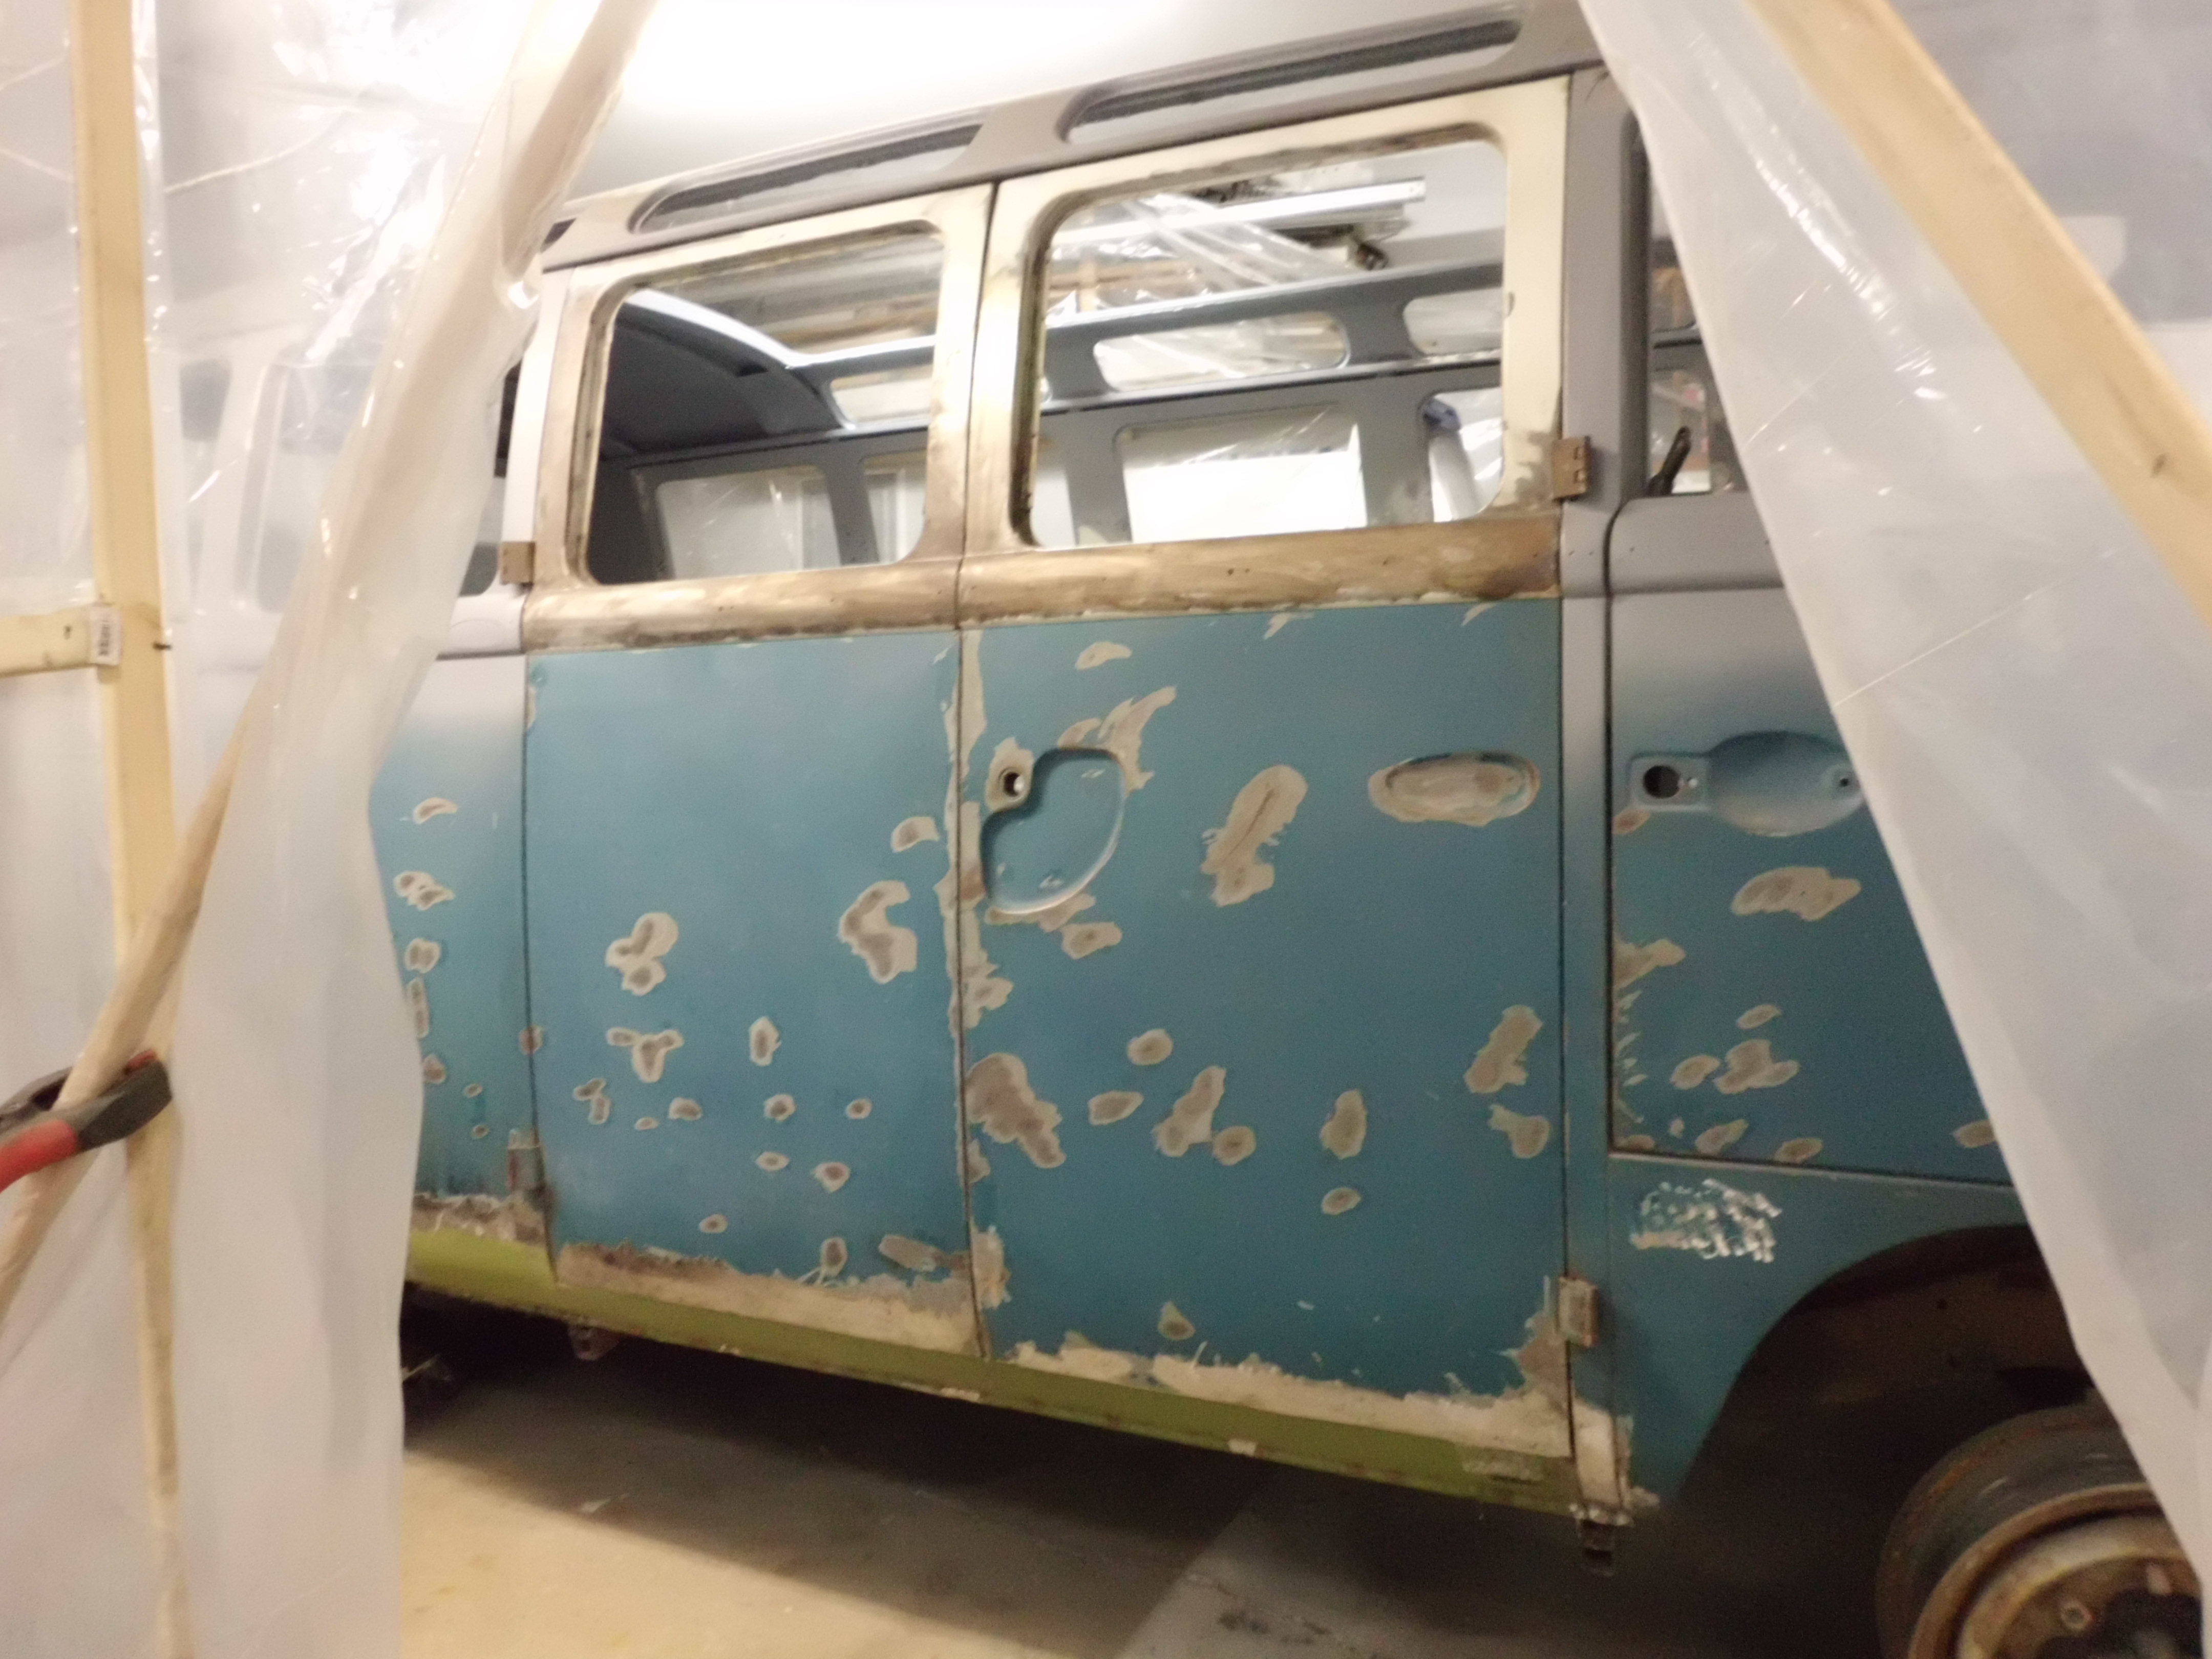
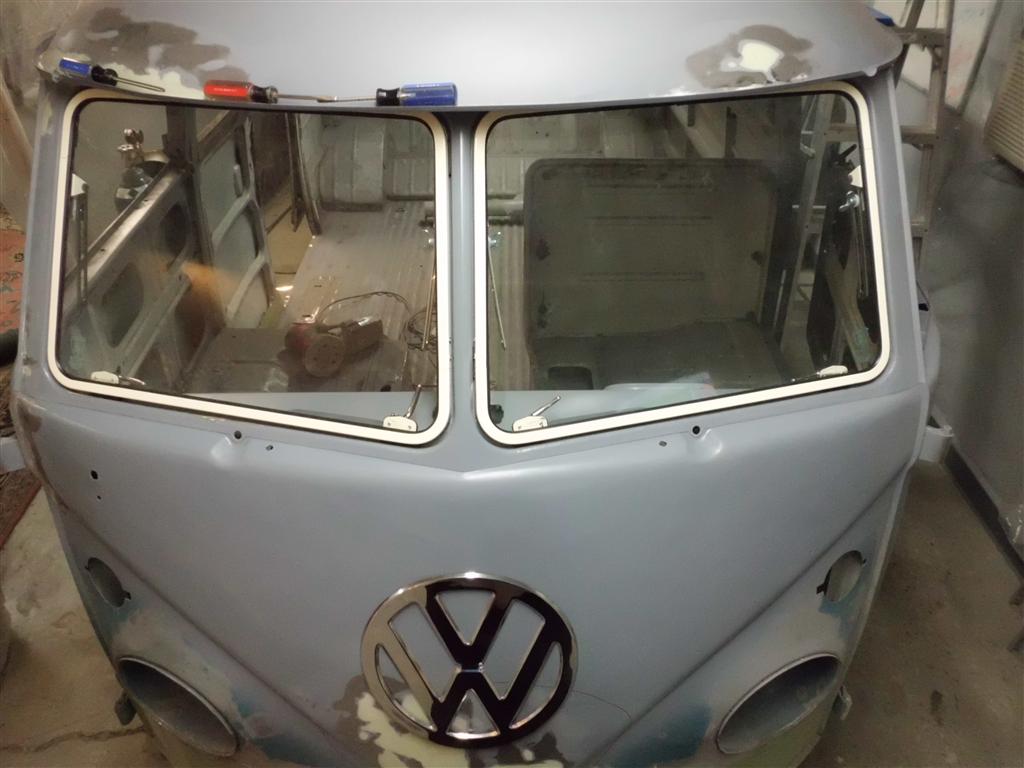
Safari Window Test Fit
The safari windows and emblem arrived today and work began on test fitting. Safari window hardware allows both of the front windshields to open upwards to let in fresh air. This was a factory option originally, however the option was not originally installed on this bus. A few of the brackets involved had to be welded to the inside window frame area, this had to occur before paint otherwise the paint would be burnt. However the brackets could not be properly positioned until all of the hardware was installed. So I fully installed the hardware, marked the bracket location, and then fully removed all of the hardware again. After this was completed I welded the brackets; the hardware will be re-installed after paint.


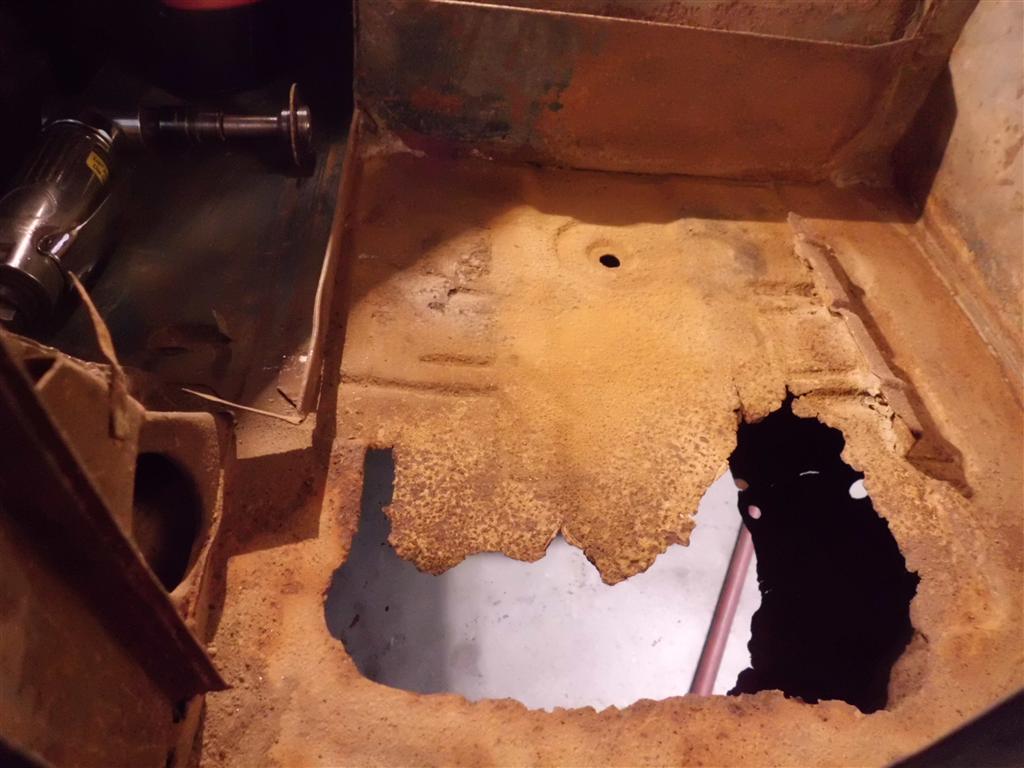
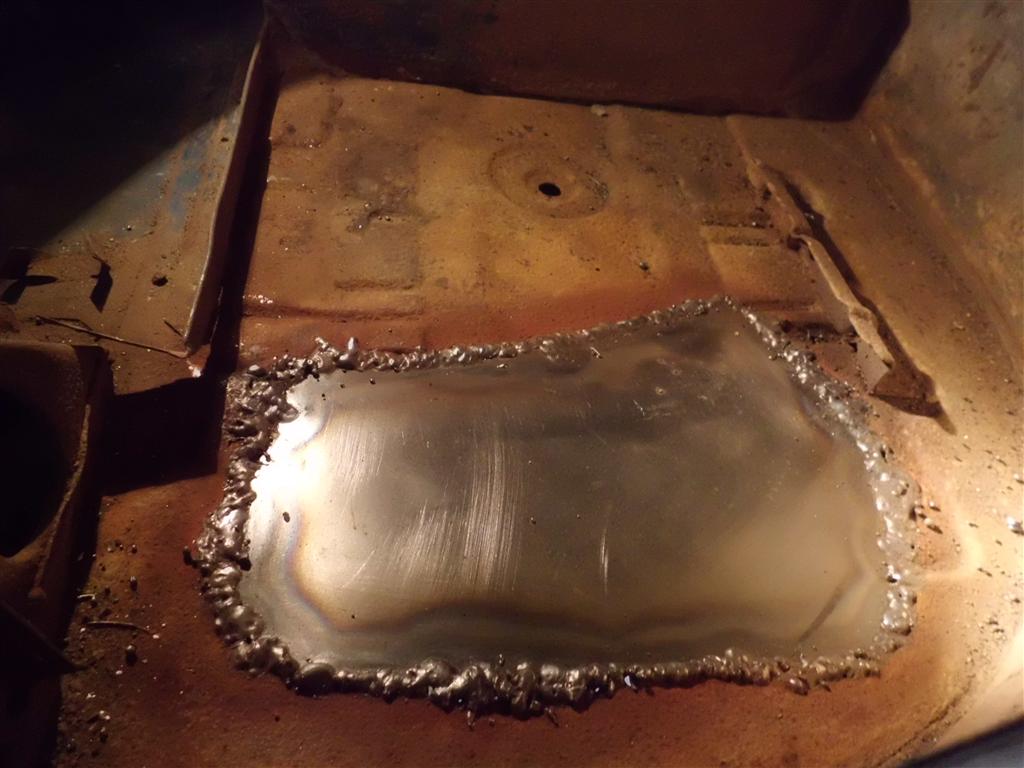
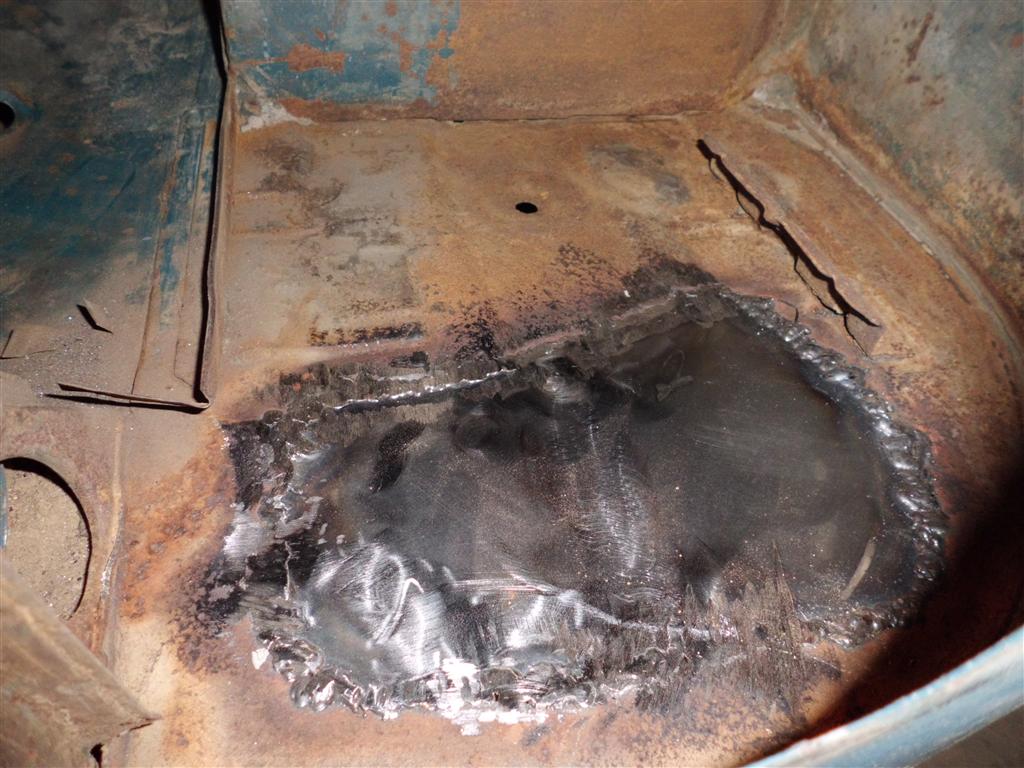
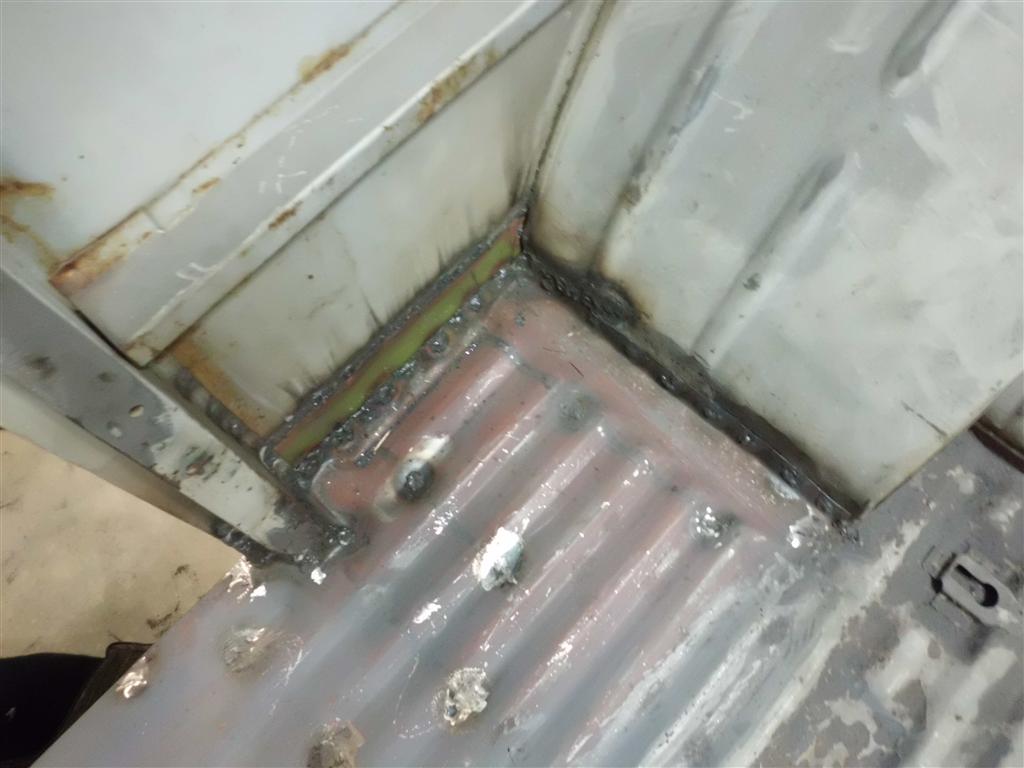
Battery Tray Repair
The battery tray had a rust hole in roughly the shape of the bottom of a battery. Years of battery leaks caused this area to rust at a faster rate than the rest of the bus. The repair is mostly complete, all that remains is to finish grinding and shape the repair to more closely match the crease lines of the surrounding metal. The repair required working in an extremely confined location hence this is probably one of the ugliest repairs I’ve done lately; it won’t be noticeable after the body work is completed.
Planning…
Tonight I came up with a comprehensive list of all items that must be completed to make the bus a completed shell. Once the shell is completed the bus can be put on it’s final wheel/tires to allow safely raising to a height suitable to work on cleaning/painting on the underside. Once the underside is completed the mechanical/electrical reassembly and restoring/installation of small parts will begin.
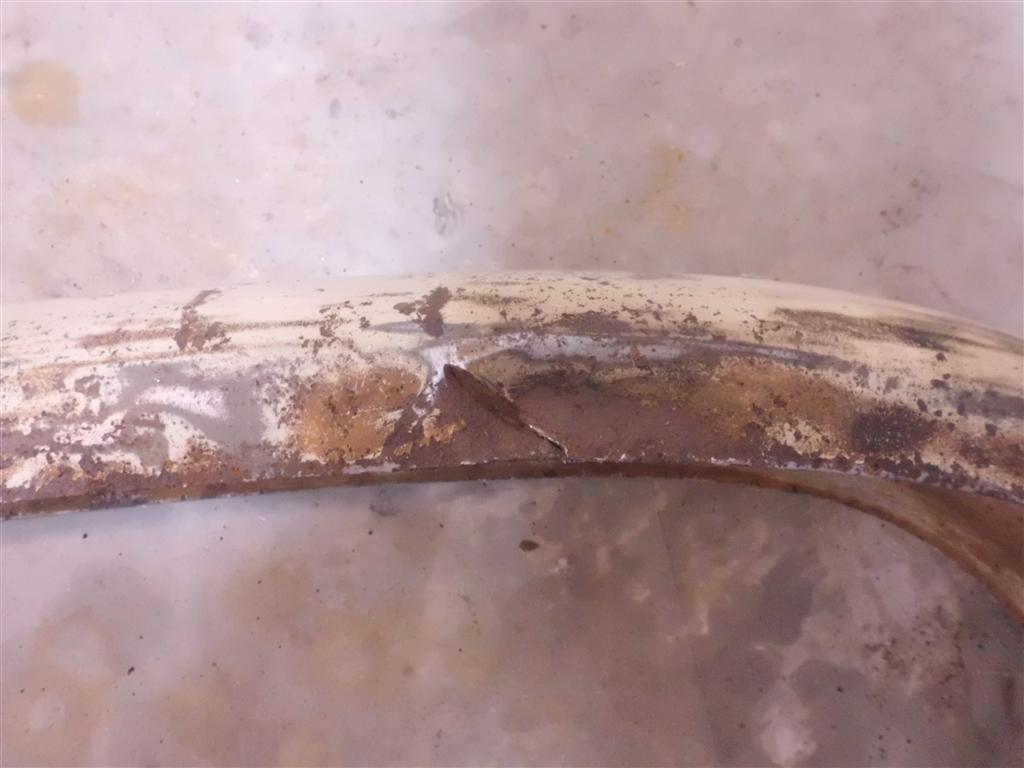
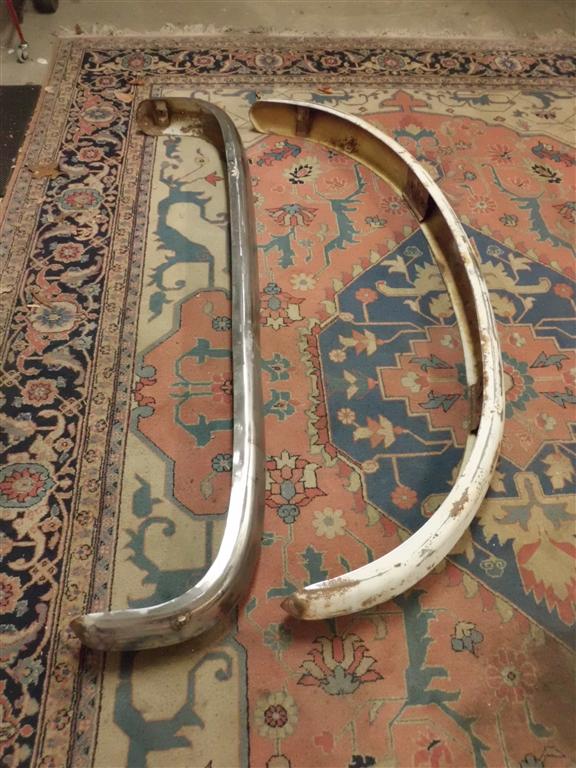
Bumper Repair
Work started on getting the bumpers ready for primer/bodywork. The front bumper only had a few minor bumps that were straightened out; the rear bumper however had a very deep dent and a tear near one of the brackets. The bumper metal is much thicker than anything else on the bus so removing the rear bumper dent required a considerable amount of beating with an 8lb hammer. Despite the crude method the dent mostly disappeared without introducing much warpage. After the bumpers were straightened paint stripping began, these are among the last remaining parts that are rust-covered. Stripping the inside of the bumpers will require media blasting that will be completed this weekend.


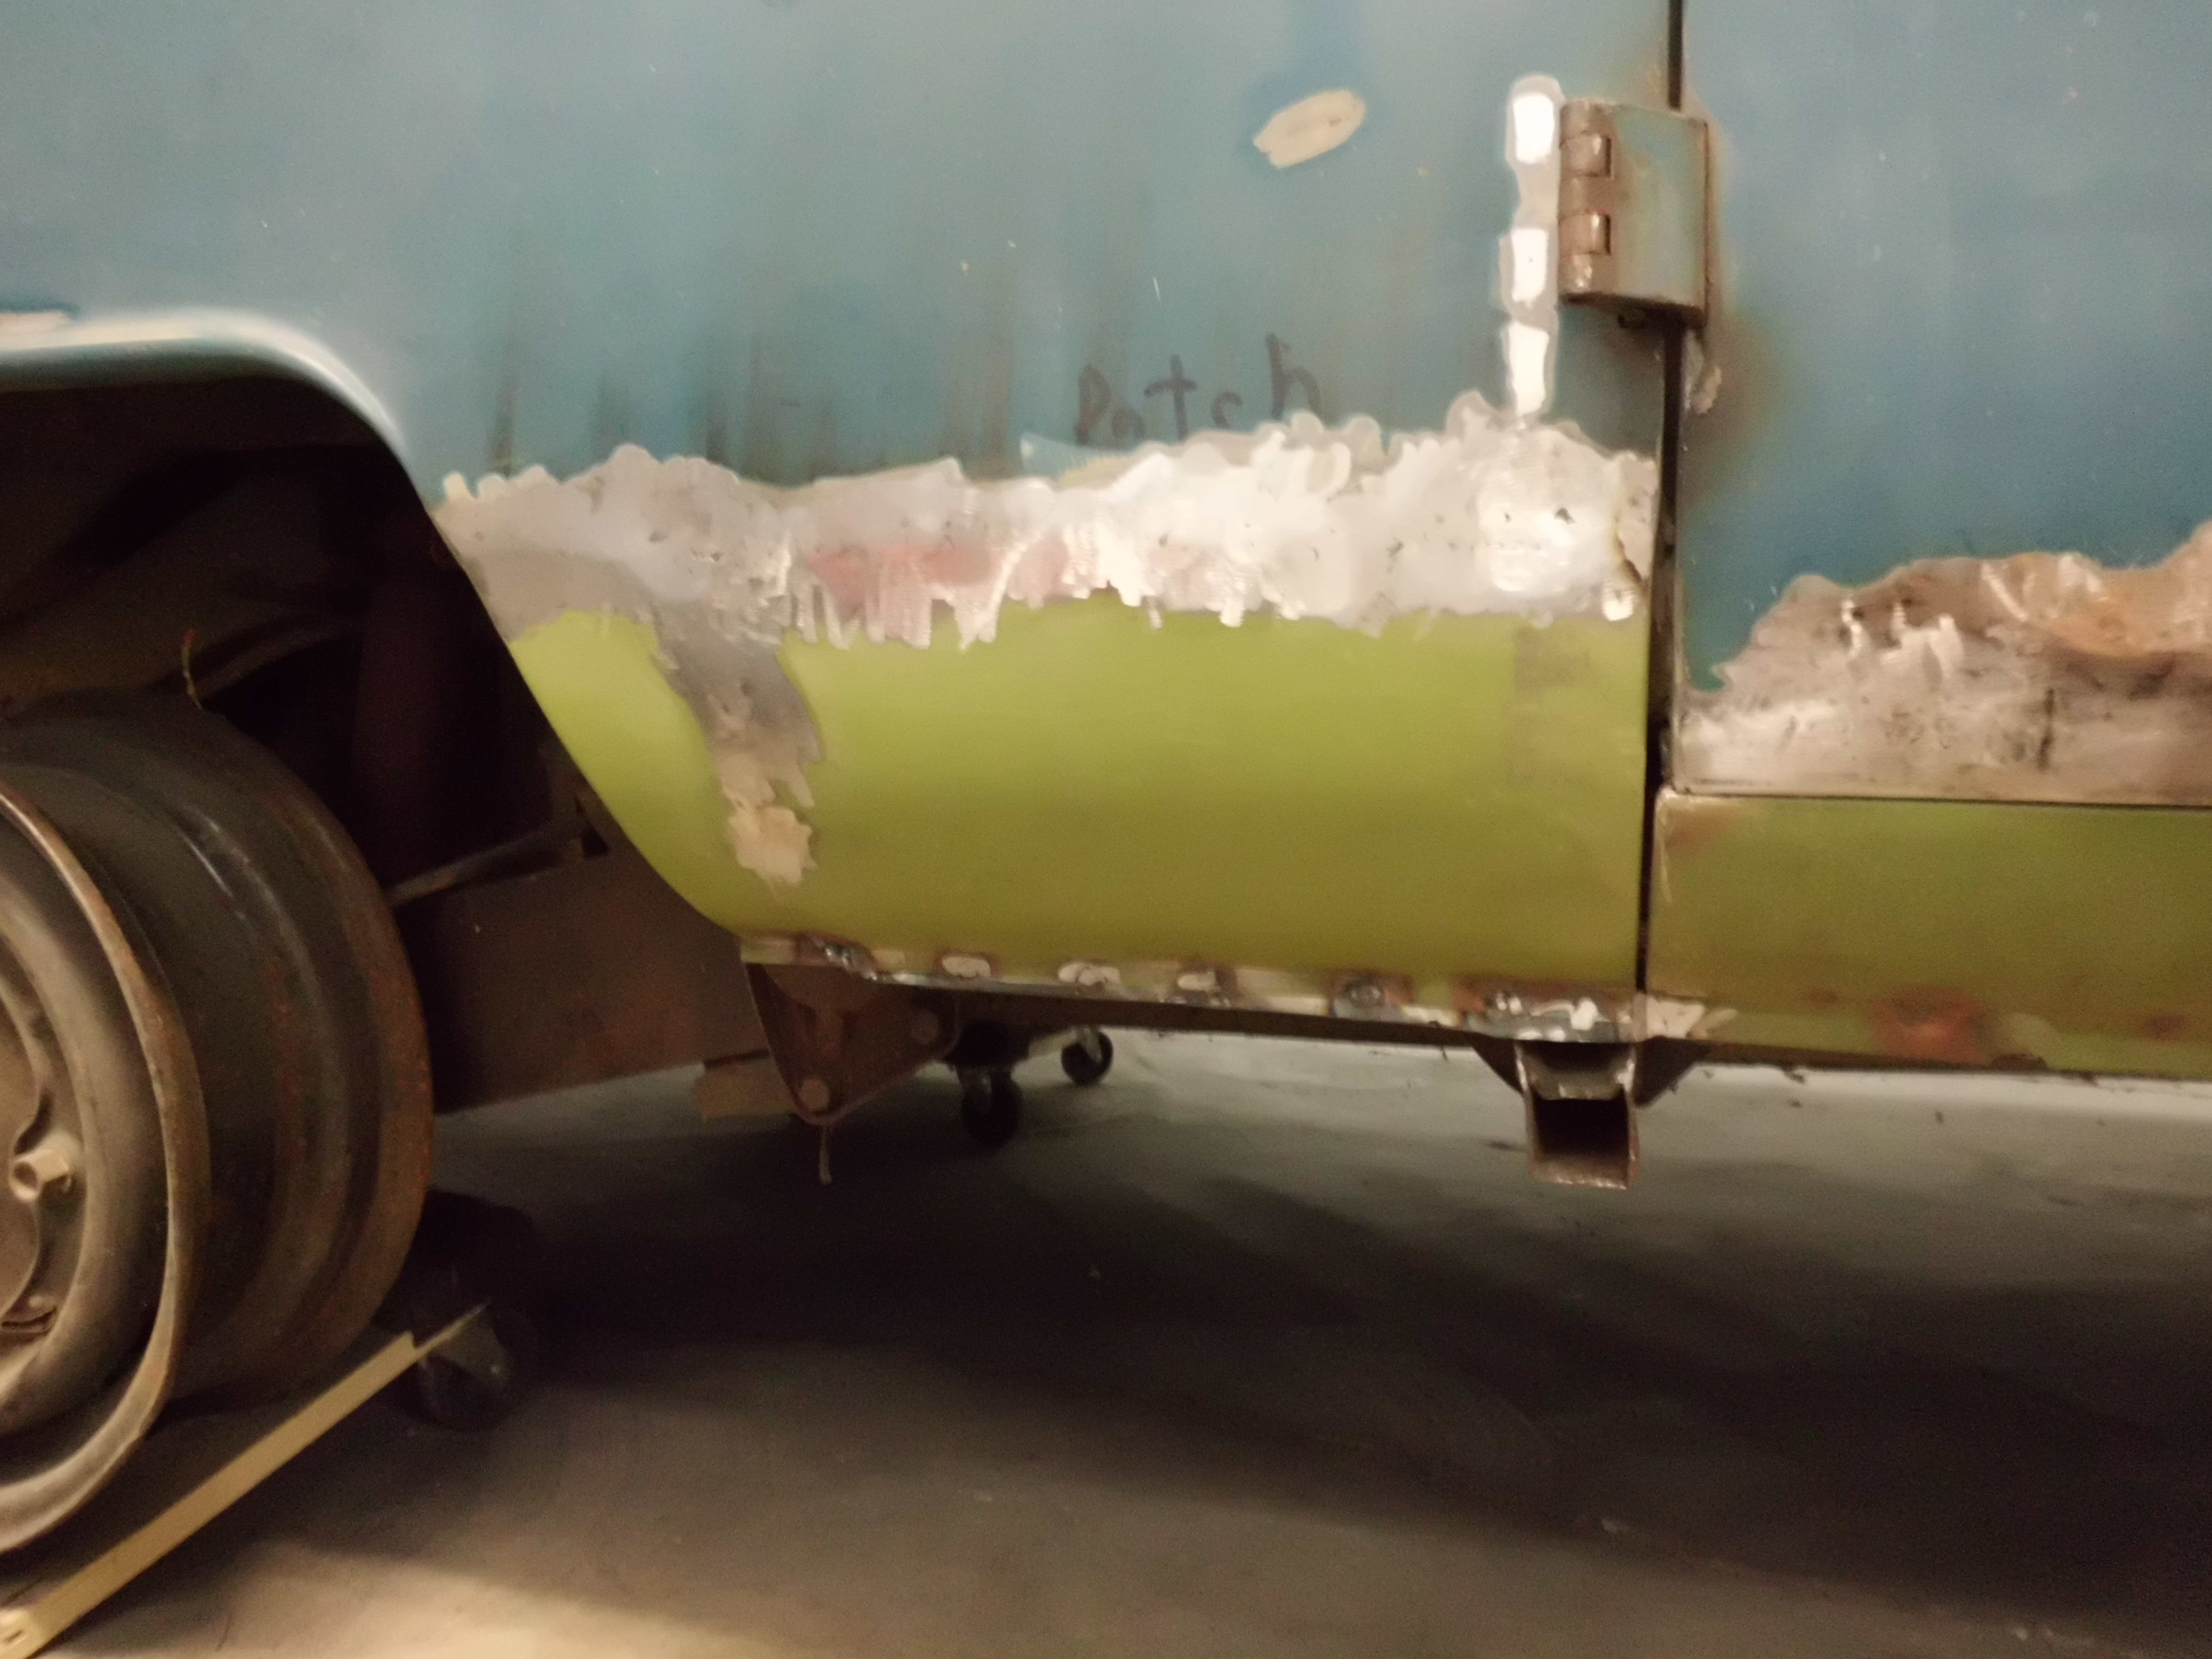
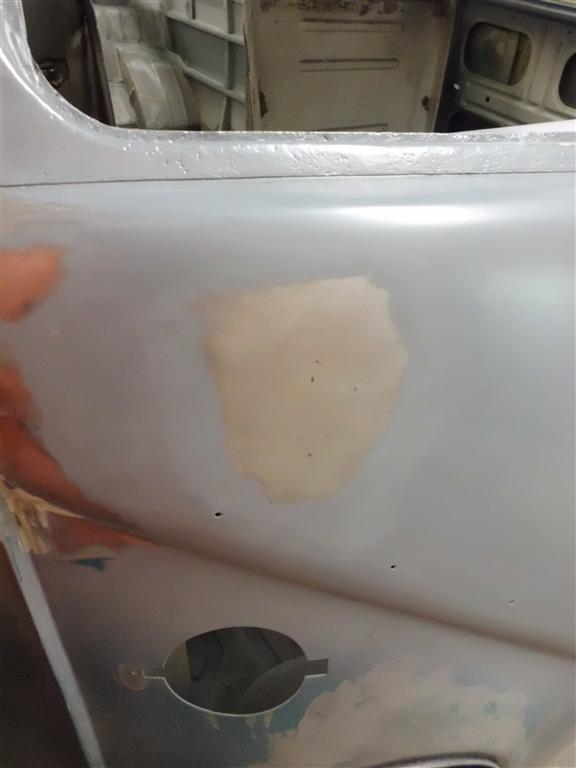
Cargo doors detailed
Screw holes on both cargo doors were repaired and the floor was joined to the quarter panel repair.
Cargo Doors Installed
Both cargo doors are now installed and for the first time in at least a decade the doors fully open and close without catching on the floor. All of the latch holes line up, so if the latch hardware was installed the doors would latch shut. Pinholes were filled on the quarter panel repair, making this area ready for primer/bodywork.