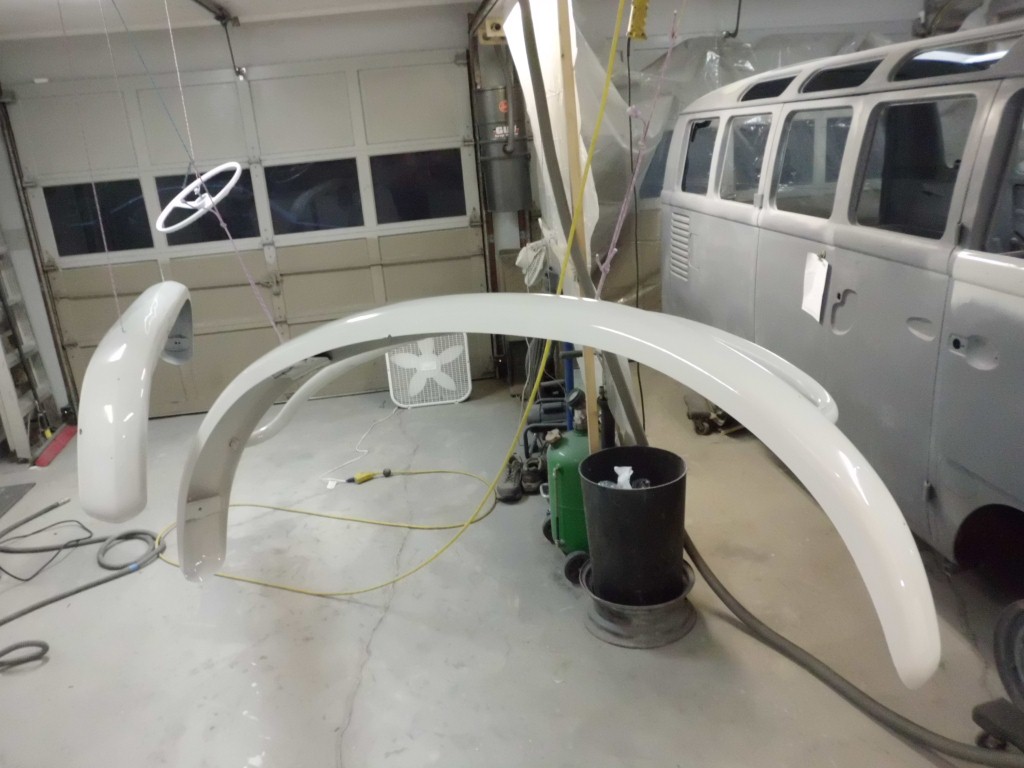
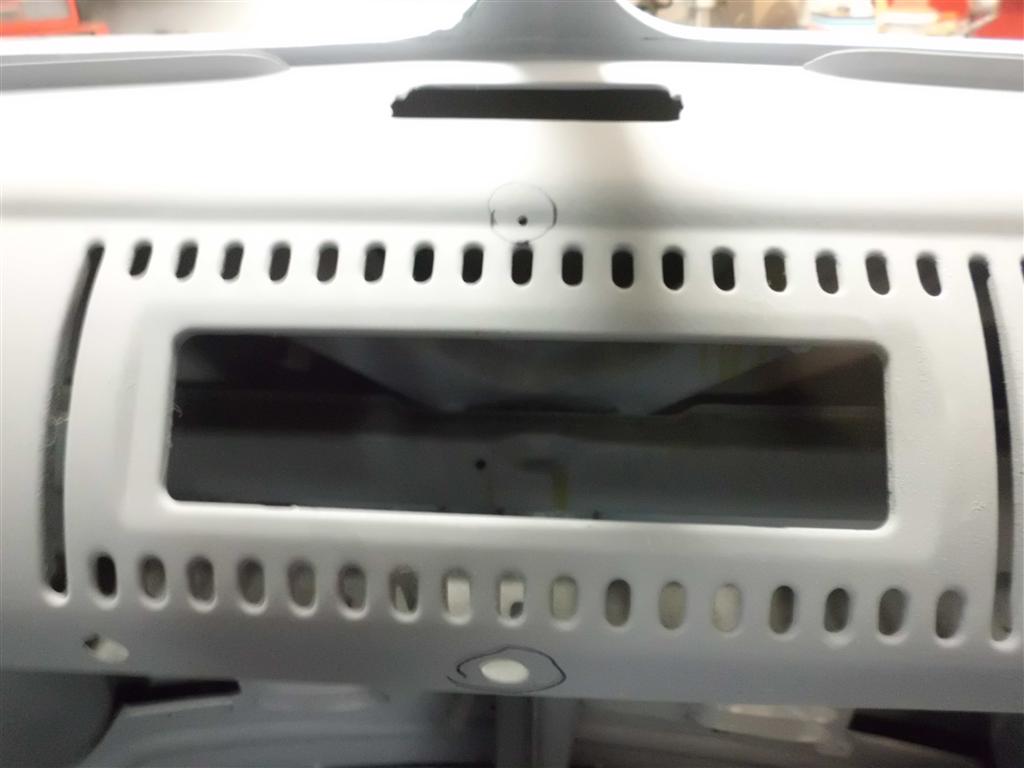
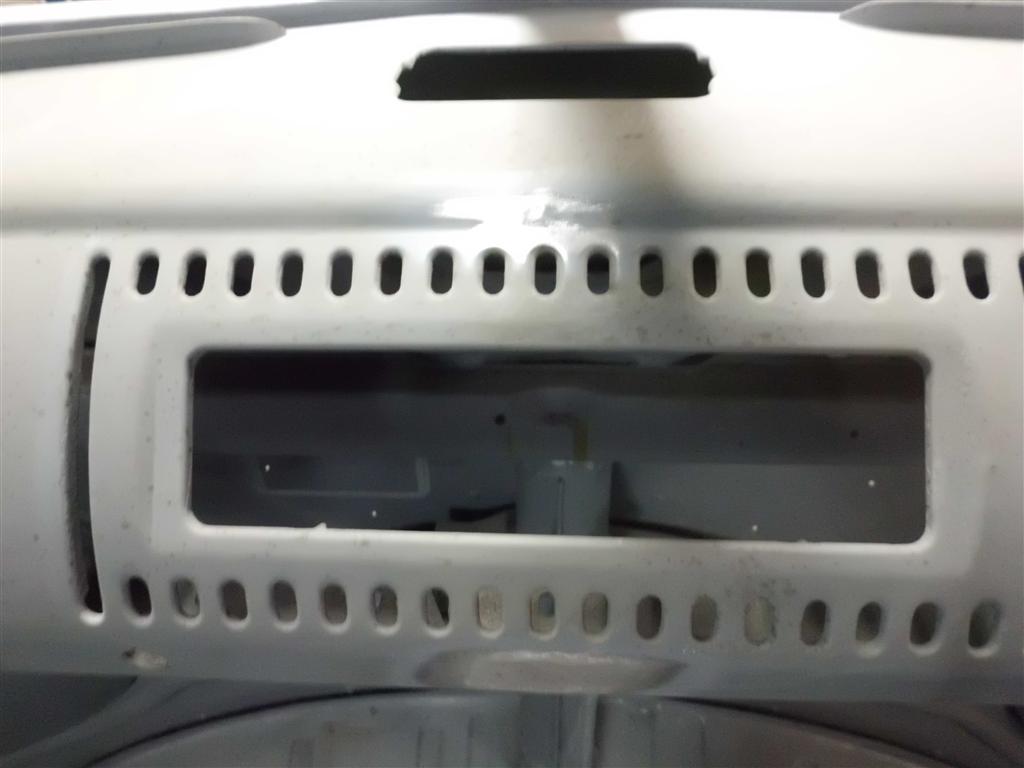
Bumper Paint, Flow-through Vent Assembly
Today the front bumper was painted white as well as the rear bumper, steering wheel, and various small parts; The nose also received a second coat since the experimental wetsanding/polishing had left a few places too thin. In preparation for the first blue coat, the passenger side door was painted white above the trim line and some bodywork was completed on the door bottom. The flow-through ventilation flap that was painted yesterday was riveted back together with a new rubber seal; it doesn’t look like much but it’s exciting since it’s one of the first pieces to be re-assembled after going through the entire sandblast>clean>epoxy>highbuild>paint assembly line.

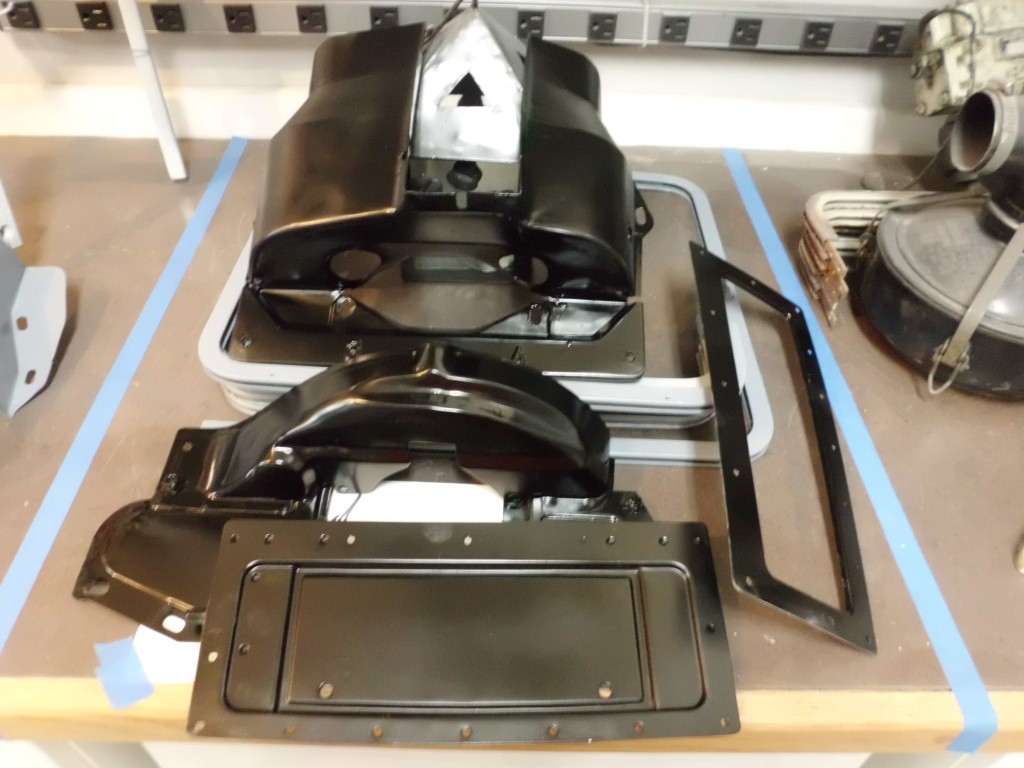
Front Bumper Primed, Small Parts Painted
The front bumper was further improved today by first epoxy priming, followed by high-build priming. Various small parts (many more than pictured) were epoxy primed and then painted black. Wetsanding and polishing supplies also arrived.


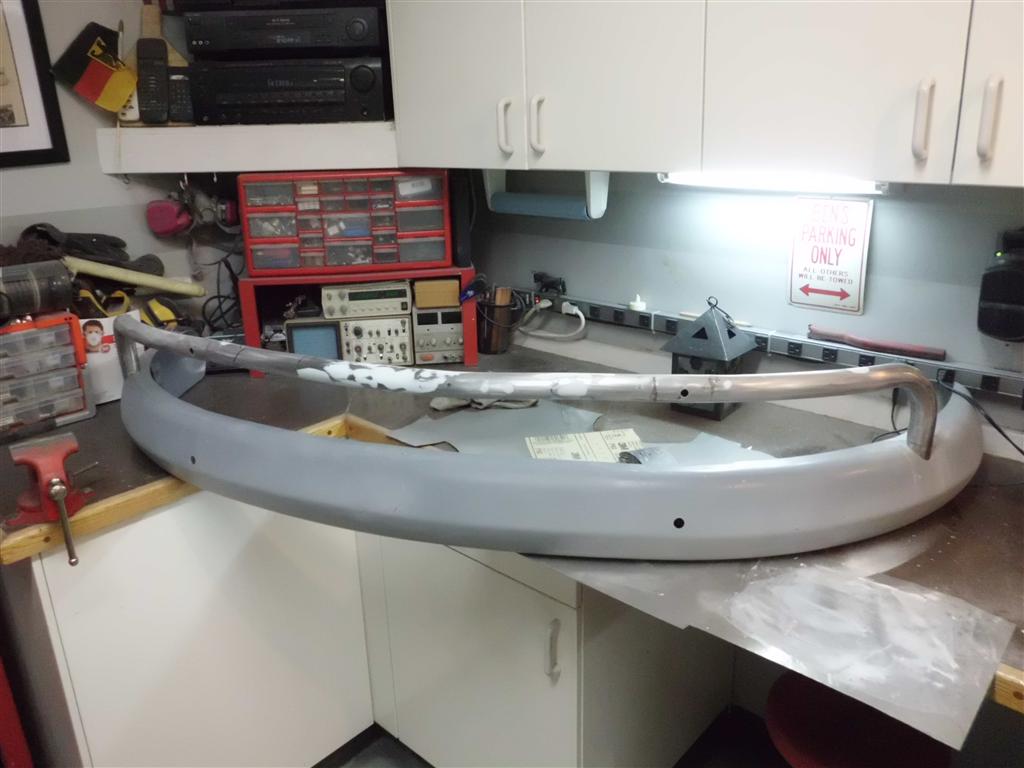
Front Bumper Towel Bar Progress
Tonight the “towel bar” on the front bumper was stripped, further bent into shape, and then the dents were filled. This part will still require a bit of work to make acceptable. Since it’s tubular it will never be 100% perfect; for a 45yr old bumper I can live with that. The only other way would be to find one that is perfect (unlikely) or to fabricate one from scratch. I have a long weekend this week so I should start to make lots of bus progress beginning tomorrow.
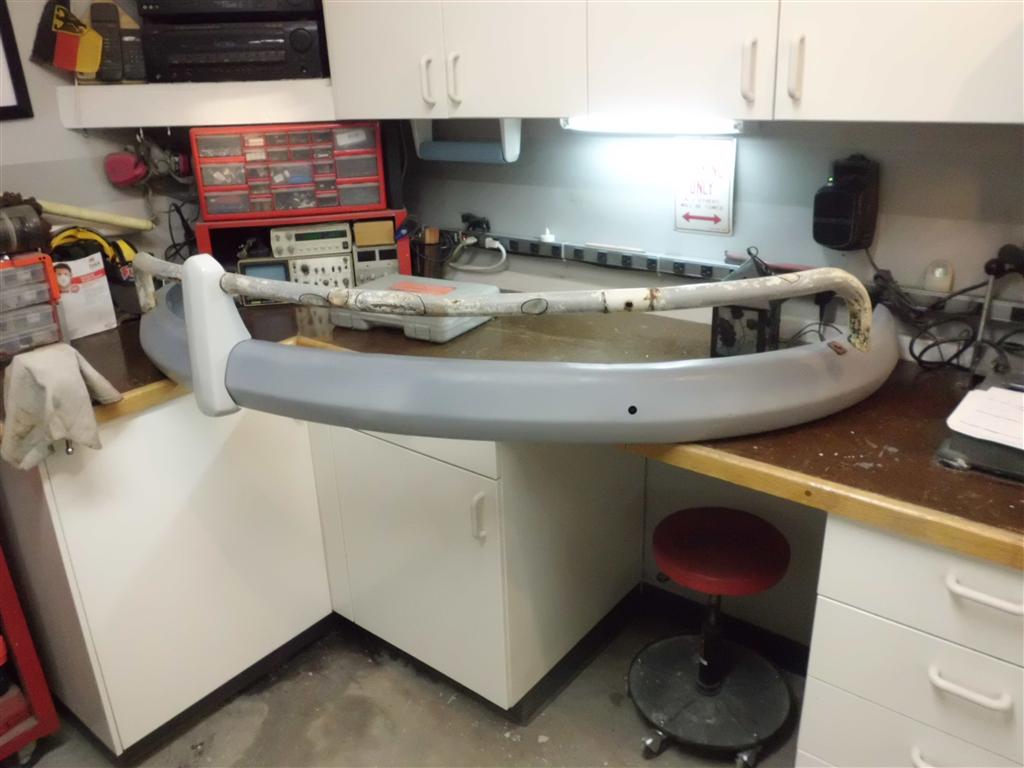
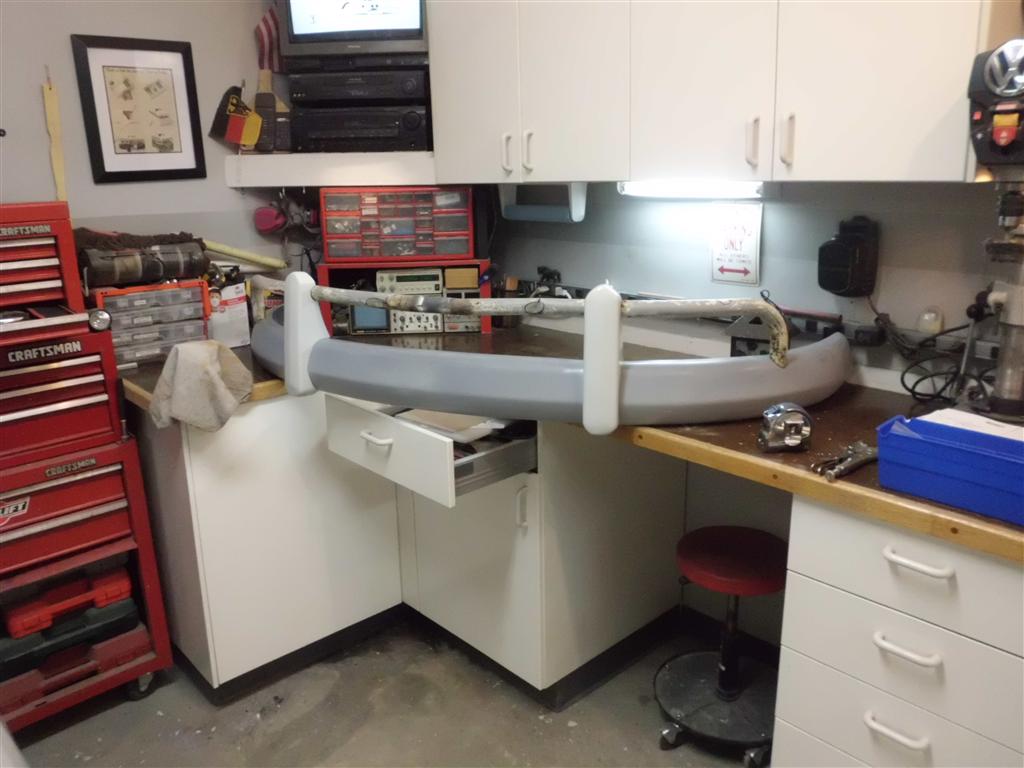
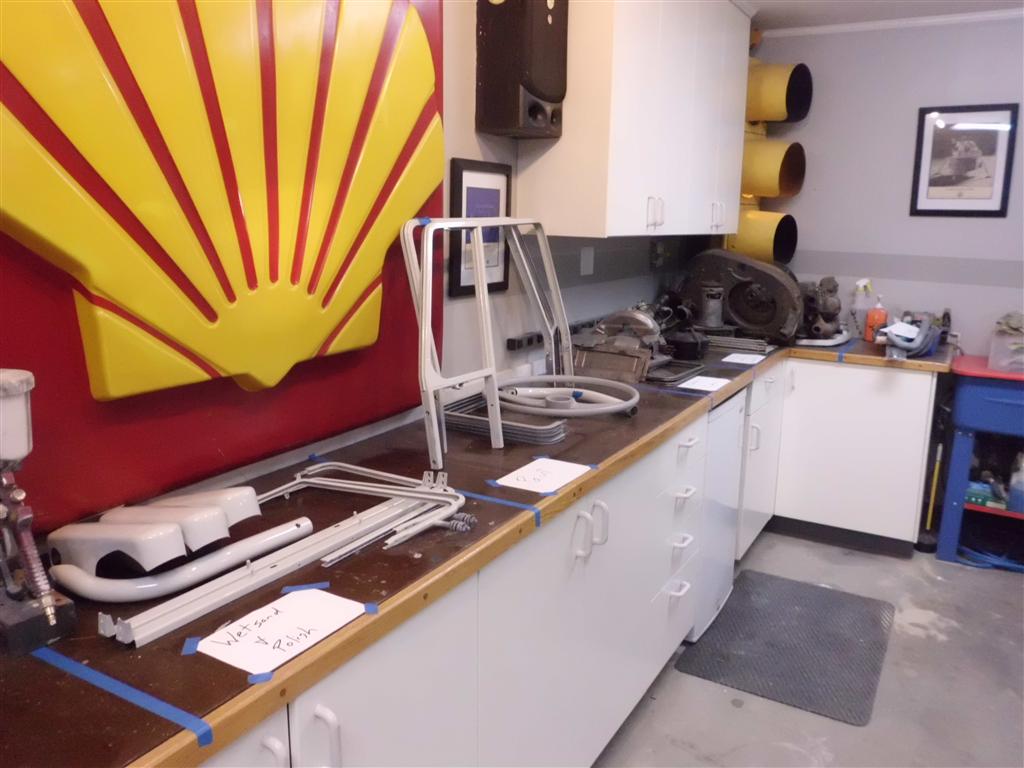
Front Bumper Mock-Up
The front bumper over-riders and “towel bar” were assembled onto the front bumper to check the fit of the towel bar. The towel bar came from a different bus and had a fair amount of denting and deformation. Initially the holes did not line up by several inches; a 1/16″ relief cut in exactly the right spot was all that was needed to allow the bar to bend and the holes to all align. Much of the bodywork for the towel bar will be done with it assembled to the bumper to avoid causing any warping that would prevent reassembly. Also, small parts were organized into a rough assembly line, progressing from right to left. Some sub-assemblies are very close to the point where they could be re-assembled but are waiting on a part or two to be finished.
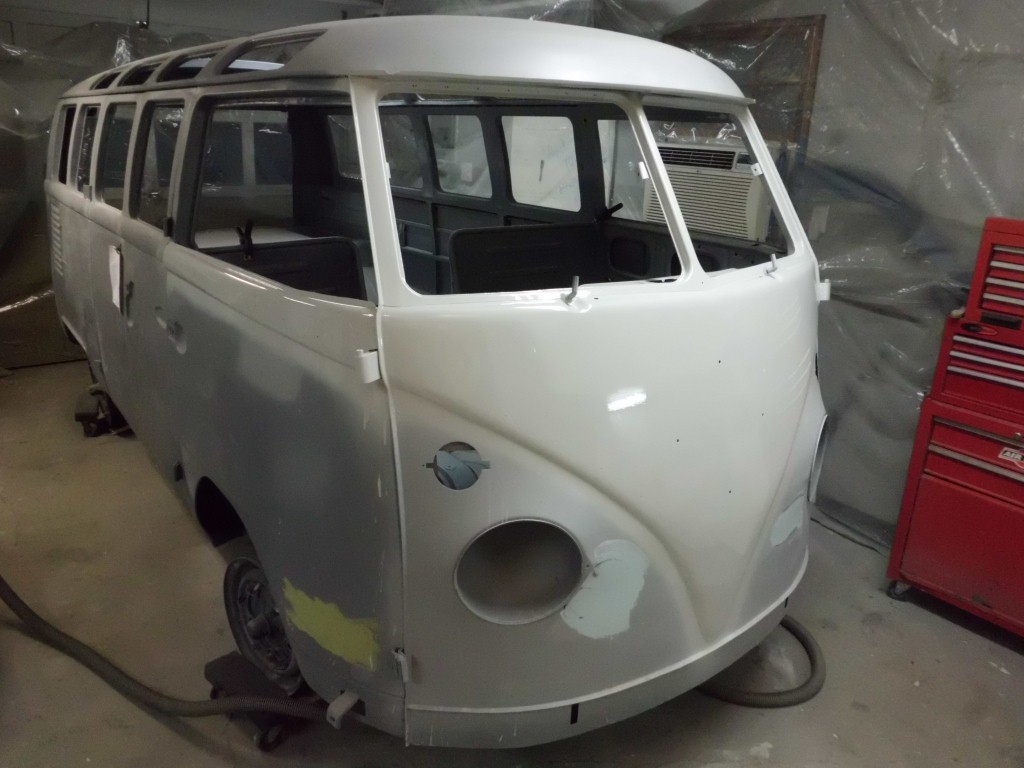
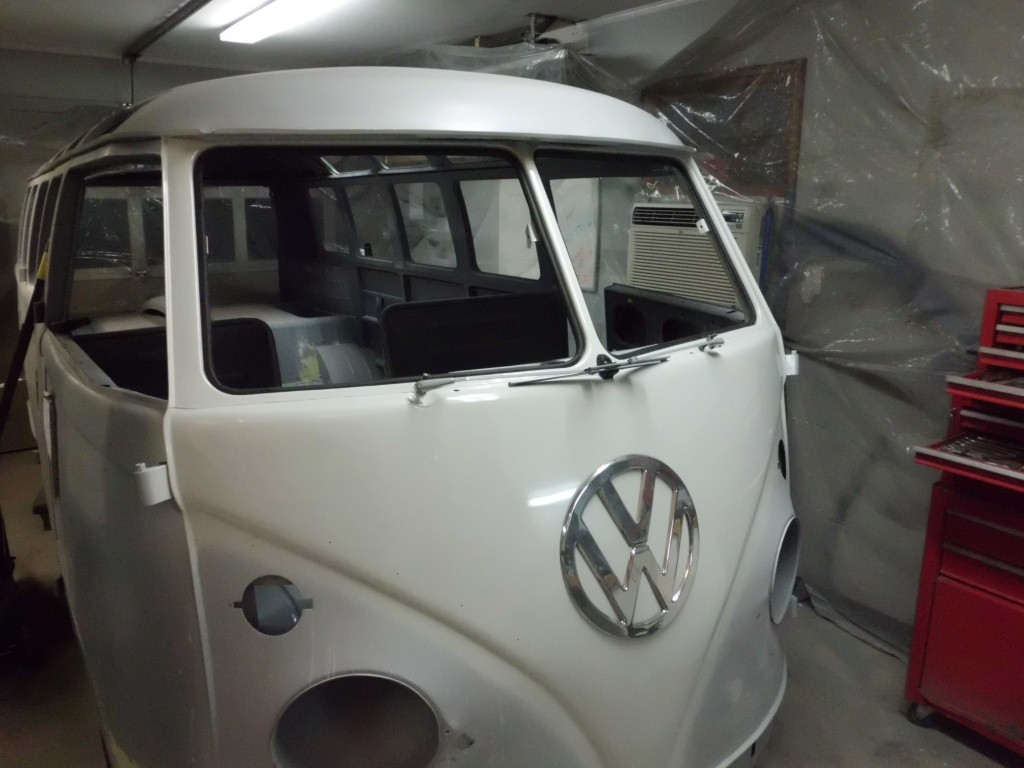
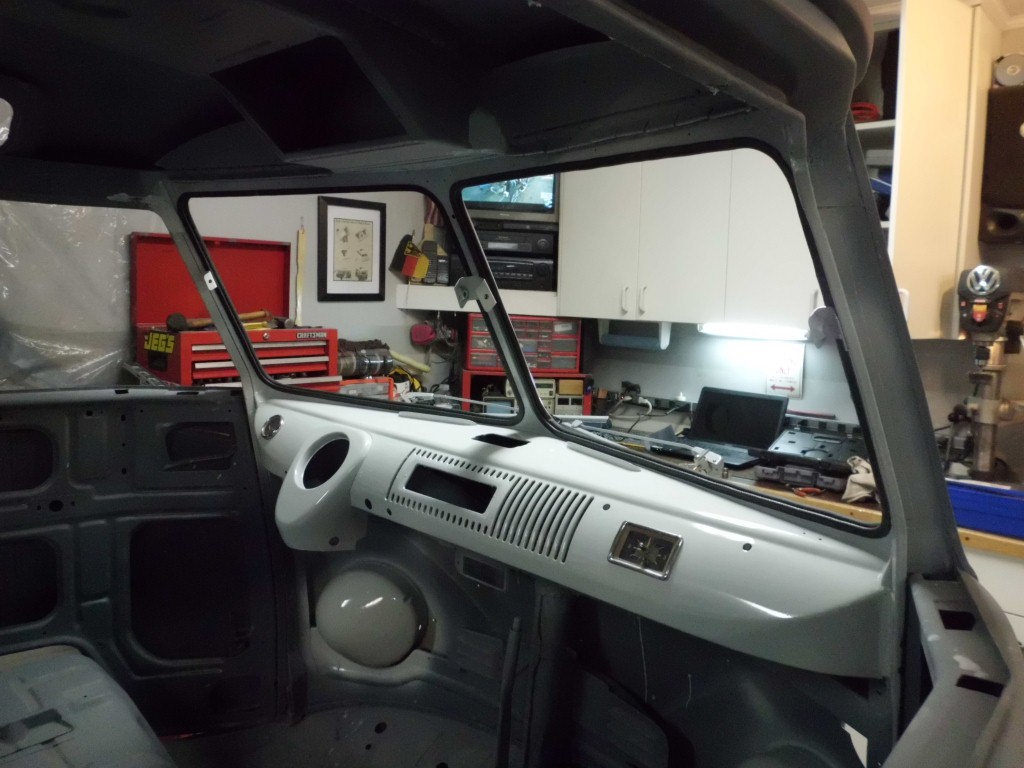
First Paint on Body!
I haven’t updated in a while; there has been some undocumented progress prior to today however work on the bus was mostly stopped while outdoor spring projects were completed at the house/yard.
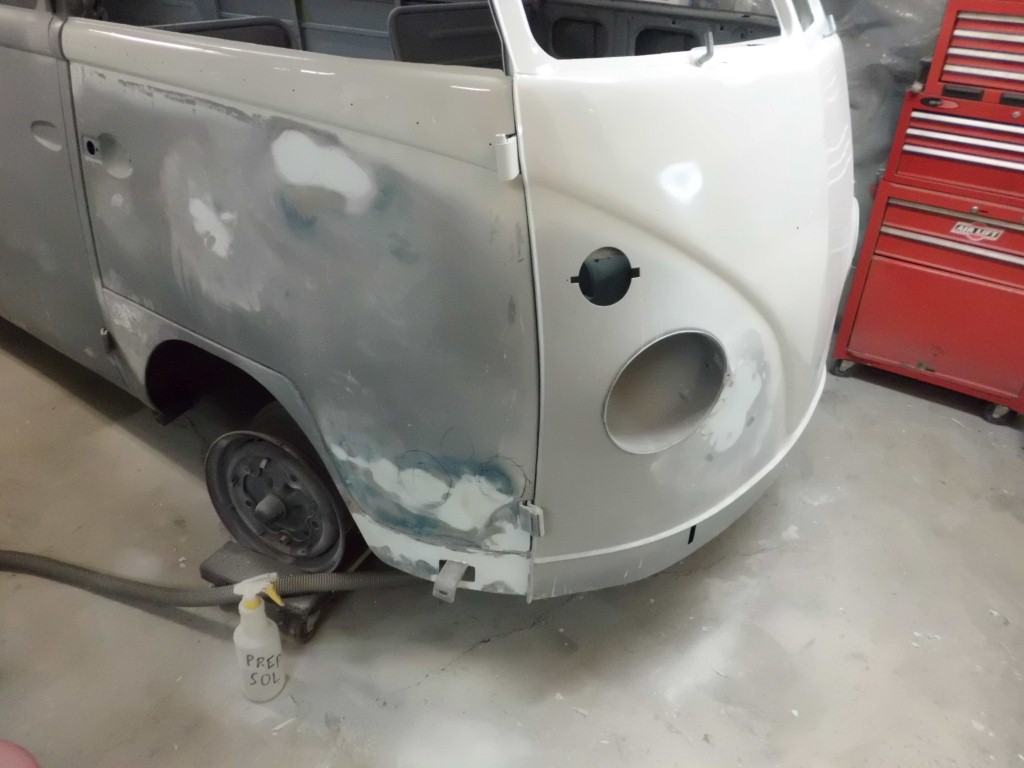
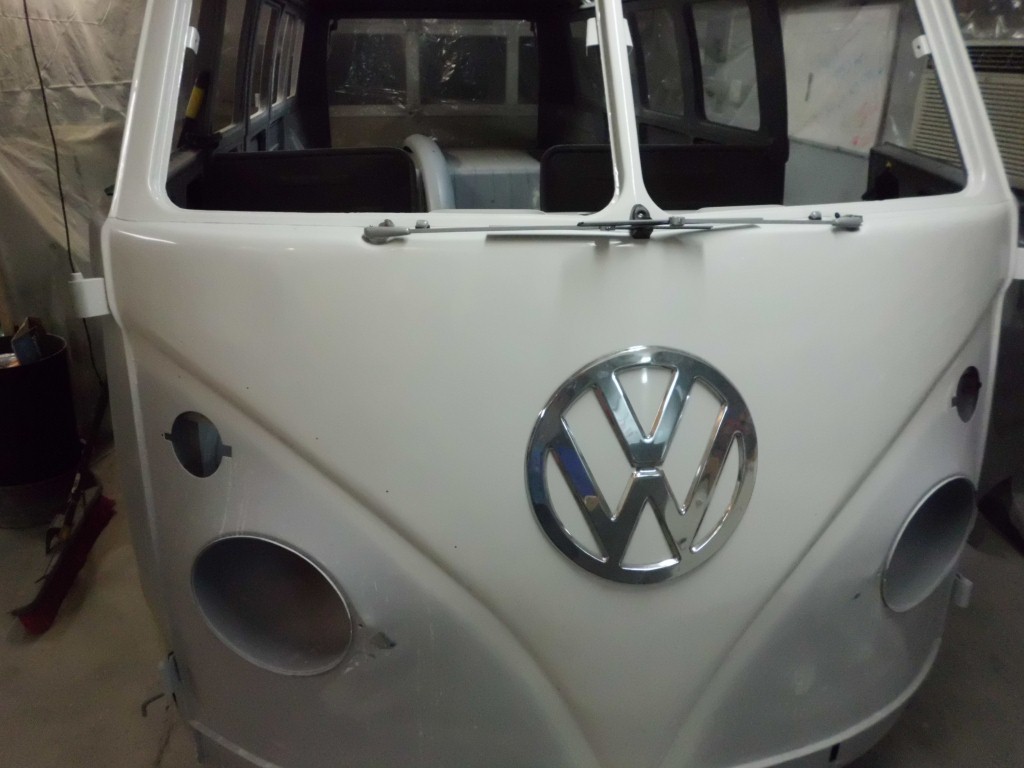
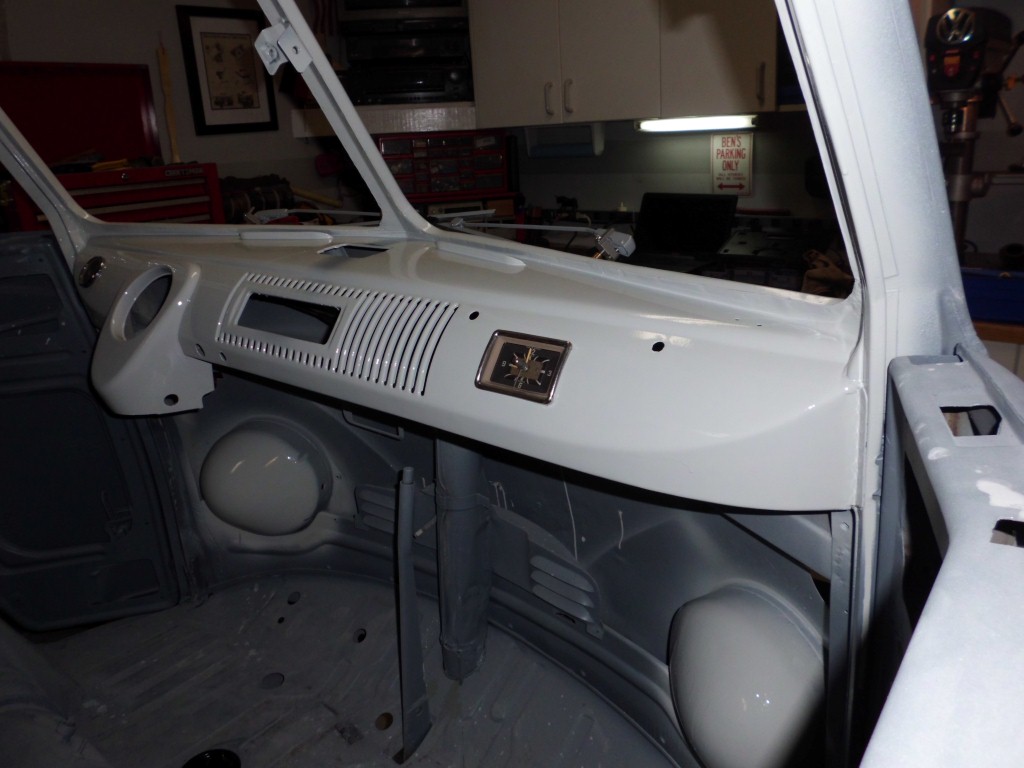
Various small parts have been painted prior to this, but this is the first paint on the body shell in 45yrs, so it’s a real milestone. I choose the front dash and nose area because #1 it’s one of the more intricate areas and if I’m having to wetsand/polish anyhow then I may as well start there; potentially if I get good enough with the paint gun later there will be minimal wetsanding/polishing needed on the large flat areas. And #2, the front area has the most accessory pieces over the paint then anywhere else (emblems, gauges, etc.) and if there’s any problem with paint thickness or part fitment I’d rather see it now when it’s easier to fix.
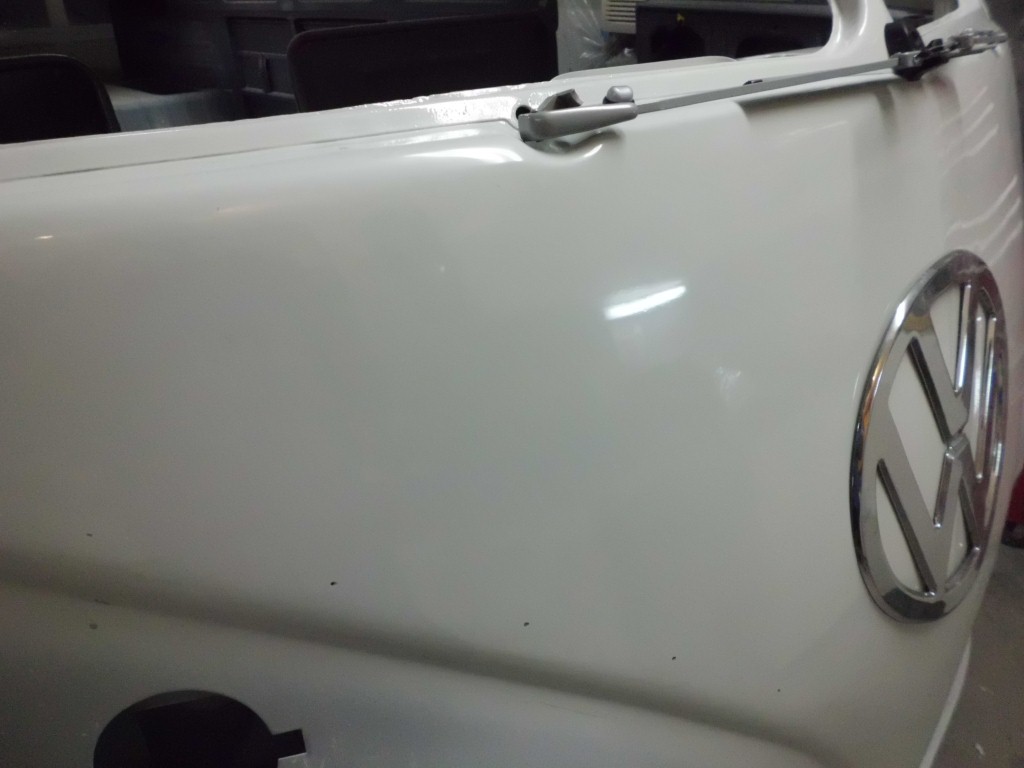
Overall the clarity is good after some extensive wetsanding and polishing, since it’s warmer now I’ll have to dial back on the amount of reducer next time so there are fewer runs to sand out. I let the white blow freely over the body line, this way there is a soft edge for when the blue is sprayed below. Otherwise I’d either have to match two edges perfectly, or there would be a ridge visible under the blue paint.
I couldn’t resist installing the emblem, clock, window weatherstripping, wipers, and even the “one-eyed duck” that holds the wipers away from the safari windows. These will all come off again to be protected from overspray, but it was good to see a few areas look ‘finished’ for the first time.


Crank Pulley Cover Repair
It’s unclear exactly what happened to the crank pulley cover that caused the damage seen; either the cover was adjusted too far in or the cover was bent inwards. The misalignment caused the crank pulley to wear a semicircular slot into the crank pulley cover. The slot was welded closed and the various other dents were smoothed out.


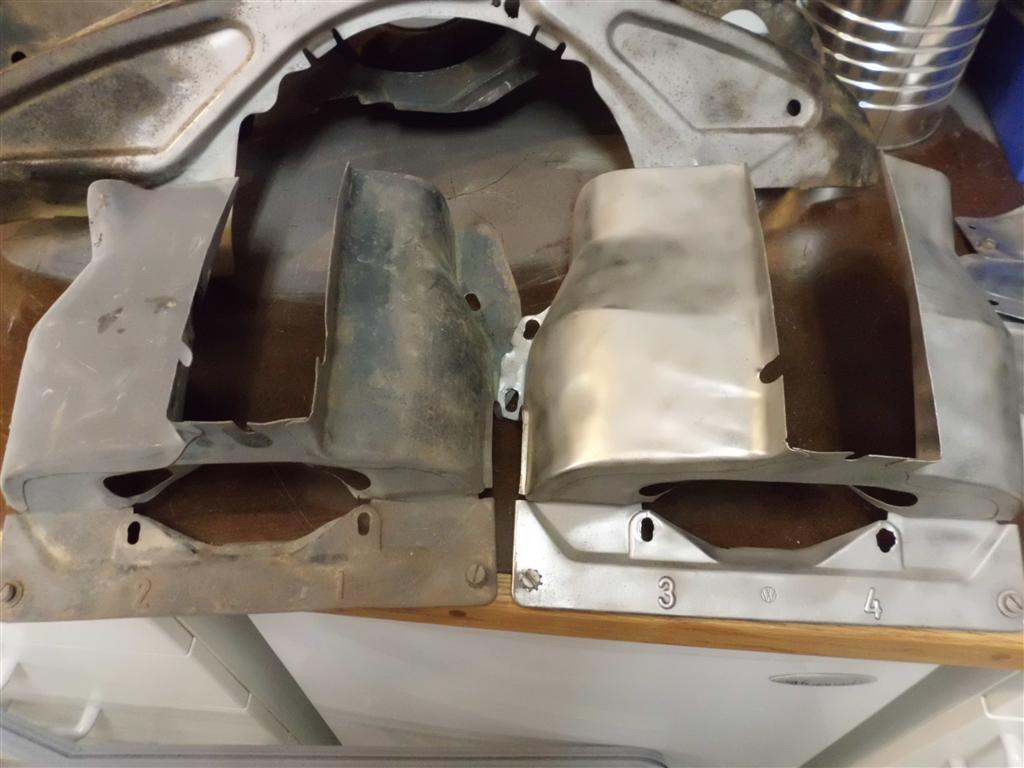
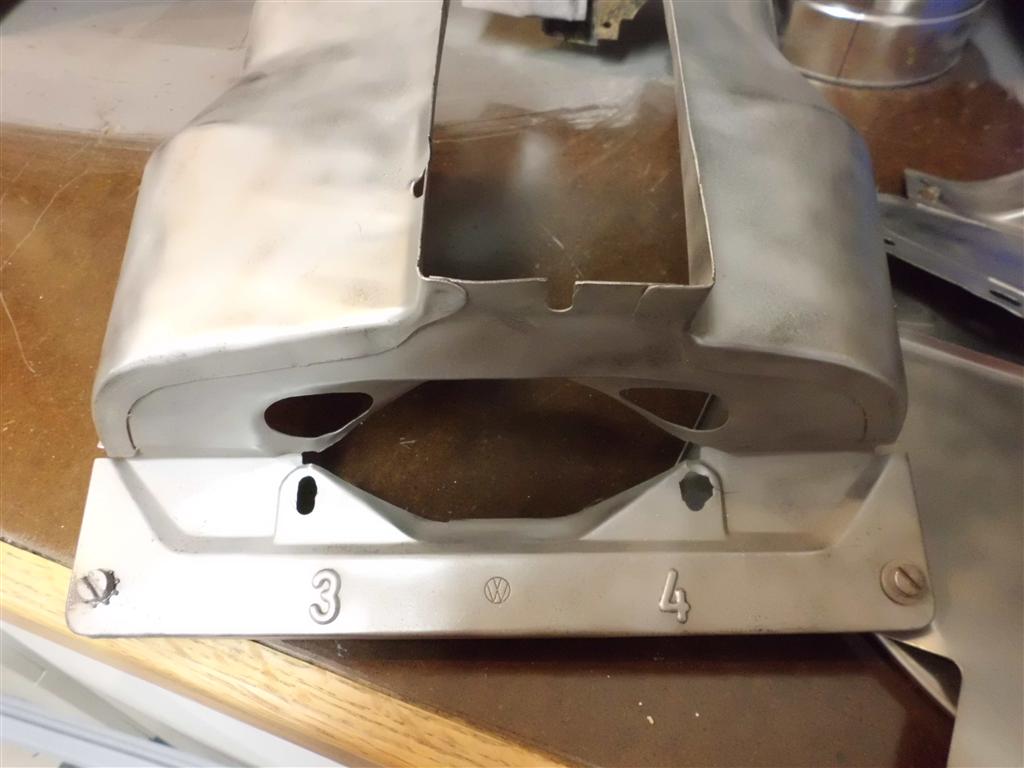
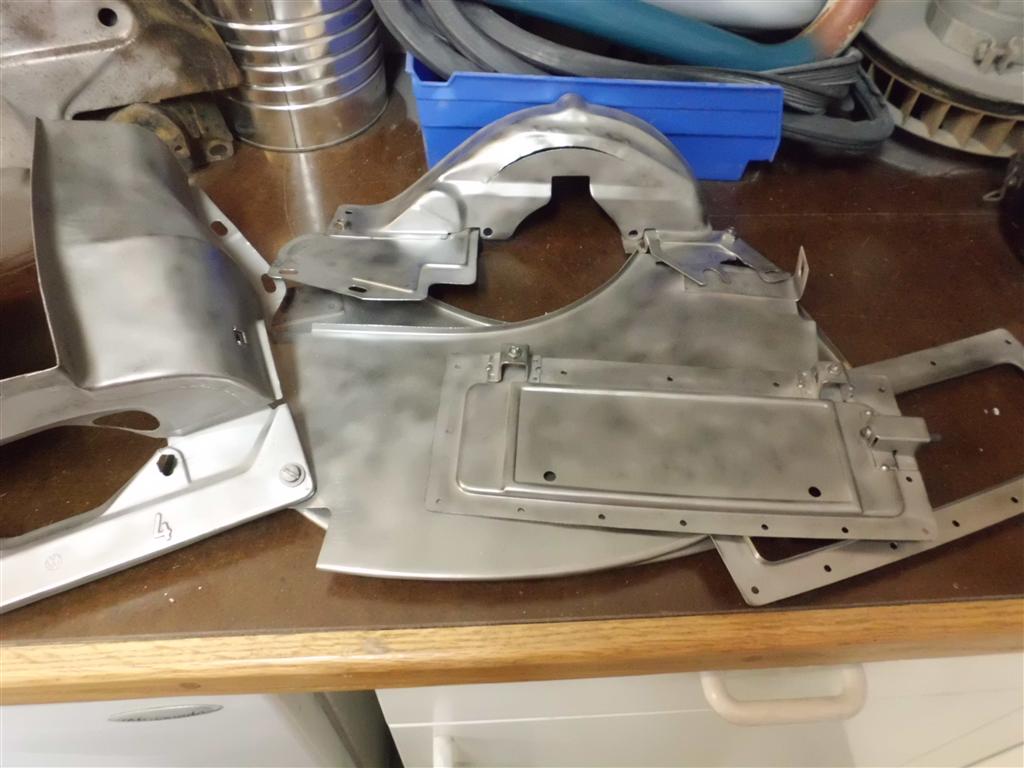
Engine Tins Media Blasted
Work began on the various sheetmetal parts (known in VW vernacular as “tins”) that direct air to and through the cylinder cooling fins. Being aircooled instead of watercooled, this is one area where the bus has much more in common with a modern light aircraft than any modern road vehicle. These parts are all thin steel and have been exposed to years of extreme vibration and temperature fluctuations; because of this there were many stress cracked spots that required welding.
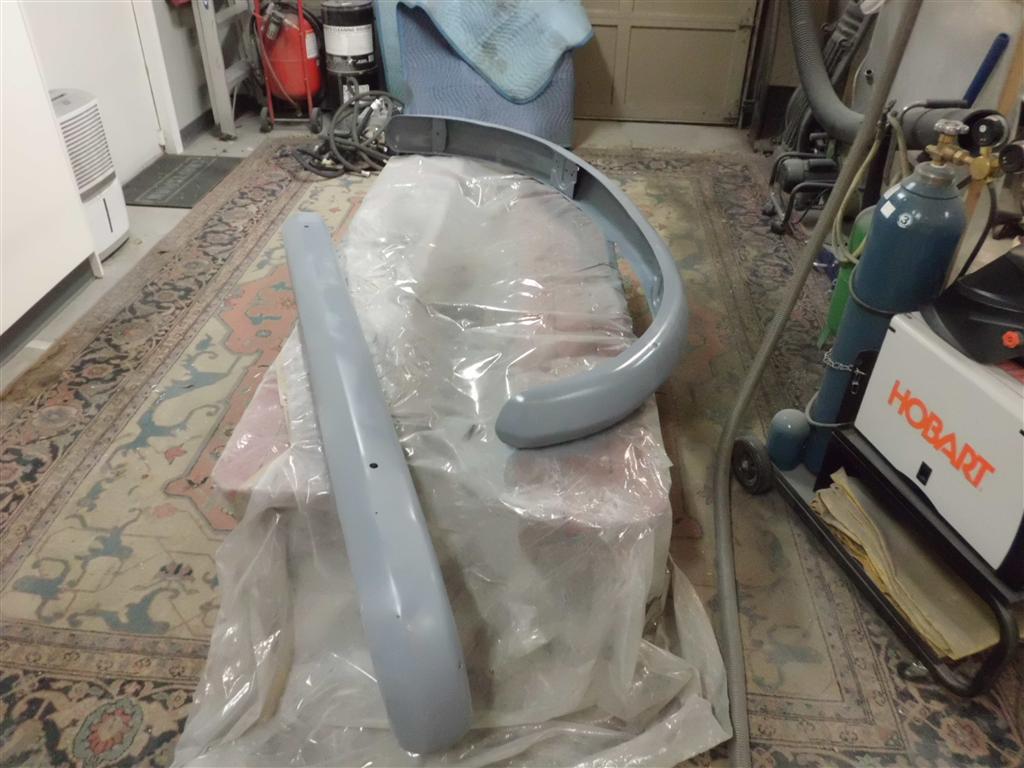
Bumpers Epoxy Primed
The bumpers received another coat of epoxy primer to seal the filled areas. Also, (not shown) the front door window frames were sanded and re-primed. All of these items (bumpers, window frames) are the foundation pieces for many of the small parts painted earlier. Once these parts are completed then the window and bumper sub-assemblies can be built using the refinished parts and new rubber seals.
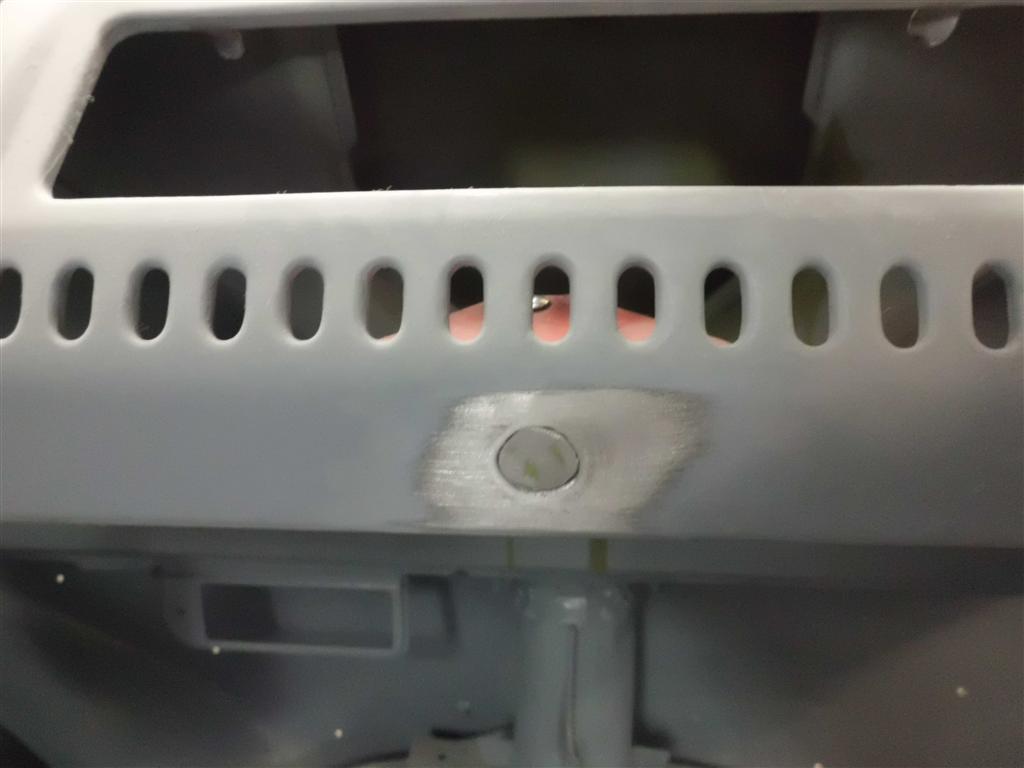
Dash Holes Patched
In the process of organizing small parts and inventorying what parts are missing I discovered that there were two extra holes in the dash: one small screw hole above the radio hole, and another larger hole under the radio hole that was probably used for an extra switch at some point. After making/fitting a patch for the larger hole, both holes were welded shut and ground down. Also, the lower half of the accelerator pedal hinge was welded to the floor, as original.


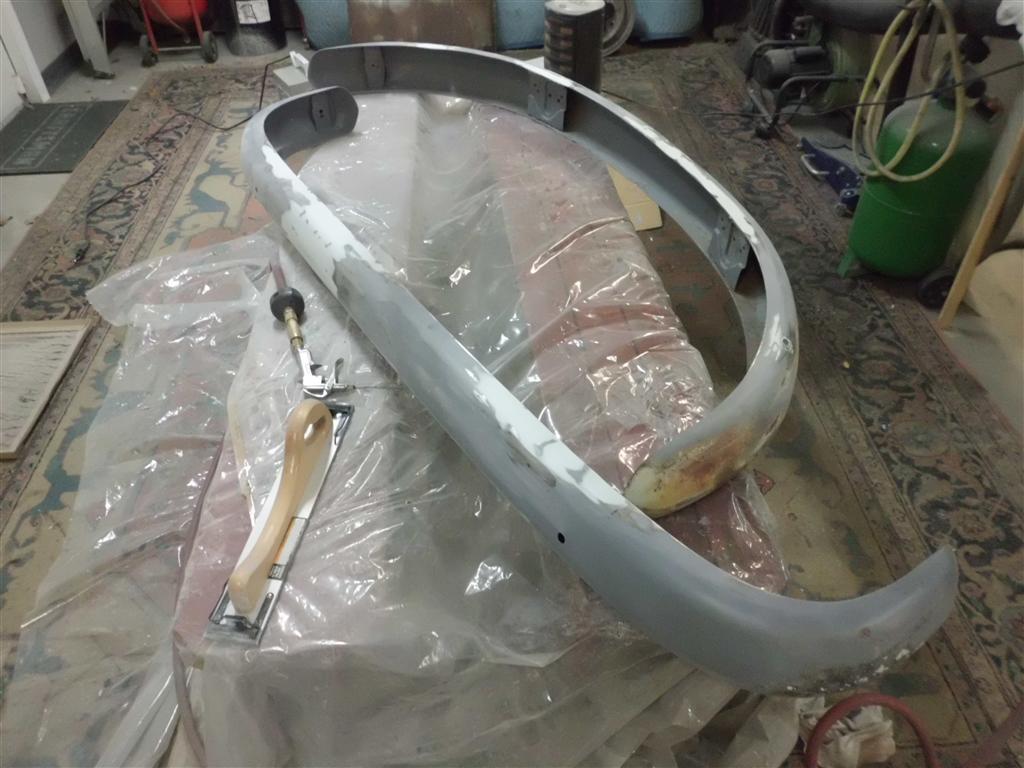
Small Parts Painted & Bumper Bodywork
Small parts painted in white and bodywork began on the bumpers. Overall the white came out extremely well; since these are among the first top coated parts I’ve done, and since the top coat sprays very differently than primer, there were a few runs and thin spots that will require a second coat.