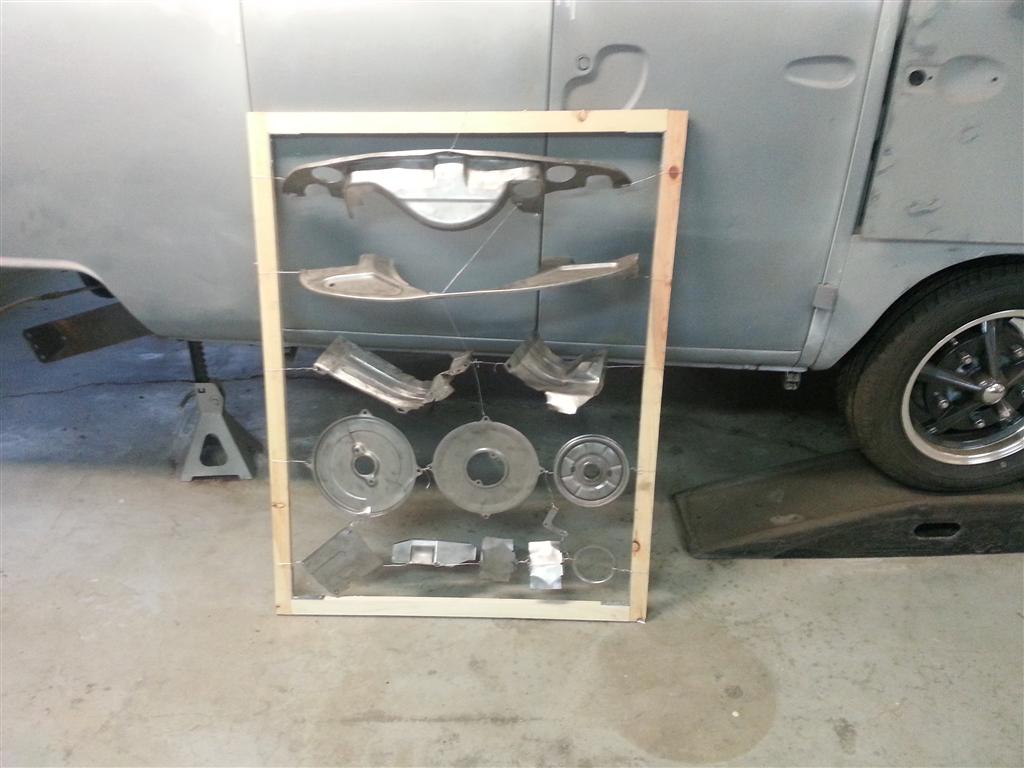
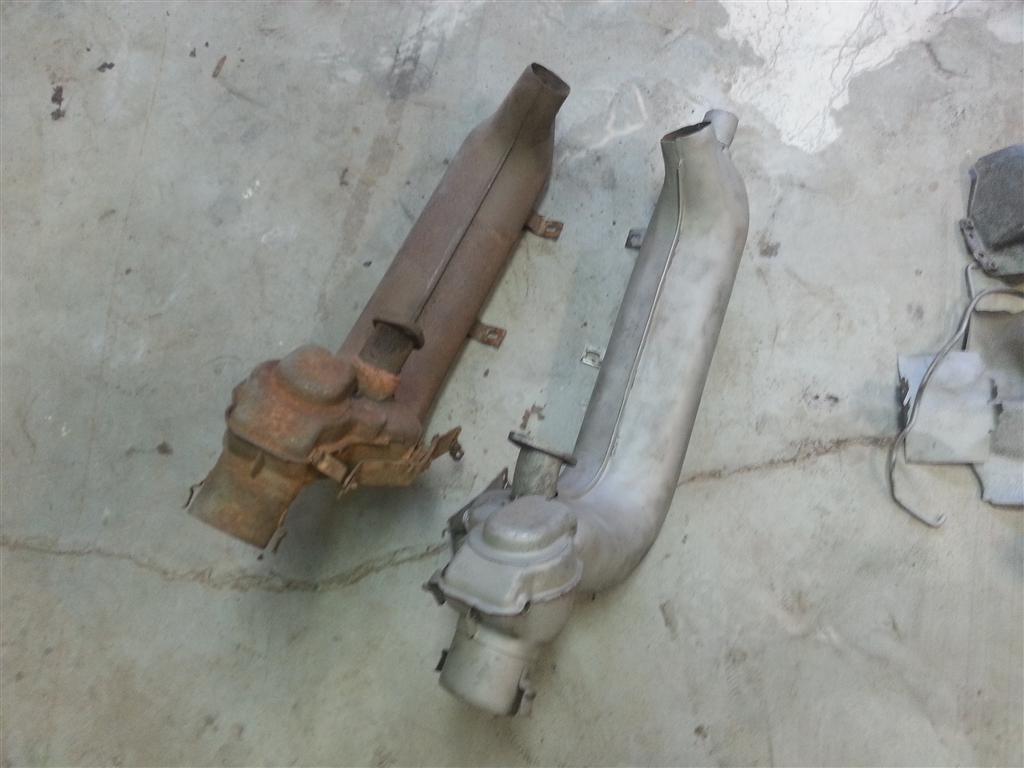
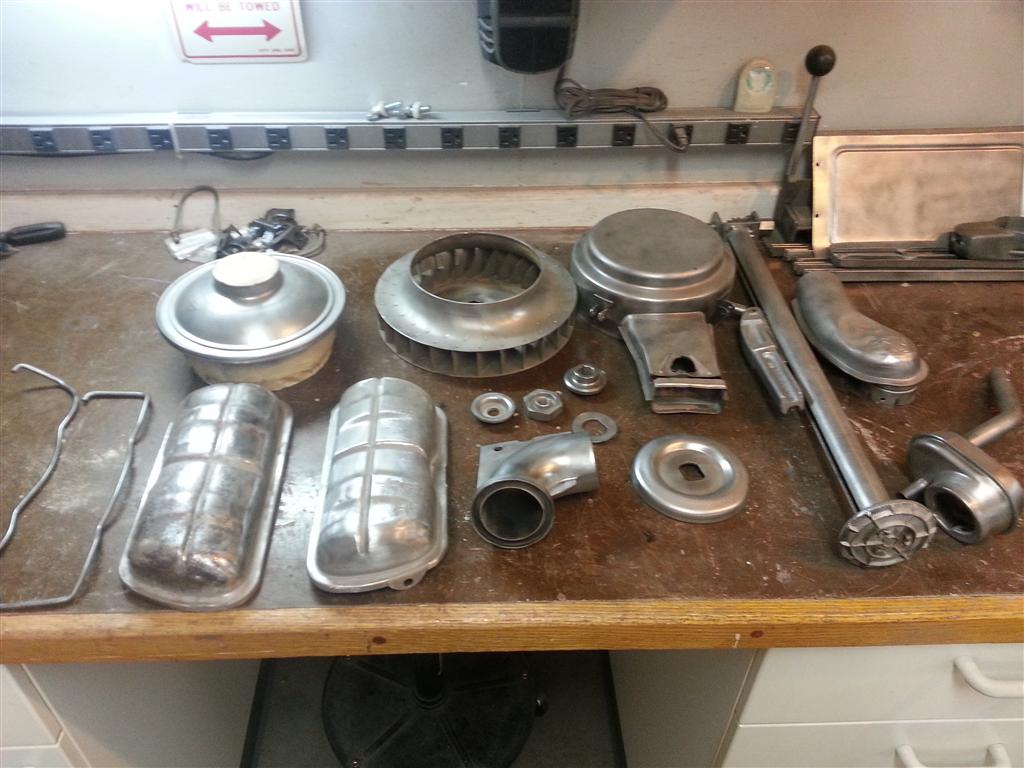
Engine Parts Ready for Paint
Engine parts made ready for paint. Some various other things done also, I’ve been forgetting to take pictures recently.


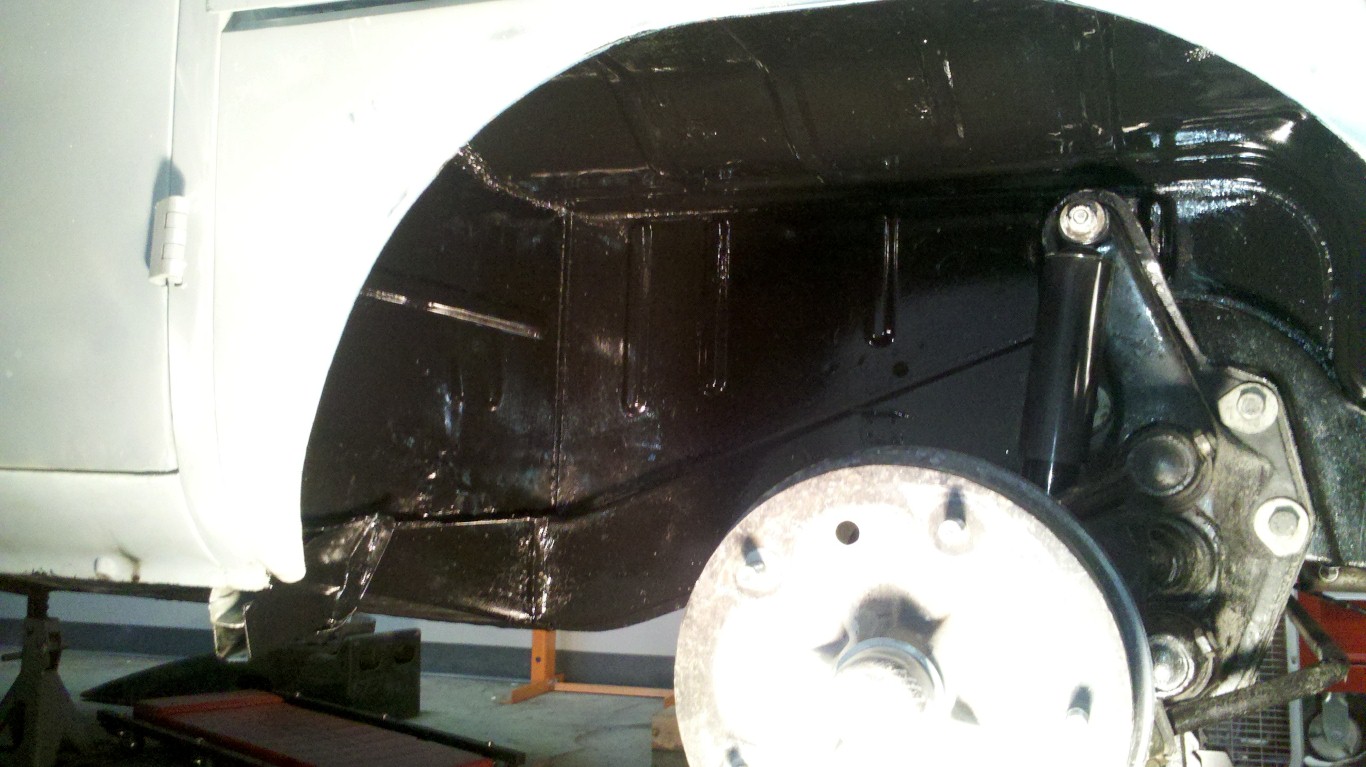
Front Left Wheel Well
Today was basically a repeat of yesterday, with the same treatment (clean/etch/paint & spindle flip) being given to the front left wheel well. Pictured below is the, now dried, front left wheel well. The end result with both flipped spindles is shown at right. It’s tough to fully picture since it’s on ramps and the bumper isn’t installed, but this looks like it will be a good height.

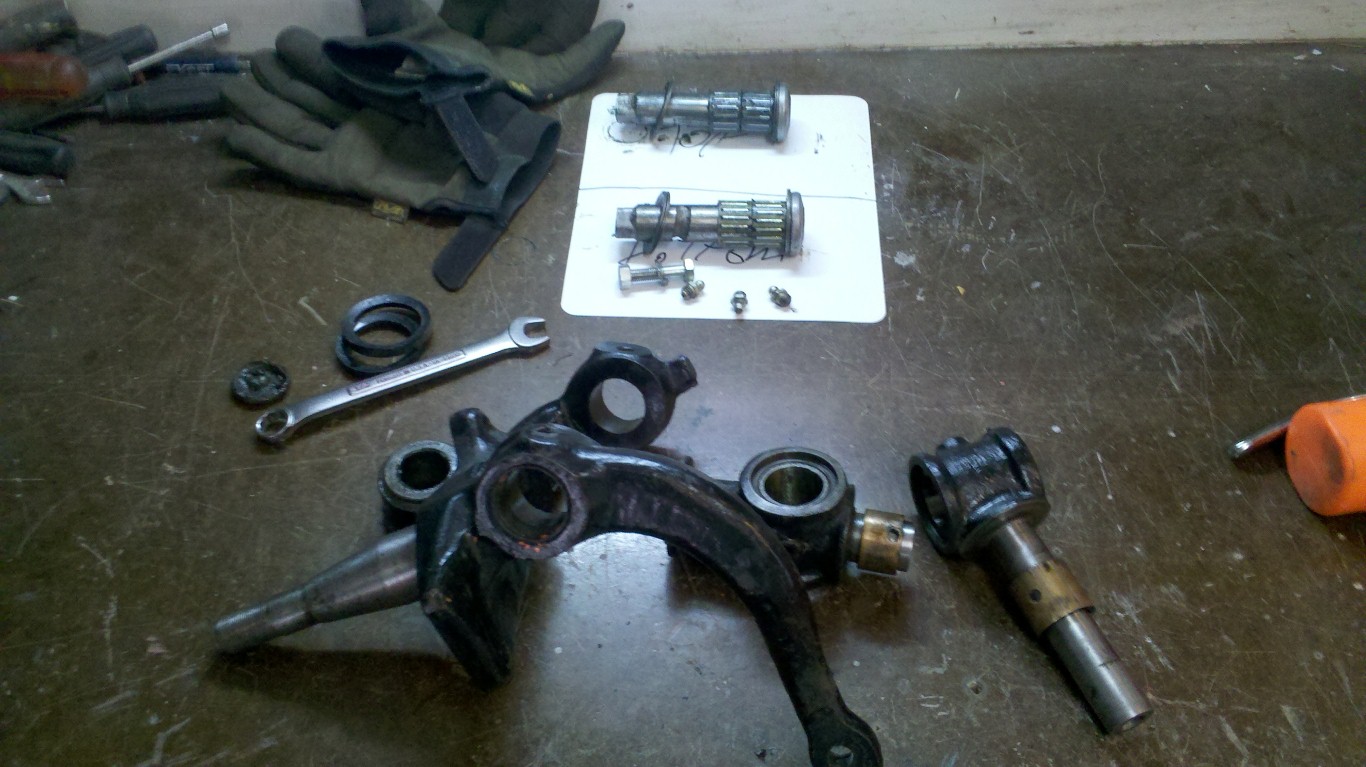
Front Right Wheel Well
Today I worked almost exclusively on the front right wheel well. The area had several unground welds from previous work on the front and rear floors. These welds were ground down and then the entire area was cleaned/etched/painted. To make access easier I first removed the brake/spindle assembly; I needed to do this anyhow in order to ‘flip’ the spindle to achieve a lowering effect. Flipping the spindle lowers the bus by about 3.5″ and closes up the wheel opening to top of tire gap, it also improves handling and just generally looks better. Going back to stock height would only require performing the same procedure in reverse.

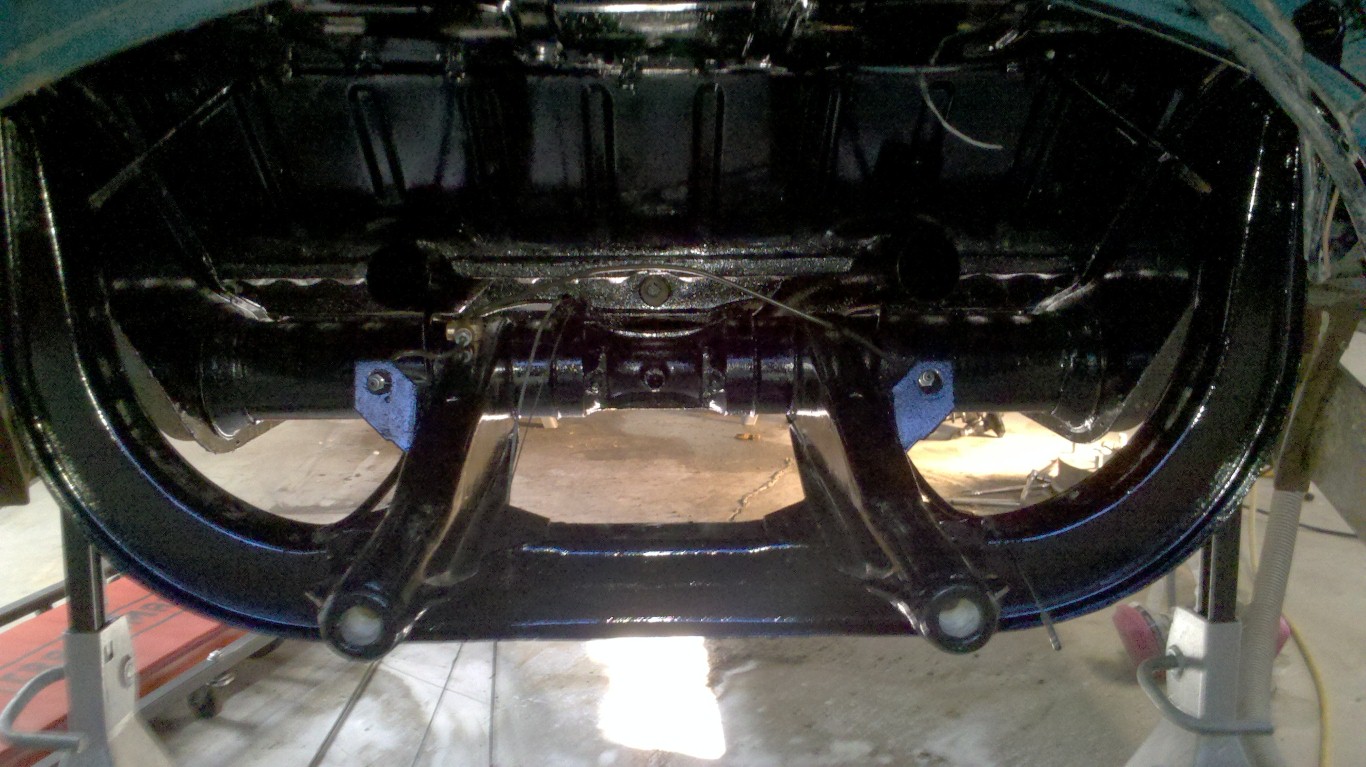
Transmission Tunnel Painted
Today the transmission tunnel was more thoroughly cleaned then etched with phosphoric acid and coated with POR15. This was very time consuming due to the many weird angles and hidden areas involved. Prior to cleaning/painting the many dents/dints to the underside of the transmission cradle were fixed.

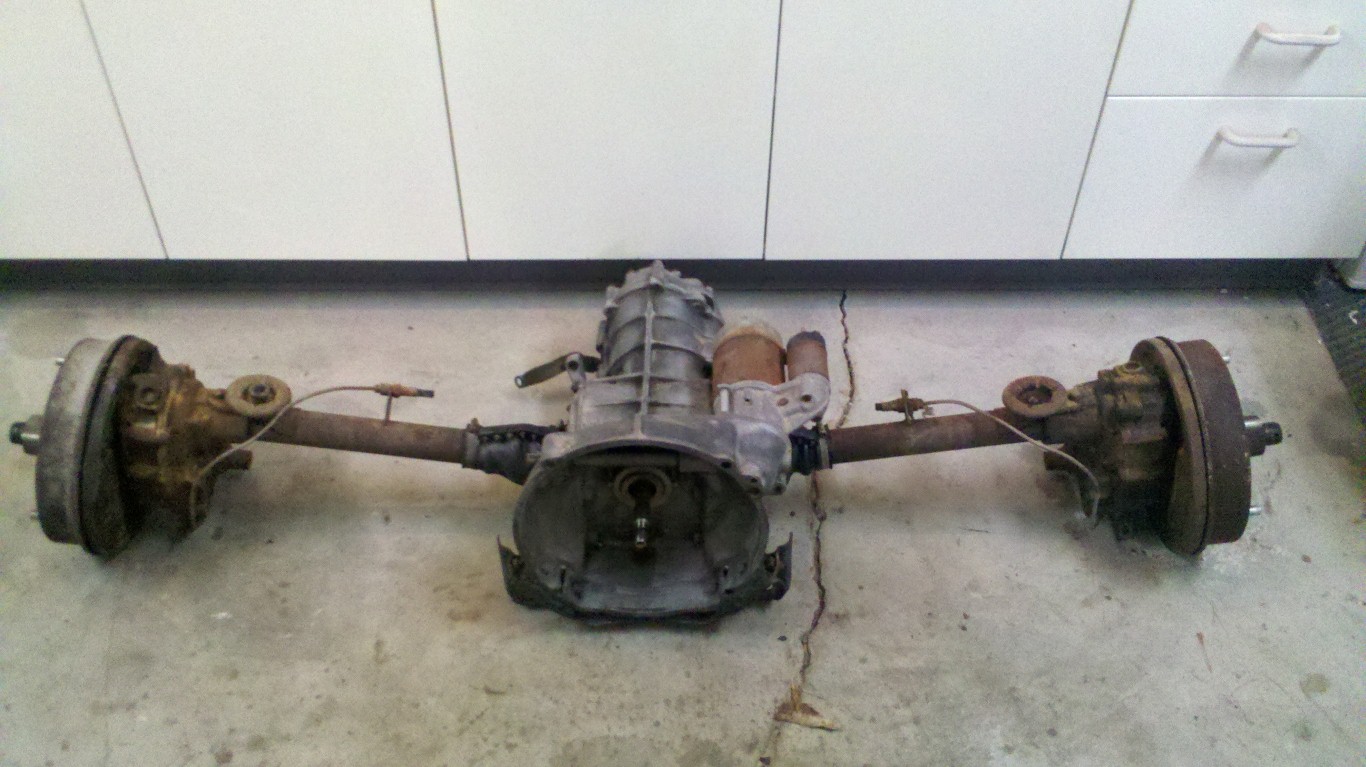
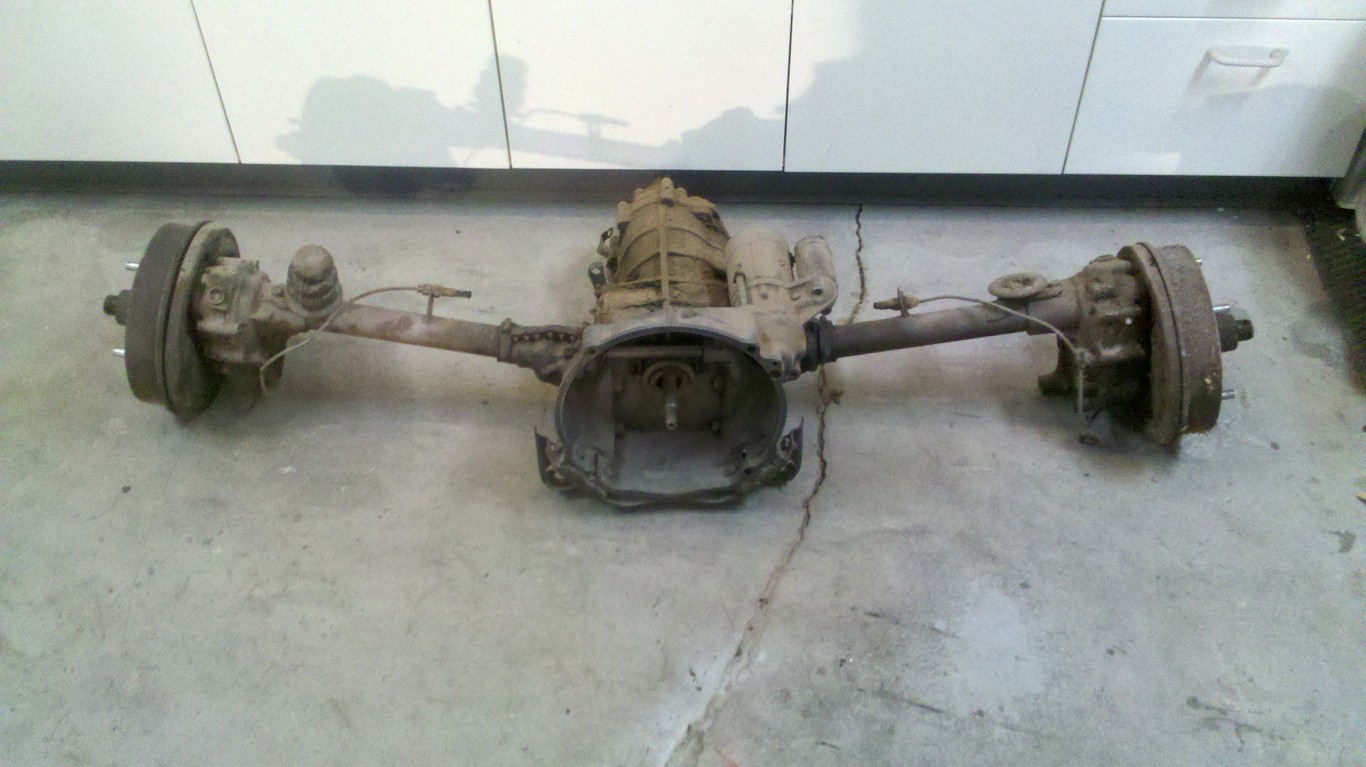
Transmission Cleaned
Tonight I cleaned the transmission and transmission area. This is just a first pass and more cleaning will be required prior to paint. I was again surprised at what good shape everything is in; much of what appeared to be rust was actually just rust-colored mud.

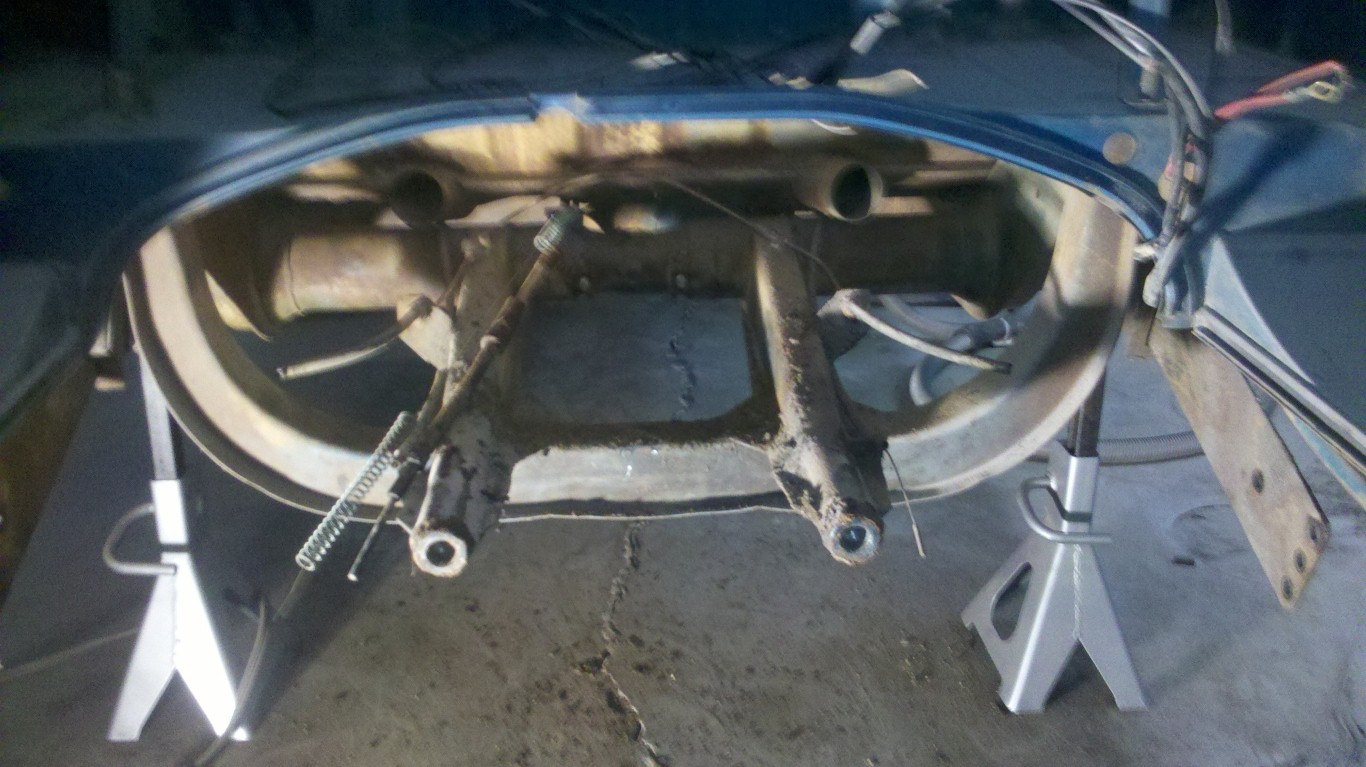
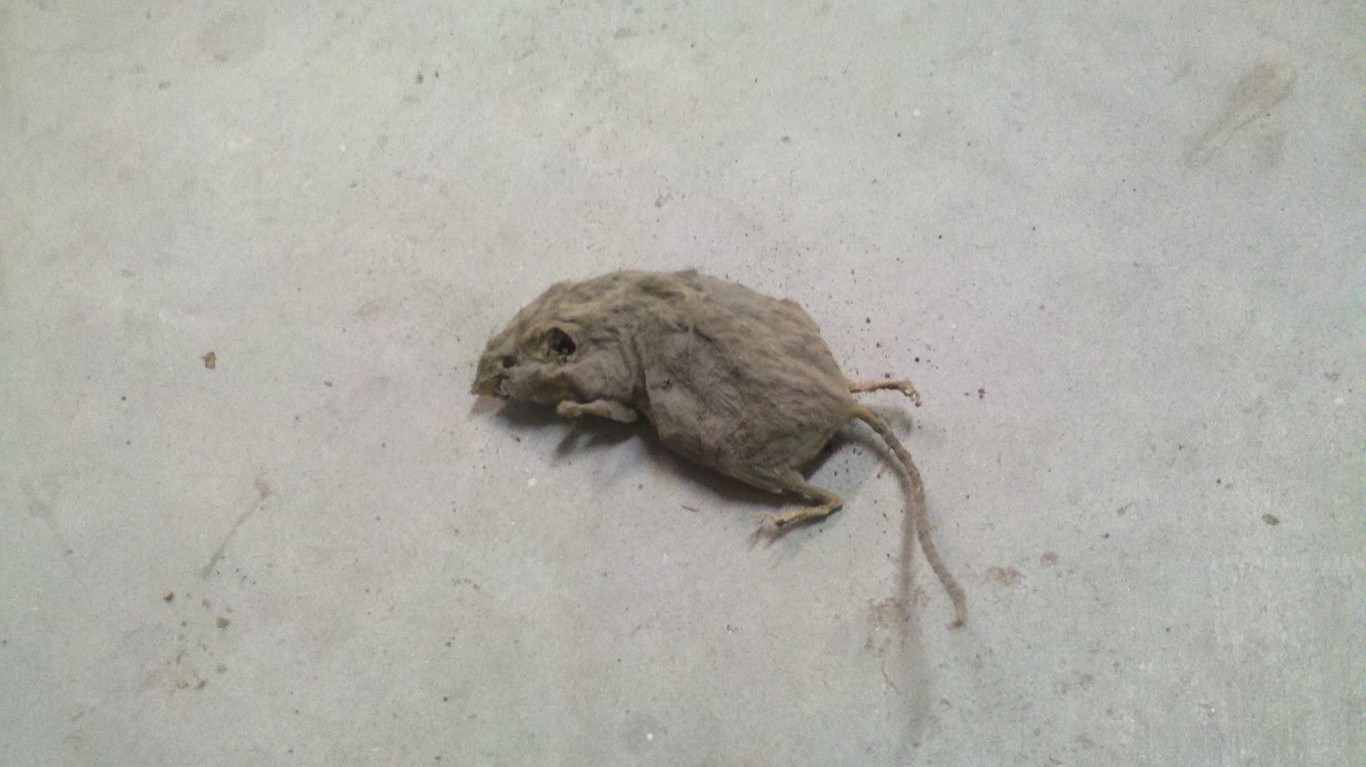
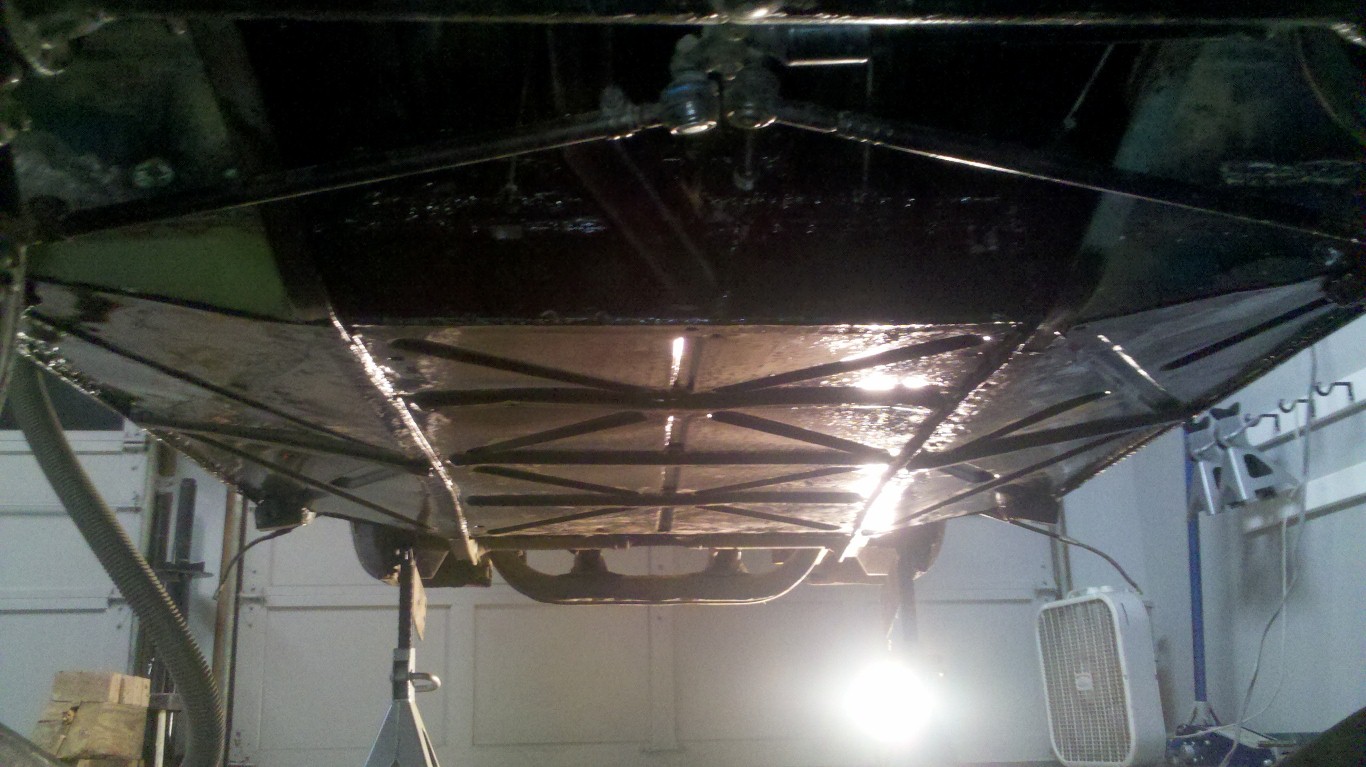
Eine Maus!
Tonight I pulled out the transmission (it’s surprisingly easy) to allow access to clean and paint the area above/around the transmission. With the transmission out it was easy to see what had been blocking one of the heater channel entry points just above the transmission, a mouse! It was basically mummified so I’m sure it had been there since the bus was stored outside. Also, over the weekend I had cleaned/painted the underside of the belly pans but didn’t post or take any pictures, so I took a picture of the underside tonight.
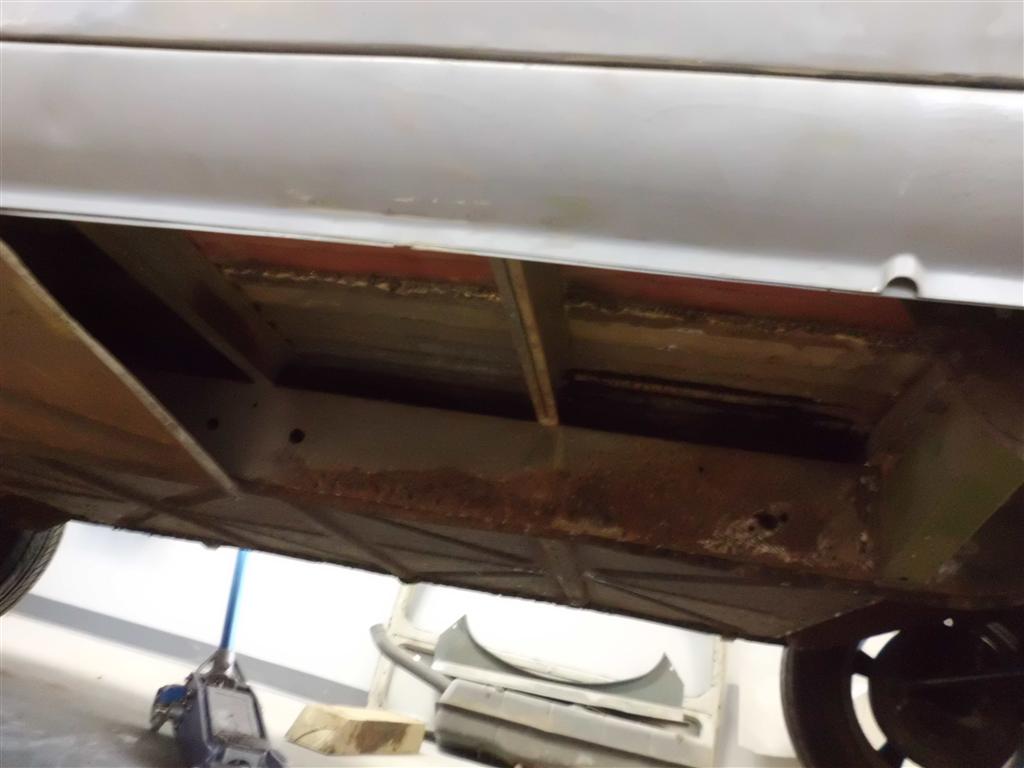
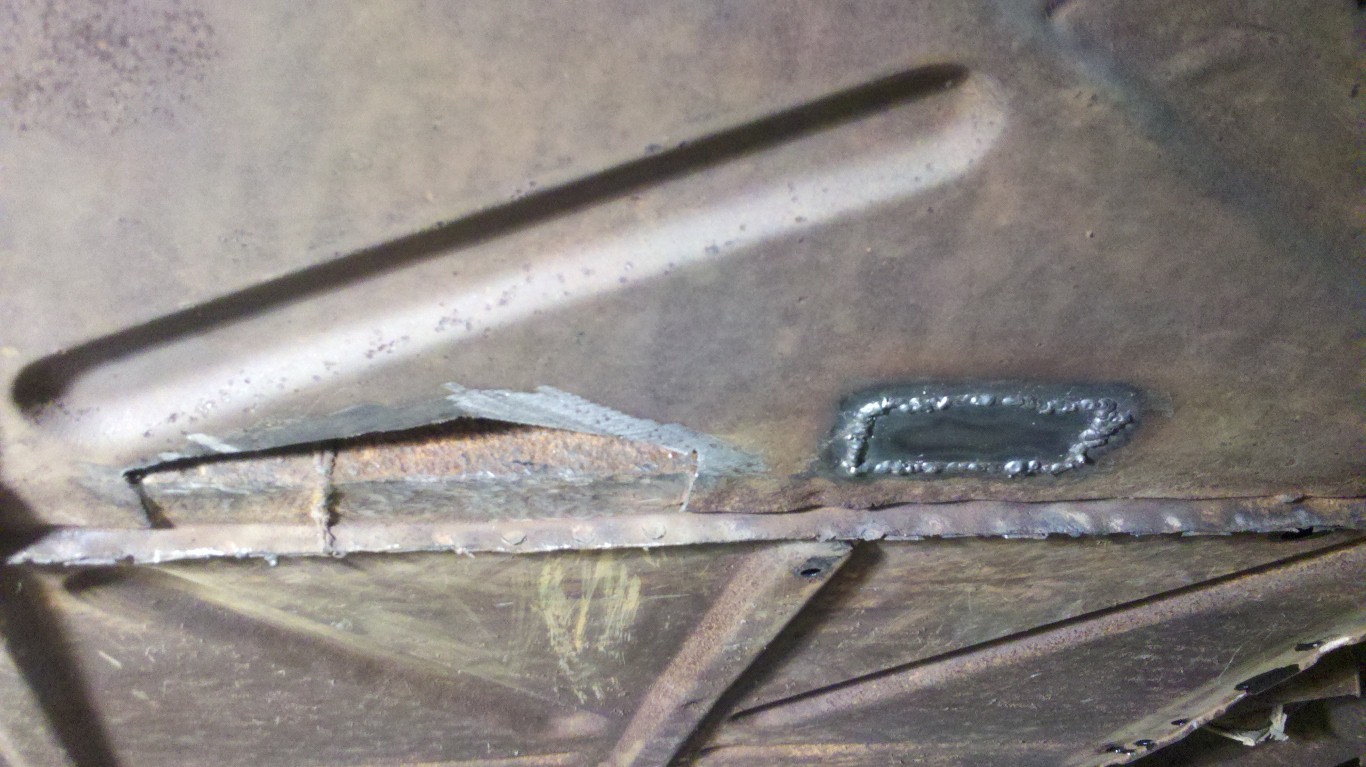
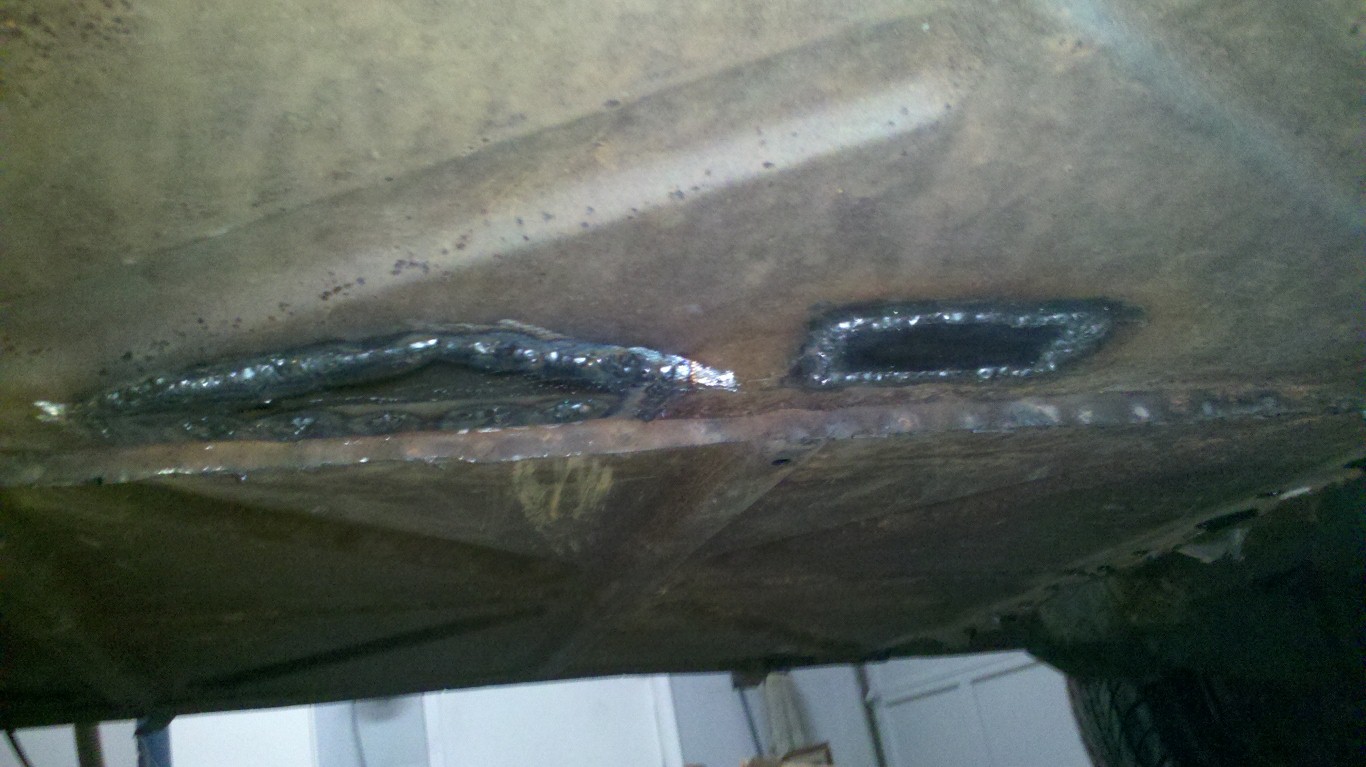
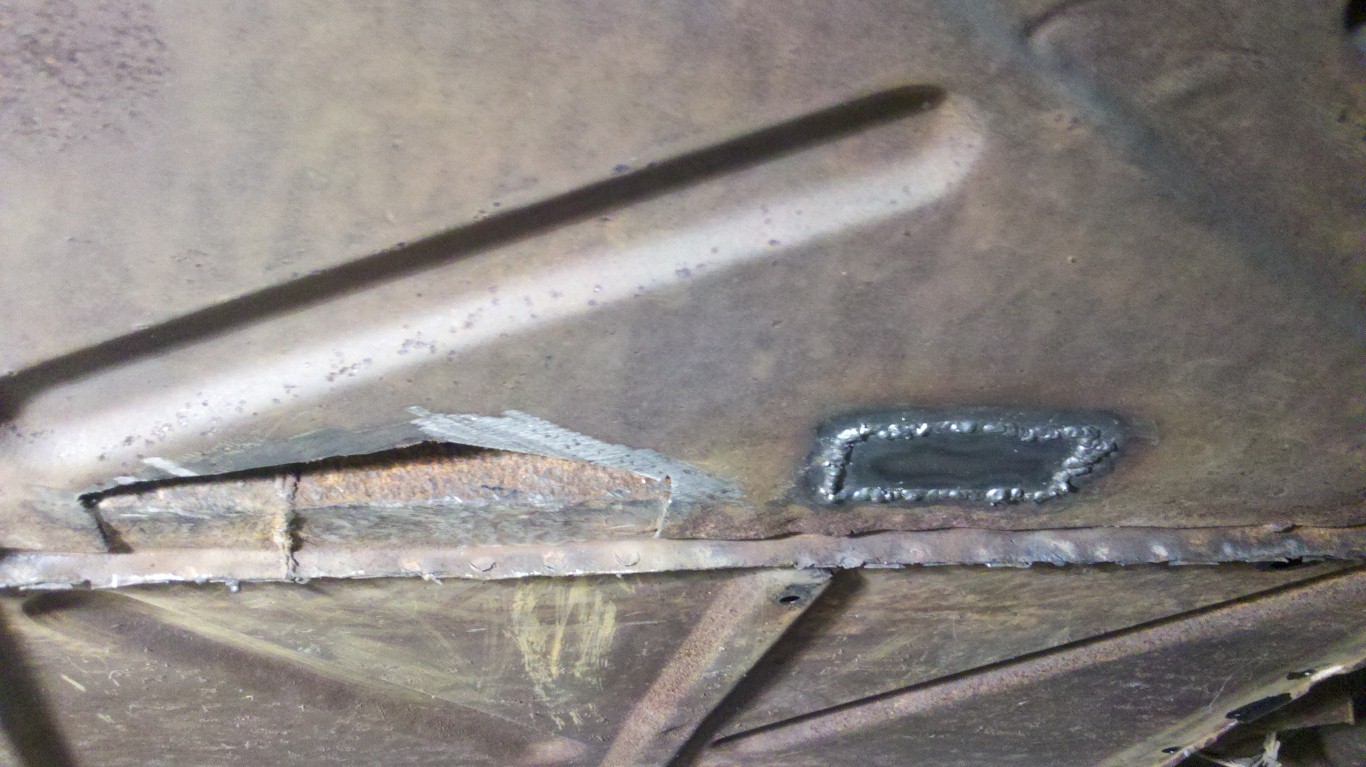
Belly Pan Patching Continued
More patching on the belly pans tonight. With these holes repaired all that’s left is to grind the welds and paint the entire underside.
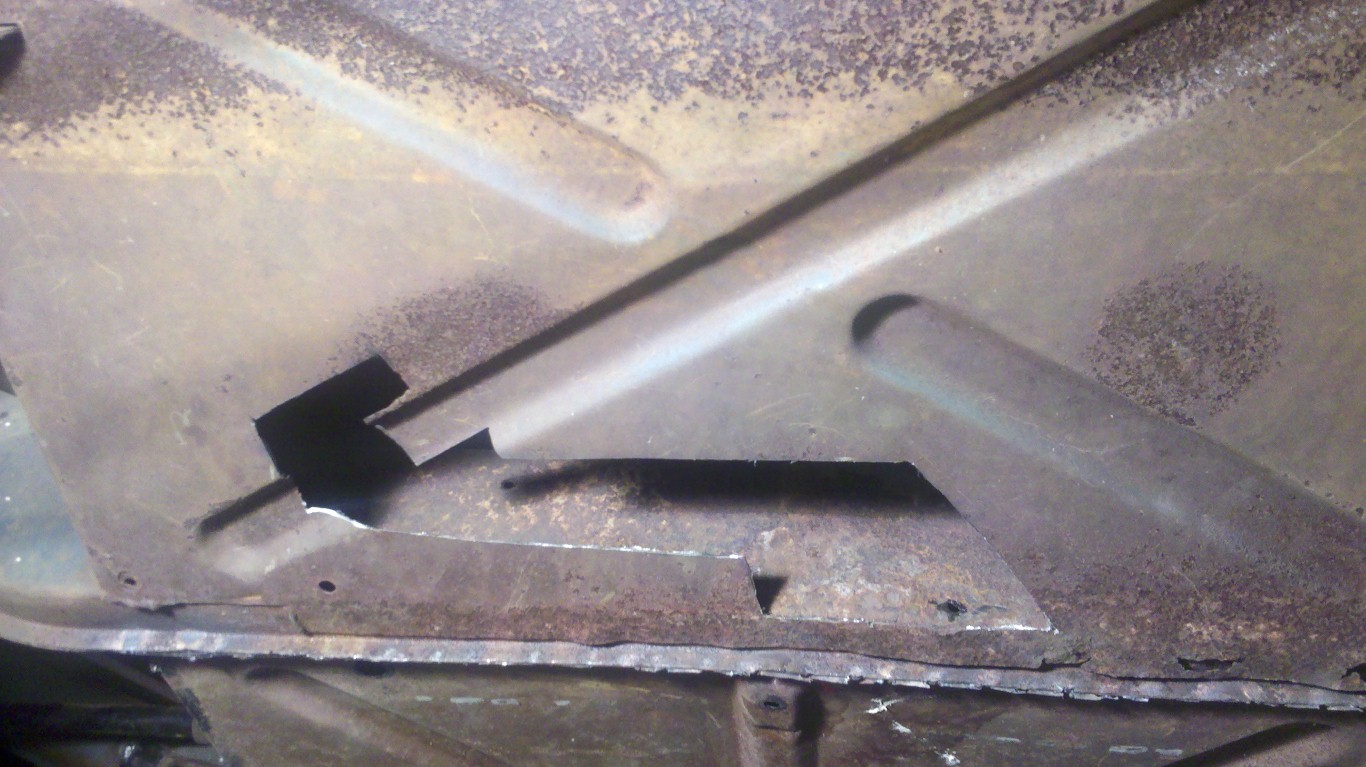
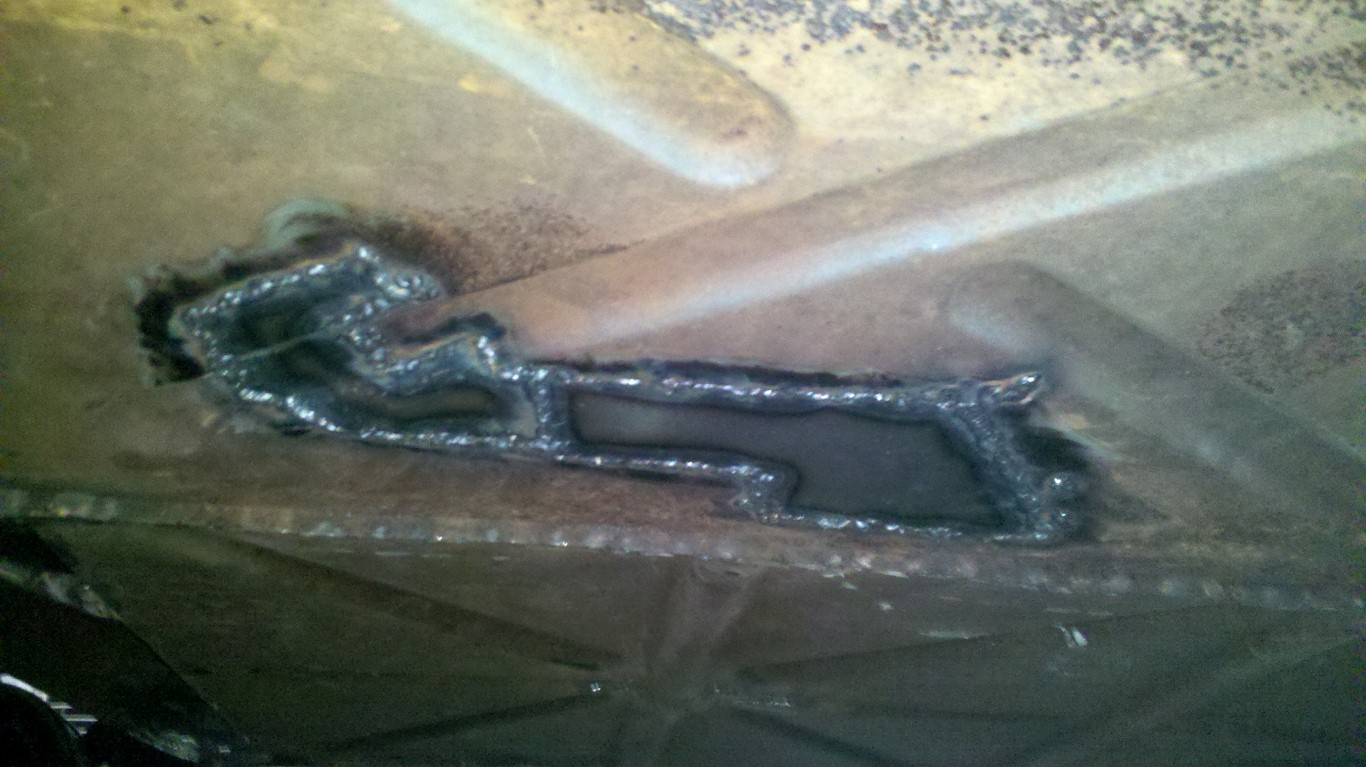
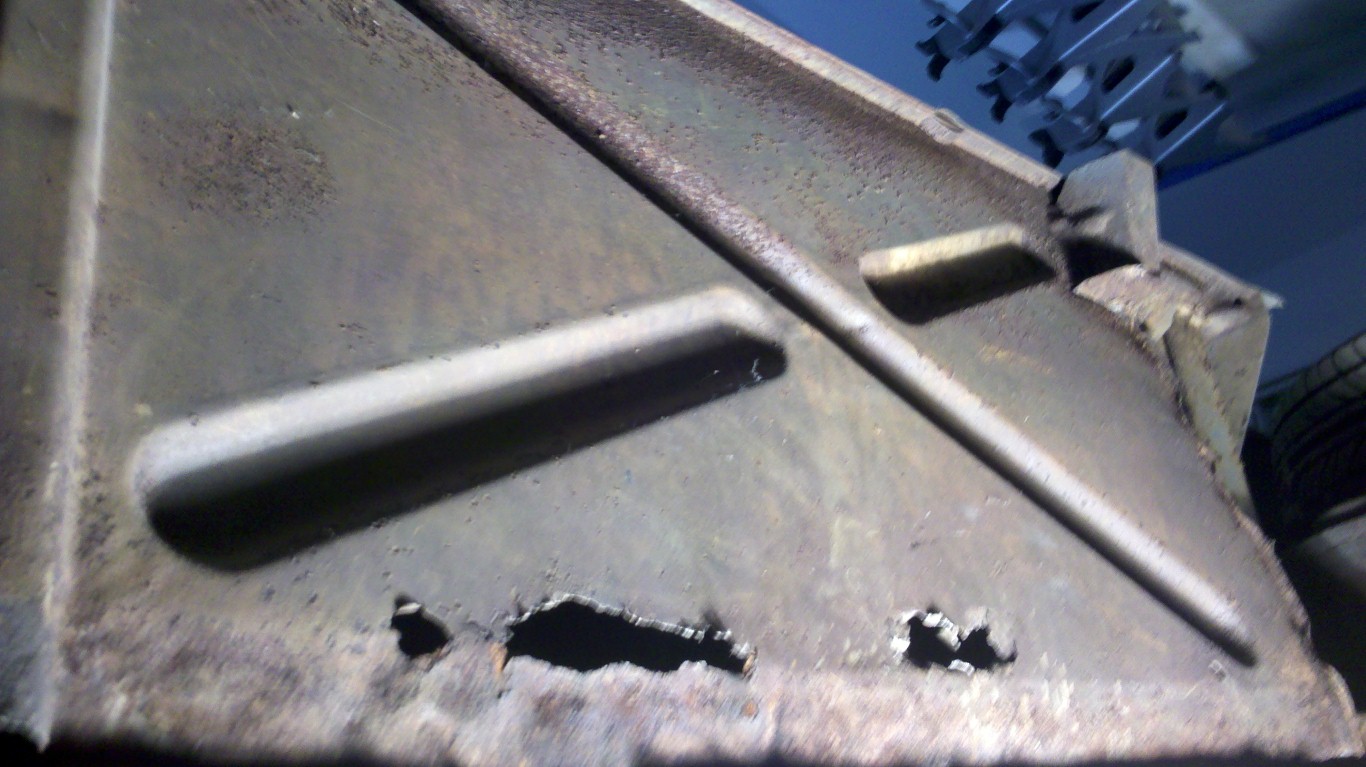
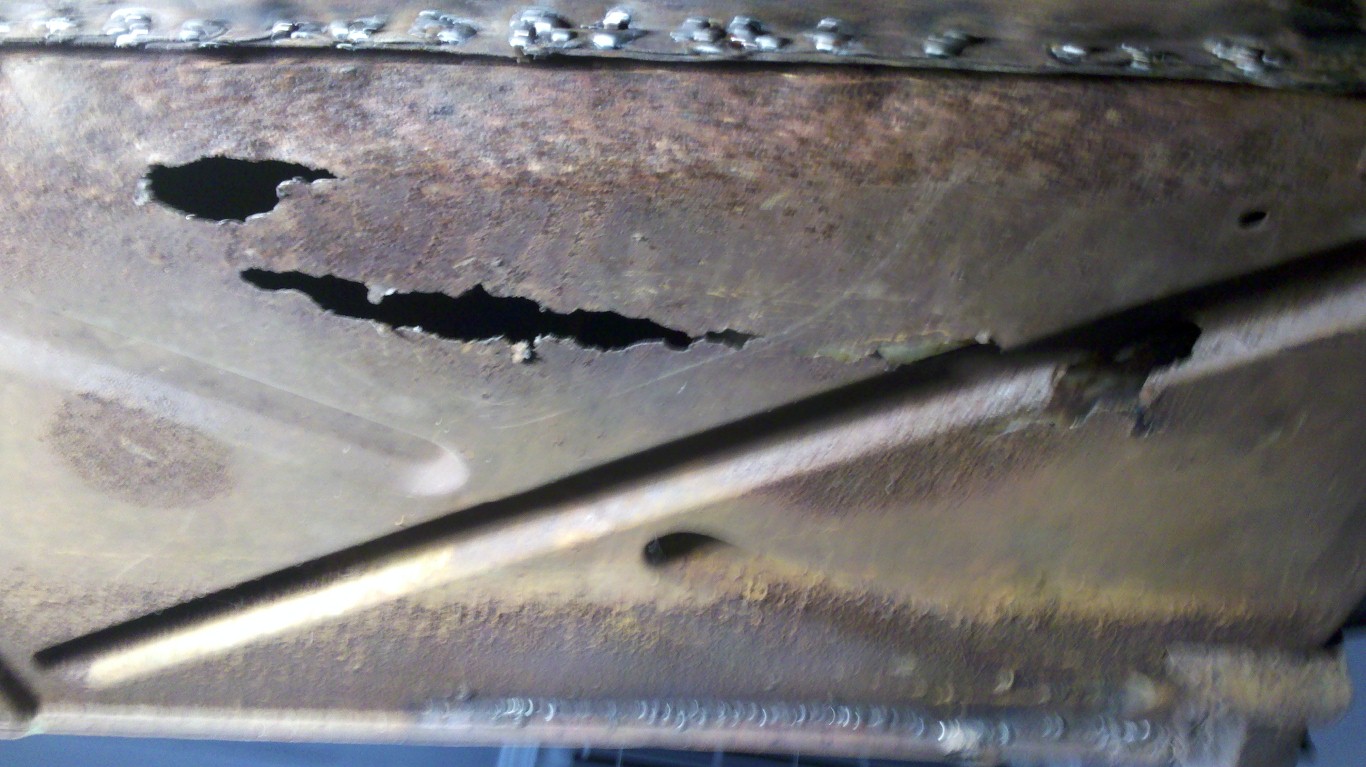
Belly Pan Patching
Tonight more patching was completed on the belly pans. With all of the rust cut out and the insides clean/painted the pans are now making a satisfying thump sound when knocked instead of the previous crinkly rusty sounds. None of the welds to the underside look particularly nice, but they are solid and will look fine once ground flat; welding upside down is extremely tough. All that remains for the underside with regards to metalwork/paint is the following:
– Finish patches to driver side belly pan
– Finish fabricating and install front passenger side belly pan section
– Small frame repair to driver side front frame rail
– Grind all welds
– Wirewheel entire underside
– Clean/etch entire underside
– Paint entire underside with POR15
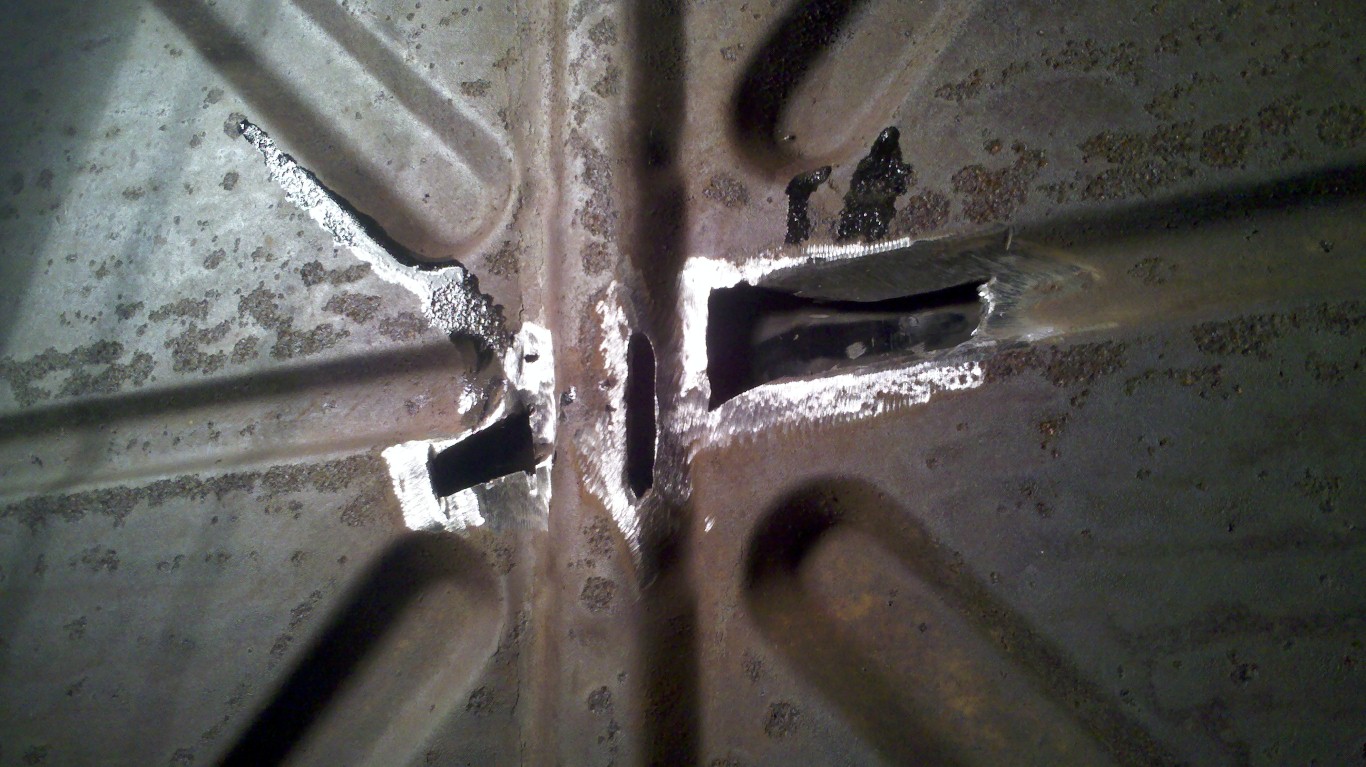
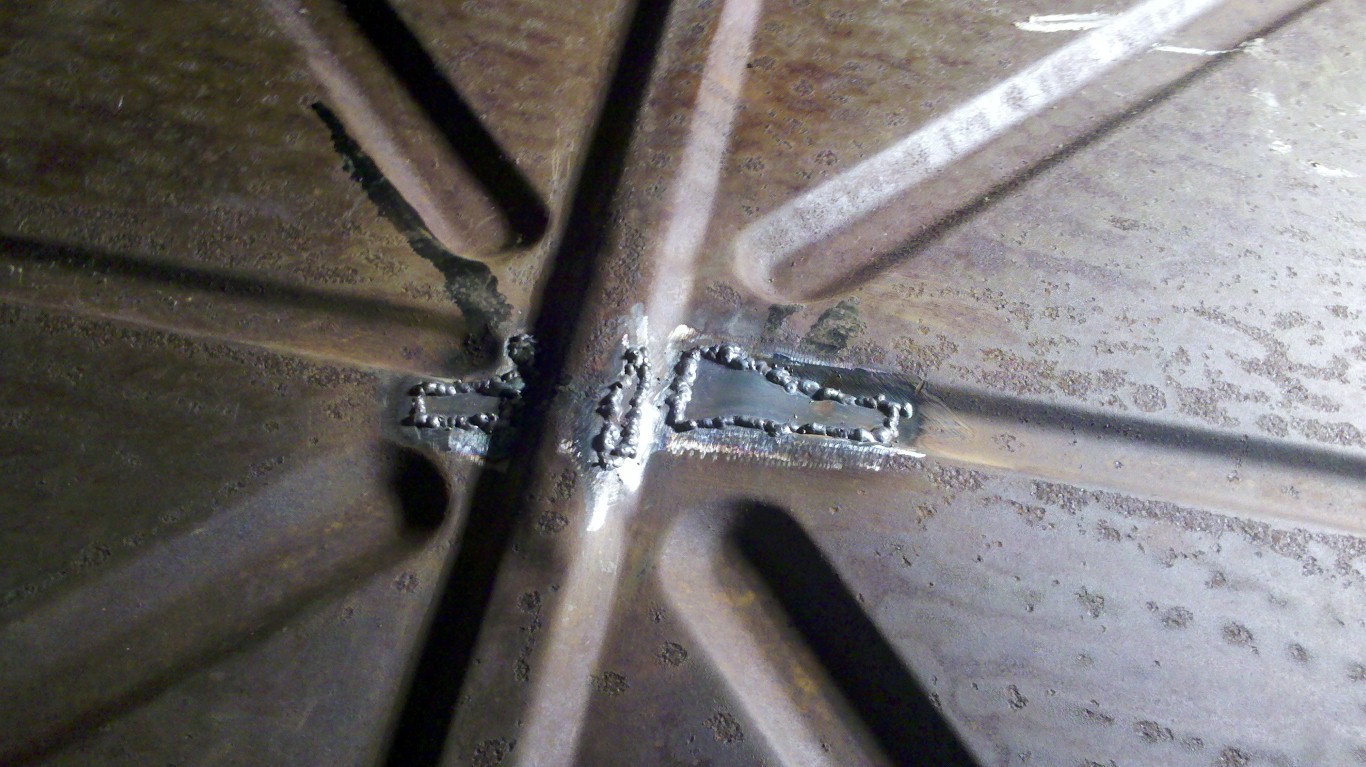

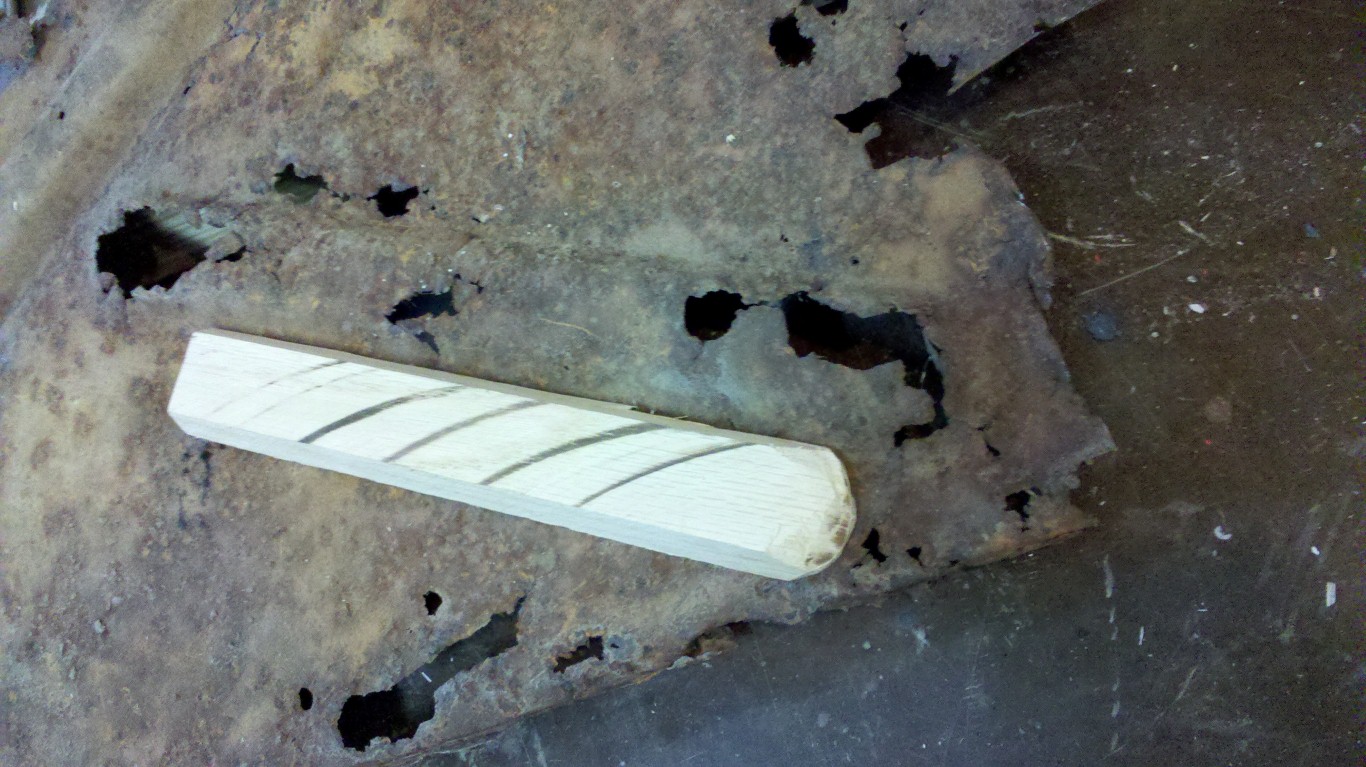
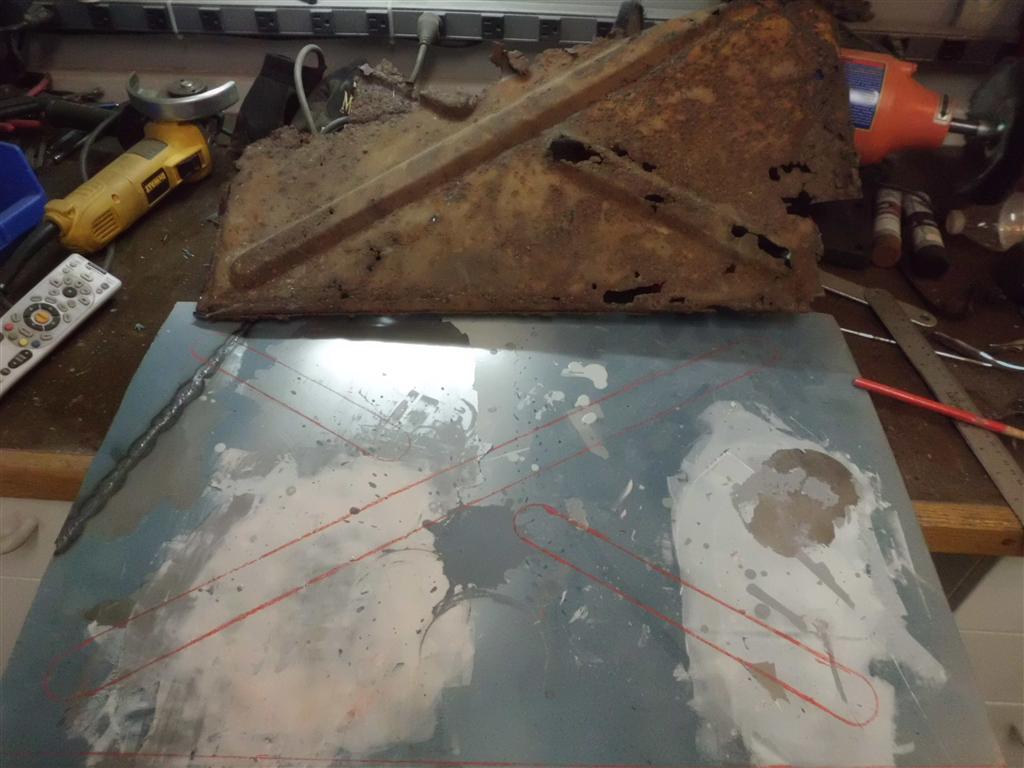
Belly Pan Reproduction Begins
Today the central belly pan was welded back in place and I began fabricating a replacement belly pan section for the forward passenger side belly pan area. The are a few holes in each of the belly pan areas but the forward passenger side belly pan was beyond salvage; when the bus was parked outside for 25 years it was likely facing downhill and leaning to the right, at least with enough slope for all the water to collect here.
To reproduce the belly pan I created a hardwood form to match the contour of the existing rusty pan and I’m using the hammer forming process to stamp the rib pattern into the new sheet metal. The belly pans were only used as reinforcement on busses with sunroofs or large pop-up campers; because of this, repair sections are not as available as other parts have been.