The shop floor plan allows for a large opening between the ‘far’ end of the shop and the auto repair/bus area. This will allow tools to be easily shared between both spaces; during a big auto project the repair bay can become an extension of the workshop. The opening is also big enough to bring in the front or rear of a vehicle if ever needed. When auto projects aren’t underway though I’d like to have doors cover this opening to prevent dust/mess from wood/metal project leaving the shop area and to save on shop heating/cooling costs.
The size of the opening presents a problem – swinging doors would have to swing ‘out’ of the shop to avoid hitting cabinets, and the large sweep would require moving anything parked on the garage side out of the way temporarily, kind of a hassle. To avoid this problem, sliding doors made the most sense.
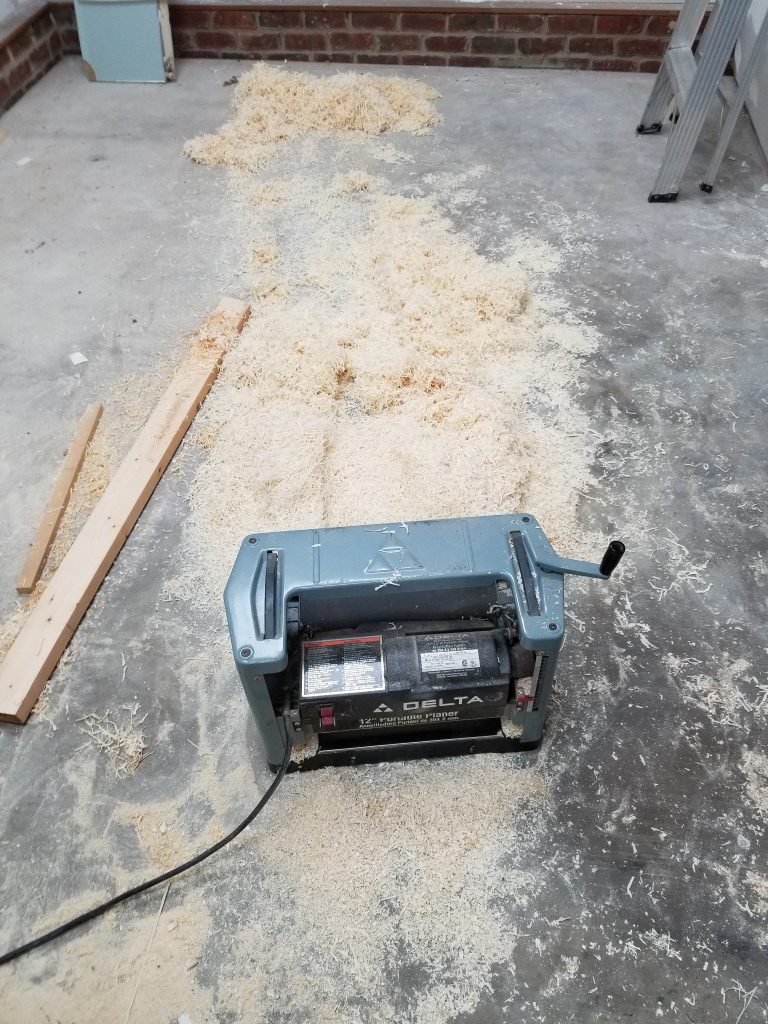
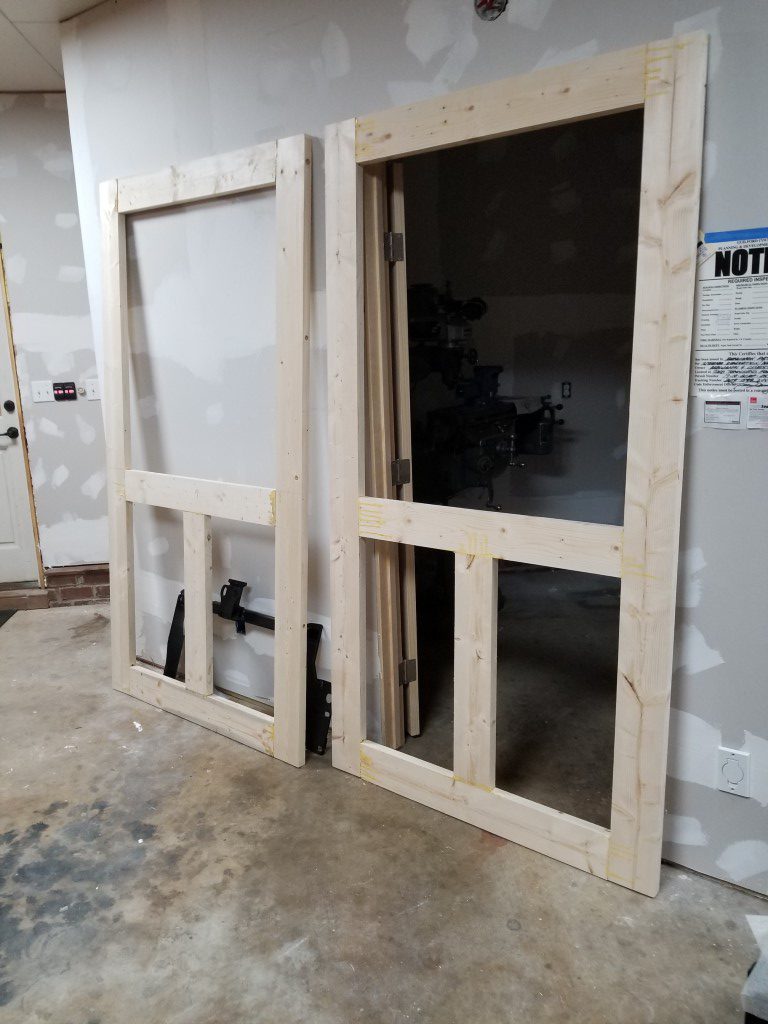
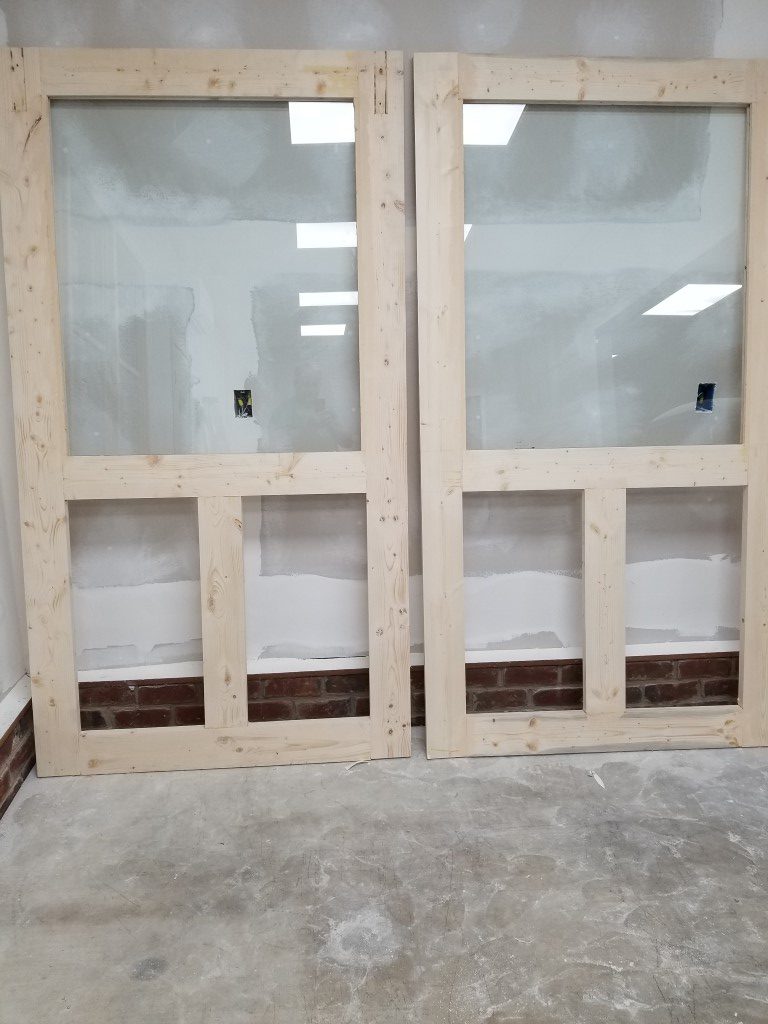
The shop build project is being run with the materials cost set to minimum and the end-product quality set as high as is practical. This sounds unrealistic but is actually possible with the trade-off being time; it’s not a problem though since I count this as hobby time and there’s no particular deadline. The sliding doors are a great example of this – sliding doors and hardware are outrageously expensive compared to the raw materials cost. Building my own also gives me full control, in this case I wanted to avoid the farmhouse/barndoor/rustic look in favor of cleaner traditional/modern look. Over the last few weekends I’ve built the doors and tracks below, key points:
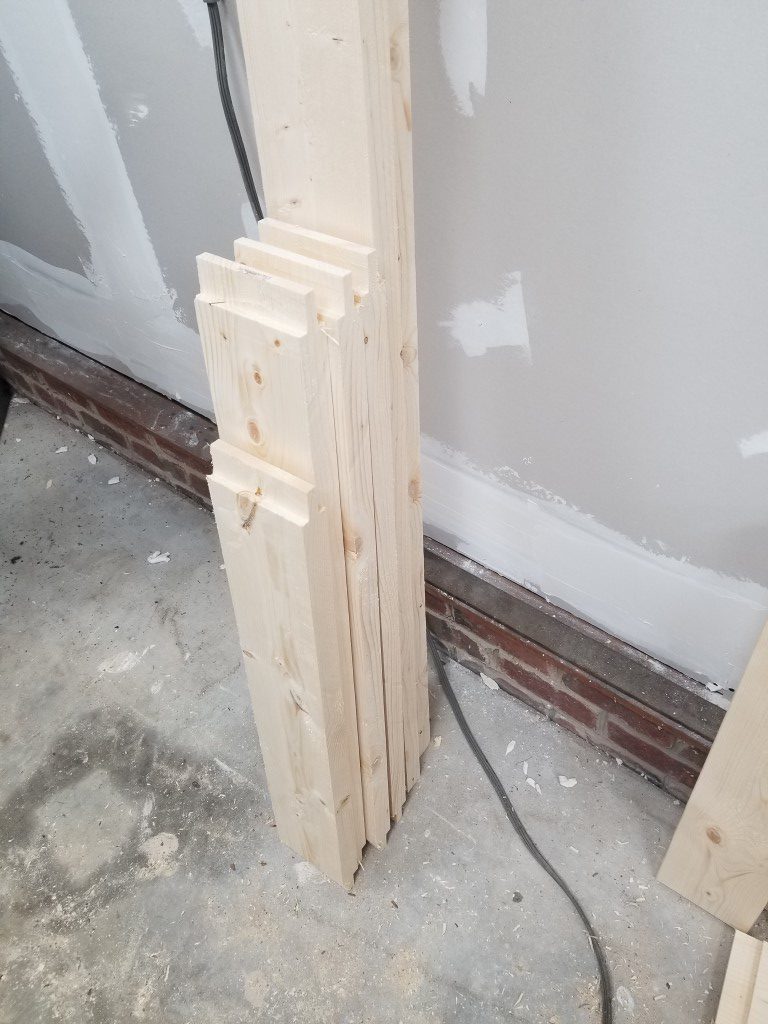
- Door frames from 2×6’s, planed down to standard 1 3/8″ door thickness
- Mortise and tenon joints connect frame pieces (tenons via table saw dado stack, mortises via router and chisel)
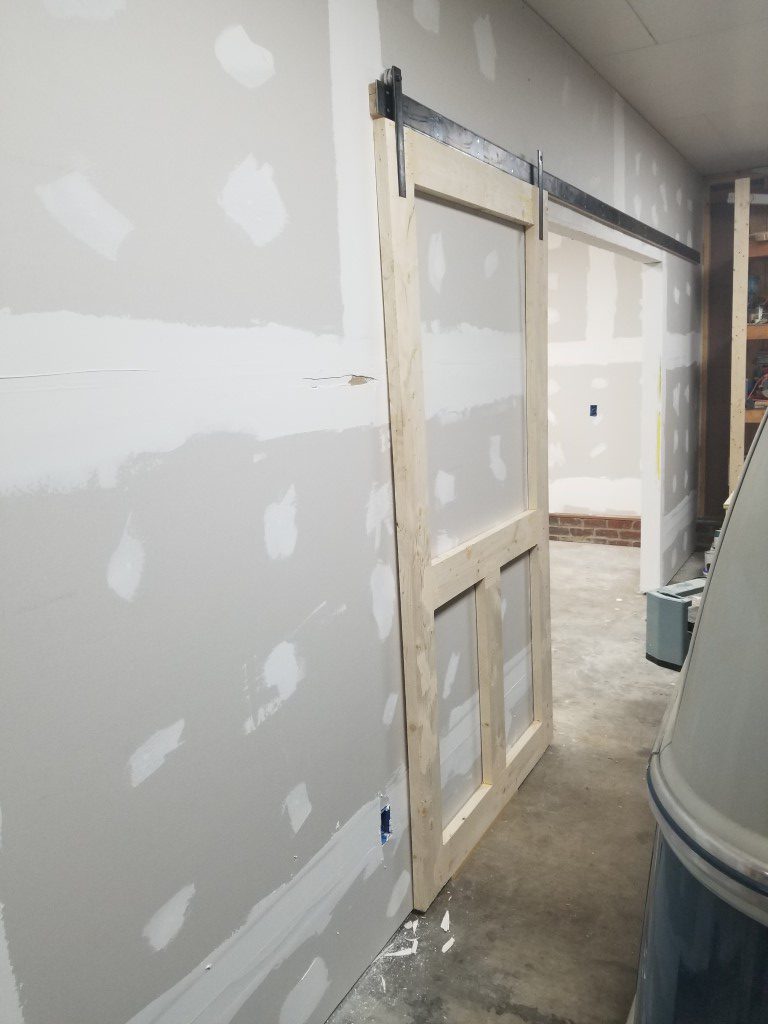
- Slide rail is two 3/16″ x 3″ x 10′ flat bar sections welded in the middle.
- Door bracket pins turned and threaded on lathe then welded to brackets.
- Aluminum rollers turned on the lathe, held to the brackets using standard 608 skate bearings.
- Brackets recessed into door frame and secured to the doors with studs welded to back side for a completely smooth front.
- 1/4″ Tempered glass sourced from local glass shop.
- Groove along bottom of door and small bottom bracket keep door located against the wall and limit inward overtravel.
- Roller to door top spacing and roller flange width prevent door from lifting/falling off rail.
There’s a good bit of finishing work still left, but I’m happy with the results so far.