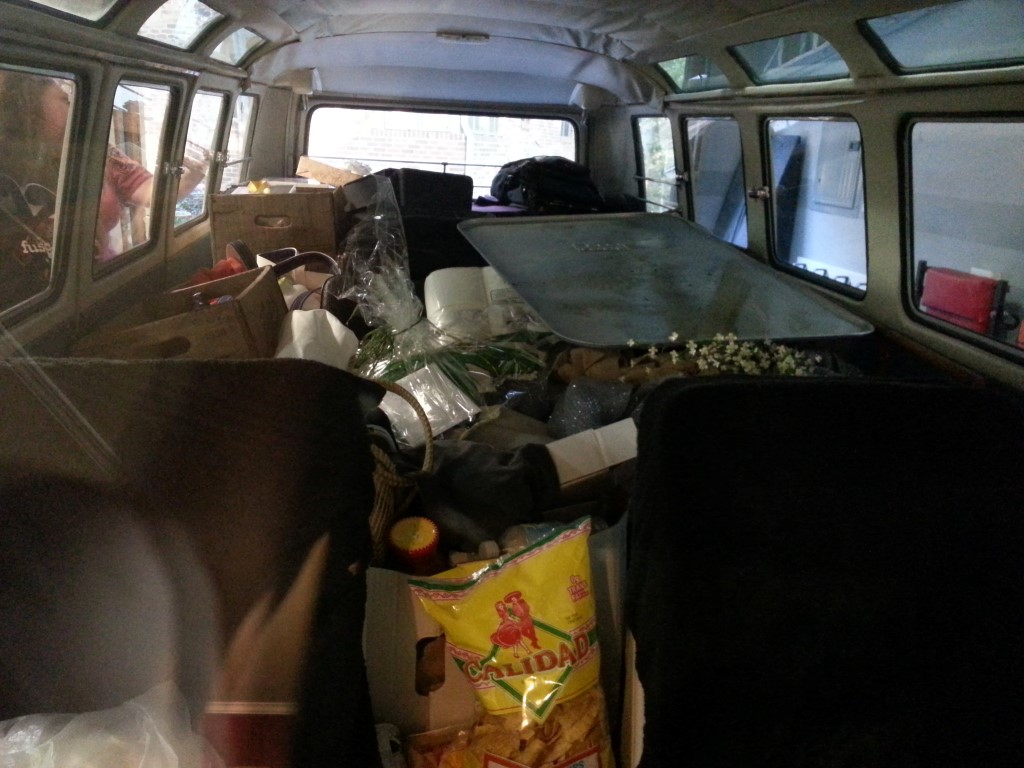
The bus made the trip back from Charleston uneventfully. It was loaded at least half full with various wedding stuff, luggage, tools, etc. We had originally thought of having the bus ready for the wedding as a bonus, but in retrospect it was actually a large part of the wedding logistics and things wouldn’t have gone as smoothly without it.
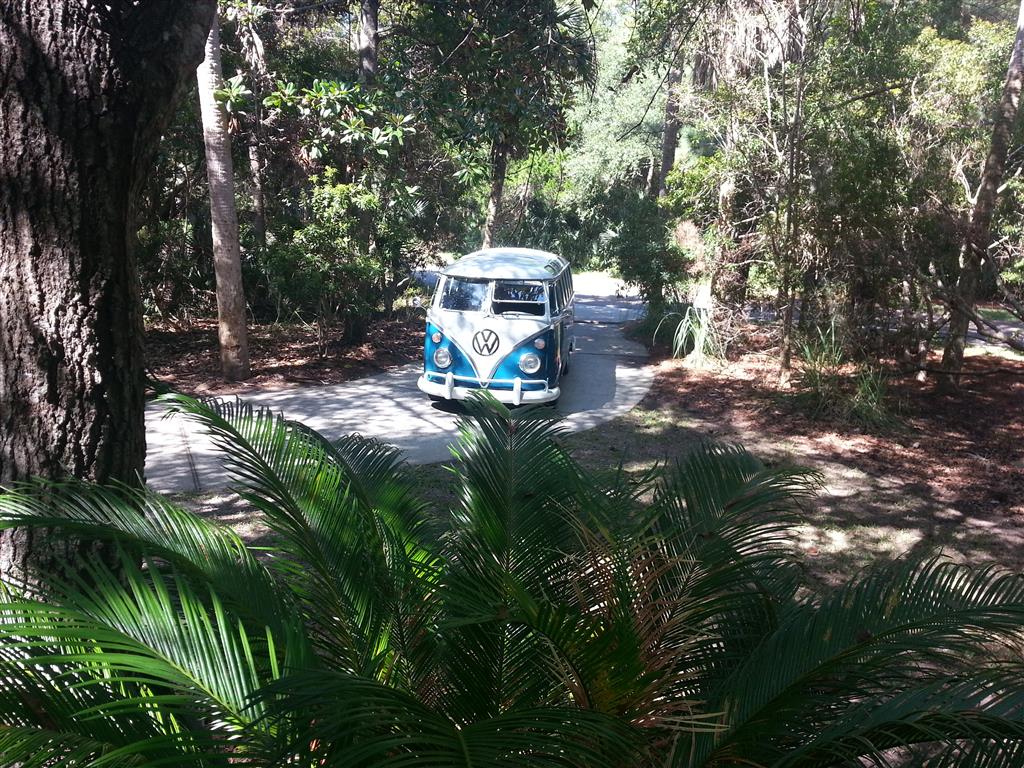
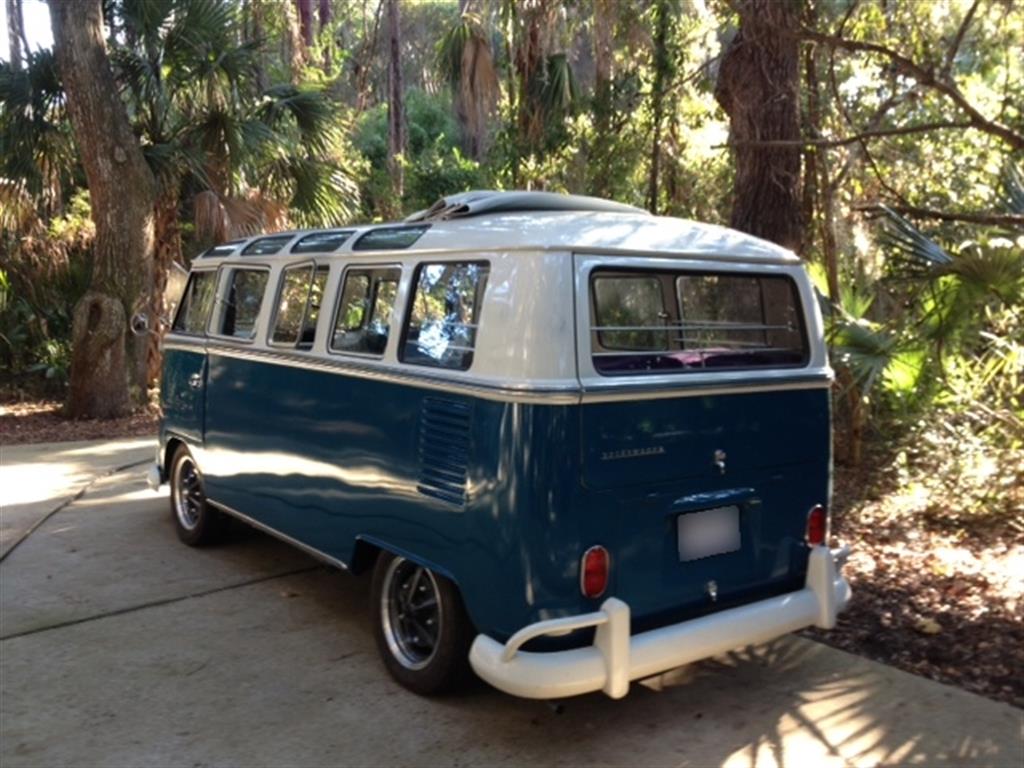
Having performed admirably for the wedding trip, the bus will now get a bit of a vacation over the winter. During this time I’ll have the engine/trans out again for closer inspection; the trans will need to be either rebuilt or replaced in order to get more speed while also bringing the interior noise levels down. I’ll also work on the interior, paint touch-ups, and various other miscellaneous stuff during this time.
I’ll continue to post updates as these changes are made; but the format of the site may quickly change as I incorporate more ‘non-bus’ projects.