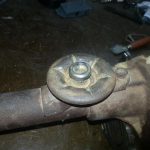
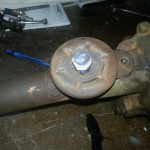
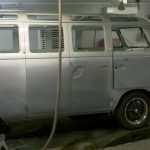
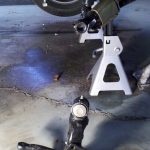
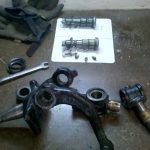
The perchs on the rear axle that holds the rubber bumpstop have what can only be described as a design flaw in that they hold water with no way for it to drain. Under these conditions it’s not surprising that the center post rusted away from the center of one. I welded on a nut and bolt of similar diameter in place of the missing post and drilled small drain holes at the bottom of both perches. The rubber bumpstops slide over the top of the posts so the repair will not be evident and will work as well or better than original.
Transaxle Rebuild Begins
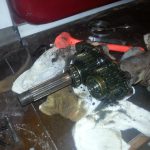
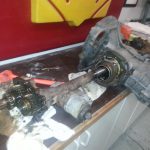
Tonight I started on rebuilding the transaxle. The first step was disassembly, this is going fairly well with the exception of the release of 45 year old gear oil smell; it will take a while to dissipate. Overall everything is in great shape; I’m mainly rebuilding to clean it up and reseal everything. Even the reduction boxes at the end of the axles are in great shape. The reduction boxes allowed VW to use what is basically the beetle drivetrain in the bus, at the expense of top end speed. Reduction boxes like this are not used on any other road-legal production vehicle with the exception of the original military-derived Hummer H1; but in the Hummer’s case it’s done mainly for ground clearance.
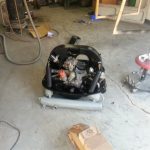
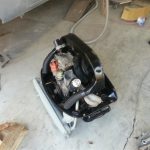
Engine Assembly Continued
Big Parts Blasted
Today the remaining unblasted parts that were too big for the blast cabinet were media blasted outside. The parts were then hung up and primed. Many of these parts will be black, I should have the black paint completed in the next few days.
Engine Parts Ready for Paint
Front Left Wheel Well
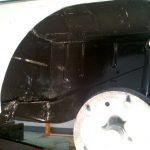
Today was basically a repeat of yesterday, with the same treatment (clean/etch/paint & spindle flip) being given to the front left wheel well. Pictured below is the, now dried, front left wheel well. The end result with both flipped spindles is shown at right. It’s tough to fully picture since it’s on ramps and the bumper isn’t installed, but this looks like it will be a good height.
Front Right Wheel Well
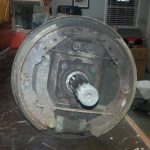
Today I worked almost exclusively on the front right wheel well. The area had several unground welds from previous work on the front and rear floors. These welds were ground down and then the entire area was cleaned/etched/painted. To make access easier I first removed the brake/spindle assembly; I needed to do this anyhow in order to ‘flip’ the spindle to achieve a lowering effect. Flipping the spindle lowers the bus by about 3.5″ and closes up the wheel opening to top of tire gap, it also improves handling and just generally looks better. Going back to stock height would only require performing the same procedure in reverse.


