The last few nights have been spent installing the electrical harness and getting all of the electrical parts working. The lights (high/low headlights,blinkers,hazards), wipers, clock, ignition, and starter are all working.


The last few nights have been spent installing the electrical harness and getting all of the electrical parts working. The lights (high/low headlights,blinkers,hazards), wipers, clock, ignition, and starter are all working.
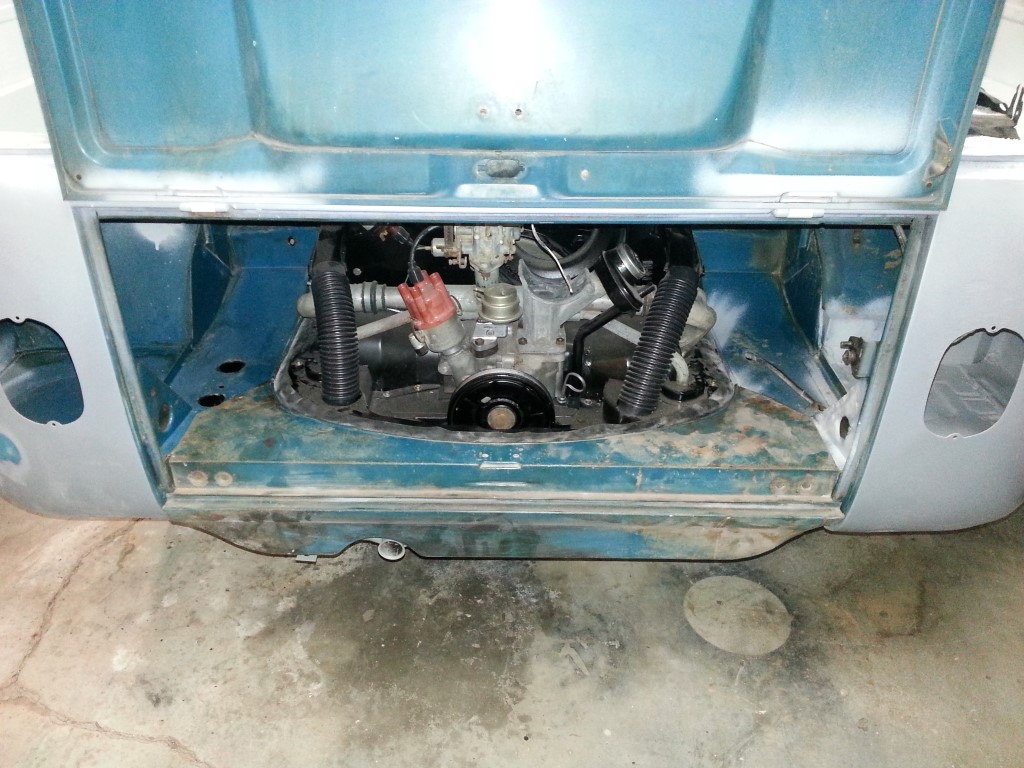
Tonight I finished installing the baffles, reassembling, and reinstalling the engine. I also picked up and installed a battery since I’m getting close to hooking up and testing the electrics. Now that the engine is in I was also able to test and adjust the clutch linkage; this is working great, the only driver control that remains is the throttle cable. Remaining to-do prior to starting:
– Install heat exchangers, muffler, and rear apron
– Install alternator/fan/belt
– Connect and test electrical harness
– Connect fuel lines, fill tank, and leak test
– Connect throttle linkage
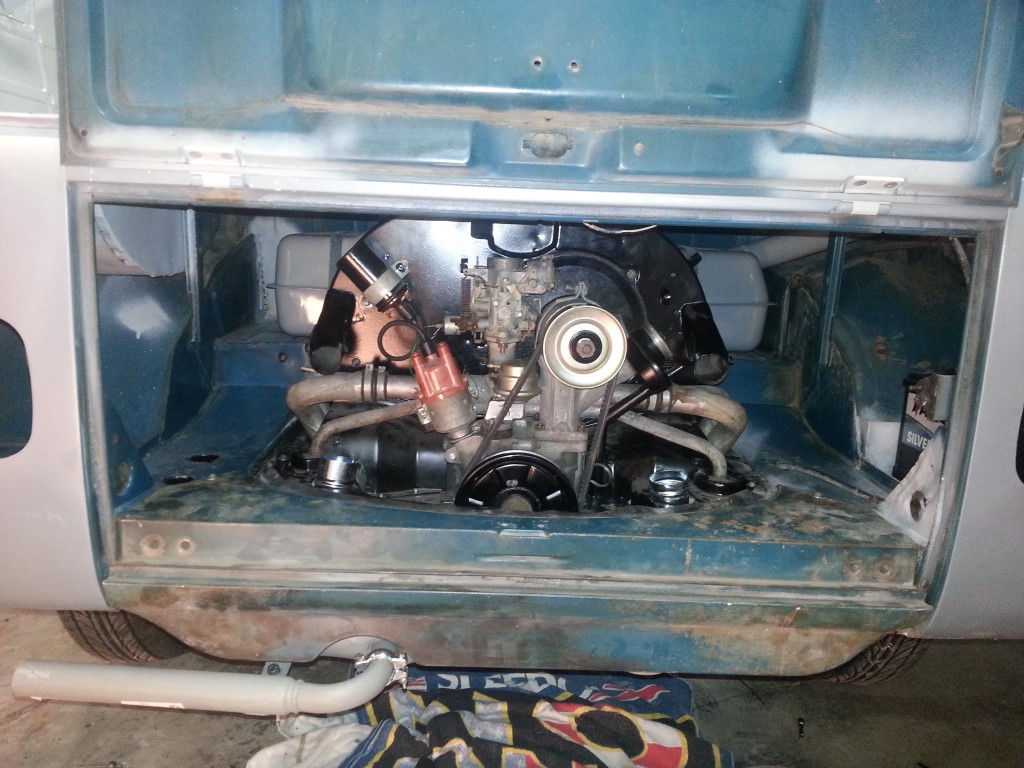
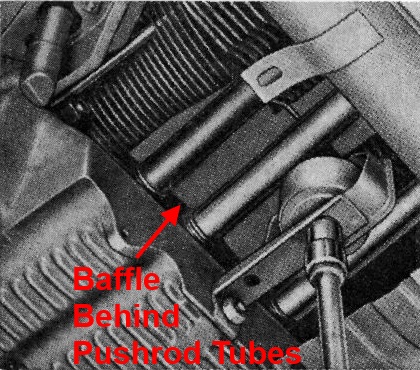
One problem arose with the installed engine: I had left the bottom engine ‘tin’ parts off so they wouldn’t be crushed while moving the engine around on the floor, with the intention of installing them once the engine is in place. This is still a good plan, but what I didn’t realize was that two of the baffles cannot be installed with the push rod tubes in place. Removing the push rod tubes requires removing the cylinder head which requires removing the fan shroud which requires removing the engine: so it came back out tonight. I’m taking this opportunity to replace the push rod tube end seals; I didn’t do this earlier and I got new seals as part of a seal kit.
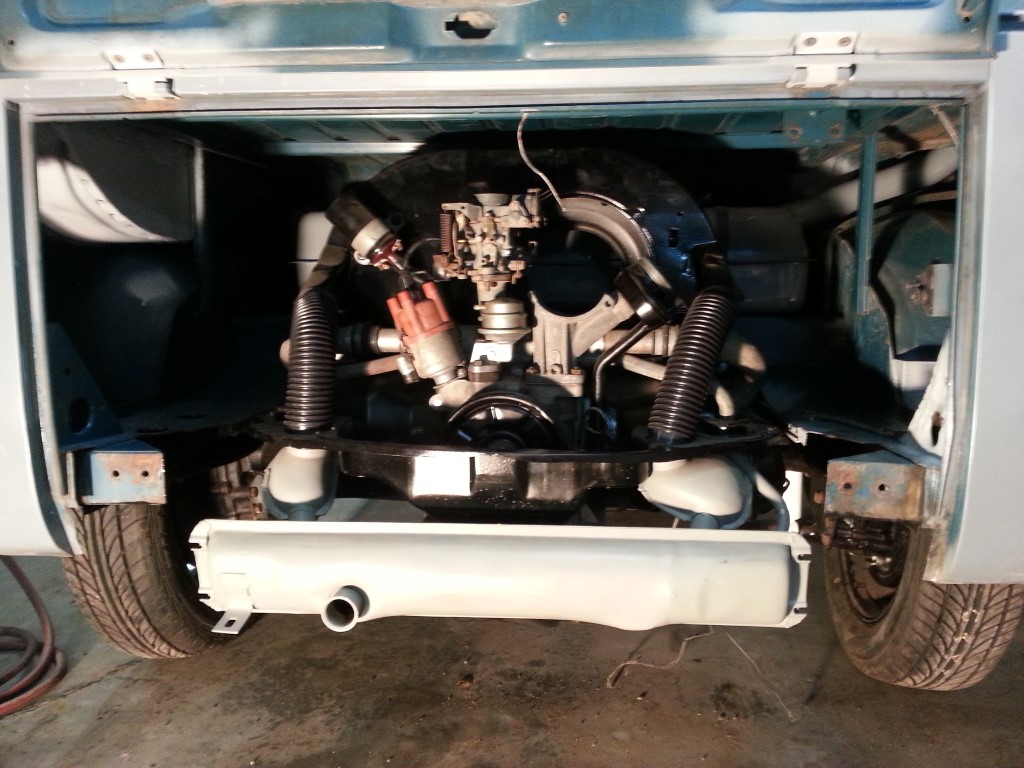
Today I installed the fuel tank and engine. The engine bay has not been repainted, but the goal at this point is to get it drivable; the engine is easy to remove, so the engine bay can be restored relatively easily at a later date. Also, I have a limited amount of blue paint, it should be enough for everything but just in case it isn’t I’d rather the second batch be used for the engine compartment than running out somewhere on the outside.


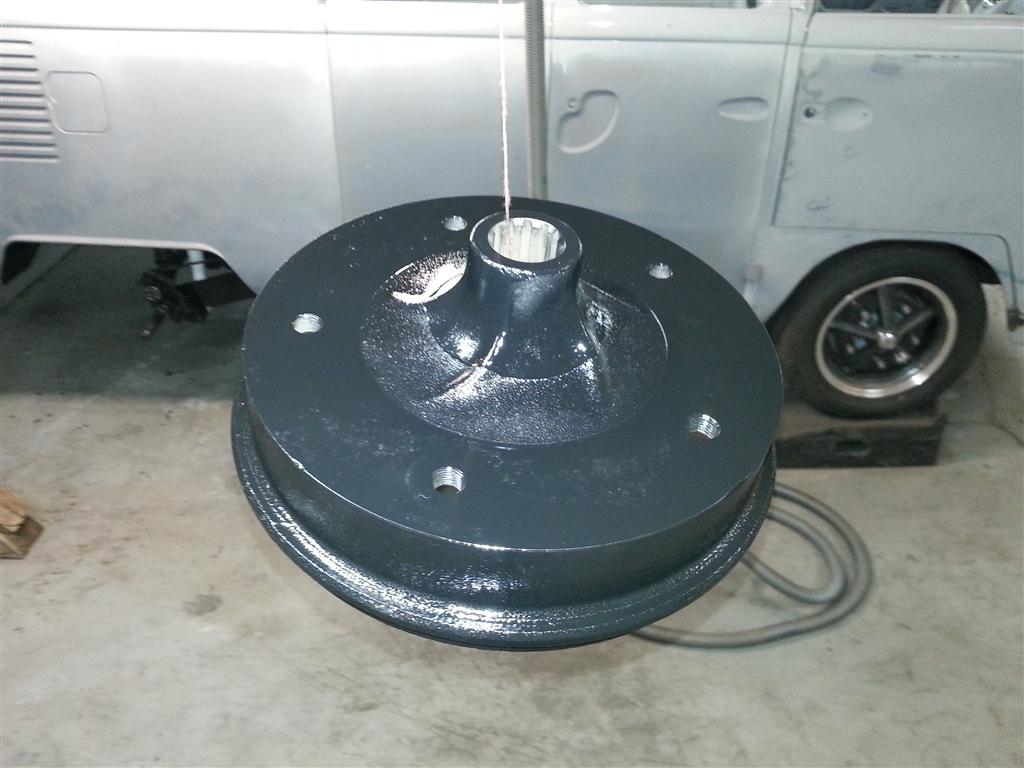
So despite the project reboot, it’s springtime, so house projects are still a distraction from the bus project. I did, however, manage to get the brakes fully operational. The bus has 4-wheel drum brakes, which added greatly to the complexity. Adjusting the brake shoes can only be accomplished through a 1/2″ hole in each of the brake drums; through this hole a geared wheel (perpendicular to the hole) must be turned to move the shoes closer to the inside of the drum. If the shoes are too close to the drum the brakes drag, too far away and the brake pedal travels all the way to the floor.
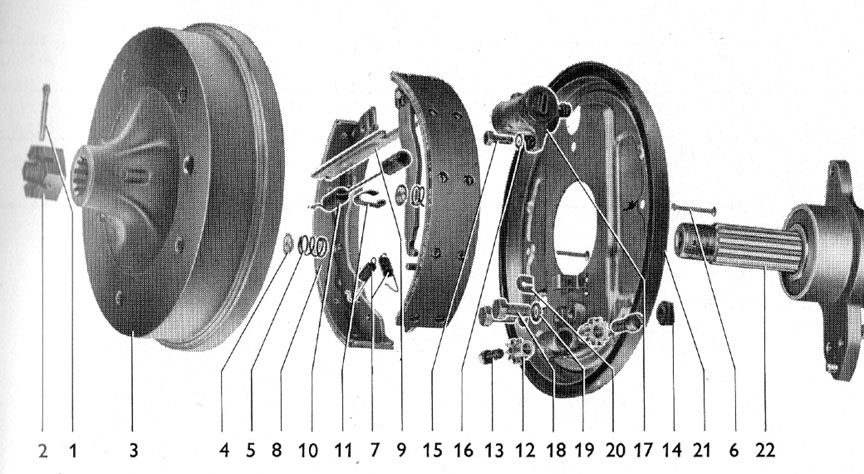
Compared to disk brakes, drum brakes have the advantage of being ‘self energizing’, as the brake shoes expand against the drum they wedge themselves in somewhat and provide a force multiplication. This makes the extra complexity worthwhile on a vehicle, like the bus, that lacks power brakes. Nearly every modern car has power brakes and 4-wheel discs now; but heavy trucks and ‘real’ buses still use drums.
There was yet another months-long project hiatus due to miscellaneous other projects (the house/yard, the ‘modern’ VWs, etc.) and business trips. I’m now re-launching the project. Recent progress:
– Shifter linkage installed and working
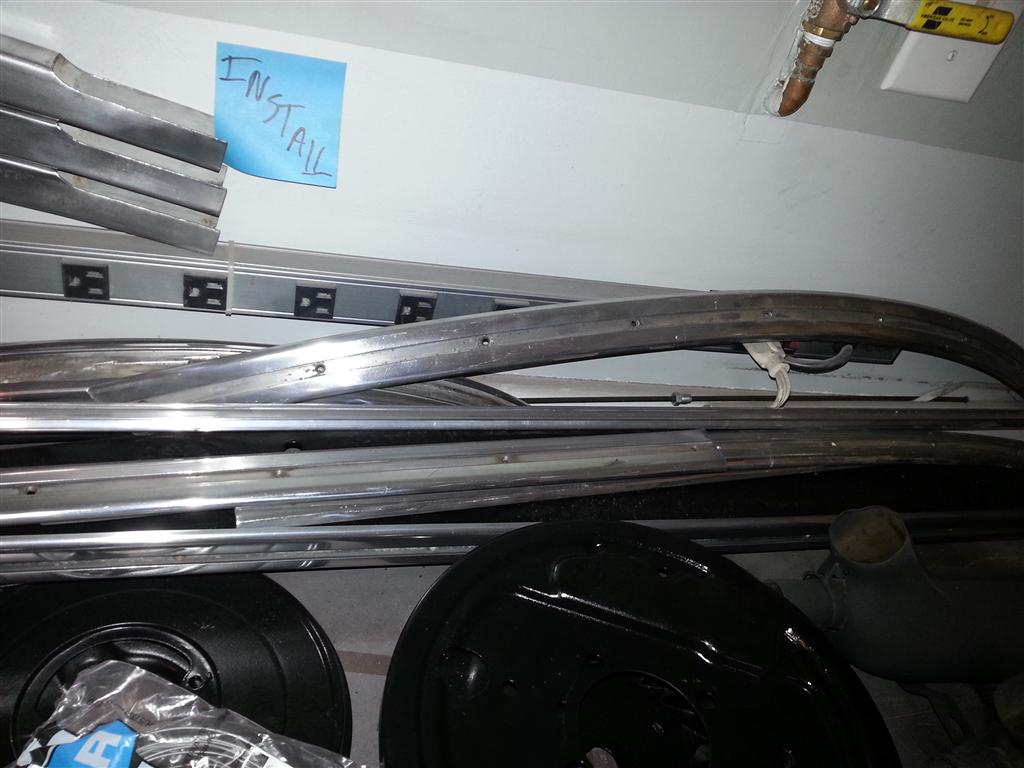
– All brake components installed
– Parking brake connected and working
– Clutch linkage connected and working
– Initial brake bleeding complete, but still needs some improvement
The plan now is to just get it running so I can easily bring it in and out of the garage to finish the blue paint on the exterior. This will mean that the engine compartment will have to be completed some other time; but that’s OK, I’m sure to have it out again at some point and it’s easy enough to remove anyways.
– Finish bleeding brakes and adjusting brake shoes
– Install driver side steering tie rod and perform crude alignment
– Install steering wheel
– Install driver’s seat
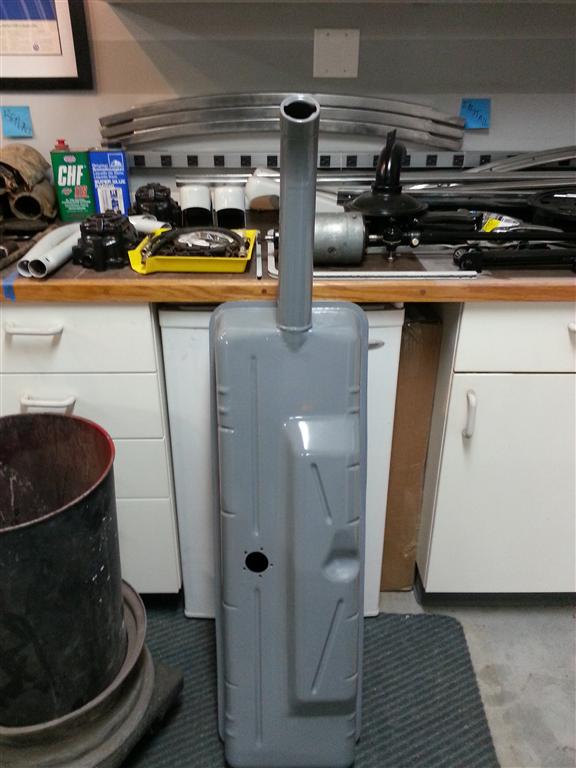
– Install fuel tank
– Install engine
– Install battery and hookup electrical components
Several key parts for reassembling the reduction boxes and rear brakes are still on their transcontinental journey. In the mean time I’ve: thoroughly cleaned all of the gunk off of the inside and outside of the fuel tank and repainted it, polished more aluminum trim, stripped many sunroof parts, and blasted/painted some other random parts.


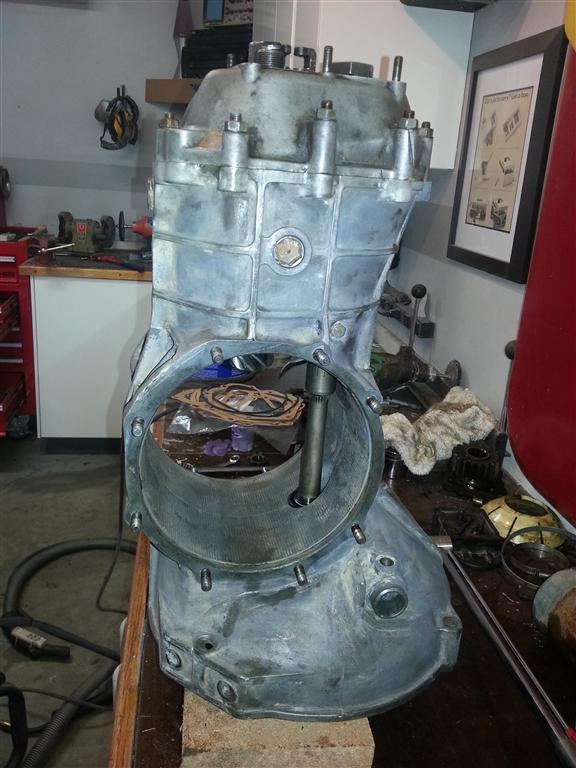
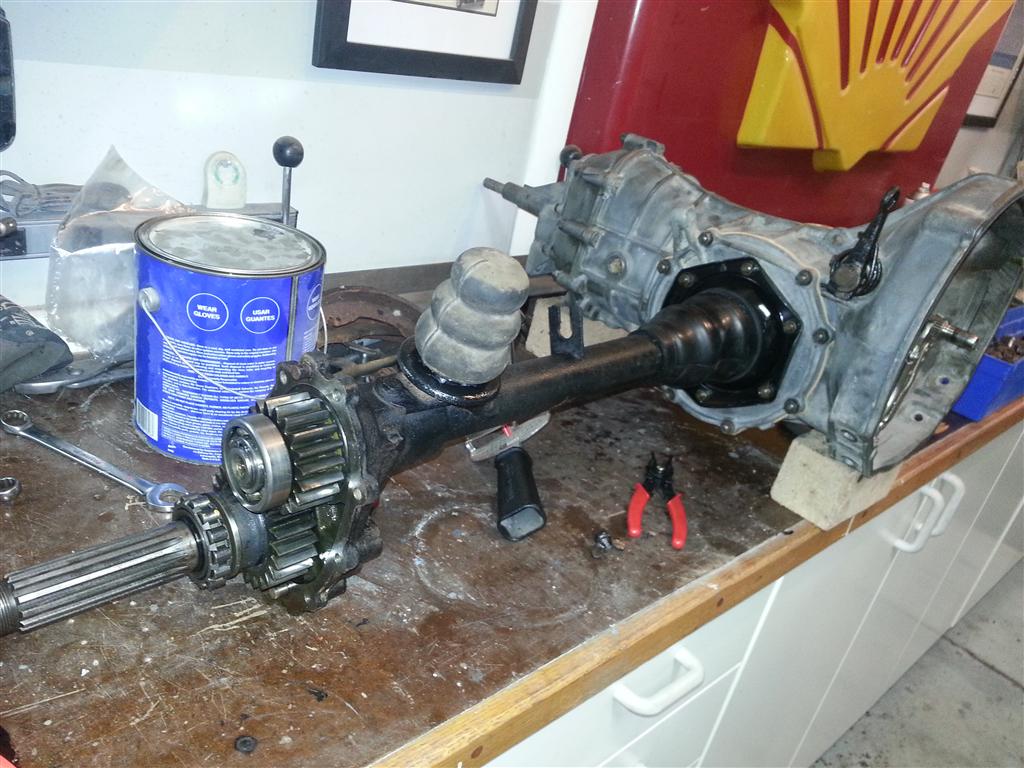
Transaxle installed tonight. The reduction box cases are still open, awaiting some gaskets from Canada. Once these arrive the gearboxes can be reassembled along with the rear brakes.
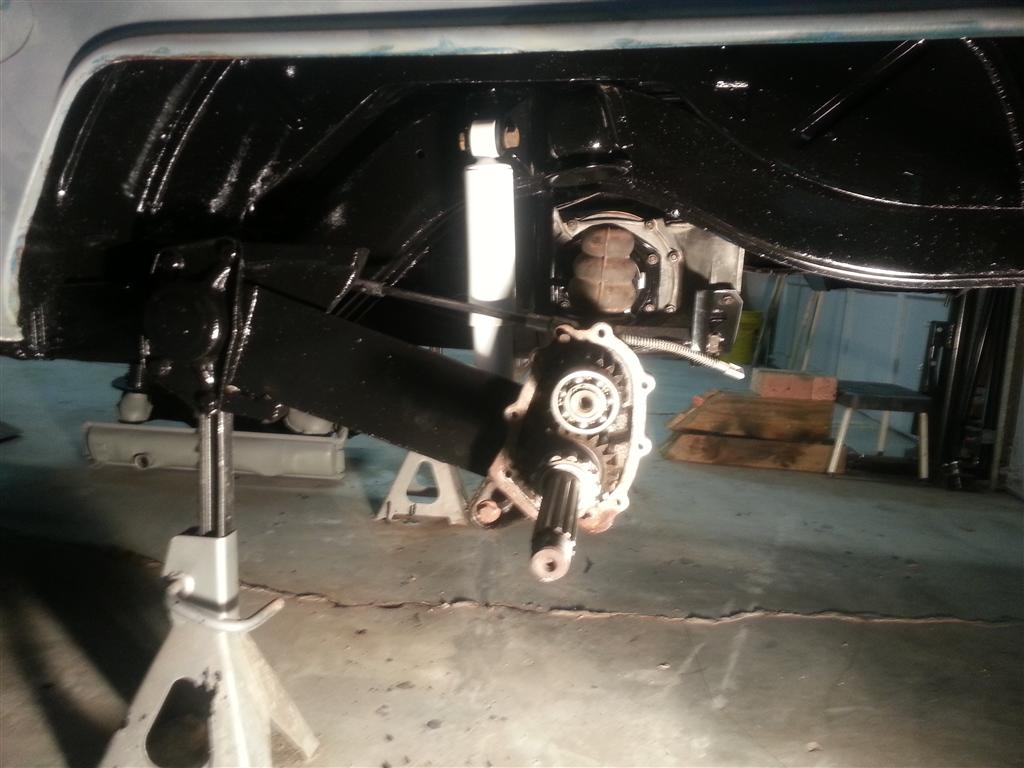
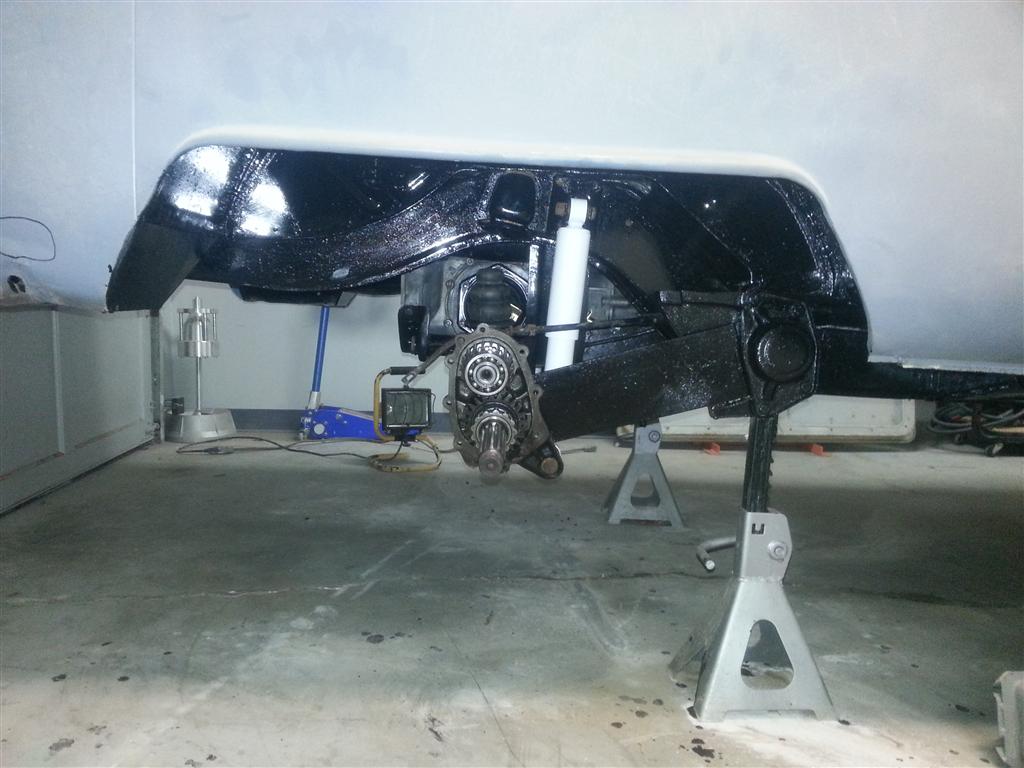
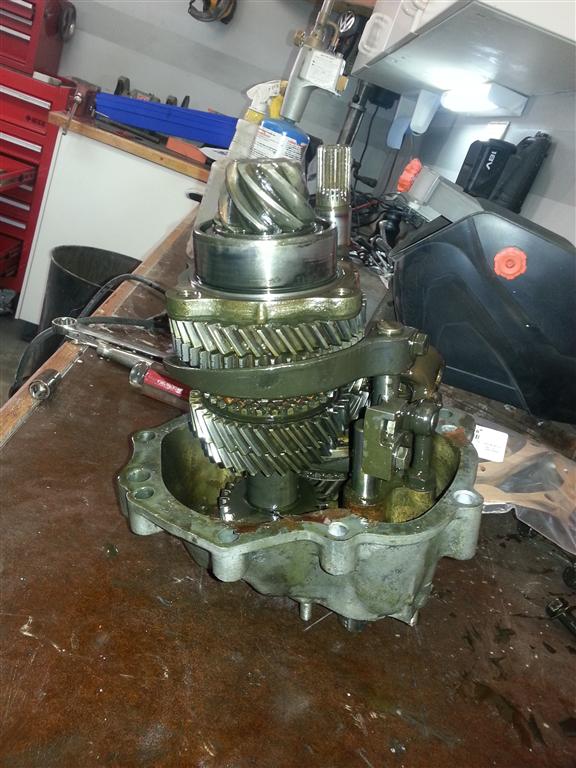
Transaxle rebuilt successfully finished. The gaskets were of slightly different thickness and this resulted in slight misalignment of the shift forks relative to the gearcluster on the input shaft. The fork linkage adjustment is inside the case and can only be checked with the case closed; so the gearbox side of the transaxle had to be assembled/disassembled 3 or 4 times (seemed like 100) to get it right. This adjustment is critical; too far in either direction and one of the synchros will be engaged while in ‘neutral’, causing it to burn out quickly. Really too far in one direction, which is only ~0.1″, and the linkage will not have a neutral at all without holding the shifter between detents.


The transaxle teardown continued, the case was cleaned, and initial reassembly began.