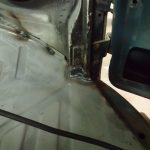
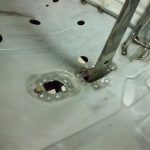
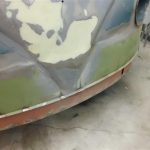
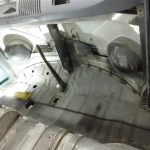
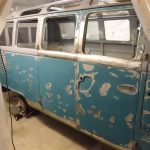
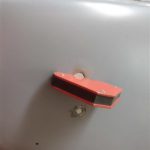
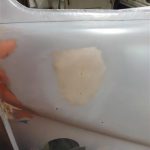
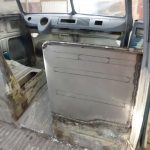
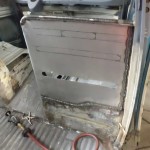
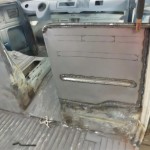
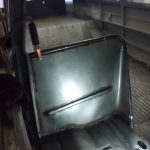
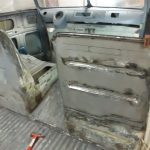
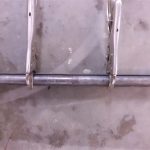
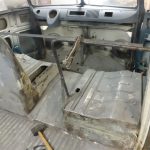
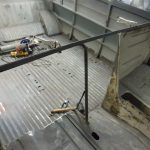
Cargo Doors Adjusted
More Primer!
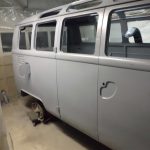
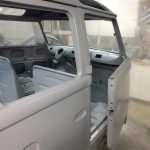
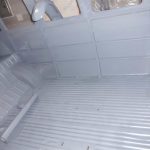
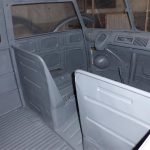
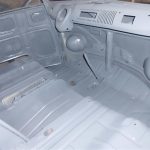
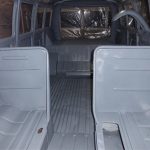
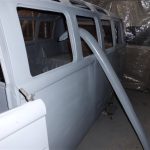
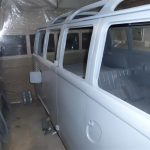
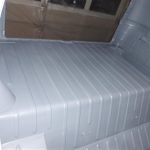
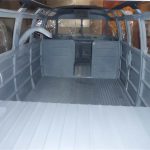
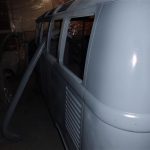
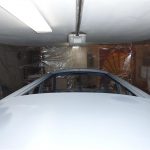
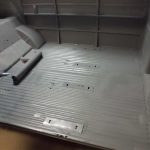
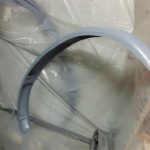
Today brought the largest visual change the project has seen so far: full epoxy primer coverage of all interior and exterior panels. All of the metalwork has been leading up to this and when the last of the metalwork was completed there was no reason not to prime everything. Prior to priming the upper (white) parts of the bus the paint was stripped back to bare metal. This was necessary due to the rust, cracking, and general failure of the sun-beaten upper half. For the lower half a calculated risk was taken by scuffing instead of fully stripping. The epoxy primer is well suited to this type of application and the original West German Sikkens nitrocellulose lacquer is unlikely to lose adhesion when protected by the epoxy. The time savings are really a side effect since this decision was made primarily to avoid any distortion that could occur as the result of stripping the big flat panels of the lower exterior. The photos were taken very soon after application so the finish appears blotchier than it really is; since everything is the same color for the first time the shadows and lighting are beginning to play tricks on the eye.
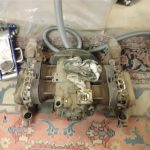
Engine removed, cleaning begins
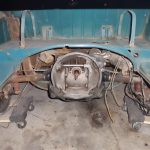
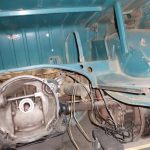
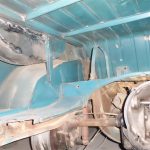
The engine was removed and cleaning began on the engine bay. There’s a thick coating, up to an inch in some places, of muddy grime that’s covering both the lower and upper engine/transmission areas. The engine removal took less than 15min and it’s easy to carry around, cleaning will take much longer.
Safari Window Test Fit
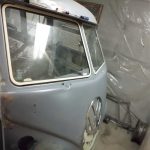
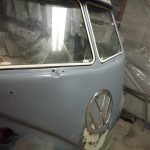
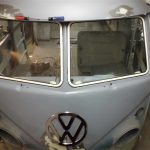
The safari windows and emblem arrived today and work began on test fitting. Safari window hardware allows both of the front windshields to open upwards to let in fresh air. This was a factory option originally, however the option was not originally installed on this bus. A few of the brackets involved had to be welded to the inside window frame area, this had to occur before paint otherwise the paint would be burnt. However the brackets could not be properly positioned until all of the hardware was installed. So I fully installed the hardware, marked the bracket location, and then fully removed all of the hardware again. After this was completed I welded the brackets; the hardware will be re-installed after paint.
Planning…
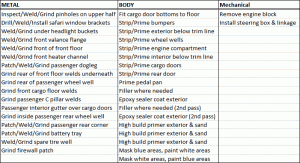
Tonight I came up with a comprehensive list of all items that must be completed to make the bus a completed shell. Once the shell is completed the bus can be put on it’s final wheel/tires to allow safely raising to a height suitable to work on cleaning/painting on the underside. Once the underside is completed the mechanical/electrical reassembly and restoring/installation of small parts will begin.
