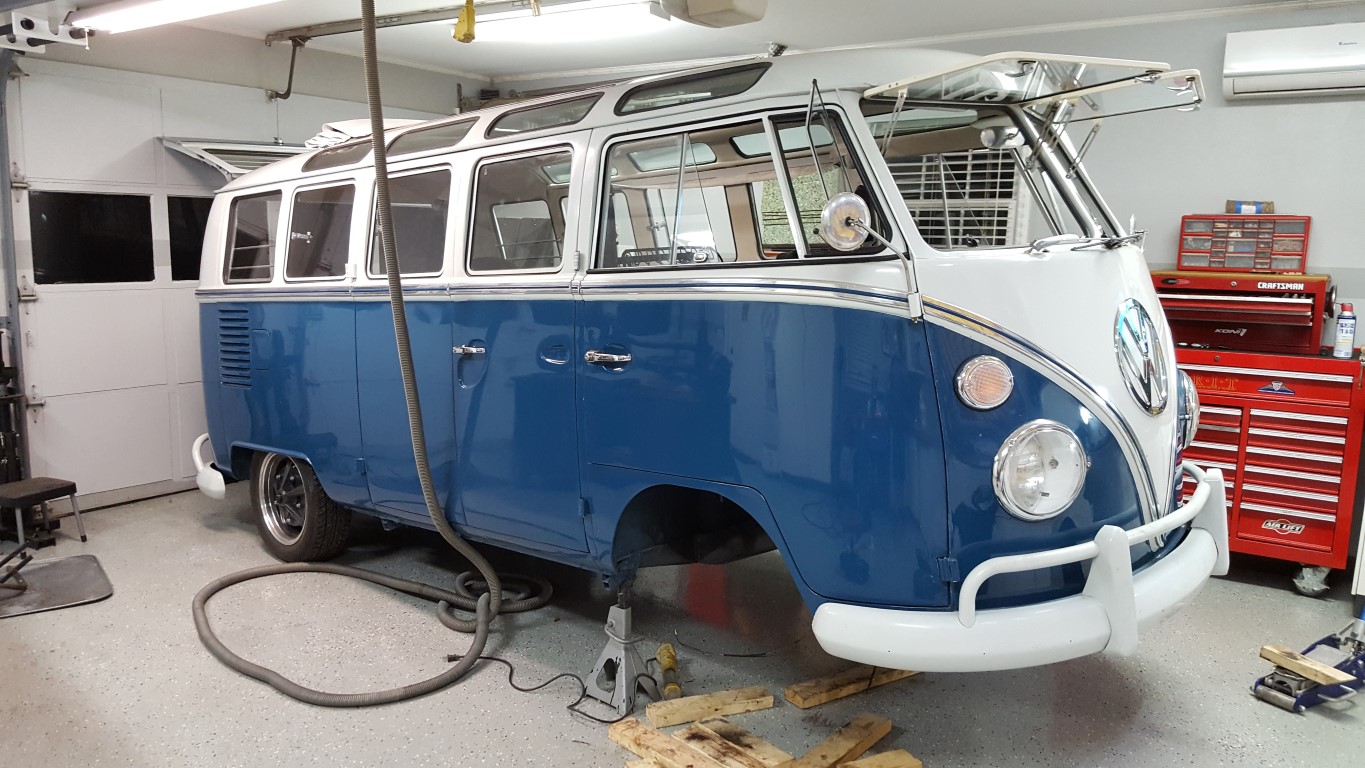
VW Bus Adjustable Front Beam
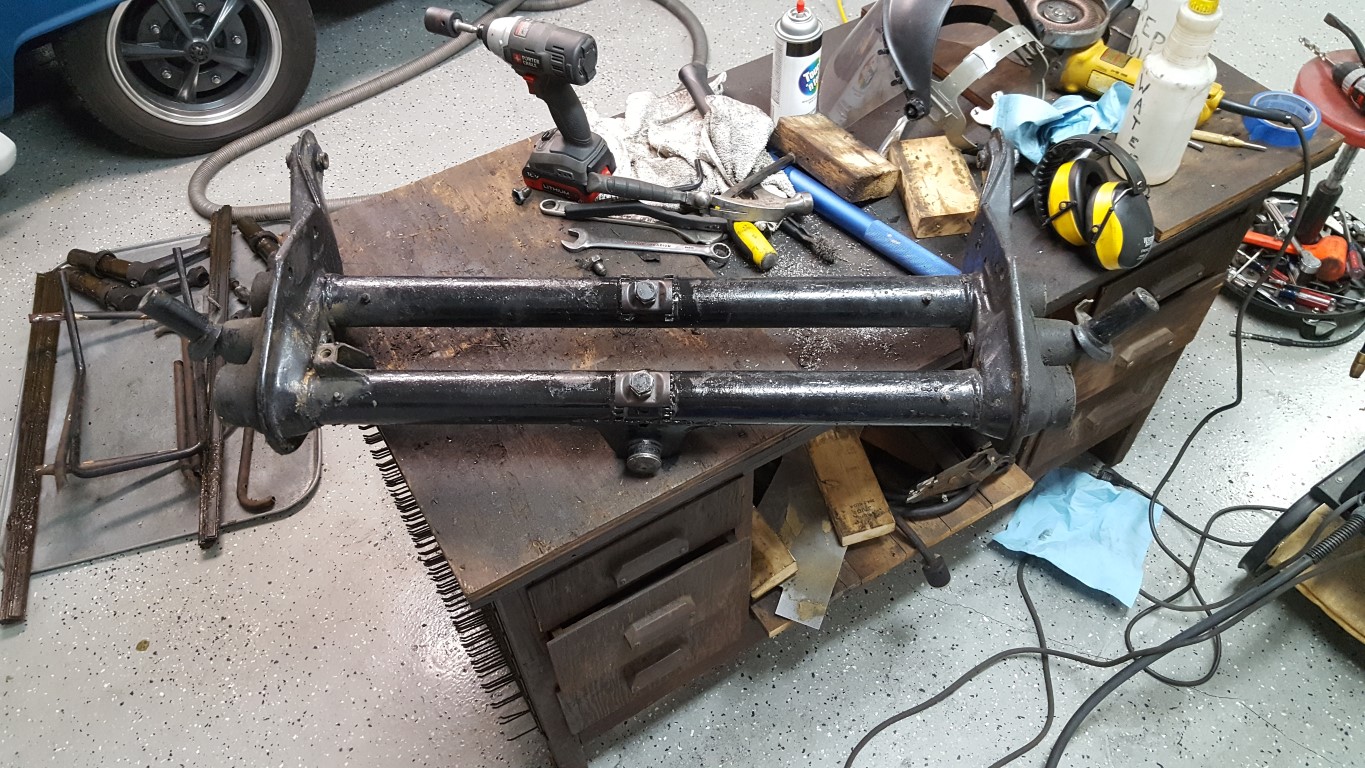
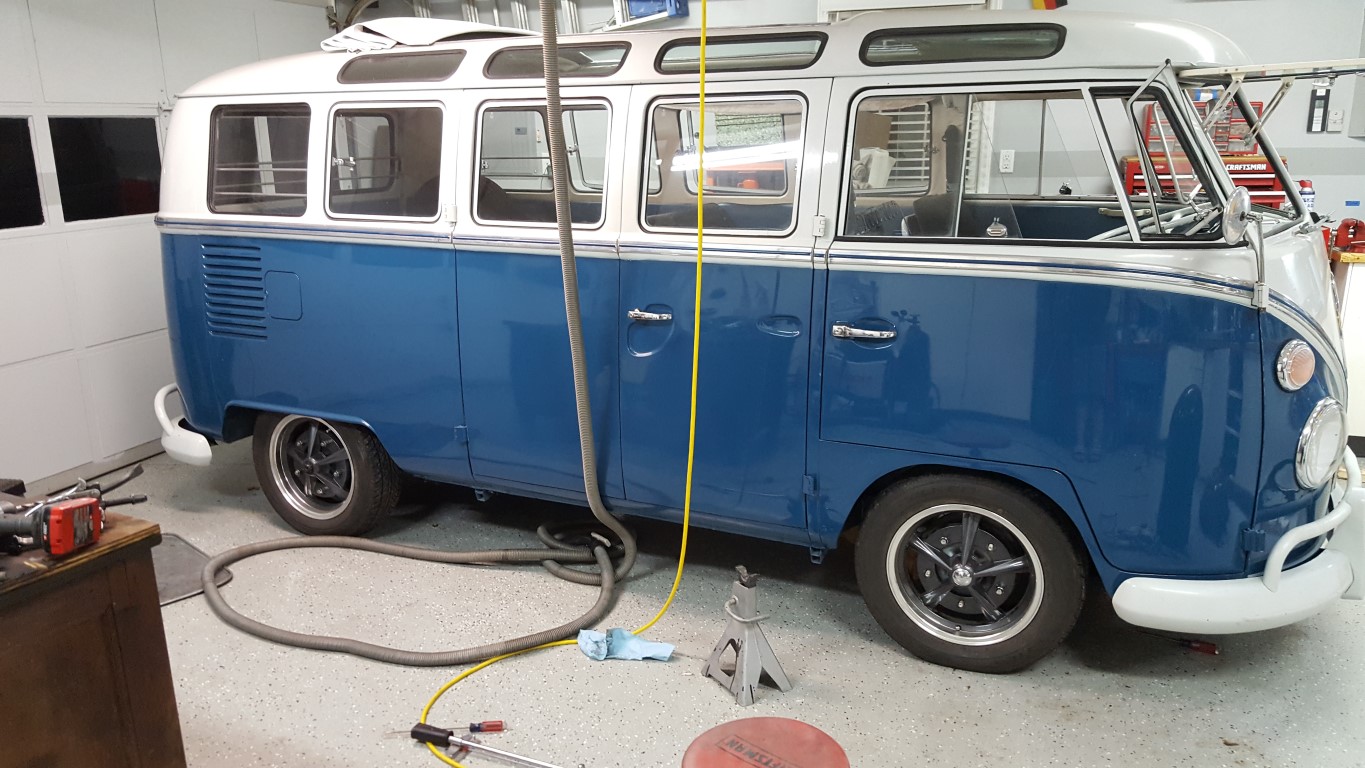
During the original bus rebuild I had ‘flipped’ the front spindles to lower it some. Stock height on buses was alarmingly high, lowering allowed for better handling and gave the possibility of the bus fitting in the garage with a roof rack. The spindle flip, however, lowers by a fixed 4-5″; just low enough that the front wheels would rub the wheel wells during bumps or heavy braking/cornering. Cornering was particularly exciting since the outside wheel would rub, slowing down that wheel with the tendency to make the turn tighter – or “positive feedback” for those of us that are into control systems (not a good thing).
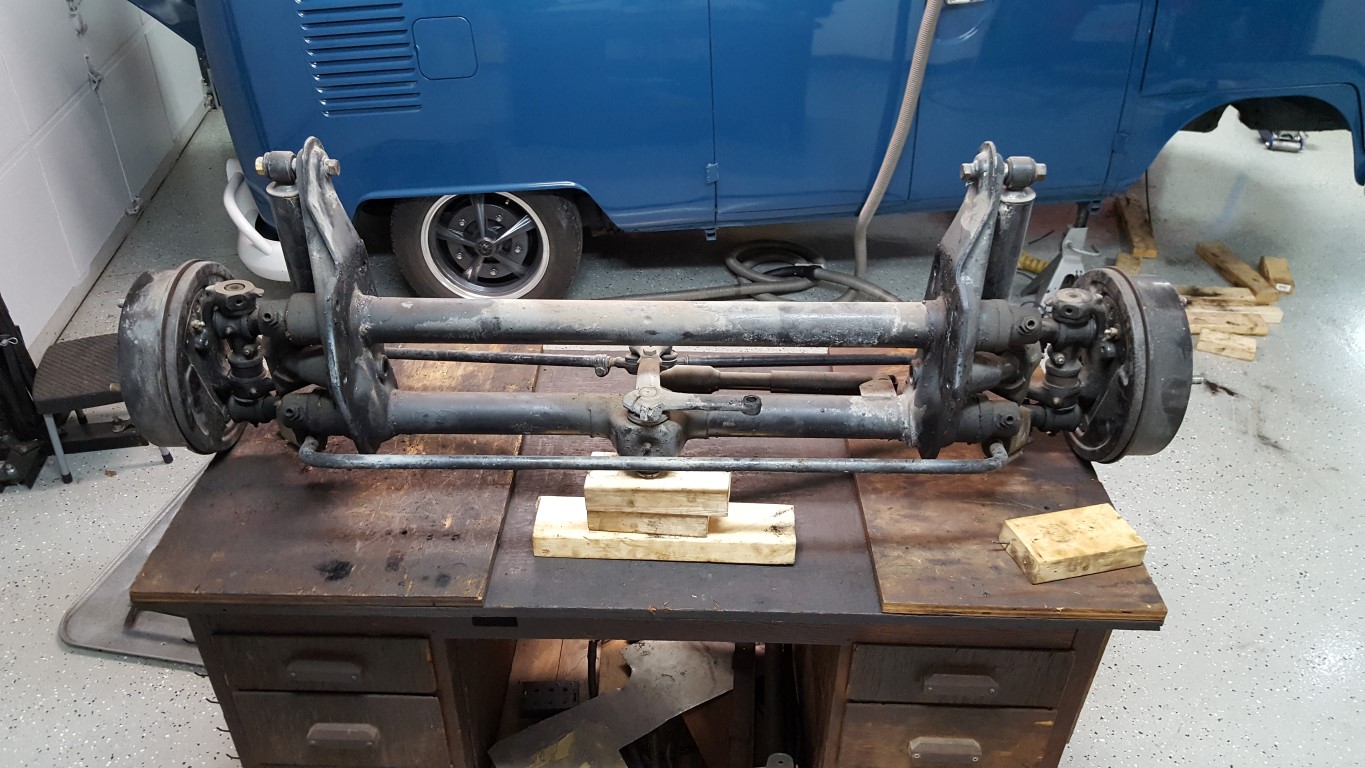
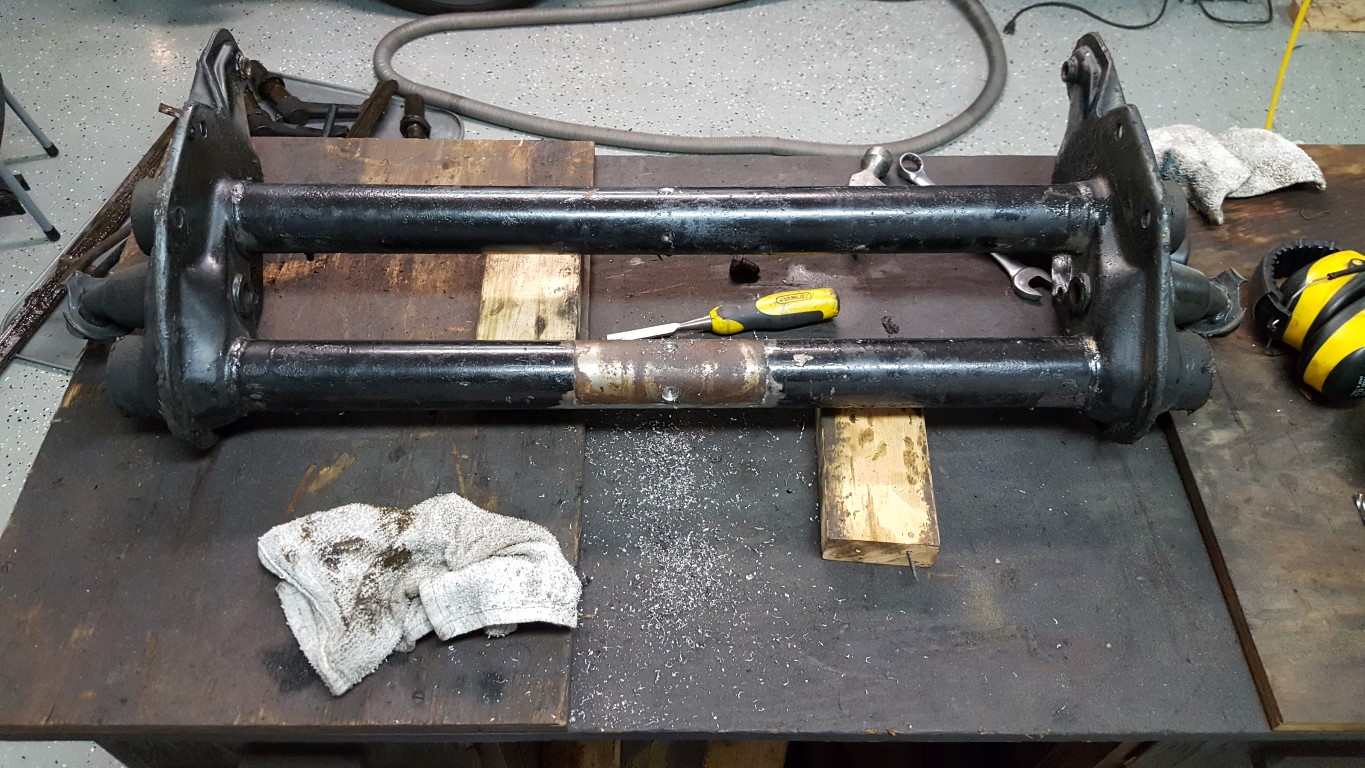
To remedy this, a way was needed to raise the front back up an inch or two. Old VW’s use a very unique front suspension design with two sets of torsion leaf springs inside of a beam with two tubes. The leaf spring packs are held fixed in the center of each tube and are capped at both ends with the four trailing arms. Minor raising and lowering can be accomplished by changing the angle the springs are held at the fixed center point. The center spring holder is held by divots crimped into the tube which engage with holes in the spring holder; these divots were drilled out which freed the holder. Toothed sections were then welded to the tubes; when the center is bolted in place a nut is tightened against a toothed plate that engages the teeth, holding the torsion spring pack at the new angle.
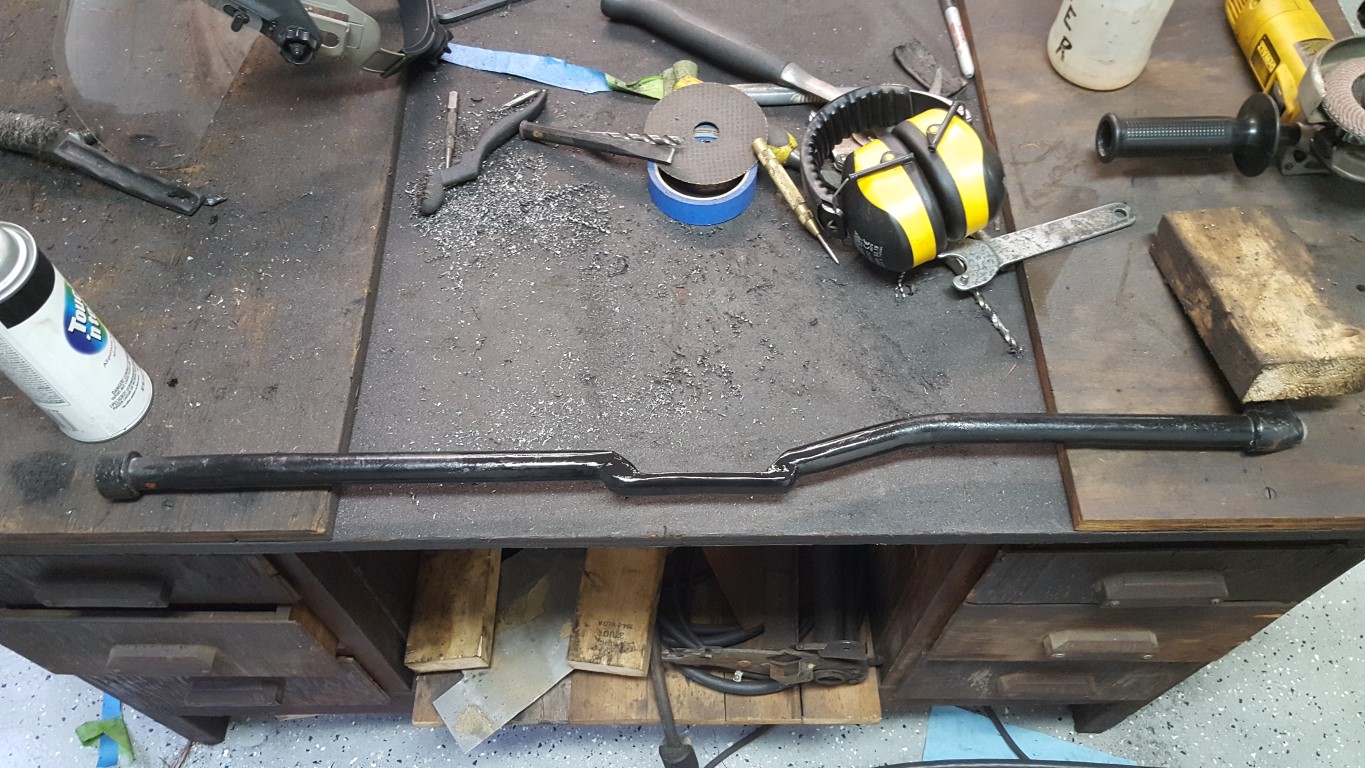
Lots of things had to be disconnected and then reconnected to get the beam in/out. This made it a greasy, awkward, and tedious job but overall it went well. The only hiccup was that after the beam was re-installed the shift linkage interfered with the adjuster bolts, though I had read this could happen. To solve this problem I welded a chunk of plate steel to the bottom of the linkage to hold the geometry and then ground out a strategic section of the linkage tube. The plate is as strong or stronger than the tube, and it’s in just the right spot to clear everything above/below it. After everything was back together the bus is level and no longer rubs the front wheels!
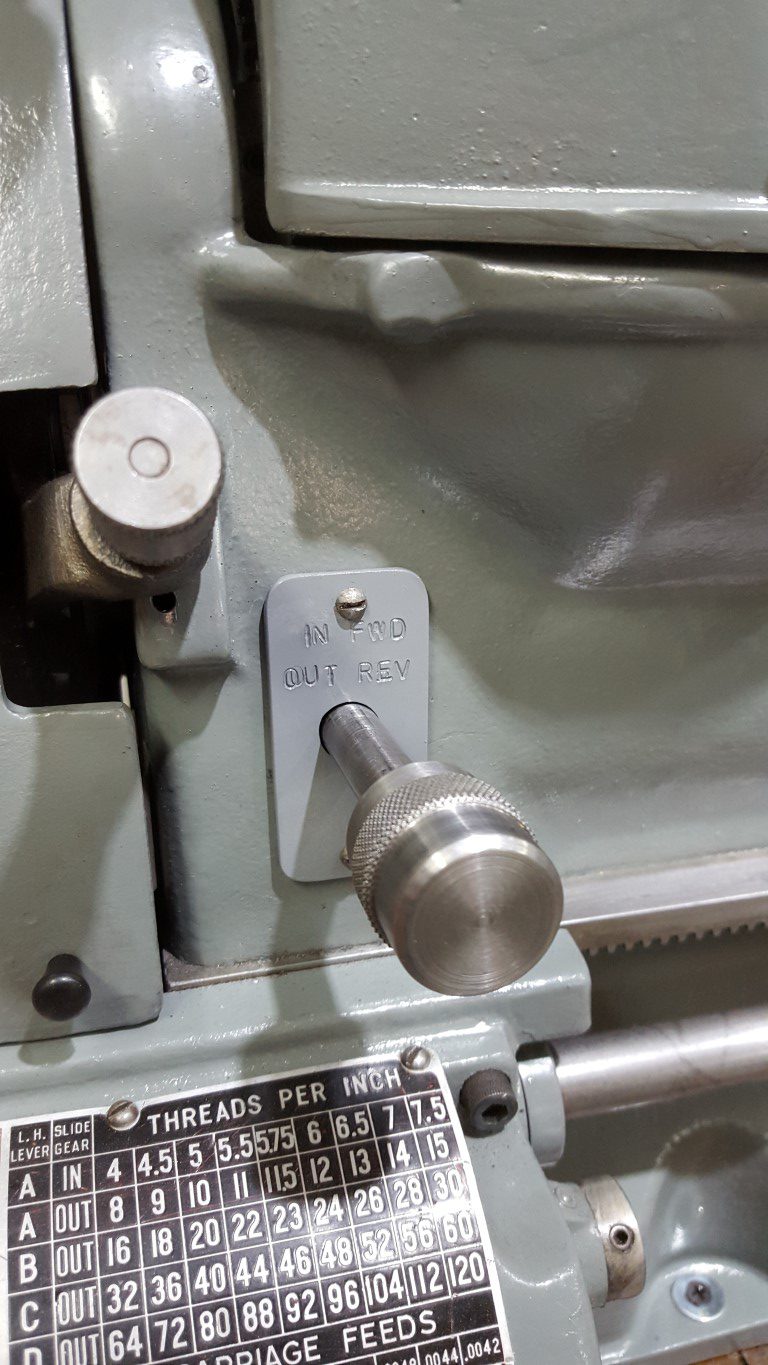
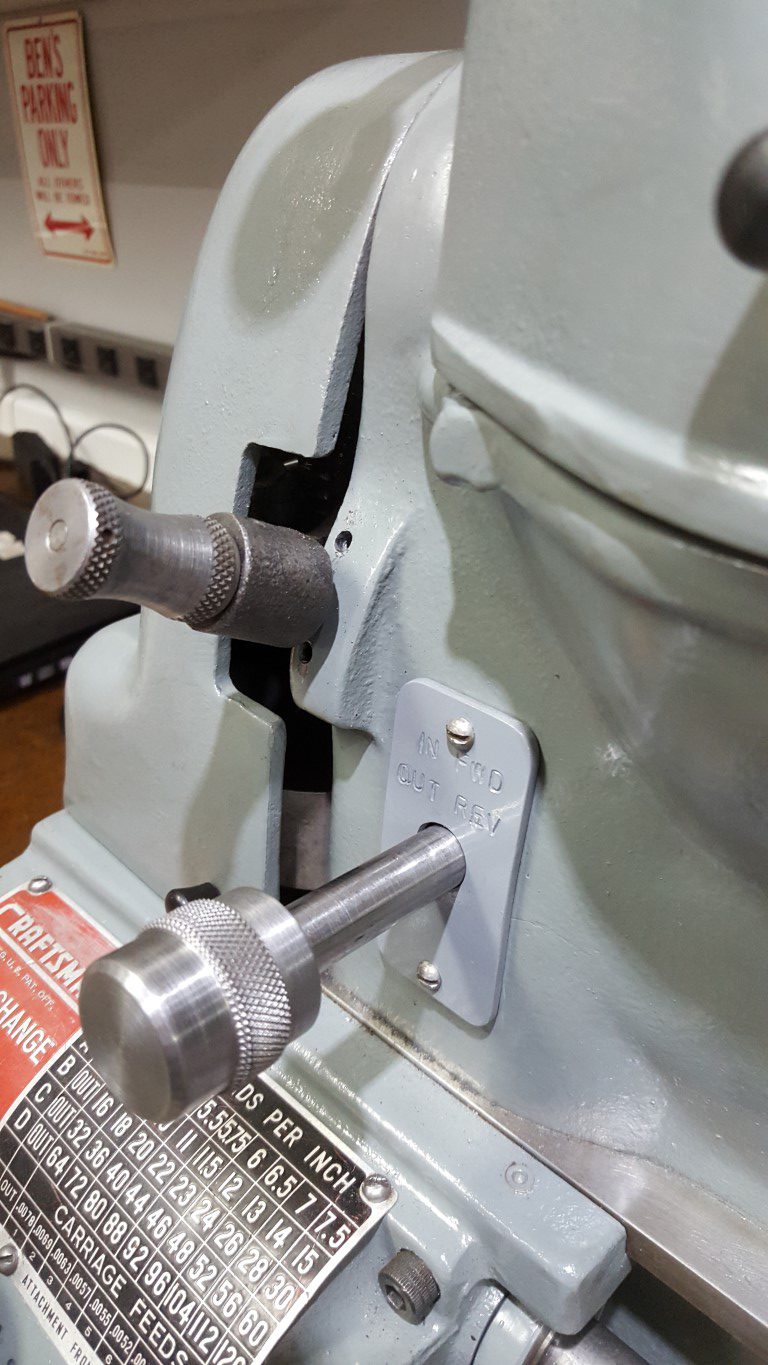
Atlas/Craftsman Lathe Reversing Switch – Finished
Tonight I finished up the lathe reversing switch linkage by stamping and painting the cover plate and making a knurled knob that roughly matches the others on the lathe. The lathe allowed the inside diameter of the knob to be bored precisely enough to get a good interference fit on the shaft – no need for any fasteners.

Atlas/Craftsman Lathe Reversing Switch
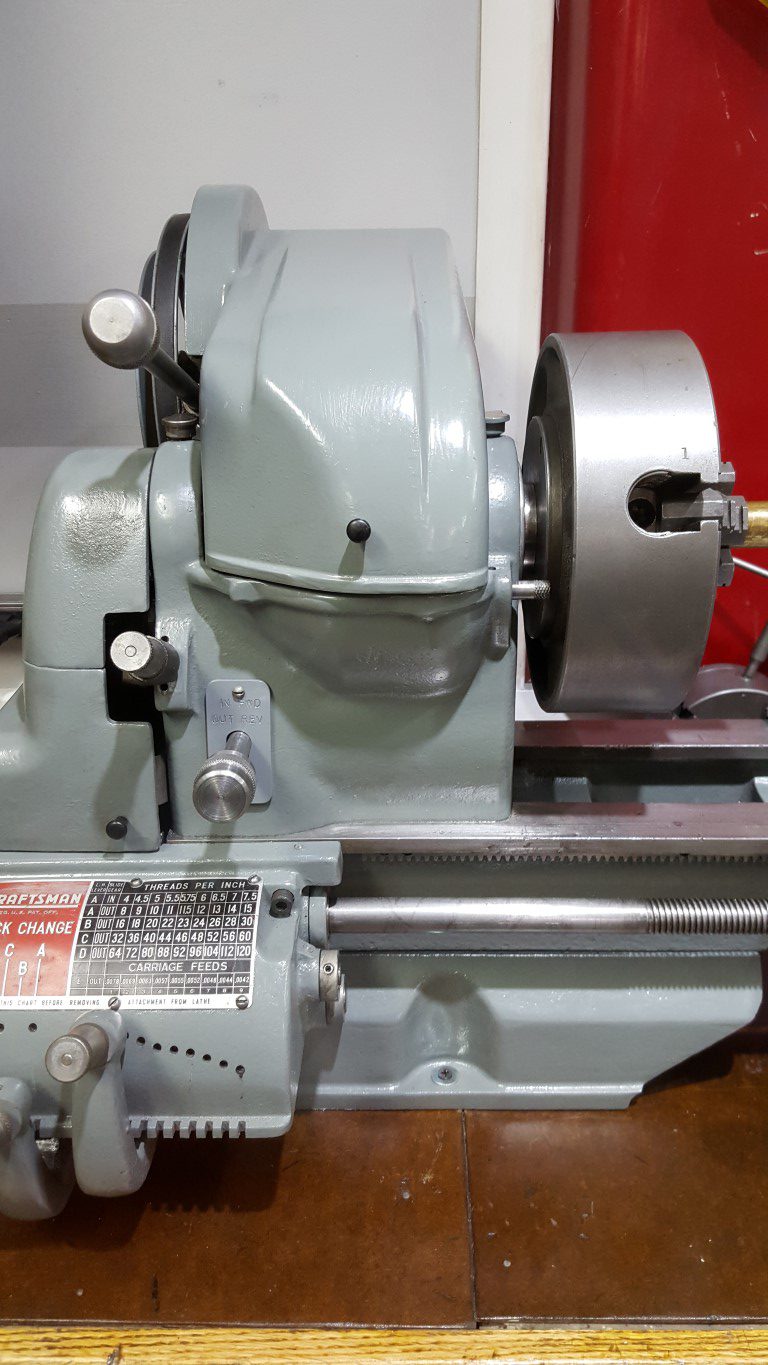
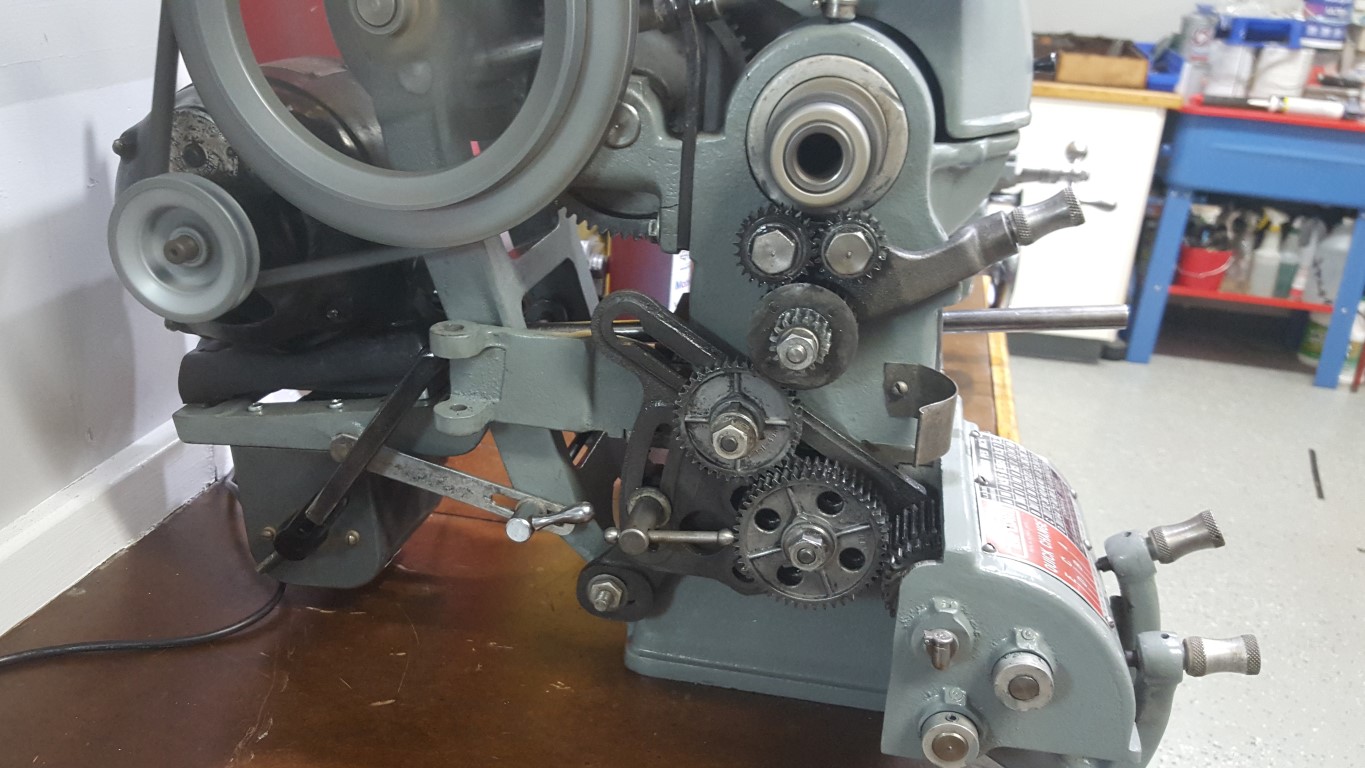
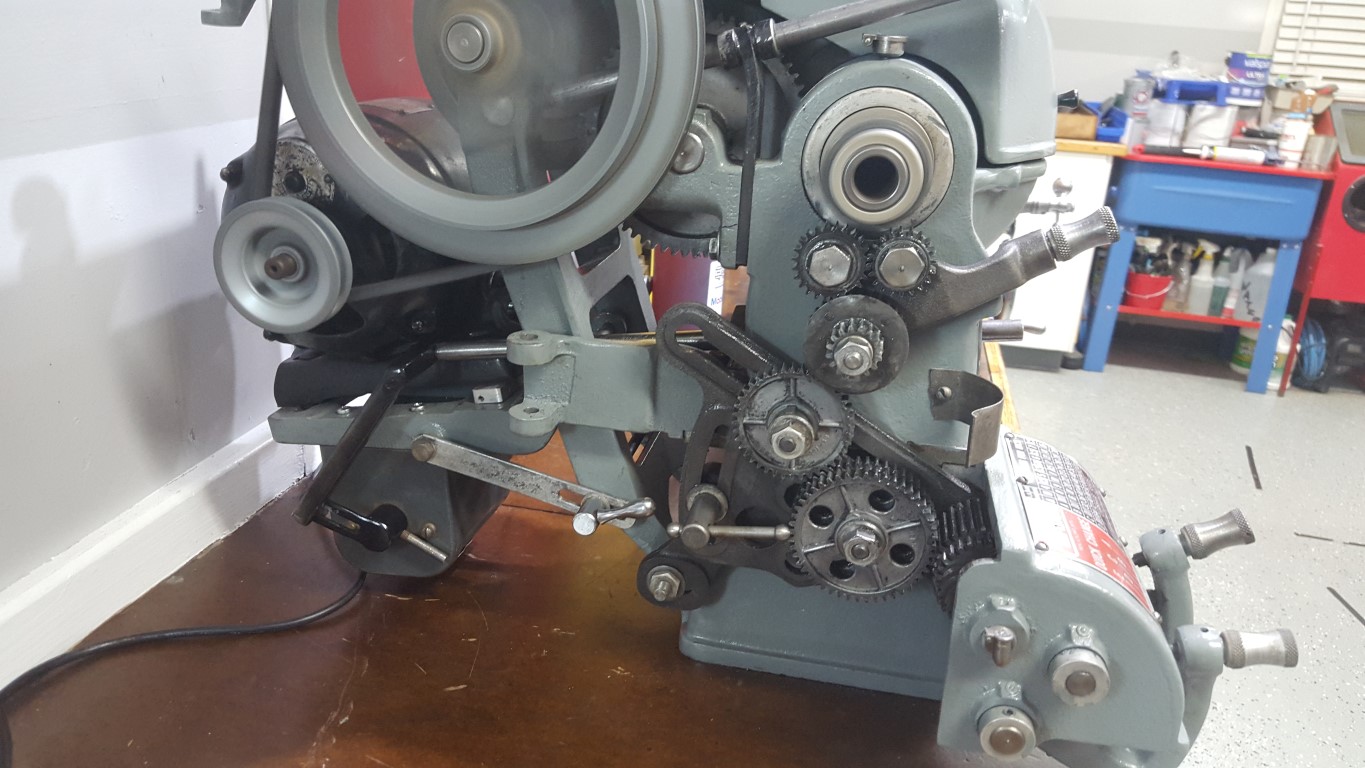
Originally the Atlas/Craftsman lathes spun in only one direction; because of this they came with only an On/Off switch integrated into the lathe’s headstock. At some point in my lathe’s past the On/Off switch was removed and a reversing ‘drum switch’ added. The drum switch gives the flexibility to spin either directions for special uses (cutting metric threads, power tapping, etc) however it’s it’s too big to fit in the lathe’s headstock.
The previous owner had the switch mounted on a wooden arm extending up from the lathe’s workbench; re-using this idea would work but since I’ve moved the lathe to the shop countertop the arm would need to be rebuilt and I also don’t like the aesthetics or the need to reach over the spinning work to turn it on/off. Another option would have been to mount the switch under the lathe base, however for the carriage to clear the switch would require raising the lathe – it was already at a good working height and raising would effect stability/rigidity as well as being susceptible to dripping oil. Lastly, it could have been mounted just anywhere on the ‘outside’ of the lathe (on a guard door, past the tailstock, etc) – none of these locations seemed great and overall this just seemed like giving up.
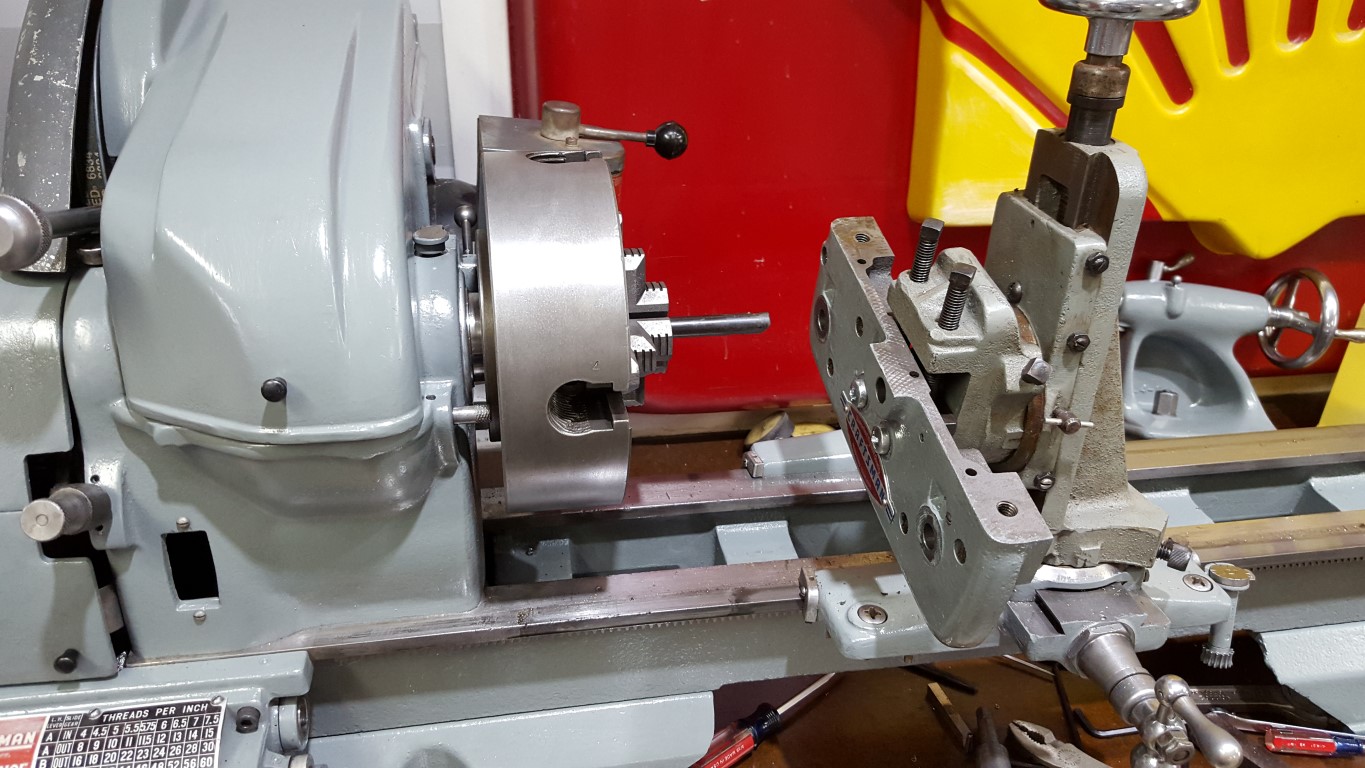
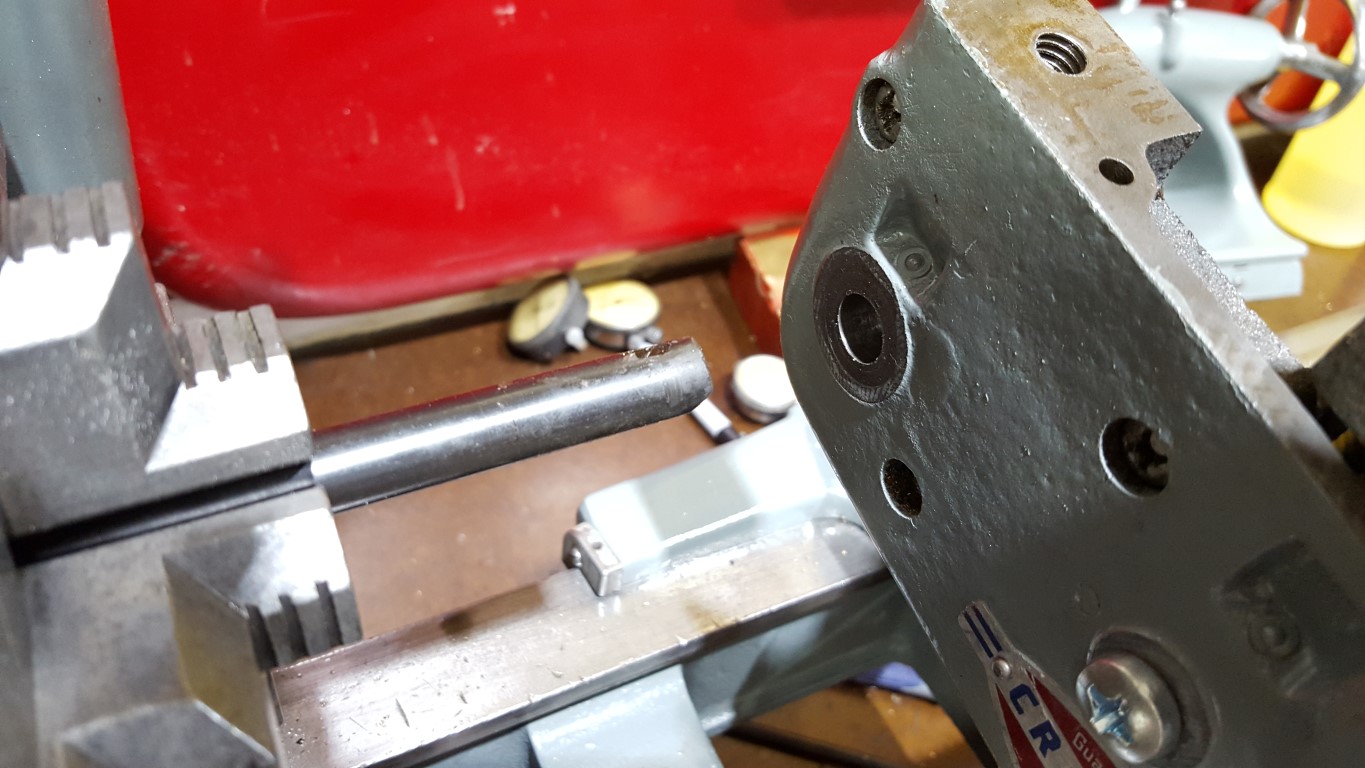
So what I ended up doing over the past few nights was locating the switch in the only volume of space just big enough for it, under the motor. This location has the added benefit of making the wiring short and simple. As-is, this is of course very inconvenient, but I chose it with creating a linkage in mind. The addition of the linkage allows the original On/Off switch hole to be utilized (previously this was just an open hole), puts the control in a convenient place, and makes it look like it was designed this way. The linkage was a challenge and took a few iterations to get right. It consists of a 1/2″ OD steel tube that runs through the headstock, supported by two metal plates I fabricated. At the end of the tube I welded on a nut to accept a bolt that bolts on another arm I fabricated. The arm has a bolt welded through it that engages with a slotted lever welded to the drum switch’s lever. The resulting contraption actually works very smoothly: pushing IN runs the spindle forward, pulling OUT runs it reverse, and returning to center is Off. All that’s left to do is create a matching knob and mark/paint the switch plate.

Atlas/Craftsman Lathe Carriage Hand Wheel Fix
The hand wheel for the carriage (longitudinal/Z axis) of the lathe had a bit more up/down slop than I liked. To remedy this I used the lathe to fix itself. First the ‘apron’ (front plate) was removed from the carriage and mounted in the milling attachment, the smallest boring bar that came with the lathe was used to widen and true to the hand wheel hole. Similarly, I skimmed the surface of the hand wheel shaft to ensure it was perfectly round. With the larger apron hole and slightly smaller shaft I was able to create and fit a brass bushing to take up the space between. The outside diameter is a press fit into the apron and the ID has about 0.002″ of clearance to allow it to turn but without the slop previously seen. I only took pictures of the first step, I’ll take more for future lathe projects.
Golf Reverse Camera
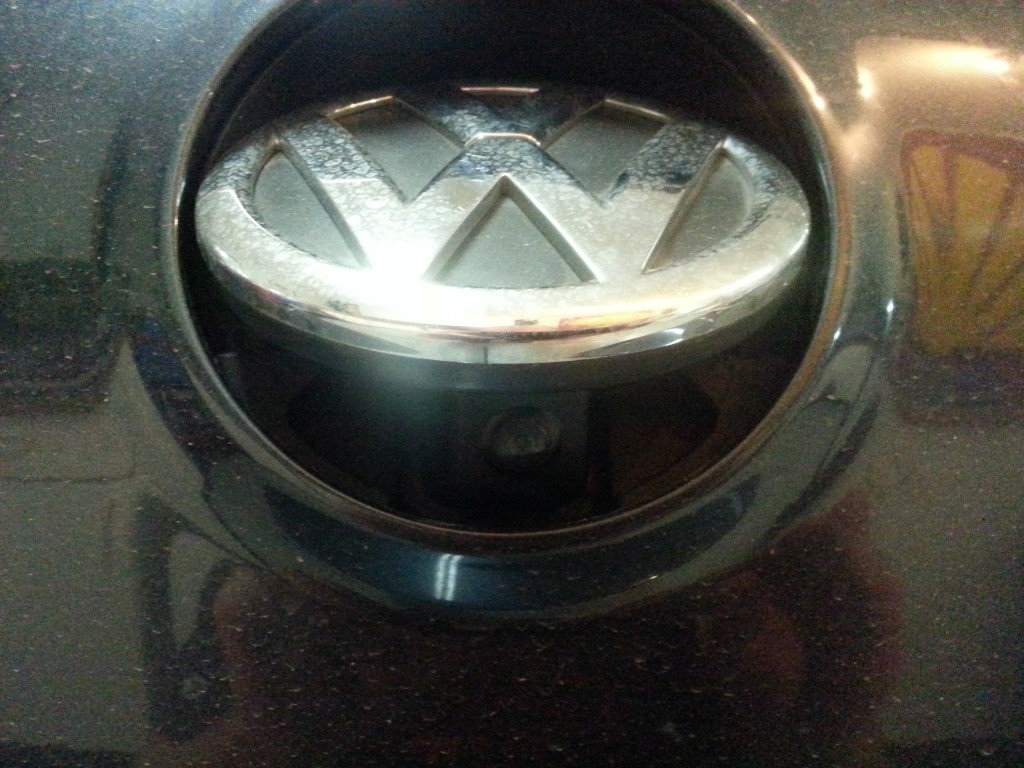
The rear VW emblem on the golf serves a number of purposes:
#1 – It’s an emblem.
#2 – It’s the latch and handle for opening the rear hatch. Pushing in at the top of the emblem causes the hatch to unlatch and the bottom of the emblem swings out to use as a handle for lifting.
#3 – (what this is all about) It’s a back-up camera. When in reverse, a small camera is pushed through a trap door behind the emblem causing the emblem to swivel up. The golf’s controller knows not to unlatch the hatch if it see the emblem swivel while in reverse (because it’s the camera that has swiveled the emblem, not a person).
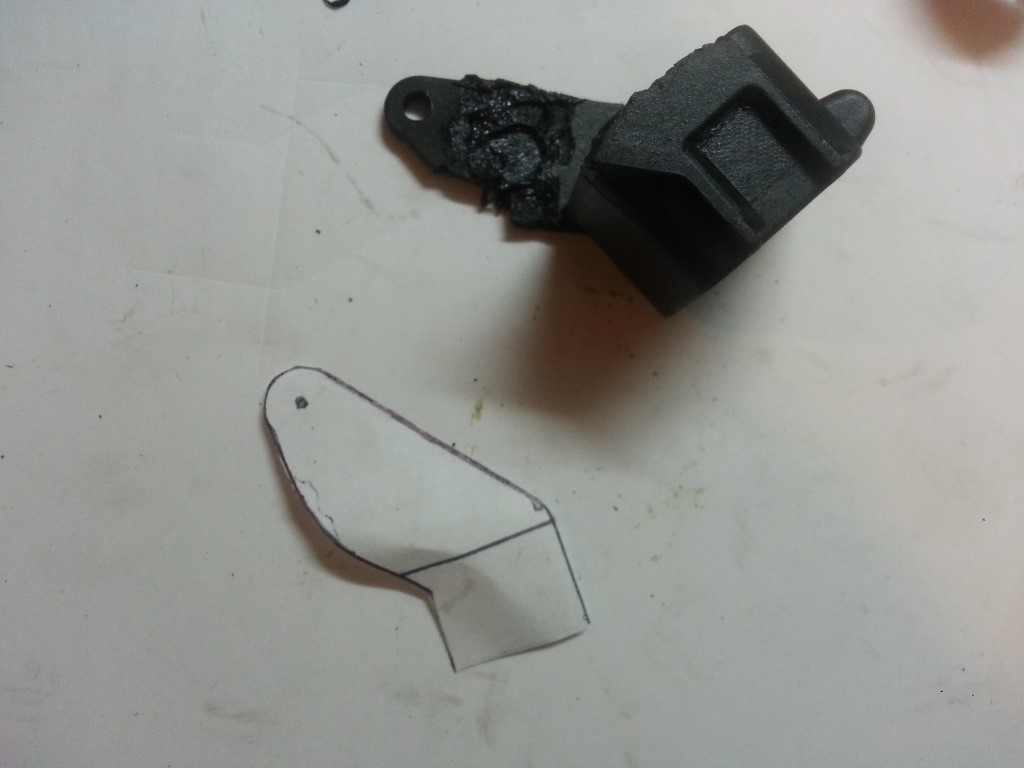
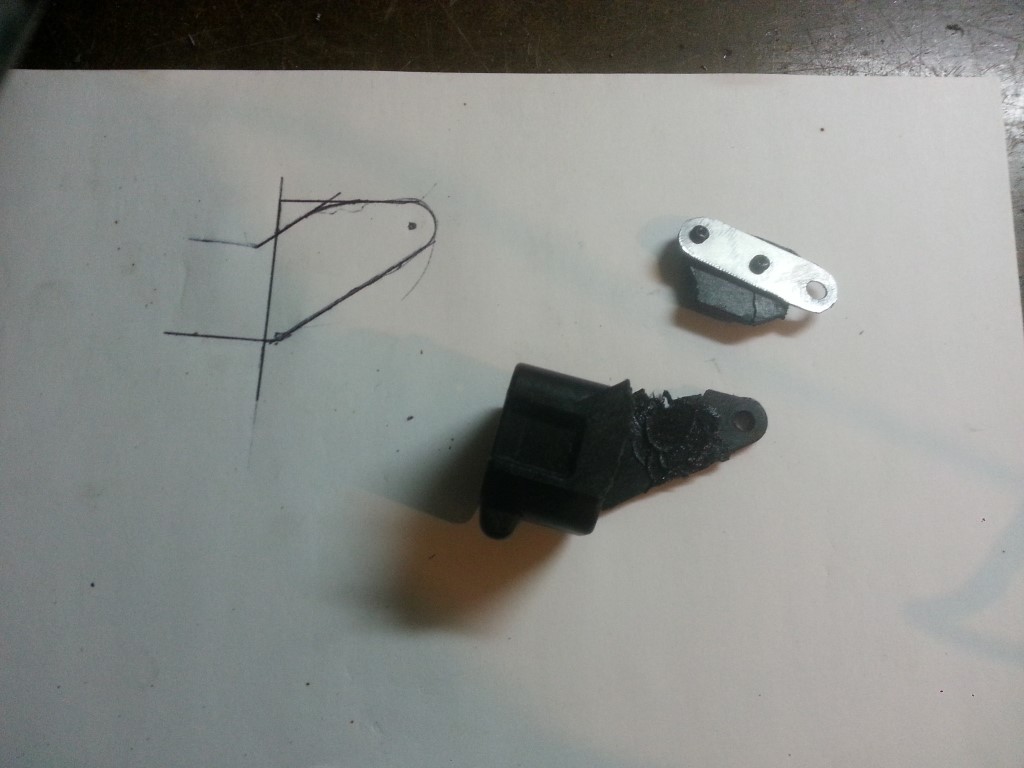
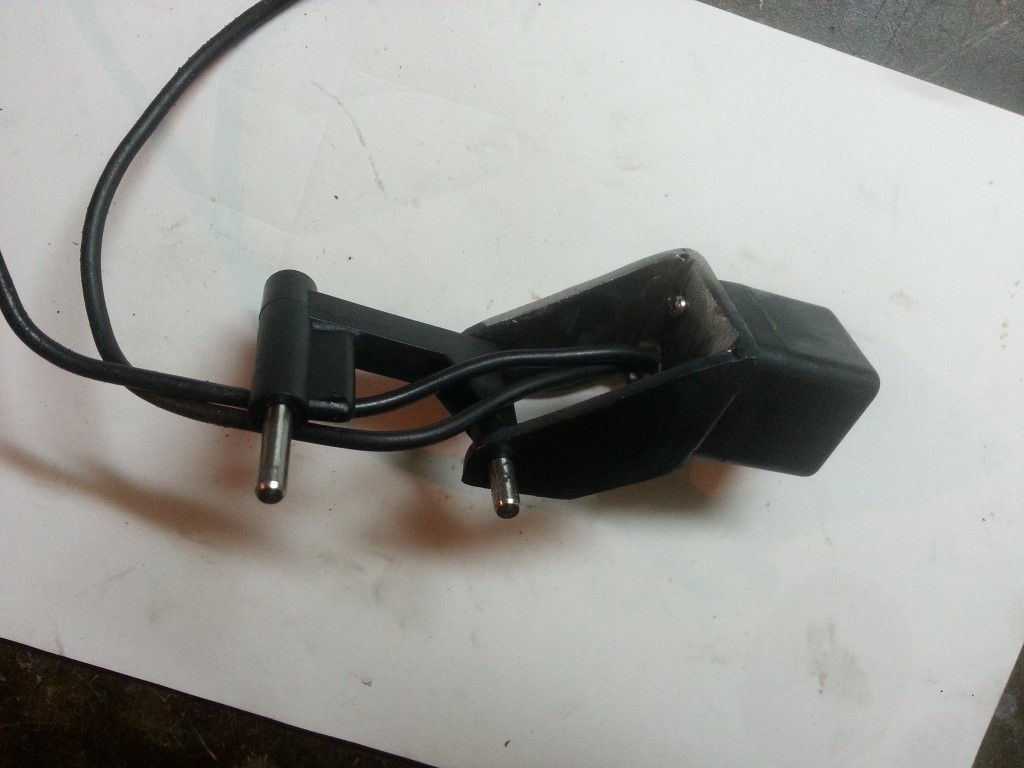
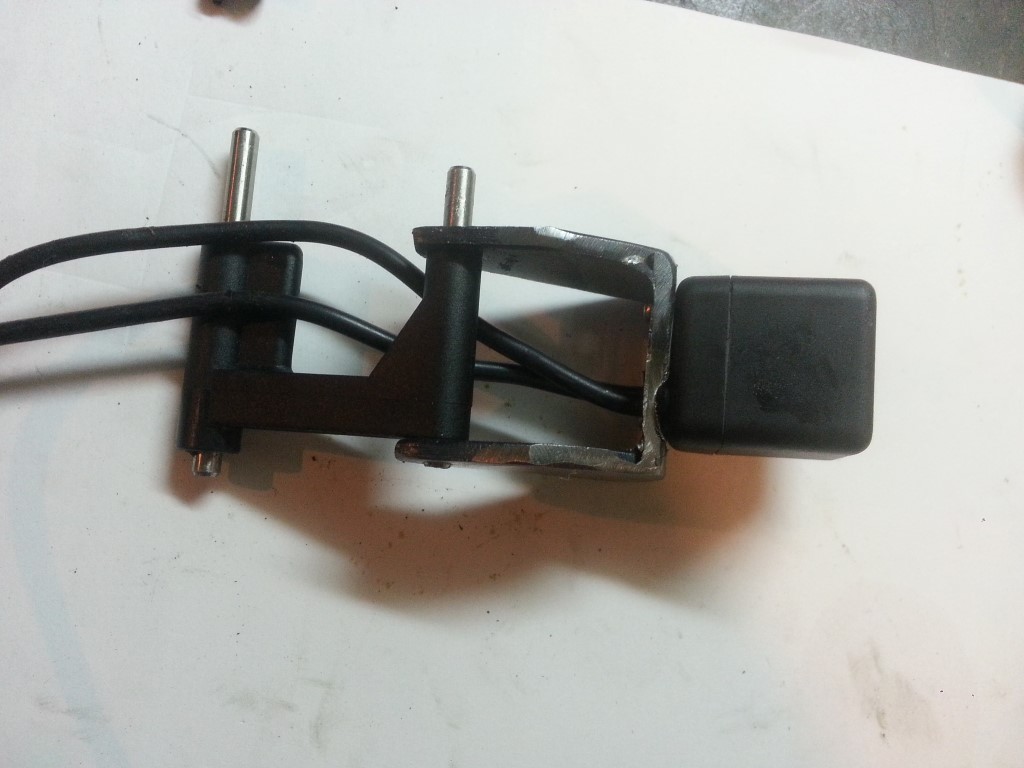
Having a backup camera on a car that I can practically lean back and touch the rear windshield from the driver’s seat doesn’t make a lot of sense, most of the time. I have gotten used to it though – it’s great for towing and I have lines on the garage floor that allow for precision parking every time, maximizing usable garage space. A few weeks ago the camera stopped working; I investigated further and found that one of the arms of the extension mechanism had broken off. At that time I grafted a sheet metal strap onto the plastic mechanism and melted parts of it back together. This lasted a about a week, so this weekend I re-produced the entire plastic part completely with steel.
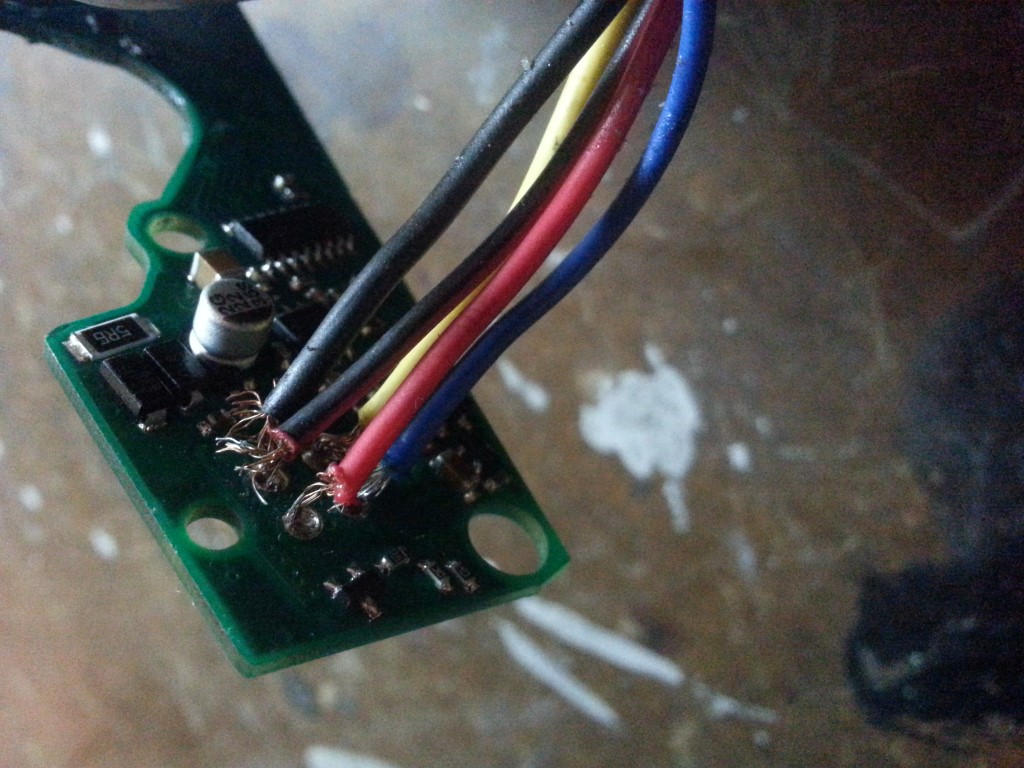
During the many cycles of assembly and dis-assembly of the camera mechanism I encountered a problem where any time it was put into reverse the hatch would open! This is kind of a funny outcome since it’s still fulfilling the purpose of more visibility when in reverse, just in a different way. This would be inconvenient, to say the least, so I tracked the problem down to some frayed wire connections. The shorted connections caused the hatch switch signal not to be ignored when the camera was deployed; re-terminating the wires fixed the problem completely.

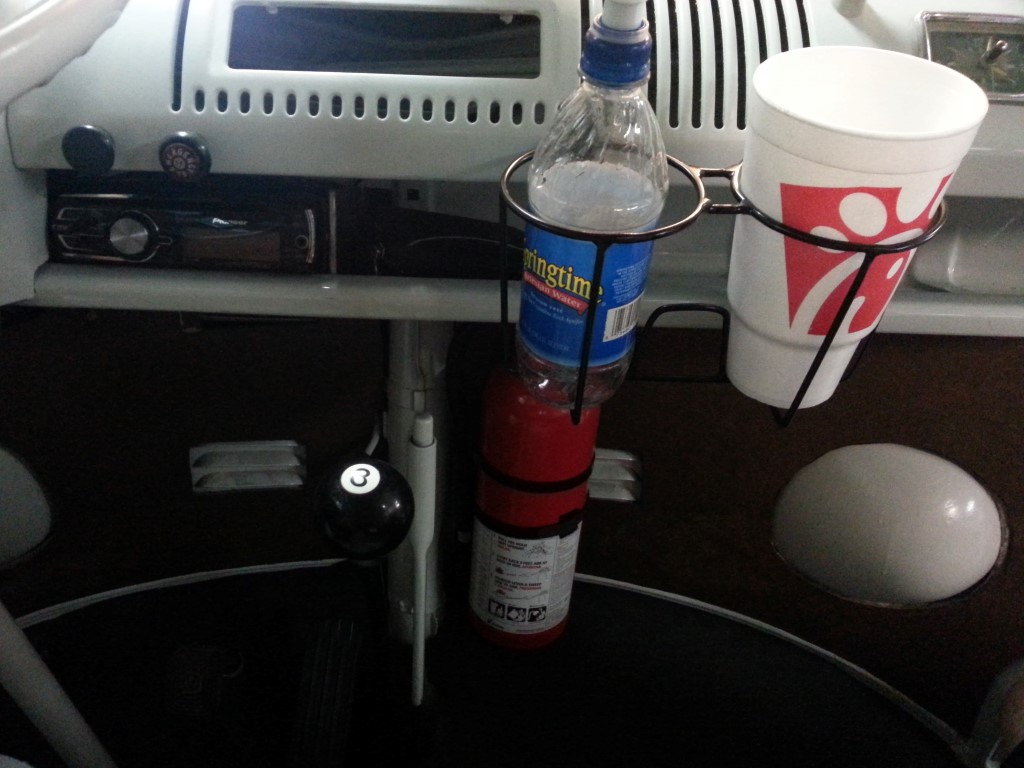
Cupholder
Today I fabricated a cup holder basket. It’s made entirely out of the frame from one of those annoying corrugated plastic signs someone had planted in my yard, so it was basically free. There was an original accessory cupholder of a similar design that I got the idea from. The original was more in tune with 1960’s european beverage size sensibilities; I’ve created mine to work with 2010’s US sized cups.