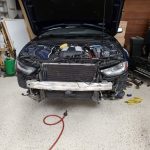
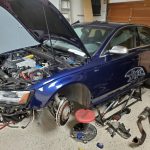
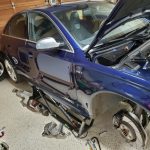
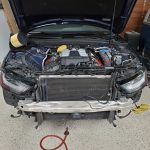
S4 Clutch Replacement
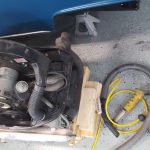
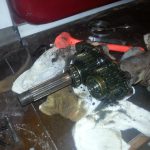
The clutch on my car finally started slipping when under full power. This wasn’t completely unexpected since it originally came from a high-traffic area of NJ. I was able to get it replaced over the past two weekends plus a couple of weeknights. There wasn’t anything particularly difficult about this and it’s well documented online, just lots of small challenges in a row with figuring out how to access various fasteners.
While I was at it I took the opportunity to replace belts, plugs, change the supercharger oil, etc.
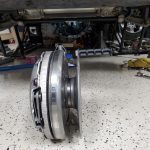
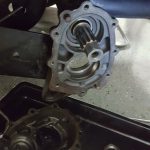
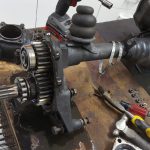
Reduction Box Rebuild
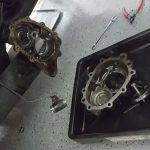
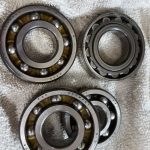
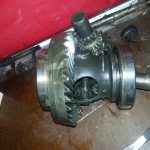
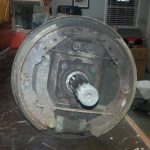
This weekend I finished rebuilding the reduction boxes. Luckily I was able to do this with engine/transmission still installed. It’s a relatively simple process overall, but because most of the parts involved are press fit I had to get creative and make/modify various pulling/holding tools. The old bearings didn’t have any signs of complete failure (yet) but most did have rust pitting and a few had a fair amount of excess play. Driving the bus after the swap is a night/day difference in noise. Its still loud, but now that a major noise source has been eliminated it’s just a matter of tracking down all the miscellaneous body air leaks and other minor noise sources.
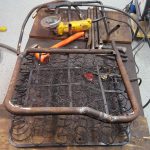
Also, I finally found a passenger front lower seat section – these are hard to find since they’re specific to the ‘walk-through’ option, especially since I already had the top part and didn’t want to buy the whole thing. The one I found only included the springs without the seat frame itself, but the frame seems easy enough to fabricate and I’ve started on this using scrap metal from the incorrect (vanagon?) seats that came with the bus when I got it.
Bus back together
This weekend the transmission arrived and I got everything back together. While waiting on the transmission I completed a few miscellaneous things:
- Replace bearings in the dynamo/generator (it’s not an alternator like in ‘modern’ cars)
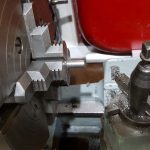
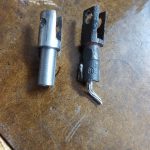
- Fabricated replacement clutch cable, including making a new end link on the lathe. The end links were then crimped onto the cable with the 12 ton hydraulic press and soldered in place, so they shouldn’t be going anywhere.The clutch cable had partially broken and was stretching with each press, causing the clutch not to disengage all the way. This is what took the bus out of commission in December. Since it was still connected at both ends and not completely loose it seemed OK until I removed the pedal pan and saw many broken wires.
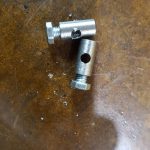
- Fabricated the special barrel nuts needed to connect the heater control cables to the exhaust heater boxes.
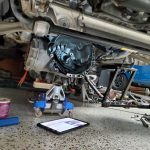
The test drive went very well, it’s noticeably smoother but noise levels are still quite high inside. Part of the noise level is a minor exhaust leak that I’m tracking down, but the new smoothness also allowed me to notice for the first time that a majority of the noise is from the axle reduction boxes. This was confirmed by carefully running in 2nd gear with the back wheels on jack stands – the bearing rumble then became even more noticeable. Replacement bearings are on the way and I should be able to swap them out with the engine/transmission still in place.
VW Bus Transmission – The Sequel
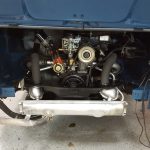
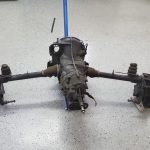
This weekend I finally pulled the engine and transmission from the bus – each time I’ve done this I’m amazed at how few connections there are and how relatively quickly it goes. The goals for this effort are to figure out what happened that caused the breakdown last year as well as fix the problems that had been occurring since the original ‘rebuild’ (more of a clean and reseal). These problems included:
- Immediate pop out of 1st gear and inability to hold in gear. This effectively meant no 1st gear, requiring always starting in 2nd gear.
- 4th gear popped out under load, but could be held in place by a bungee cord. This worked, but is a really inconvenient way to drive and would eventually cause excess wear on the shift forks and slide gears.
- Gear oil leaking from center. This should be an easy fix, I didn’t originally realize the paper gaskets used for the reseal were not treated; using gasket sealer this time should solve this problem.
- Too slow. Currently the bus red-lines in 4th gear somewhere in the low-to-mid 60MPH range, which mostly rules out interstate travel. More flexibility to do longer trips and even to more easily run errands locally would be nice to have. The engine is a little bigger than stock and should be able to handle the higher load, but gearing changes will be needed to get the RPM’s down.
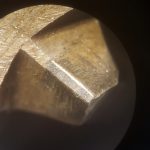
I started disassembly and found that the internals seem to be in incredibly good shape, the teeth show little or no wear even looking under a microscope. All the gear ratios match what would be expected for a ’67 bus except 4th – for some reason it has a 0.88 ratio rather than the 0.82 ratio that would be expected. The 0.88 4th gear would be consistent with a beetle transmission, so I think this information combined with the amazing internal condition tells me that the transmission was replaced with a new or re-manufactured beetle transmission (while keeping the bus axles and reduction boxes) at some point very late in the bus’s history. The top speed would have dropped dramatically after this change and perhaps this contributed to it being parked semi-permanently in the early 80’s.
Transaxle Installed
Transaxle Rebuild Completed
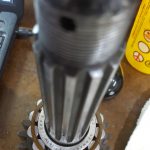
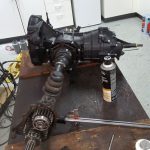
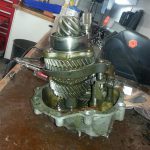
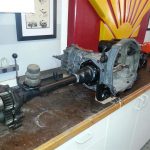
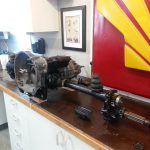
Transaxle rebuilt successfully finished. The gaskets were of slightly different thickness and this resulted in slight misalignment of the shift forks relative to the gearcluster on the input shaft. The fork linkage adjustment is inside the case and can only be checked with the case closed; so the gearbox side of the transaxle had to be assembled/disassembled 3 or 4 times (seemed like 100) to get it right. This adjustment is critical; too far in either direction and one of the synchros will be engaged while in ‘neutral’, causing it to burn out quickly. Really too far in one direction, which is only ~0.1″, and the linkage will not have a neutral at all without holding the shifter between detents.
Transaxle Rebuild Begins
Tonight I started on rebuilding the transaxle. The first step was disassembly, this is going fairly well with the exception of the release of 45 year old gear oil smell; it will take a while to dissipate. Overall everything is in great shape; I’m mainly rebuilding to clean it up and reseal everything. Even the reduction boxes at the end of the axles are in great shape. The reduction boxes allowed VW to use what is basically the beetle drivetrain in the bus, at the expense of top end speed. Reduction boxes like this are not used on any other road-legal production vehicle with the exception of the original military-derived Hummer H1; but in the Hummer’s case it’s done mainly for ground clearance.
Transmission Cleaned
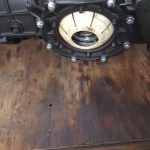
Tonight I cleaned the transmission and transmission area. This is just a first pass and more cleaning will be required prior to paint. I was again surprised at what good shape everything is in; much of what appeared to be rust was actually just rust-colored mud.
Eine Maus!
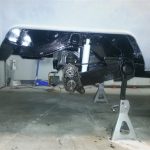
Tonight I pulled out the transmission (it’s surprisingly easy) to allow access to clean and paint the area above/around the transmission. With the transmission out it was easy to see what had been blocking one of the heater channel entry points just above the transmission, a mouse! It was basically mummified so I’m sure it had been there since the bus was stored outside. Also, over the weekend I had cleaned/painted the underside of the belly pans but didn’t post or take any pictures, so I took a picture of the underside tonight.


