Sliding Doors
The shop floor plan allows for a large opening between the ‘far’ end of the shop and the auto repair/bus area. This will allow tools to be easily shared between both spaces; during a big auto project the repair bay can become an extension of the workshop. The opening is also big enough to bring in the front or rear of a vehicle if ever needed. When auto projects aren’t underway though I’d like to have doors cover this opening to prevent dust/mess from wood/metal project leaving the shop area and to save on shop heating/cooling costs.
The size of the opening presents a problem – swinging doors would have to swing ‘out’ of the shop to avoid hitting cabinets, and the large sweep would require moving anything parked on the garage side out of the way temporarily, kind of a hassle. To avoid this problem, sliding doors made the most sense.
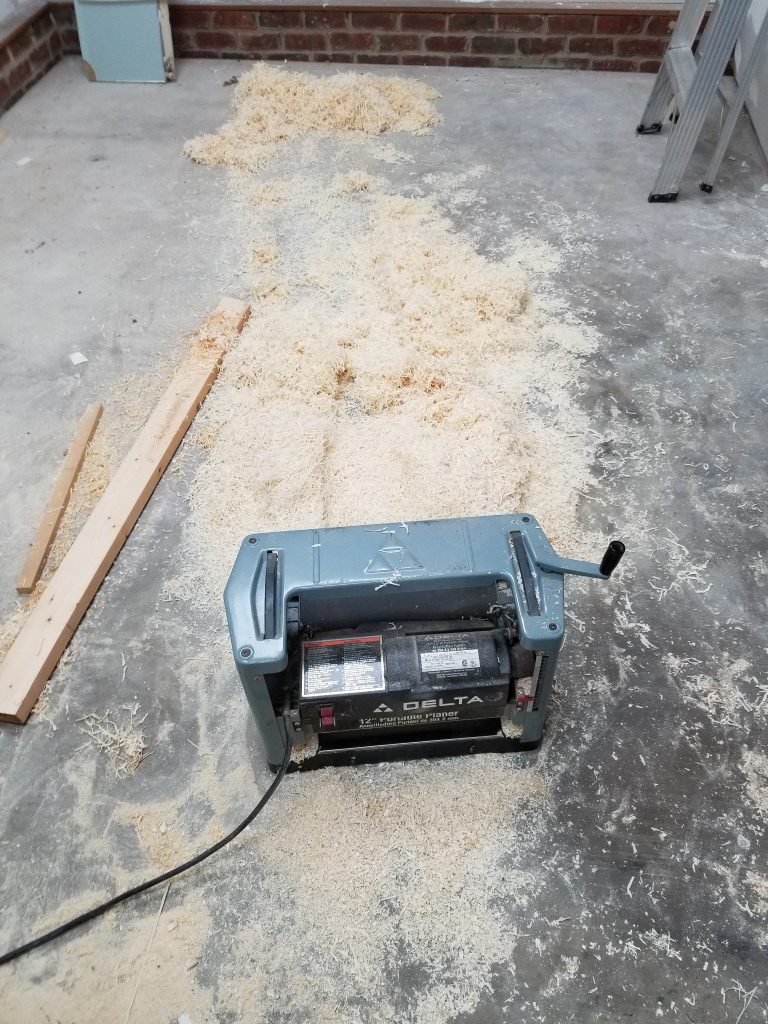
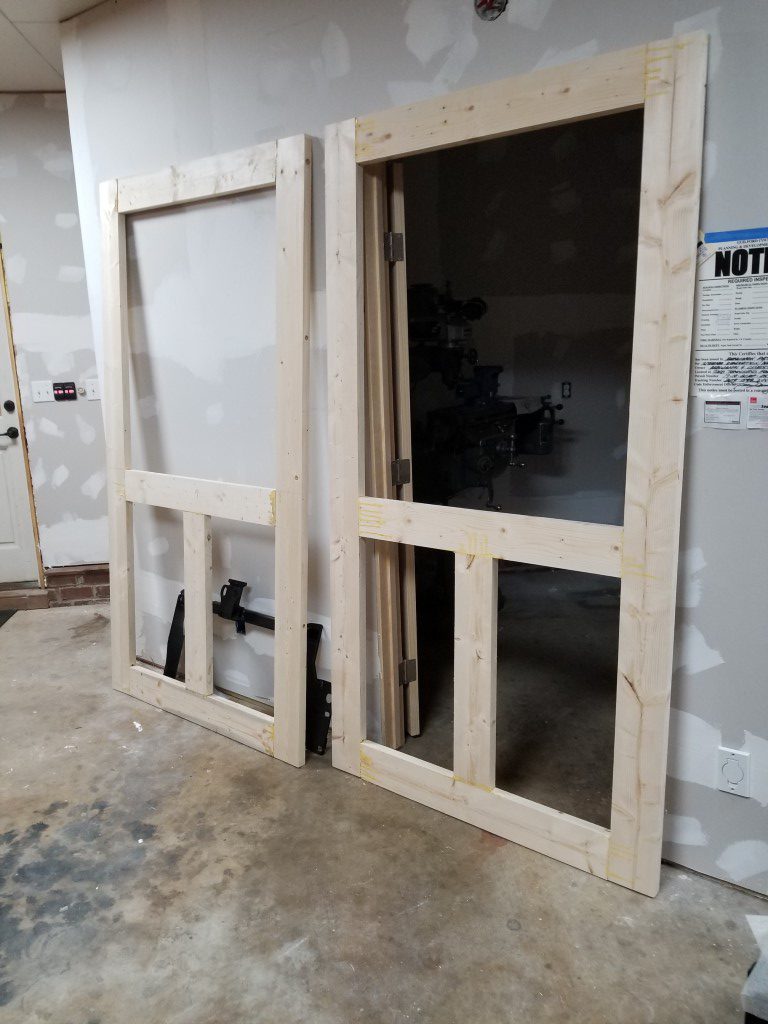
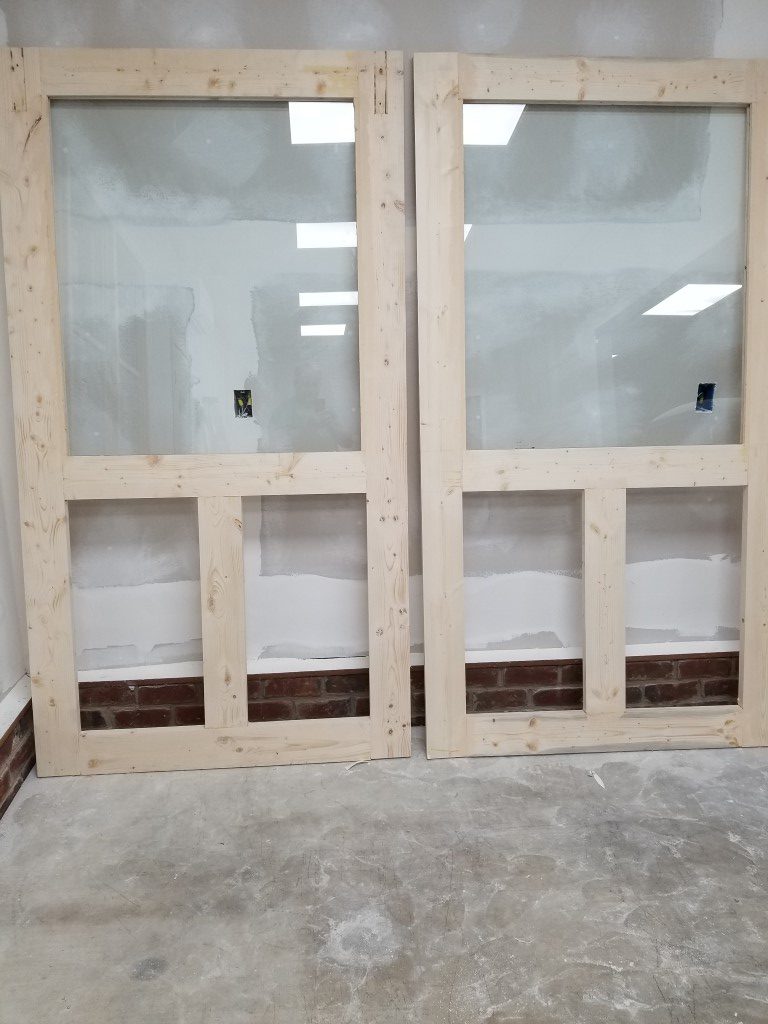
The shop build project is being run with the materials cost set to minimum and the end-product quality set as high as is practical. This sounds unrealistic but is actually possible with the trade-off being time; it’s not a problem though since I count this as hobby time and there’s no particular deadline. The sliding doors are a great example of this – sliding doors and hardware are outrageously expensive compared to the raw materials cost. Building my own also gives me full control, in this case I wanted to avoid the farmhouse/barndoor/rustic look in favor of cleaner traditional/modern look. Over the last few weekends I’ve built the doors and tracks below, key points:
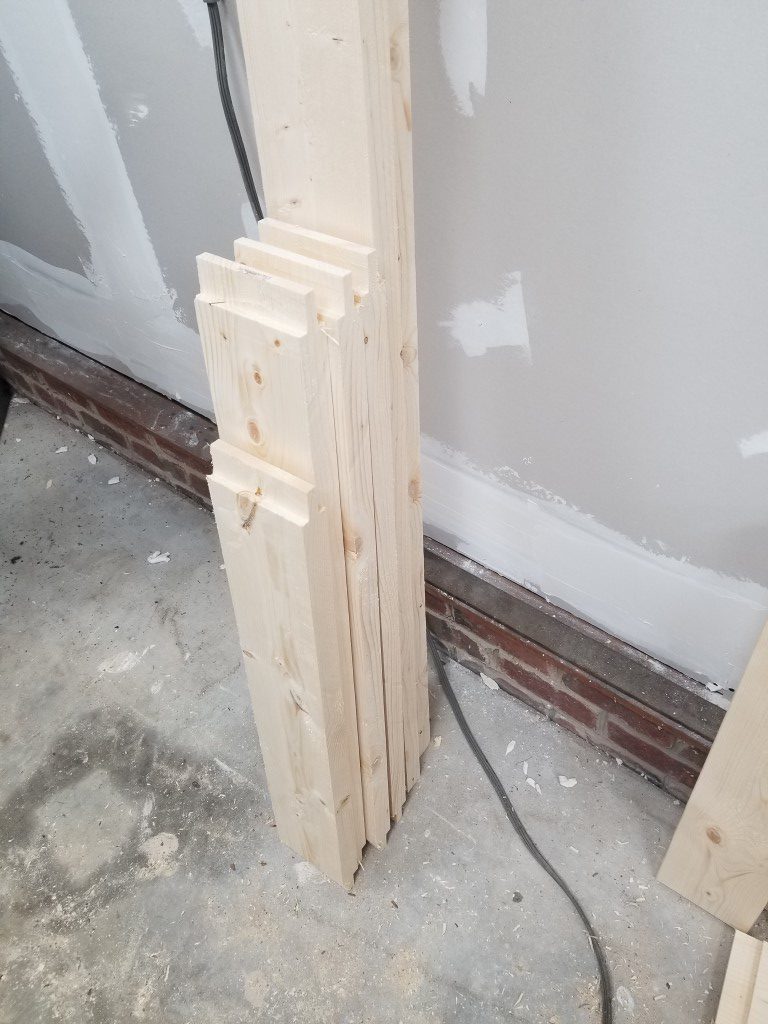
- Door frames from 2×6’s, planed down to standard 1 3/8″ door thickness
- Mortise and tenon joints connect frame pieces (tenons via table saw dado stack, mortises via router and chisel)
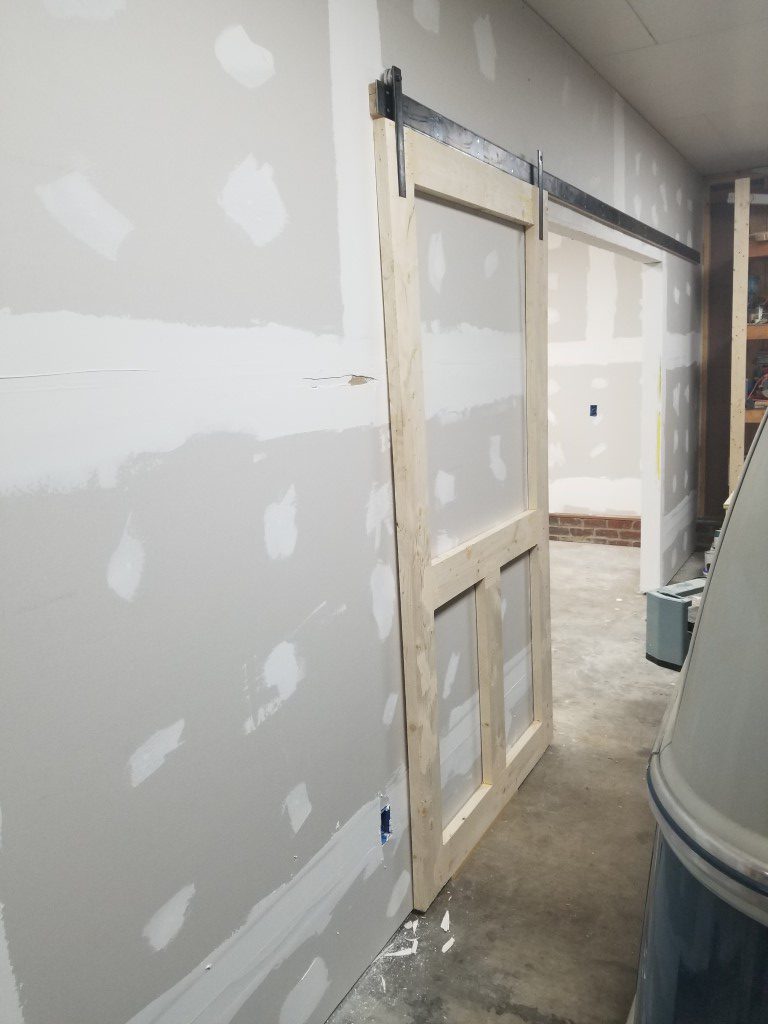
- Slide rail is two 3/16″ x 3″ x 10′ flat bar sections welded in the middle.
- Door bracket pins turned and threaded on lathe then welded to brackets.
- Aluminum rollers turned on the lathe, held to the brackets using standard 608 skate bearings.
- Brackets recessed into door frame and secured to the doors with studs welded to back side for a completely smooth front.
- 1/4″ Tempered glass sourced from local glass shop.
- Groove along bottom of door and small bottom bracket keep door located against the wall and limit inward overtravel.
- Roller to door top spacing and roller flange width prevent door from lifting/falling off rail.
There’s a good bit of finishing work still left, but I’m happy with the results so far.


Carpentry & Aviation
Today (I have a few days off of work), after a few months of studying in my spare time, I finally took the controls of a Cessna 172 for about an hour. With direction from the instructor I taxied, took-off, climbed to 2000ft, and then maneuvered around and even did part of the landing approach; though the instructor did the landing itself. I’ve got a long way to go but over then next year or so I’ll be flying somewhat frequently to make progress towards a private pilot certificate. Anytime a new skill can be learned (i.e. welding/painting/etc from the bus project) I find that it can be beneficial in unexpected ways, even for seemingly unrelated tasks/problems. So this is about having another tool in the mental toolbox, and I’ve always been interested in aviation anyways…

After arriving back from the flight I starting working on installing crown molding in the downstairs bathroom. For some reason this was the only room in the house that didn’t have it and I always thought it looked odd. In the past, I’ve just propped the molding up at the correct angle and hand sawed at 45degrees in a miter box. Due to the number of joints though I decided to get fancy and make the cuts on the tablesaw. This presents a problem since, when the molding is flat on the table, the angles are in two different directions: a compound angle in which the blade must be tilted and the material angled against the push fence. Luckily I’m not the first person to ever do this so I found tables online of compound angles for a given wall angle (90deg nearly always) and a given trim angle (the angle the trim sits against the wall). There was some scrap made while learning what orientation to use for a given angle; 4 of the 8 combinations don’t make anything useful (i.e. inside right/outside left/etc.) More than a few times during this process I thought back to how much easier flying the plane was (or at least seemed) earlier in the day.
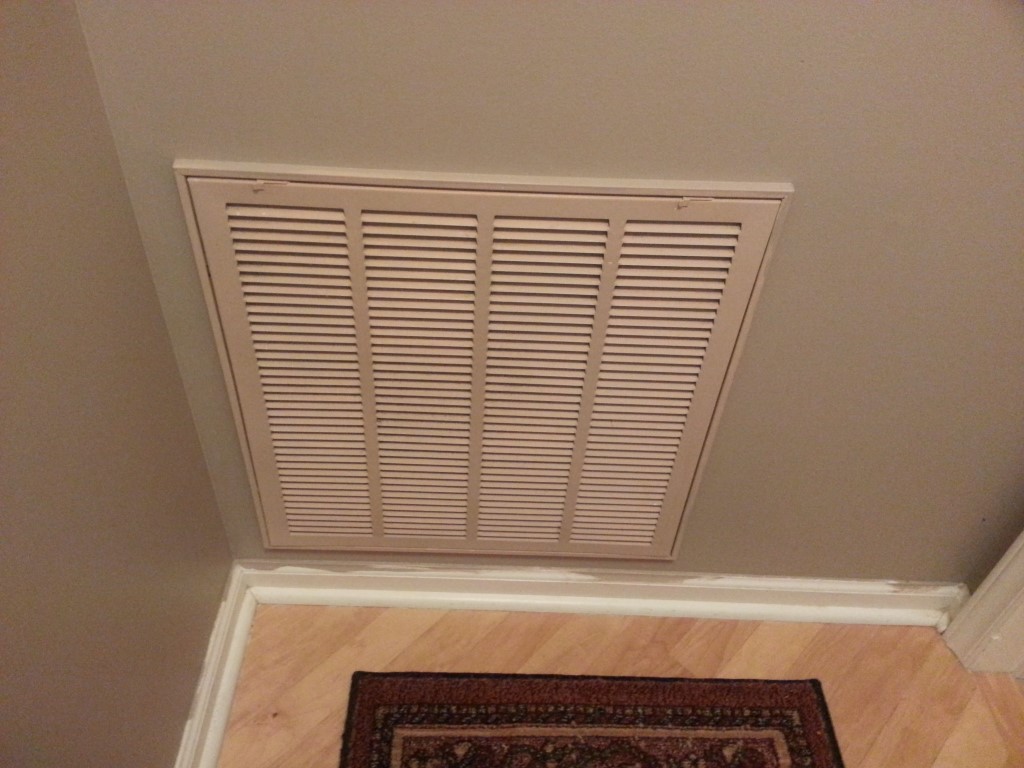
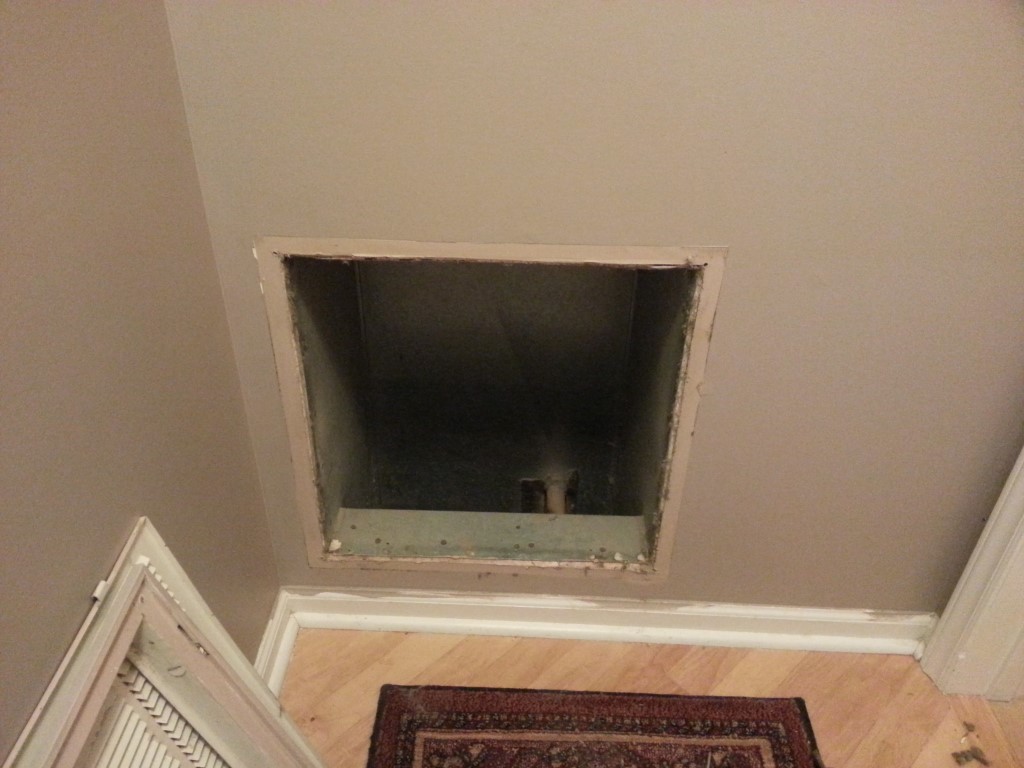
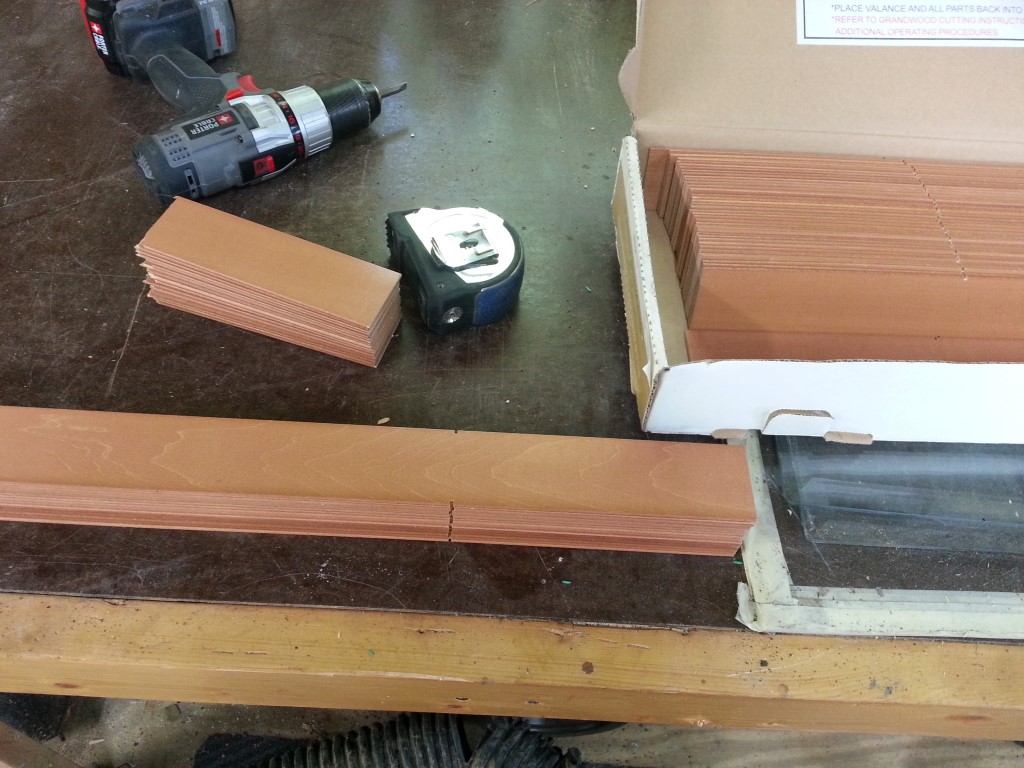
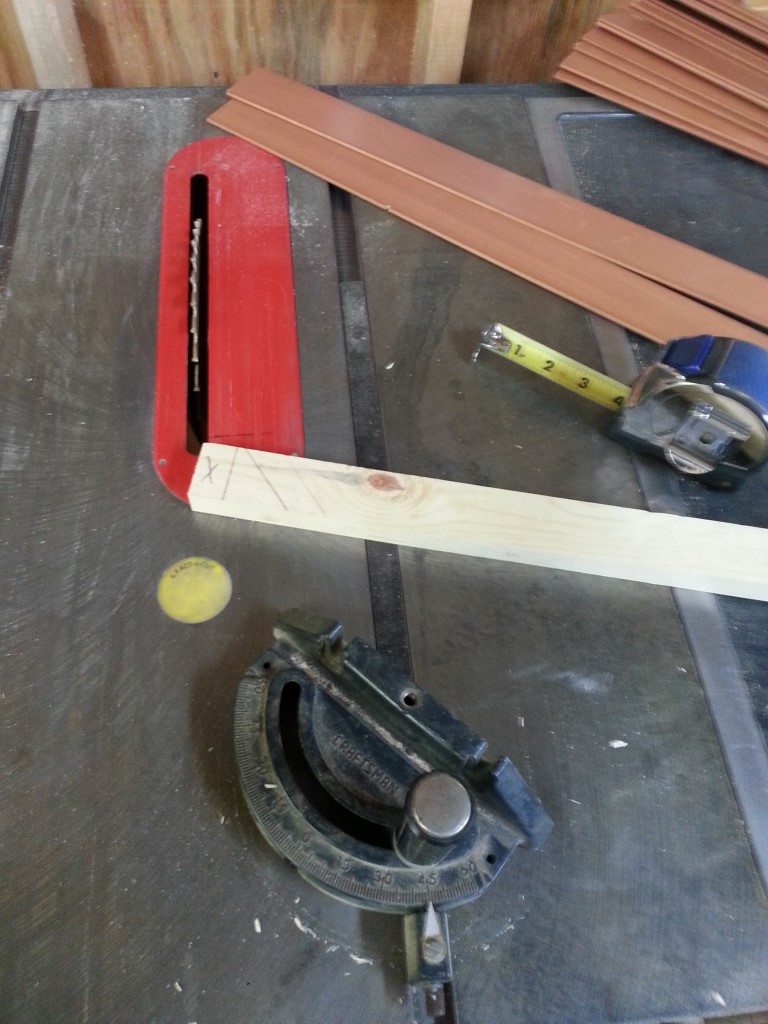
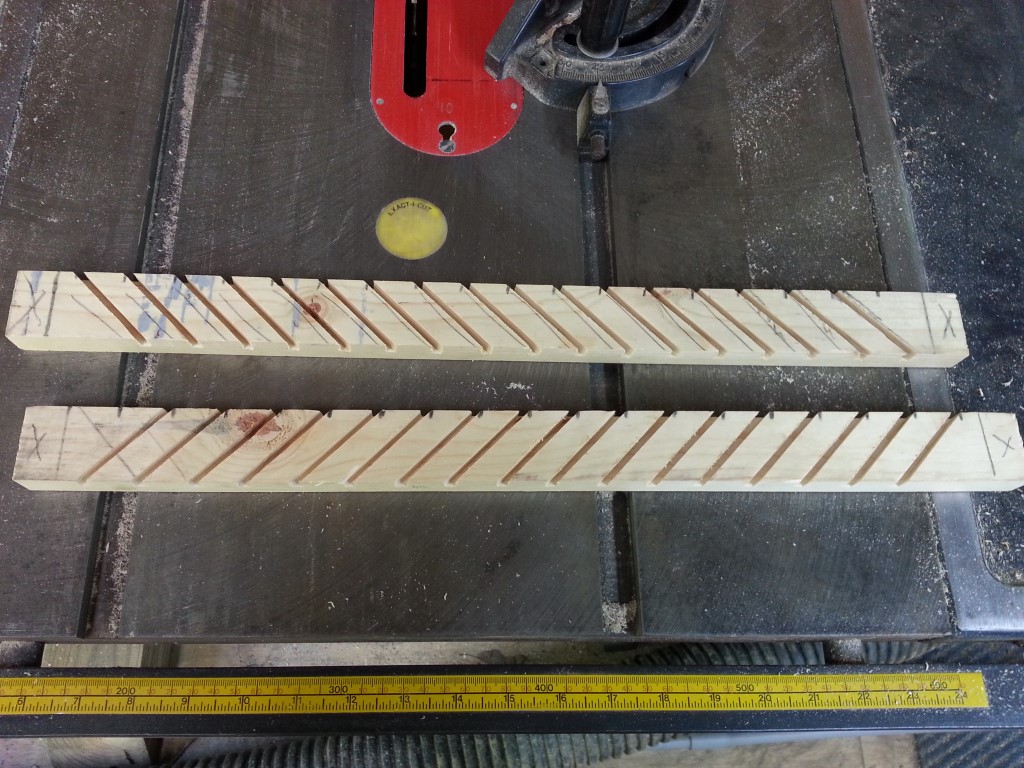
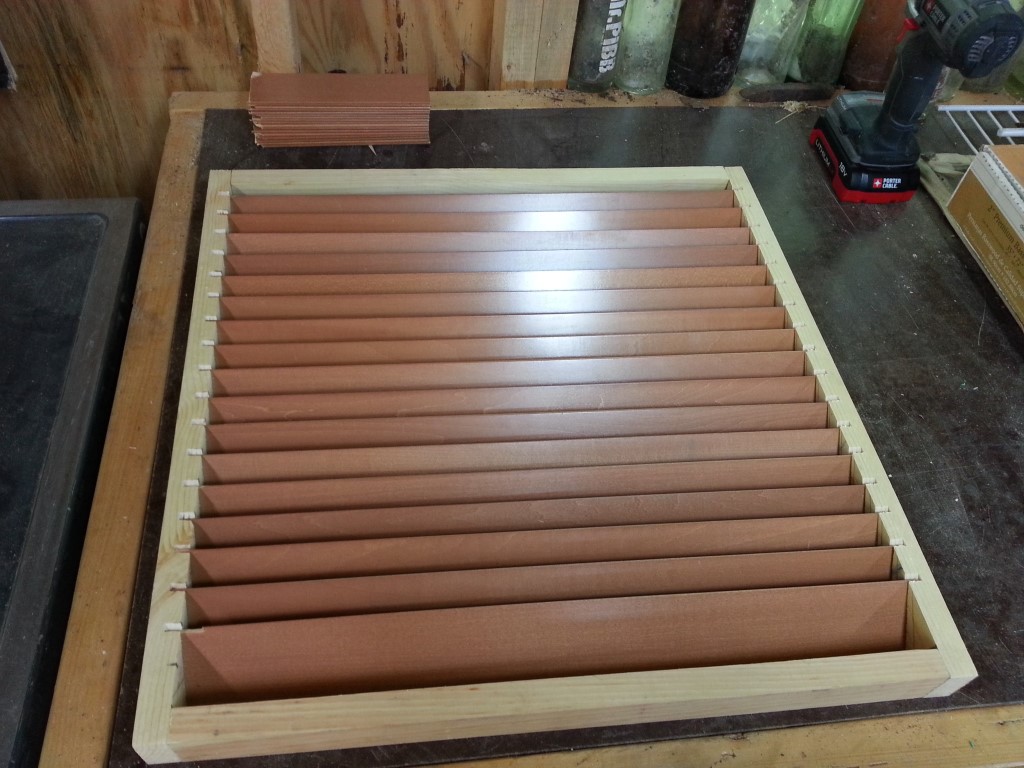
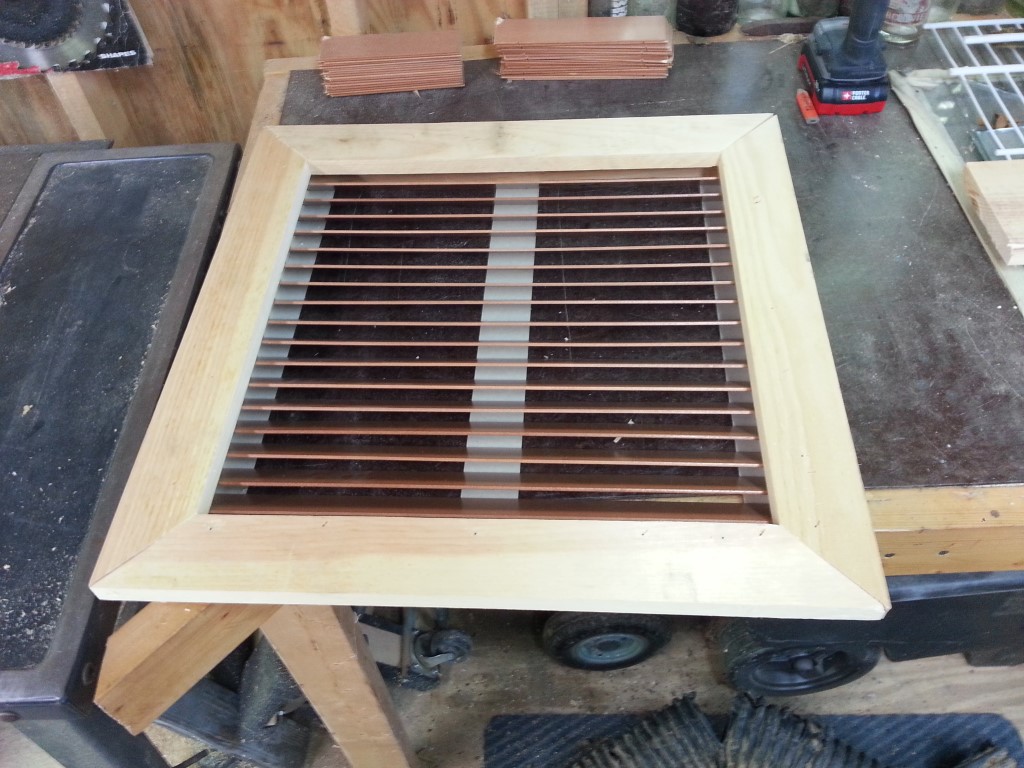
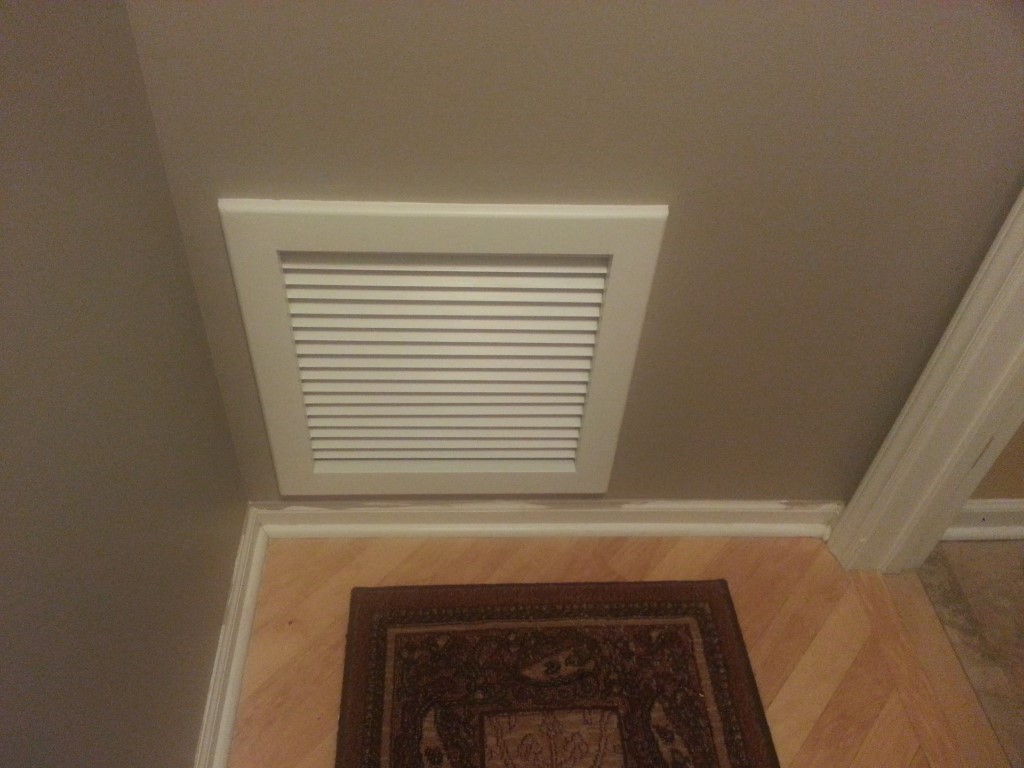
Building a better air return
Today, as part of a repainting project, I constructed a new air return out extra slats from wooden blinds and some scrap wood. Nothing was wrong with the existing metal return other than being ugly, so it will get added to the scrap metal pile and possible used on some metalwork project. All the materials were scraps from other projects, so total cost was just some paint/glue/staples and a few cents of electricity. As a bonus, the new return seems to be quieter and less restrictive than the metal version.