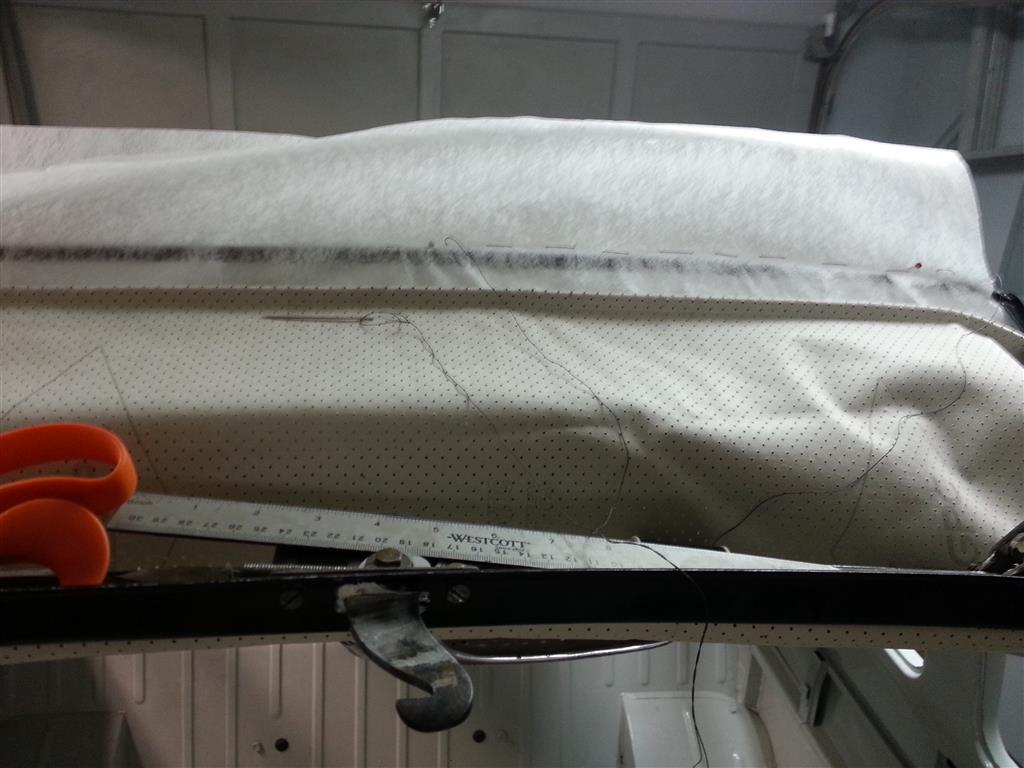
Sunroof Continued
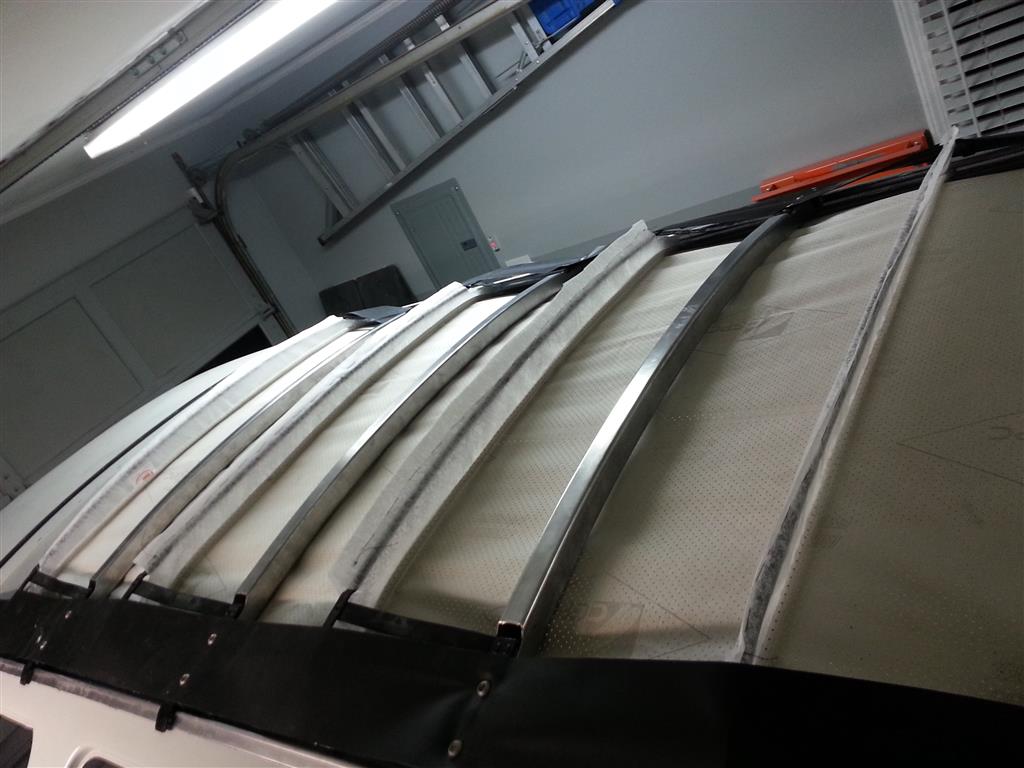
Tonight the sunroof was assembled and the sunroof headliner sewn to the the sunroof frame.
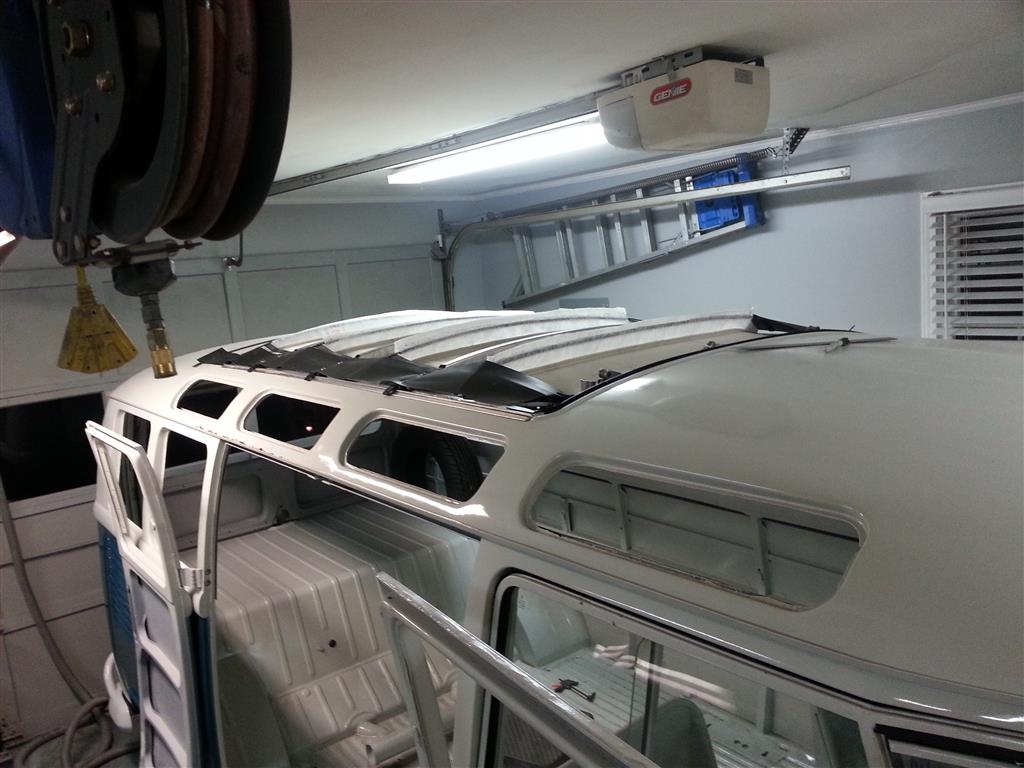
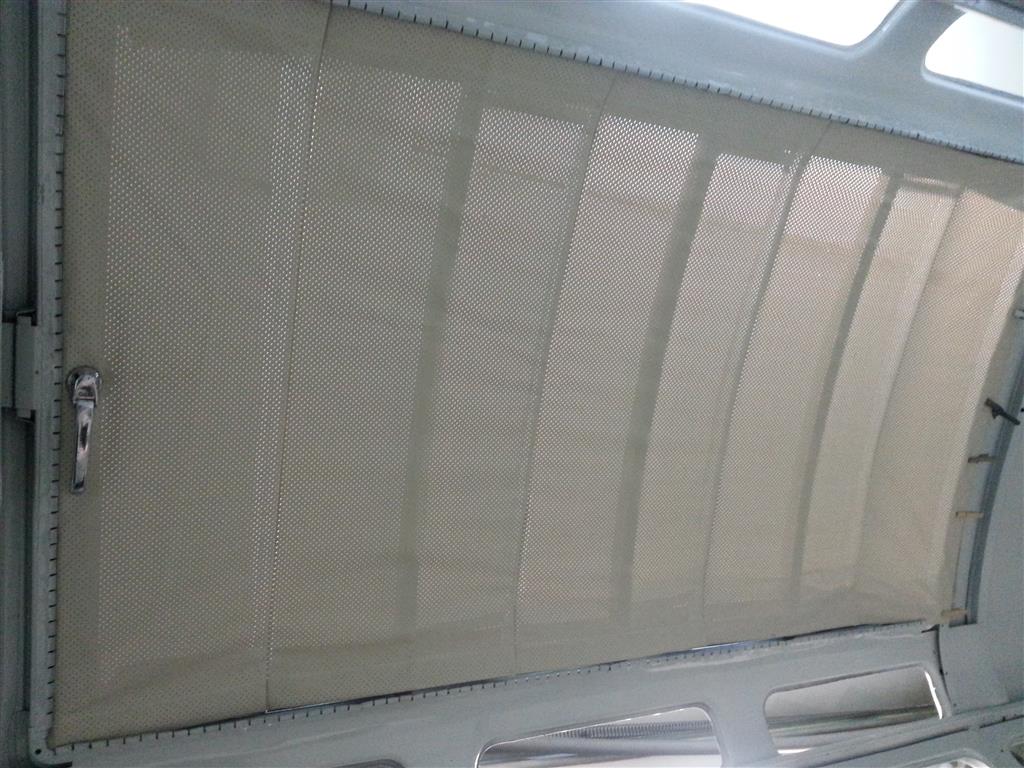
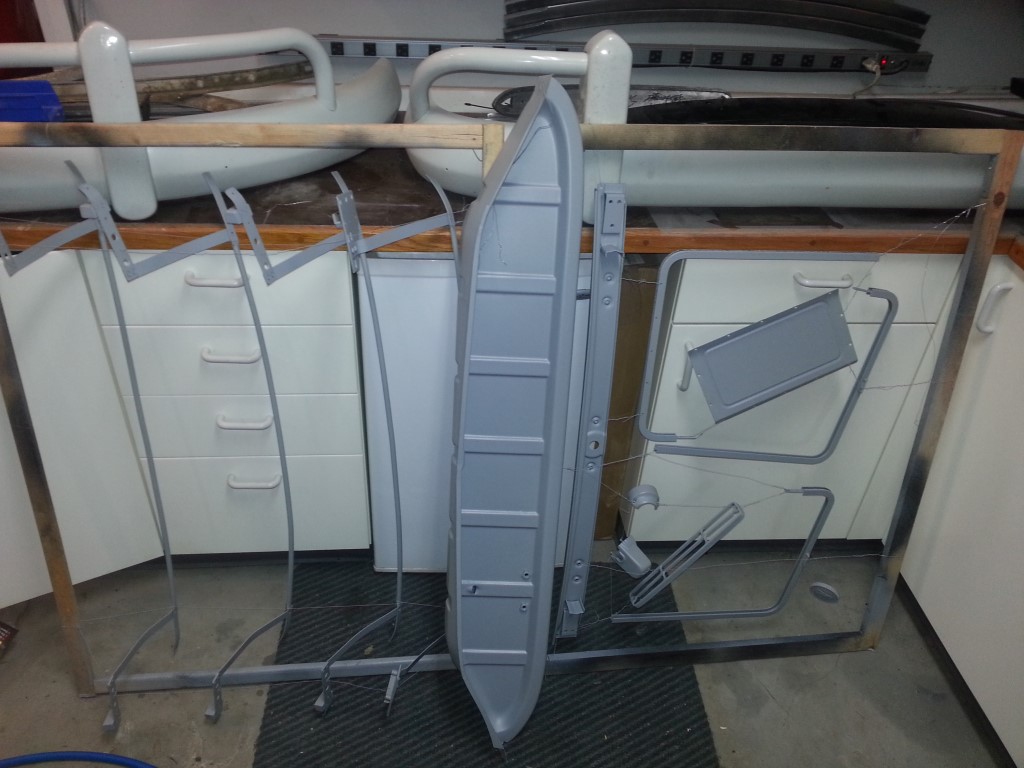
Sunroof
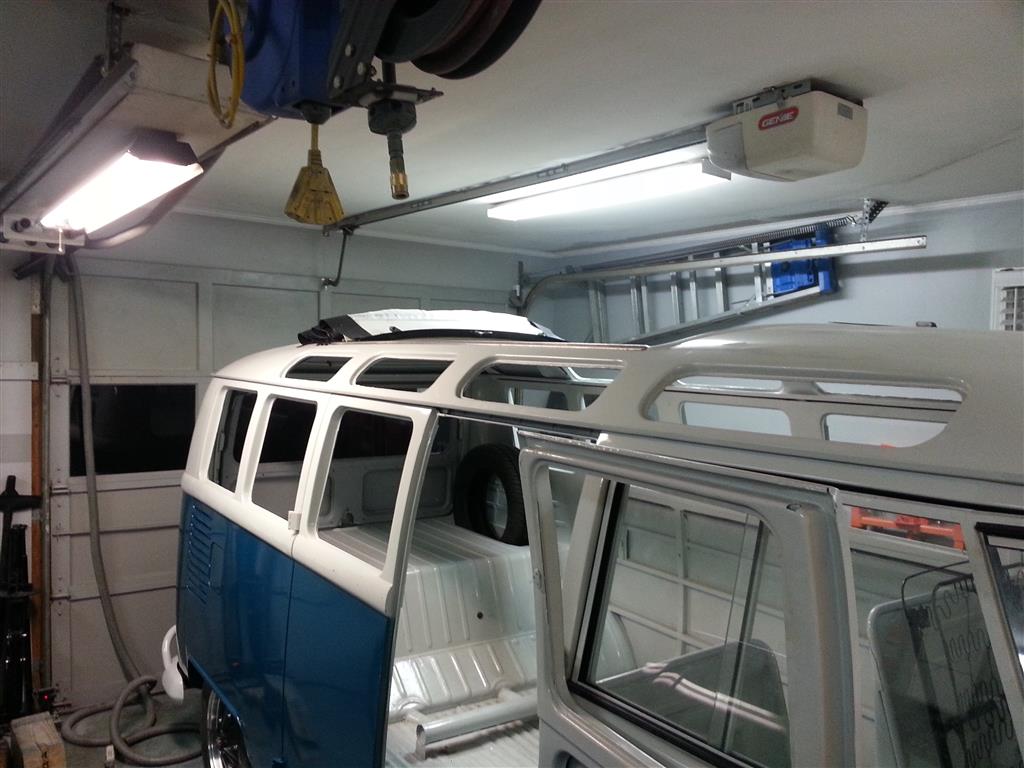
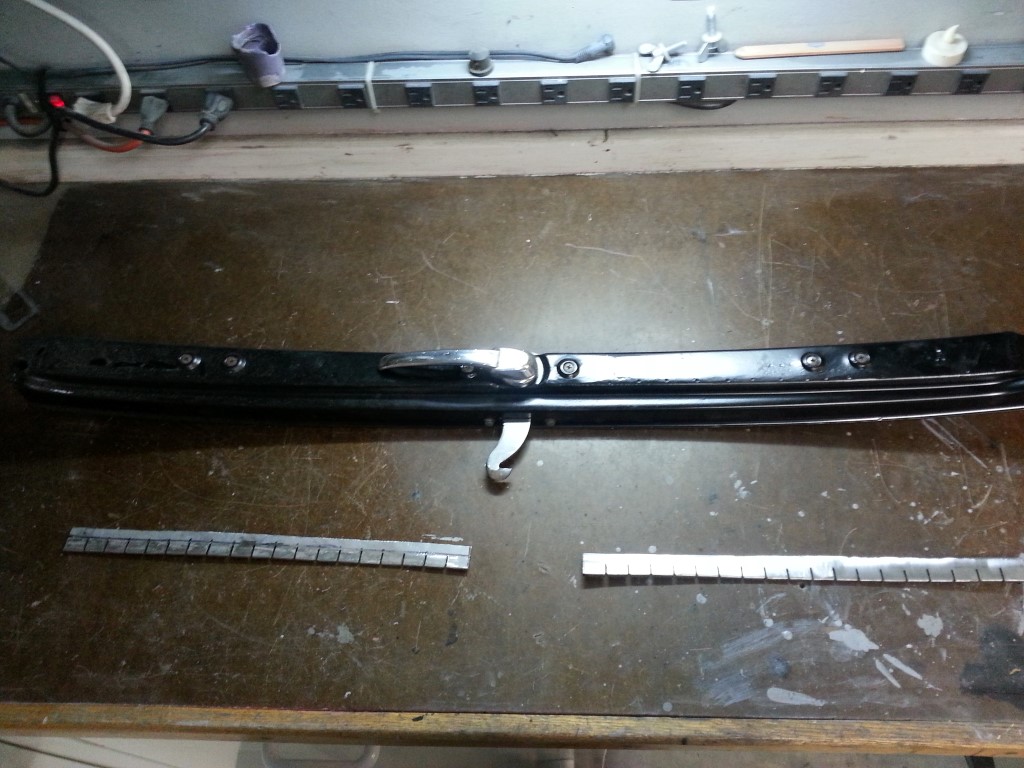
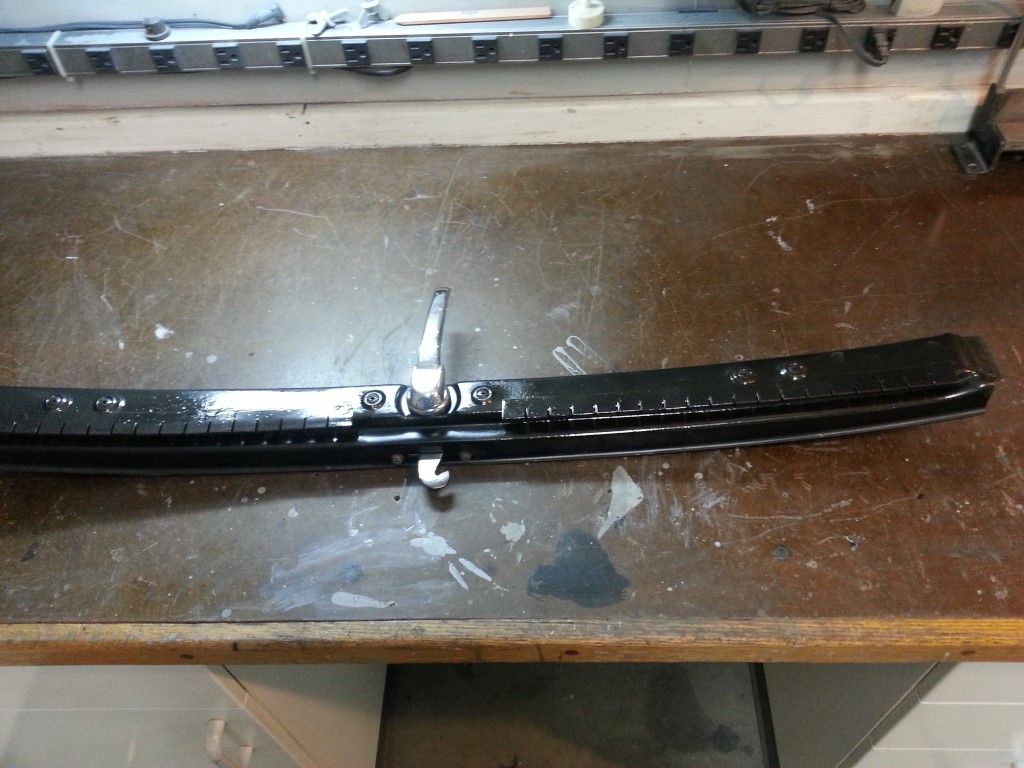
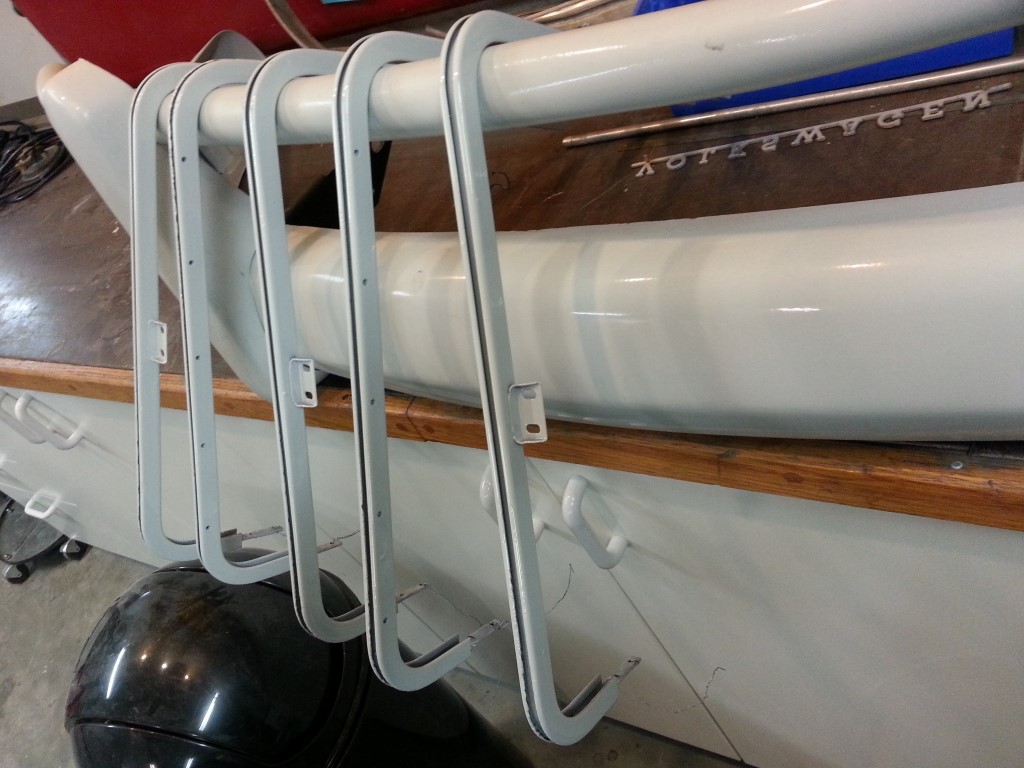
Today I worked on installing the sun roof. I polished and installed the aluminum tracks on the roof, assembled all the various pieces and installed the tension straps that keep the bows spaced correctly. Now that it’s all together I’m beginning to wrap my head around how it works; it’s actually simple, it just looks complicated because of all the pieces.
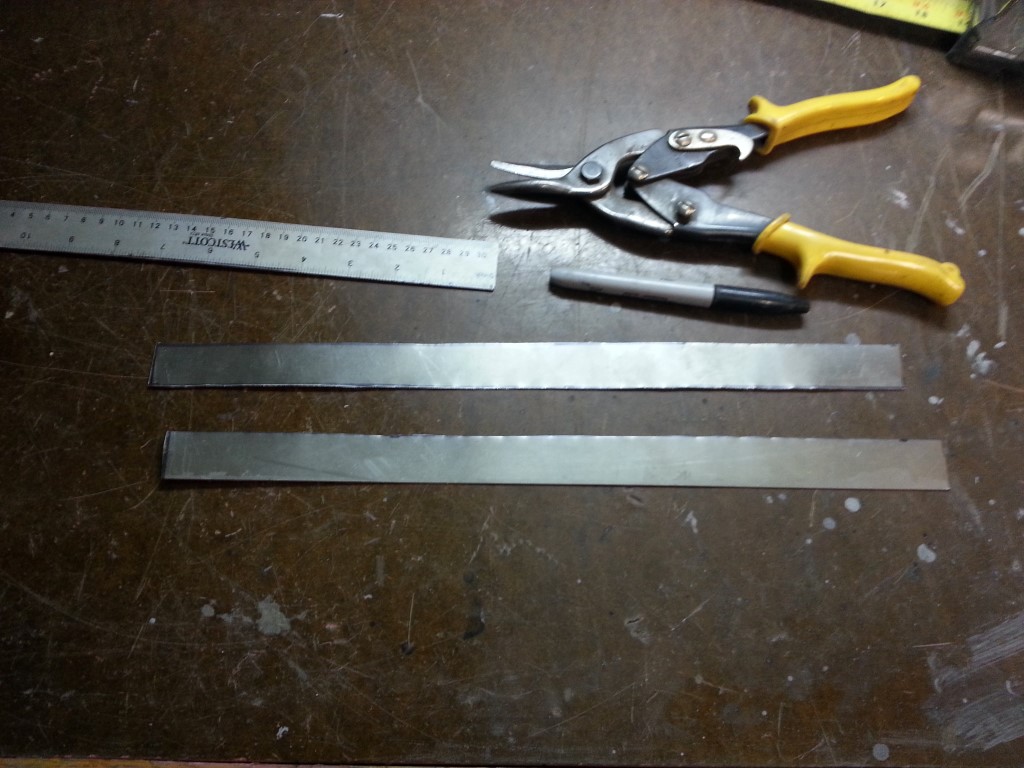
The forward-most sunroof bow was in mostly OK condition, I had blasted and painted it a while ago, however the metal tabs that hold the headliner had mostly rusted off. The tab strips aren’t available, but they’re easy enough to make, so I did exactly that. Once the strips were made they were welded to the bow and painted. These metal strips fold over a thin strip of plastic that’s sewn to the edge of the headliner fabric.

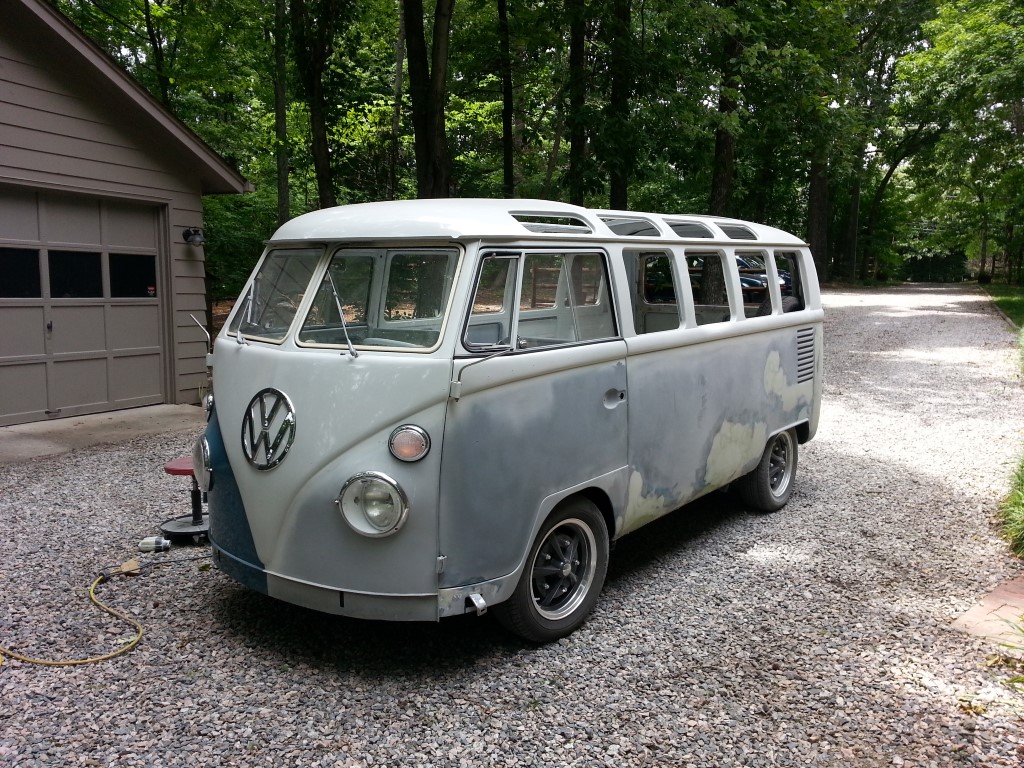
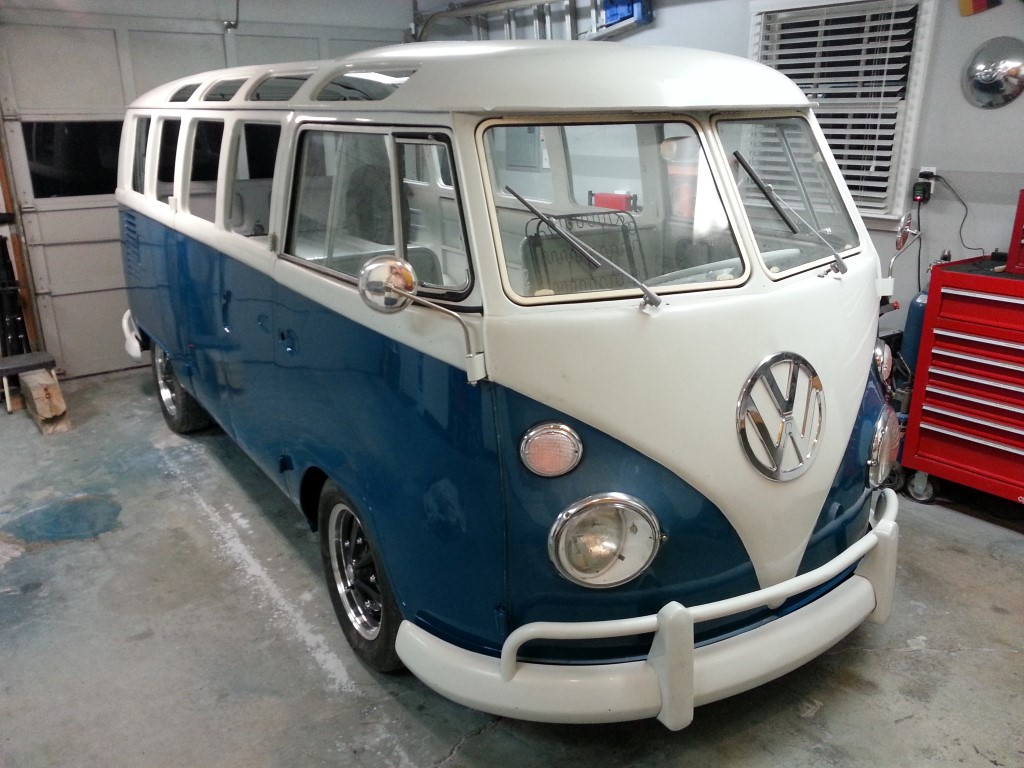
See Blau!
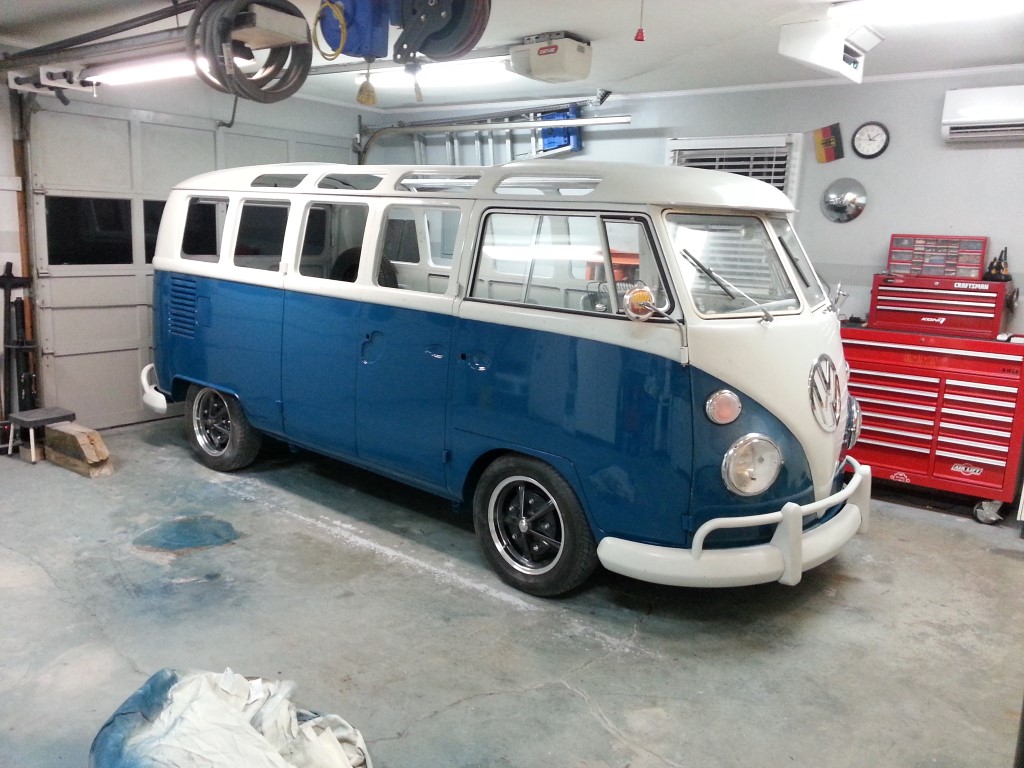
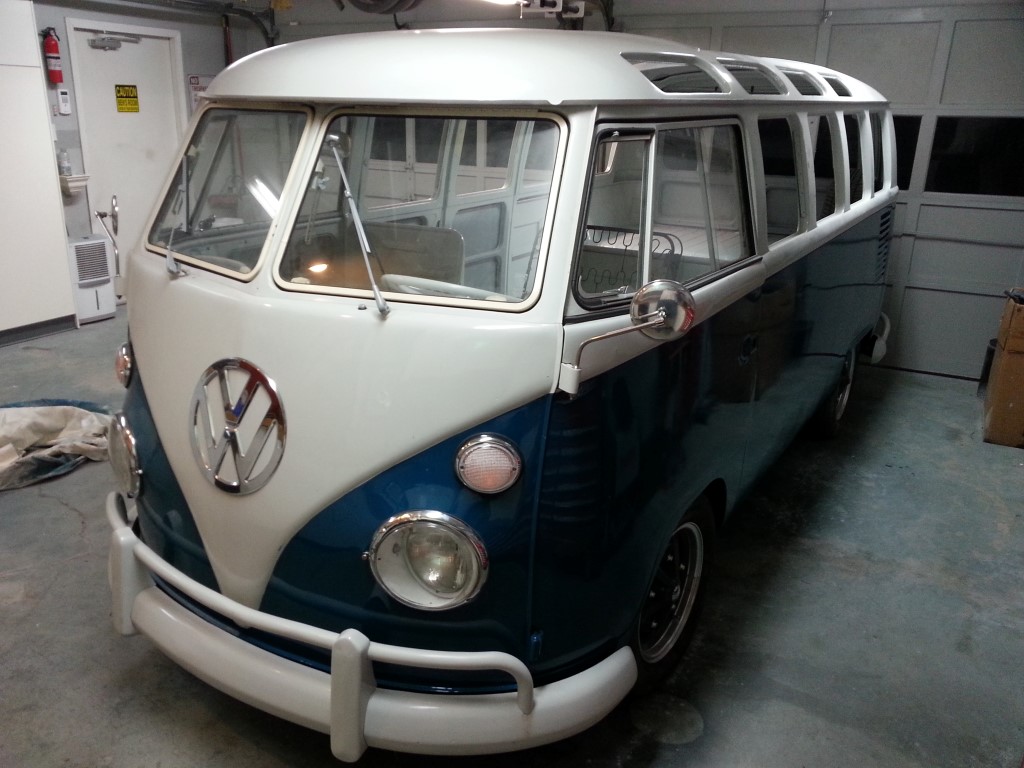
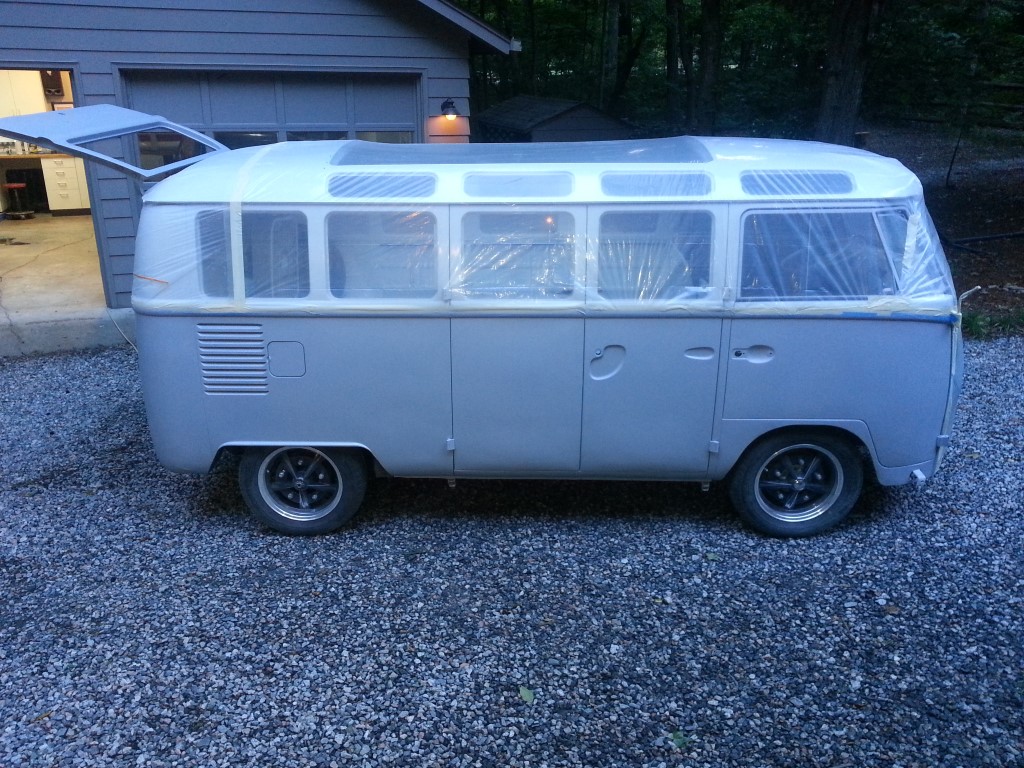
All of the hours of sanding on the lower body finally paid off today. Thunderstorms in the area all day prevented me from painting outside; so I moved everything in the garage to the back wall, covered with drop cloths, and painted inside. The only casualty was the garage floor which is being resurfaced in the near future anyways. This worked out better anyhow since the color coat stayed sticky for a long time (compared to primer), if it were painted outside any passing bugs/dust would have stuck. Overall it came out well, you can easily see reflections in the pictures, but it will require wet-sanding & polishing to get rid of the orange peel texture.
After the paint was complete there was no longer anything stopping me from mounting the bumpers and lights, so I got them on right away. It’s nice that these parts are finally going on the bus since they had been taking up a lot of storage/counter space.

Sealer
The last round of sanding only broke through the primer lightly in a few spots, so tonight I added one more coat of primer that will be wetsanded with 400grit; blue paint should go on this weekend!
More High Build Primer
No photos since the bus doesn’t look any different. After several rounds of priming/sanding it is becoming much flatter though and should be ready for blue paint soon.
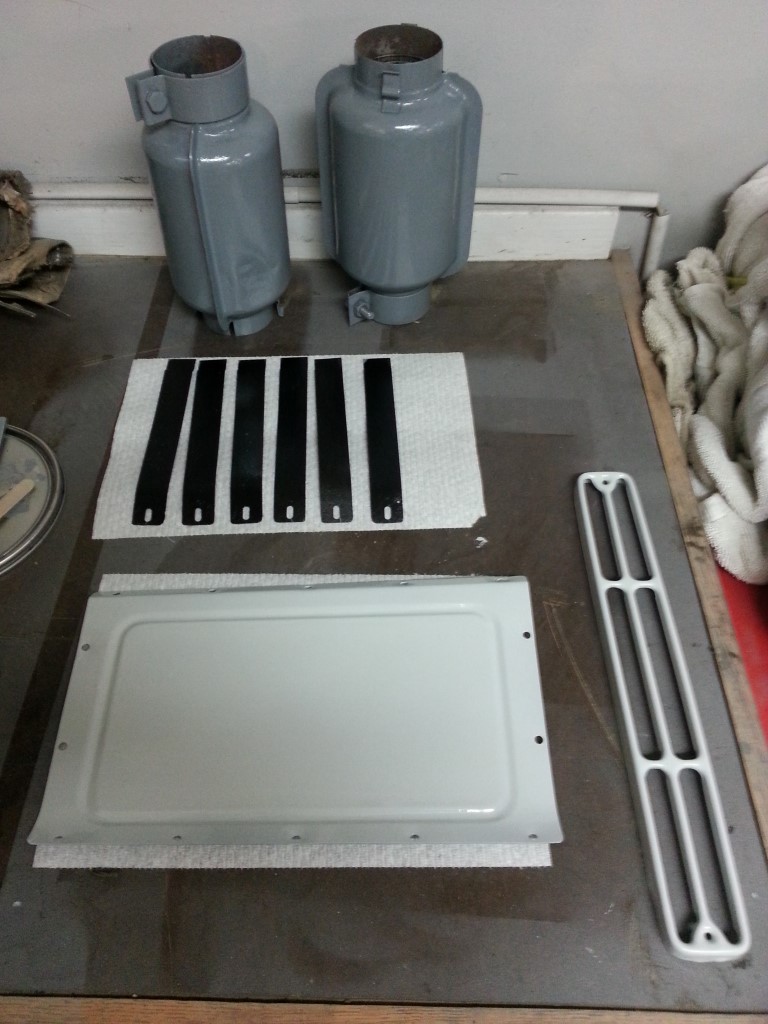
Miscellaneous Parts Painted
The seat frames as well as various other parts were painted tonight.

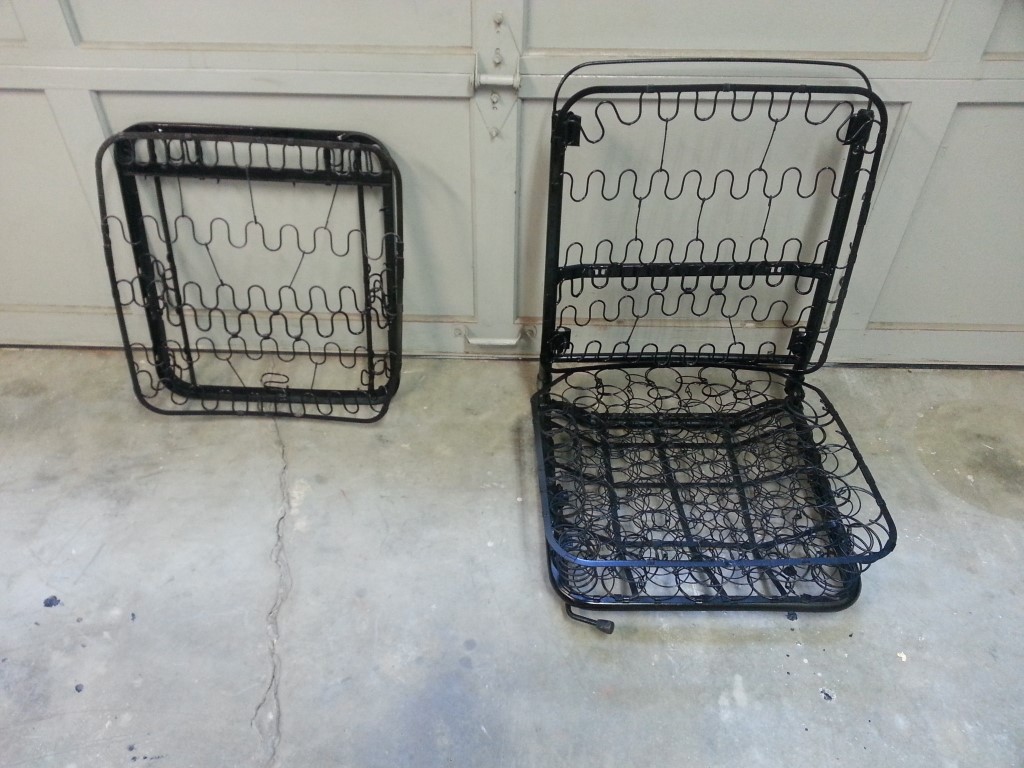
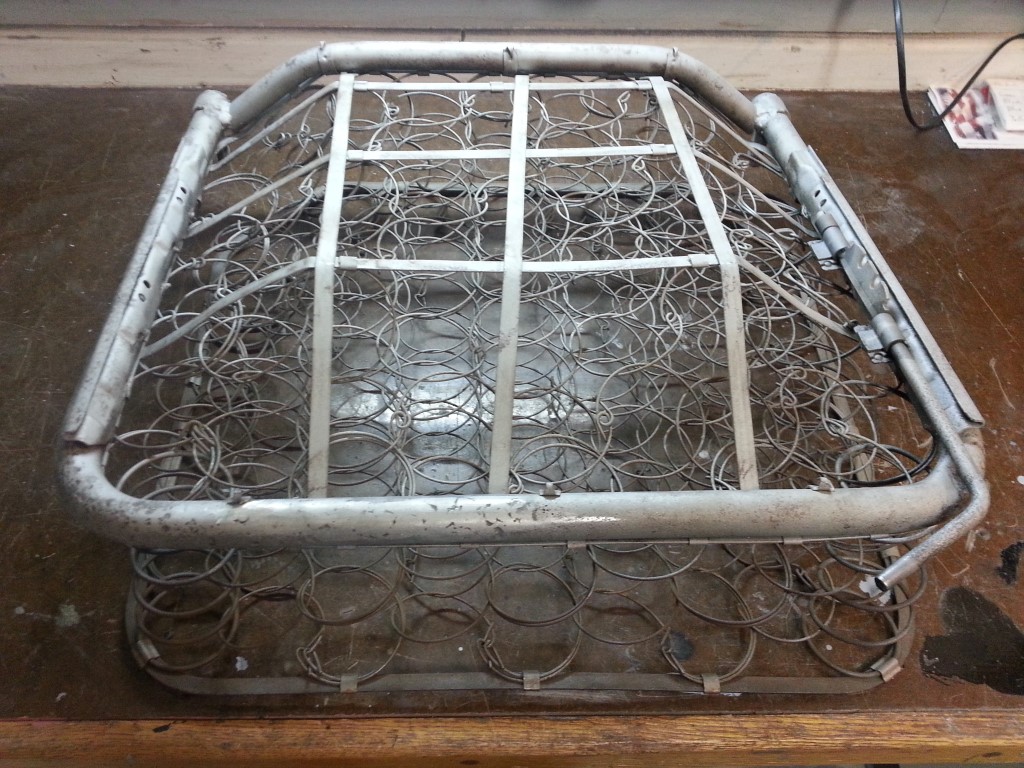
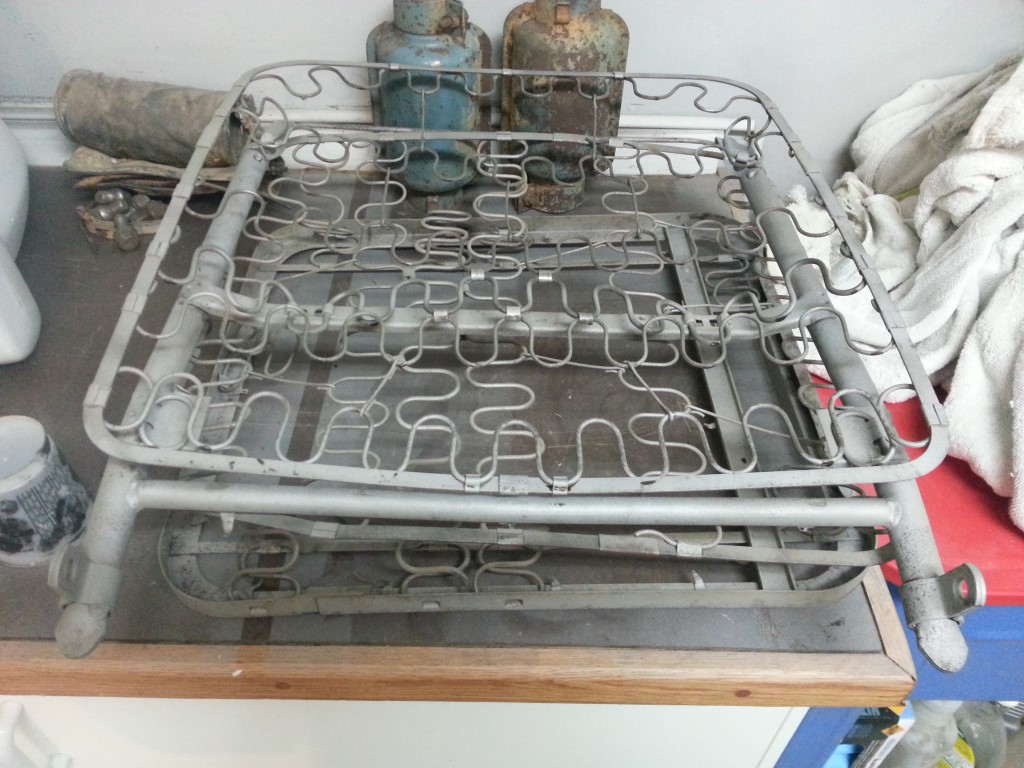
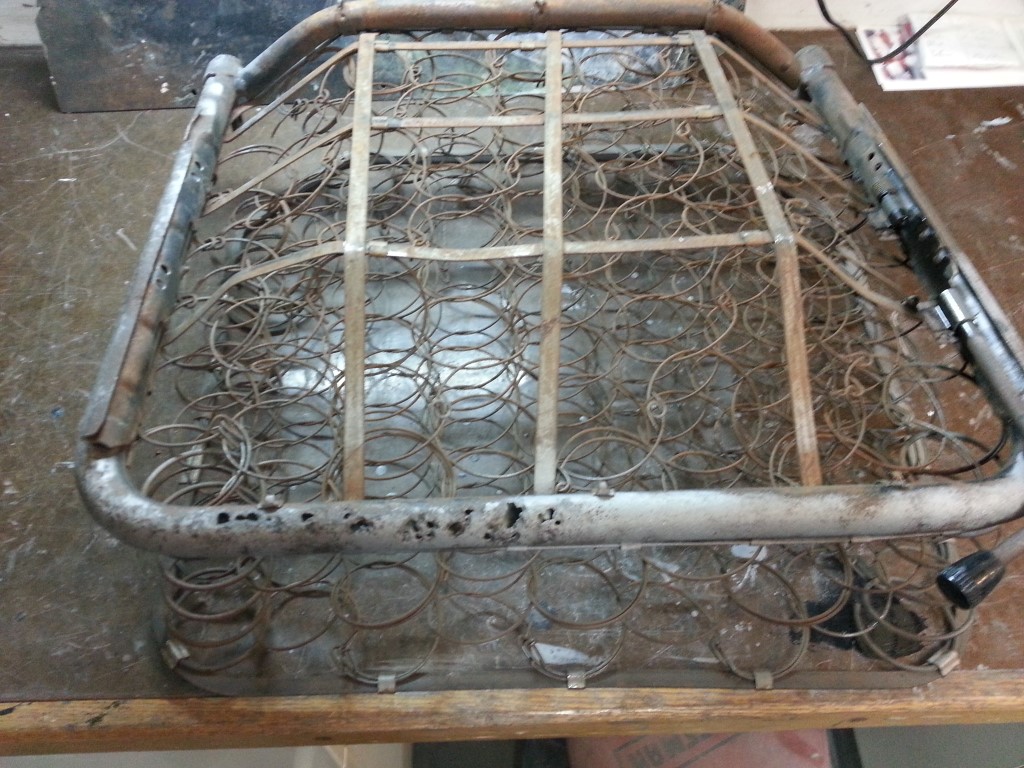
Seat Frames Blasted
Tonight the seat frame repair welds were ground down and the frames were media blasted in preparation for paint.
Weekend Progress
Lots of activity this weekend:
#1 – Another coat of high build primer was applied and block sanded. Block sanding is very time consuming but I’m starting to see very good results. The pattern of colors that the primer/filler makes after sanding started off looking like a topographic map of the Himalayas; with each coat I can see it’s flattening out substantially.
#2 – The pop-out frames were glazed, sanded, and re-primed.
#3 – The black parts in the latest round of small parts (mostly sunroof parts) were painted black.
#4 – The low spots on the body got yet another coat of high build primer after #1.
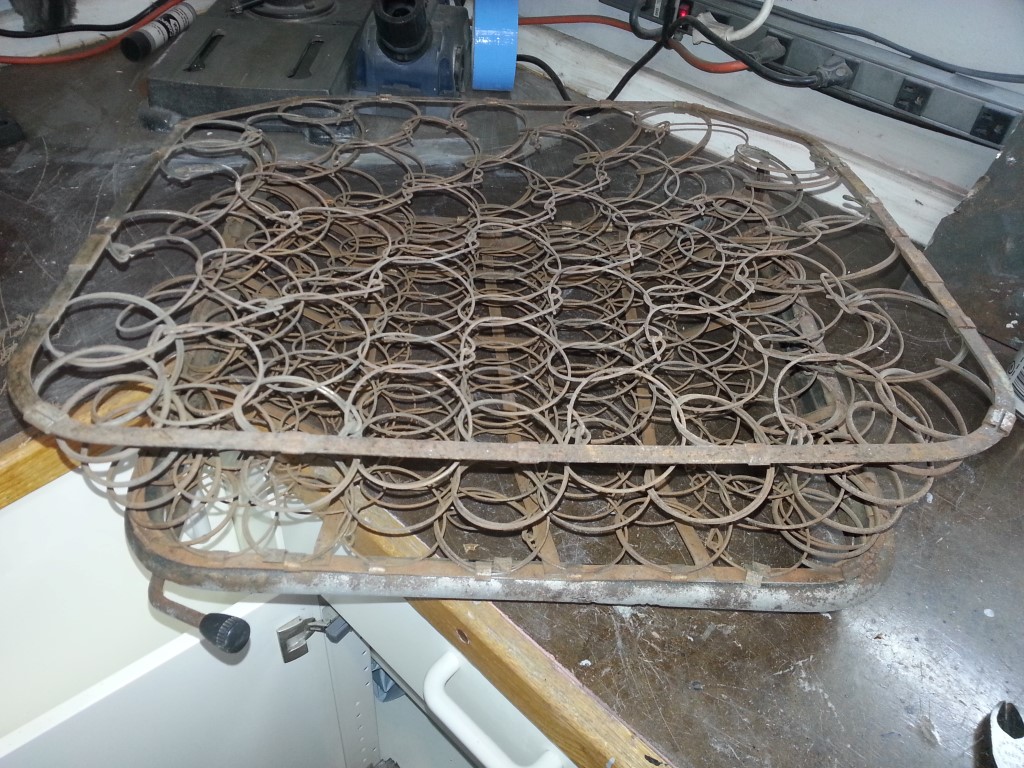
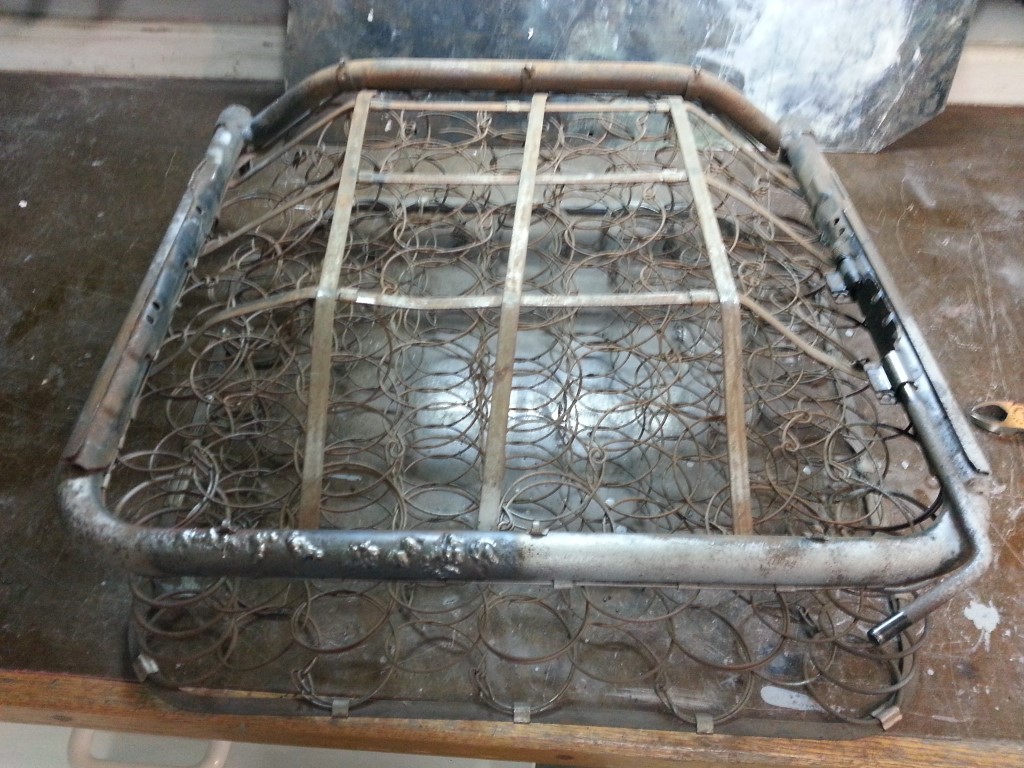
#5 – The seat frames were partially sandblasted, but the effort was cut short since the blaster kept clogging. I rebuilt the blaster and it should perform much better on the next rain-free blasting opportunity.
#6 – Holes in the drivers side front lower seat frame were welded shut. I forgot to take pictures after the welds were ground down, but it turned out very nicely.
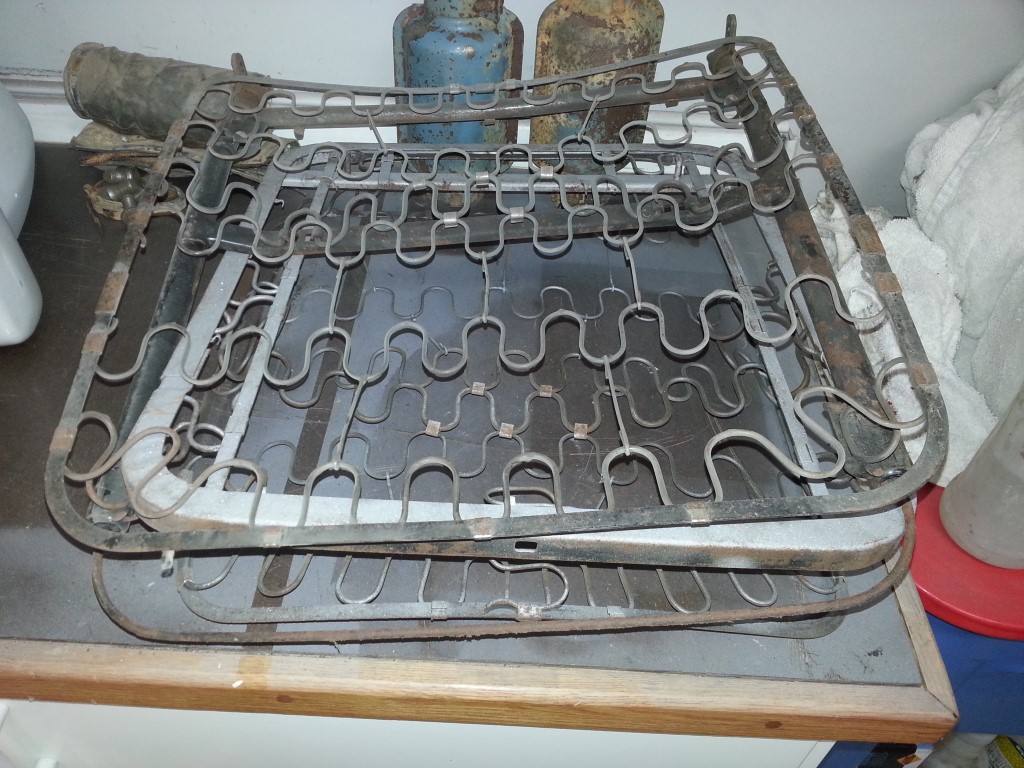
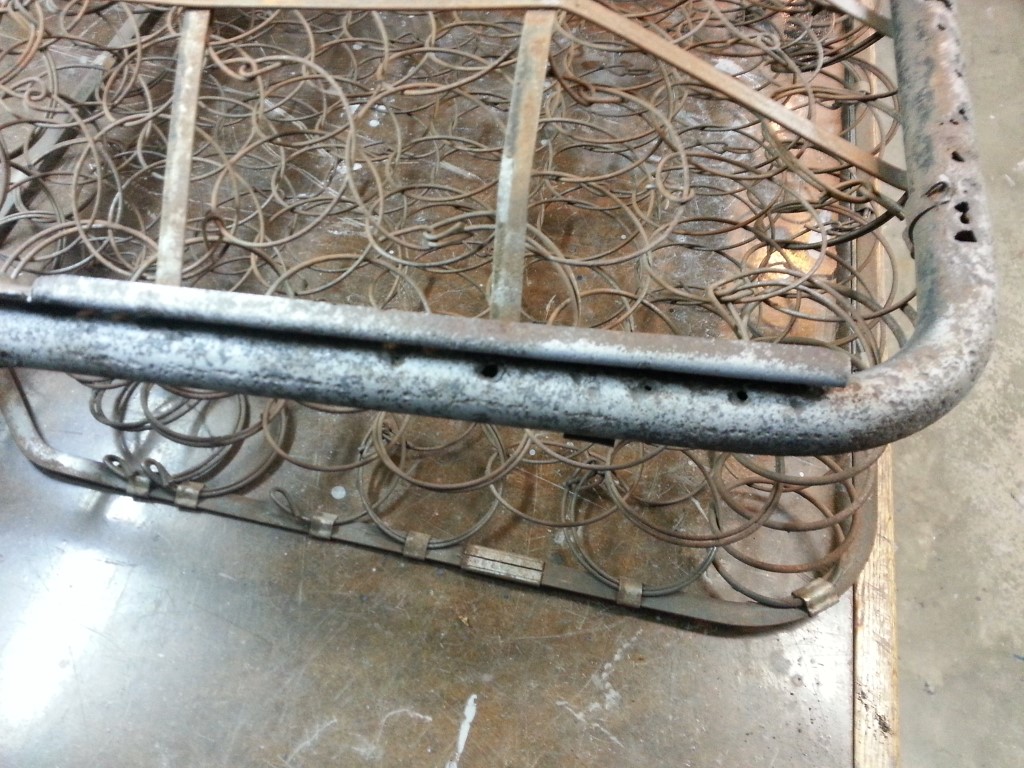

The search continues for the elusive passenger side front lower seat frame. This seat is specific to the optional ‘walk-through’ configuration that this bus has. Although the ‘walk-through’ option was heavily advertised it was expensive, so the minority of buses were built this way. This problem is compounded that through the years, especially during the 1970’s custom van craze, many of the walk-throughs had their bulkheads cut (mine included, but fixed) to install swiveling seats. When the swiveling seats were installed in all these buses the original seats were lost forever, though I’m not sure why they kept the passenger side seat back without the base.
High Build Primer
The bus and many small parts got a coat of high build primer tonight and last night. I was even able to get started with block sanding. The bus has very long flat panels so I’m primarily using a flat sanding block that’s about 18″ long, this is doing a great job of knocking down high spots that I’m not currently able to see or feel, but that would easily show up on the shiny top coat. The sanded surface can be ‘read’ while sanding: low spots stay shiny since they’re not touched by the sandpaper, and high spots are the first to have their texture disappear since they make first contact with the paper. Several more iterations of priming/sanding will be needed to get it as smooth as glass.

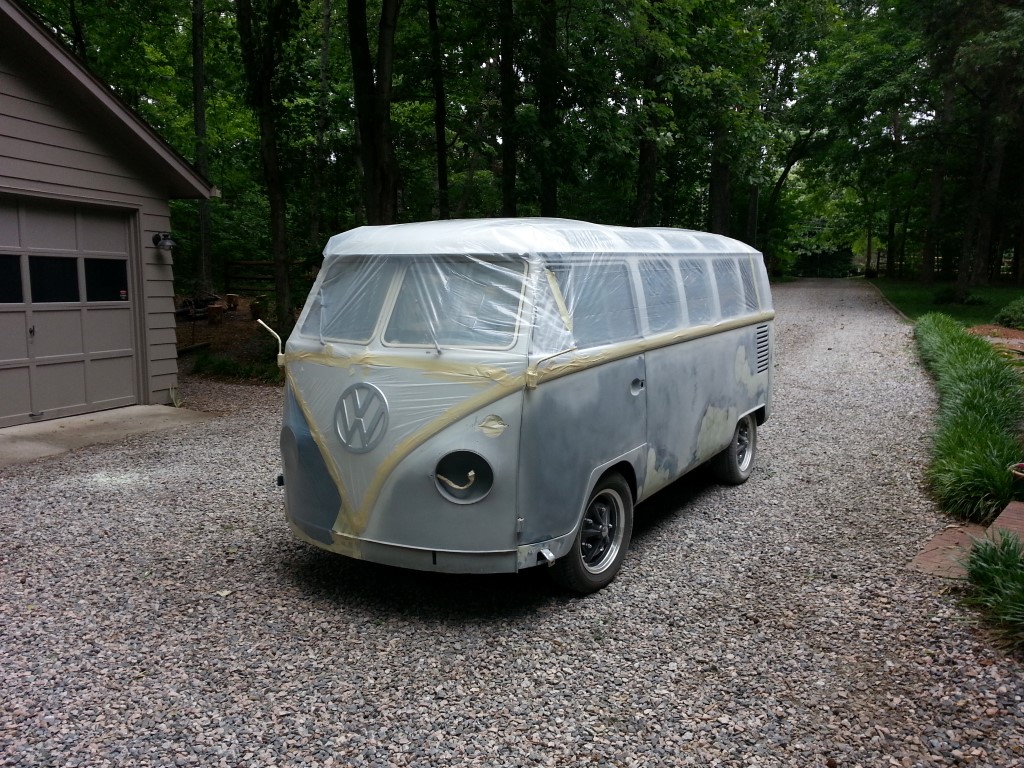
Lower Bodywork
This weekend I worked on the bodywork in areas that will be painted blue. It looks like a lot of filler by area, but by volume and thickness it’s not much; just a skim coat to smooth out areas were metal repairs were done and parking lot dents. The top is now mostly masked in preparation for the endless loop of priming & sanding that will soon occur.coats of high-build primer that will soon be painted on the bottom. Once that’s complete it will be time for blue paint followed by reassembly.