Meltdown
Today I drove many miles in the bus, but it was really struggling on the way back to the house. When I finally got back it didn’t have any compression and wouldn’t restart until it sat for several hours. I’m fairly certain it overheated very badly, I’ll know the extent of the damage when I take it apart after I get back from a trip this weekend.
Carb Rebuild #3 / 50+MPH Achieved
Tonight I rebuilt the carb for the 3rd time. This time I was apparently paying a lot closer attention, I found 3 things wrong:
- I had used a washer where the idle cutoff solenoid meets the carb body that shouldn’t have been there. The thickness of this washer was likely keeping the solenoid valve open all the time, allowing it to flood any time it stopped while hot.
- The spring inside the accelerator pump was on the wrong side of the gasket. The accelerator pump wasn’t working because the gasket just stayed to one side, with the spring on the correct side it now moves back and forth with the throttle linkage. This gives an extra shot of fuel on initial acceleration, as it was designed to.
- The auxiliary jet had been overlooked in previous rebuild/cleanings since it is behind another screw. Once I got it out of the carb I found that it was fully clogged. I cleaned it out with a very fine piece of wire and reinstalled it.
After the rebuild I reinstalled the carb and right away it was able to idle at ~800RPM without any issue, something that was impossible previously. I then took it on two test drives, totaling about 7mi. It did OK overall, it stalled once or twice, but unlike previous trips, I was able to start it right back up. Now I just need to properly adjust the timing/carb since the previous attempts to do this with a broken carb didn’t count.
The test drives gave the chance to verify the speedometer with GPS, it’s very close. I was able to calculate the error based on the difference in tire size vs original and it should be over-reporting the speed by ~3MPH, this is consistent with what I saw on GPS. The top speed on the test drives was a little over 50MPH, to go any faster I’ll have to hookup the tach, do the tune up, and retighten the brake adjusters now that the shoes have had their initial seating from the test drives.
Hatch Painted
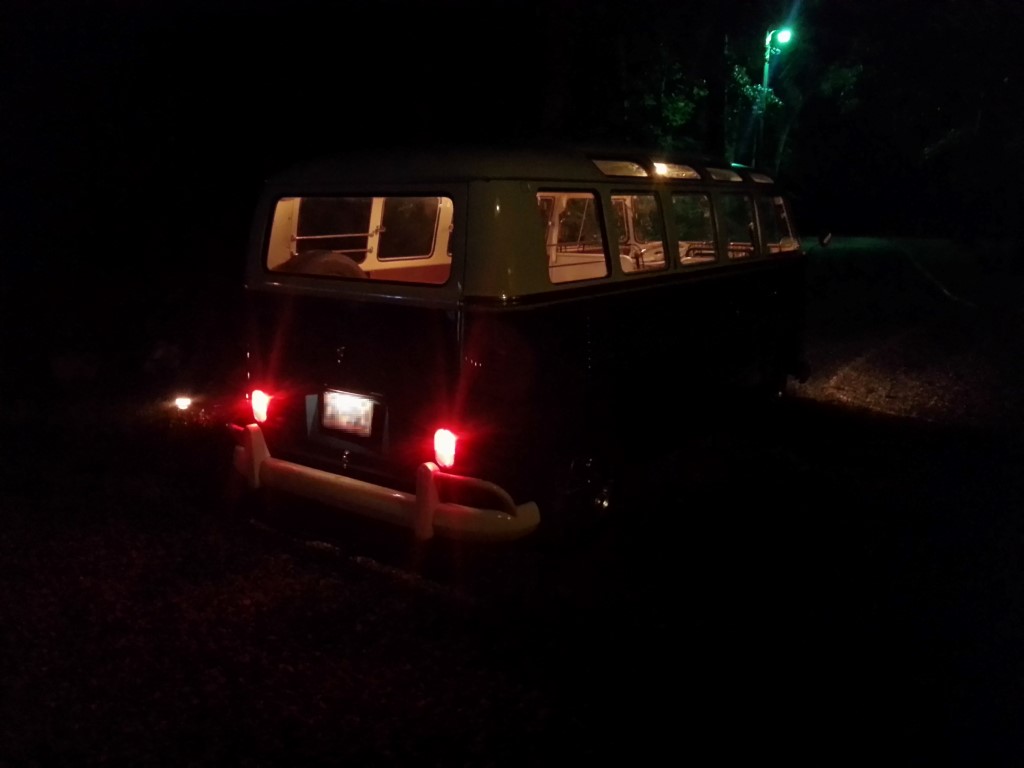
Today was a miscellaneous day: the brake lights and horn were connected, I finally painted the rear hatch and installed the rear windshield, I washed several months worth of dust/grime off of it, I made a few more interior panels, and I began looking into the stalling problem.
Seat Belts (and Physics!)
Most of today was spent installing the front seat belts. The bus does have factory mounting points since seat belts were an option from the factory, but the factory mounting points are for lap belts only. It’d be perfectly legal to keep lap belts only, but with a metal dash and sitting so close to the windshield I see shoulder belts as a necessity. To add the shoulder belts I had to add a 3rd mounting point to the B pillar on each side. The 3rd mounting point consists of a nut welded to a chunk of 1/4″ steel plate, a slot is then cut in the B pillar, the plate & nut installed, and the slot welded shut. It’s important that the mounts are strong, time for some physics:
Stopping in 2ft from 45mph (a crash) creates a deceleration, which can be calculated as follows:
(EndSpeed)² = (InitalSpeed)² + 2(acceleration)(distance)
45miles per hour = 20.1168meters/sec
2feet = 0.6096meters
0 = (20.1168m/s)² + 2(acceleration)(0.6096m)
(20.1168m/s)²= -2(acceleration)(0.6096m)
404.6856m/s²= -1.2192m*(acceleration)
(acceleration) = 404.6856m/s²/-1.2192m
(acceleration) = 404.6856m/s²/-1.2192m
acceleration = -331.9272m/s²
331.9272m/s² = 33.83G’s
When decelerating at 33.8G’s, a 200lb mass (i.e. a person) will impart a force on the seat belt that’s calculated as follows:
F=M*A
200lb = 90.7185Kg
F= 90.7185Kg*331.9272m/s² = 30111.9377N
30111.9377N = 6769.4329lbs = 3.3847TONS
Assuming the force is spread evenly across the 3 mounting points, each point would need to withstand a little over a ton of force in this scenario. Granted, you wouldn’t want the mounts to be right at their breaking point, so I estimate each point should be able to withstand at least 5 tons. With 1/4″ plate steel I believe this has been achieved (and then some).
First Test Drive
I drove the bus on public roads for the first time today. It runs/drives great, but it does stall anytime it’s coming to a stop while warmed up. I was able to get around this by putting my foot on the gas during the end of each stop and pulling the handbrake lever to hold it in place, but this wont work longterm so I’ll have to look into the cause.
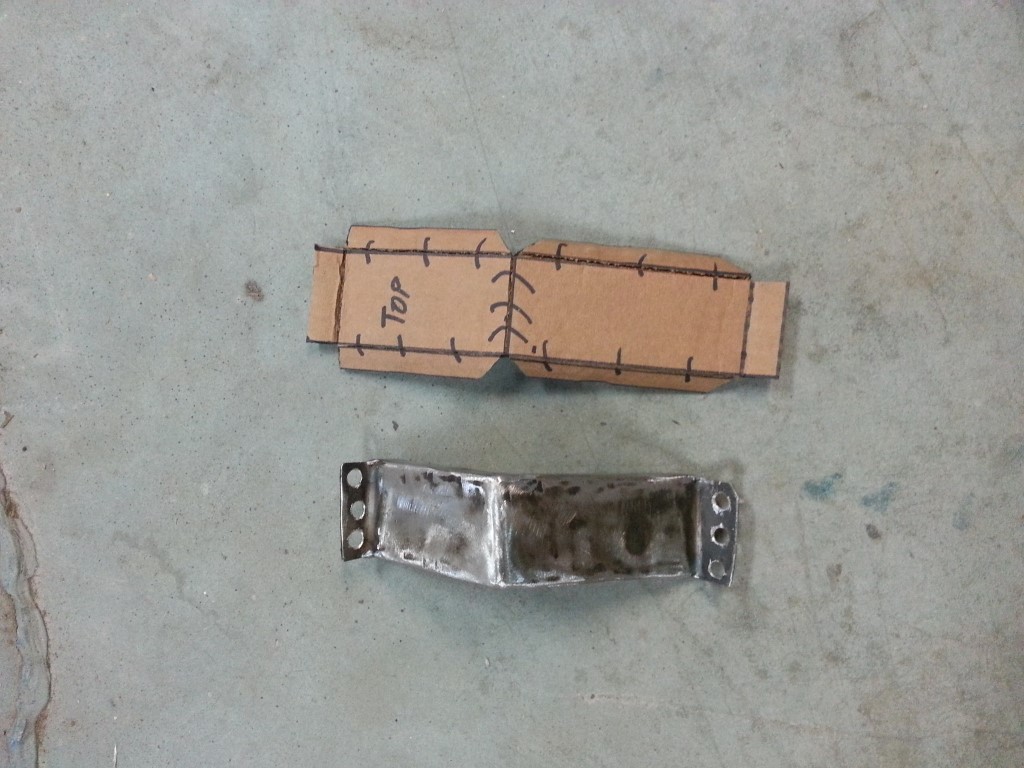
Today I also fabricated some brackets to hold the back of the passenger seat at the correct angle. These mimic the original brackets.
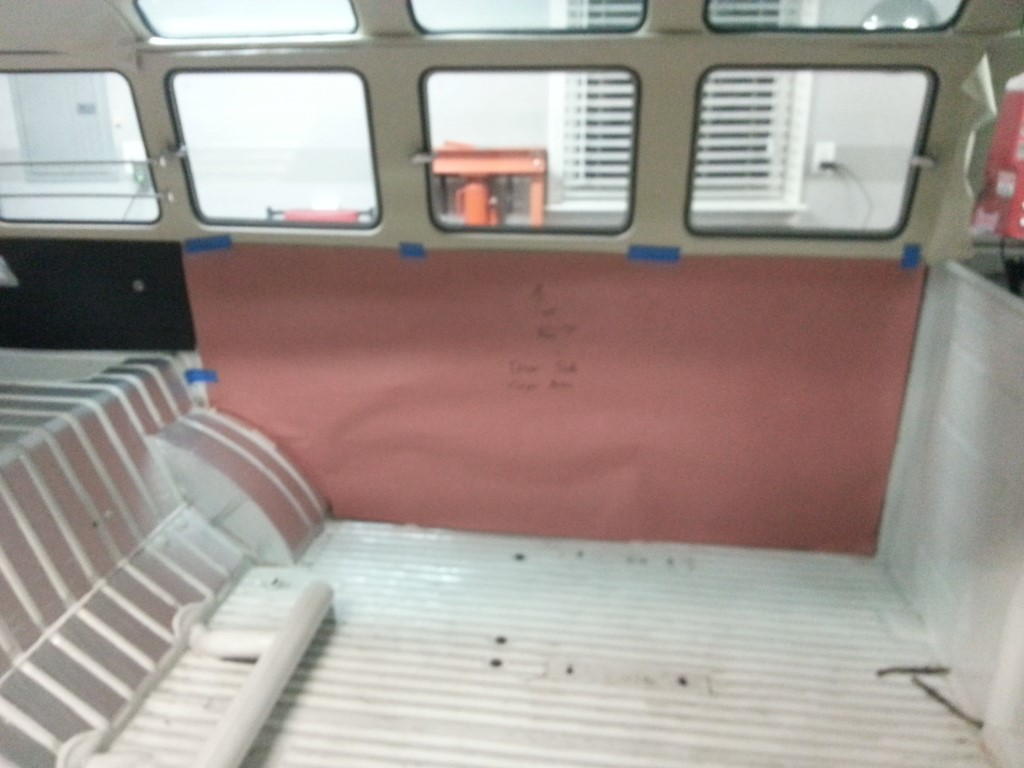
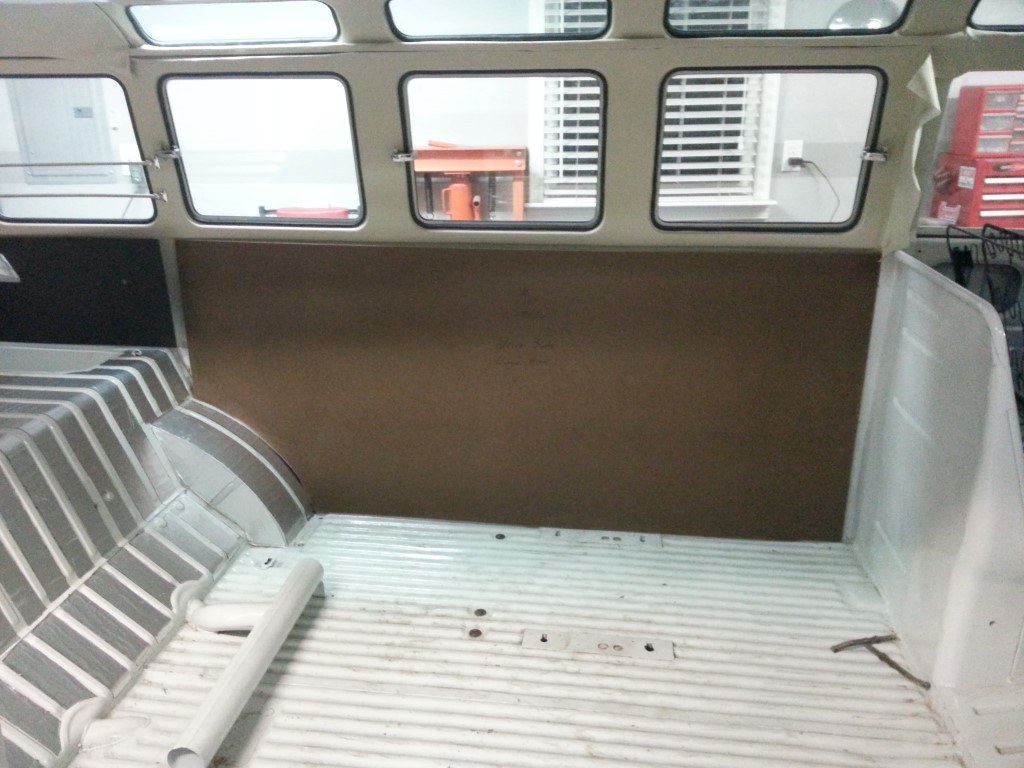
Interior Panels
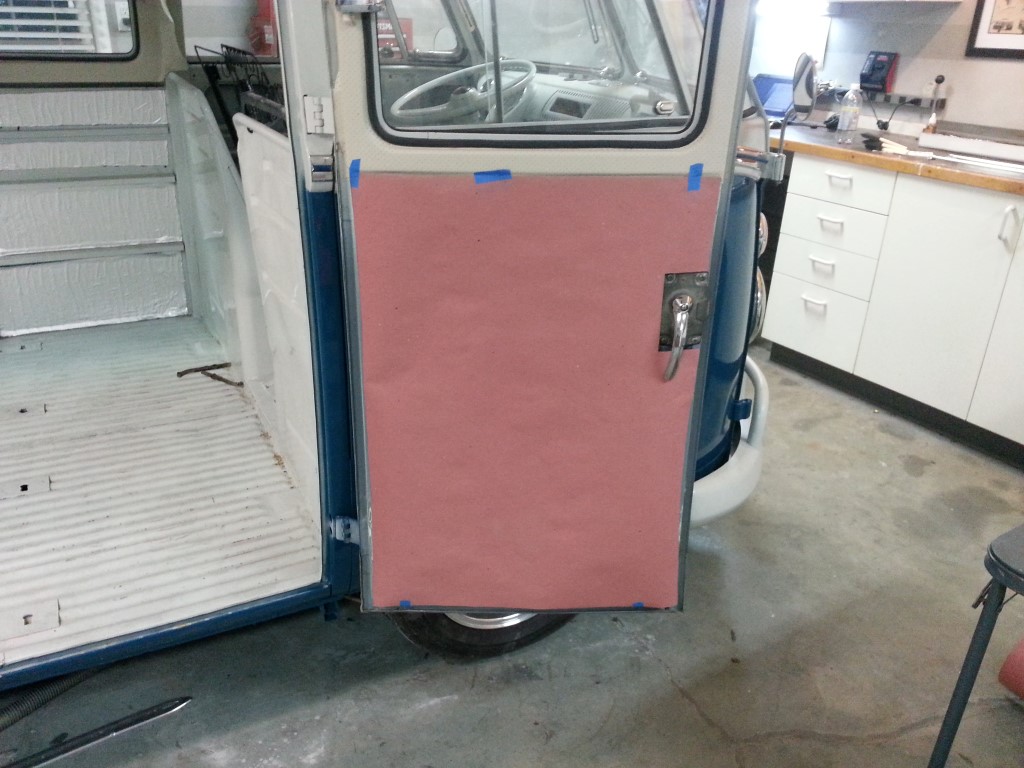
Tonight I started making the interior panels, starting with the cargo doors and cargo area side panel. First a paper template is made, then the panel is cut from 1/8″ tempered hardboard. The hardboard is an extremely close match to the original panel material, which would have been ~1/8″ tarboard. The hardboard has the same composition except is held together with dried linseed oil instead of dried tar; this type of hardboard was much more common than tarboard on other cars of the same era.
I finished 3 panels tonight and there are 8 more to go: Rear hatch, cargo area behind cargo doors, both front doors, under dashboard (2 panels), and back of both seat partitions. Once they’re all finished they’ll be covered in vinyl and mounted in place.
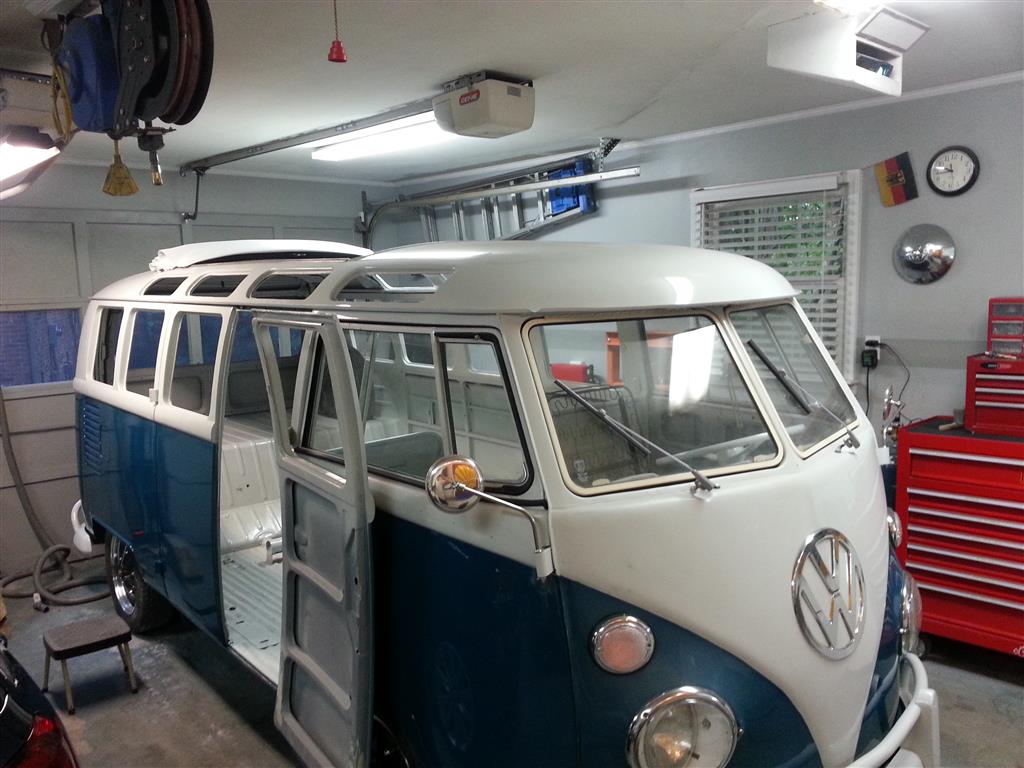
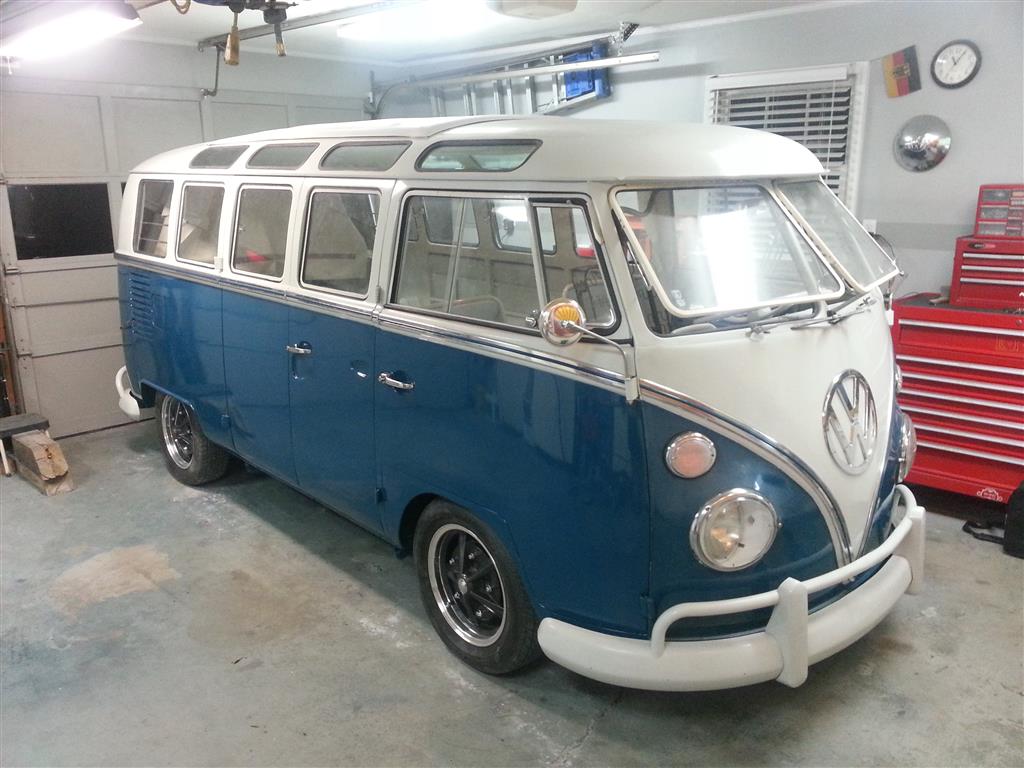
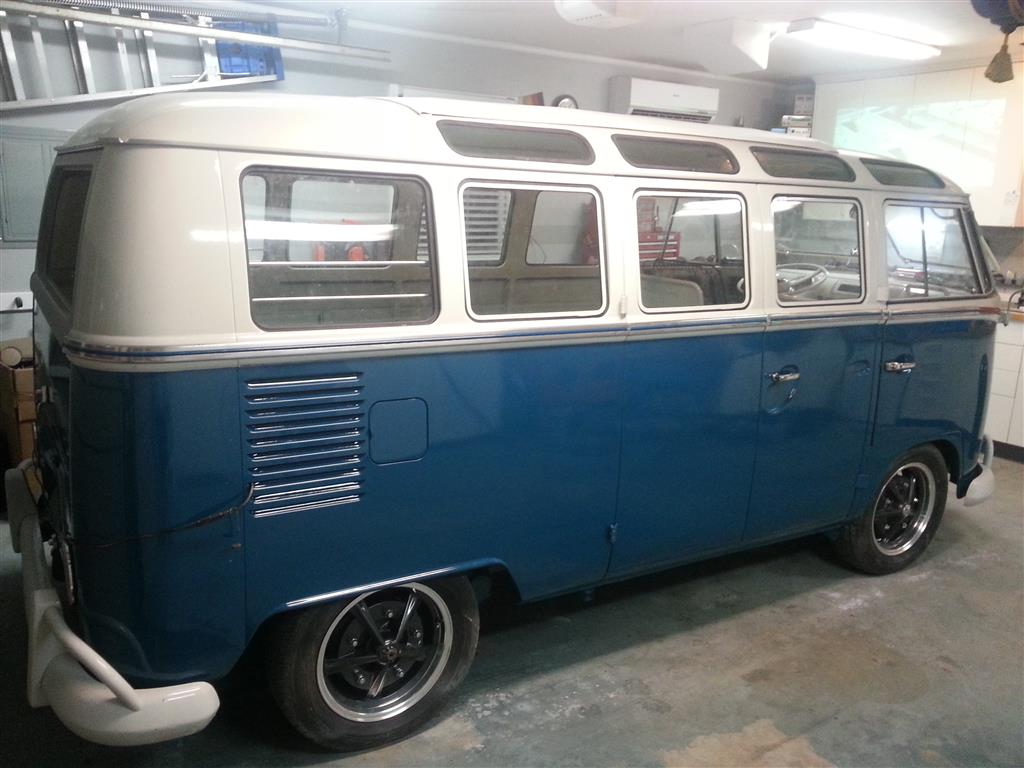
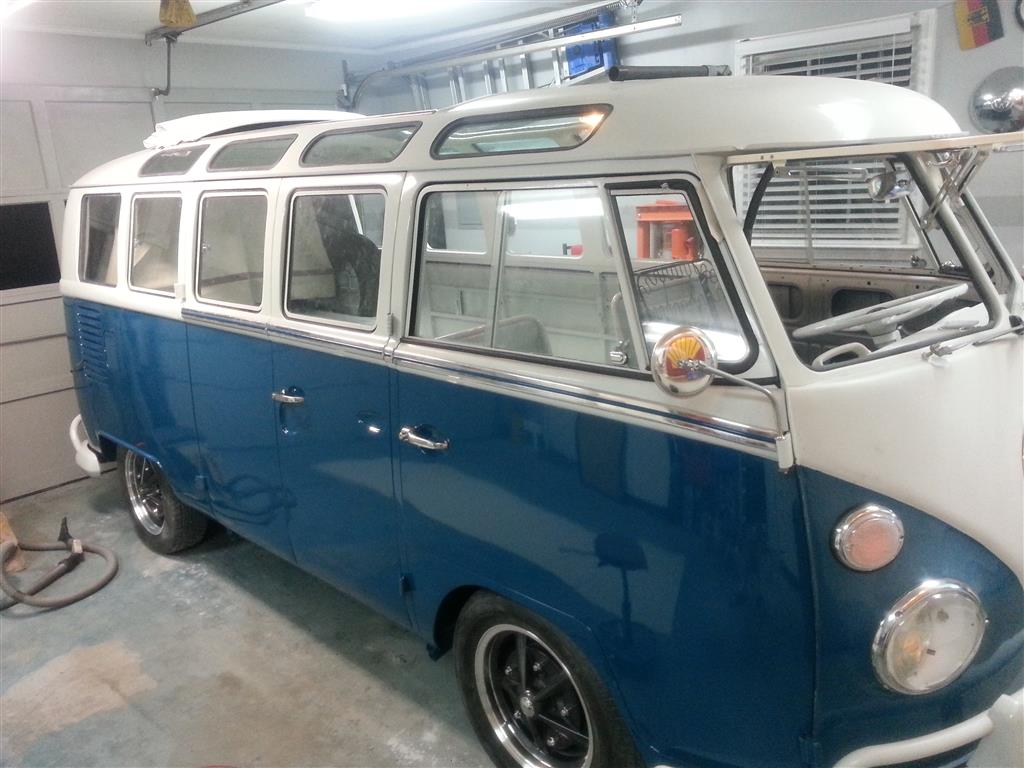
Progress
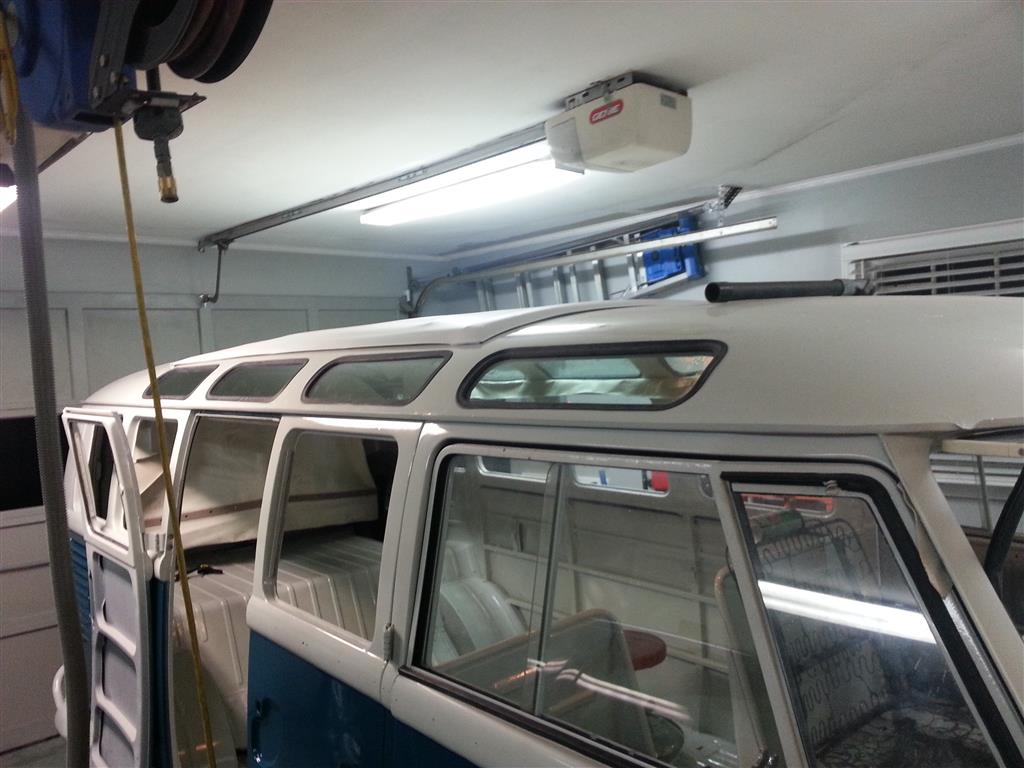
All of the deluxe molding is now installed, along with most of the windows; there’s still a lot left to do but it’s at least starting to look finished.
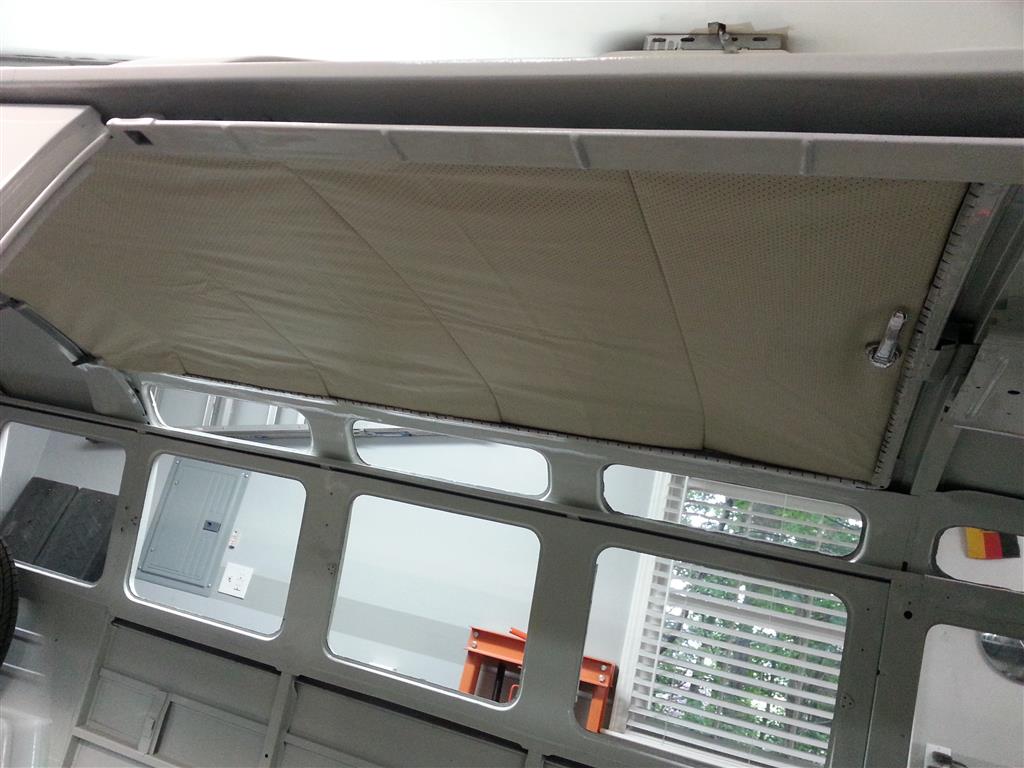
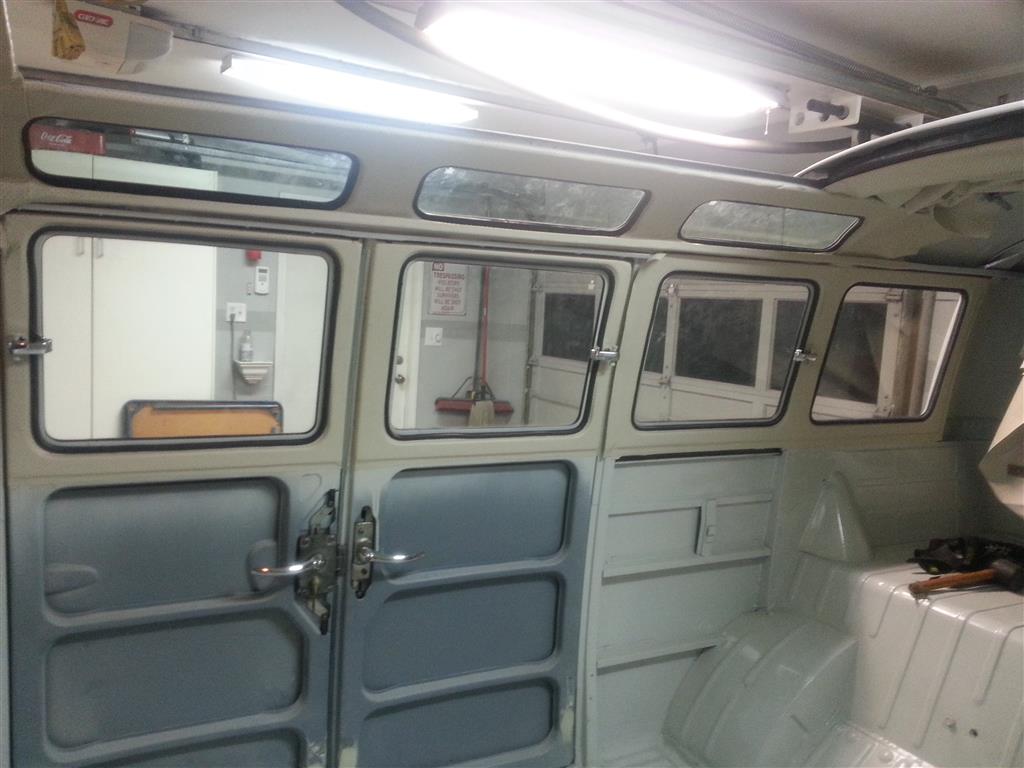
More Headliner Progress
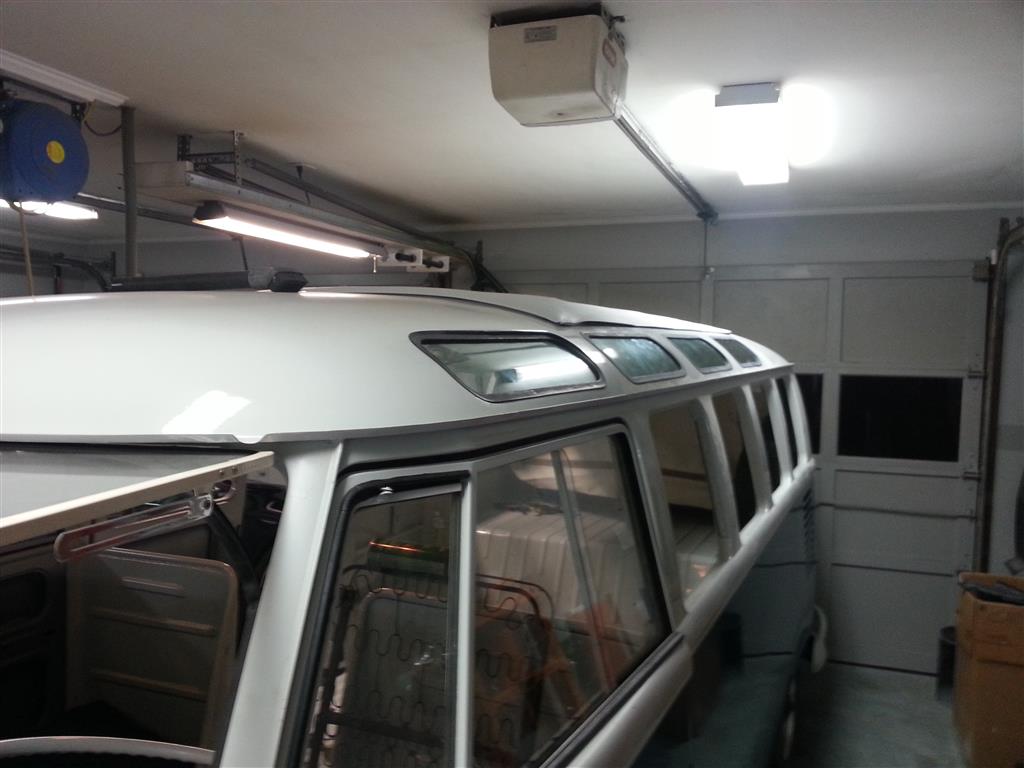
Tonight more progress on the headliner, allowing more windows to be installed. The original deluxe molding was polished and reinstalled.
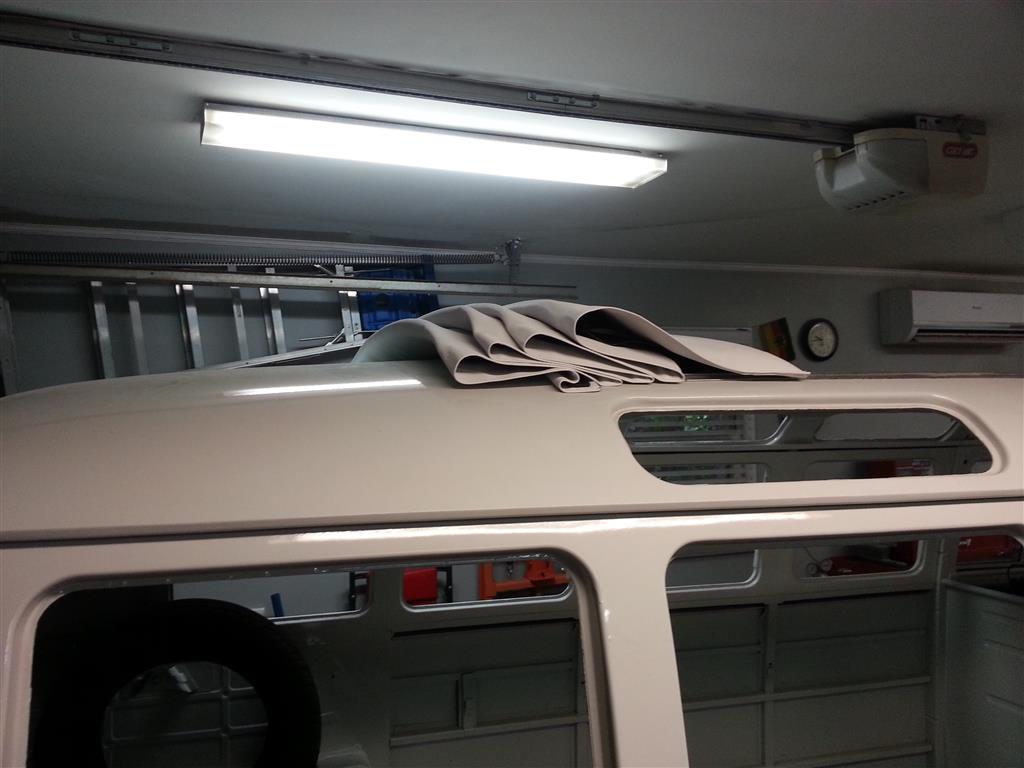
Headliner Install
Tonight I started installing the headliner and skylight windows.
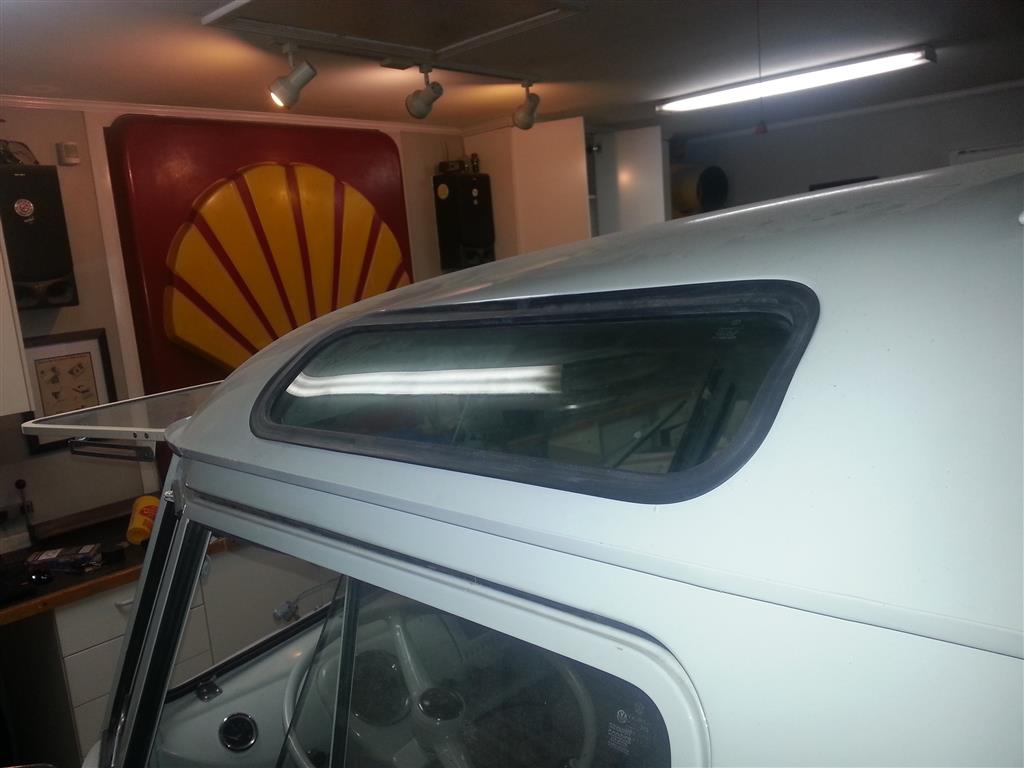
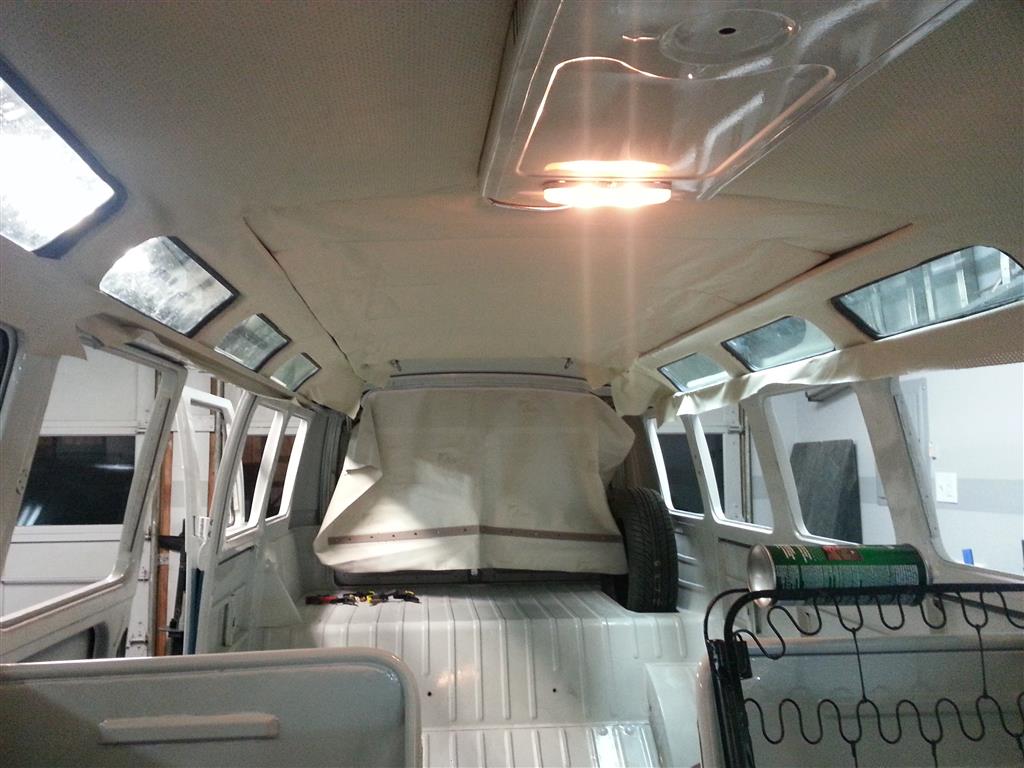

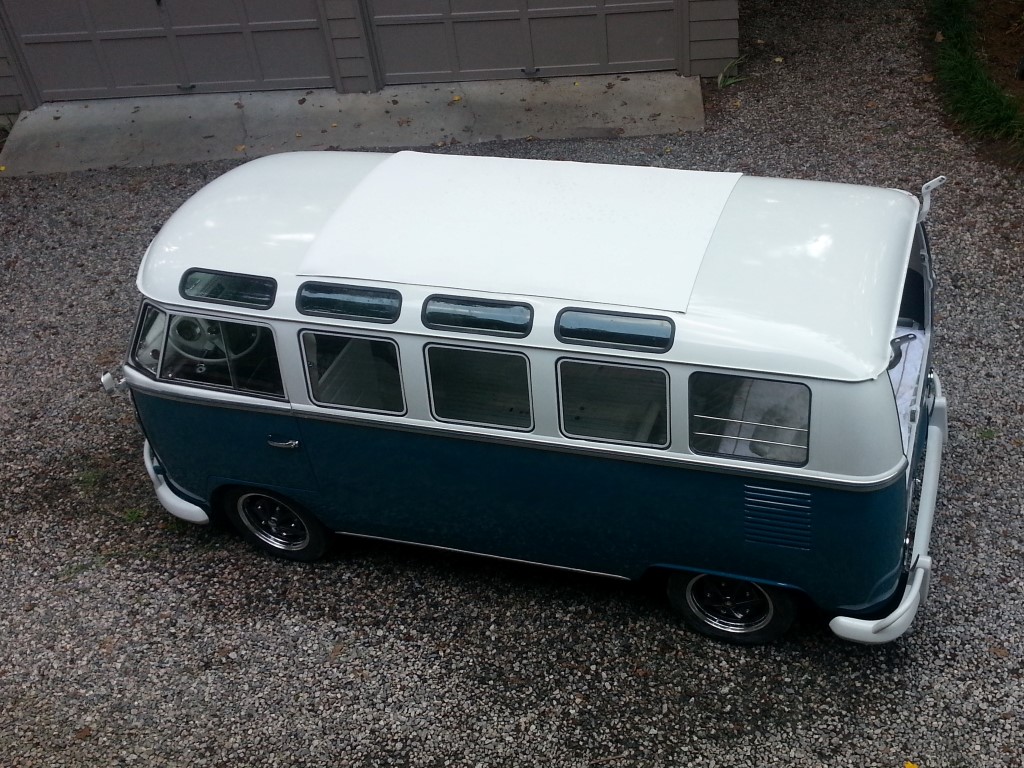
Sunroof Complete
Today the sunroof cover was installed and the sunroof is basically complete.