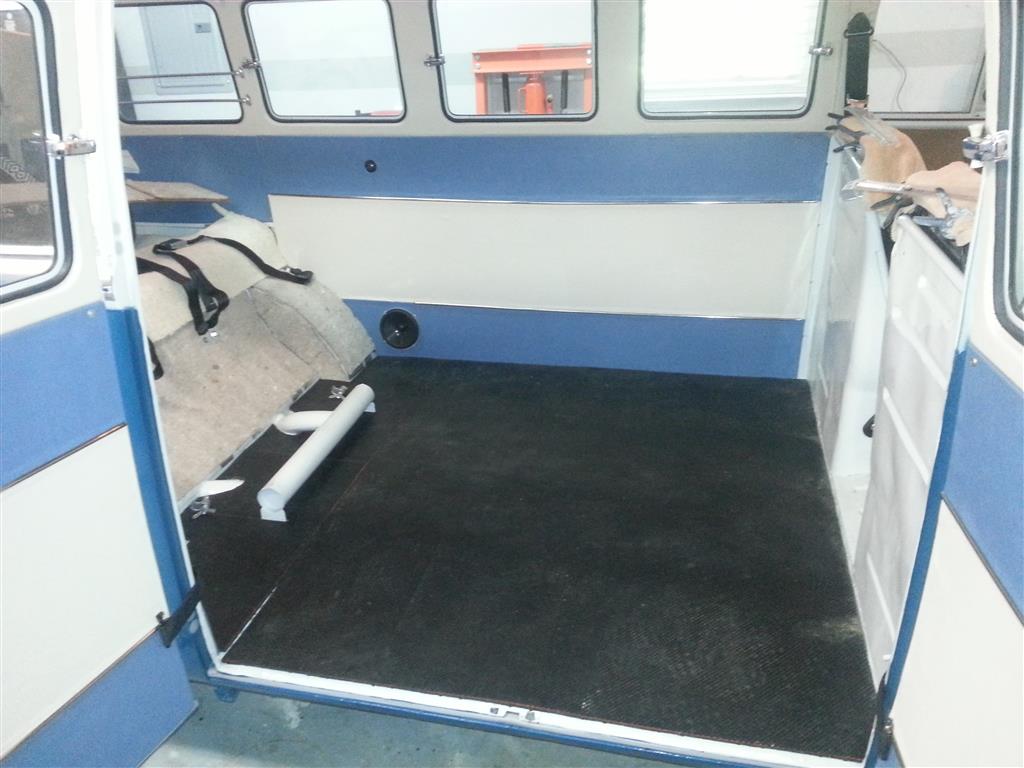
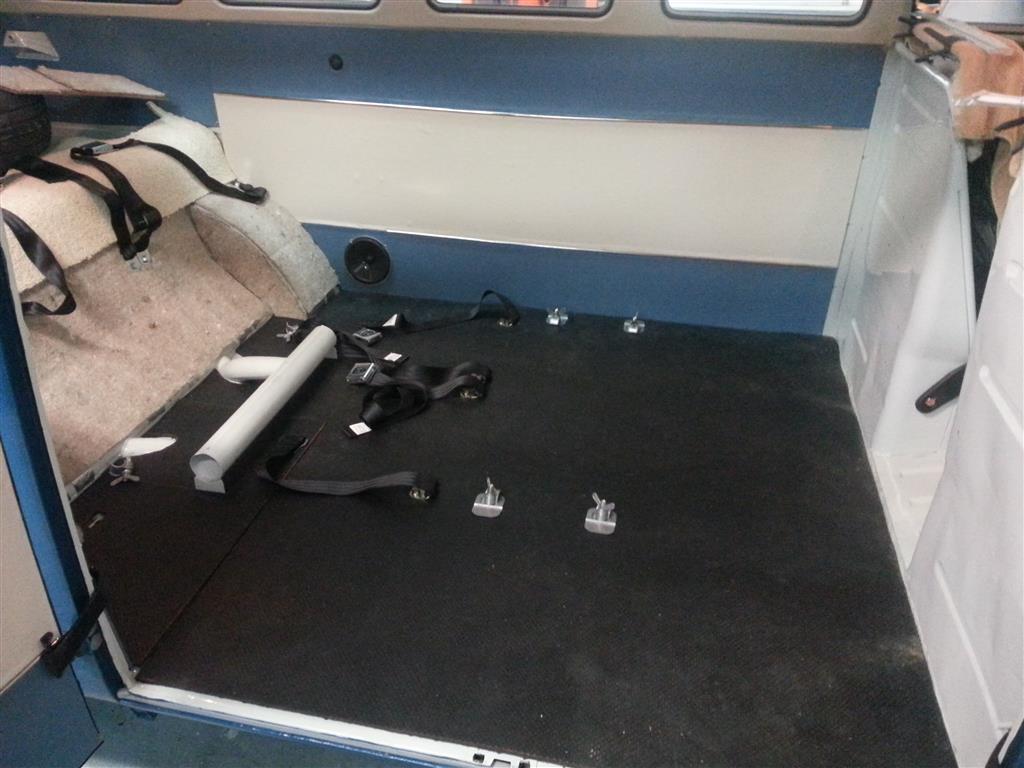
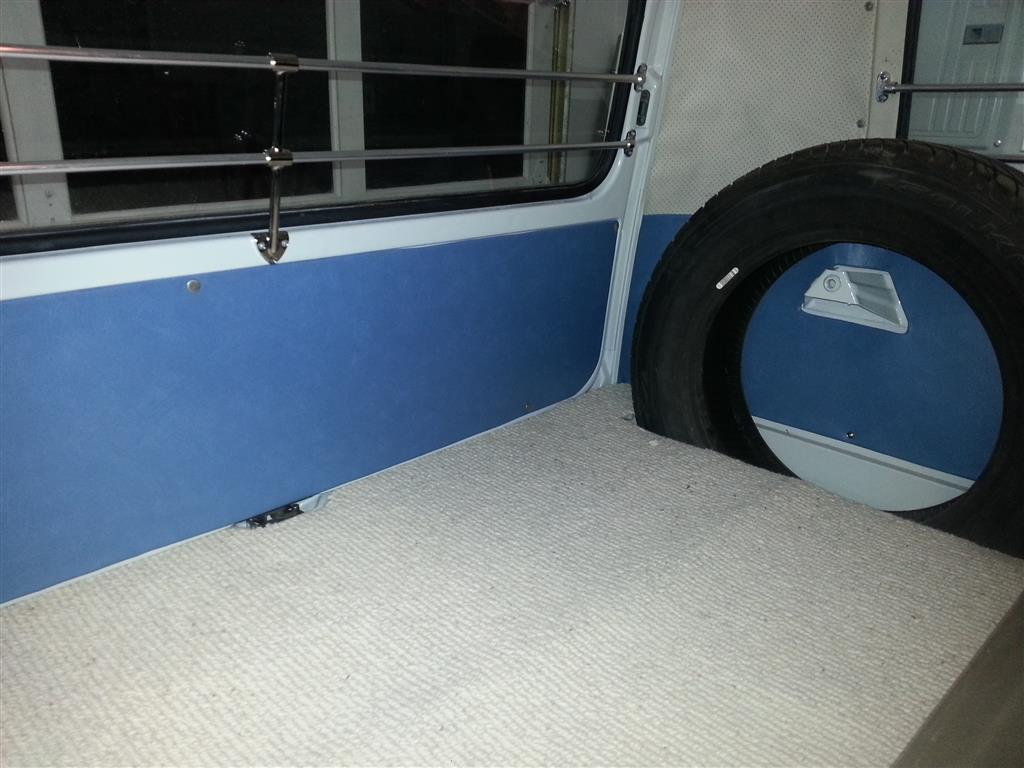
Rear Floor Mat
Today I put in the rear floor mat and completed a few more interior panels. The floor mats are reproduced, but for something that will get abused they’re expensive (expensive shipping too), and the reproductions are known to wear out quickly. So to get around all of these problems I instead used a big (4’x’8) generic rubber mat that I already had; I think it’s sold as a horse stall mat, so it should be very durable. The mat is also very heavy, so it should help the inside of the bus sound less like a big metal trashcan, despite being built like one.
More Vinyl
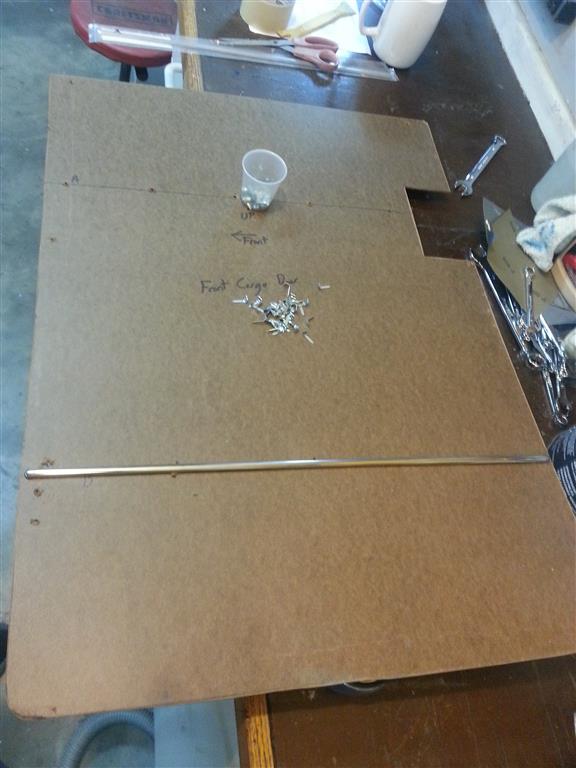
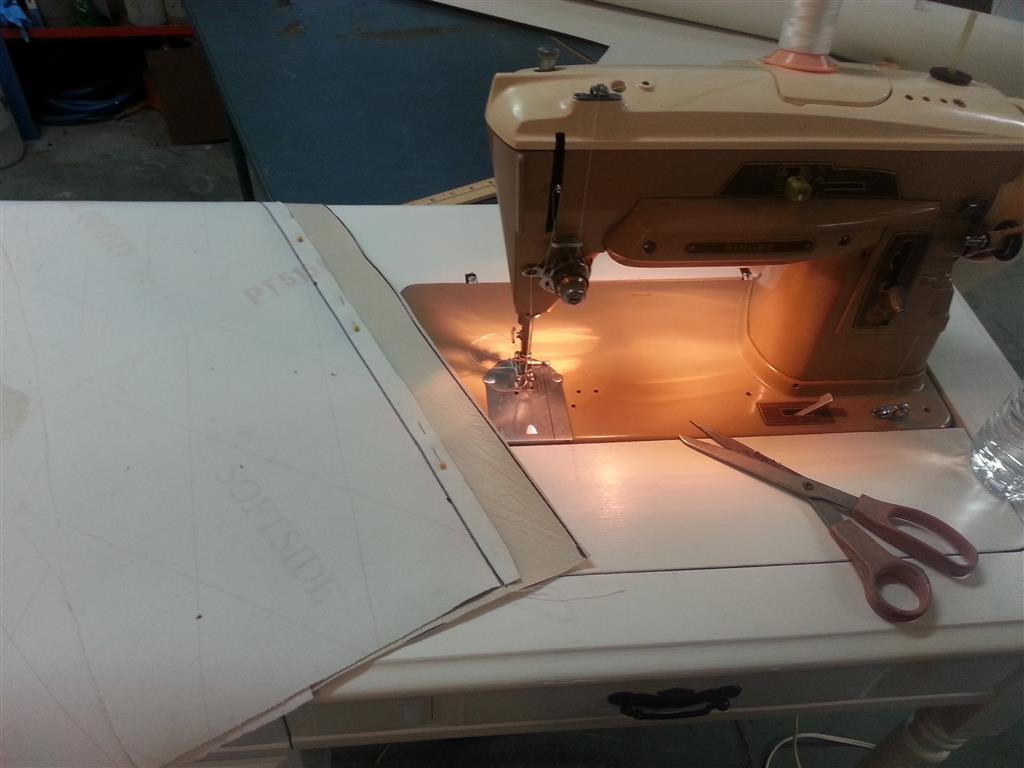
Today I borrowed Christina’s sewing machine to start on the 3-part panels. Construction is fairly simple; it’s just a matter of making two parallel seams that are the correct distance apart. After this step, the resulting piece gets attached the same way as the single-color panels. The stainless trim attaches by drilling through the panel, installing the clips, then bending the clips over on the back of the panel. I finished 3 panels today, only 5 more to go…


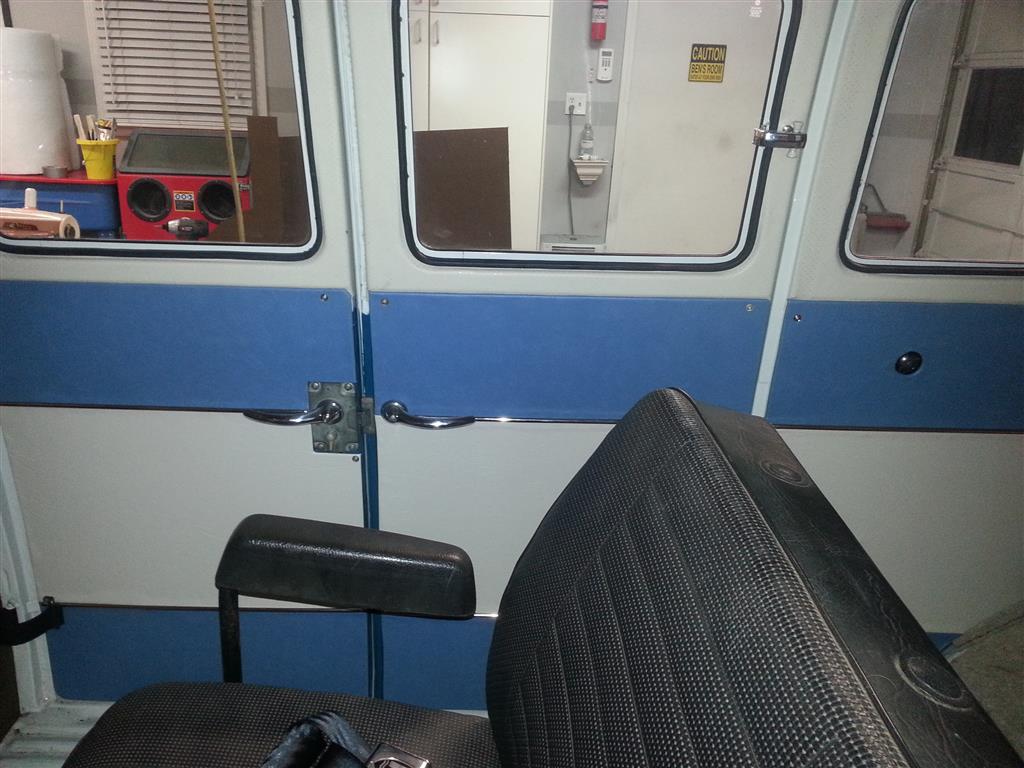
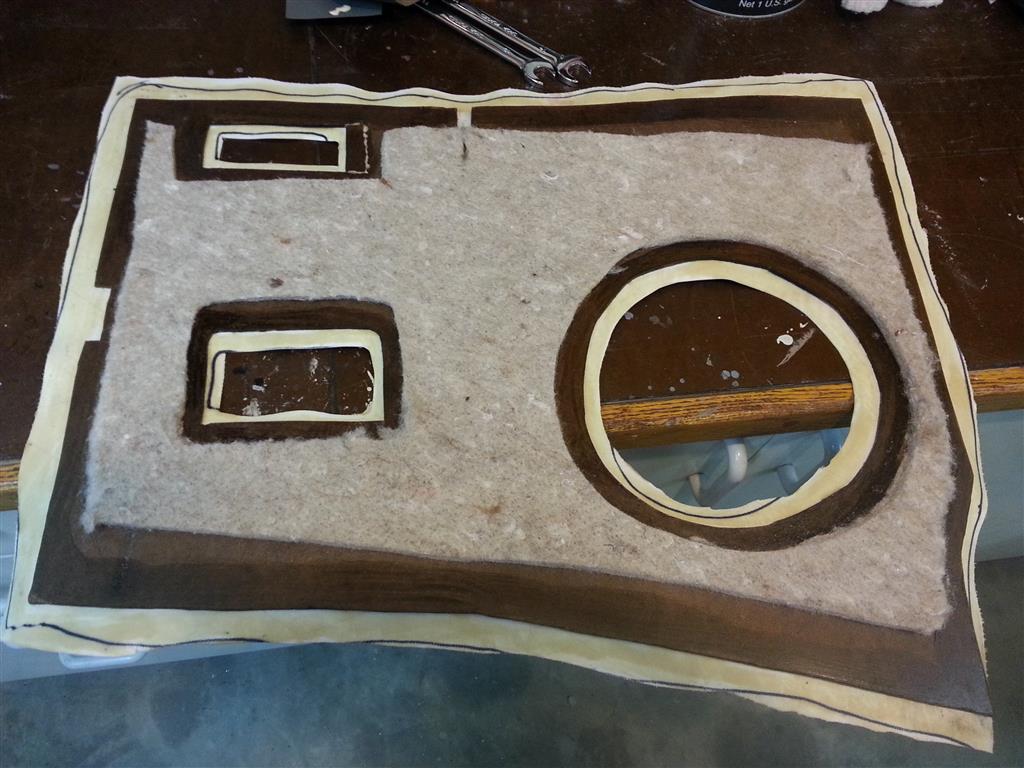
Vinyl
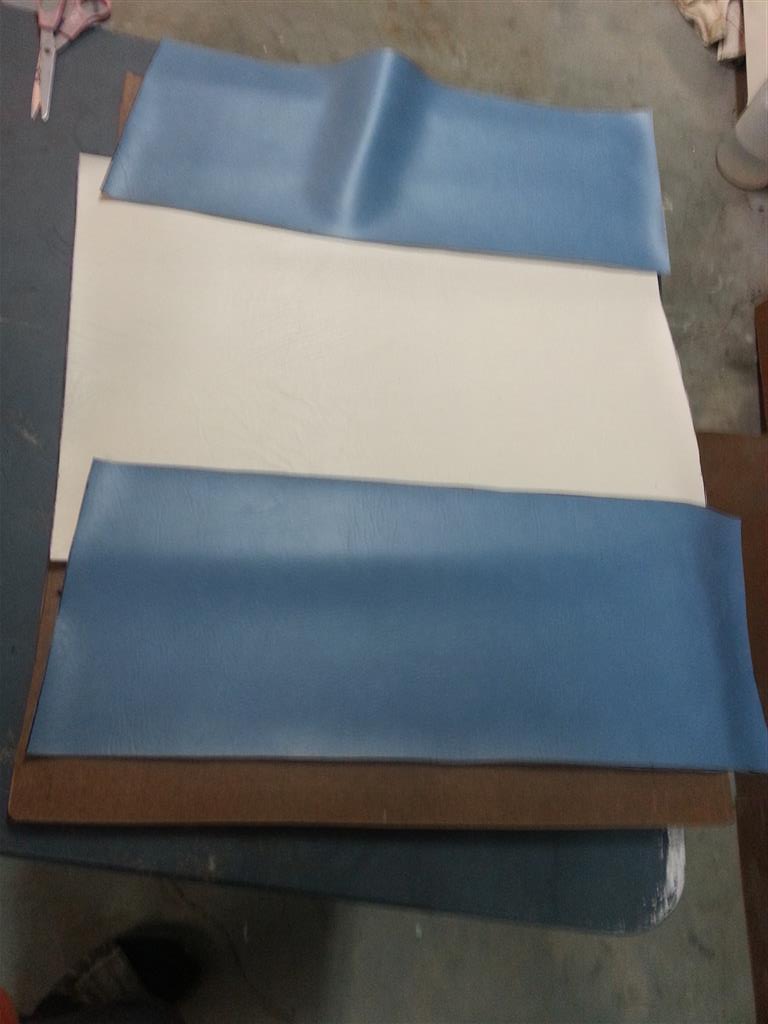
Vinyl arrived today, the colors very closely match the original “Aero Papyrus” color scheme. The layout will be the same as original also, the only difference will be the texture of the white vinyl; it was originally a ribbed pattern that is no longer made. I was able to get all of the single-color panels wrapped tonight; tomorrow I’ll work on the more complex 3-part panels.


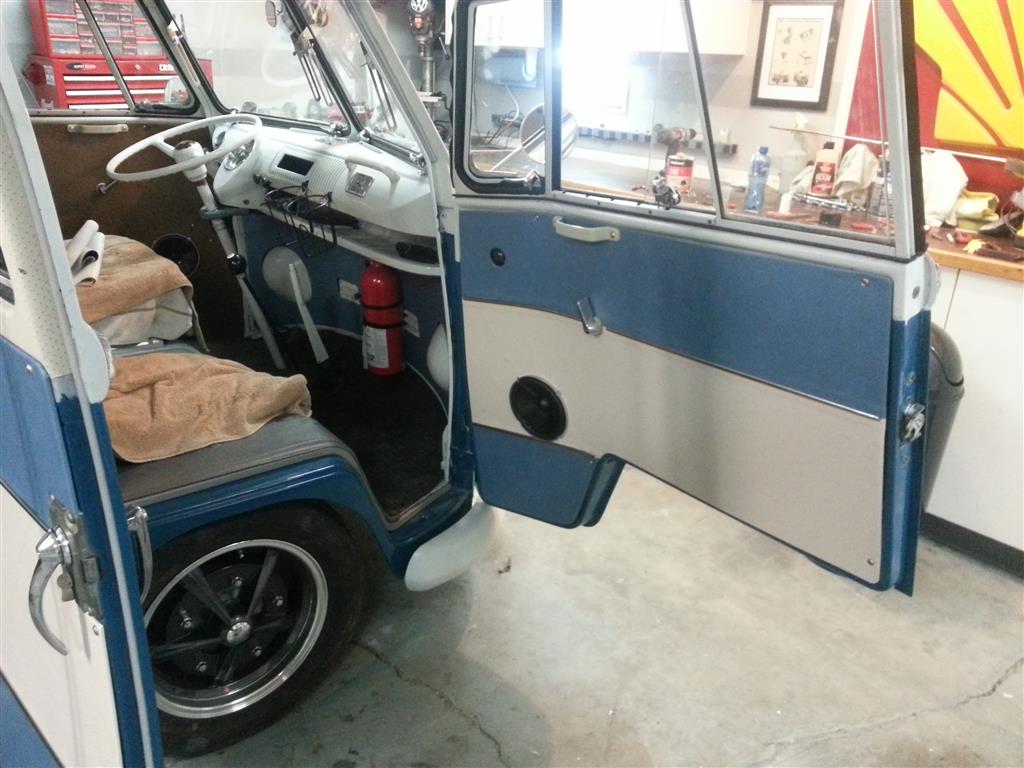
Door Adjustment
I spent most of tonight installing seals and adjusting the latch on the passenger front door.There’s an adjustment window of about 3 angstroms between the door closing well and it only staying closed when slammed. The latches have 2-stage catches and I have the 1st (outer) catch working well; the inner catch may not work until the new seals have time to break-in/compress. I’ll try for some improvement tomorrow night and then move on to the driver side.
This Weekend
This weekend I fixed the timing problem and it’s 100% better than it was. In search of lower temperatures at high speed I also changed to 5W20 oil; unlike watercooled engines that regulate their temperature directly with a thermostat, the VW aircooled engines primarily regulate their temperature indirectly via oil pressure. When the oil is cold it’s slightly thicker, causing the oil to compress a spring loaded valve and bypass the oil cooler; once it heats up it becomes thinner, allowing it to flow through the oil cooler in the fan shroud. In this way, the oil temperature is kept under control. However, if the oil pressure is too high even when hot, the oil will still bypass the cooler. In my case the oil pressure is high due to tight bearing clearances from the new bearings, and high RPM. It may get better as the engine breaks in, but for now I’ll just keep it at 55MPH or less except short bursts; the real solution here is getting the RPMs down with different transmission ratios. I also made good progress toward wetsanding and polishing, and got vinyl on order for all interior panels and seats.
“Timing is Everything”
Since the rebuild I’ve had trouble getting the bus to do 65 for more than about 5 miles without getting into the danger zone of overheating. I’ve looked at various things in the process of debugging this but tonight I think I finally found the problem; and it’s related to the way that the ignition timing works…
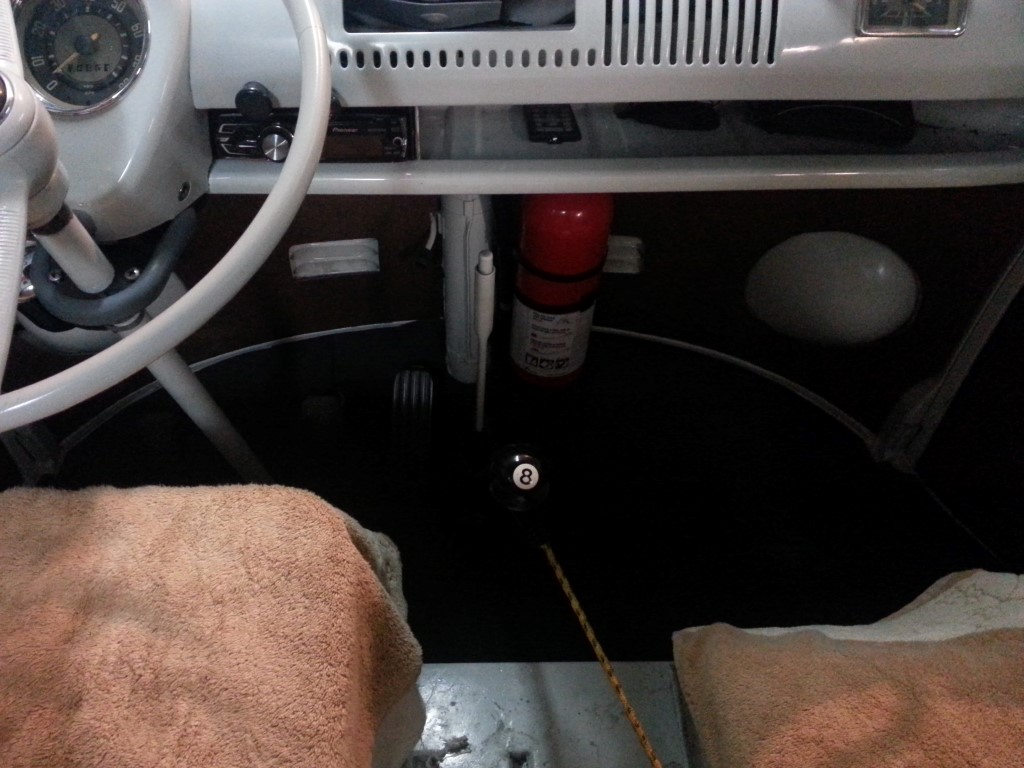
(Begin technical rant, or just skip to the picture at the end) To adequately explain the problem I first have to explain that in an internal combustion engine the spark is timed so that the explosion in the cylinder is peaking just as the piston is beginning to move down; the explosion pushes the piston down, which ultimately moves the bus. However, the explosion is a chemical reaction, and it takes roughly the same amount of time to occur regardless of how fast the piston is moving; so when the piston starts to move faster (higher RPM) you have to start the explosion sooner to keep the explosion peak at the same place in the cycle. This moving of the spark event is called ‘advance’ and it’s accomplished with a very clever spring and counterweight mechanism inside the distributor, as the engine goes faster the counterweights fling outwards, moving the spark trigger (points) and advancing the timing. Additionally, because higher quantities of fuel take longer to burn, the timing also has to be advanced in proportion to load. This is accomplished by a vacuum canister on the distributor that’s connected to the carburetor, the more air/fuel that rush through the carburetor, the more vacuum is drawn on this canister, moving a push-rod that further advances the timing. I found that the canister on the bus’s distributor had ruptured, causing not only the advance to be too low, but also a vacuum leak (which is also bad for other reasons I won’t get into).
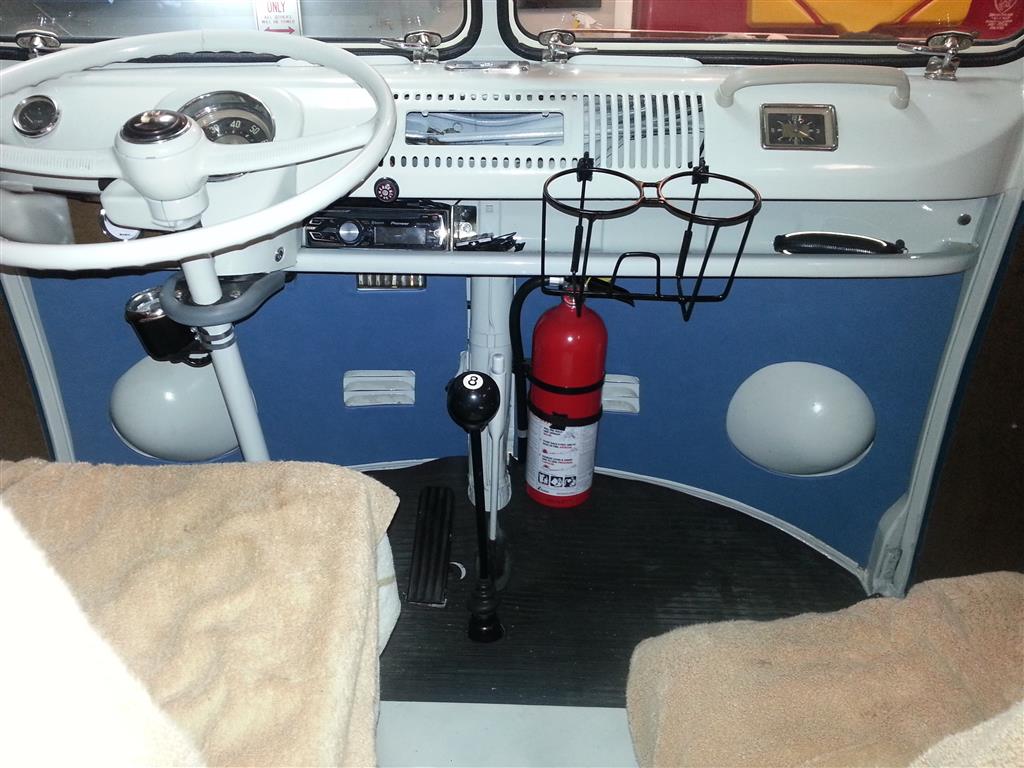
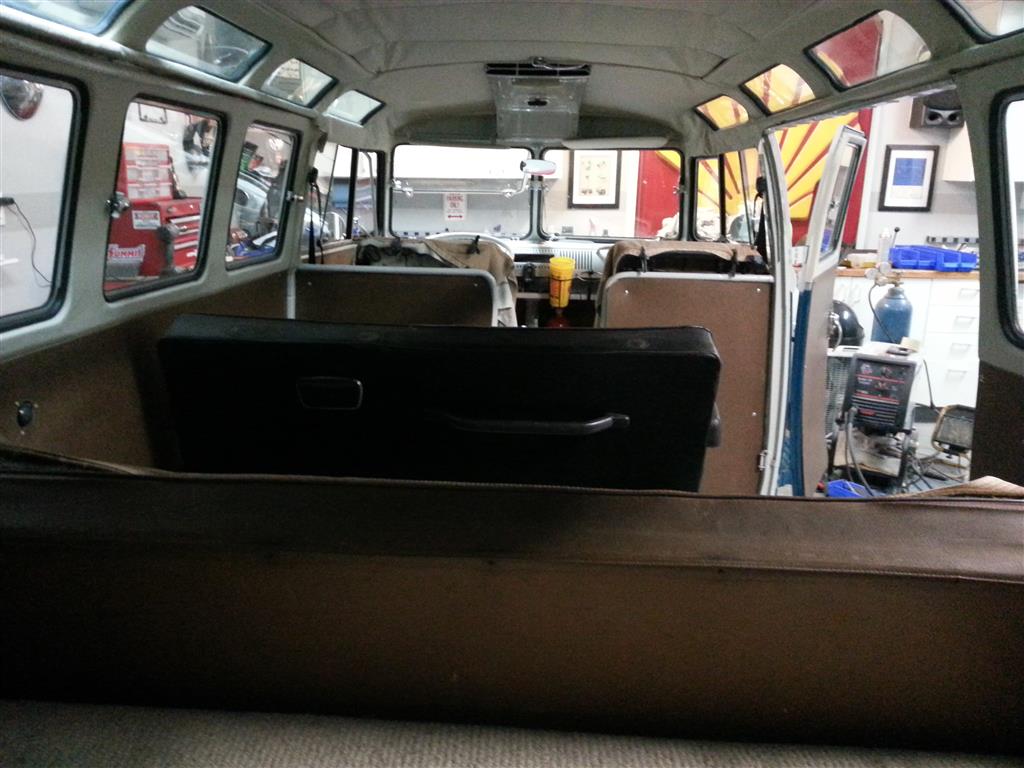
So what it boils down it is that at high RPM under load there is not enough advance due to the ruptured canister, the explosions are happening too late, which means that they’re not as effective, which means that all the explosions have to therefor be more powerful to achieve the same level of power, which means more fuel, which means more heat; and thus the overheating problem. I have a replacement vacuum canister on order which should not only solve the overheating problem but increase MPGs substantially. If you made it through all of that, here’s a picture of the bus from tonight while I was figuring all this out…

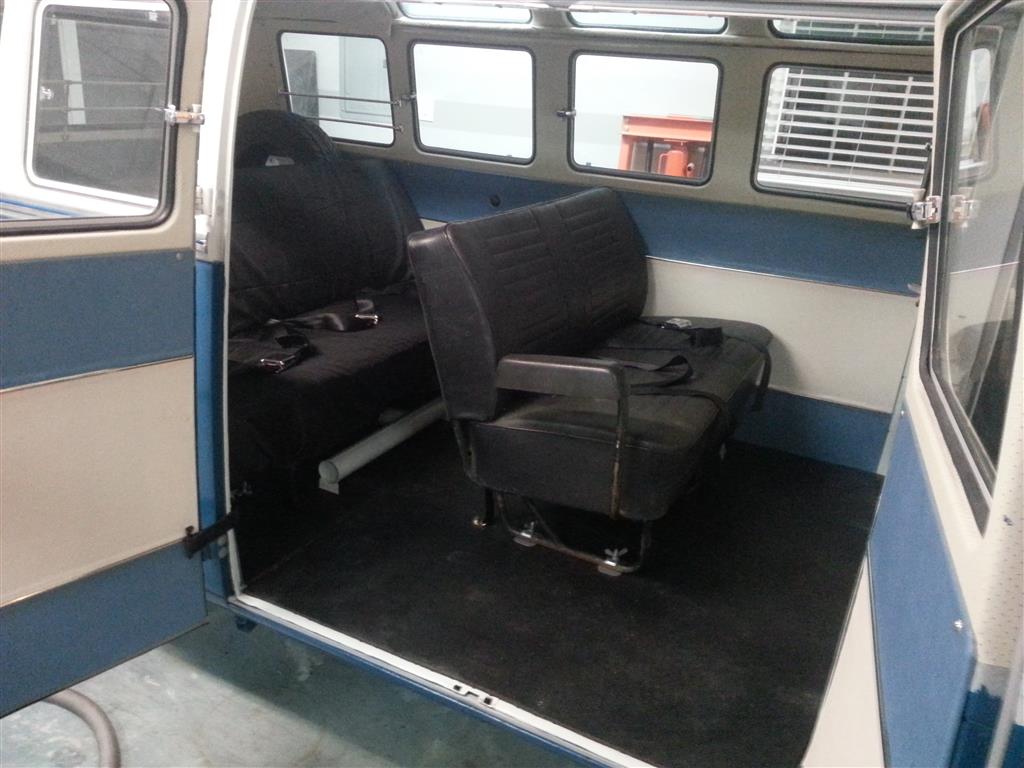
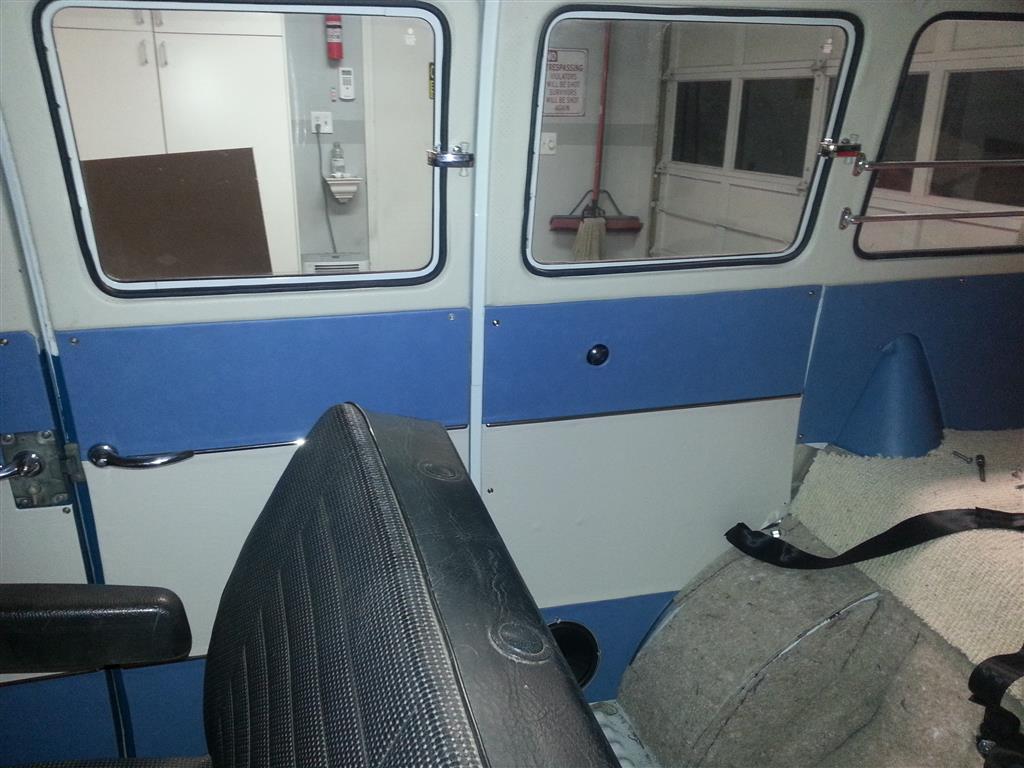
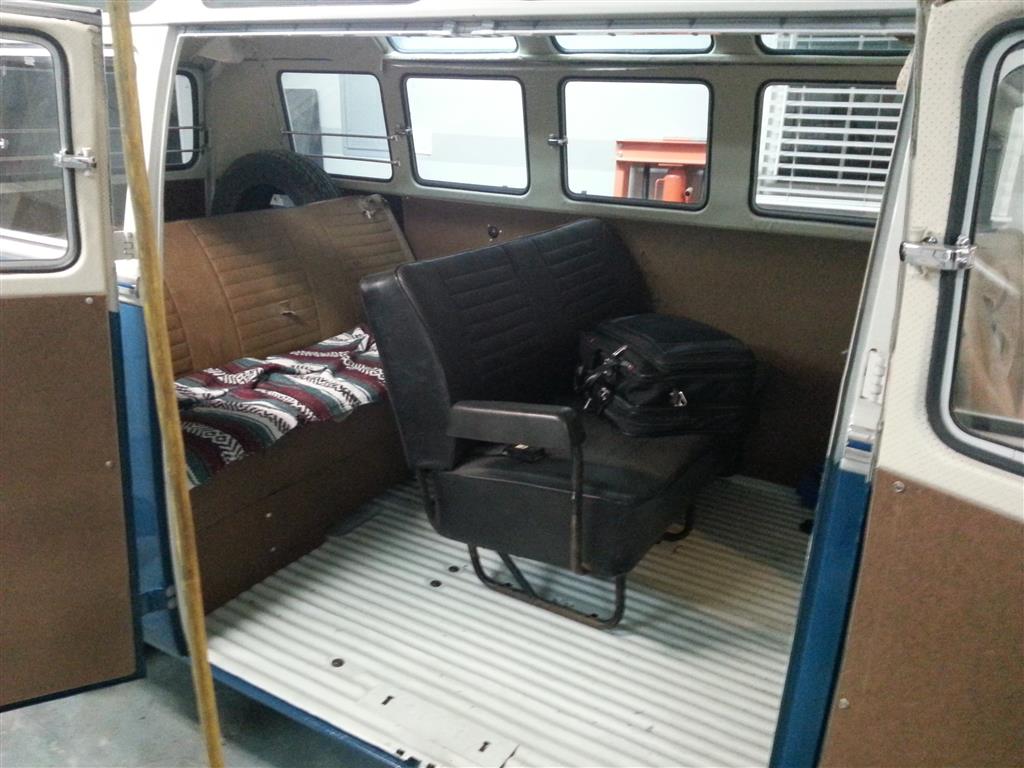
Middle Seat
Another trip tonight, this time much quicker, to pickup a middle seat. Like the rear seat, the middle seat is from a “bay window” bus, but is very close to correct and I could modify it to be an exact match. Since the bus has the “walk through” option for the front seats the middle seat is only two wide. This allows walking from the front to the rear seat without opening any doors. Non walk-through buses typically had full-width middle seats for a total of 9 seats, but the rear cargo door had to be opened to access the back row. I’m now just waiting on mounting hardware and rear seatbelts, then it will be a 7-seater. Also I may or may not have smelled a slight fuel leak tonight, I’ll have to investigate this before driving it again.
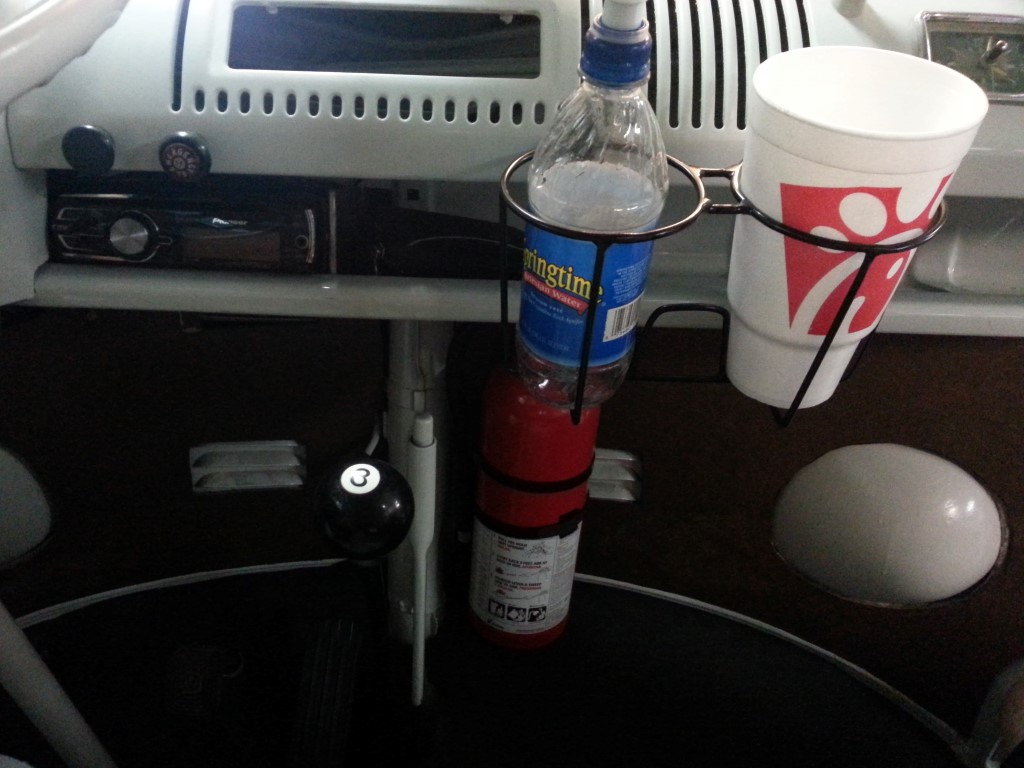
Cupholder
Today I fabricated a cup holder basket. It’s made entirely out of the frame from one of those annoying corrugated plastic signs someone had planted in my yard, so it was basically free. There was an original accessory cupholder of a similar design that I got the idea from. The original was more in tune with 1960’s european beverage size sensibilities; I’ve created mine to work with 2010’s US sized cups.
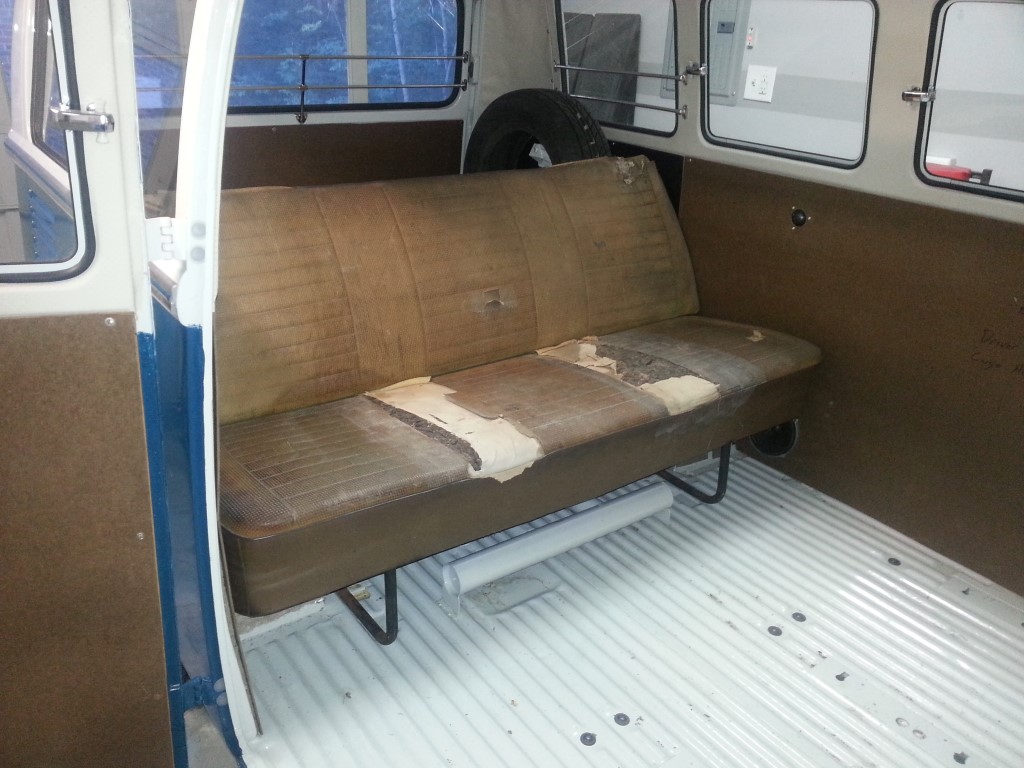
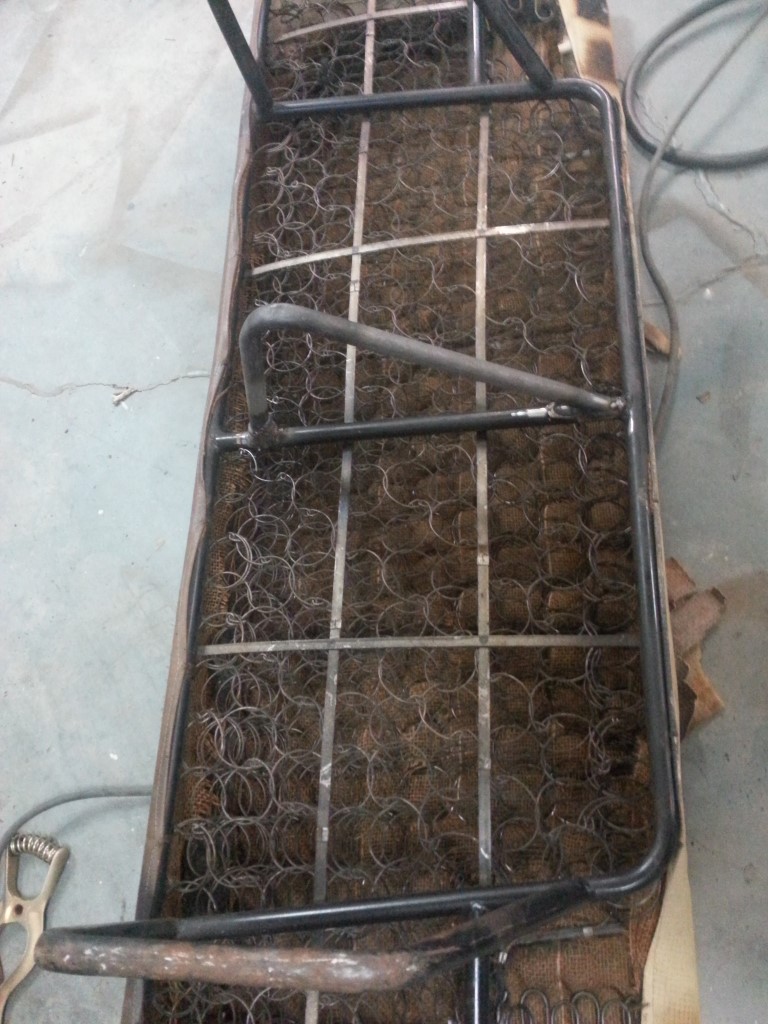
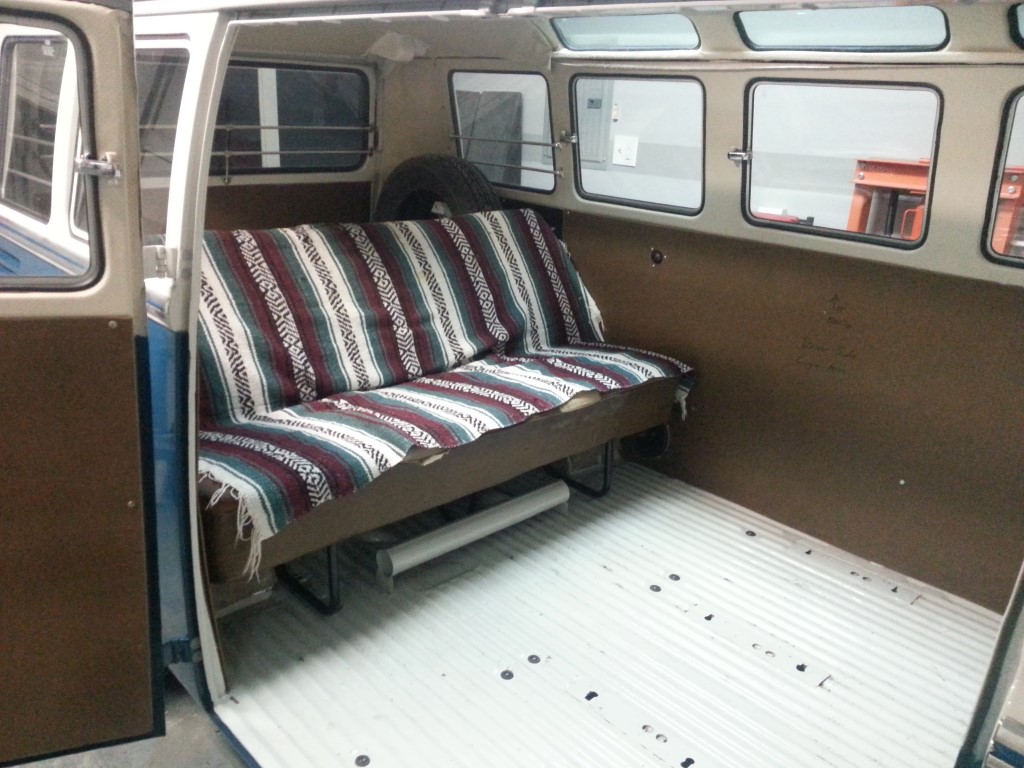
Roadtrip: Pickup Backseat
I drove down to Wilmington today (not in the bus though) to pickup a backseat. It’s from a “bay window” era bus, but the only real difference between the bay window and split window back seats is the position/shape of the seat’s middle leg. Lucky for me the middle leg on this particular seat had been cut off. I couldn’t leave it off since the seat would eventually bend in the middle, and this had already started to occur. I bent the seat back to straight, bent some steel tubing to the correct shape; and welded the leg on. After this was complete, I installed it and all the mounting holes lined up! The vinyl is not up to par and is the wrong color/style for a split window bus; it will get re-covered once the rest of the seats are acquired. Now I only need a few more seat belts and it will be a 5-seater instead of a 2-seater.

The Bungee Shifter Device
I’ve been driving the bus quite a bit this week and so far all is well. It seems happier/smoother/quieter with each trip. If first gear is selected it works for a foot or two then pops out; if it’s held in first it works for a foot or two then grinds. Although I did clean and reseal the trans I didn’t do anything with the internals and I think they’re just too far gone. Luckily the 1600 has plenty of torque to just start in second all the time; it’s a little tougher on the clutch but I’ll replace it when I replace the trans. Replacing the trans has been part of the plan anyhow, the stock trans requires 4500RPM (redline) in 4th gear to go 65MPH; the replacement will have taller gearing to both allow higher speed and lower the revs at normal speeds.
It pops out of 4th too, which is apparently a very common problem. Since it stays in 4th if held, I’ve solved this by deploying a strategically placed bungee cord anytime it’s in 4th for longer than I feel like holding onto the shifter.