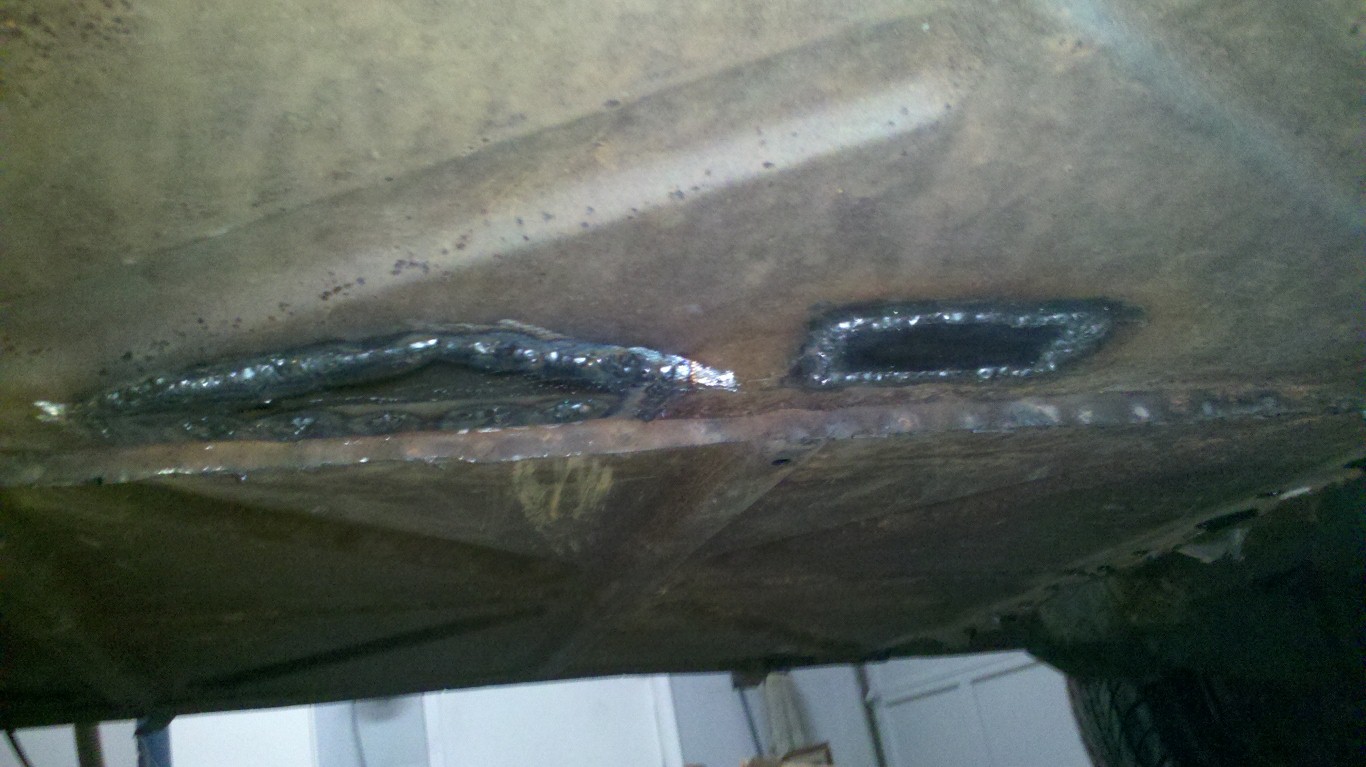
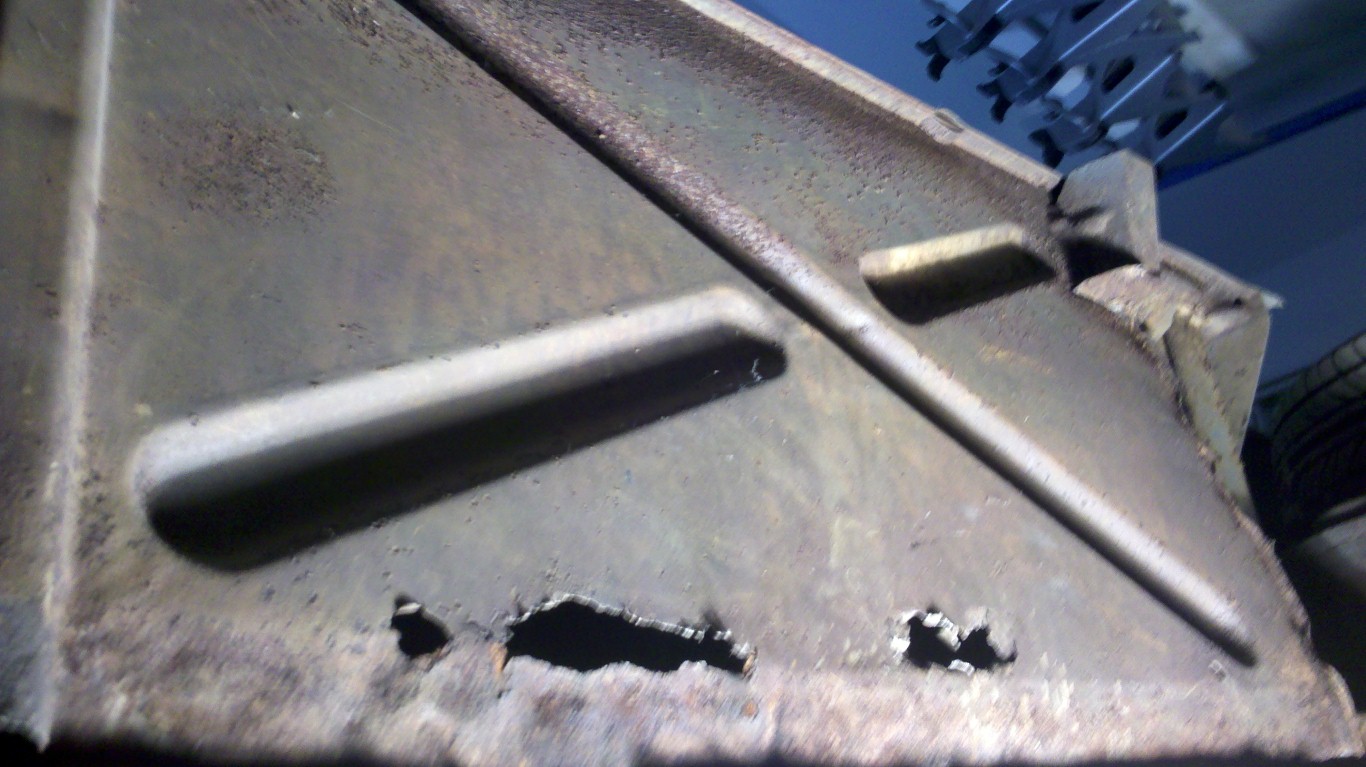
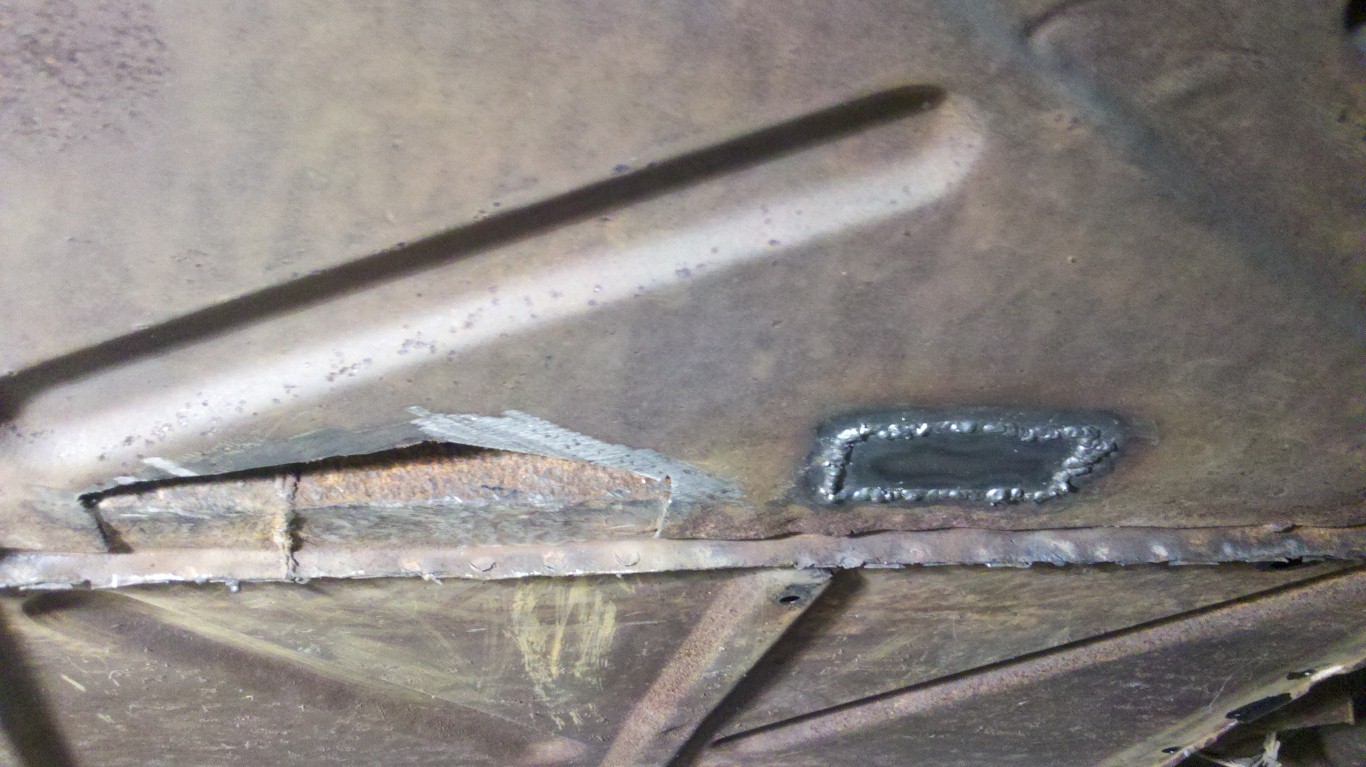
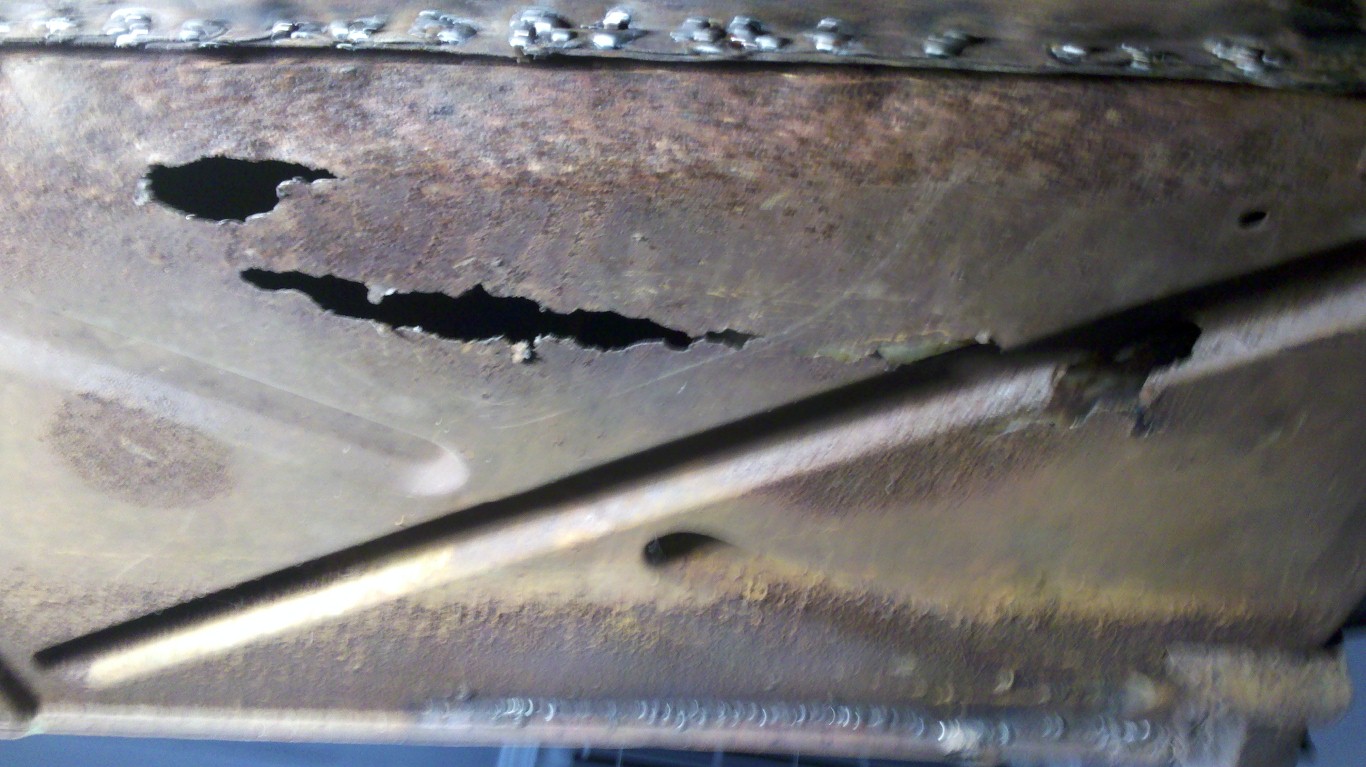
Belly Pan Patching Continued
More patching on the belly pans tonight. With these holes repaired all that’s left is to grind the welds and paint the entire underside.
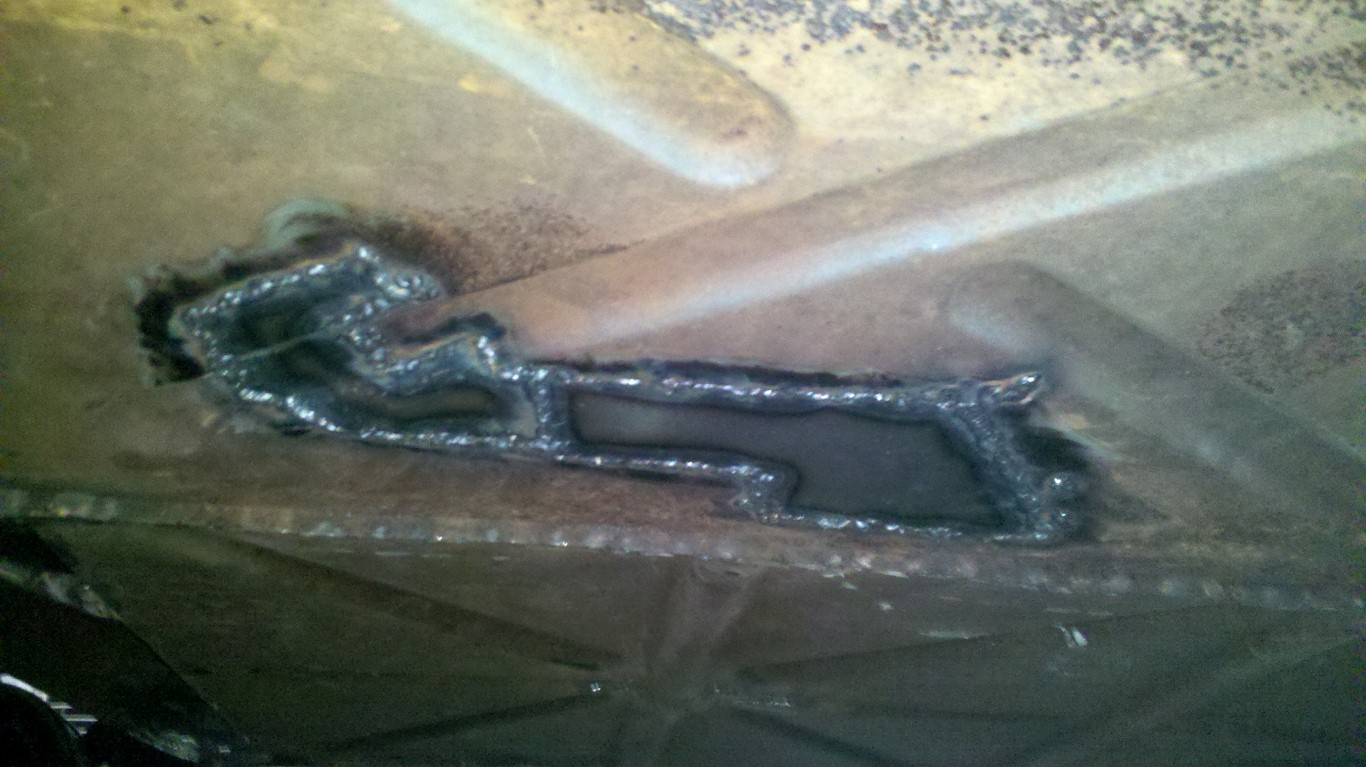
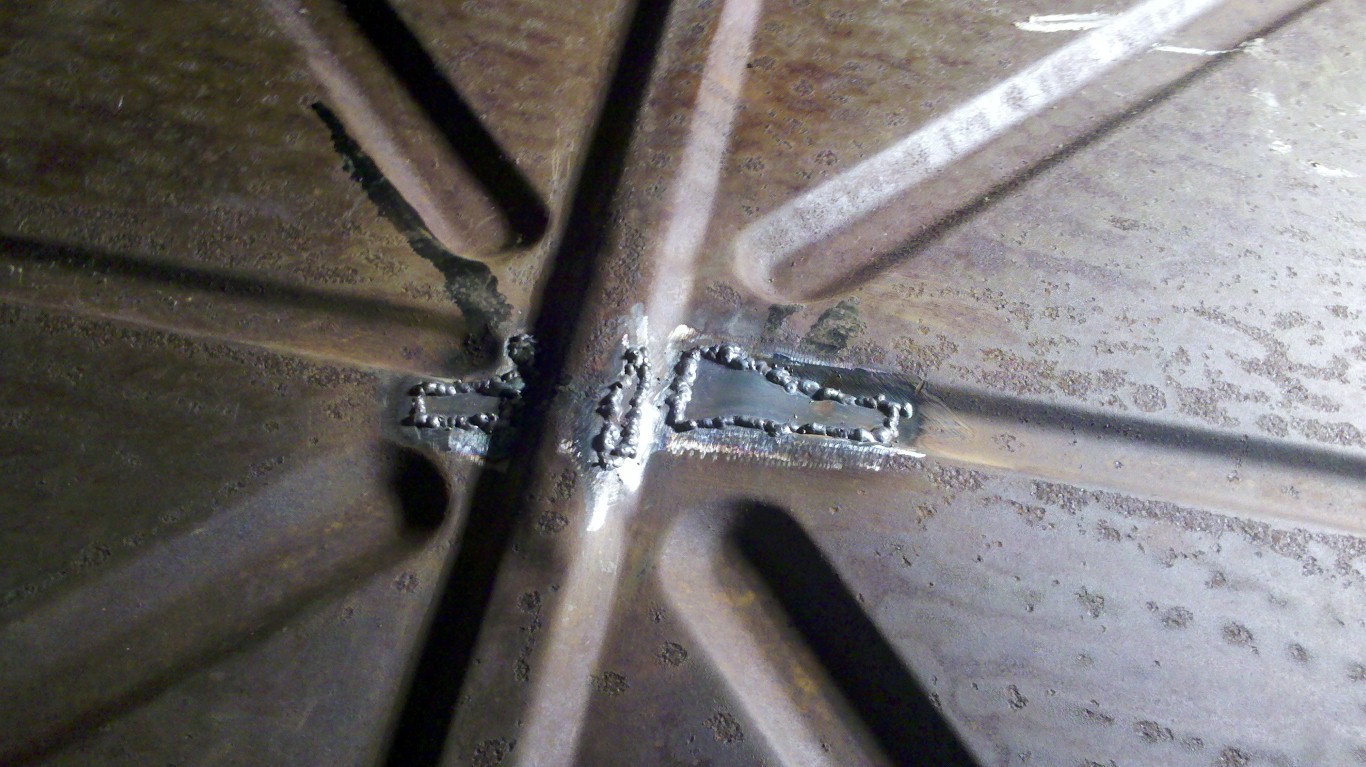
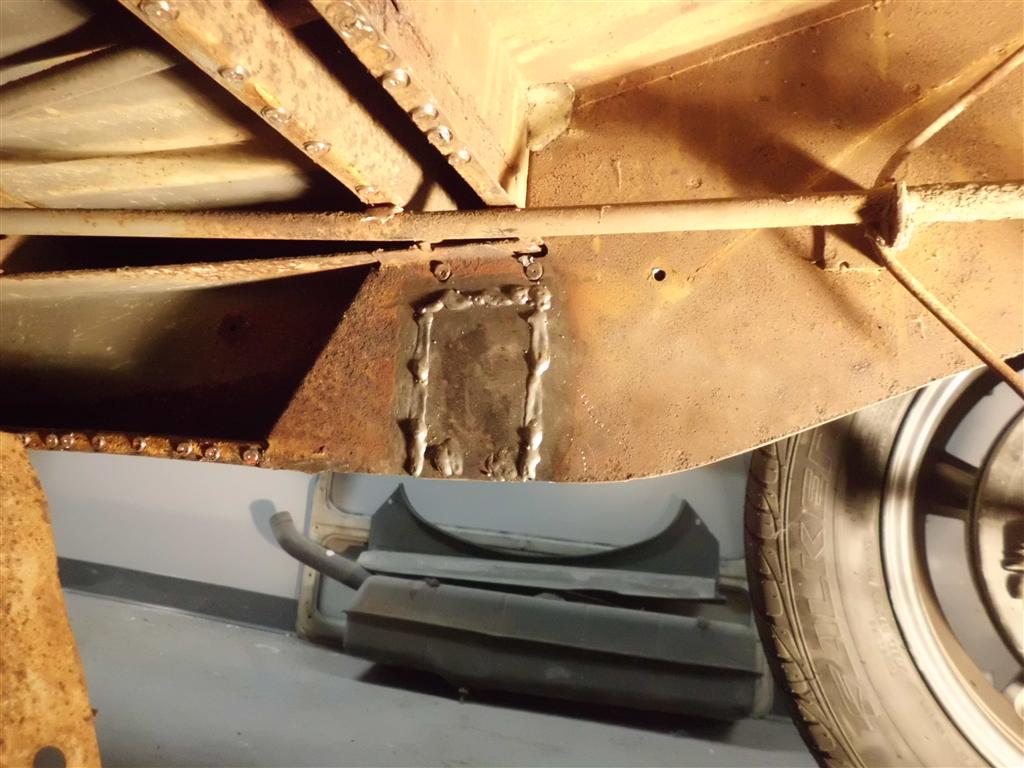
Belly Pan Patching
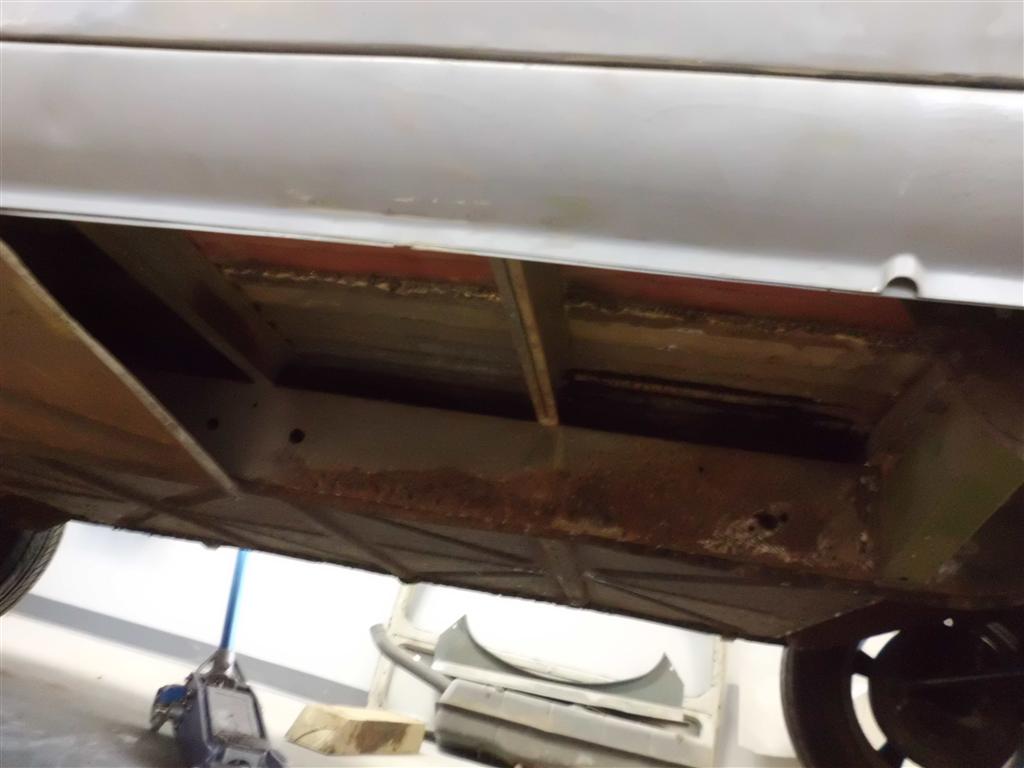
Tonight more patching was completed on the belly pans. With all of the rust cut out and the insides clean/painted the pans are now making a satisfying thump sound when knocked instead of the previous crinkly rusty sounds. None of the welds to the underside look particularly nice, but they are solid and will look fine once ground flat; welding upside down is extremely tough. All that remains for the underside with regards to metalwork/paint is the following:
– Finish patches to driver side belly pan
– Finish fabricating and install front passenger side belly pan section
– Small frame repair to driver side front frame rail
– Grind all welds
– Wirewheel entire underside
– Clean/etch entire underside
– Paint entire underside with POR15

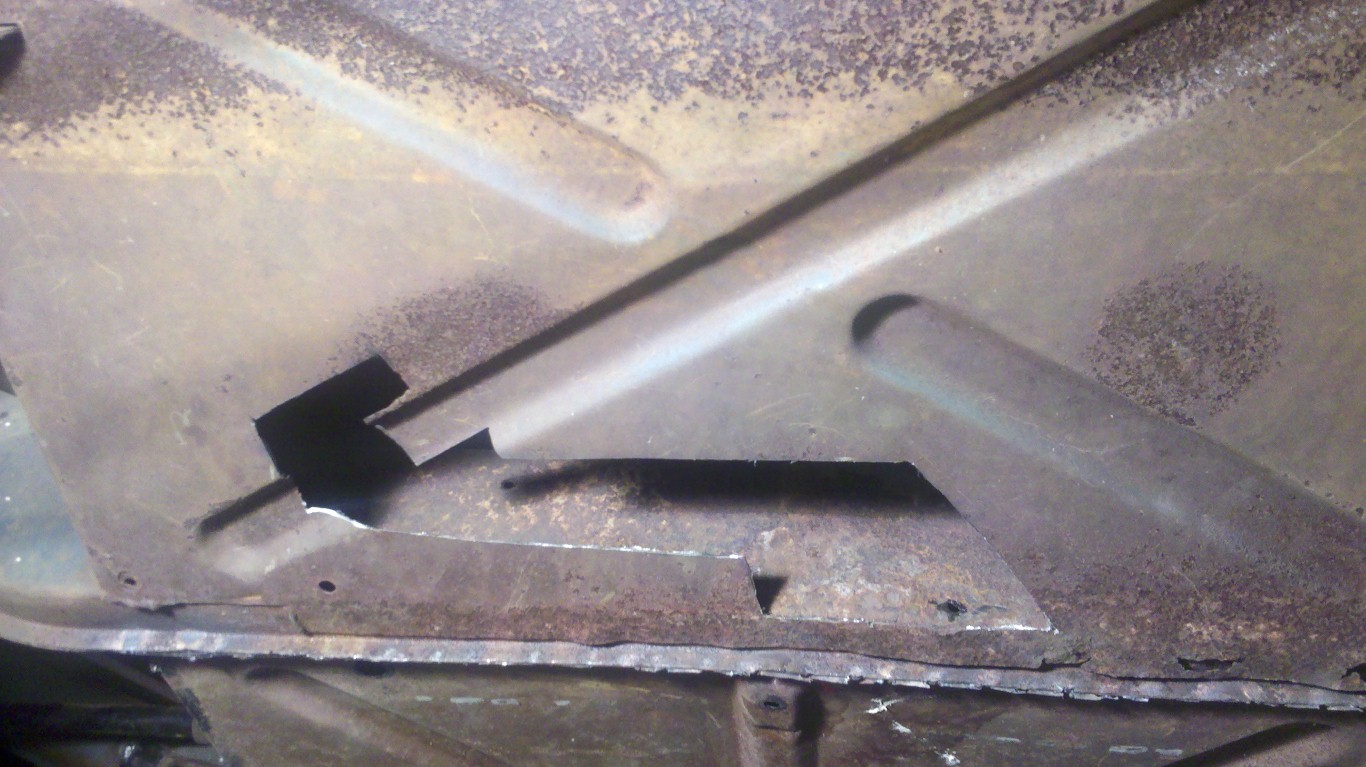
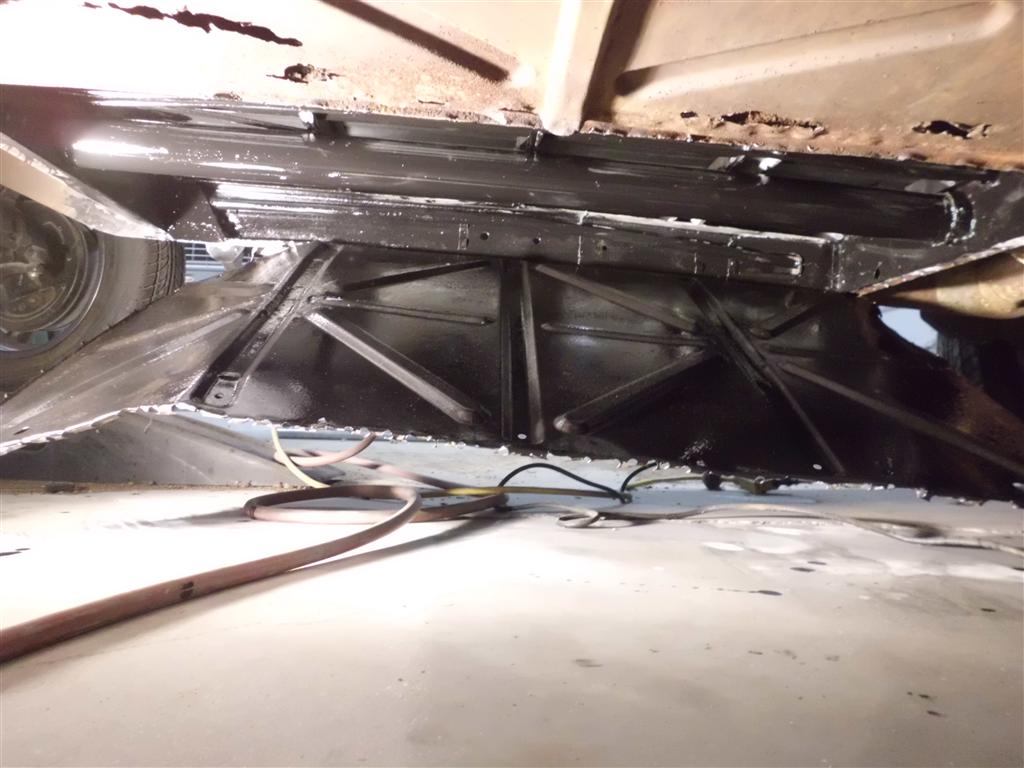
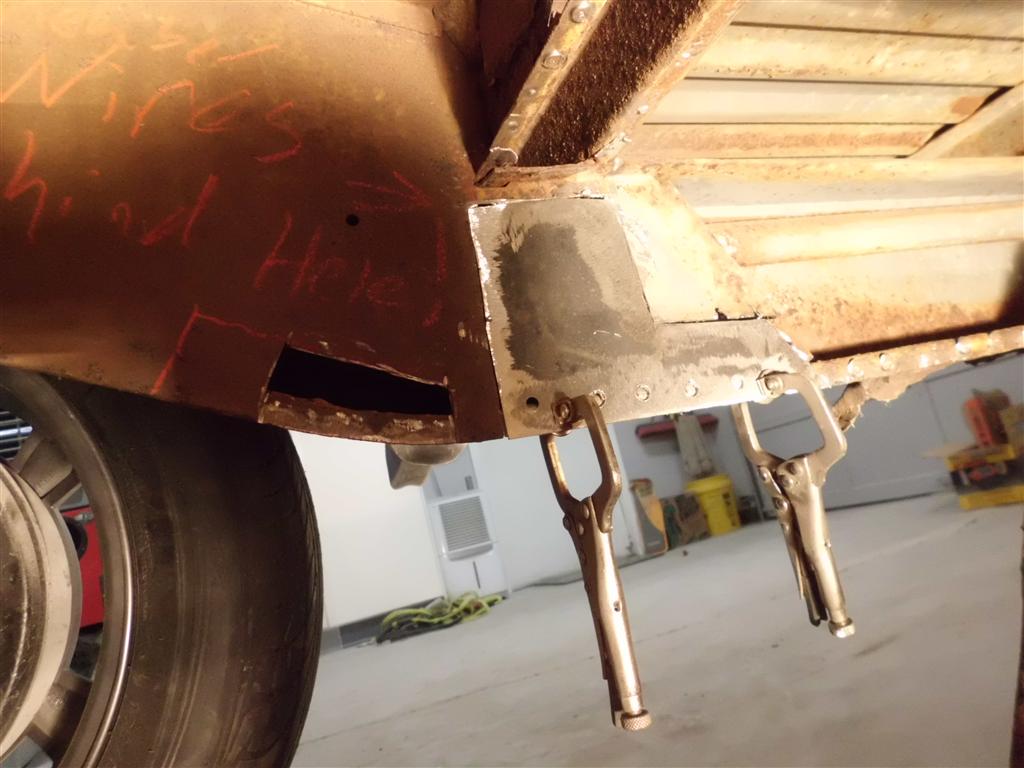
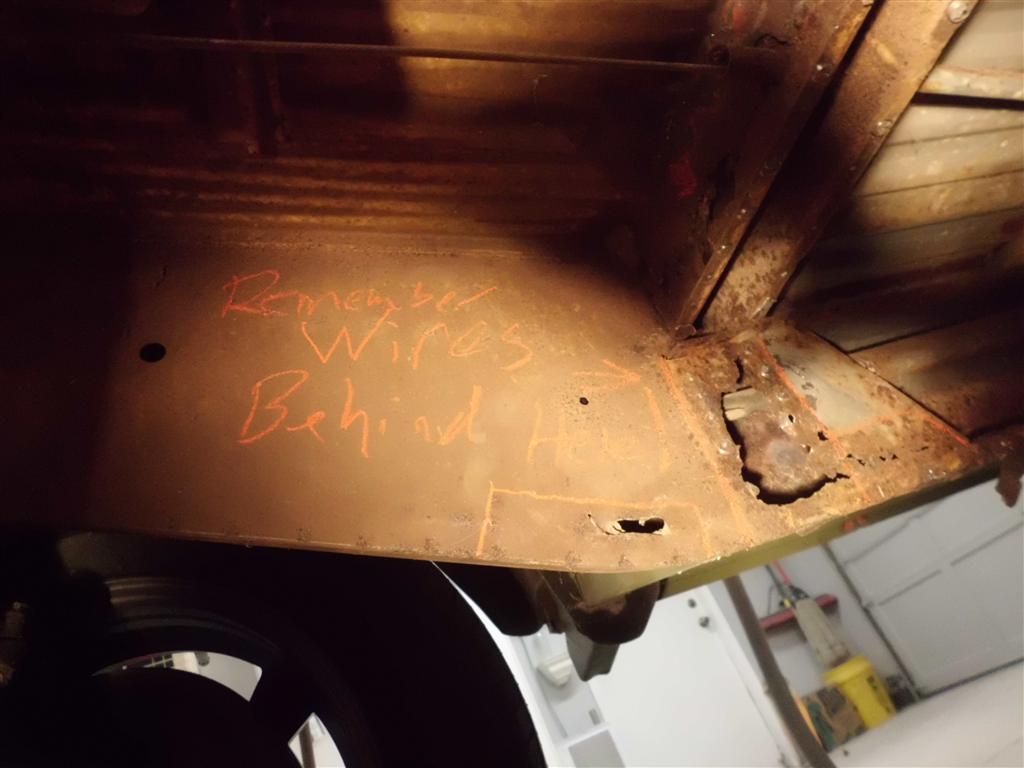
Belly Pan Reproduction Begins
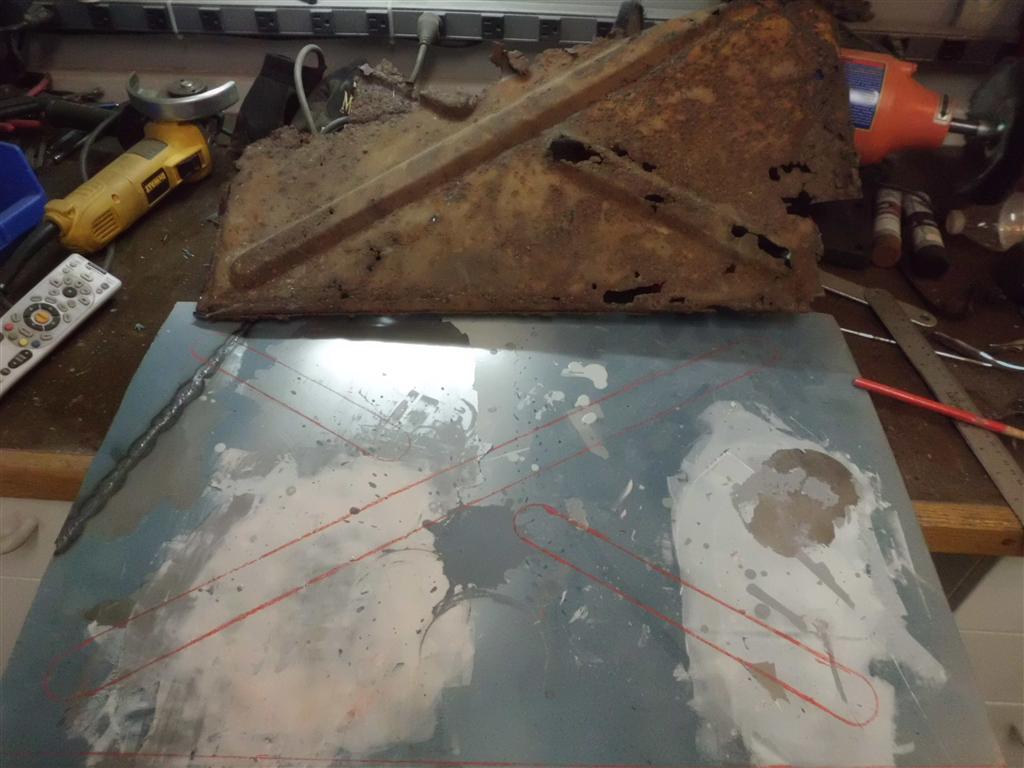
Today the central belly pan was welded back in place and I began fabricating a replacement belly pan section for the forward passenger side belly pan area. The are a few holes in each of the belly pan areas but the forward passenger side belly pan was beyond salvage; when the bus was parked outside for 25 years it was likely facing downhill and leaning to the right, at least with enough slope for all the water to collect here.
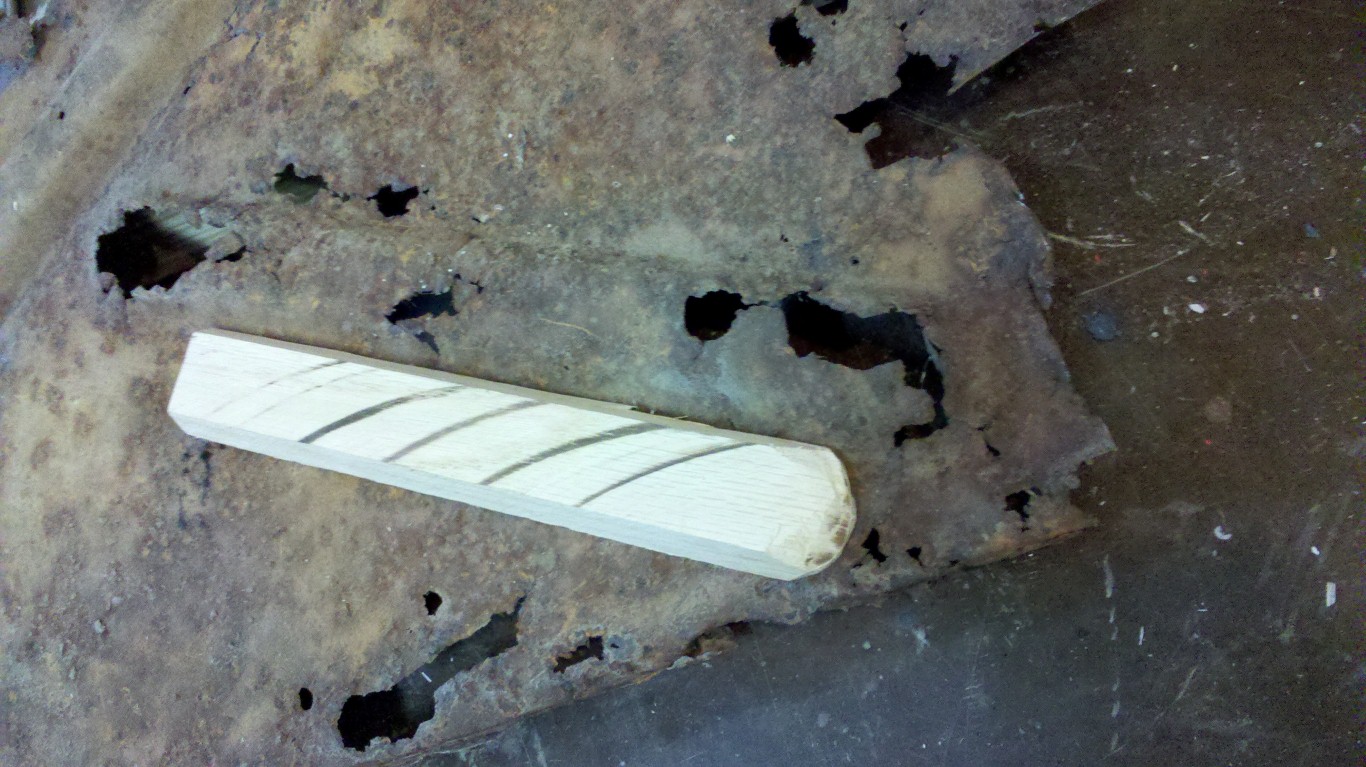
To reproduce the belly pan I created a hardwood form to match the contour of the existing rusty pan and I’m using the hammer forming process to stamp the rib pattern into the new sheet metal. The belly pans were only used as reinforcement on busses with sunroofs or large pop-up campers; because of this, repair sections are not as available as other parts have been.
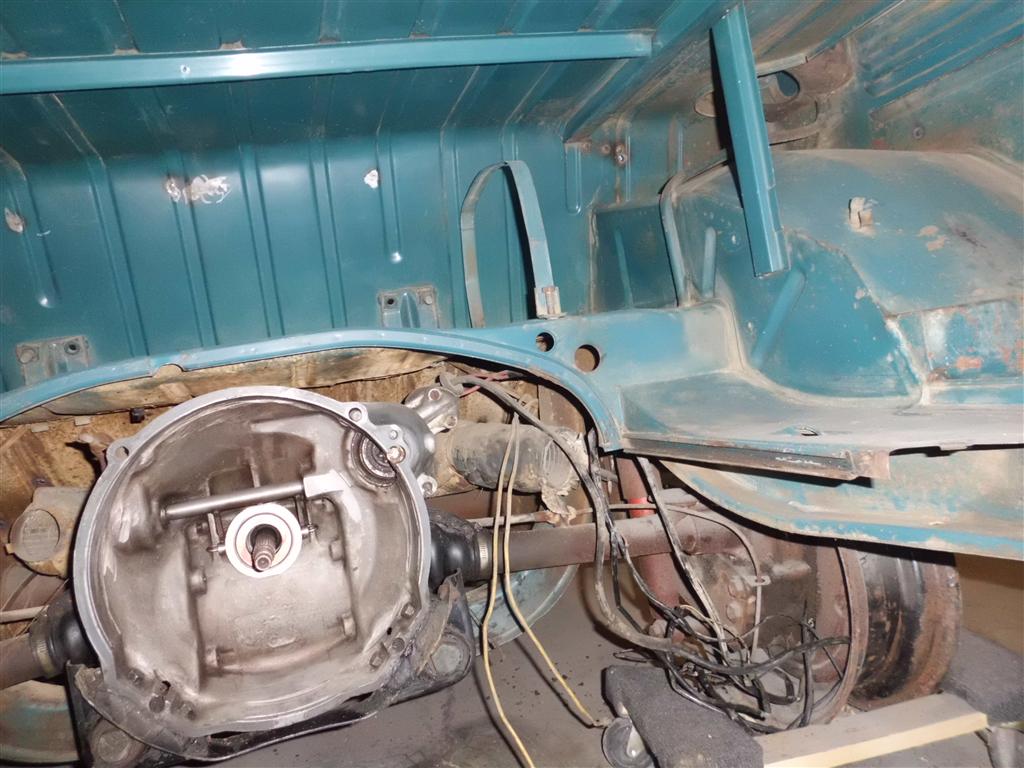
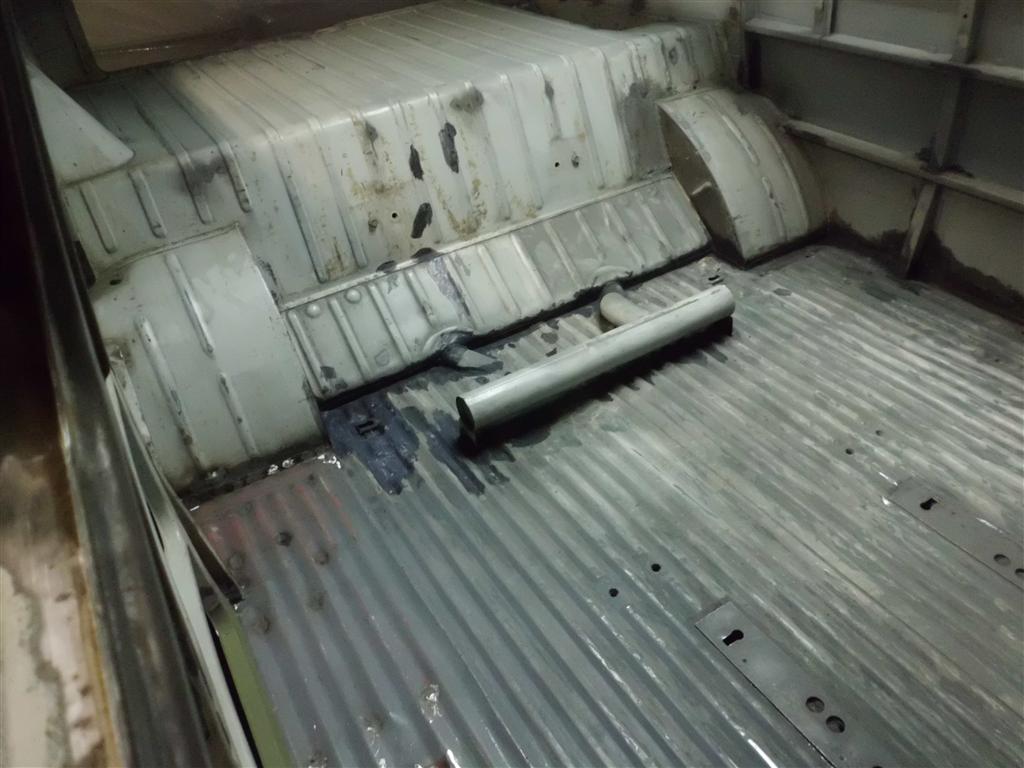
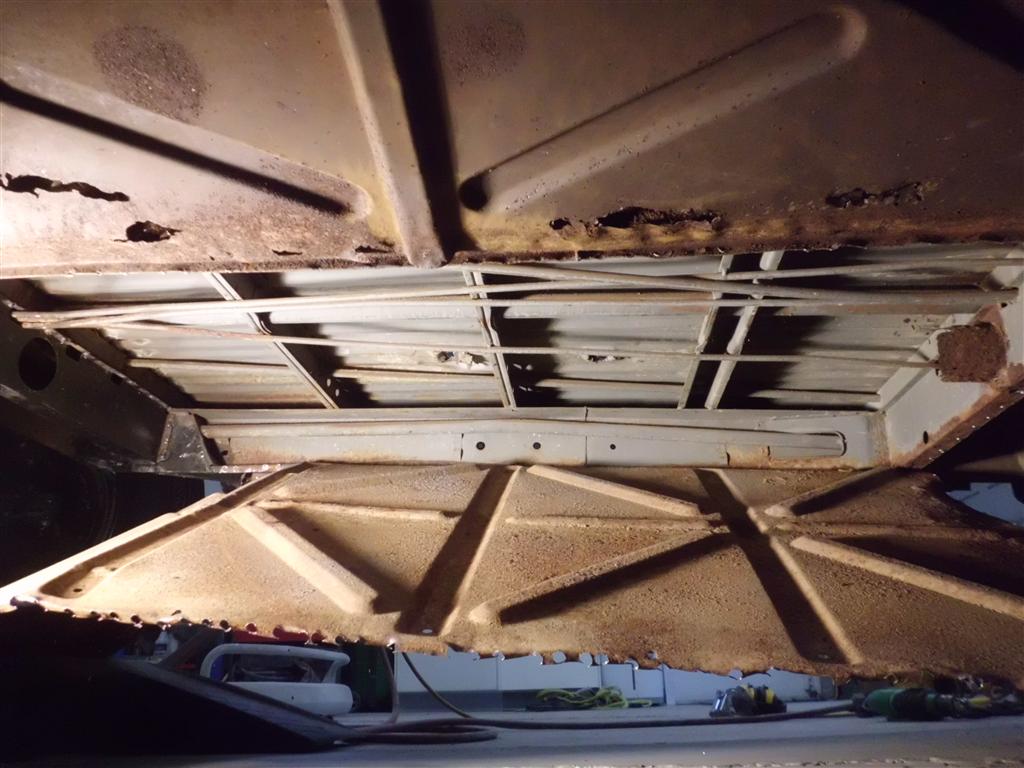
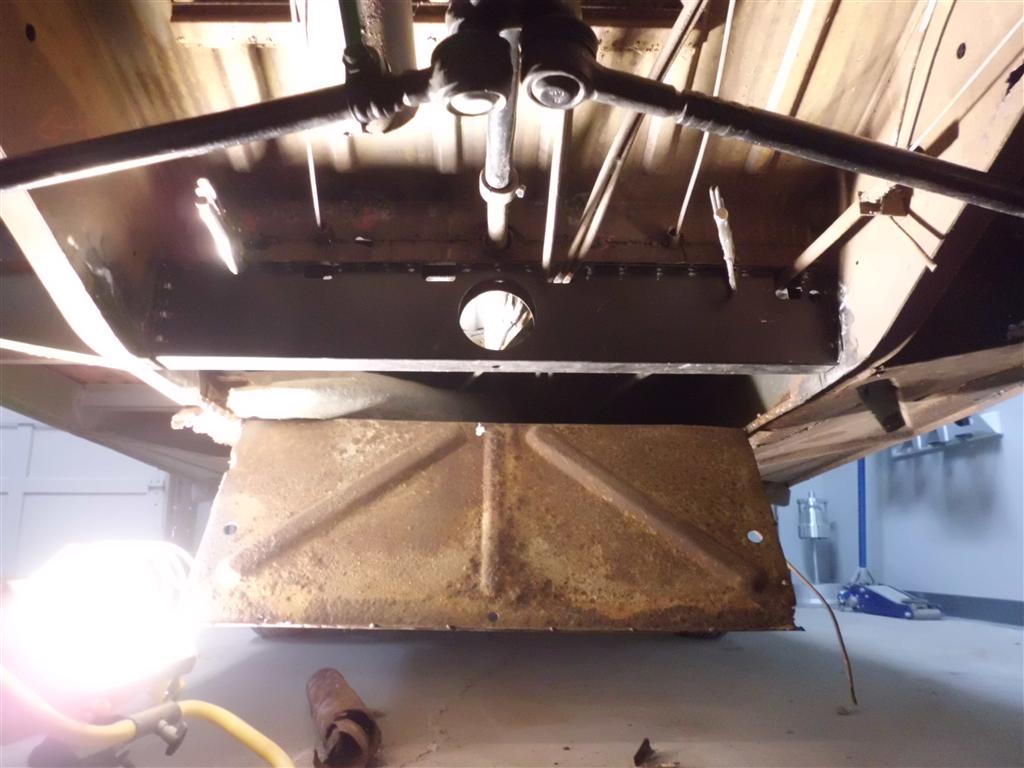
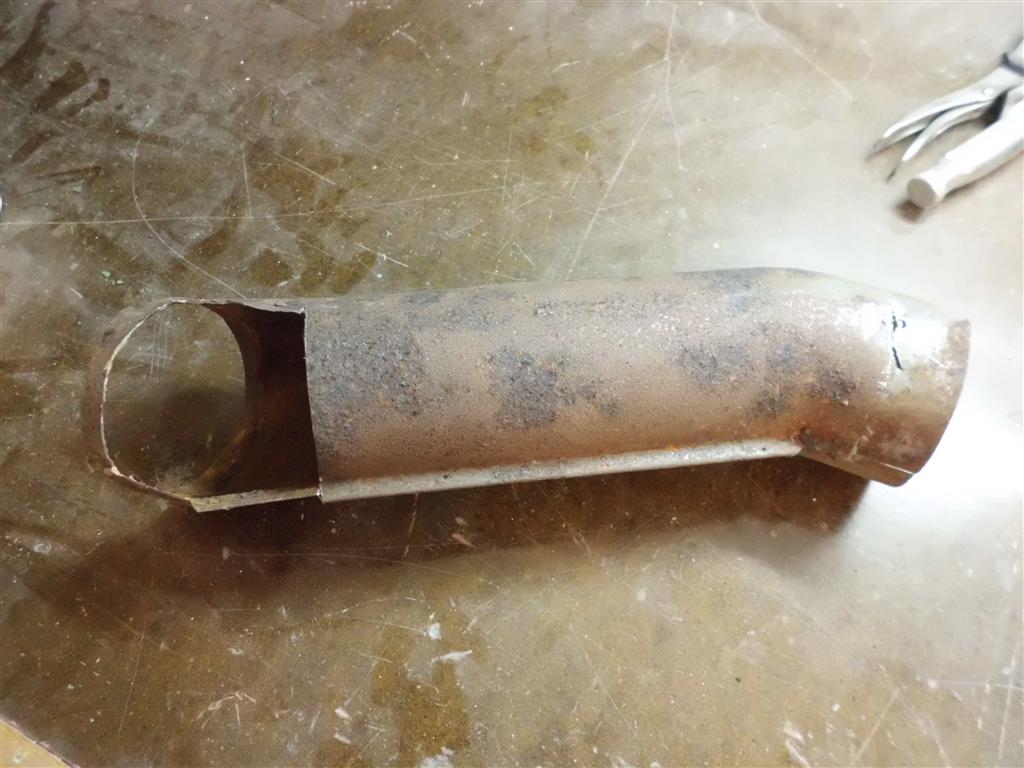
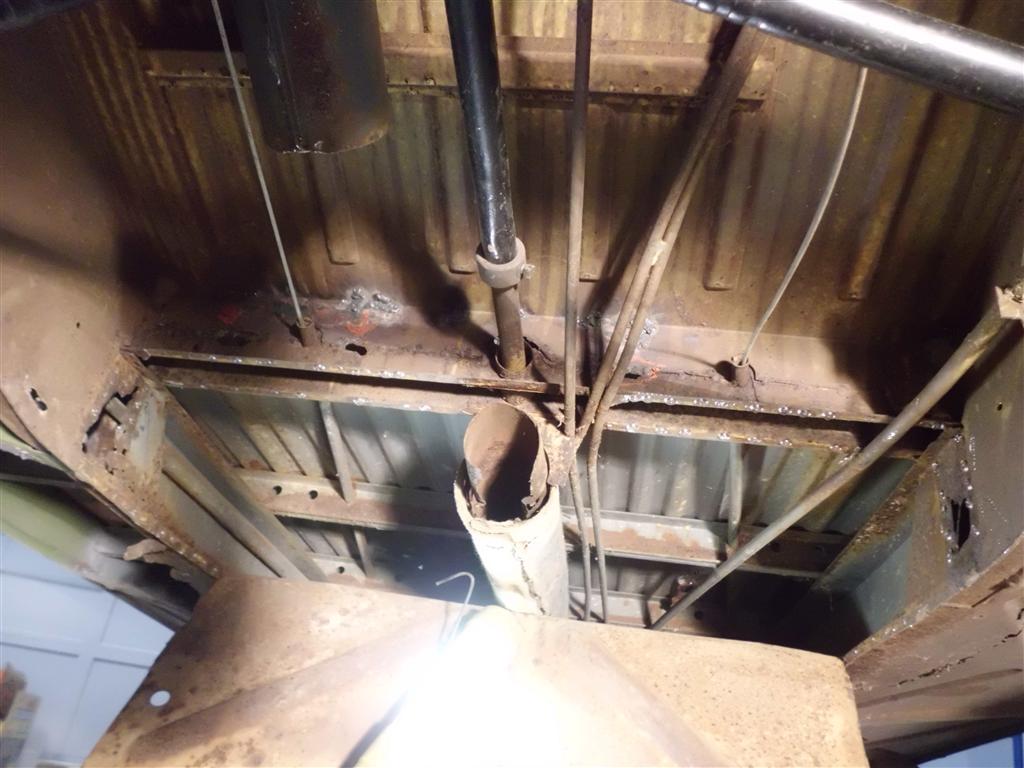
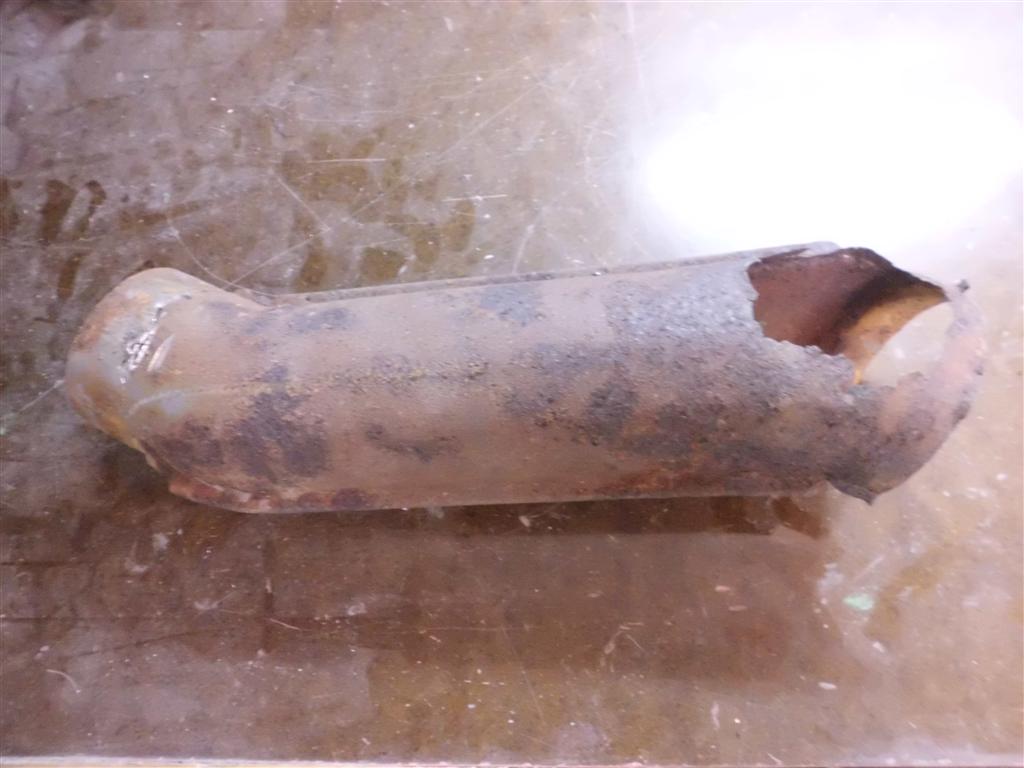
Heater Channel Replaced
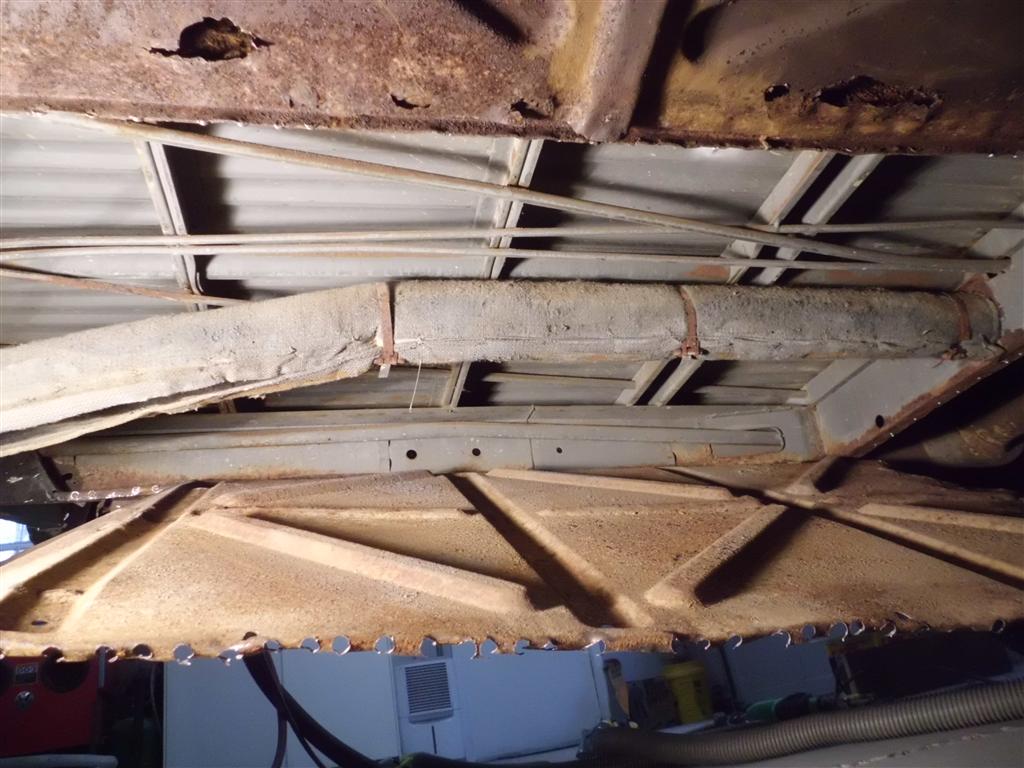
Today the rest of the spot welds on one side of the center belly pan were drilled to allow access to the heater tube. It appears that the heater tube’s insulating blanket was holding water against the tube, causing it to rust. The tube was replaced and then the entire inside of the center floor compartment was thoroughly cleaned, acid etched, and coated with POR15.
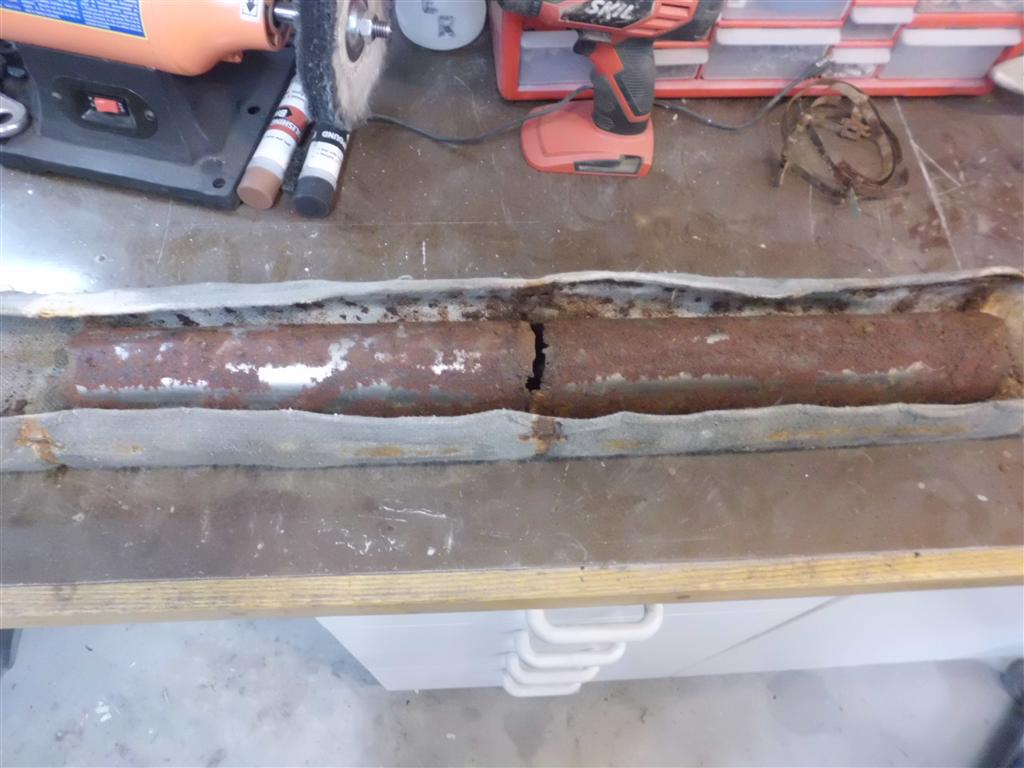
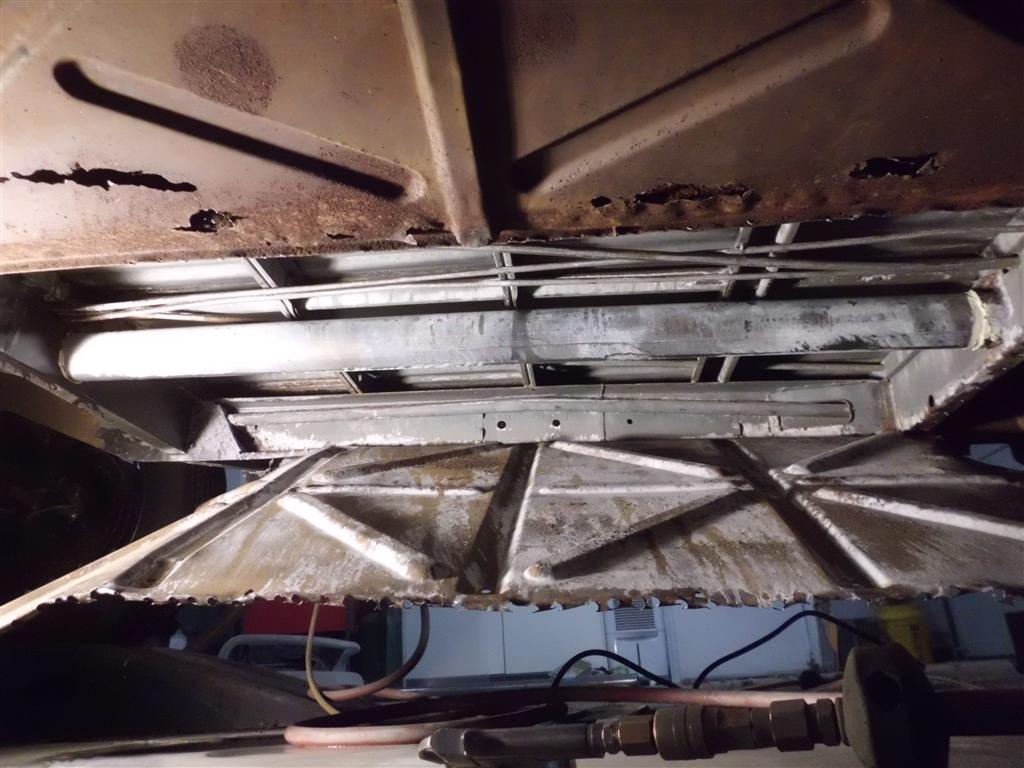
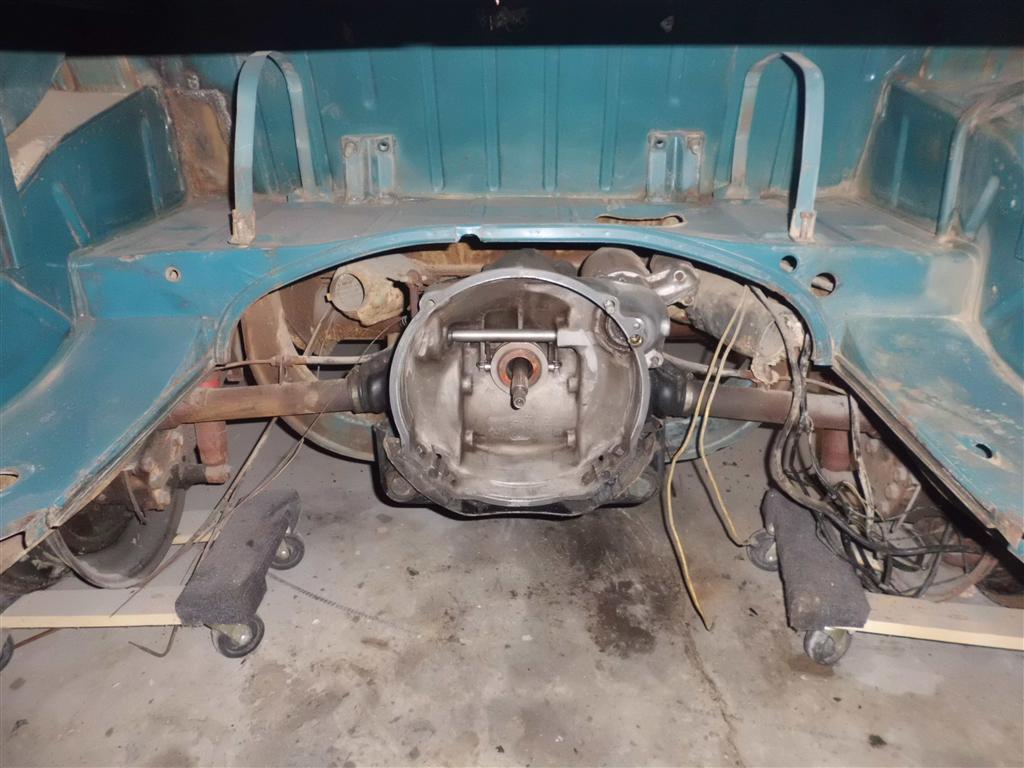
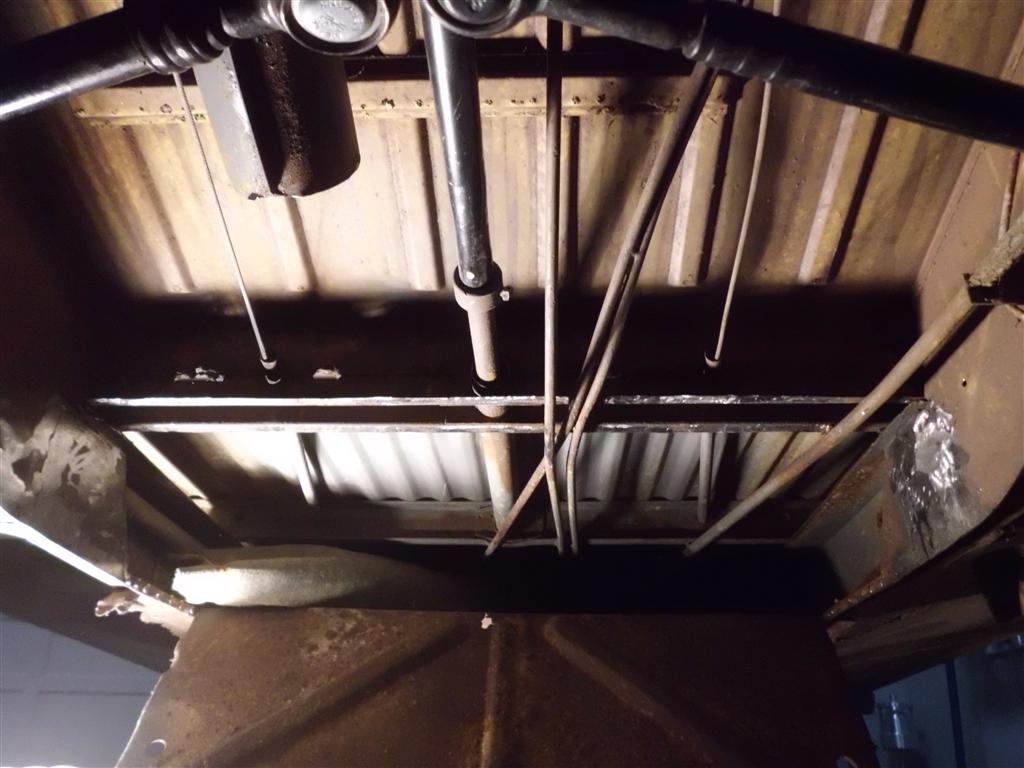
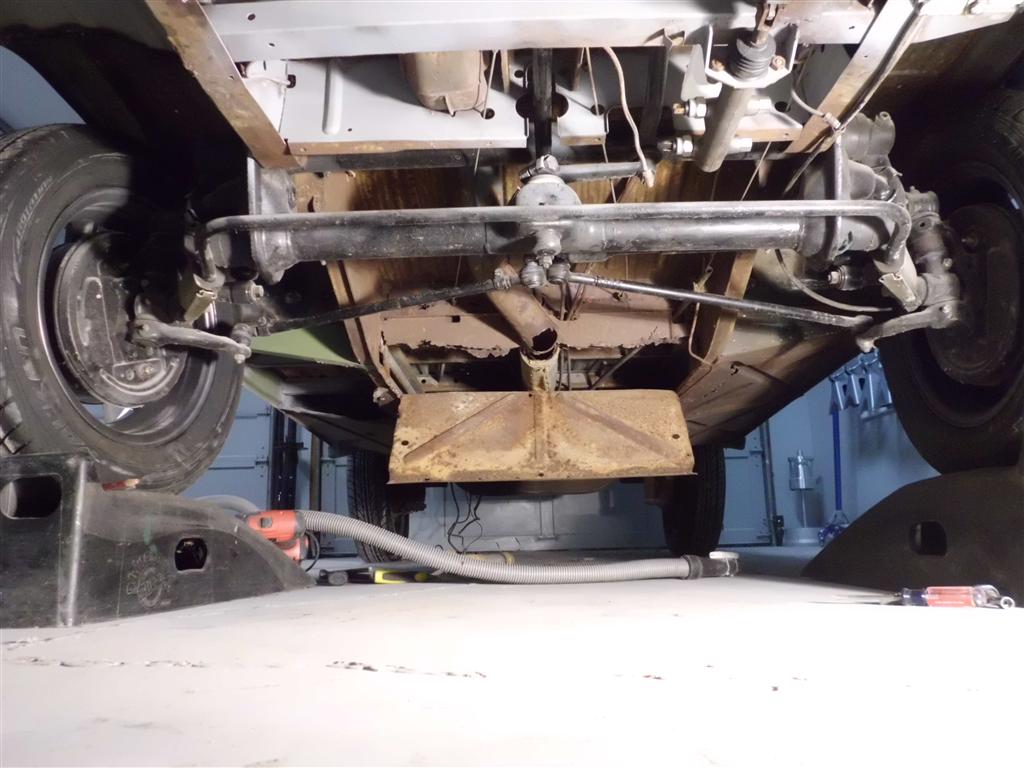
Frame Repaired, Crossmember in Place
Tonight the other frame rail was repaired and the crossmember welded in place. I had planned on just repairing the end of the center heater tube but I was able to pull the entire tube out. So apparently, and this makes sense now, the water that collected in the crossmember traveled down the heater tube and rusted it out. The center belly pan will have to be fully removed and the center heat tube replaced.

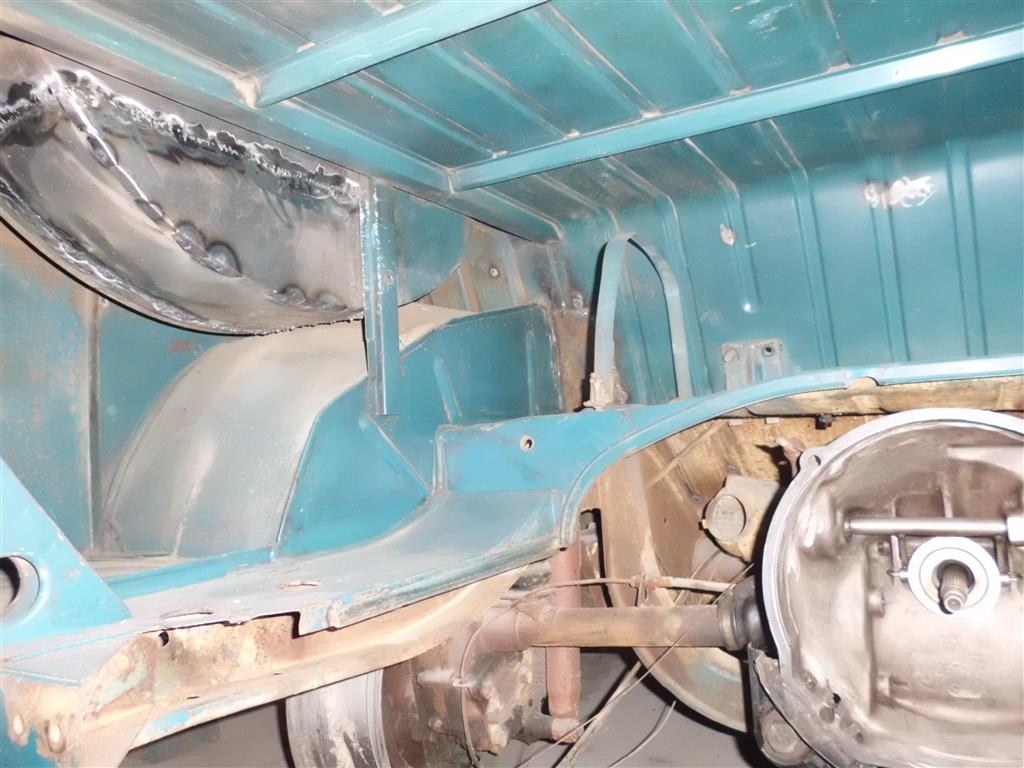
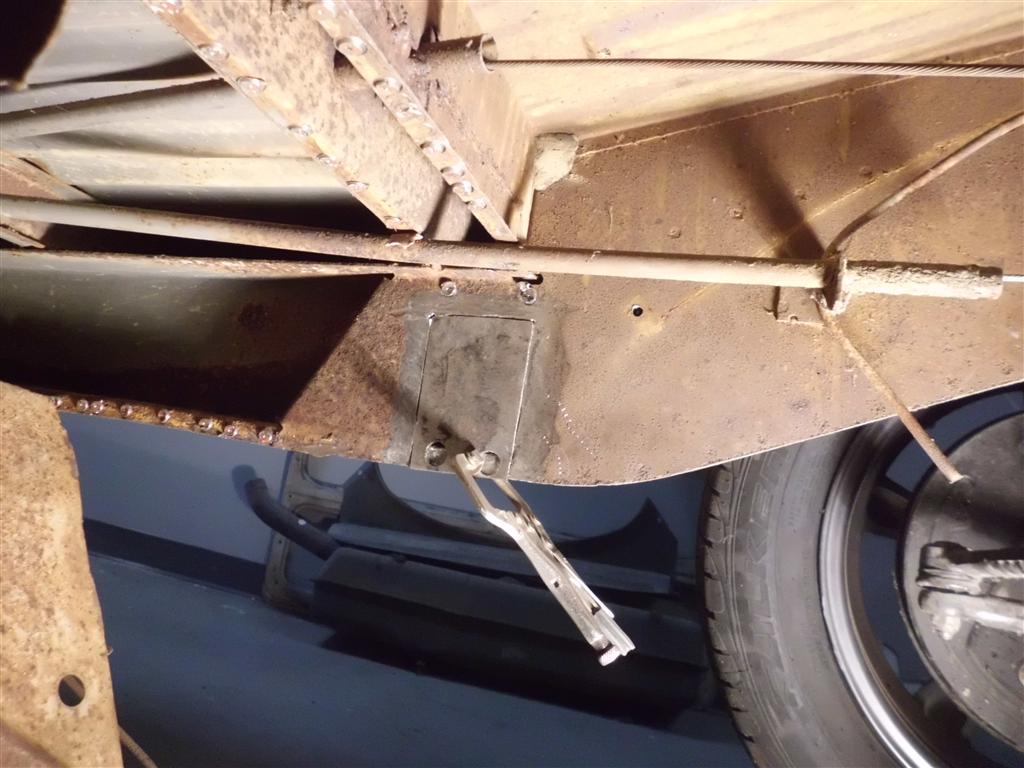
Heater Channel and Frame Rail Repair
Tonight I fabricated and installed a repair piece for the heater channel and worked on the frame rail holes left by the crossmember. This is going much more easily than I had expected, thanks in part to having the bus lifted extremely high, and in part due to the parts being much heavier gauge steel here, which is much easier to weld. One of the four frame repairs is complete (except for grinding), one has been prepped, and two remain untouched; I should be able to finish all of these tomorrow night.


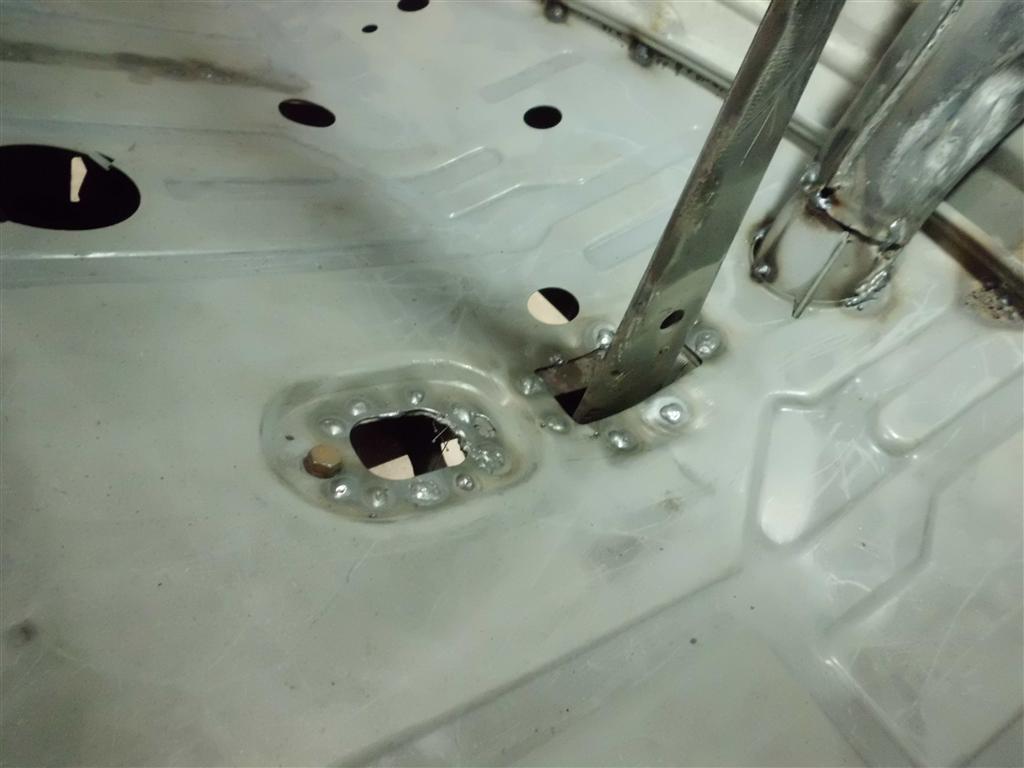
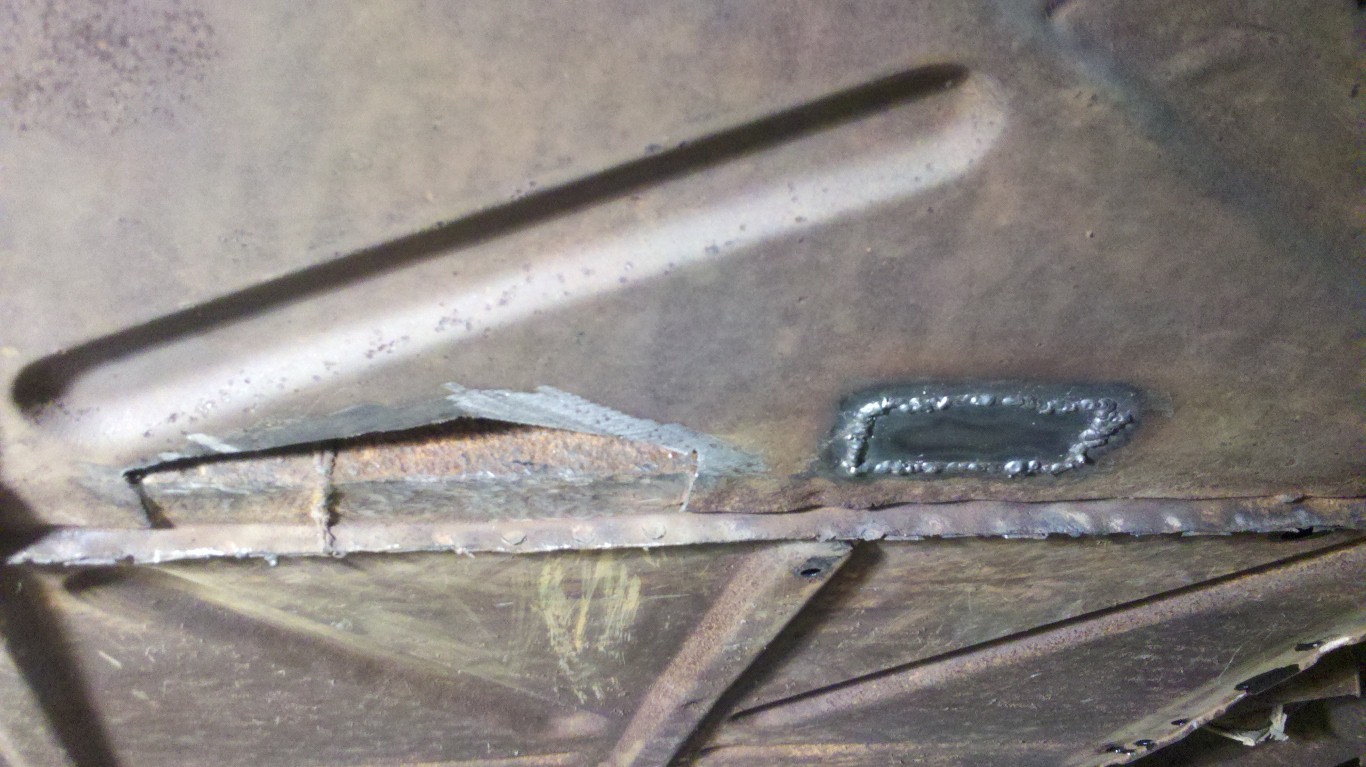
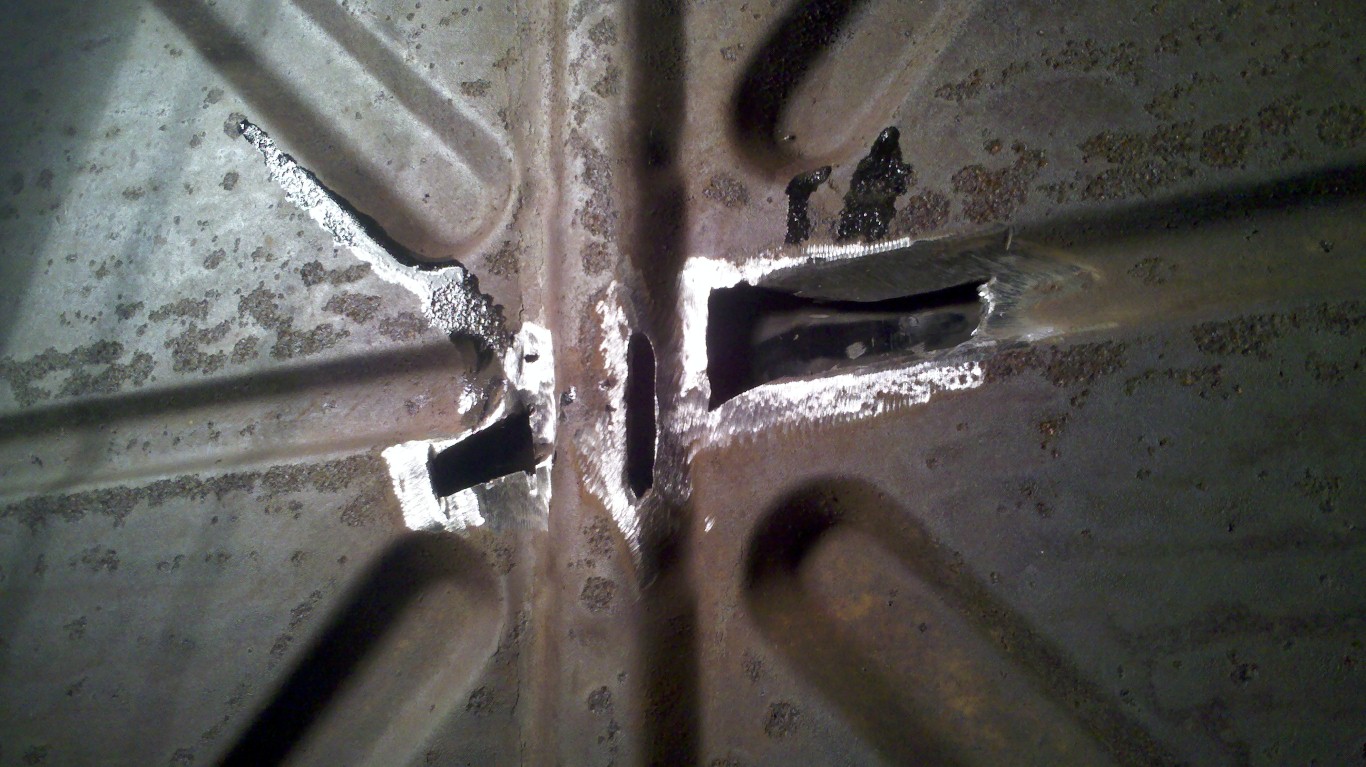
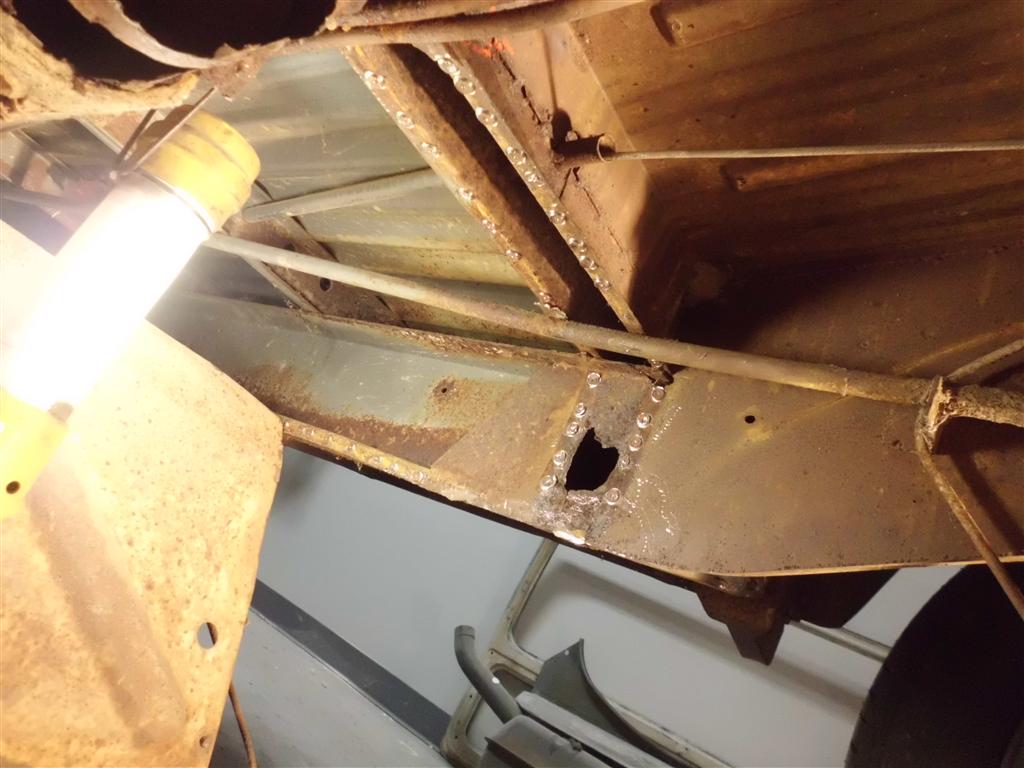
Crossmember Removed
Tonight the crossmember was removed; It was in extremely bad shape, with all of the bottom missing. Once it was removed though I found that everything around it is solid. It had even blocked rust from spreading to under the floor, for the most part. It’s apparent that the crossmember had been holding water, and because of this there are two rust holes in the frame where the frame met the end of the crossmember. These areas will be cut out and patched along with the hole in the heater tube.

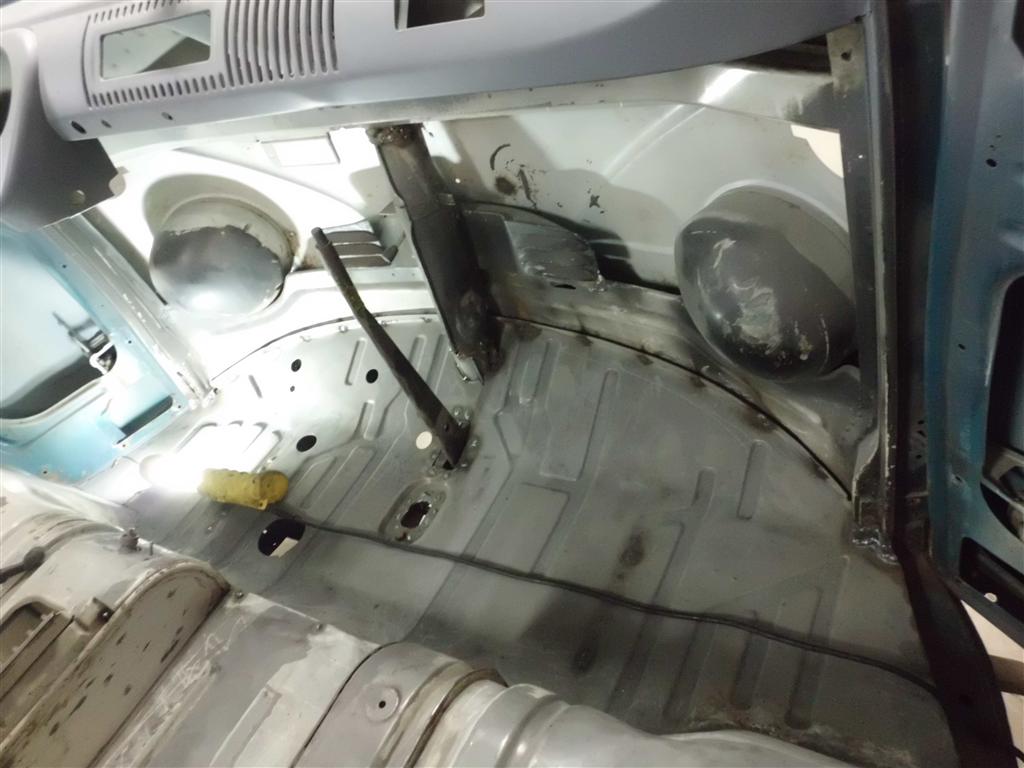
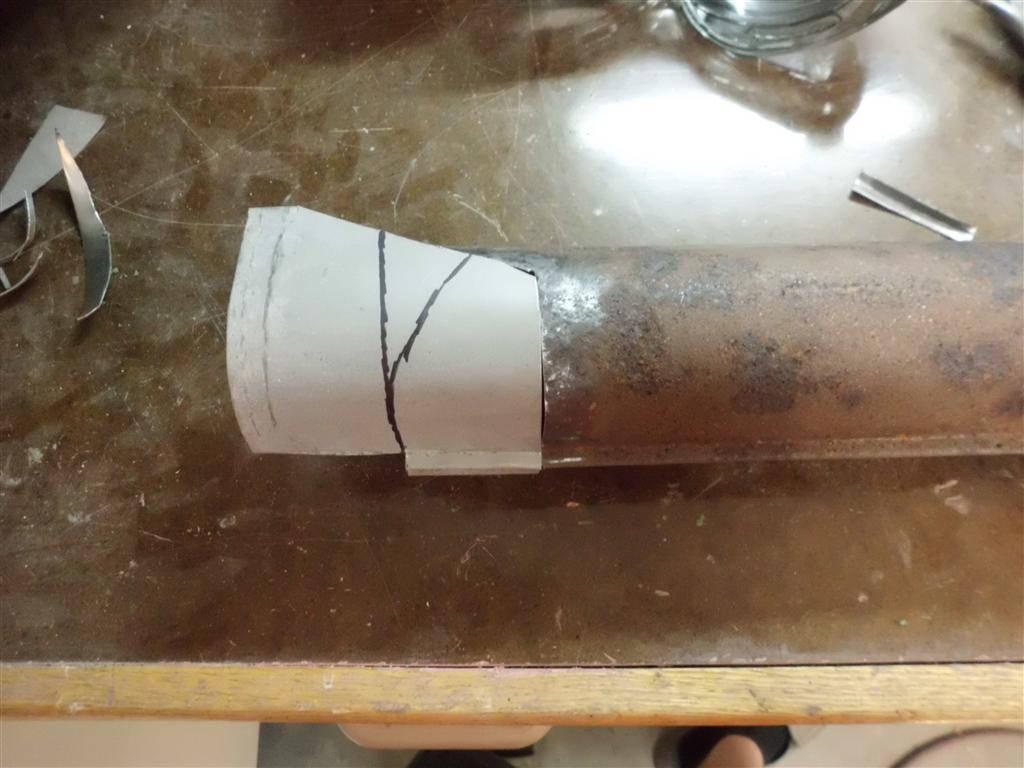
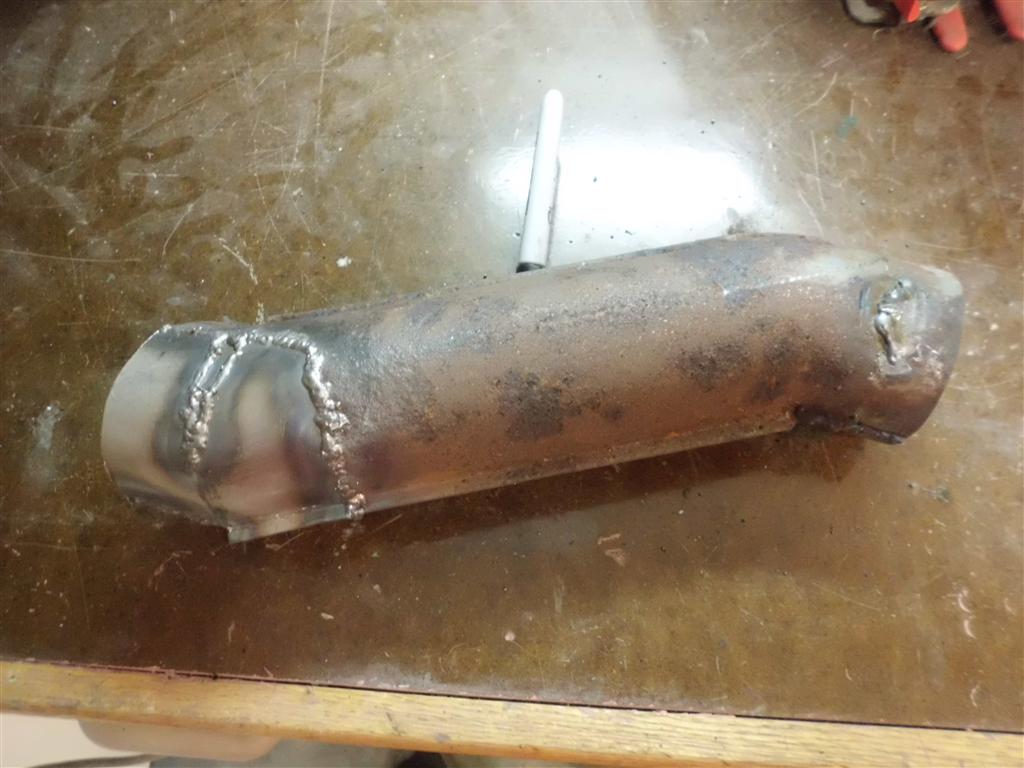
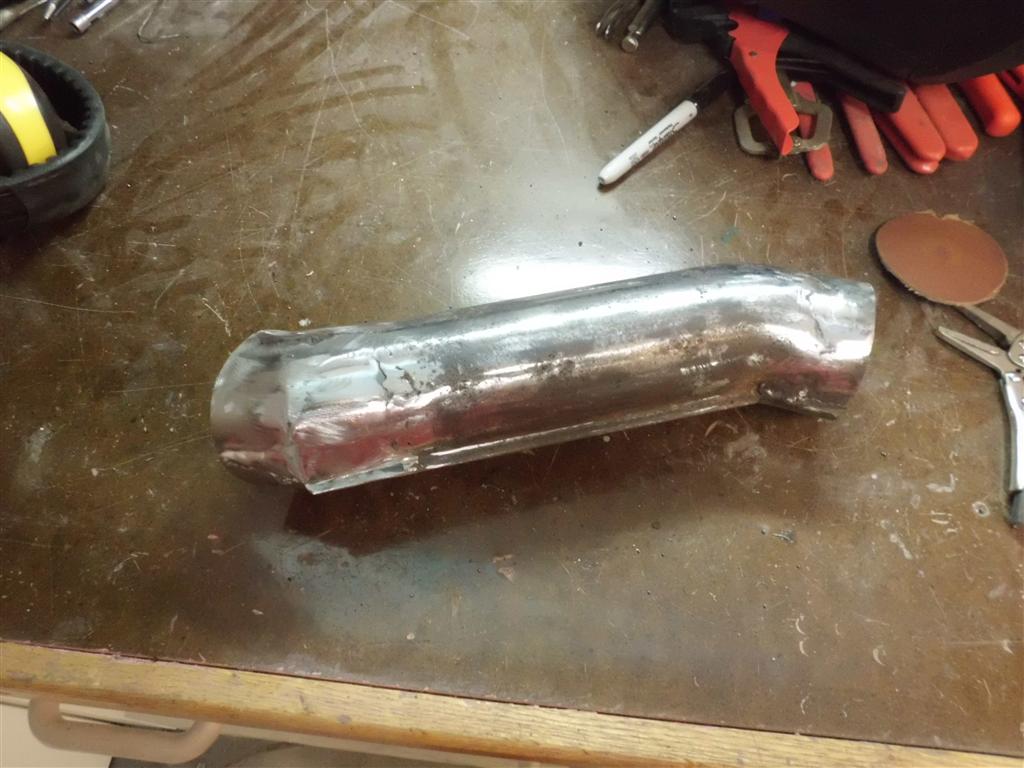
Crank Pulley Cover Repair
It’s unclear exactly what happened to the crank pulley cover that caused the damage seen; either the cover was adjusted too far in or the cover was bent inwards. The misalignment caused the crank pulley to wear a semicircular slot into the crank pulley cover. The slot was welded closed and the various other dents were smoothed out.


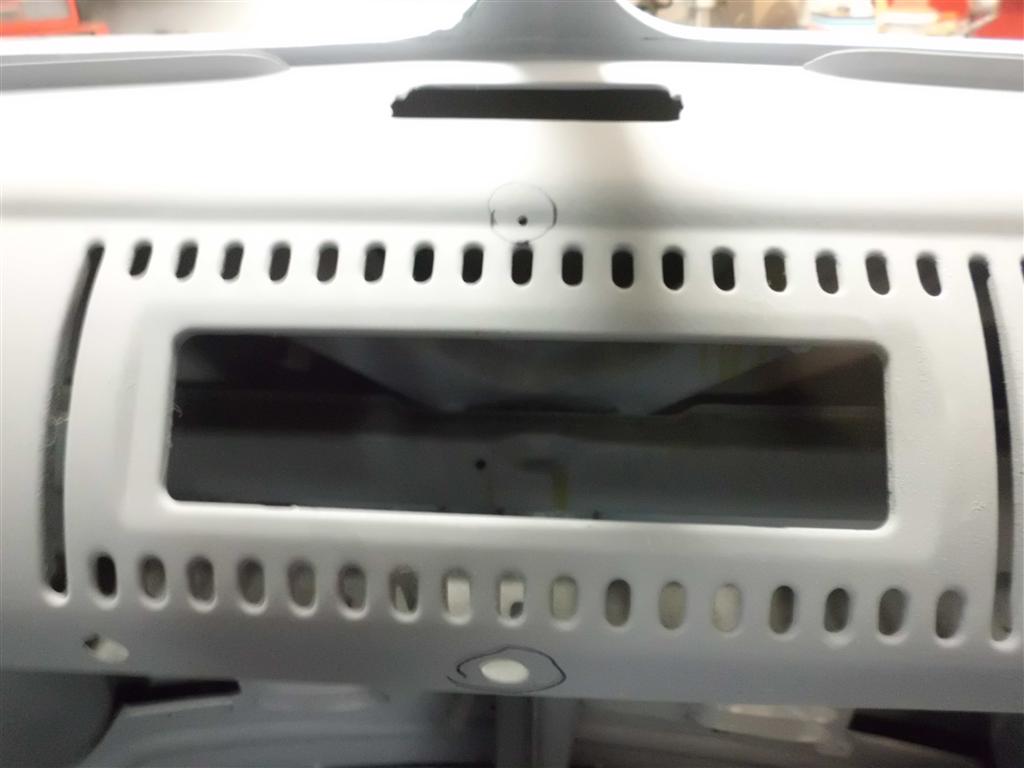
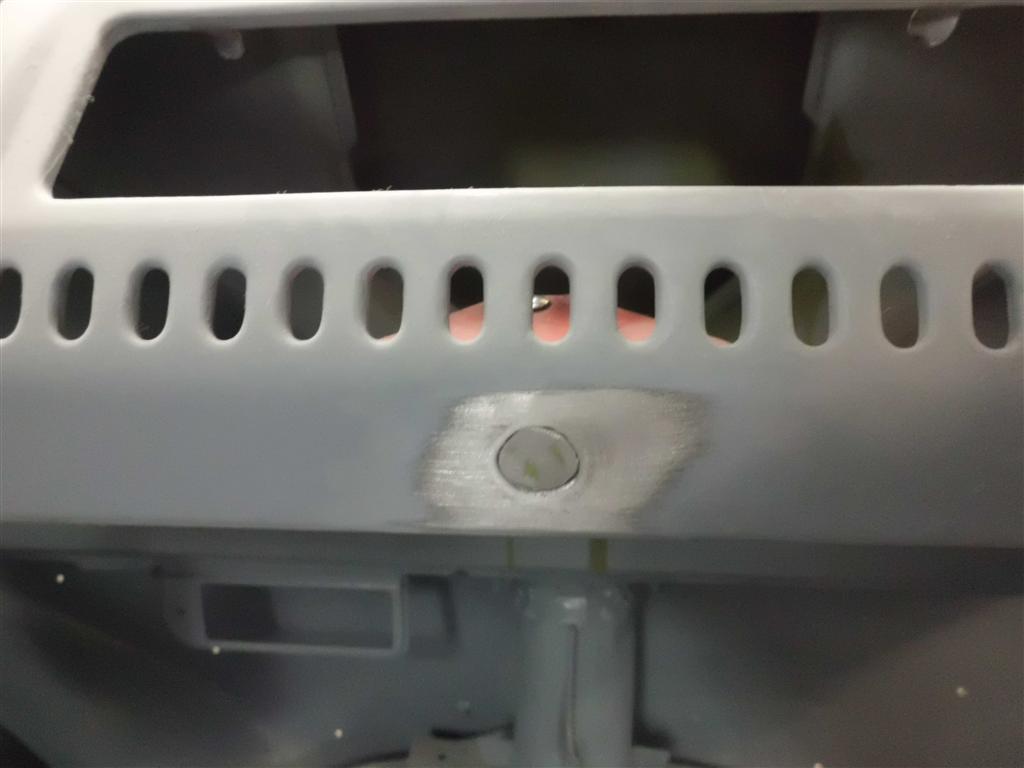
Dash Holes Patched
In the process of organizing small parts and inventorying what parts are missing I discovered that there were two extra holes in the dash: one small screw hole above the radio hole, and another larger hole under the radio hole that was probably used for an extra switch at some point. After making/fitting a patch for the larger hole, both holes were welded shut and ground down. Also, the lower half of the accelerator pedal hinge was welded to the floor, as original.


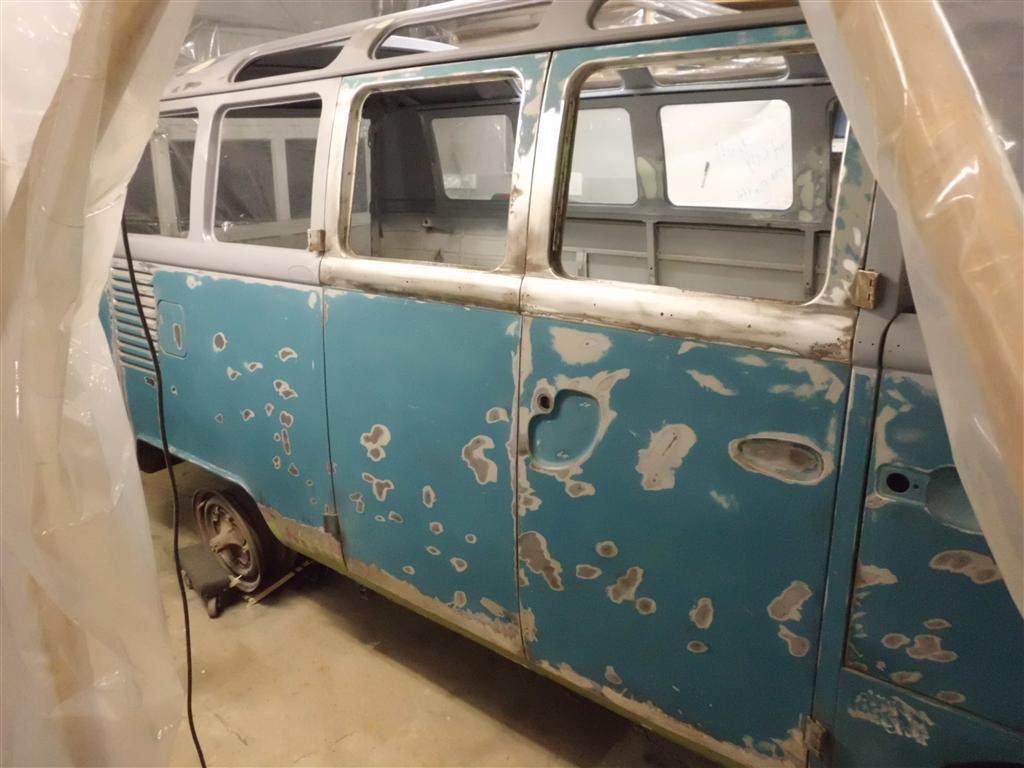
Engine bay cleaning and misc. front repairs
The engine bay is now reasonably clean after many hours with a wire brush and warm soapy water. Everything above the seal flange will be painted with the rest of the bus, everything below will wait until the bus is mobile since I can then access the area more easily by driving onto ramps. Many other items were tidied up, mostly related to the front floor area which I had tacked into place after I first got the bus but had not been finalized. Scuffing of the exterior paint and rust treatments were done in anticipation of primer tomorrow.