Bus moved even lower to allow better roof access; working on smoothing out front of roof


Bus moved even lower to allow better roof access; working on smoothing out front of roof
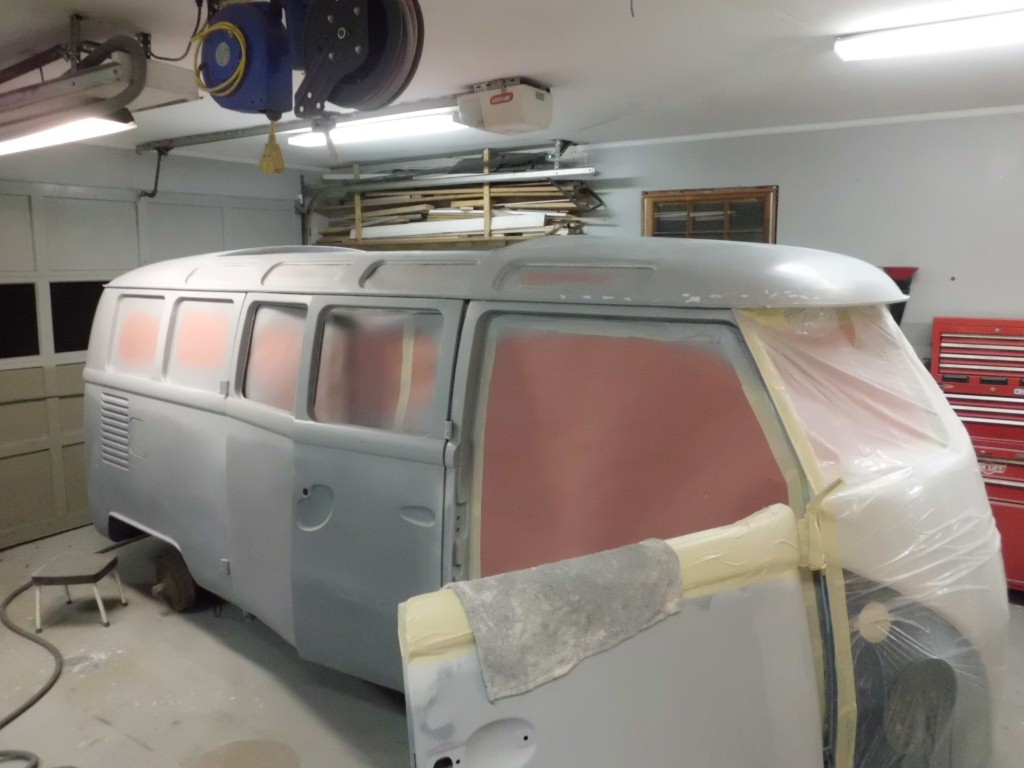
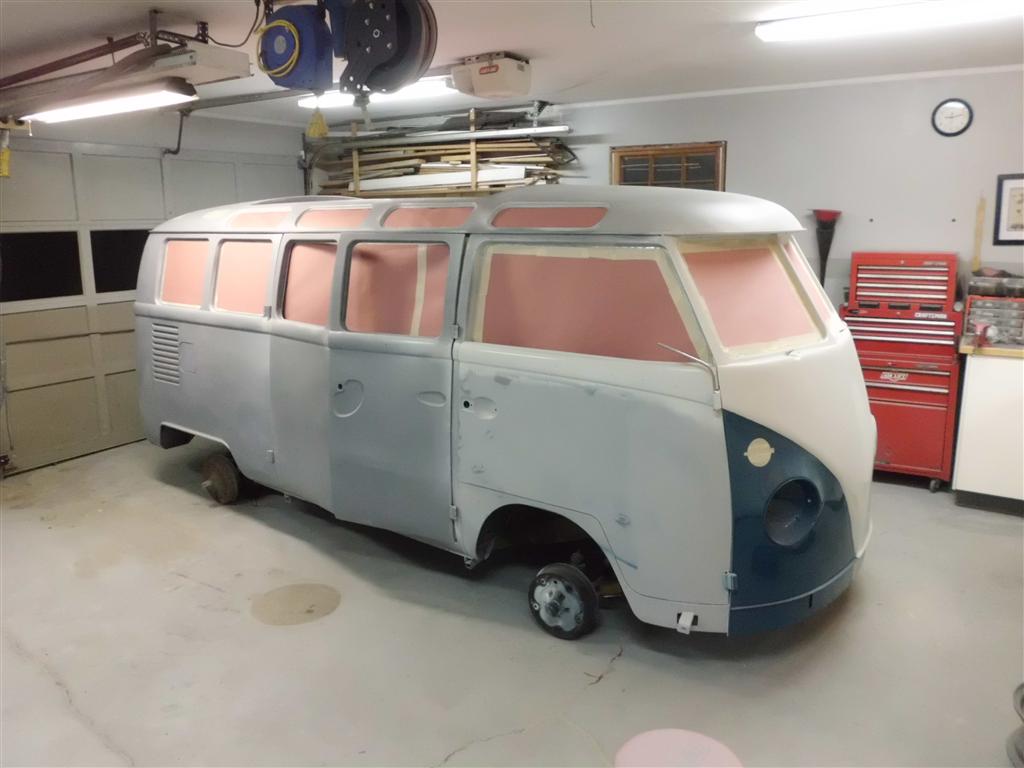
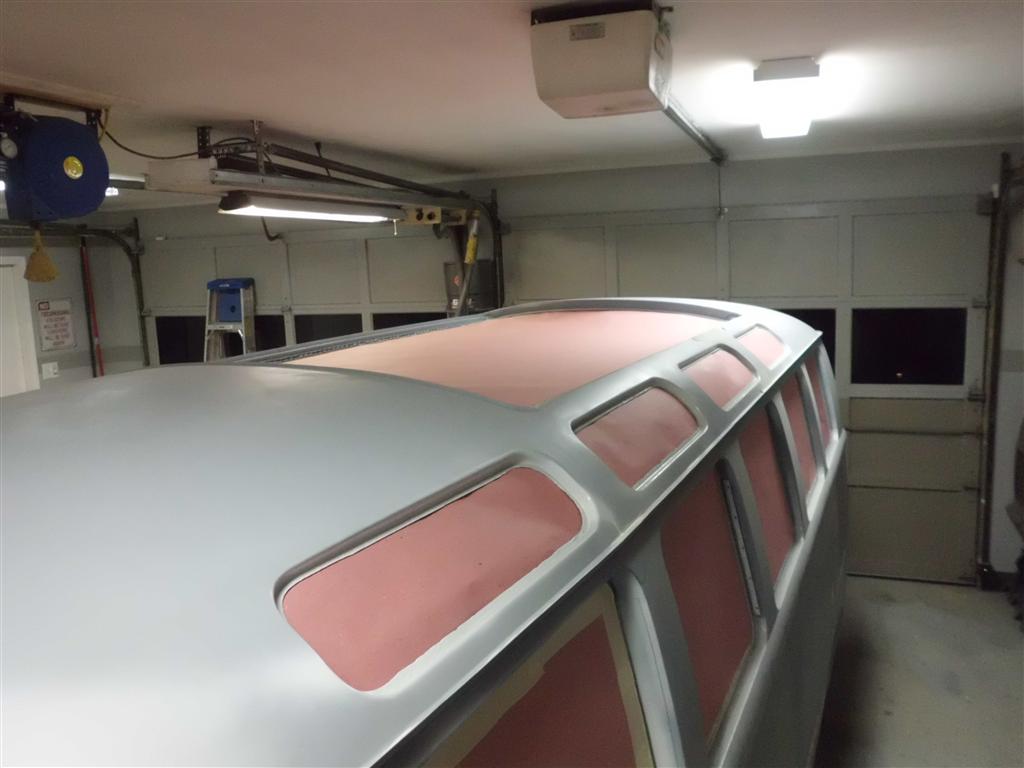
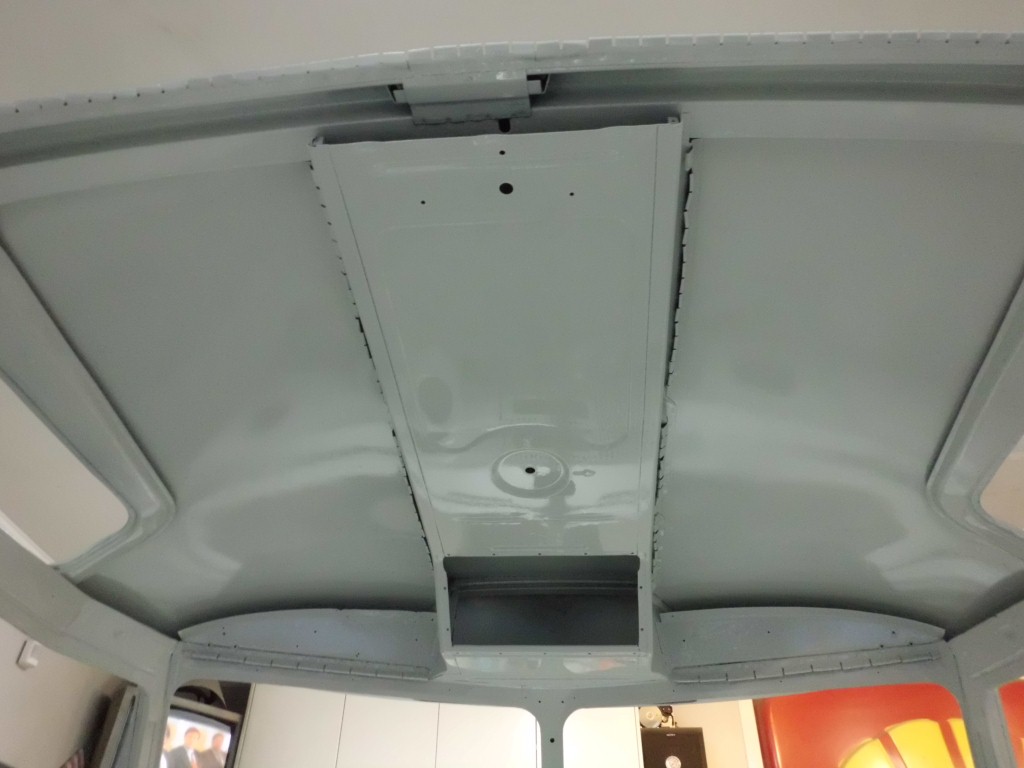
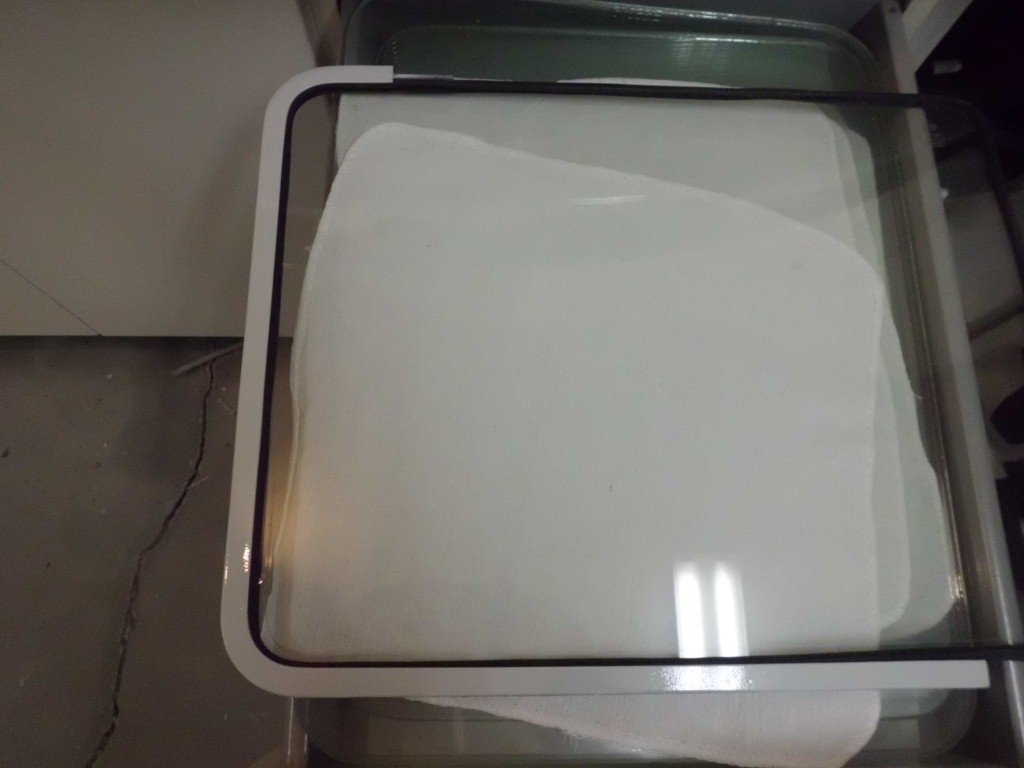
All 21 windows and the sunroof were masked in preparation for exterior paint. The masking will keep the recently painted interior clean while the exterior is painted. The wheels were taken off to get the roof even lower to allow working on the roof without a ladder. The next phase is to complete the bodywork on the roof in order to paint all white above the trim line. After this is completed the white areas will be masked off and the bus raised as high as practical to work on the blue areas.

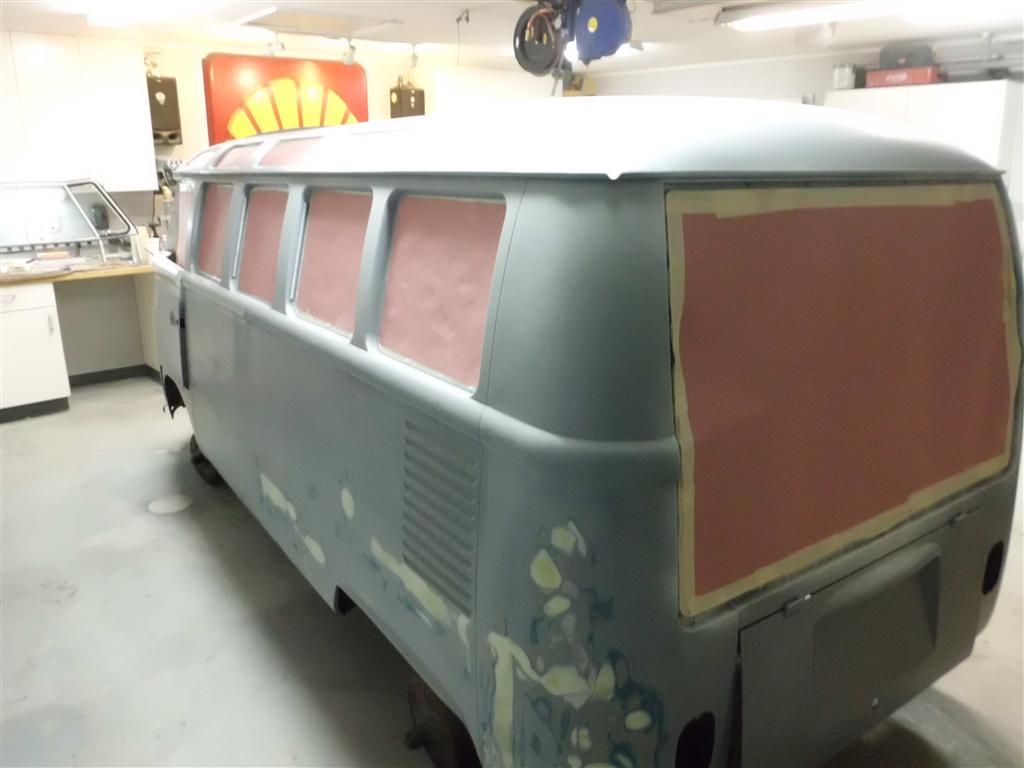

The garage was thoroughly cleaned and the last sections of the bus bubble were taken down. It wasn’t doing much for overspray and was starting to block a lot of light; the garage is kept clean/sealed enough that the bubble was also not needed to keep the paint area clean. For the next phase I need as much light as I can get and also needed more room around the exterior of the bus. Once the bubble was taken down the bus was moved over and taken of the moving dollies to get the bus roof further away from the garage ceiling.
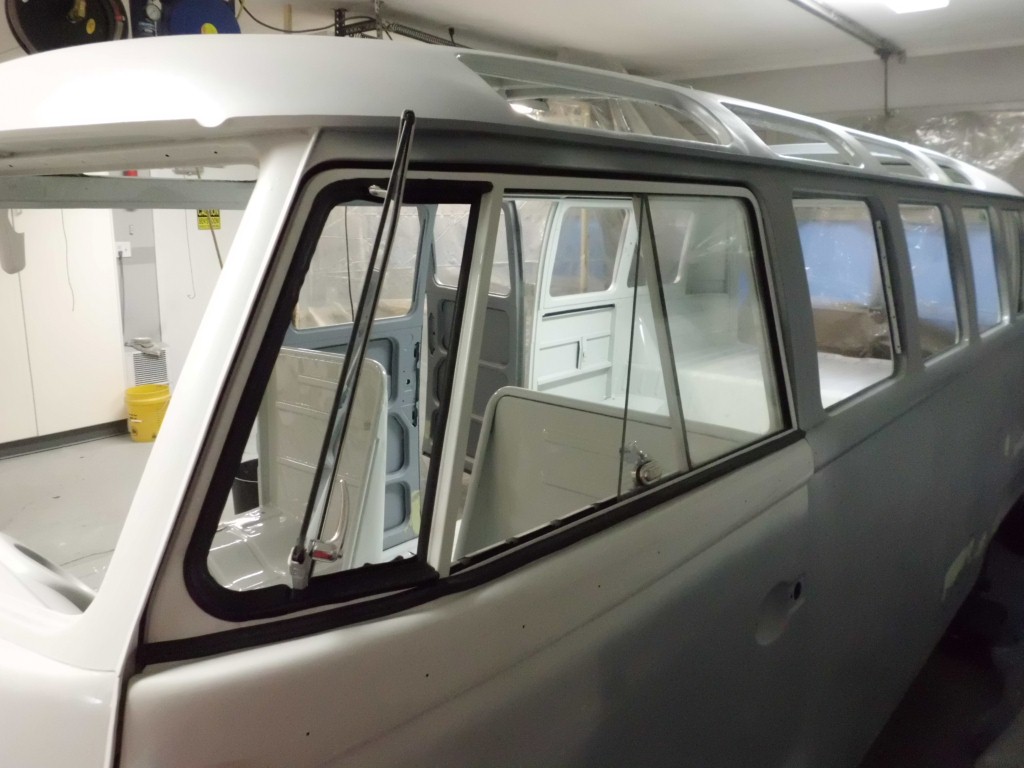
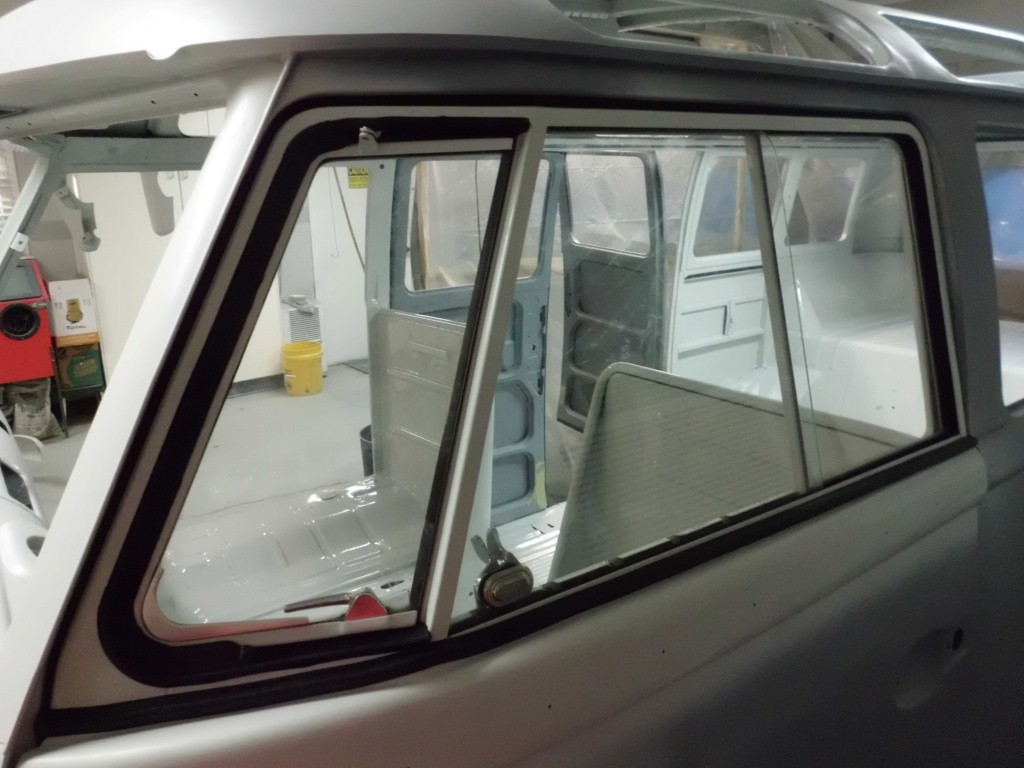
The driver side front window frame unit was assembled today. Although it looks simple the window unit consists of 3 different pieces of glass, 8 different rubber seals, and 4 metal frames. Installation of the vent window seal into the vent window frame is widely regarded as the most difficult tasks in all of VW bus maintenance, right next to headliner installation: it lived up to the reputation. The unit was installed into the door frame and it sealed well, although readjustment of the door hinges will be necessary. Unlike any modern vehicle, or even other vehicles from it’s era, the bus has a sliding window (back/forth) instead of a retractable window (up/down; Because of this the fully open window opening is surprisingly small but between the flow-through ventilation, vent windows, and safari windshields there should be plenty of airflow.


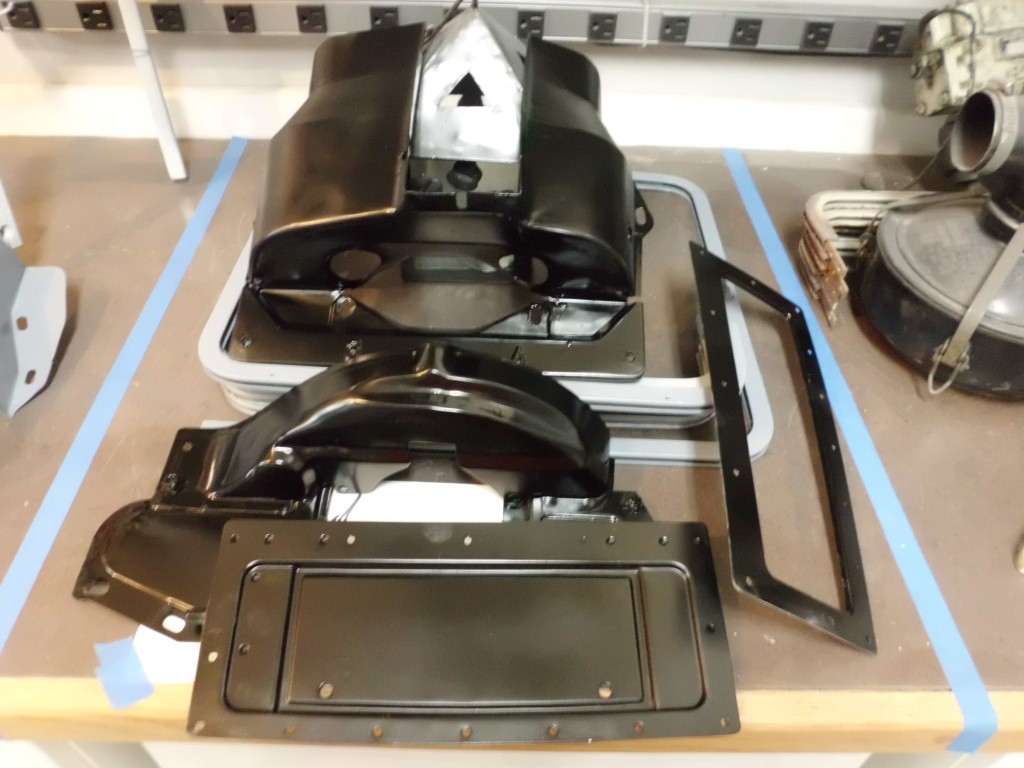
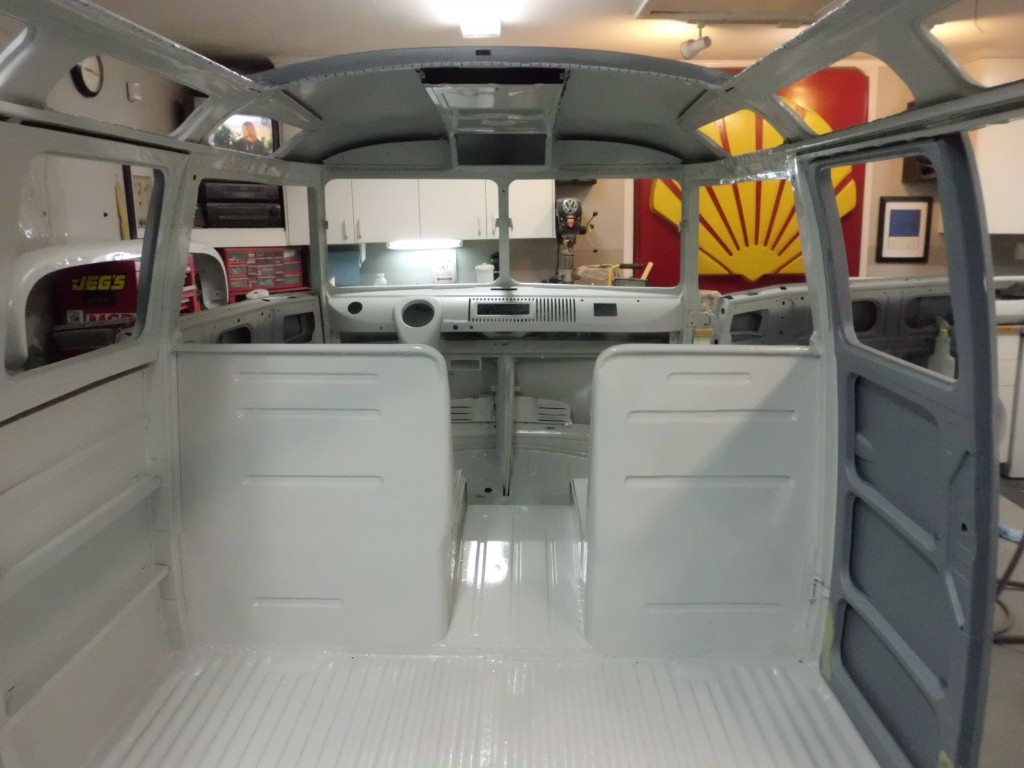
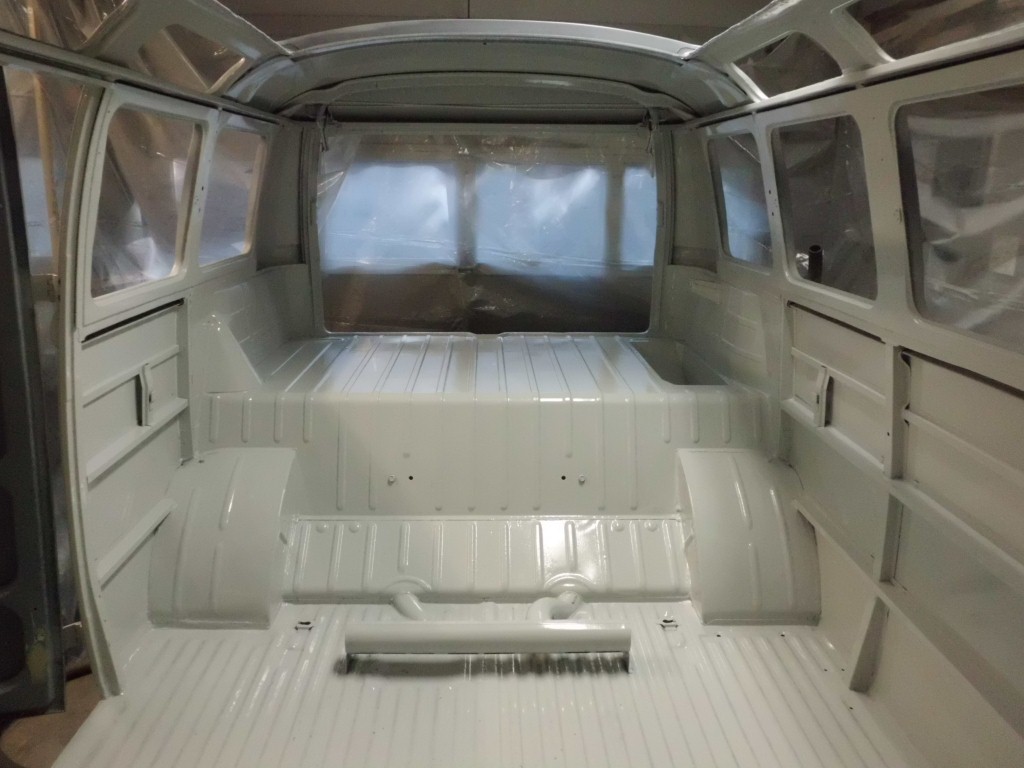
Another big day in the bus restoration – The entire interior has now been painted. Much of what can currently be seen will actually be covered by either the headliner, carpet, or cover panels but it was worth painting to add another layer of corrosion resistance and to have a clean/consistent surface to attach the headliner, carpet, and acoustic/thermal insulation. This is somewhat “over-restored” because the Hanover Germany plant would have just painted the exposed surfaces and settled for a light coating of over-spray everywhere else on the interior. The next step is to block off all the window openings with cardboard so the inside stays reasonably protected from over-spray while the outside is completed.

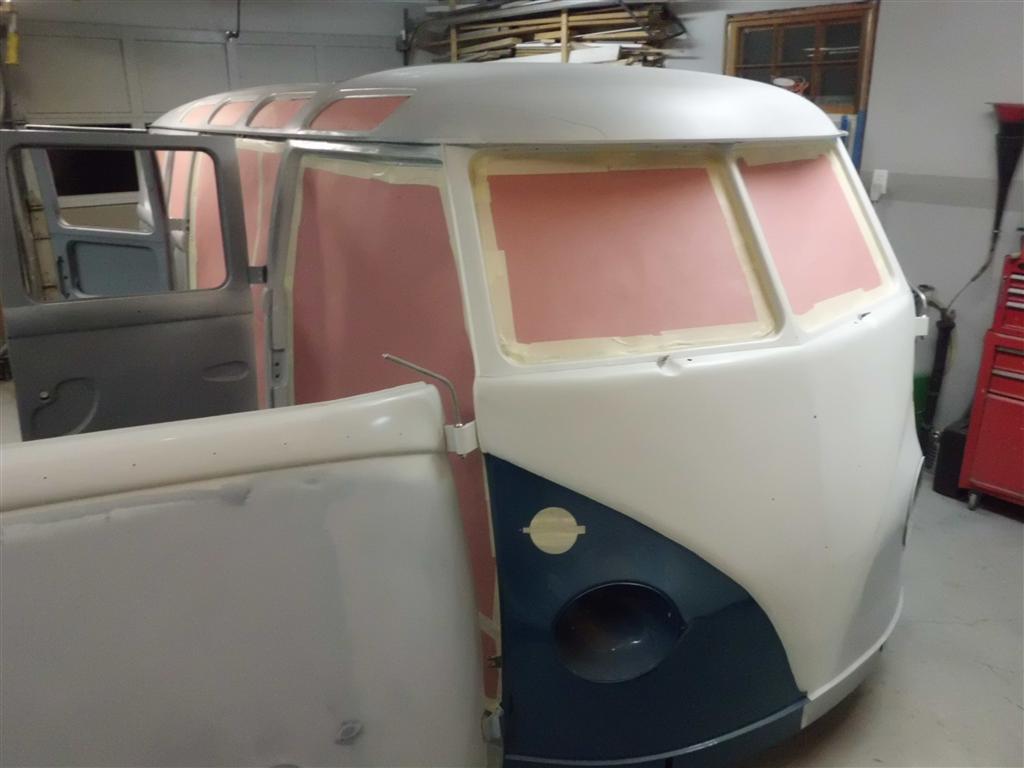
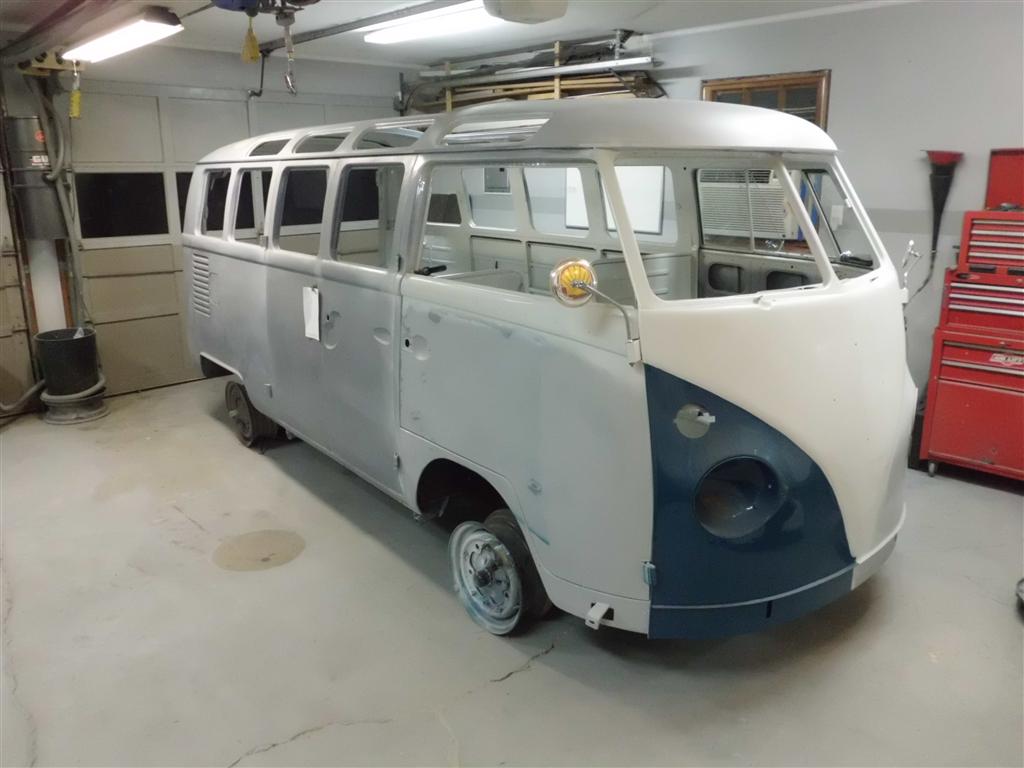
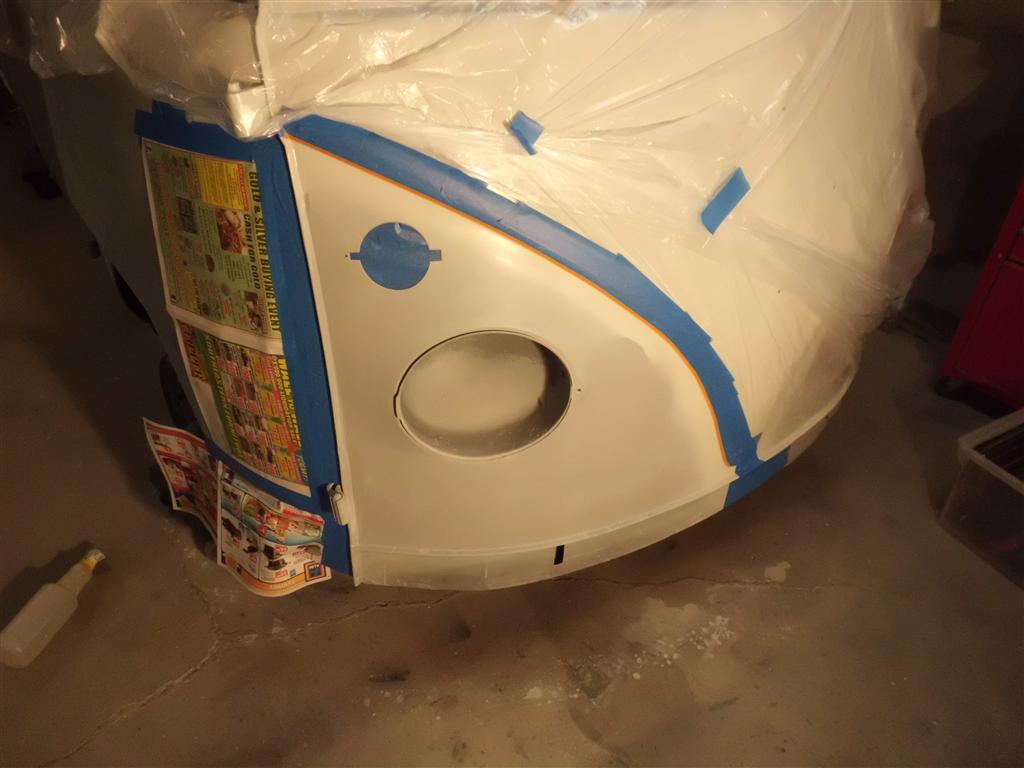
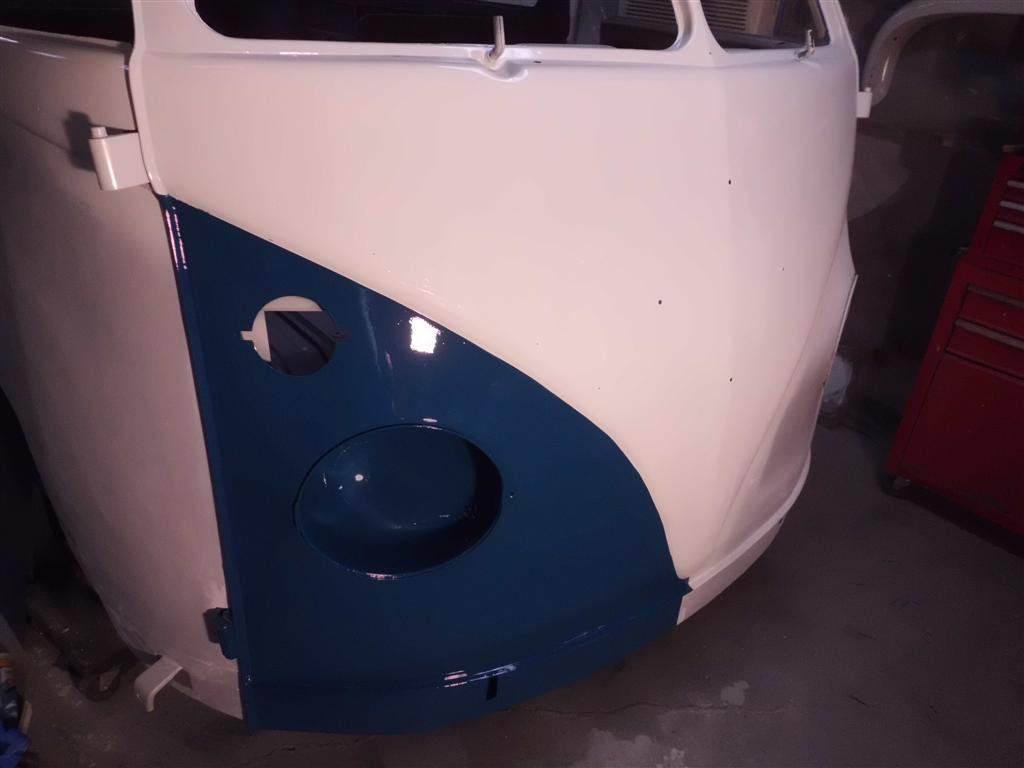
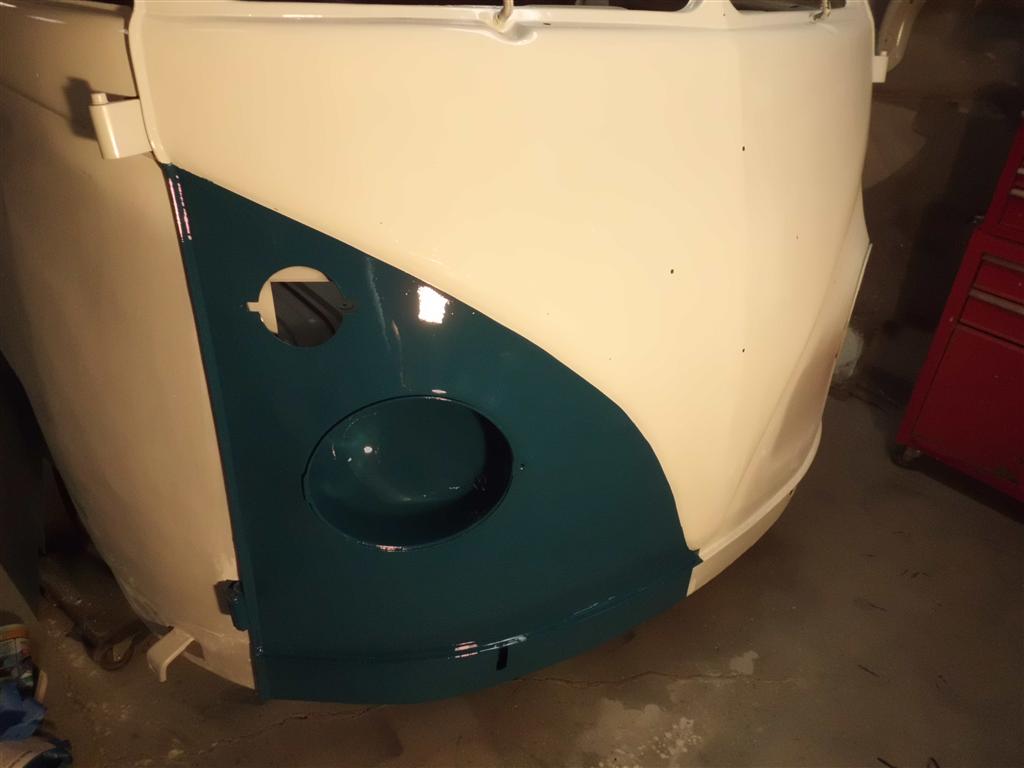
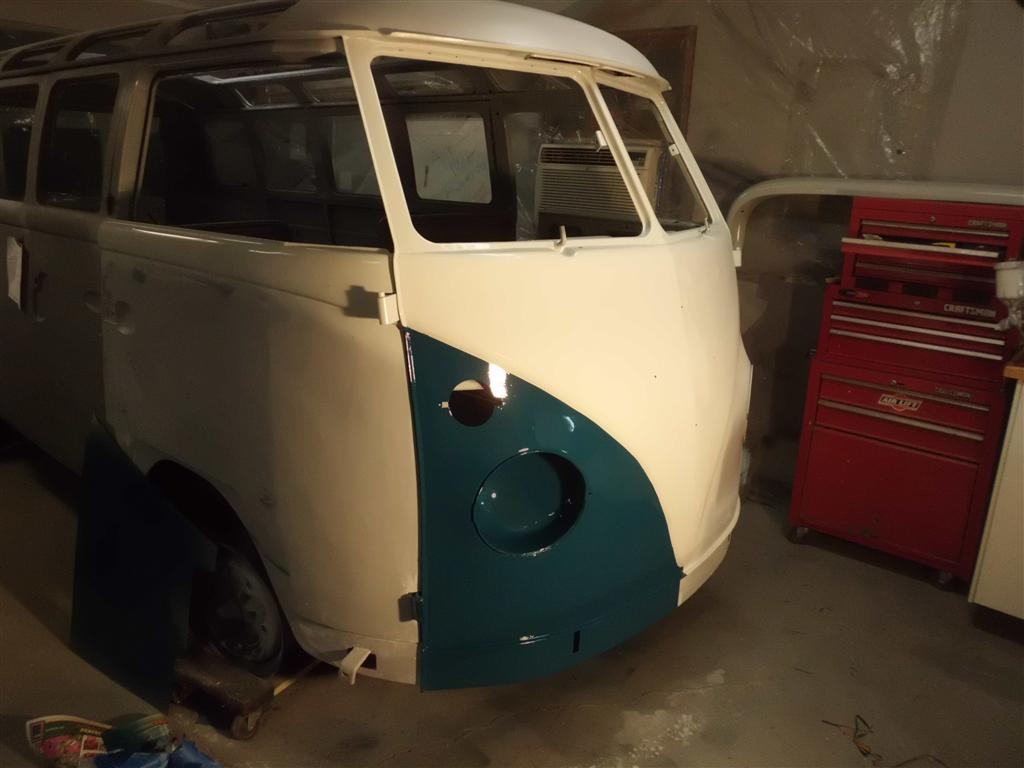
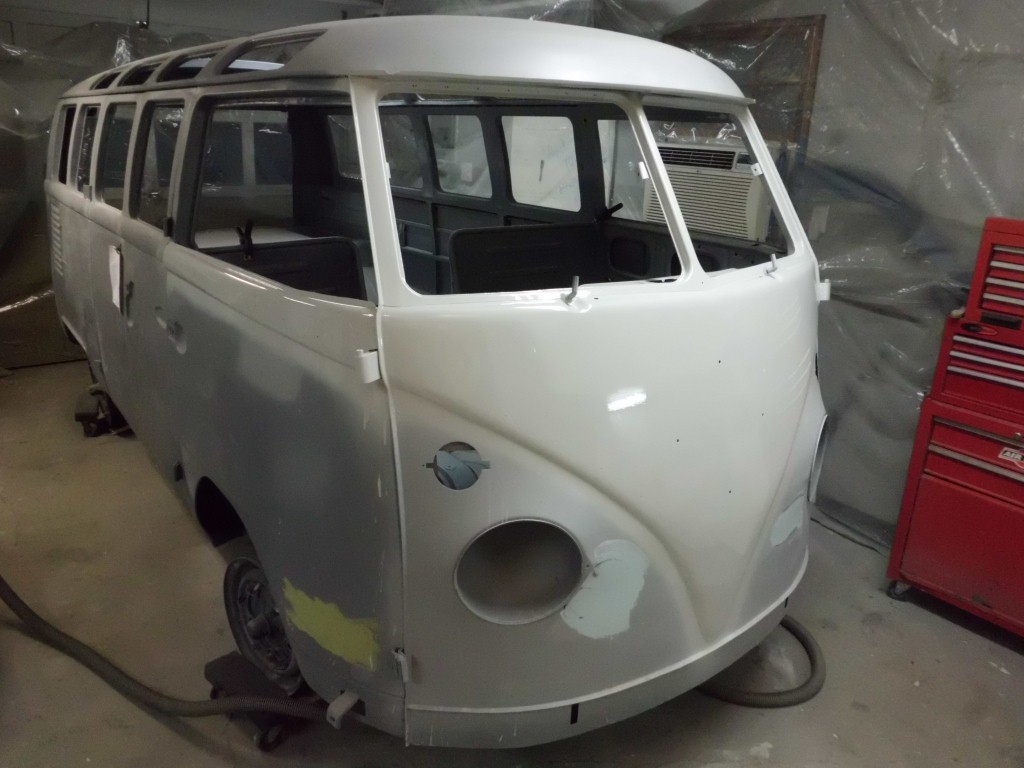
Half of the nose received a few coats of see blau (lake blue AKA sea blue) today. This was done to prove the taping method prior to painting the rest of the bus, and also as a test of a new spray gun. The new spray gun performs substantially better and I’m able to leave much less orange peel and runs with it. The area is first masked with regular painter’s tape, staying about 1/8″ away from the trim line. After the regular painter’s tape is on it’s followed up with 1/4″ flexible fine line tape flush with the trim line and overlapping the painter’s tape. The smaller fine line tape is much easier to peel off of the wet tape without making a mess, and that’s possible to do since it ends up on top using this method. This also leaves the edge of the masking tape dry, making it easier to remove cleanly. (The white area has been wetsanded in preparation for polishing, which is why it isn’t yet as shiny as the freshly painted blue area)
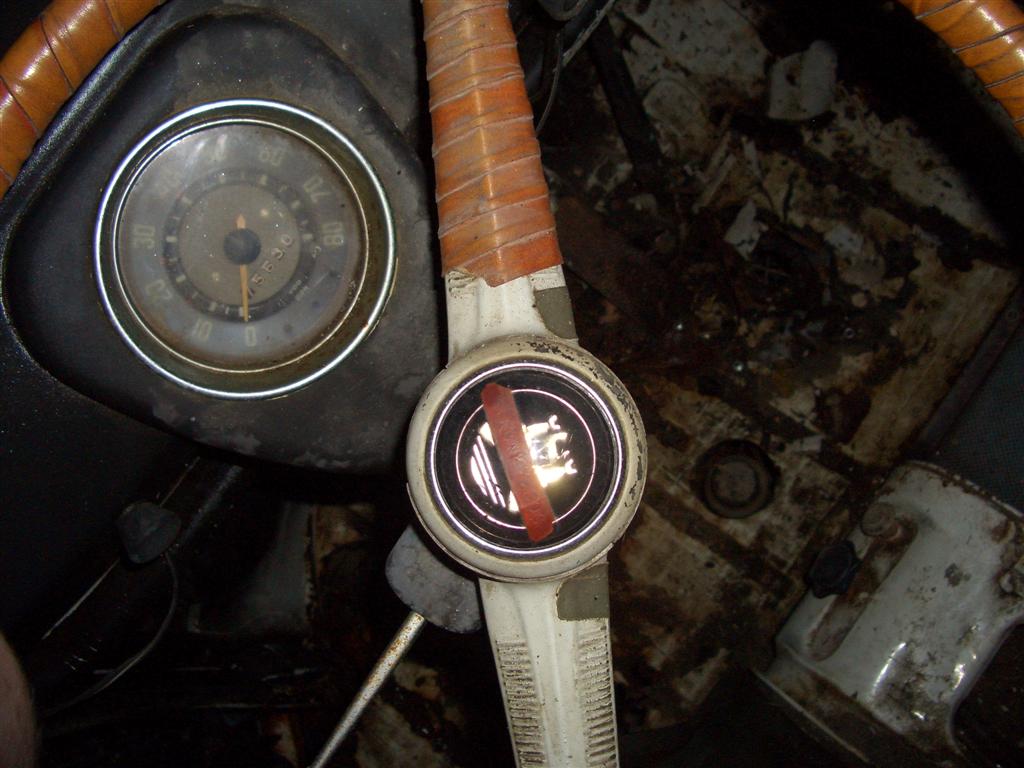
Tonight the pop-out window frames had dried enough to assemble into pop-out window units, each consisting of: 2 frame halves, 2 rubber seals, and 1 glass pane. Four of these windows open toward the back of the bus and two open toward the front; because of this, and in order to keep the original “Sekurit” logos (1960’s and present glass supplier to VW, now “Saint-Gobain Sekurit”) oriented correctly, there are four different assembly combinations that must be made. The hieroglyph on the masking tape is a reminder as to what window position the particular popout was assembled for; with any luck all the “Sekurit” logos will end up in the right spots. I installed the horn button assembly into the steering wheel; for comparison I’m re-posting a steering wheel picture from 7/2009, it’s come a long way! The “before” picture actually makes it look better than it was since the wheel was badly cracked underneath the steering wheel wrap.

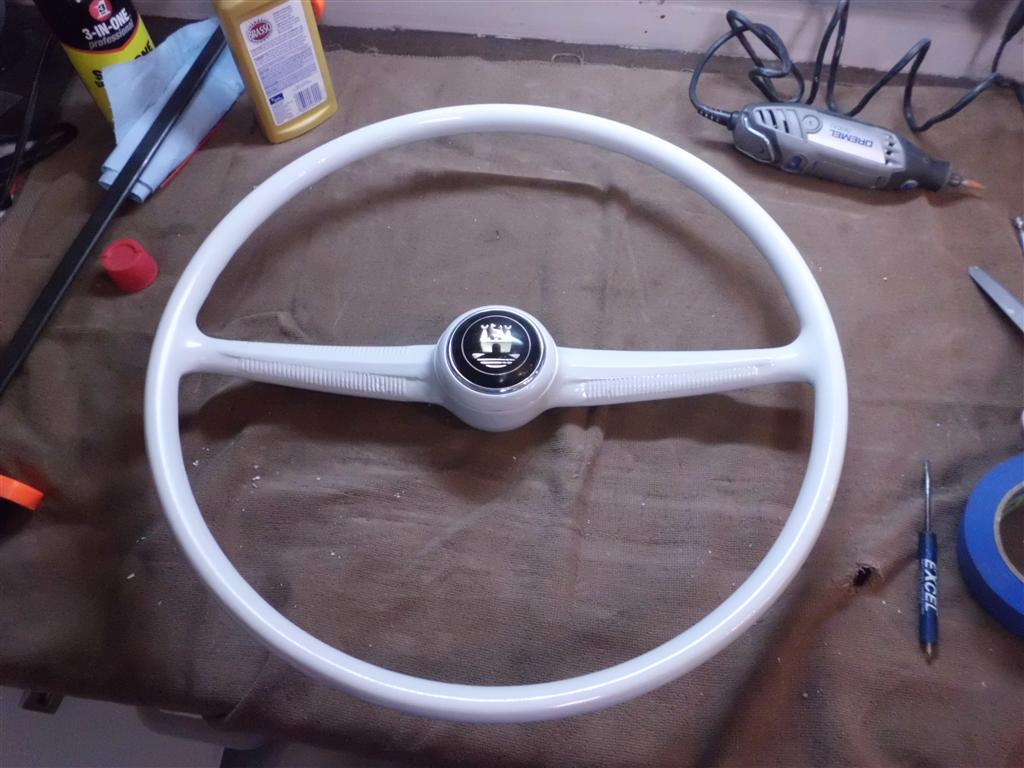
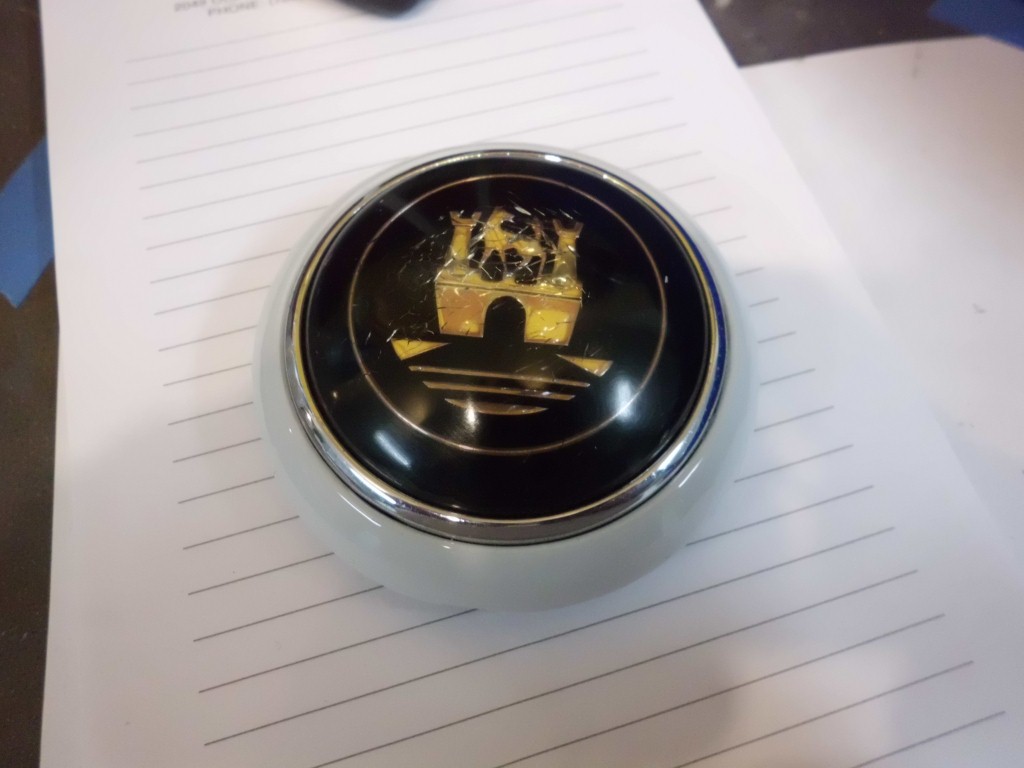
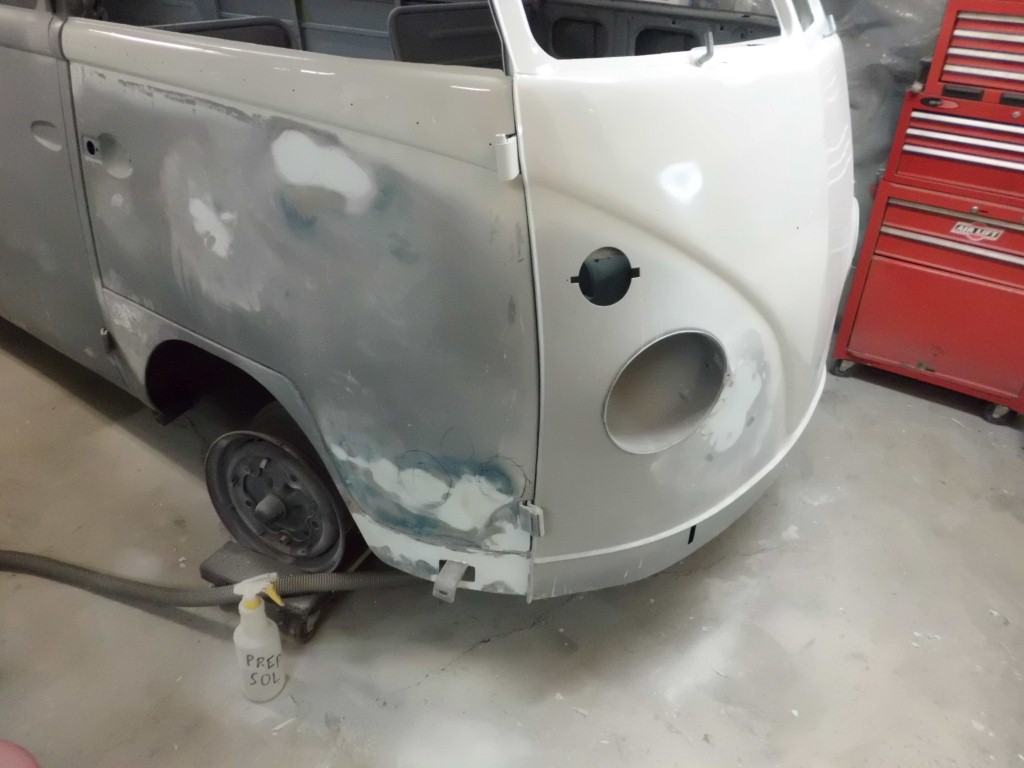
The passenger front door got a coat of high build primer over the body work and was wetsanded, it’s now ready for blue paint once a few areas inside the door jambs are finished. A final coat of white was added to the rear bumper and steering wheel. The steering wheel center was dry enough to test fit the horn button; this was polished a month or so ago and although it’s not perfect it is original to the bus and looks much better than the starting point or any reproduction. See the first post on the site (7/1/2009) for an idea of what this originally looked like. I also test fit the popout window frames to the glass and seal; this worked well and window assembly should go smoothly once all the frames are ready. The front bumper is now ready for wetsanding/polishing, and assembly; one of the trim pieces was polished and turned out very nicely.


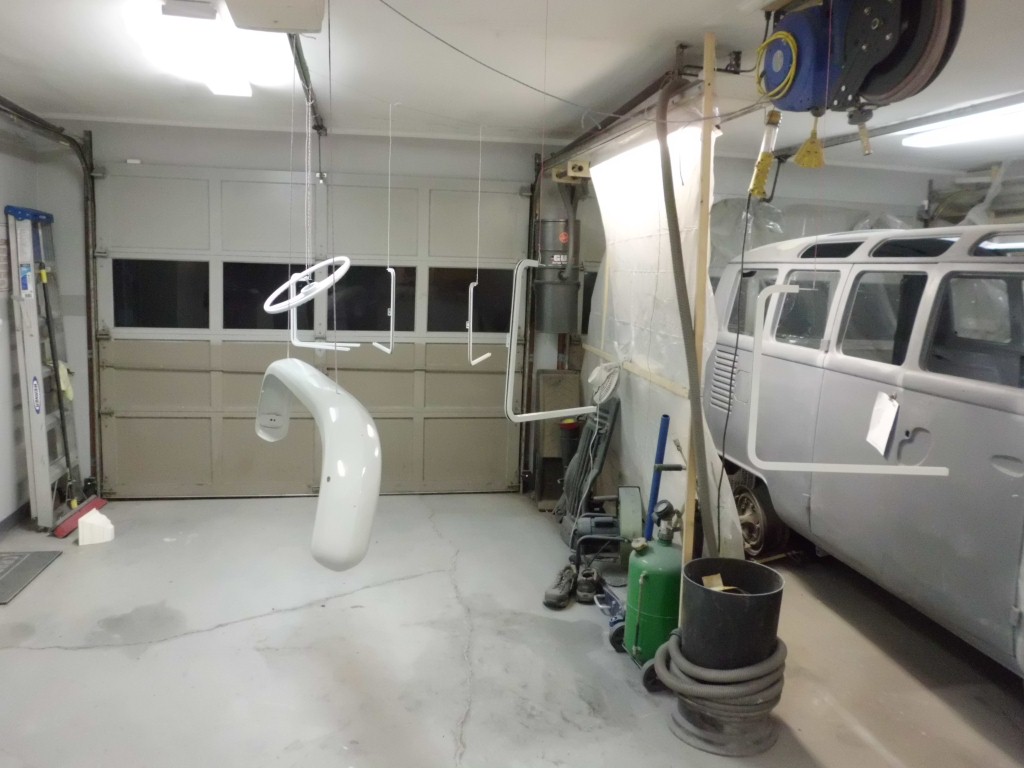


Today the front bumper was painted white as well as the rear bumper, steering wheel, and various small parts; The nose also received a second coat since the experimental wetsanding/polishing had left a few places too thin. In preparation for the first blue coat, the passenger side door was painted white above the trim line and some bodywork was completed on the door bottom. The flow-through ventilation flap that was painted yesterday was riveted back together with a new rubber seal; it doesn’t look like much but it’s exciting since it’s one of the first pieces to be re-assembled after going through the entire sandblast>clean>epoxy>highbuild>paint assembly line.
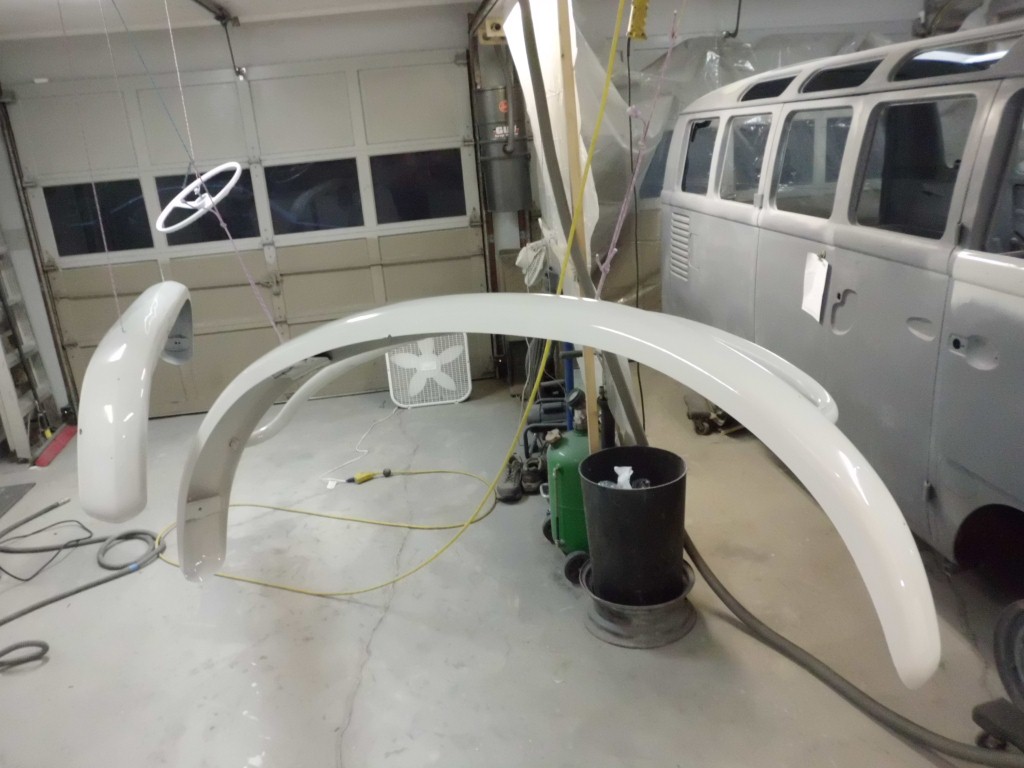

The front bumper was further improved today by first epoxy priming, followed by high-build priming. Various small parts (many more than pictured) were epoxy primed and then painted black. Wetsanding and polishing supplies also arrived.