The office project is coming along well and the last major missing piece is a desk to replace the table we’ve been using.
Before starting this project we planned that the cabinets would cover the room’s exterior walls between the windows and we also left space on the interior wall for misc stuff (file cabinet, chair, etc). This left the center of the room largely open and it made sense to have the desk there. This arrangement provides some advantages: #1 sitting at the desk in the center allows facing out towards a window with a view up the driveway instead of just looking directly at an interior wall and #2 any screens on the desk will face an interior wall instead of the windows, minimizing glare.
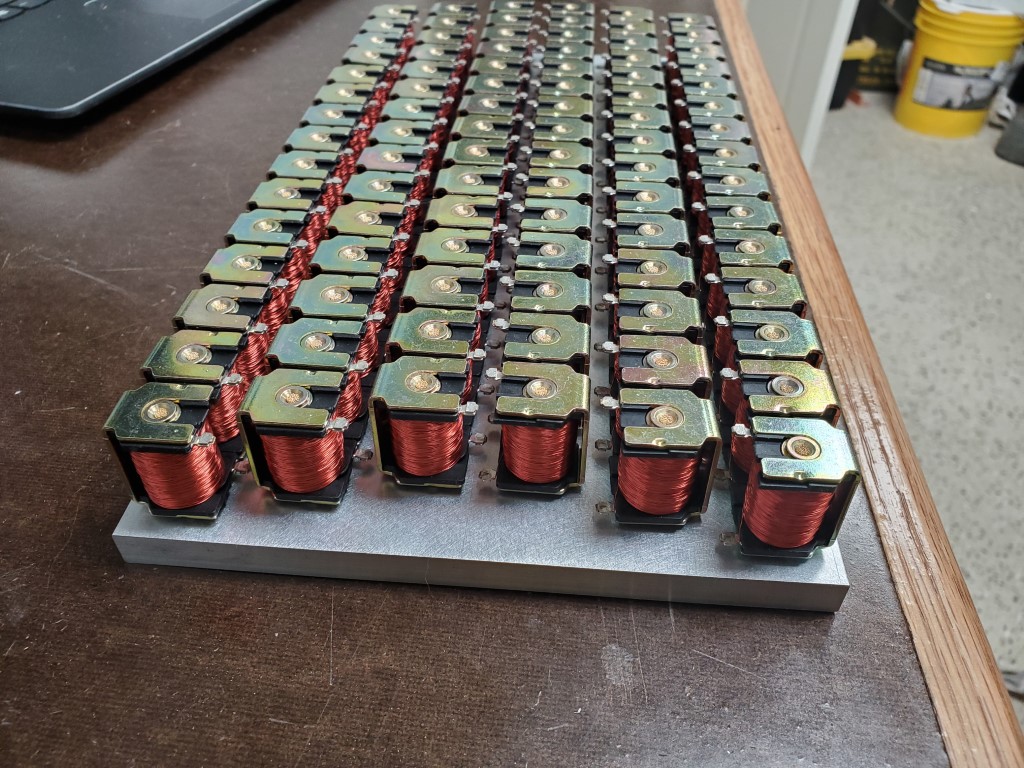
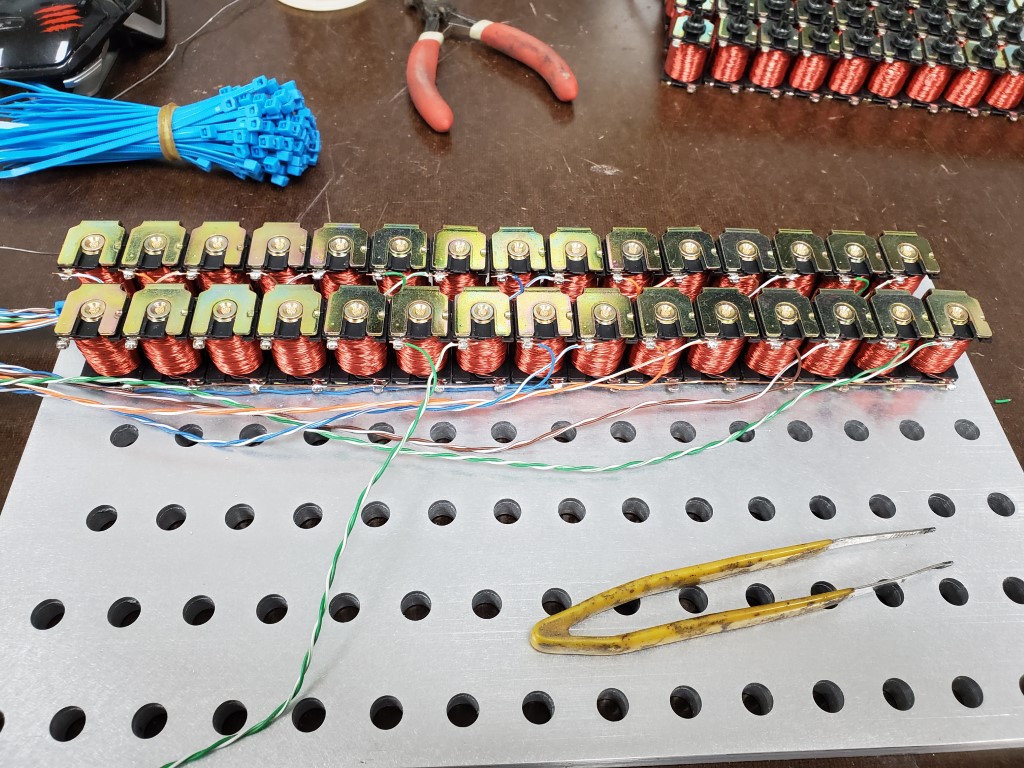
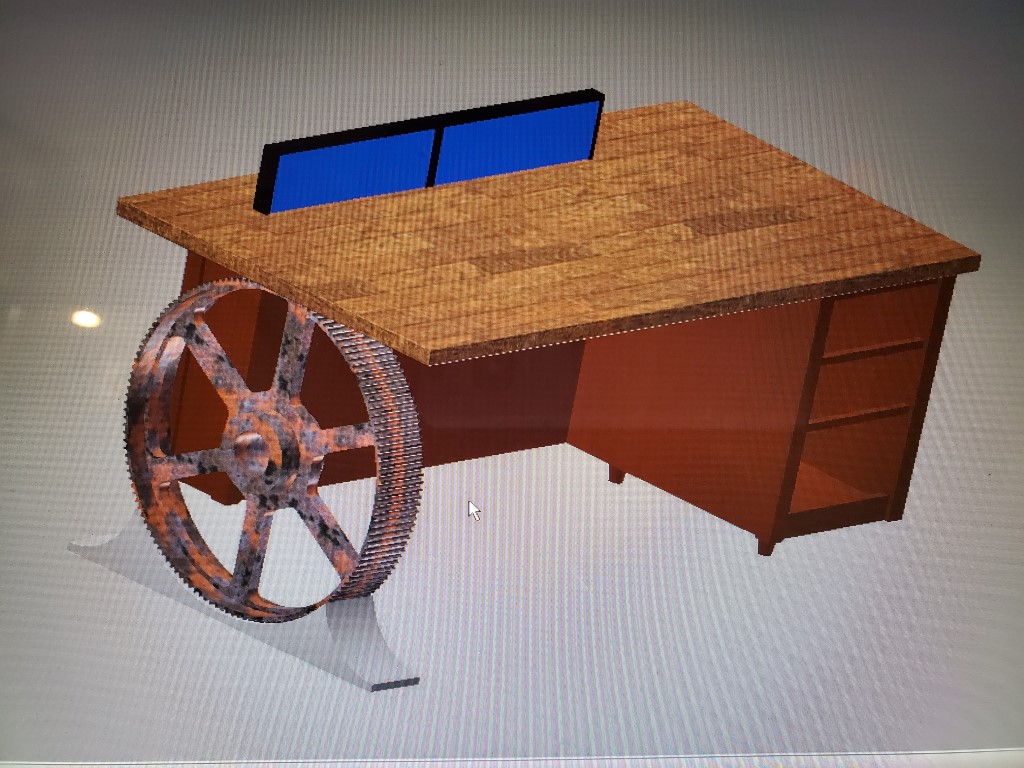
Unfortunately the desk-in-the-center arrangement has one big drawback in that having monitors placed on the desk essentially forms a ‘wall’ of sorts in the room. Normally I wouldn’t care about this so much, but the office is directly adjacent to the foyer with a double-width door opening between the two – so it needed to look as good as it functions. The solution to this problem is to hide the monitors in the desk with a motorized lift mechanism.
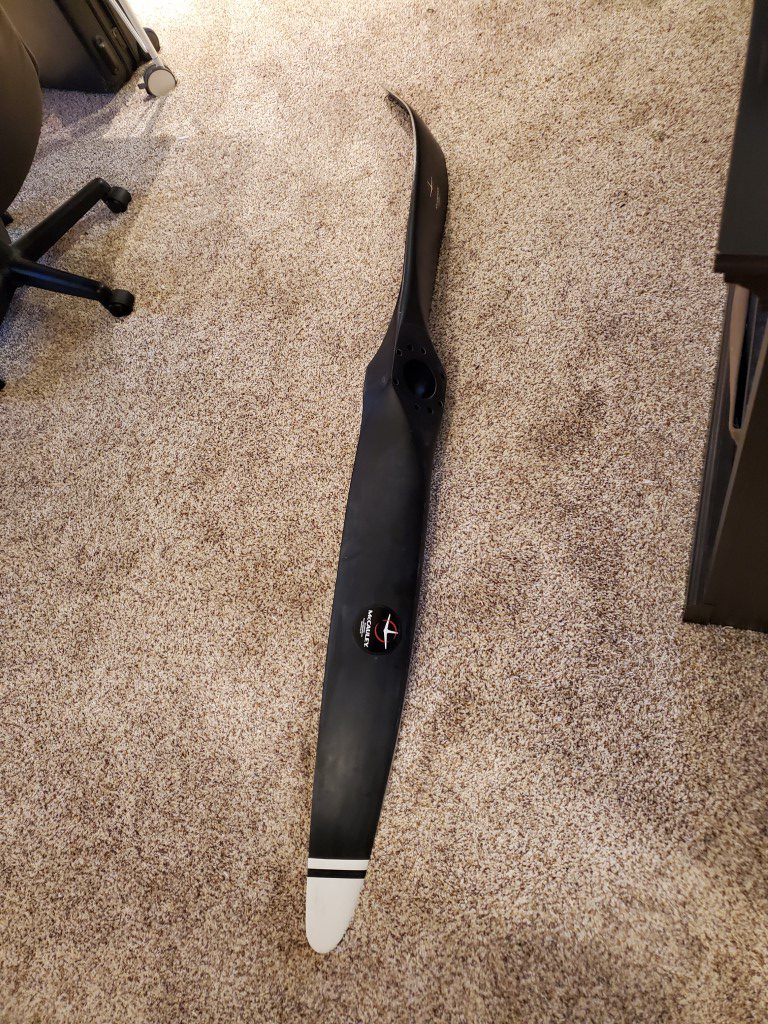
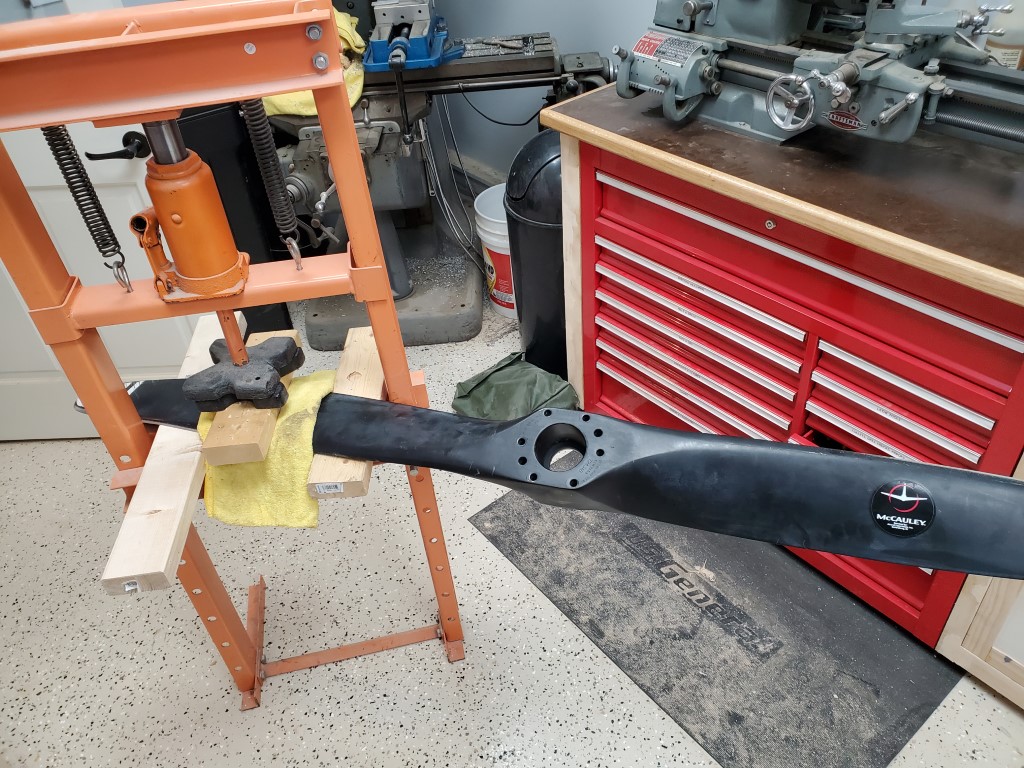
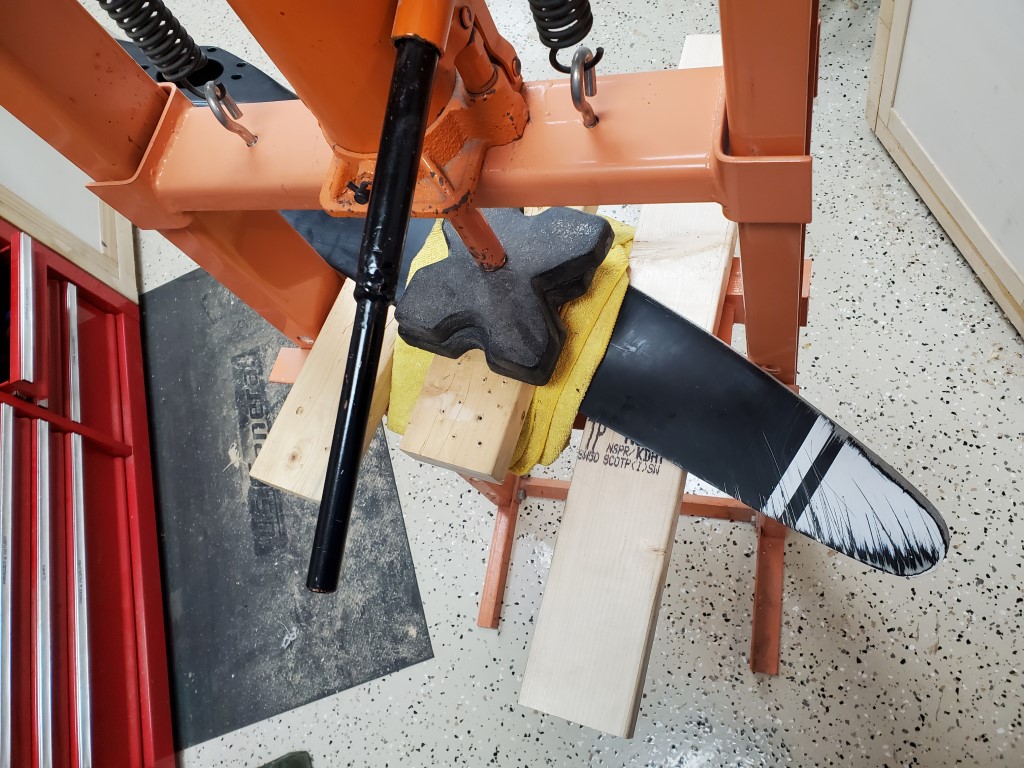
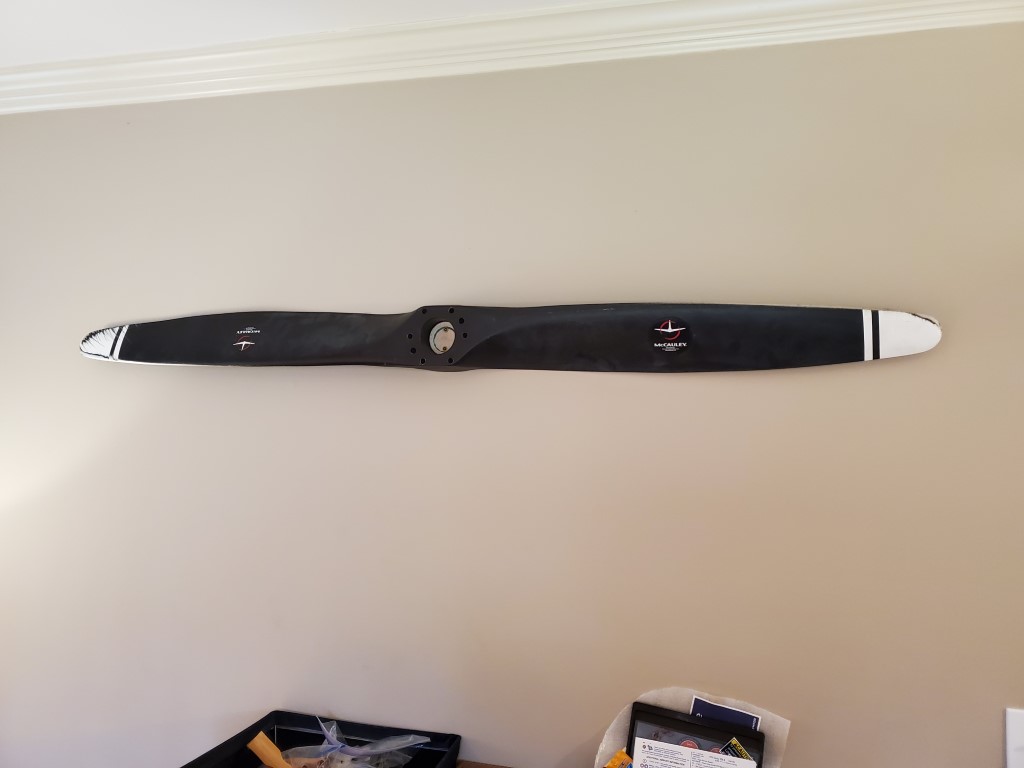
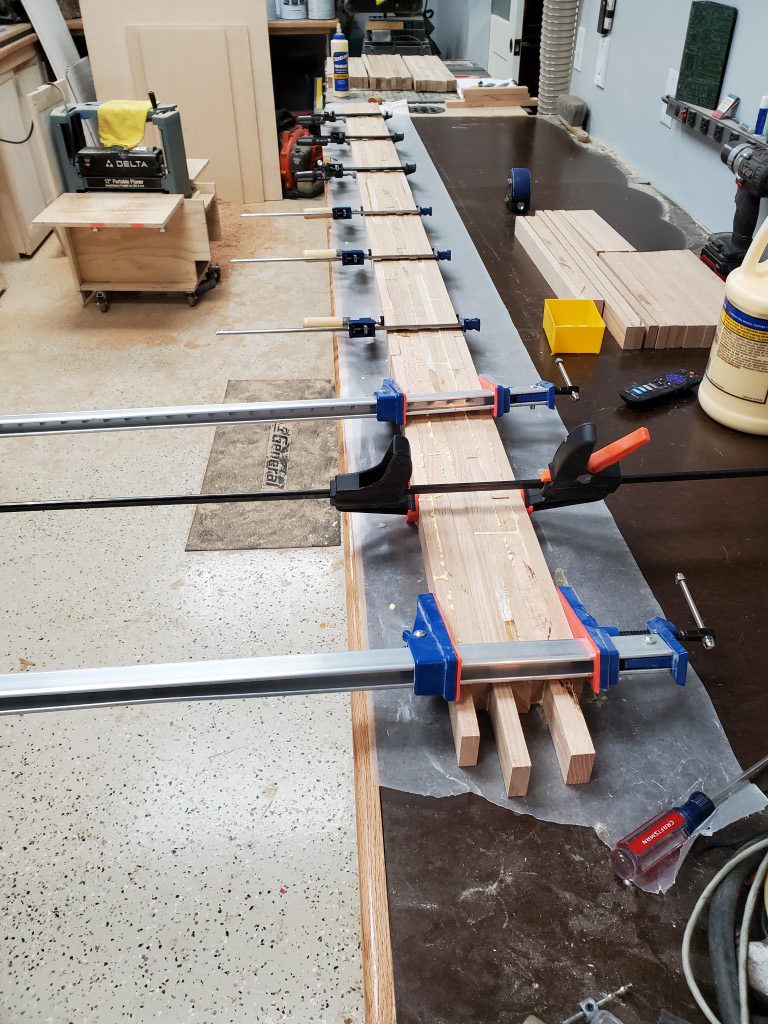
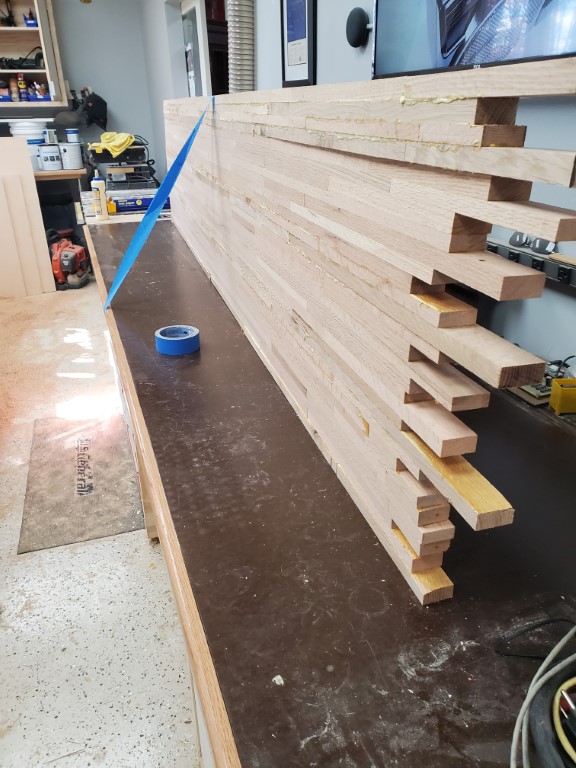
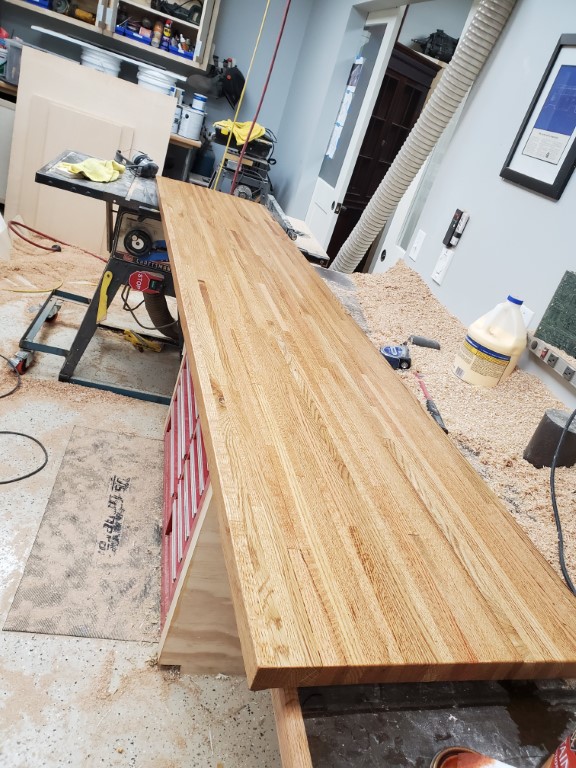
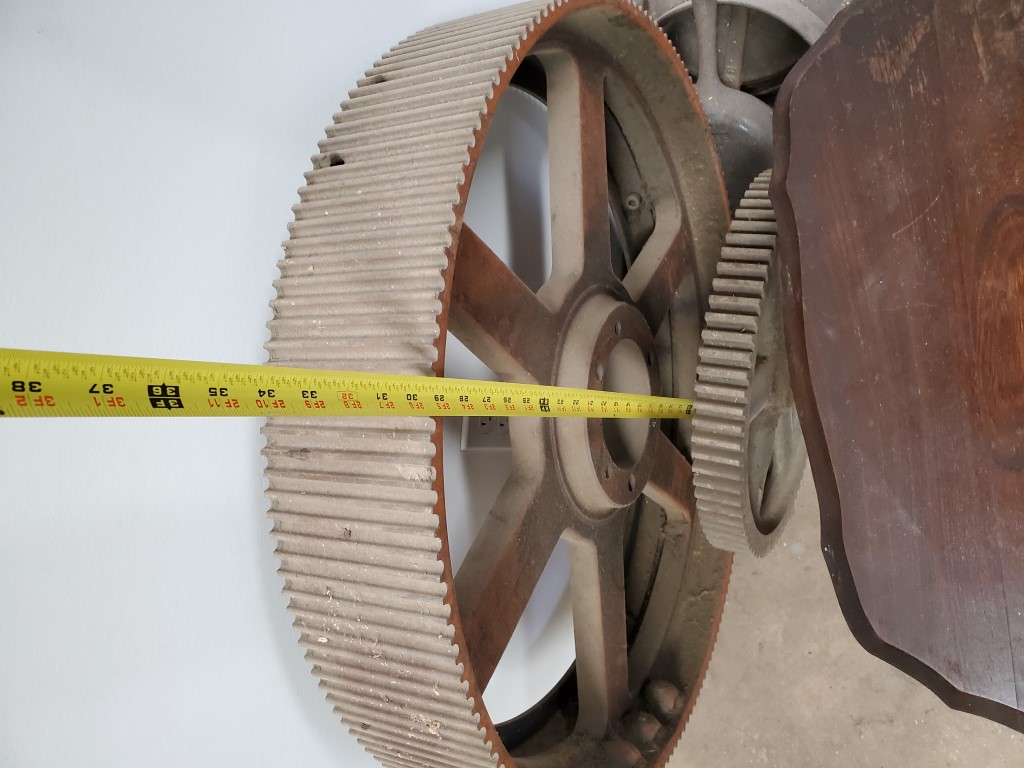
We found a desk at goodwill to use as the starting point – the base is good quality hardwood but the top is/was a laminate slab that I’ll replace. We’ve also had a large gear waiting for the right project to come along. The plan is to remove one of the desk’s towers, replace it with the gear, and then make use of the existing back panel of the desk to enclose some space for the monitors.
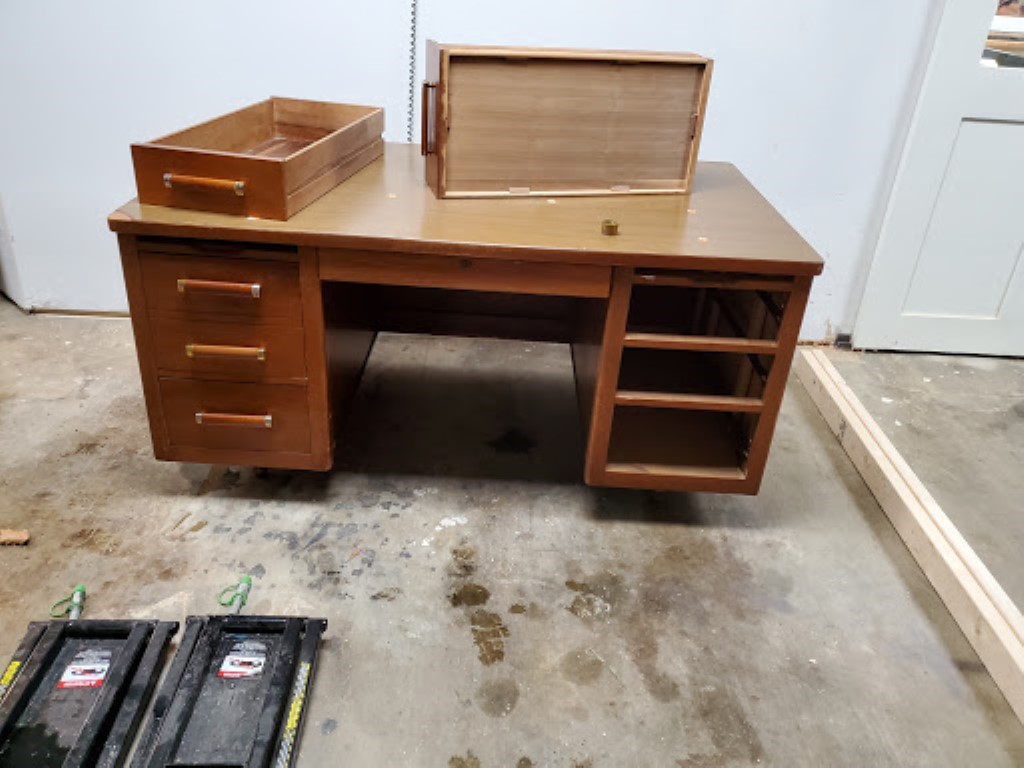
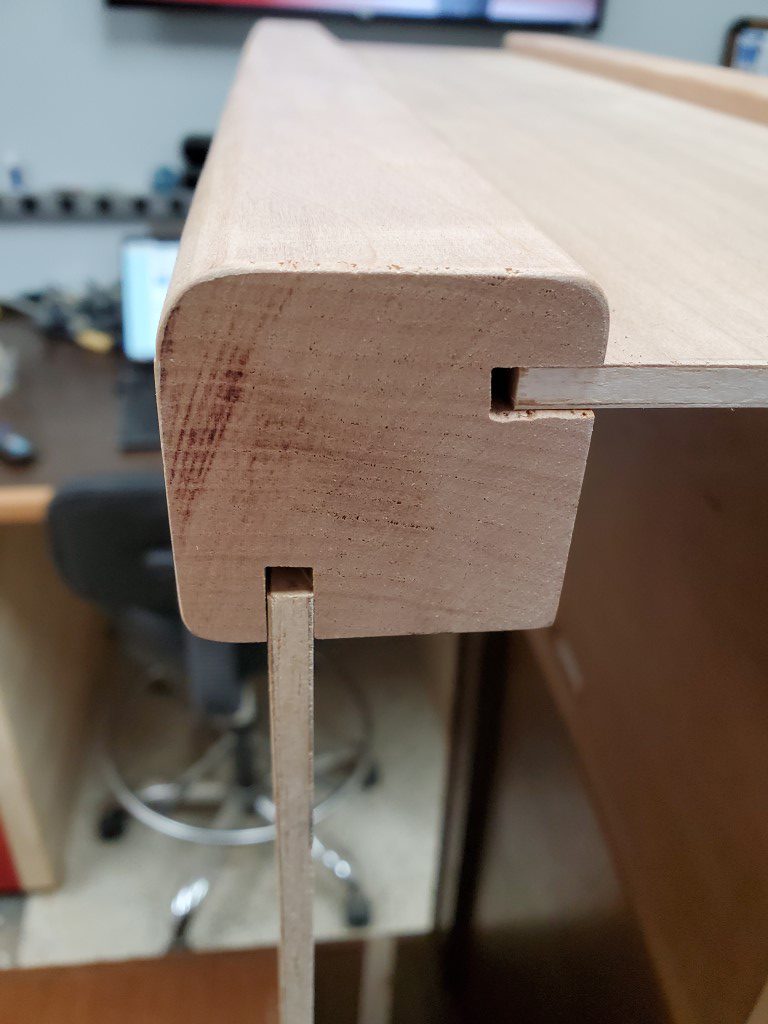
I started with disassembly of the desk, and then I copied two corner pieces and added some 1/4″ plywood to form the monitor compartment. The new parts are made from Cherry which seems to be an OK match for the existing wood.
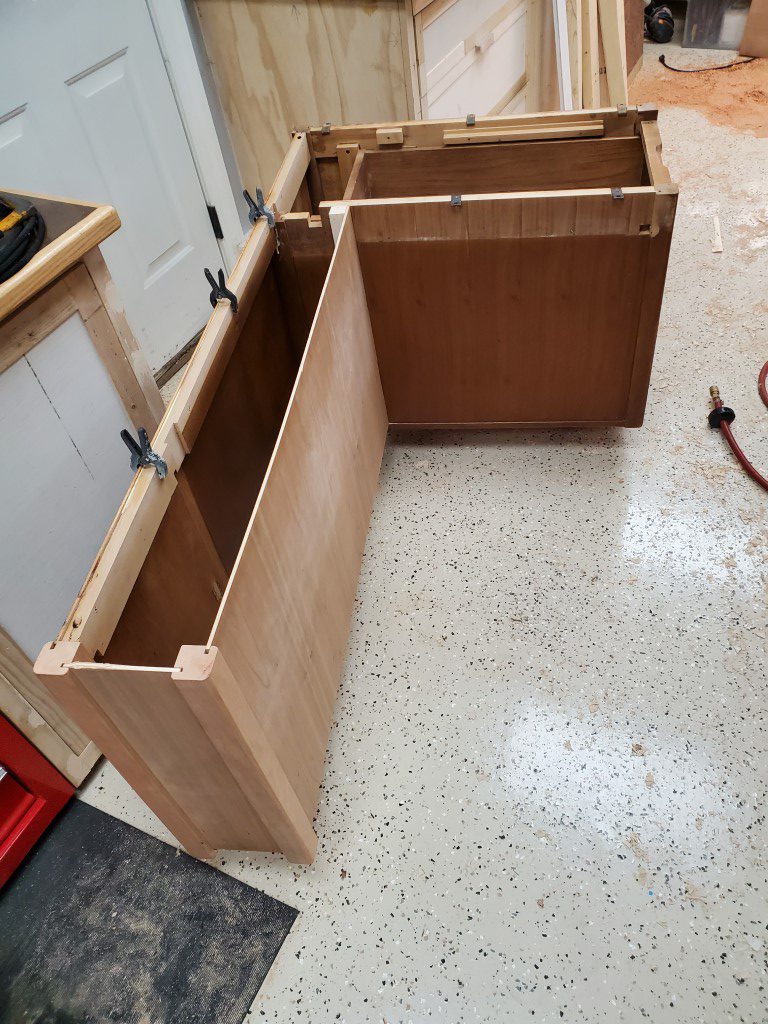

Next up I need to add some more internal structure to the monitor compartment then strip/sand the desk exterior and begin on the lift mechanism.